A small stitch problem can steal the charm from a favorite quilt fast. A quick fix can bring it right back to life.
1. Close a Tiny Seam Split
Top Close A Tiny Seam Split Craft Tutorials
- 💅 Split Seam Repair : r/vinylvibes from reddit.com.
- 🎄 Hemming and Seam Finishing : 10 Steps from instructables.com.
- 🍂 How to fix a split card seam? from facebook.com.
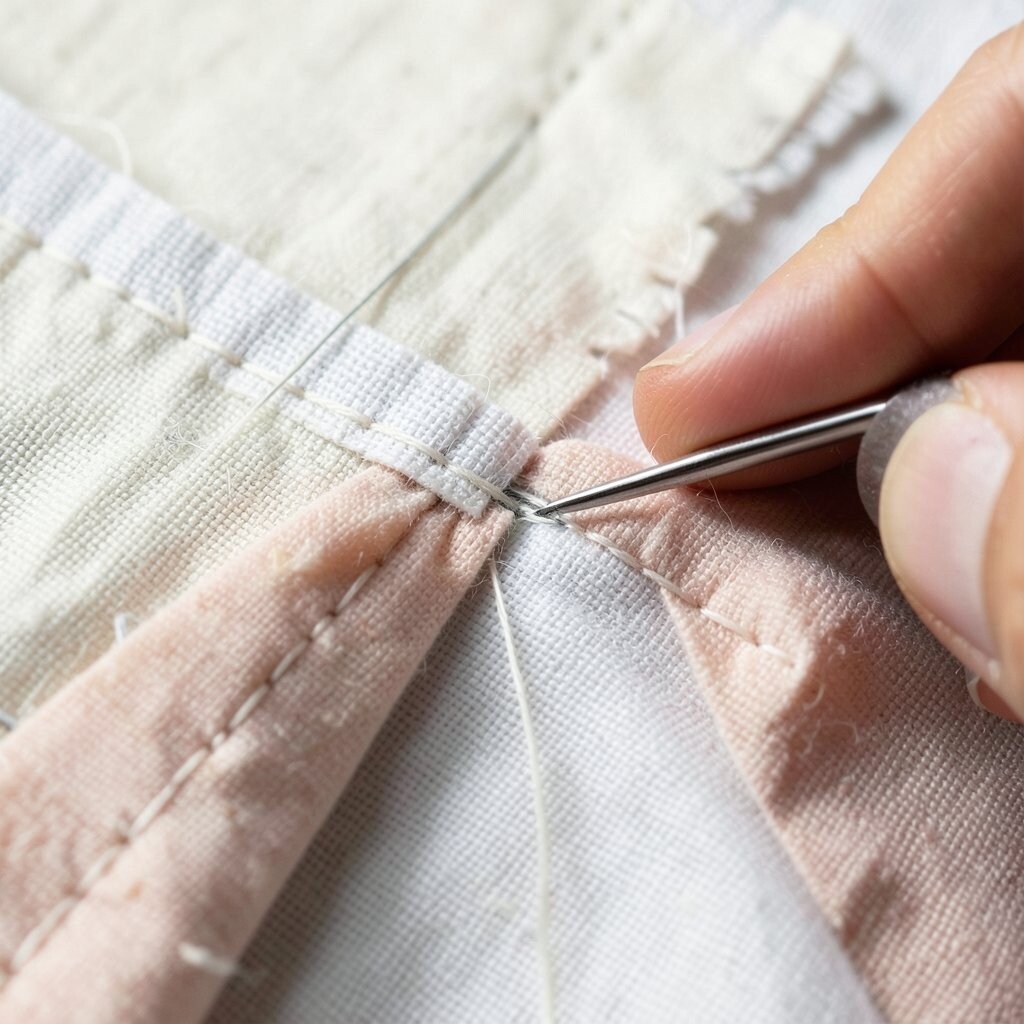
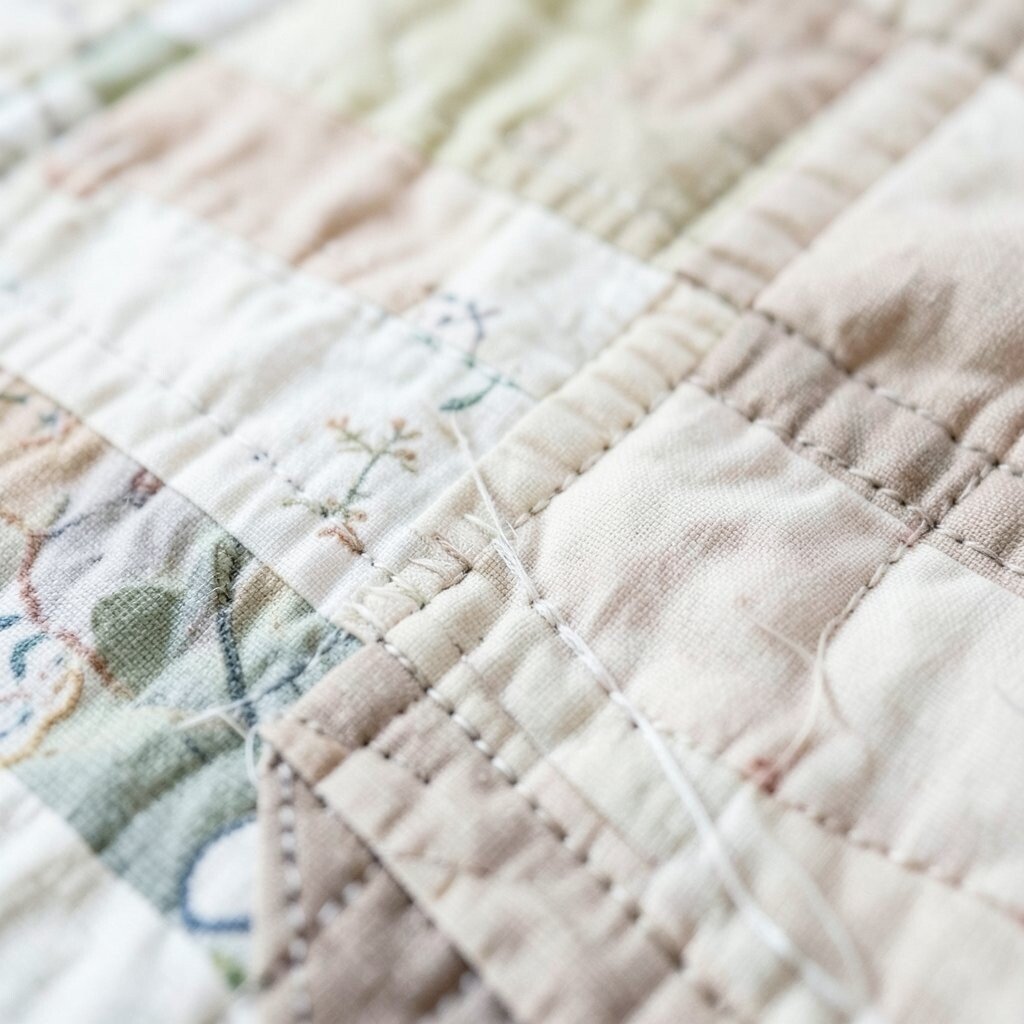
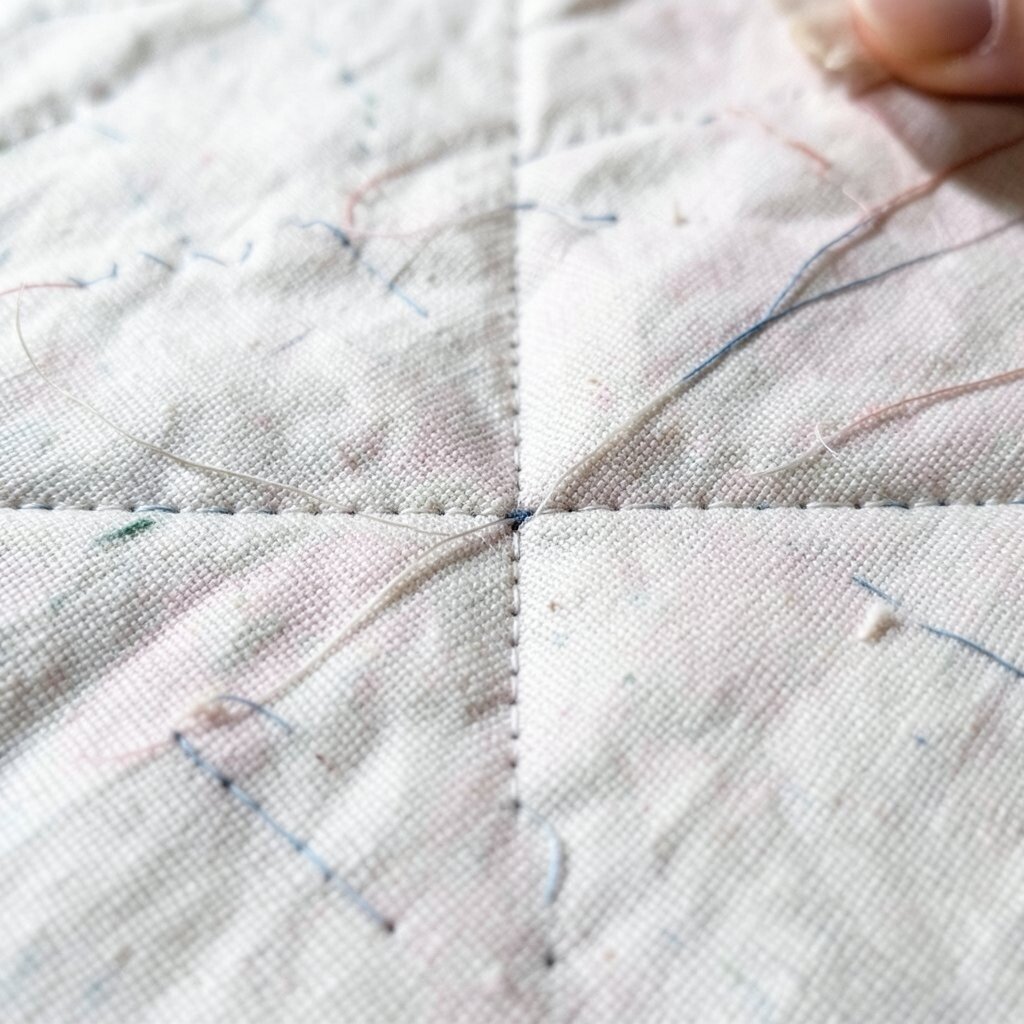
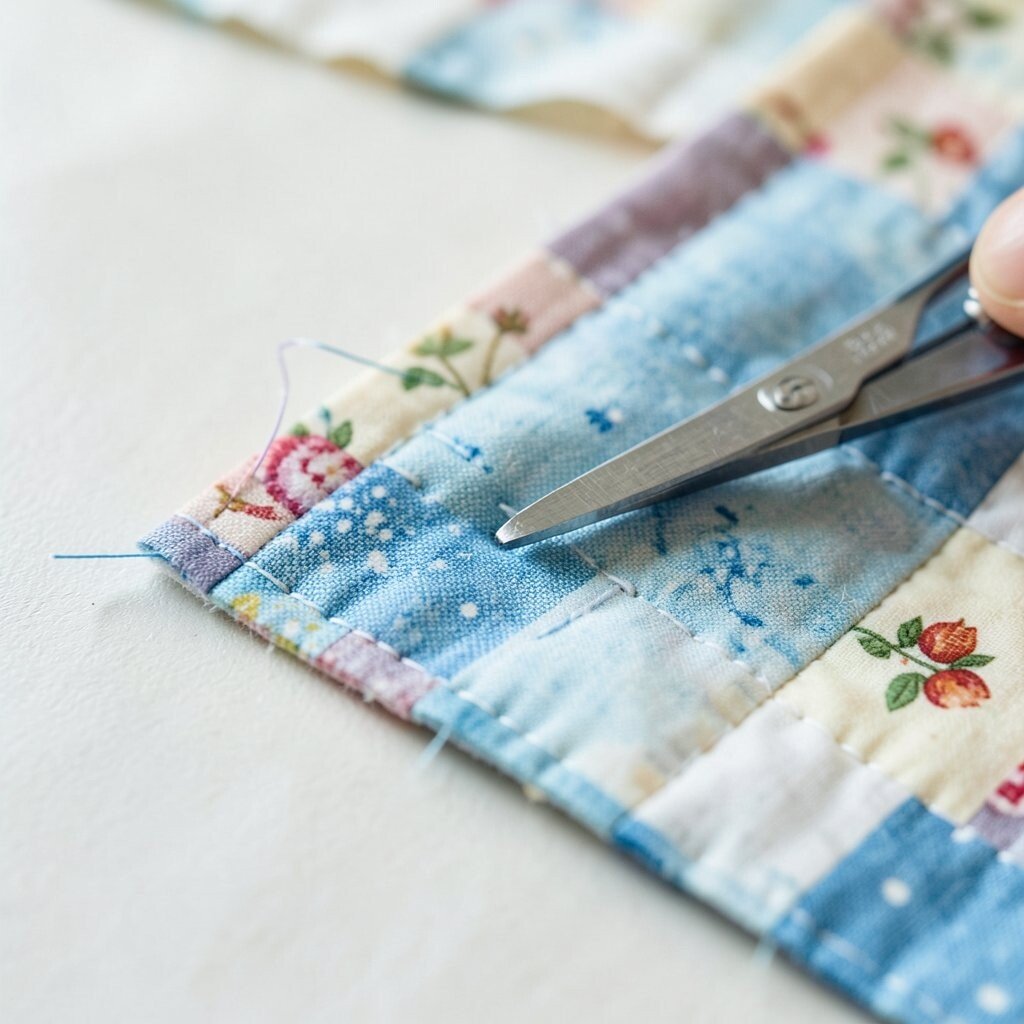
A seam split often looks like a little open smile in the quilt edge, and it can grow if left alone. A needle, thread, and a neat hand stitch can close it in a few minutes.
Use matching thread for a nearly invisible repair, or pick a bright color for a playful accent. This fix costs very little and keeps the quilt useful, which is great for bed covers, picnic quilts, and kid blankets. If you like a handmade look, make the stitches a bit longer so the repair blends with the quilt’s style.
2. Mend a Loose Corner
Top Mend A Loose Corner Craft Tutorials
- 🍁 How to Repair Corner Bead on a Wall from lowes.com.
- 🍁 How to fix loose corners on a canvas? from facebook.com.
- 👓 Furniture Makeover: How to Repair Broken Corners on … from littlehouseoffour.com.
- 🖼️ Failing Drywall Corner Beads from finehomebuilding.com.
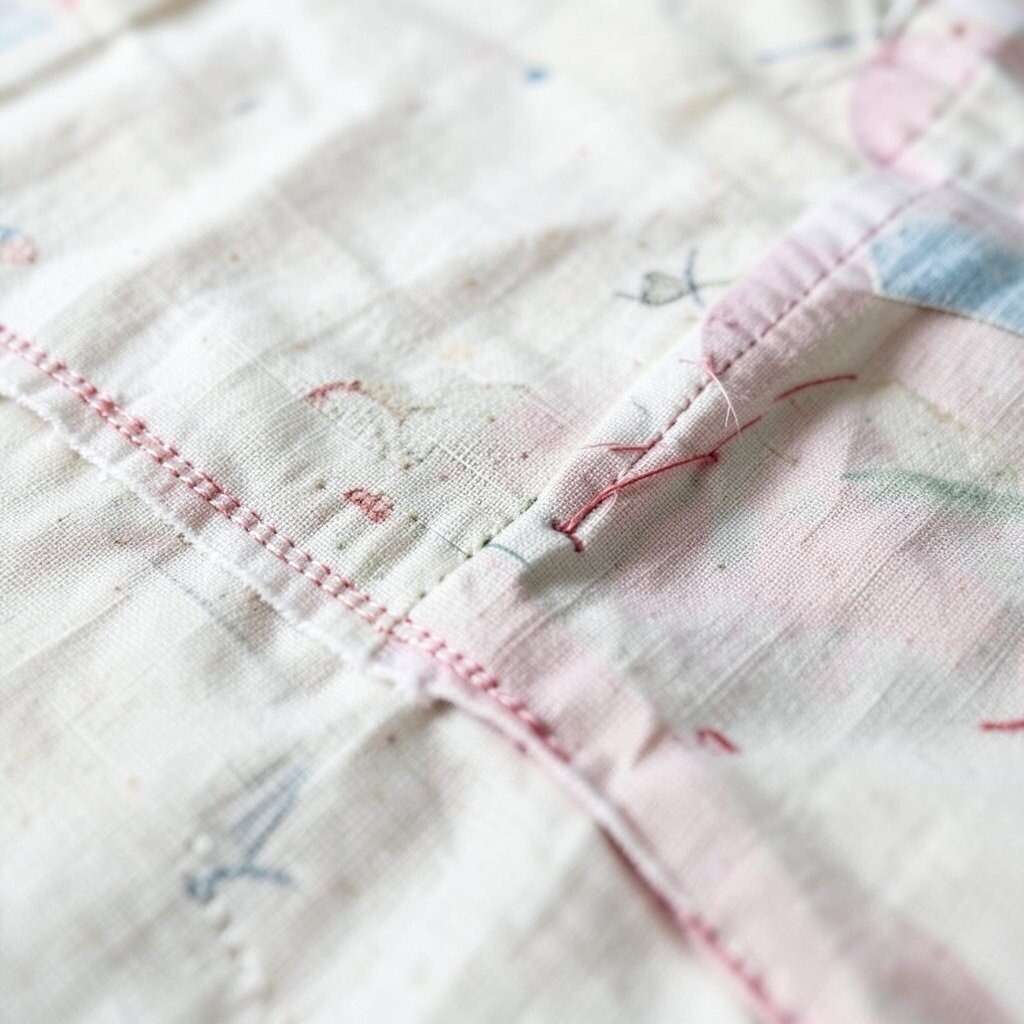
A loose corner can flap like a tiny flag every time the quilt moves. A simple whipstitch or ladder stitch can anchor it again without changing the quilt’s shape.
This repair helps stop more fraying and keeps the corner neat in photos and on the bed. Many quilters now like visible mending, so a soft contrast thread can turn a weak spot into a design detail. For a custom touch, add a small corner patch in a print that matches the quilt’s border.
Keep the stitches close together for strength, but do not pull too hard. A gentle finish will help the fabric lie flat and feel comfortable.
3. Fix a Popped Quilt Block Seam
Top Fix A Popped Quilt Block Seam Craft Tutorials
- 🎄 Quilt Repair – Fixing Popped and Torn Seams from keepsakecrafts.net.
- 🎄 Broken Blocks Quilt Tutorial from alandacraft.com.
- 🎄 Fixing tear in quilt seam? from facebook.com.
- 🗺️ Forest Abstractions Quilt Along – Fixing A Block Tutorial from violetcraft.com.
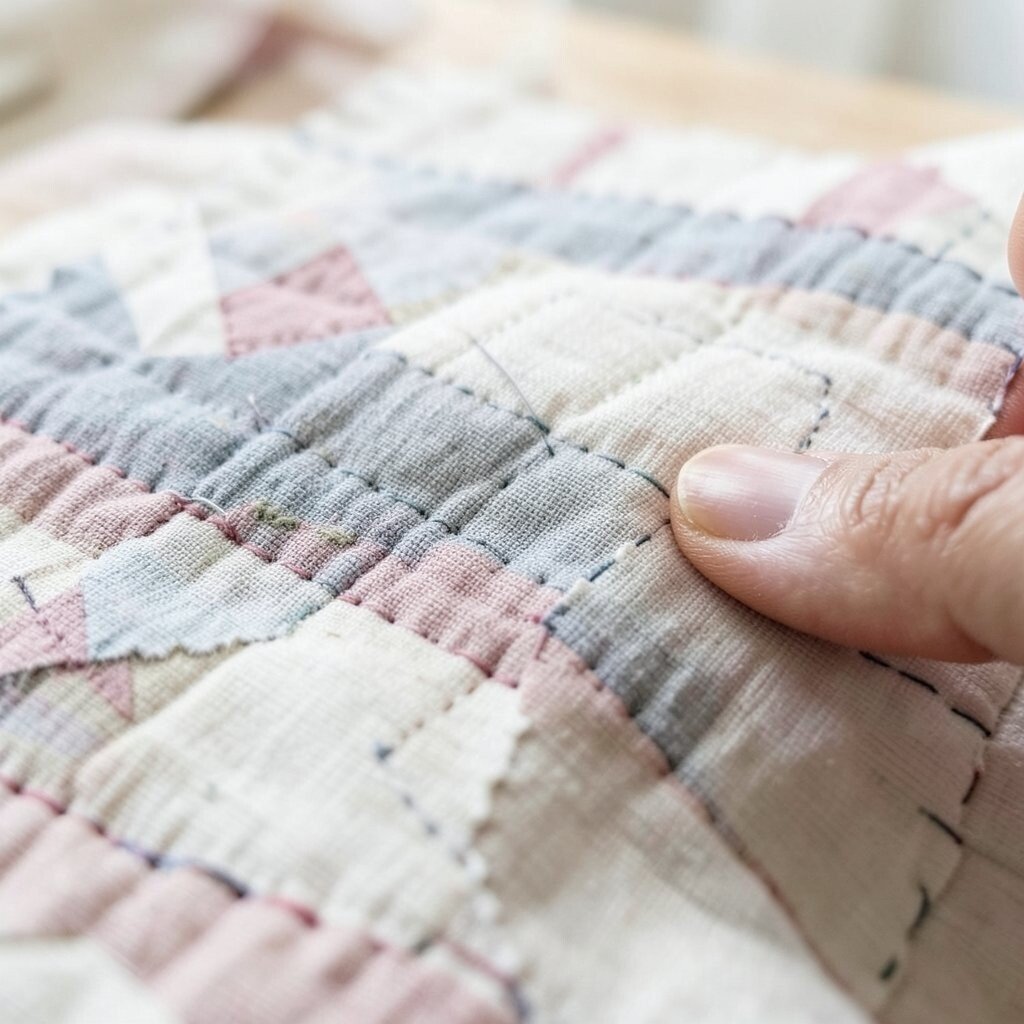
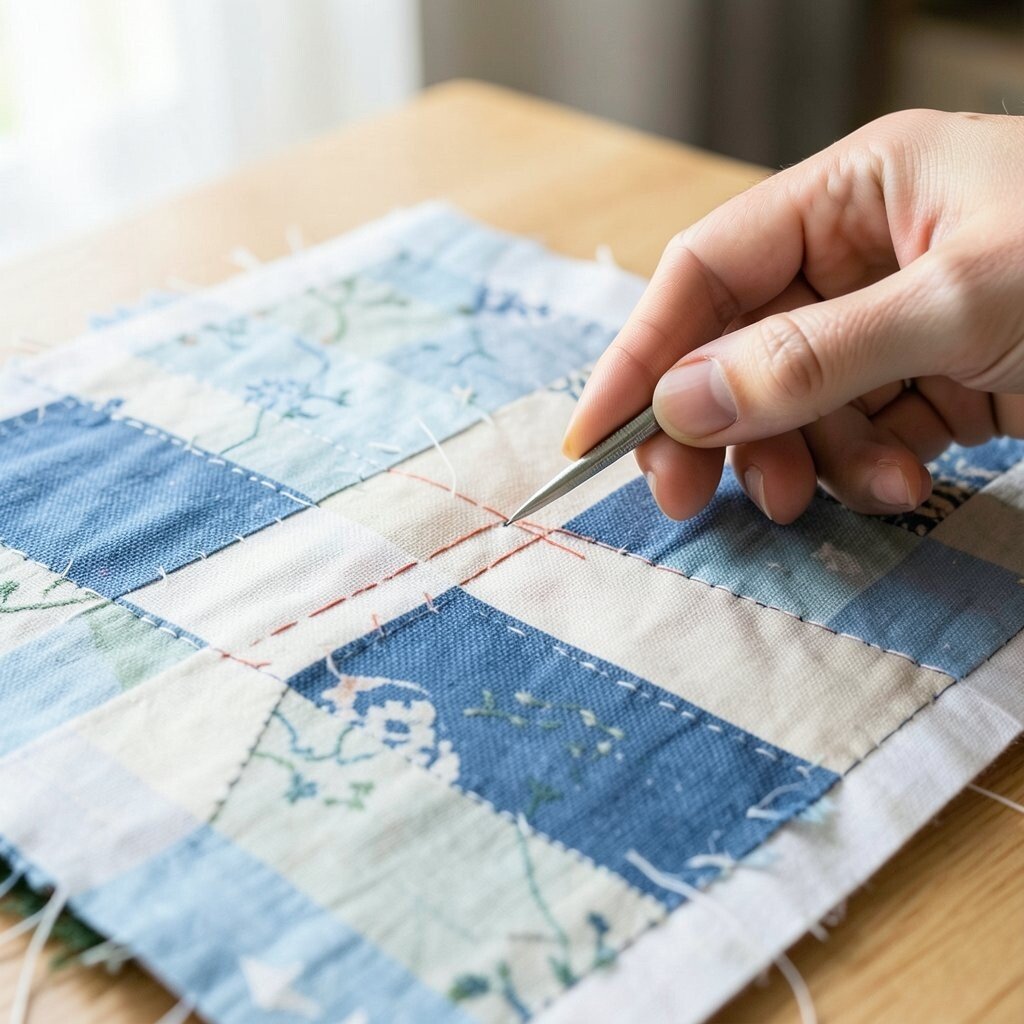
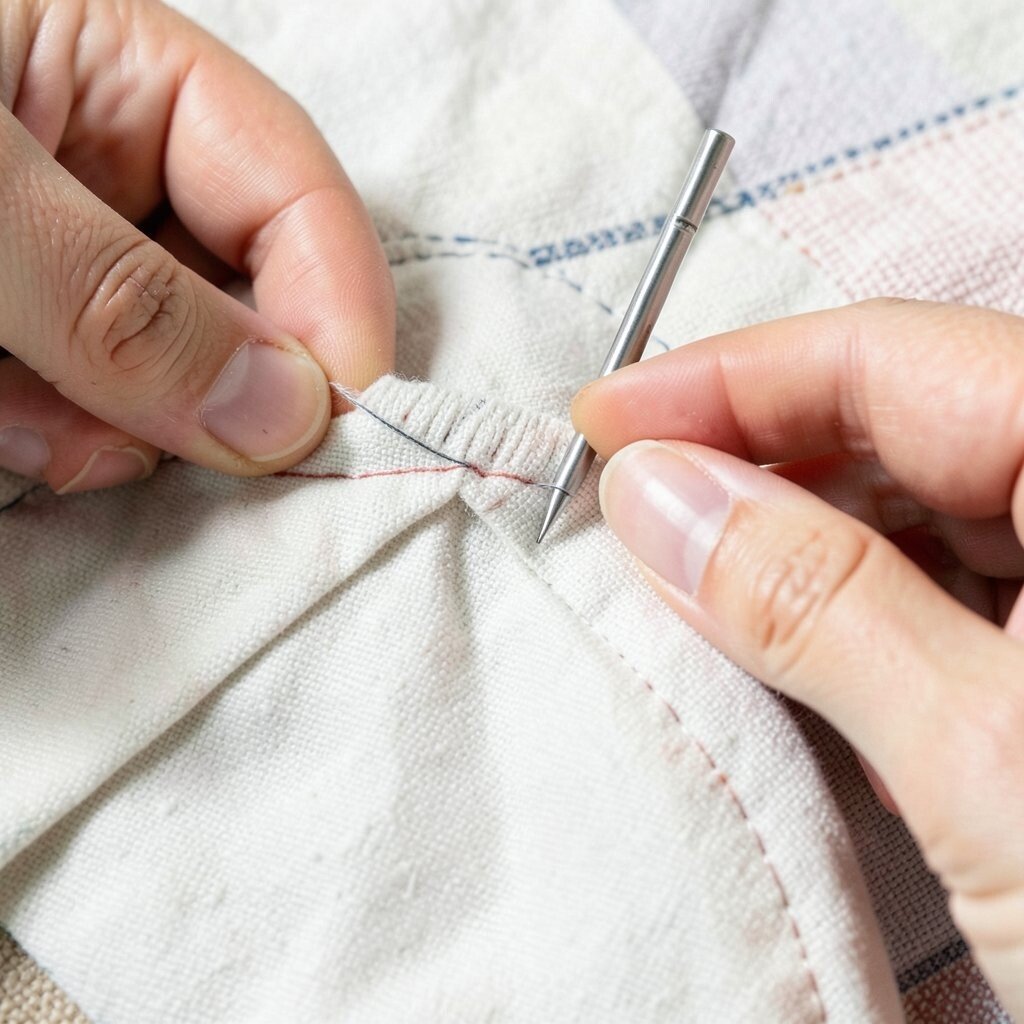
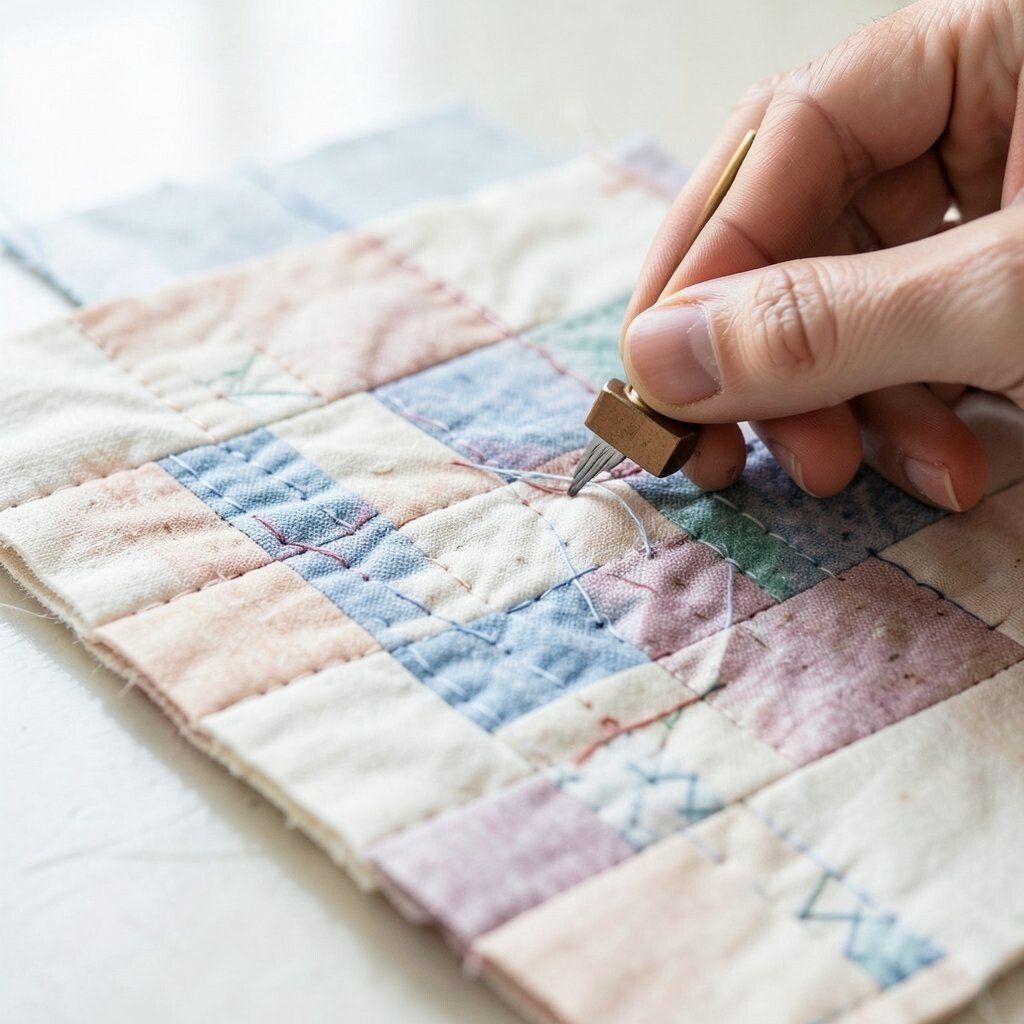
A popped seam can make one block look like it is trying to escape the quilt top. A quick line of hand stitching can bring the block back into place and save the whole piece.
Choose thread that matches the seam line so the fix stays quiet and tidy. This is a low-cost repair that helps protect a quilt with lots of piecing, especially one made from favorite scraps or old shirts. If you enjoy a bolder look, use thread in a color pulled from the block print for a neat little surprise.
Press the area lightly after stitching so the seam settles in. A flat finish makes the repair easier to miss and nicer to use.
4. Reinforce a Worn Binding Edge

Top Reinforce A Worn Binding Edge Craft Tutorials
- 🍂 tape rec for reinforcing single page coptic journal? from reddit.com.
- 🎄 How can I improve my binding process to get a better result? from crafts.stackexchange.com.
- 🍂 Save a Broken Binding : 9 Steps from instructables.com.
- 👓 Mud tape for book binding reinforcement from facebook.com.
- 🖼️ Our Rayon Seam Binding is primarily used to bind hems … from instagram.com.
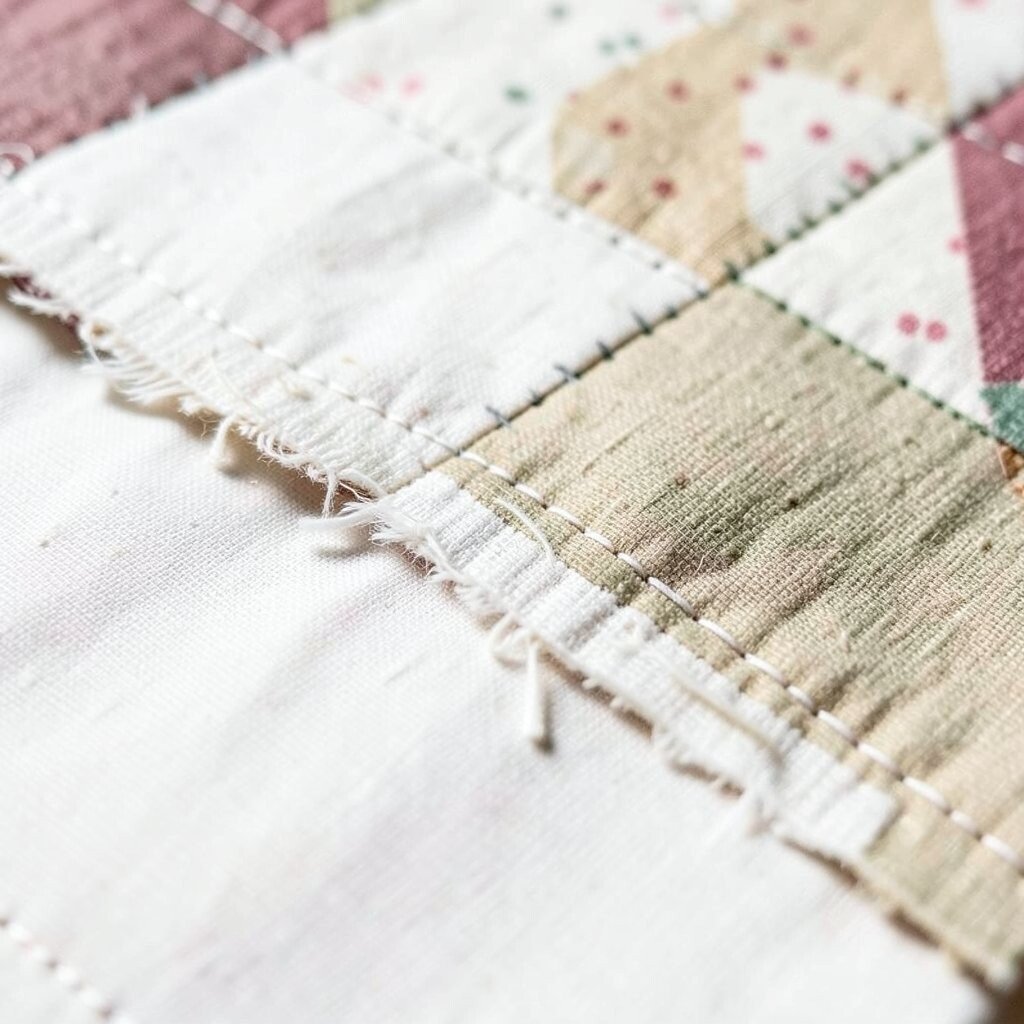
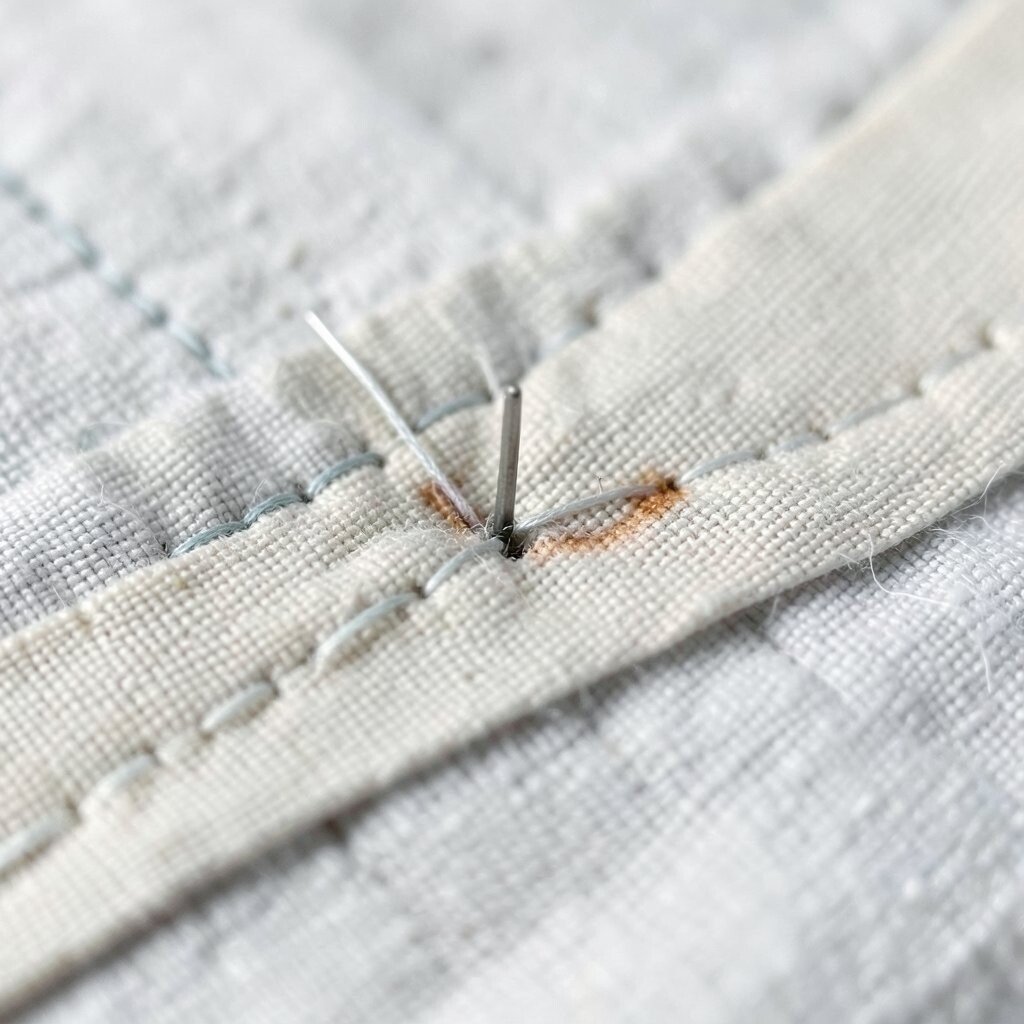
Binding edges can look soft and fuzzy when they get lots of use. A few careful stitches along the inside edge can add strength without making the quilt stiff.
This fix is useful for quilts that live on couches, travel in cars, or get washed often. It is also a smart way to stretch a repair budget, since a small thread spool can do a lot of work. For a fresh style, try a binding thread that matches your backing fabric instead of the top.
Use a small needle so the stitches stay neat and close to the edge. That keeps the repair light, tidy, and easy to enjoy.
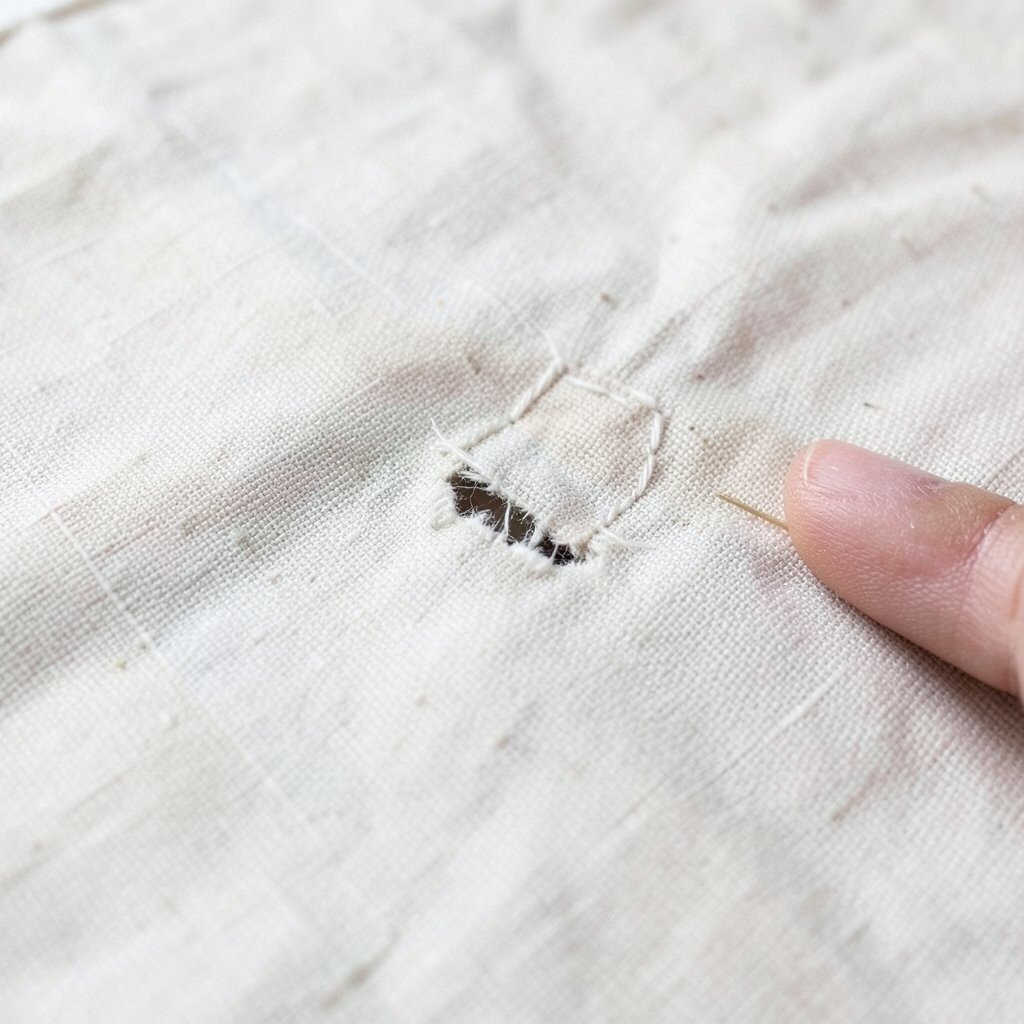
5. Patch a Pinhole Before It Grows
Top Patch A Pinhole Before It Grows Craft Tutorials
- 🍅 How to fix pinholes in ceramic cups with glaze? from facebook.com.
- 🎄 Naomi Tate Maghen Ceramic Art's post from facebook.com.
- 🎄 DIY Pinhole Cards from theproperblog.com.
- 🎄 Nailed It! Clever DIY Fixes You Can Do from facebook.com.
- 💅 How to fix an emergency pinhole leak from finehomebuilding.com.
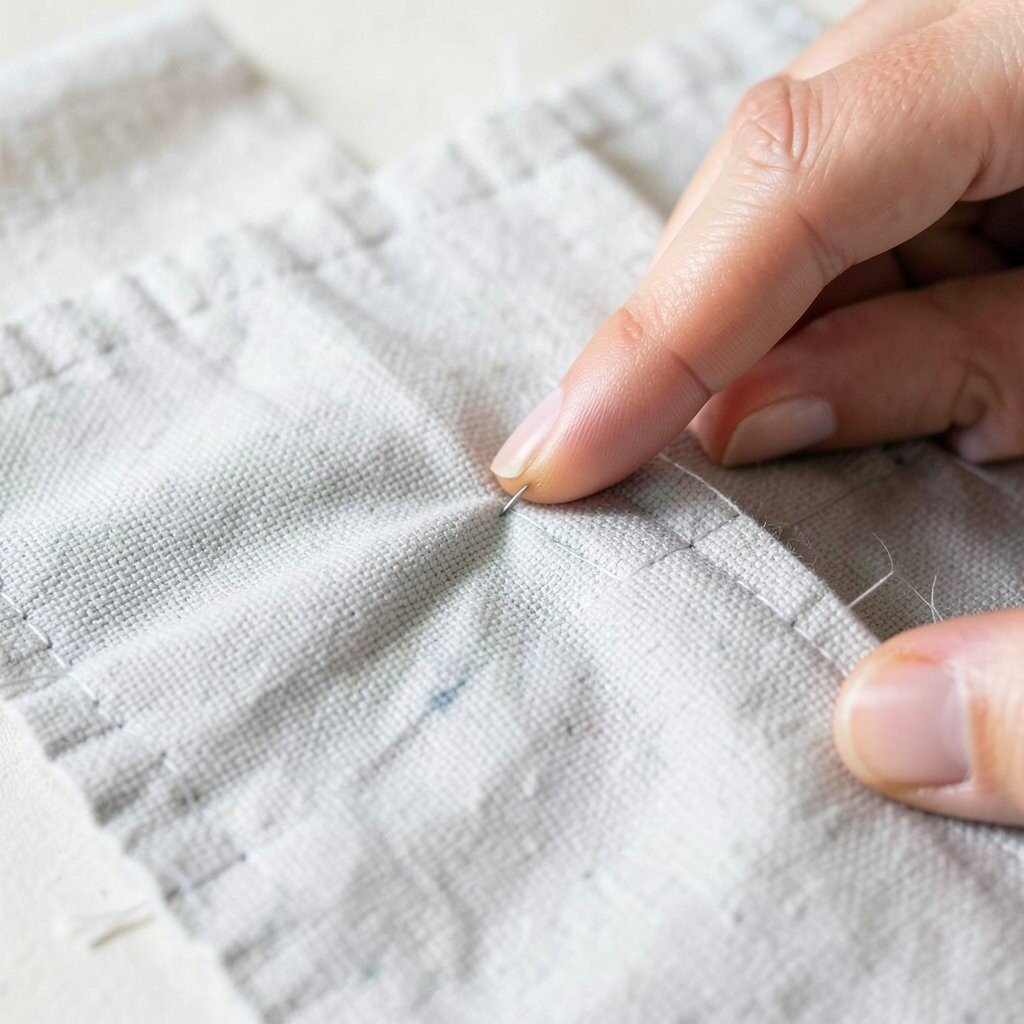
A pinhole can look tiny now, but it may become a tear after more use. A tiny patch on the back or a tiny satin stitch on the front can stop the damage early.
Pick a scrap from the same fabric line if you want the patch to blend in well. This repair is cheap, fast, and perfect for quilts with thin spots from years of love. If you enjoy current handmade trends, choose a visible patch in a sweet shape like a heart or star.
Keep the patch just a bit larger than the hole so the edges have room to hold. A small fix now can save a much bigger repair later.
6. Secure a Frayed Appliqué Edge
Top Secure A Frayed Appliqué Edge Craft Tutorials
- 🎨 Preventing fraying in raw edge applique? from facebook.com.
- 🧑🌾 Appliqué All Day! Raw Edge Appliqué Tutorial from suzyquilts.com.
- 🎄 Raw Edge Applique Tutorial- All you Need to Know About It. from mygoldenthimble.com.
- 🍅 How to Do Raw Edge Appliqué (The Fastest … from itsallinthestitch.com.
- 💅 How to avoid having my appliqué's edges fraying? from reddit.com.
Frayed appliqué edges can give a quilt a fuzzy, unfinished look. A narrow blanket stitch can tame the edge and keep the shape clear.
This works well on flowers, animals, and letters that need a clean outline. It is a low-cost repair that also adds charm, especially if you use thread that matches the appliqué or gently contrasts with it. For a personal twist, add tiny decorative stitches in a color from the quilt backing.
Keep the stitch spacing even so the edge looks smooth. A tidy edge helps the appliqué stand out in a pretty, crisp way.
7. Tack Down a Lifted Batting Spot
Top Tack Down A Lifted Batting Spot Craft Tutorials
- 🎨 Live pitching practice for hitters development from facebook.com.
- 🎄 Batting has so many uses. Who knew! #batting from instagram.com.
Sometimes batting sneaks up between layers and makes a little puff. A few hidden stitches can tuck it back down so the quilt lies flatter.
This repair is best done with a fine needle and thread that matches the quilt top. It costs almost nothing and can make a quilt feel smoother, cleaner, and easier to fold. If you like a rustic style, a tiny visible tack can become part of the quilt’s handmade story.
Work from the back if you can, so the front stays neat. A flat quilt feels better on a bed and hangs more nicely on a wall.
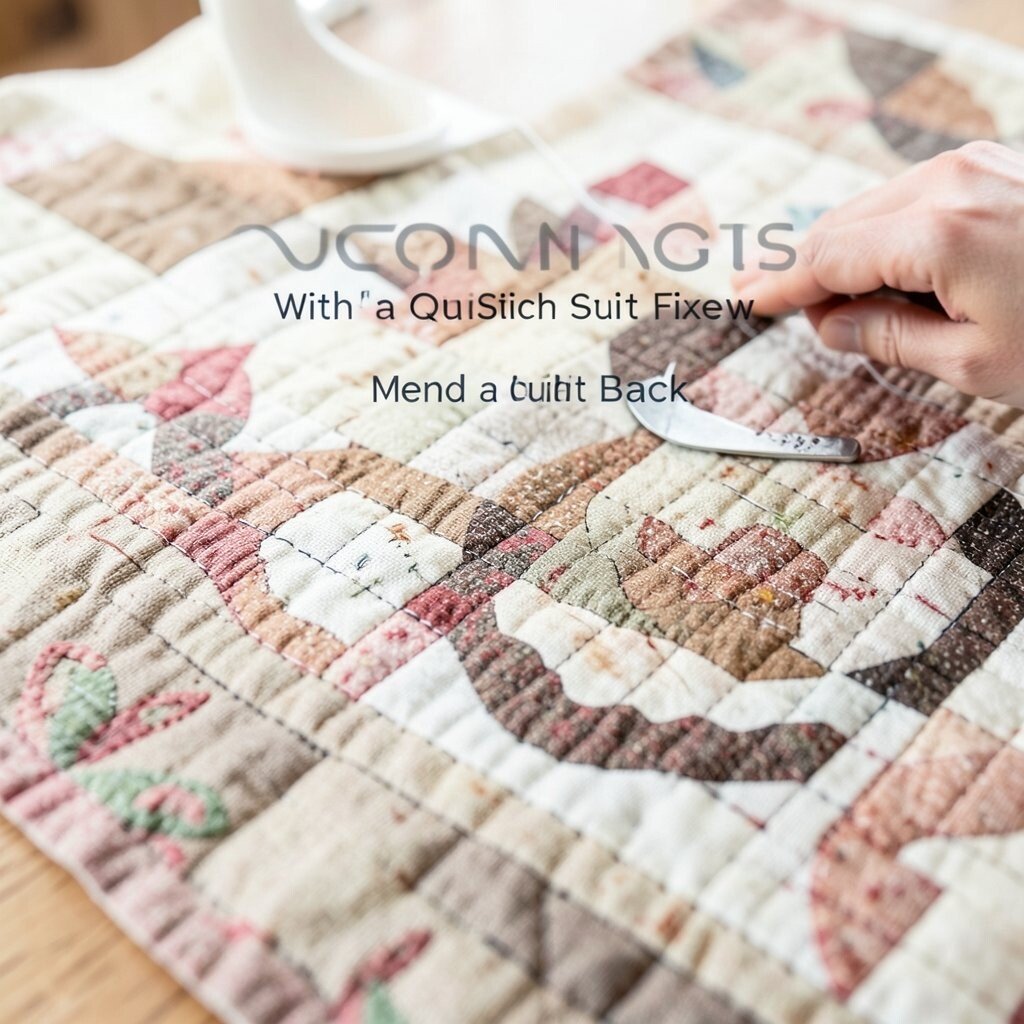
8. Mend a Split Quilt Back
Top Mend A Split Quilt Back Craft Tutorials
- 🍁 How to fix a seam split on a quilt backing? from facebook.com.
- 🍅 4 Fun Ways to Mend Well-Loved Quilts from fairfieldworld.com.
- 🖼️ How to fix those moving seams on the BACK of your fabric … from facebook.com.
- 🎄 Techniques used to repair a 30's Apple Core Quilt from scissortailquilting.com.
- 🍂 Quilt backing mistake : r/quilting from reddit.com.
A back split can be hidden at first, but it can spread with washing and wear. A quick patch or close stitch line can stop that spread and keep the quilt strong.
Use a scrap from the backing fabric for the best match, or choose a bold print if the quilt back is meant to be seen. This is a budget-friendly fix that helps save larger quilts from costly full repairs. For a fun update, many makers now add a small label near the patch to show the quilt’s repair story.
Press the patch gently before stitching so it sits flat. A smooth back keeps the quilt comfy and easy to handle.
9. Catch a Loose Decorative Stitch

Top Catch A Loose Decorative Stitch Craft Tutorials
- 🗺️ Mastering Decorative Stitches: Techniques, Types, and … from maggieframestore.com.
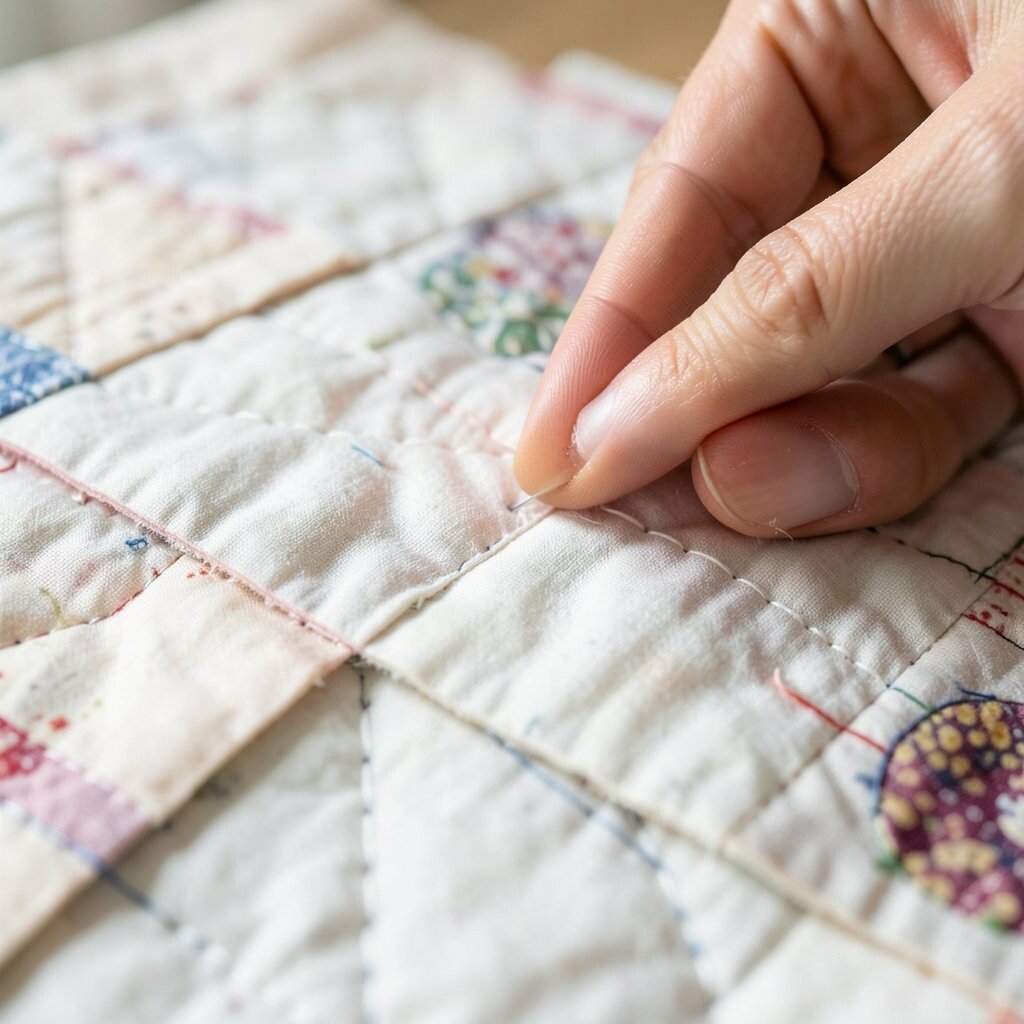
Decorative stitches can begin to lift when a quilt gets heavy use. A quick catch stitch can hold the loose line in place and keep the design looking finished.
This is a simple fix for quilts with embroidery, sashiko, or fancy topstitching. It saves money because you only repair the loose bit instead of redoing the whole section. If you want a modern touch, use a thread color that repeats another accent already in the quilt.
Keep your needle small and your tension soft so the fabric does not pucker. A gentle hand helps the repair blend in and last longer.
10. Repair a Small Hole with a Scrap Patch
Top Repair A Small Hole With A Scrap Patch Craft Tutorials
- 🗺️ What material can I use to patch a hole in a craft project? from facebook.com.
- 🧑🌾 ✂️ A quick and easy way to fix any hole, tear, or snag! In … from instagram.com.
- 🍂 Patch it up! Creative DIY fixes for holes of all kinds! from facebook.com.
- 🍂 How to Patch Small Holes in Drywall (Easy DIY Repair) from thediyplaybook.com.
- 🍅 How to Sew a Hole & Fix Fabric Tears from madamsew.com.
A small hole can make a quilt look tired, but a scrap patch can give it fresh life. The patch can be square, round, or even shaped like a leaf for a playful feel.
This fix is great for using leftover fabric, which keeps costs down and reduces waste. It also fits the current love for visible mending, where repairs become part of the quilt’s beauty. For a personal touch, choose a patch fabric that matches a favorite block or border color.
Stitch around the edge with neat, close stitches so the patch stays secure. A well-placed patch can feel like a tiny badge of honor.
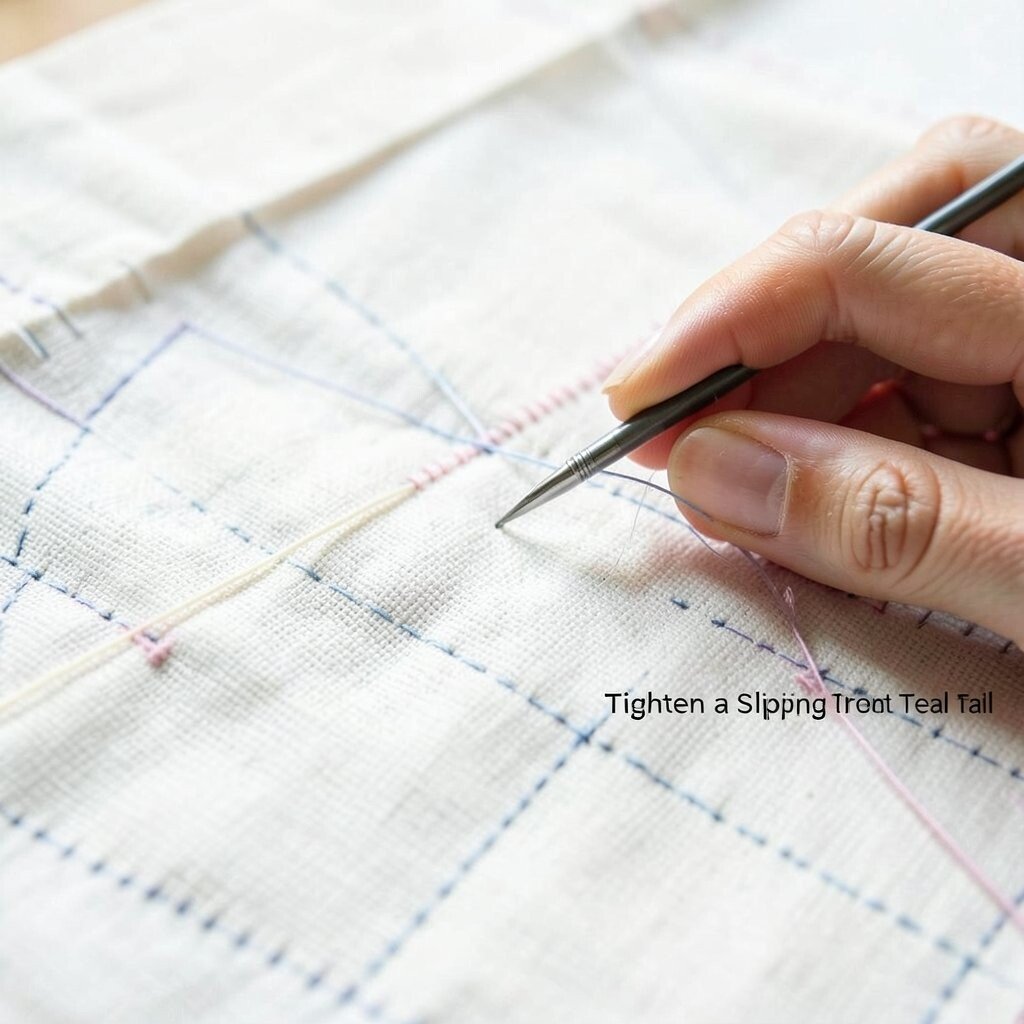
11. Tighten a Slipping Thread Tail
Top Tighten A Slipping Thread Tail Craft Tutorials
- 💅 How do I fix tangled thread? (Or prevent it from happening) … from reddit.com.
- 🍁 If you are using a plush yarn that sheds, you can easily … from facebook.com.
- 🎄 How to fix loose thread on handmade blanket? from facebook.com.
- 🖼️ STOP letting cardboard thread spools turn into a tangled … from instagram.com.
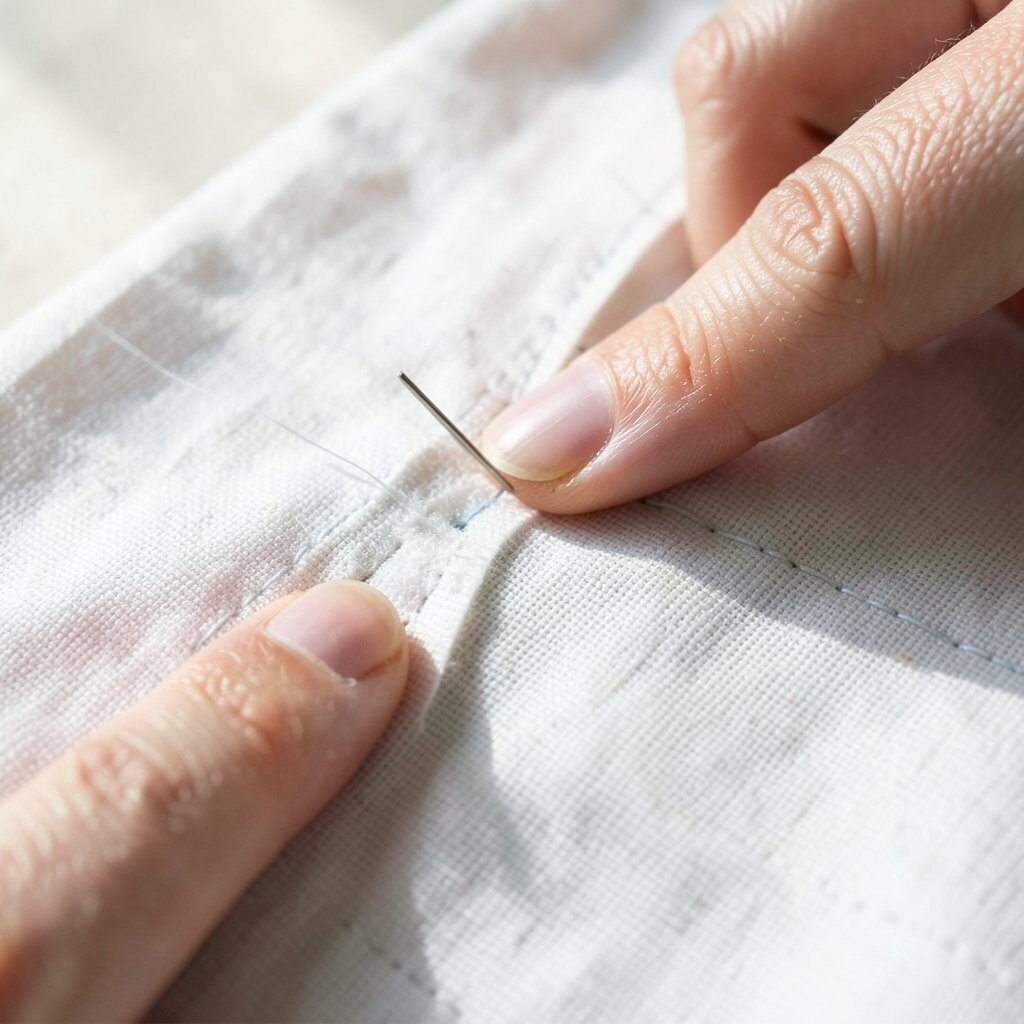
Thread tails can poke out and make a quilt look messy. A quick tuck and knot can hide them before they snag or unravel.
Use a needle to pull the tail into the seam line, then secure it with a small knot if needed. This tiny repair costs nothing and keeps the quilt looking cared for, especially on gifts and display quilts. If you like a handmade finish, leave a short, tidy tail on purpose and trim it neatly.
Check both sides of the quilt so no loose end gets missed. Small details like this help the whole quilt look polished.
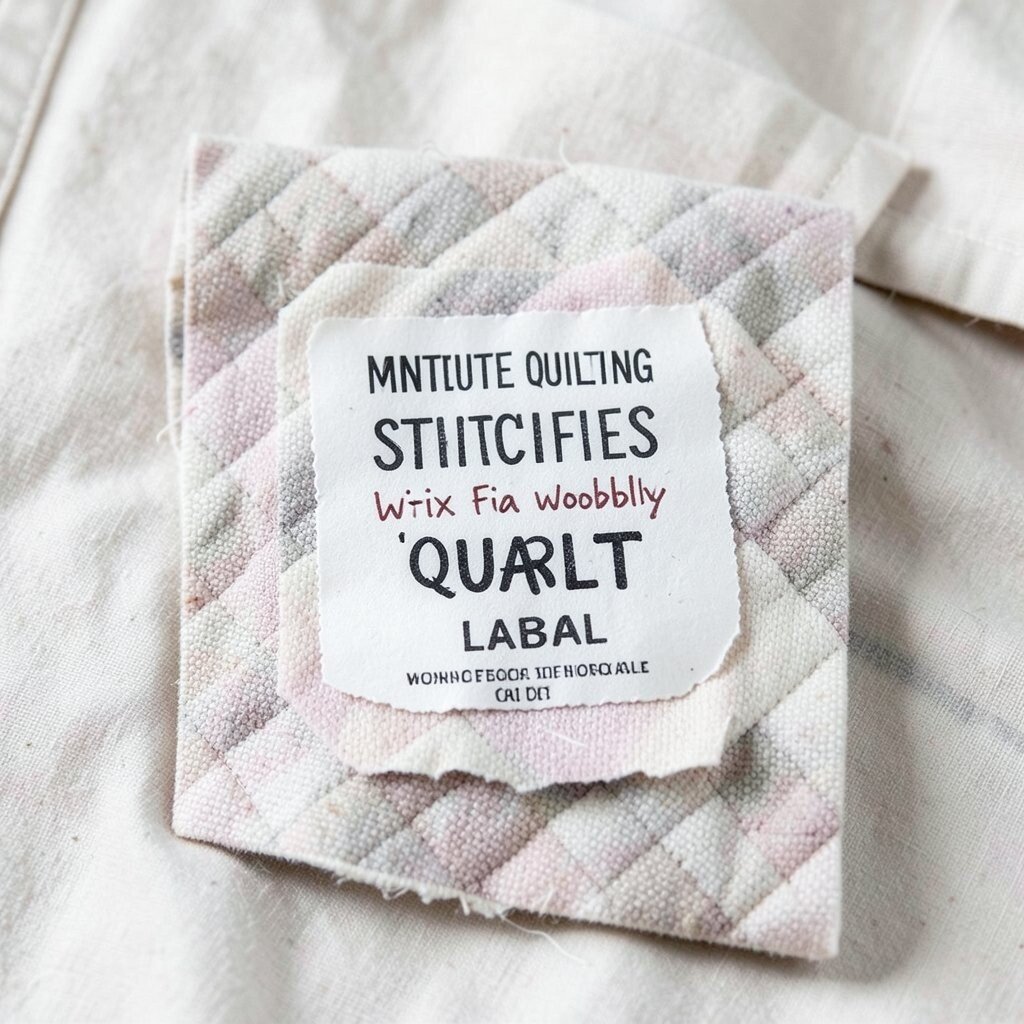
12. Fix a Wobbly Quilt Label
Top Fix A Wobbly Quilt Label Craft Tutorials
- 🧑🌾 Fabric scraps behind quilt label for easy repair from facebook.com.
- 👓 How to Fix Fabric Bleeds from suzyquilts.com.
- 🎨 Vintage Quilt Repair + Mission Impossible: To-Do On … from rebeccagracequilting.com.
- 🖼️ 4 Fun Ways to Mend Well-Loved Quilts from fairfieldworld.com.
- 👓 Month 12 of the Crazy Colors Mystery Quilt 2017 project from blog.bernina.com.
A quilt label can curl, flap, or start to peel at the corners. A few hand stitches can flatten it and make it part of the quilt again.
This matters because a label tells the quilt’s story, and a neat label looks lovely on the back. It is a very low-cost repair and a good chance to update the date, name, or note if you are already stitching there. For a sweet personal touch, add a tiny heart stitch beside the name or a small border around the label.
Use thread that matches the label edge for a clean look. A smooth label feels special and helps preserve the quilt’s memory.
13. Mend a Thin Spot in the Center
Top Mend A Thin Spot In The Center Craft Tutorials
- 🗺️ Easy Embroidery Hack to Repair Hole in Clothes 🙂 from facebook.com.
- 🍅 mending clothes with embroidery and reweaving techniques from facebook.com.
- 🎄 Learn the art of visible mending in this eight-week Studio … from instagram.com.
A thin spot can look pale and worn, almost like the fabric is getting sleepy. A gentle darn or tiny patch can strengthen it before it becomes a hole.
This repair works well on quilts that get lots of lap time or pet naps. It is cheaper than replacing a whole section and can be done with scraps from the same fabric family. If you like a cozy cottage style, use a soft floral patch that feels like it has always belonged there.
Try to match the patch shape to the quilt block lines so it feels natural. A thoughtful repair can add comfort and character at the same time.
14. Re-Stitch a Border That Has Come Loose
Top Re-Stitch A Border That Has Come Loose Craft Tutorials
- 🧑🌾 How to fix loose border on baby blanket? from facebook.com.
- 🧑🌾 How to Add a Border in Crochet from hearthookhome.com.
- 🍁 Quilt border repair without disassembling from facebook.com.
- 💅 Charles Craft Cross Stitch Fabric 14 Count Printed Border Aida 7 … from ebay.com.
A loose border can ripple and distract from an otherwise pretty quilt. A few careful stitches can smooth it back down and keep the frame of the quilt strong.
This fix is helpful on wall quilts and bed quilts because the border gives the whole piece its shape. It is a smart way to save money since the repair uses only thread and a little time. For a modern look, use a border stitch that follows the print lines or echoes a geometric pattern.
Work slowly around corners so the border stays even. A clean border makes the whole quilt look fresh again.
15. Hide a Tiny Burn Mark
Top Hide A Tiny Burn Mark Craft Tutorials
- 🍂 Authority Ensign – Deepwoken Wiki – Fandom from deepwoken.fandom.com.
- 💅 When your kid colors a burn mark brown from facebook.com.
- 🍂 How to Burn Designs Into Wood: The EASY Way with … from jennifermaker.com.
- 🍅 fuckkkk I accidentally put a little burn mark on my curtain … from reddit.com.
- 🍁 Have you come across such marks? Taper burn … from facebook.com.
A tiny burn mark can stand out like a dark dot on a favorite quilt. If the damage is small, a patch, applique, or decorative stitch can soften its look fast.
Choose a fabric shape that fits the area, such as a flower, moon, or little cloud. This repair is often far cheaper than replacing fabric, and it can turn a flaw into a cute detail. Since visible mending is still popular, a bold cover-up can feel stylish instead of sad.
Place the new shape with care so it looks planned, not rushed. A well-chosen cover-up can make the quilt feel even more personal.
16. Secure a Softening Seam Allowance
Top Secure A Softening Seam Allowance Craft Tutorials
- 👓 When making a rag quilt, it helps to remember … – Facebook from facebook.com.
- 🗺️ PLAIN SEAM SEWING FOR BEGINNERS If … from facebook.com.
- 🧑🌾 Sick of my projects completely fraying after the first wash from reddit.com.
- 🎨 Make sure when you are pressing anything with seams … from facebook.com.
- 🖼️ Reducing seam thickness for easier sewing from facebook.com.
Seam allowances can get fuzzy after lots of washing and handling. A short line of hand stitching can hold the layers together and slow more wear.
This is useful in quilts made from light cotton or older fabric that needs extra help. It costs very little and can make a big difference in how long the quilt lasts. For a custom touch, use a thread color that matches one of the tiny prints inside the seam.
Keep the stitches small and calm so the area does not get bulky. A tidy seam allowance helps the quilt stay strong without changing its look.
17. Reattach a Corner of Quilt Binding
Top Reattach A Corner Of Quilt Binding Craft Tutorials
- 👓 How to fix and cover quilt corners? from facebook.com.
- 🗺️ Turning the corner with quilt binding is a tricky step. Here's … from facebook.com.
- 👓 The Complete Beginner's Guide to Quilt Binding from stitchobsessed.com.
A binding corner can come loose and curl upward after lots of use. A few hidden stitches can put it back where it belongs and protect the edge.
This repair is quick, cheap, and useful for quilts that are loved every day. It also keeps dirt from slipping under the binding, which helps the quilt stay cleaner. If you like a more playful style, use a tiny accent stitch in a bright thread at the corner point.
Check the nearby binding too, because one loose spot can lead to another. Strong corners help the whole edge last longer.
18. Mend a Tired Quilt Block Point
Top Mend A Tired Quilt Block Point Craft Tutorials
- 🎄 How to fix a quilt block with a 1/8 inch loss? from facebook.com.
- 🍅 Made my quilt block slightly backwards. Should I keep the … from reddit.com.
- 🍅 How to Hand Quilt (with Video Tutorial!) from suzyquilts.com.
- 🍁 ✨Tips for quilting over bulky seams intersection: from instagram.com.
Sharp points on stars and diamonds can wear down over time. A tiny patch or a few reinforcement stitches can bring the point back to life.
This fix is great for patchwork quilts with bold shapes that deserve to stay crisp. It is easy on the wallet and helps keep the block design clear from a distance. For a unique look, add a tiny triangle patch in a matching print so the point feels intentional.
Use a small needle to reach the tip without making a big lump. A neat point can make the whole block look more lively.
19. Smooth a Gathered Pucker
Top Smooth A Gathered Pucker Craft Tutorials
- 🖼️ How to Make a Summer Gathering Pouch with Stitched … from weallsew.com.
- 💅 How to Make a Batty Gathered Tulle Circle Skirt from whatthecraft.com.
- 🖼️ Sewing a pucker-free circular hem from facebook.com.
- 🎄 Gathering is the process of drawing up fabric into soft folds … from instagram.com.
- 👓 gathered ruffles? centered ruffles? circular ruffles? from facebook.com.
A pucker can make a quilt surface look bumpy, even when the fabric is still strong. A few release stitches and a gentle press can smooth it out again.
This fix helps quilts hang better and feel softer under the hands. It costs almost nothing and can save a quilt from looking wrinkled in one spot. If you want a fresh style, use the repair as a chance to add a tiny decorative line that follows the quilt’s shape.
Work with care so you do not stretch the fabric too much. A smooth surface makes the quilt feel calmer and more finished.
20. Stitch Down a Lifted Quilt Layer
Top Stitch Down A Lifted Quilt Layer Craft Tutorials
- 👓 Here is the large version of the Patchwork Slice Quilt … from facebook.com.
- 🍂 How To Machine Quilt from suzyquilts.com.
- 👓 How to Make a Quilt from fiskars.com.
- 🍂 Memory quilt for daughter with 80/20 batting from facebook.com.
Sometimes one layer lifts just enough to be noticed at the edge or near a seam. A few tiny anchoring stitches can bring the layers back together without a full redo.
This repair is helpful for layered quilts that get folded often or used by kids. It is a low-cost fix that protects the quilt from more shifting and wear. For a personal touch, choose thread that matches the backing for a hidden finish or a bright accent for a fun visible detail.
Keep the stitches short so the layers stay snug. A secure quilt feels better in the hand and lasts longer in daily use.
21. Add a Tiny Decorative Fix on Purpose

Top Add A Tiny Decorative Fix On Purpose Craft Tutorials
- 👓 Top 10 Mini Crafts from A Pretty Fix (my faves!) from aprettyfix.com.
- 🍂 Upcycling a broken decoration with popsicle stick repair from facebook.com.
- 🎄 70 DIY Decor Projects to Craft This Weekend from hgtv.com.
- 🍅 50 Easy DIY Arts and Crafts for Kids to Try at Home from goodhousekeeping.com.
Not every repair has to hide in the background, and that is part of the fun. A tiny decorative fix can turn a weak spot into a sweet detail with color, shape, and charm.
Use a star, heart, leaf, or little line of sashiko-style stitches to mark the spot in a cheerful way. This trend is popular because it makes repairs feel proud, creative, and very personal, while still keeping costs low. If the quilt belongs to a child or a gift recipient, choose a shape or color that matches their favorite things.
Keep the design small so it feels like part of the quilt, not a big change. A thoughtful repair can make an old quilt feel loved all over again.