
Quilting can feel calm, bright, and full of tiny magic. A few quick stitch tricks can make your work look neat in almost no time.
1. Use a Short Leader Scrap to Start Cleanly

Top Use A Short Leader Scrap To Start Cleanly Craft Tutorials
- 🎨 What to do with leader and ender blocks? from facebook.com.
- 🍂 2024 Leader & Ender Challenge: County Clare! from quiltville.blogspot.com.
- 👓 A Guide for Leaders and Enders from polaquilting.com.
- 👓 Isn't it so darn satisfying to sort through your scraps bin and … from instagram.com.
- 💅 Scrap advice : r/quilting from reddit.com.
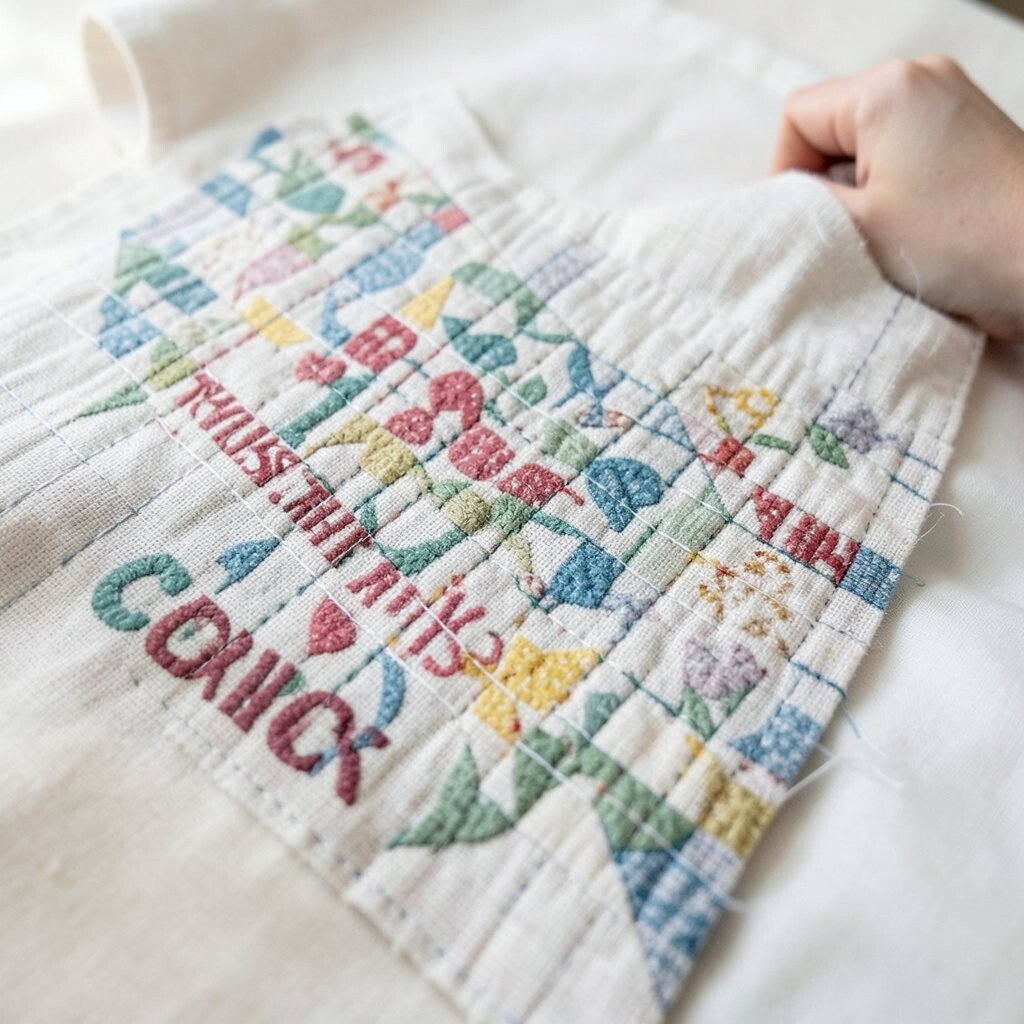
A leader scrap is a small piece of fabric that helps your stitches begin smoothly before your real quilt pieces reach the needle. It looks simple, but it can keep the first stitches from tangling and make your seam line look crisp.
This trick saves time because you do not need to rip out messy starts. It also helps your machine feed fabric more evenly, which is great for beginners and busy quilters alike. If you like a personal touch, use a bright scrap from an old shirt or a favorite print, and choose low-cost fabric bits instead of buying special starter cloth.
2. Press Seams Open for a Flat Finish

Top Press Seams Open For A Flat Finish Craft Tutorials
- 🍂 How to Press Flat Quilt Seams Like a Pro from bryanhousequilts.com.
- 🍅 Mastering the Art of Pressing Seams in Quilting from treelinequilting.com.
- 🗺️ Pressing seams open for flat results from facebook.com.
- 👓 4 Tips for Flat Seams To Improve Your Quilting – Ships & Violins from shipsandviolins.com.
- 🎄 Quilting 101: Should You Press Seams Open or to the Side? from polkadotchair.com.
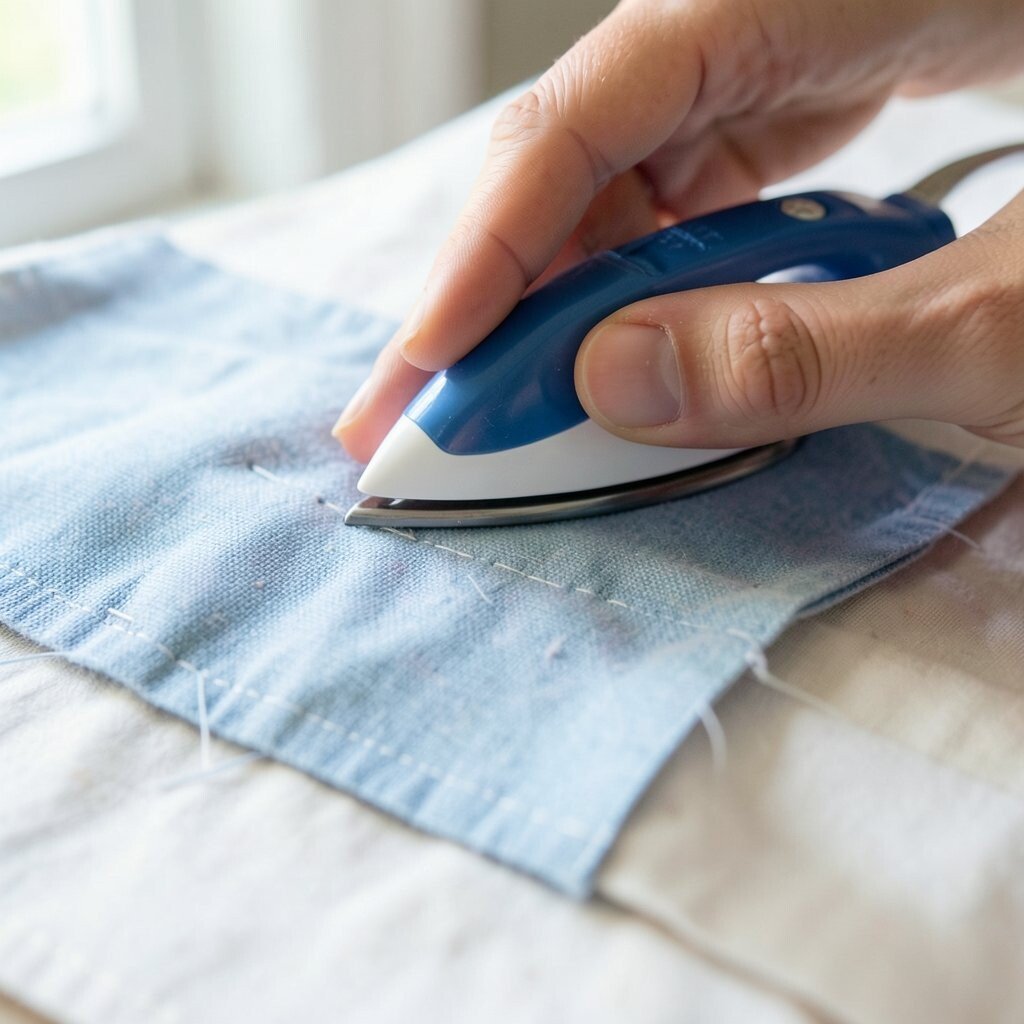
Pressed-open seams create a smooth, tidy look that feels fresh and modern. The quilt top lies flatter, so the stitch lines show off better and the blocks stack neatly.
This can be a smart choice when you want less bulk in small blocks or detailed patchwork. It is a fast move that also helps your quilting stitches sit more evenly on top. Many makers like this style in current minimalist quilts, and you can personalize it by mixing open seams with traditional pressed-to-the-side seams where strength matters most.
A good iron is the main cost, but you likely already have one at home. If you add a little spray starch, the fabric can stay extra sharp and easy to handle.
3. Try Stitch-in-the-Ditch for a Hidden Finish

Top Try Stitch-in-the-Ditch For A Hidden Finish Craft Tutorials
- 💅 Stitching in the ditch for beginner quilter? from facebook.com.
- 🖼️ How to Stitch in the Ditch by Ashley Nickels from creativebug.com.
- 🎄 Sewing the BEST Stitch in the Ditch Tutorial from wonderfil.ca.
- 🍅 How to Stitch in the Ditch for Quilting from newquilters.com.
- 🍅 Finished quilt with stitch in the ditch guide from facebook.com.
Stitch-in-the-ditch means sewing right along the seam line so the thread almost disappears. From a few steps away, the quilt can look like it was stitched by magic.
This method is helpful when you want the piecing to shine and the quilting to stay quiet. It is also quick because the seam line acts like a guide, which keeps your hands steady. For a personal twist, use thread that matches your darkest fabric or your lightest fabric, and test a low-cost cotton thread on scraps before stitching the whole piece.
Many quilters use this trick for modern patchwork and busy prints. It works especially well when you want a clean look without adding bold extra lines.
4. Use a Walking Foot for Even Quilting Lines

Top Use A Walking Foot For Even Quilting Lines Craft Tutorials
- 🎨 How to do Straight Line Quilting Using a Walking Foot from thenotsodramaticlife.com.
- 🍂 Quilting wavy lines with a walking foot from blog.bernina.com.
- 🎄 How to Quilt Wavy Lines With a Walking Foot from janome.com.
- 🖼️ Quilting Using the Open-Toe Walking Foot with Guide from madamsew.com.
- 🍂 5 Walking Foot Quilting Techniques That Anyone Can Do! from sweetpixelquilts.com.
A walking foot helps the top and bottom layers move together, so the stitches look more even. The motion is smooth and steady, and the quilt can feel easier to control.
This tool is great for straight lines, gentle grids, and simple edge-to-edge stitching. It can save frustration on slippery fabric or thick quilt sandwiches, which makes sewing feel faster and calmer. If you want a custom look, try changing thread colors for each section, and remember that a walking foot is a one-time cost that can pay off across many projects.
5. Mark Guideline Lines with Washable Tools

Top Mark Guideline Lines With Washable Tools Craft Tutorials
- 🍅 Quilt Marking Tools: Different Ways to Draw Guidelines from suzyquilts.com.
- 🍅 What do you use to mark quilt tops for free motion quilting? from facebook.com.
- 🎄 Gridding for Cross Stitch: Techniques to Help With … from sirithre.com.
- 🧑🌾 Hey guys! I'm looking for the best water soluble and/or … from reddit.com.
- 🍁 Transferring Embroidery Designs Onto Fabric from needlework-tips-and-techniques.com.
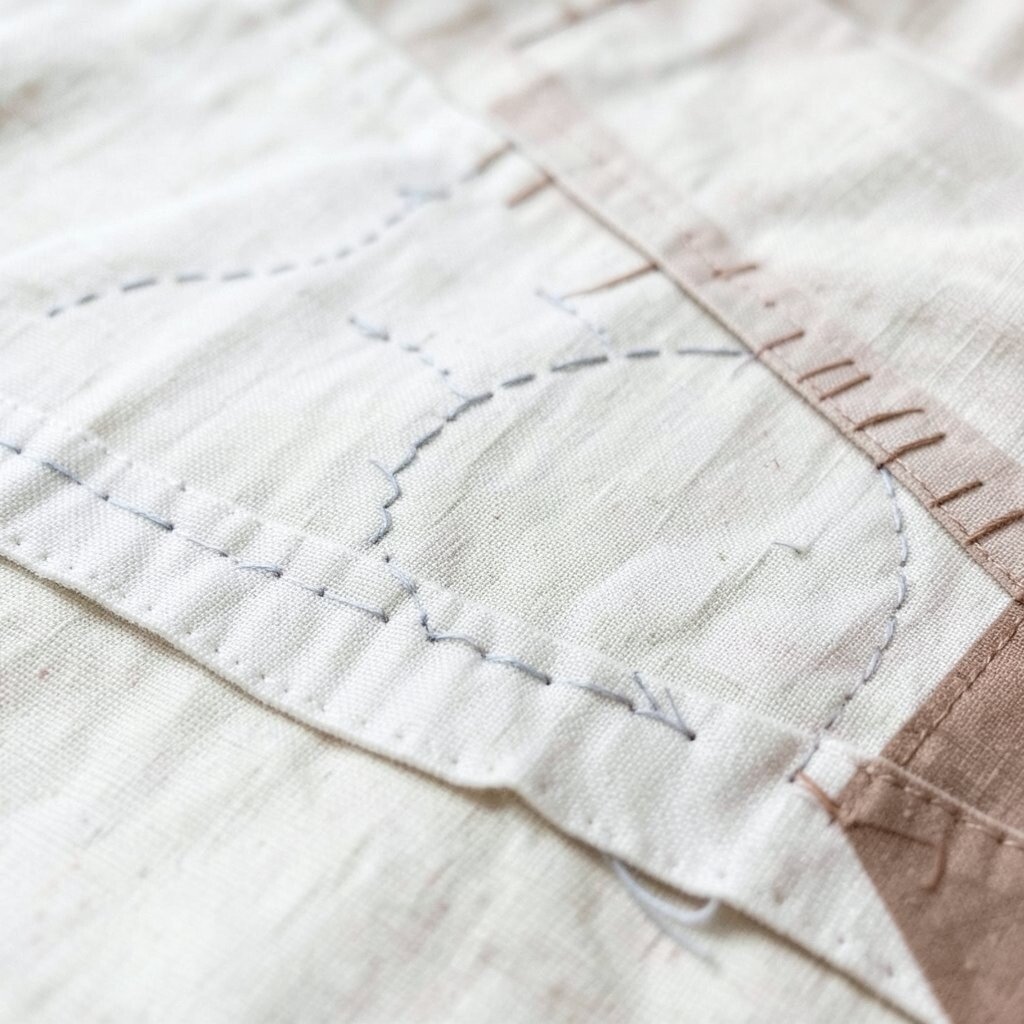
Light marks on fabric can show you where to stitch without making the quilt look busy. The best part is that these marks often vanish after washing or pressing.
This trick is useful for hearts, stars, diagonal lines, and block outlines. It gives you more confidence because your stitches have a clear path to follow. You can personalize your quilt by drawing special shapes, and you can keep costs low by using chalk pencils, water pens, or even a simple soap sliver.
Today, many quilters like soft, hand-drawn lines that feel relaxed instead of perfect. That style gives quilts a warm, homemade charm.
6. Chain Piece Small Units for Faster Progress

Top Chain Piece Small Units For Faster Progress Craft Tutorials
- 🧑🌾 Chain-piece the units for a Song of Praise quilt block … from facebook.com.
- 🍅 Making progress with quilt mystery project from facebook.com.
- 🗺️ I have tasted full successful expert craft automation and … from reddit.com.
- 🍂 Chain Conveyor – Create Wiki – Fandom from create.fandom.com.
- 🧑🌾 The Bricks and Blocks pattern is built on repetition and … from facebook.com.
Chain piecing means sewing one unit after another without cutting the thread between each one. The fabric pieces trail behind the machine like a tiny train, and that makes the process look neat and fun.
This saves thread, time, and motion, which is a big help on busy days. It also keeps your stitch length more steady because you stay in a rhythm. For a personal touch, group fabrics by color before you start, and use scraps first so you can practice without spending much.
Many quilters use chain piecing for half-square triangles and small patch sets. It is one of the quickest ways to build a quilt top without feeling rushed.
When you clip the chain apart later, the pieces feel organized and ready for the next step. That tidy pile can make the whole project feel more possible.
7. Stitch a Test Strip Before the Real Quilt

Top Stitch A Test Strip Before The Real Quilt Craft Tutorials
- 🎨 How to Hand Quilt (with Video Tutorial!) from suzyquilts.com.
- 🖼️ How to Piece Bargello Quilt Strip Sets – Prism Path #2 from leahday.com.
- 🍂 Tutorial: How to Make a Cuddle® Minky Fabric Strip Quilt … from blog.shannonfabrics.com.
A test strip lets you check thread tension, stitch length, and fabric behavior before the main work begins. It looks like a tiny sample, but it can prevent big mistakes later.
This is a smart habit when you switch to a new needle, a new thread, or a thicker quilt sandwich. It also helps you see how the stitches will look on your actual fabric. If you want to personalize the result, test on a scrap from the same fabric bundle, and use this low-cost step to avoid wasting your best cloth.
Quilters who like clean, modern lines often test several stitch lengths to find the right feel. A quick sample can save a lot of fixing time.
Keep the strip near your machine as a reminder of what worked. That little piece can guide many future quilts too.
8. Use a Stitch Length That Matches the Project
Top Use A Stitch Length That Matches The Project Craft Tutorials
- 🍁 Please help me understand what stitch length and tension … from reddit.com.
- 🍁 When sewing small pieces like these, what stitch length do … from facebook.com.
- 🗺️ seam allowances – Sew Me Your Stuff from sewmeyourstuff.wordpress.com.
- 🎨 How Many Stitches Per Inch for Leather from fineleatherworking.com.
- 🖼️ How to Sew the Ladder Stitch – Hand Sewing Tutorial from whatthecraft.com.
A slightly longer stitch can make quilting go faster and give the thread a relaxed look. Shorter stitches can feel tighter and more detailed, but they take more time.
Choosing the right length helps your lines look smooth instead of crowded. It also affects how easy the quilt is to turn, press, and wash later. For a custom style, use shorter stitches for tiny blocks and longer ones for open spaces, and keep costs down by learning with the settings already on your machine.
Many current quilts use visible stitching as part of the design. That means the stitch itself can become a pretty feature, not just a hidden tool.
9. Hold Fabric with Relaxed Hands

Top Hold Fabric With Relaxed Hands Craft Tutorials
- 👓 I sit quietly, taking my time, **SLOW STITCHING** a … from facebook.com.
- 💅 10 Simple Hand Sewing Projects You Can Do Without … from cottonfabric.com.
- 💅 21 New Spring Fabric Craft Ideas You Can Make (for Gifts) from twinsmommy.com.
- 👓 45+ Fun Easy Hand Sewing Projects You Will Want To Try from pillarboxblue.com.
Gentle hands help the fabric move without stretching or puckering. The quilt top looks smoother when you guide it instead of squeezing it.
This simple habit can reduce sore fingers and make sewing feel less tense. It also helps keep seams straight because the fabric is not fighting back. If you want a personal feel, practice with different grips until one feels natural, and remember that comfort costs nothing at all.
Many quilters notice that relaxed hands create better stitches right away. The fabric glides more easily, and the finished piece often looks softer and more balanced.
Try resting your elbows on the table when possible. A small change in body position can make a big difference in your stitch control.
10. Match Thread to the Fabric Mood

Top Match Thread To The Fabric Mood Craft Tutorials
- 🍅 Sewing Threads – Premium Thread Collection from moodfabrics.com.
- 👓 Match thread to fabric value, not colour If you can't find an … from facebook.com.
- 🎨 Let's take a look at these thread match up suggestions from our … from threads.com.
- 🍅 Warning about Mood Fabrics free patterns : r/freepatterns from reddit.com.
- 🍅 Selecting the right thread is one of my favorite things to do … from instagram.com.
Thread color can either hide in the quilt or stand out like a bright line of art. A soft match can make the stitching nearly vanish, while a bold color can add energy.
This choice is one of the easiest ways to make a quilt feel personal. It is also a fast way to change the whole look without changing the pattern. For lower cost, use a few all-purpose thread colors that work across many projects, and follow current trends by trying warm neutrals, soft grays, or a single bright accent.
Some quilts look best with thread that echoes a favorite print or border. Others feel fresh when the stitches become part of the design story.
Lay thread spools on top of the fabric before sewing to see the effect. That quick visual check can save time and help you choose with confidence.
11. Clip Curves Before Stitching Them

Top Clip Curves Before Stitching Them Craft Tutorials
- 🖼️ Clipping 101: Basic Clipping Skills from pixiefaire.com.
- 💅 Sewing Smooth Curves from sew4home.com.
- 🎄 ✂️ Clip curves, notch seams—your garment will lie flat like … from facebook.com.
- 🖼️ Exposing Amateur Hacks: Why Clipping Curves is Garbage … from instagram.com.
- 🗺️ Princess Seams and Other Treacherous Curves – Threads from threadsmagazine.com.
Small clips along curved edges help fabric lie flat and stitch more smoothly. The shape looks round and graceful instead of tight and bunched.
This trick is useful for circles, scallops, and rounded applique pieces. It can make the sewing feel easier because the fabric bends where it should. If you want a unique finish, clip only where needed so the edge stays strong, and use your regular scissors or snips to keep the cost low.
Curved quilting is popular in playful, modern designs right now. Soft shapes can make a quilt look friendly and full of motion.
Take your time with the clips so you do not cut too far. A careful edge gives you a cleaner stitch line and less stress at the machine.
12. Use Free-Motion Doodles for Quick Personality

Top Use Free-Motion Doodles For Quick Personality Craft Tutorials
- 🎄 Free motion quilting doodle Dolls by Claire Passmore from clairepassmore.weebly.com.
- 🍁 Project boxes for practicing details and doodles from facebook.com.
- 💅 My Latest Quick Doodle ✨ Easy Sketch Ideas & Simple Art … from lemon8-app.com.
- 🧑🌾 Doodle School 🤝 Doodle Notebook from instagram.com.
- 🍅 Chirpy Doodle Punch Art Tutorial and Ideas from facebook.com.
Free-motion doodles make the quilt look lively, like someone drew across the surface with thread. The lines can be swirls, loops, pebbles, leaves, or simple waves.
This style is fast once your hands get used to it, and it gives each quilt a one-of-a-kind feel. It is also a fun way to cover large spaces without planning every tiny line. For a personal touch, practice on scraps first, then choose a motif that matches the quilt mood, and keep costs down by using one good darning foot instead of extra fancy tools.
Many makers love this trend because it feels loose and creative. It can make even a plain quilt top feel special and full of motion.
Start with a simple shape and repeat it across the fabric. Repetition helps the quilt look thoughtful, even when the stitches are quick.
13. Finger Press Before You Iron
Top Finger Press Before You Iron Craft Tutorials
- 🍁 Finger pressing? : r/quilting from reddit.com.
- 🗺️ Do you press after each strip or just finger press? from facebook.com.
- 🎄 The Best Iron for Sewing (One Quilter's Opinion) from suzyquilts.com.
- 🍁 A Pressing Matter from seamwork.com.
- 💅 Dritz Petite Press Portable Mini Iron from walmart.com.
Finger pressing gives a quick crease before the iron comes out. The fabric folds neatly, and the seam is easier to guide into place.
This saves time during small piecing jobs and helps you work in a calm rhythm. It also keeps you from over-pressing delicate fabrics too soon. If you like a handmade look, use your fingers to shape the seam first, then press with heat, and enjoy the low cost because no extra tool is needed.
Quilters who make tiny blocks often use this trick all the time. It is a simple habit that can make the whole top look more precise.
Try it when you are in a hurry and need to keep moving. Even a quick crease can make the next stitch line easier to place.
14. Keep a Small Thread Snip Nearby

Top Keep A Small Thread Snip Nearby Craft Tutorials
- 👓 HomeHunch Thread Snips Small Sewing Scissors with … from walmart.com.
- 💅 Thread snips for sewing and crafting from facebook.com.
- 🎄 Sewing Thread Snips – Precision Cutting for Craft Projects from alibaba.com.
- 🖼️ Yarn Thread Snips from hooksneedles.com.
- 🍁 Fiskars Premier Thread Snip Ultra Sharp from 123stitch.com.
A tiny snip tool near the machine keeps loose threads from piling up. The work area looks cleaner, and your hands move less because you do not need to hunt for scissors.
This small habit can make quilting feel faster and more organized. It also helps you trim ends before they get caught under the presser foot. For a personal setup, choose a bright snip color that matches your sewing space, and pick an affordable pair that feels easy to hold.
Many sewists like tools that are compact and simple. A neat table often leads to neater stitches too.
15. Try Decorative Stitches on Plain Borders
Top Try Decorative Stitches On Plain Borders Craft Tutorials
- 🗺️ 54 Popular Needlepoint Stitches from thesprucecrafts.com.
- 🗺️ Call up a decorative stitch from the sewing area in … from facebook.com.
- 🖼️ Give your fabric edges a stunning upgrade ✨ Learn how to … from instagram.com.
- 🍅 Decorative Stitching Archives from sew4home.com.
Decorative machine stitches can turn a plain border into something eye-catching. The thread makes little waves, scallops, or leaf shapes that stand out on the fabric.
This is a quick way to add charm without changing the whole quilt pattern. It can also hide a simple border and make it feel rich and finished. For a custom look, test a few stitch designs on scraps, and remember that your machine already includes many options, so the cost can stay very low.
Bold border stitching is a current favorite in playful home decor quilts. It gives the edge a lively frame and makes the design feel complete.
Use a thread color that fits the quilt theme, such as soft gold, deep blue, or bright coral. That small choice can change the whole mood.
16. Trim Threads as You Go

Top Trim Threads As You Go Craft Tutorials
- 💅 For those who trim their threads do you do it once on the … from facebook.com.
- 👓 Never Bored with a Board of Thread from celebrate-creativity.com.
- 🧑🌾 Craftsnark WIP, Questions, and Planning Thread January … from reddit.com.
- 🎨 Make a Corset : 16 Steps (with Pictures) from instructables.com.
Loose threads can make a quilt look messy even when the seams are good. Trimming them right away keeps the project neat and easier to handle.
This habit also helps you spot mistakes early, before they grow into bigger problems. It can save time at the end because you will not need a huge cleanup session. If you want a custom routine, trim after each block or row, and use simple snips you already own to keep costs down.
Many quilters say a tidy work area helps them sew with more focus. Clean edges and clean hands often lead to cleaner stitching.
Set a tiny basket beside your machine for thread bits. That small system can make your sewing space feel calm and ready.
17. Use a Stiletto or Point Turner for Tiny Corners

Top Use A Stiletto Or Point Turner For Tiny Corners Craft Tutorials
- 🧑🌾 Do you use a stiletto? : r/sewing from reddit.com.
- 🍂 Giveaway: The Point 2 Point Turner from lazygirldesigns.com.
- 👓 changer for me! These DIY sewing stiletto craft kits make a … from facebook.com.
- 💅 The 10 Must-Have Sewing Tools in My Stash! from funstuffcrafts.com.
- 🎨 12 Essential Sewing Tools Plus SAVE 20% Off all Clover … from nancyzieman.com.
A stiletto or point turner helps guide fabric into sharp corners and tight spots. The quilt pieces look crisp when the points land where they should.
This tool is useful for stars, triangles, and small patchwork blocks. It can also keep your fingers safer and your seams more accurate. For a unique setup, choose a wooden point turner or a slim metal tool, and compare prices before buying because simple versions are often enough.
Sharp corners are still a big part of classic and modern quilts alike. A neat point can make even a tiny block look polished.
Use the tool gently so the fabric does not stretch. A light touch often gives the cleanest shape.
Keep it close to your machine so you can grab it fast. That little helper can save many minutes over the life of a project.
18. Stitch in Short Bursts for Better Control

Top Stitch In Short Bursts For Better Control Craft Tutorials
- 🍁 Learning and Progressing with Sashiko Embroidery from facebook.com.
- 👓 The Fabled Thread | How to Stay in Love With Your Craft I' … from instagram.com.
- 🎨 knit speed? : r/knitting from reddit.com.
- 🍅 Stitching Fun: Easy Sewing Craft for Kids from imthecheftoo.com.
- 🧑🌾 Alefiya Taher – Once Upon A Stitch from onceuponastitchsite.wordpress.com.
Short stitching bursts let you pause, check, and adjust before the line gets too long. The quilt stays more accurate, and the process feels less rushed.
This is helpful for tight turns, applique edges, and detailed blocks. It gives your eyes time to follow the seam and your hands time to guide the fabric. If you want to make the method your own, stitch a few inches at a time and choose a pace that feels calm, not costly.
Many quilters use this slow-fast rhythm when they want neat results without stress. It works well for both beginners and experienced makers.
The finished stitches can still look smooth even when you stop often. Careful pauses often lead to better lines than trying to race through.
19. Use Scraps to Test Bold Thread Colors

Top Use Scraps To Test Bold Thread Colors Craft Tutorials
- 💅 Scrap swatches for crafting and junk journals from facebook.com.
- 🍅 10 Best Ways to Use Scraps for more Sustainable … from hatchembroidery.com.
- 🎨 Scrap Fabric Projects – 50 Brilliant Ways to Use up … from hellosewing.com.
- 🎄 How To Use Scraps in Suzy Quilts Patterns from suzyquilts.com.
Scraps are perfect for checking how bright thread will look on fabric. A color that seems loud on the spool may look soft once stitched.
This trick helps you avoid wasting thread on a color you do not love. It also makes choosing thread more fun because you can compare several shades side by side. For a personal result, test on scraps from the quilt itself, and use leftover thread cones or small spools to keep the cost friendly.
Bright stitching is a popular trend in playful quilts and modern wall hangings. It can make simple shapes feel fresh and bold.
Hold the scrap near a window or lamp to see the true color. Good light makes choosing much easier and faster.
Once you find a favorite thread, write the brand and color down. That little note can help with future quilts too.
20. Add Echo Quilting Around Shapes
Top Add Echo Quilting Around Shapes Craft Tutorials
- 🎨 Echo quilting is a powerful way to add texture to your quilt. It's … from facebook.com.
- 👓 Echo quilting is one of the techniques we will talk about in … from instagram.com.
- 🎄 Reflecting Echoes Learn the power of echo quilting and … from instagram.com.
- 🗺️ Echo stitching on quilting designs from facebook.com.
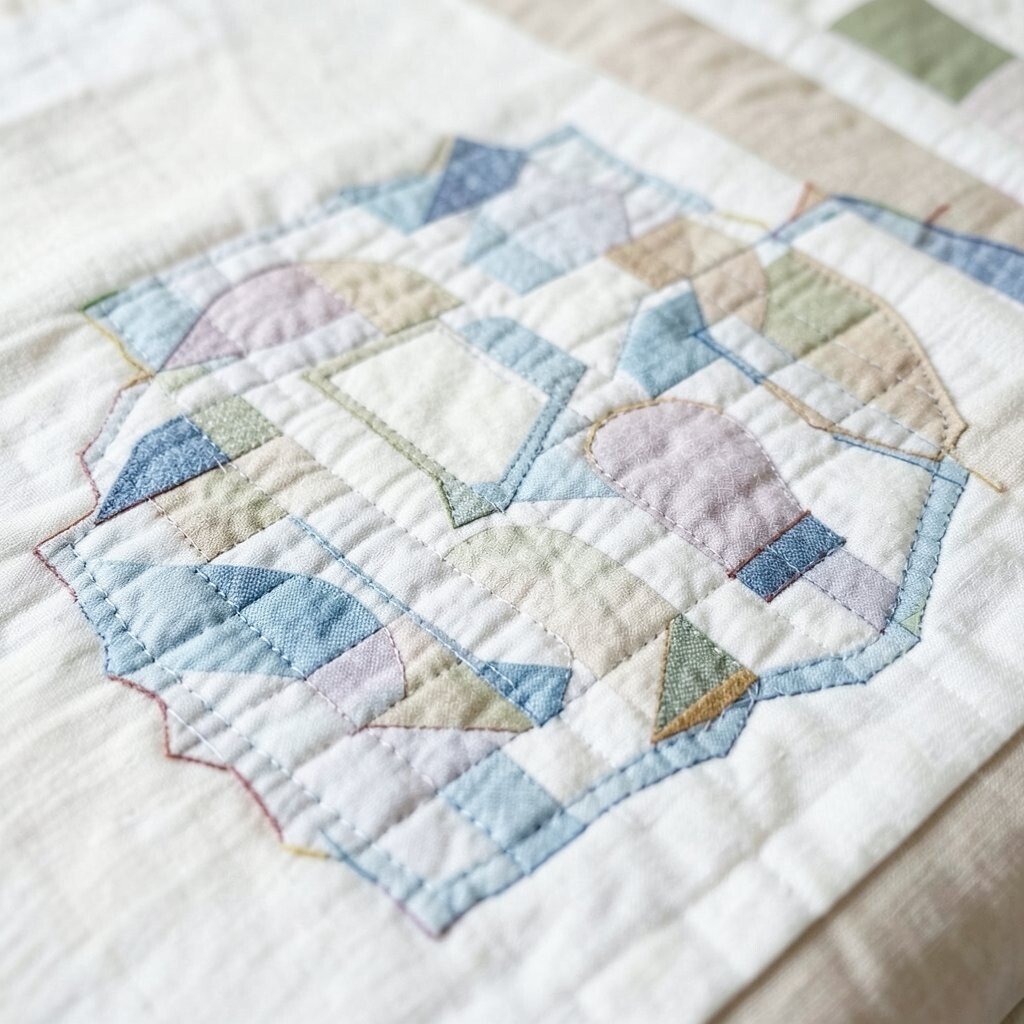
Echo quilting means stitching a line around a shape, then another line just beside it. The repeated outline creates a soft ripple effect that looks rich and neat.
This style works well around applique, leaves, hearts, and bold block shapes. It is also easier than it looks because each line follows the one before it. For a unique finish, vary the spacing a little, and keep costs low by using the same thread color through the whole section.
Echo lines are a favorite in many current quilts because they add texture without heavy detail. They give the fabric a gentle frame that feels elegant and handmade.
Start with a wide echo if you want room to breathe. Tight echoes can come later once your hands feel steady.
21. Try Simple Grid Quilting for a Fresh Look

Top Try Simple Grid Quilting For A Fresh Look Craft Tutorials
- 💅 Easy quilting with fusible grid from facebook.com.
- 🍅 Grid quilting can make a big impact on your quilts and it's … from instagram.com.
- 🧑🌾 9 Easy Grid Quilting Ideas for Beginners from quiltingwemple.com.
- 💅 Did you see the craft quilt square project I DIY'd live today! … from facebook.com.
- 🍂 Easy quilting with fusible grid technique from facebook.com.
Grid quilting uses straight lines that cross the quilt in a neat pattern. The result looks modern, tidy, and easy on the eyes.
This method can be very quick because the lines often repeat across the whole piece. It also works well on solids, low-volume prints, and bold patchwork. For a personal style, make the grid larger or smaller to fit the quilt mood, and use painter’s tape or a ruler if you want a low-cost guide.
Grid quilting is still a strong trend in many home-style quilts. It gives structure and makes colors pop without too much fuss.
You can even tilt the grid a little for a lively feel. Small changes like that make the design feel custom.
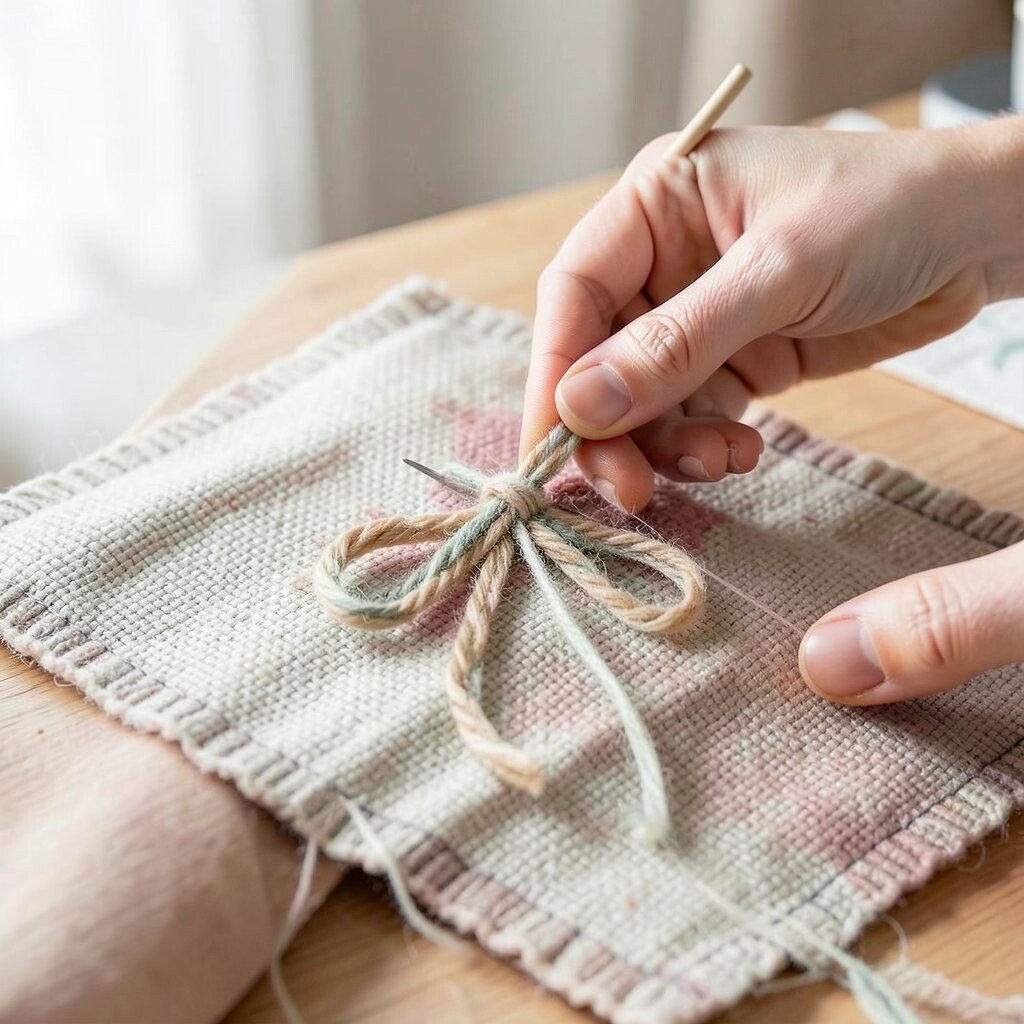
22. Finish with a Hand-Tied Accent for Charm
Top Finish With A Hand-Tied Accent For Charm Craft Tutorials
- 🧑🌾 Accent gem keepsake craft ideas needed from facebook.com.
- 💅 DIY Twenty One Pilots Charm Bracelet from lemon8-app.com.
- 💅 Handtied Navy & Gold Glitter and Metallic accents. One of the … from instagram.com.
- 🎄 DESIGN DECOR KNOXVILLE 18" x 22" Autumn Skies Hand- … from skennybeatz.com.
Hand-tied accents add tiny knots that look sweet and cozy on the quilt surface. They bring a soft, old-fashioned feel that many people still love.
This finish is quick, simple, and friendly to beginners. It can also save machine time when you want a fast project with a handmade touch. For a personal twist, use embroidery floss or pearl cotton in a color that matches your theme, and keep costs low by tying only where you want extra texture.
Hand-tied details are showing up again in rustic and cottage-style quilts. They give the quilt a warm look that feels both classic and fresh.
Place the ties in a neat grid or scatter them for a playful effect. Either way, the quilt gets a charming finish that feels special right away.