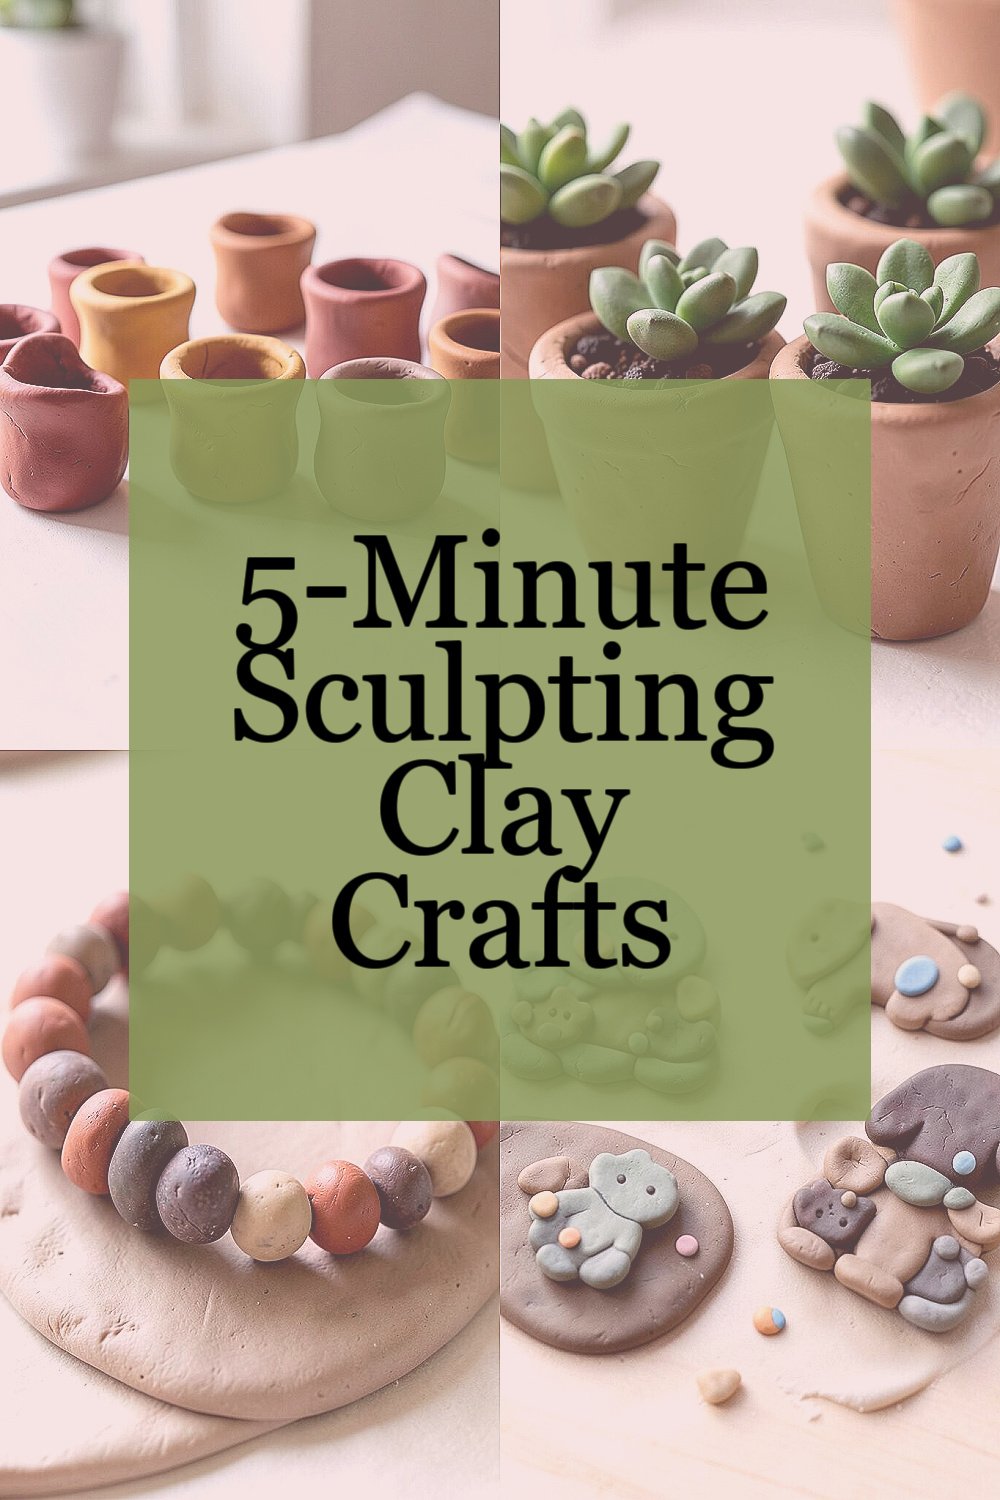
Clay can turn a quiet moment into something playful. A tiny shape in your hands can feel surprisingly special.
1. Mini Clay Pinch Pots

Top Mini Clay Pinch Pots Craft Tutorials
- 🍂 How to Make Nature Pinch Pots with Kids from littlepinelearners.com.
- 🍁 DIY Mini Pinch Pot Planters from abeautifulmess.com.
- 🍁 Pinch pots made from air drying clay from incredibusy.com.
- 🍅 How to Make A Pinch Pot from artwithtrista.com.
- 💅 Easy DIY Pinch Pots | Crafts for Kids from pbs.org.
Pinch pots are a classic clay craft that feels simple and calming. They look sweet on a desk, shelf, or bedside table.
Start with a small ball of clay and press your thumb into the center. Gently pinch the sides to make a little bowl shape, then smooth the rim with damp fingers. You can leave it plain for a clean, modern look or add tiny dots, stripes, or heart shapes for more charm.
2. Tiny Clay Succulent Planters
Top Tiny Clay Succulent Planters Craft Tutorials
- 🍂 DIY Mini Succulent Clay Craft from homemadeheather.com.
- 🎄 How to Make Sweet Tiny Air Dry Clay Pots for Succulents from southhousedesigns.com.
- 🧑🌾 Polymer Clay Mini Planters | My Poppet Makes from mypoppet.com.au.
- 🎄 DIY mini succulent planters from burkatron.com.
- 🧑🌾 How to make a DIY mini succulent garden: plant crafts from burlapkitchen.com.
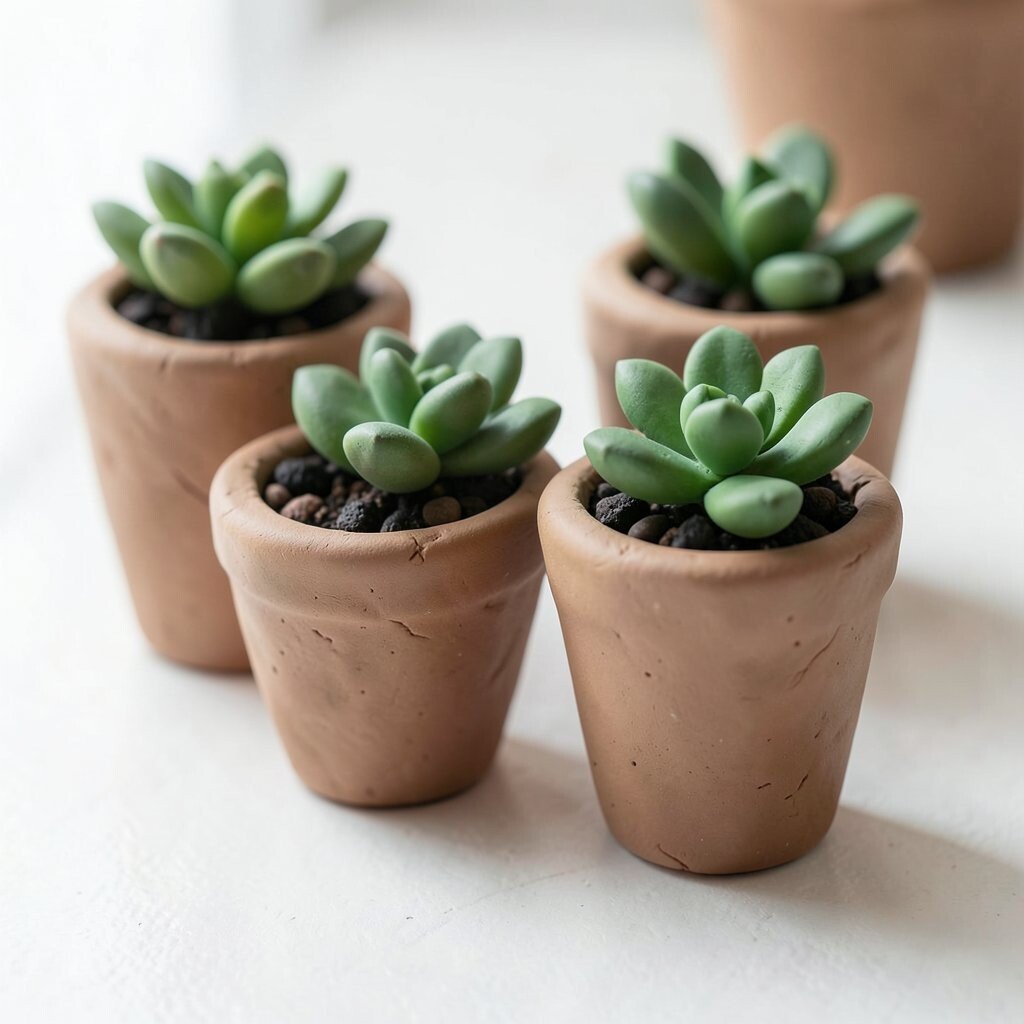
These little planters bring a fresh, trendy look to any room. Their soft curves and earthy color make them feel warm and modern.
Press clay into a cup shape and flatten the base so it stands well. Make a few drainage holes with a toothpick if you plan to use it for a real plant cutting. Paint the outside with soft green, sandy beige, or blush pink to match current home decor styles.
This craft is great for people who want a cute display piece without spending much money. It also makes a thoughtful gift when paired with a tiny plant. Try adding your name, a date, or a small leaf pattern to make it feel more personal.
3. Clay Bead Bracelets
Top Clay Bead Bracelets Craft Tutorials
- 🗺️ Clay Bead Bracelet Ideas from papernstitchblog.com.
- 🗺️ Clay Bead Bracelet Ideas from abeautifulmess.com.
- 🍅 Clay bead bracelet ideas you'll love from gathered.how.
- 🗺️ Preppy Clay Bead Bracelet Ideas & How-to Tutorial from happinessishomemade.net.
- 🧑🌾 Clay Beads 3 Boxes Bracelet Making Kit, 10500pcs … from michaels.com.
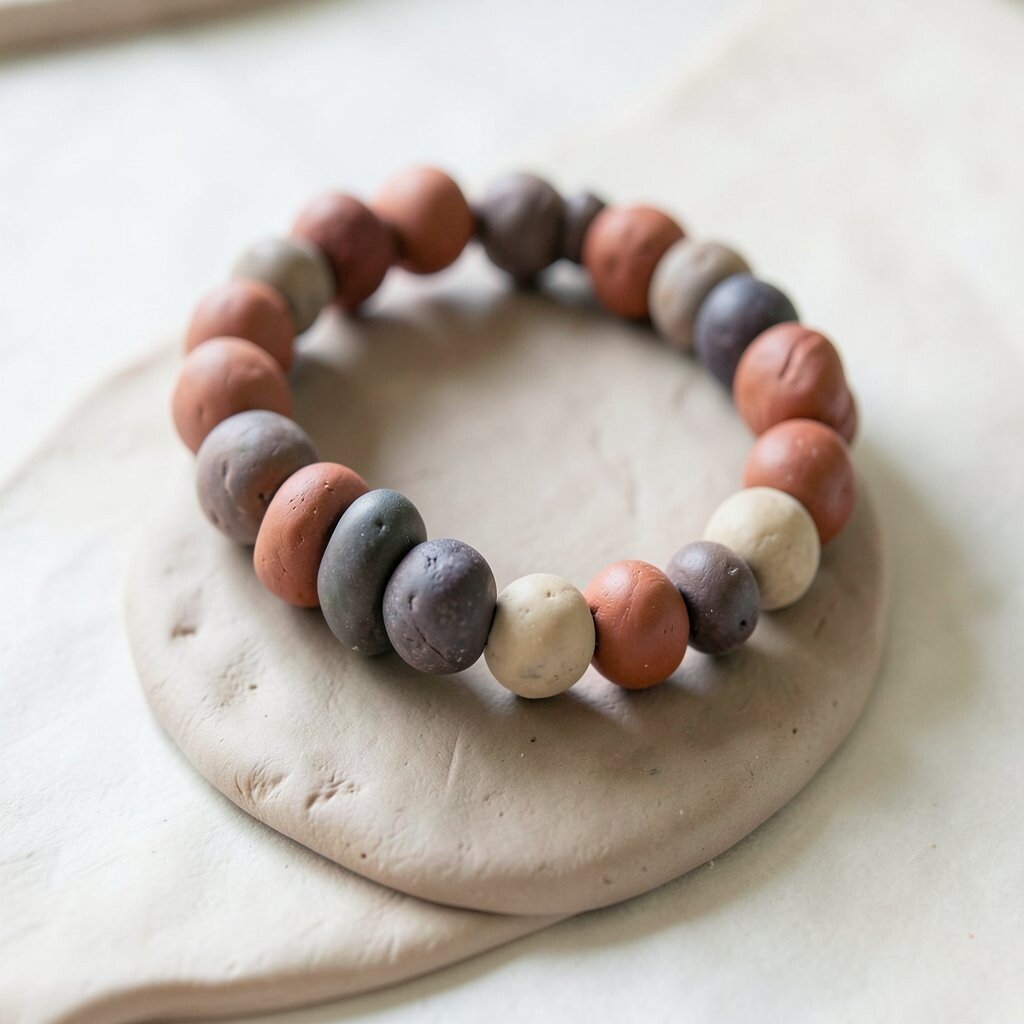
Clay beads are fun to roll and easy to shape in a short time. They can look bright, bold, or soft and simple.
Roll small pieces into round beads, flat discs, or little cubes. Poke a hole through each one before the clay dries, then let them set for stringing later. Mix colors, sizes, and finishes to make a bracelet that feels one of a kind.
This craft is budget-friendly because a little clay goes a long way. It also fits the current trend of handmade jewelry with a personal touch. Add favorite colors, initials, or tiny stars to make the bracelet feel special.
4. Clay Animal Magnets
Top Clay Animal Magnets Craft Tutorials
- 🍂 Animal Theme – Paint Your Own Clay Magnets from craftdelights.in.
- 🎄 I made my first ever fridge magnets this week!! They're little … from reddit.com.
- 🎄 What other animals can be made into polymer clay magnets? from facebook.com.
- 💅 How to make clay fridge magnets – easy DIY tutorial from merrimentdesign.com.
- 🗺️ DIY: Make your own fridge magnets with air dry clay from womanandhomemagazine.co.za.
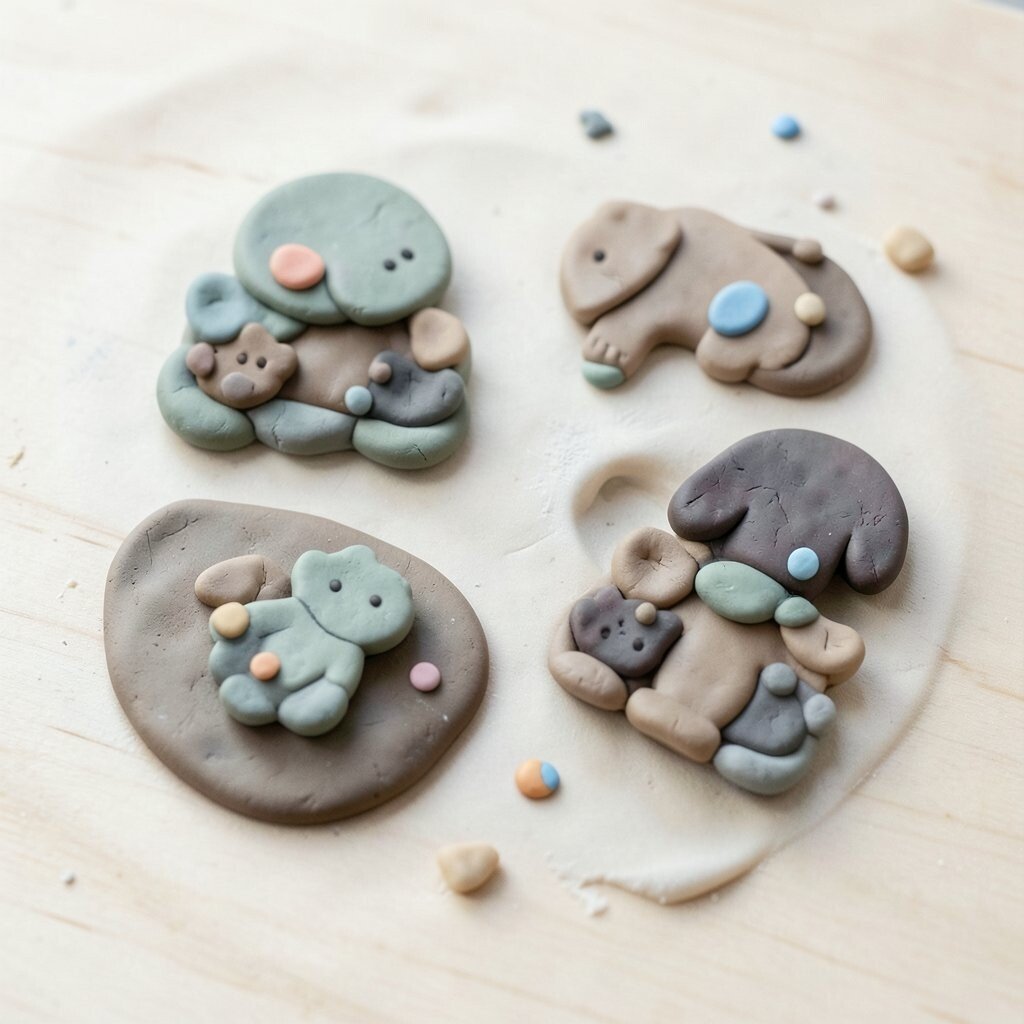
Animal magnets are cute, quick, and perfect for a fridge or locker. Their tiny faces and simple shapes make them extra lovable.
Shape the clay into a cat, bear, bunny, or any animal you like. Press on small ears, noses, and eyes, then flatten the back so a magnet can stick later. Once dry, paint soft details like whiskers, spots, or rosy cheeks.
5. Decorative Clay Coasters
Top Decorative Clay Coasters Craft Tutorials
- 🍅 Beautiful, Easy DIY Clay Coasters Project from thesusslife.com.
- 🗺️ Air Dry Clay Coasters from momsandcrafters.com.
- 🍅 How to Make Clay Coasters using Air-Dry Clay – Aimsy's Antics from aimsysantics.co.uk.
- 🗺️ Textured Ceramic Coasters : 23 Steps (with Pictures) from instructables.com.
- 🍅 What do you think of my 5-minute clay coaster craft? from facebook.com.
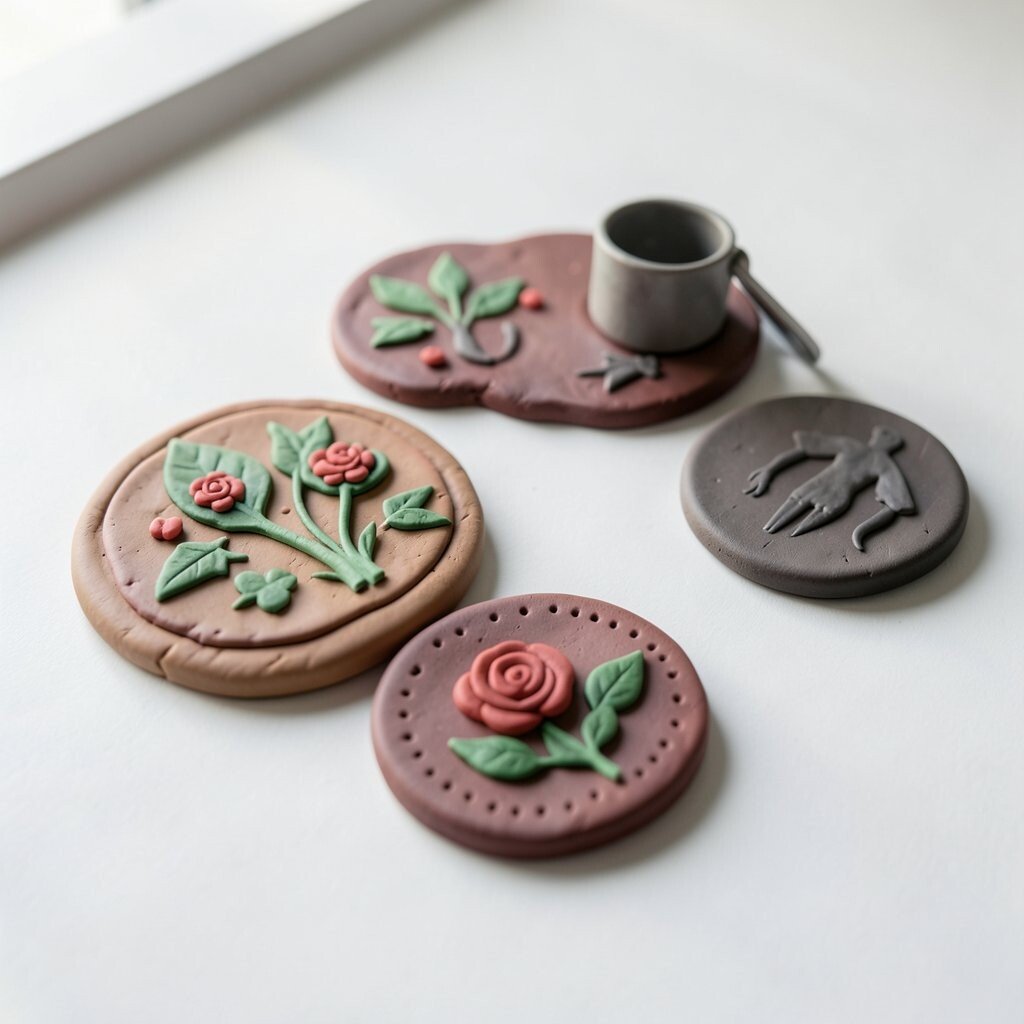
Clay coasters can look classy while still being easy to make. They add color and texture to a table in a neat, handmade way.
Flatten the clay into circles, squares, or wavy shapes. Use a cup or cookie cutter for clean edges, then press in lace, leaves, or a fork pattern for texture. Neutral shades are popular right now, but bright colors can make them stand out too.
These are useful because they protect surfaces from cups and spills. They also cost less than store-bought decor and can match your room style. Try making a set with each coaster in a slightly different shape so the whole group feels playful.
For a personal touch, stamp in initials or tiny symbols before the clay dries. A set like this can become a nice gift for family, teachers, or friends. Keep the design simple if you want a clean look, or add bold paint if you like more color.
6. Clay Leaf Trays
Top Clay Leaf Trays Craft Tutorials
- 🍅 Clay Leaf Bowl | DIY Leaf Clay Dish from onelittleproject.com.
- 💅 Leaf Clay Dish from thebestideasforkids.com.
- 🍁 How to make beautiful air-dry clay leaf bowls from rhubarbandwren.co.uk.
- 🎨 Create Your Own Leaf-Shaped Air Dry Clay Trinket Tray from kandfdesign.com.
- 👓 Leaf Imprint Jewelry Dish from sproutingwildones.com.
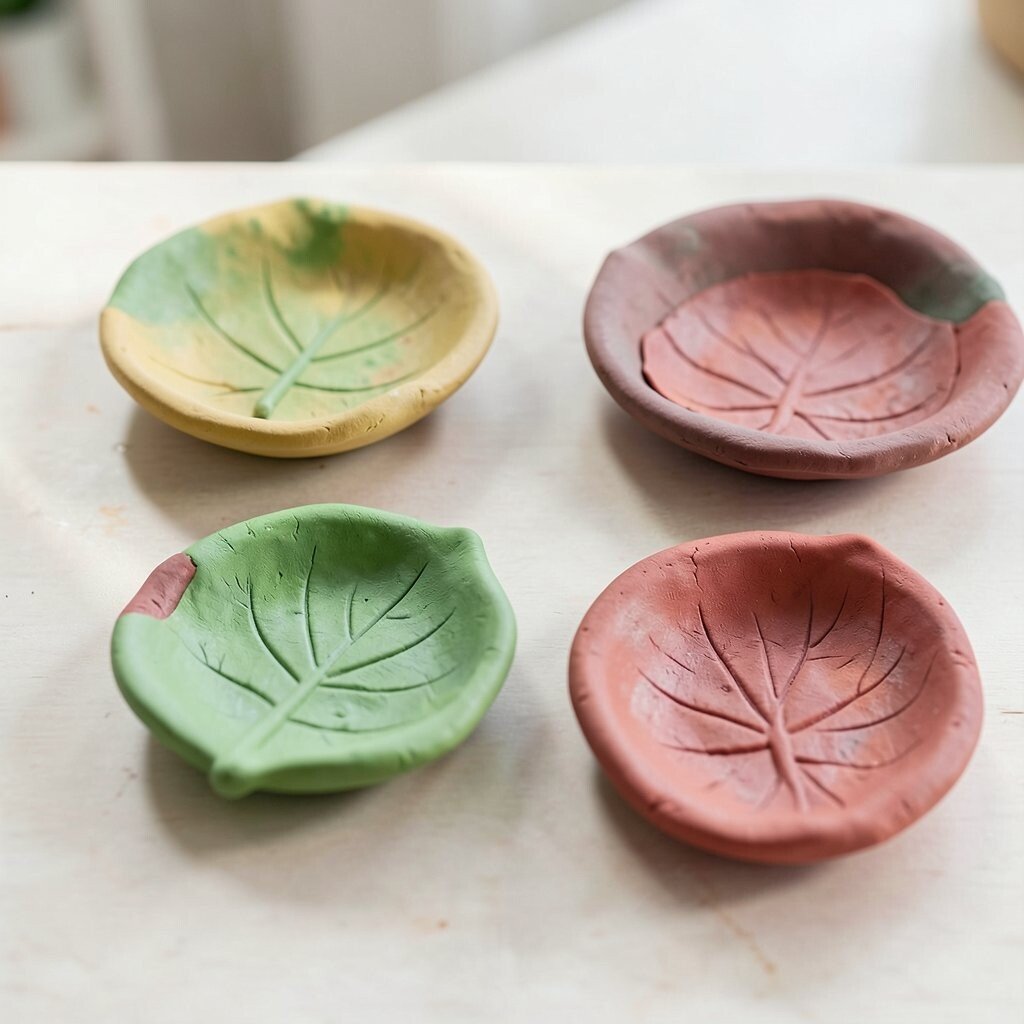
Leaf trays have a soft, natural look that feels fresh and pretty. They work well for rings, keys, or small desk items.
Roll the clay flat and press a real leaf on top to leave a veined print. Cut around the leaf shape with a craft knife or plastic tool, then gently lift the edges to make a shallow tray. Earthy colors and soft green tones are very popular for this style.
This project is helpful because it keeps tiny things from getting lost. It is also low-cost and easy to customize with glitter, paint, or gold edges. If you want a more personal version, press in your favorite leaf shape from your yard or park.
7. Clay Monster Pencil Toppers
Top Clay Monster Pencil Toppers Craft Tutorials
- 💅 Clay Monster Pencil Topper Little Makers – Exclusive Access from craftiosity.co.uk.
- 🍂 Monster Pencil Topper Craft – Free Printable Template for … from momsandcrafters.com.
- 🍁 School monsters – alien pencil toppers from polimer clay from mindy.hu.
- 💅 East Felt Monster Pencil Toppers for Kids from redtedart.com.
- 🗺️ Pencil Topper Fidgets to Spark Creativity & Focus in the … from ssww.com.
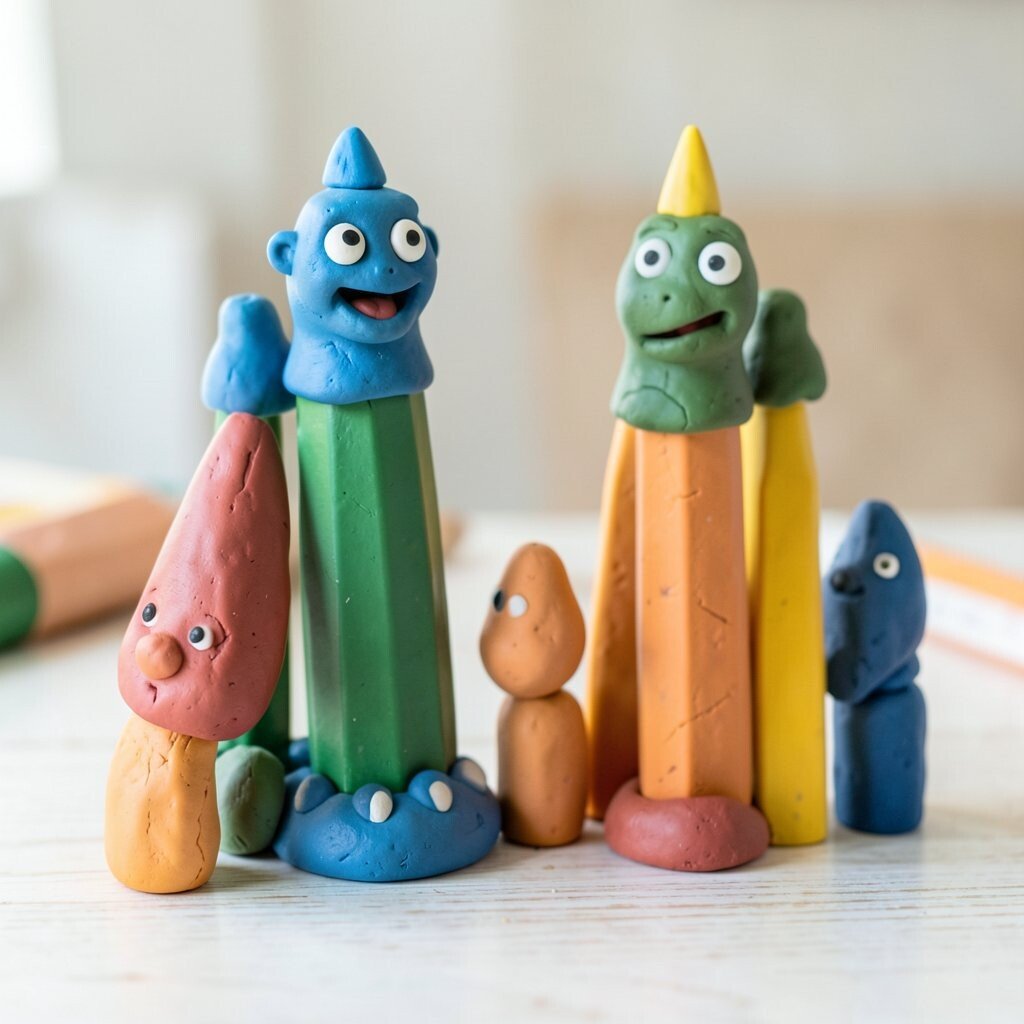
These silly little creatures can make school supplies feel much more fun. Their bright colors and funny faces are sure to stand out.
Form a small tube or blob shape and make a hole big enough for a pencil tip. Add eyes, horns, teeth, or ears to give your monster a wild personality. Kids and adults both enjoy these because they are quick, playful, and easy to change.
You can make one grumpy, one sleepy, and one cheerful for a full set. This is a great low-cost craft because only a small amount of clay is needed. Try matching the monster colors to a backpack, notebook, or favorite cartoon style.
8. Clay Wall Stars
Top Clay Wall Stars Craft Tutorials
- 🍅 2 Ways to Make a Holiday Clay Star Wall Hanging from diyinpdx.com.
- 🍁 Air dry clay star garland (Easy DIY holiday crafts) from chalkingupsuccess.com.
- 👓 Use fresh clay 3/ Fill one at a time if you're … from instagram.com.
- 🖼️ Super easy faux ceramic double sided polymer clay star … from facebook.com.
- 💅 DIY Wall Decor: Hanging Clay Stars from liagriffith.com.
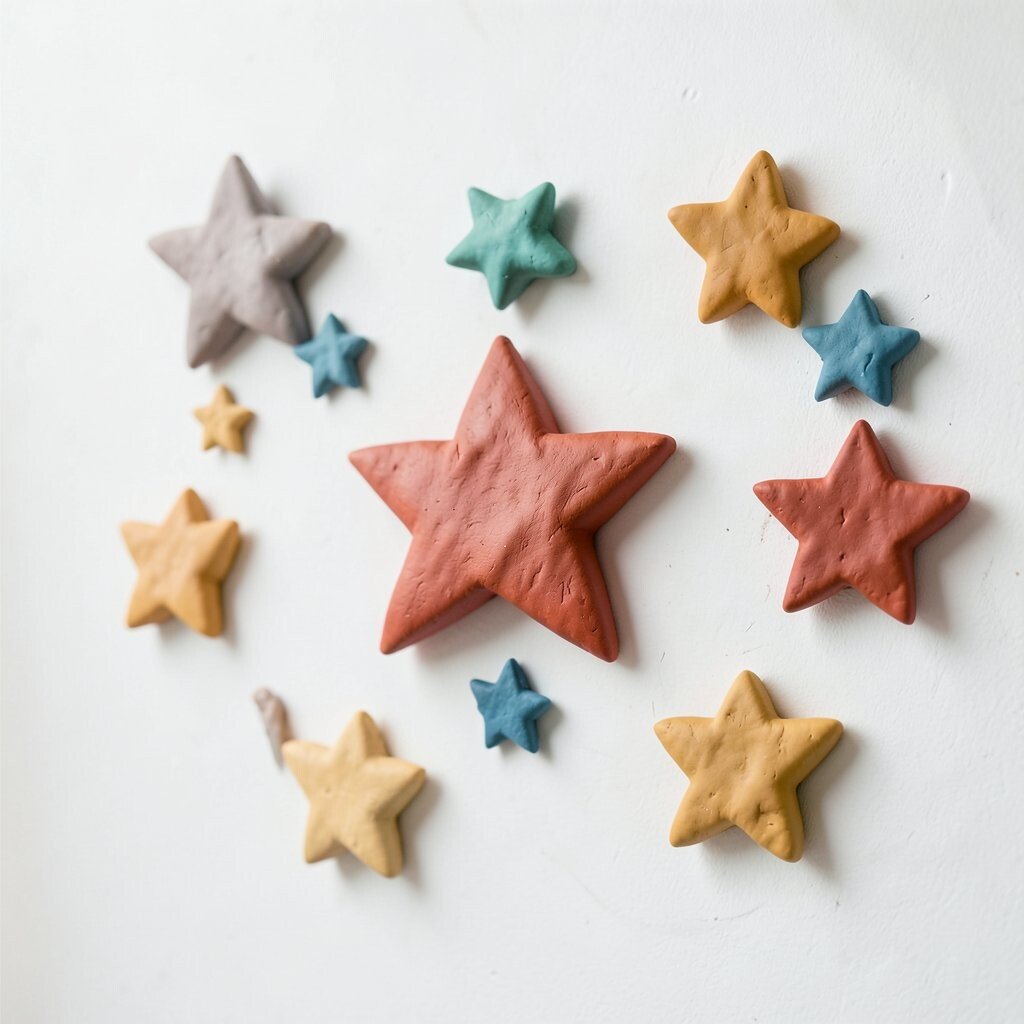
Clay stars can brighten a room with a simple handmade touch. They look sweet hanging in a window, on a wall, or above a bed.
Cut star shapes with a cookie cutter or shape them by hand for a softer look. Add tiny dots, carved lines, or a hole at the top for stringing later. Metallic paint, pastel tones, and soft matte finishes are all popular choices right now.
9. Clay Ring Dishes
Top Clay Ring Dishes Craft Tutorials
- 🍁 How to Make Ring-Shaped Trinket Dishes with Air Dry Clay from wellcraftedstudio.com.
- 🍅 Air Dry Clay Handprint Ring Dish | Charleston Homemaker from charlestonhomemaker.com.
- 🧑🌾 DIY Marbled Clay Ring Dish from thespiffycookie.com.
- 💅 DIY Jewelry Dish from crayola.com.
- 🧑🌾 DIY Trinket Dish from sugarmaplefarmhouse.com.
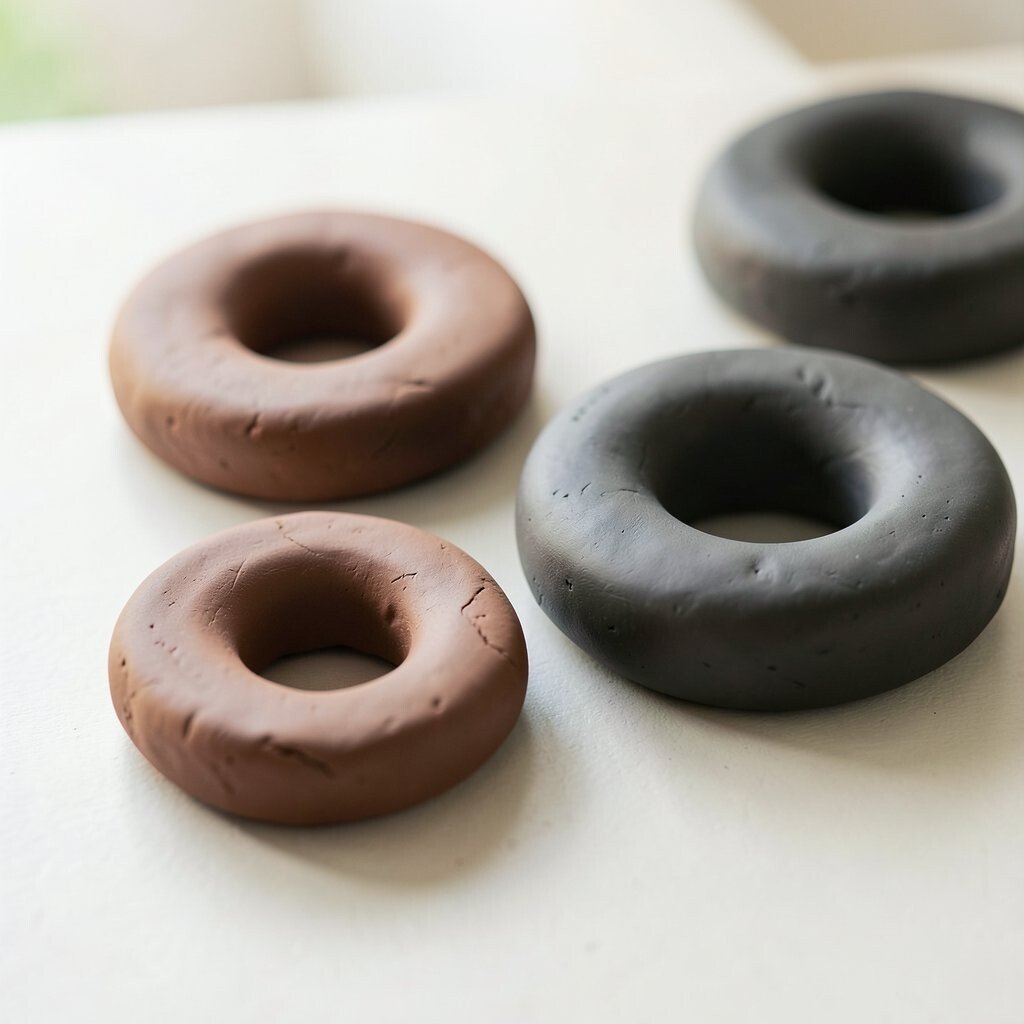
Ring dishes are tiny but very useful, and they often look elegant on a dresser. Their smooth shape makes them feel neat and tidy.
Press a small clay circle into a shallow dish form using your fingers or the back of a spoon. Pinch the edges just a little to make a gentle curve that keeps jewelry in place. You can paint the inside with a bright color and leave the outside plain for a modern style.
This is a smart craft for people who want something useful without spending much. It also makes a lovely gift for birthdays, holidays, or just because. Add a name, a tiny flower, or a favorite color to make it feel personal.
If you like trendy room decor, try a speckled clay look or a marble swirl. Those finishes feel stylish and still stay easy to make at home. A small dish like this can be finished fast and used the same day if the clay is air-dry.
10. Clay Button Set
Top Clay Button Set Craft Tutorials
- 💅 Lot of 10 Buttons Polymer Clay Rectangle by Dotty … from ebay.com.
- 🗺️ Button Craft Time – Mini Polymer Clay Tutorial 10 from facebook.com.
- 🍂 How to Make Polymer Clay Buttons from thebluebottletree.com.
- 🧑🌾 How to Make Clay Buttons the Easy Way from makeablecrafts.com.
- 💅 Sprinkletz Polymer Clay Embellishments from buttonsgaloreandmore.com.
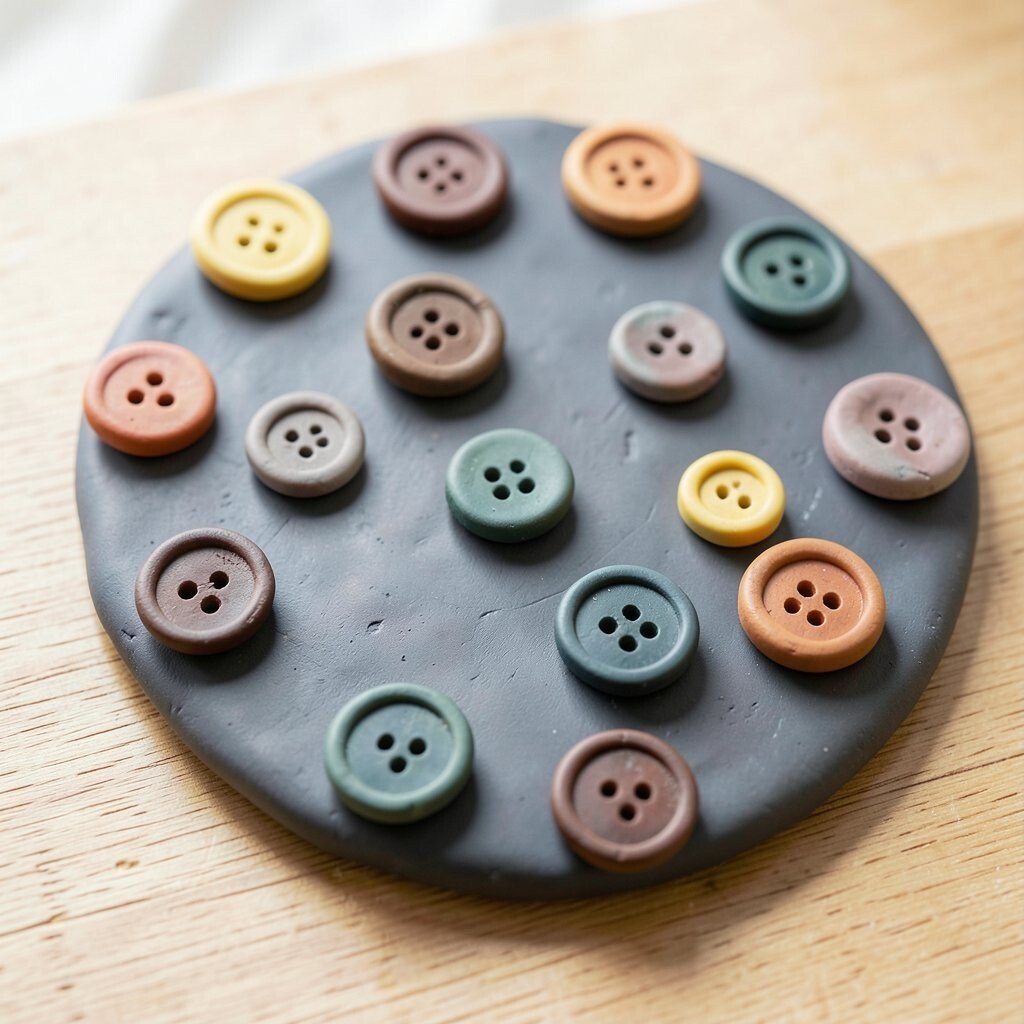
Clay buttons can make a shirt, bag, or pouch feel new again. They bring a handmade look that feels cheerful and unique.
Roll the clay flat and cut out tiny circles or squares. Poke two or four holes into each piece, then smooth the edges so they feel neat. You can keep them plain, stamp tiny flowers, or paint them in matching sets.
This craft is good for people who like sewing, mending, or upcycling old clothes. It costs very little and can save a favorite item from being tossed away. Try making a full set in one color family for a polished look, or mix colors for something more playful.
Buttons are also a fun way to add your own style to a jacket or tote bag. Since they are small, they are quick to shape and easy to store. A little clay can make a lot of buttons, which makes this project extra handy.
11. Clay Name Tags

Top Clay Name Tags Craft Tutorials
- 🍁 DIY Name Tags with Air Dry Clay Sculpting from aprilcolleen.com.
- 🍅 DIY Stamped Clay Name Tags from blog.vickybarone.com.
- 🍁 Easy Air Dry Clay Gift Tags from onelittleproject.com.
- 🍁 Clay Name Ornament and Christmas Gift Tags from xoxobella.com.
- 🍂 Make Simple Air-Dry Clay Initial Tags from mostlovelythings.com.
Name tags made from clay can look cute on gifts, bags, or desk drawers. They feel personal right away because they carry a name or short word.
Flatten a small piece of clay and cut it into a tag shape. Press letters into the surface with a toothpick or stamp tool, then add a hole at the top for ribbon or twine. Soft colors and simple lettering are very popular because they look clean and modern.
These tags are useful for labeling school items, gifts, or storage boxes. They are also low-cost and easy to make in batches. Try using favorite colors, initials, or little icons like stars, hearts, or flowers for a custom touch.
For a nicer finish, smooth the edges with a damp finger before the clay dries. A tiny painted border can make the tag stand out without much extra work. This project is quick enough for a craft break but still feels thoughtful and special.
12. Clay Fruit Charms
Top Clay Fruit Charms Craft Tutorials
- 🍂 12 Fruit Polymer Clay Charms Assorted Colors – K385 from ebay.com.
- 🗺️ 12 Boxes Fruit Slices Charms for Resin Polymer Clay Slime … from ninilovelyacc.com.
- 🍂 72pcs 12 Styles Polymer Clay Charms Colorful Flower Fruit … from walmart.com.
- 🗺️ Using Small Clay Fruit Decorations in Miniatures and Baking from facebook.com.
- 🍂 polymer clay fruits sold on Temu United States from temu.com.
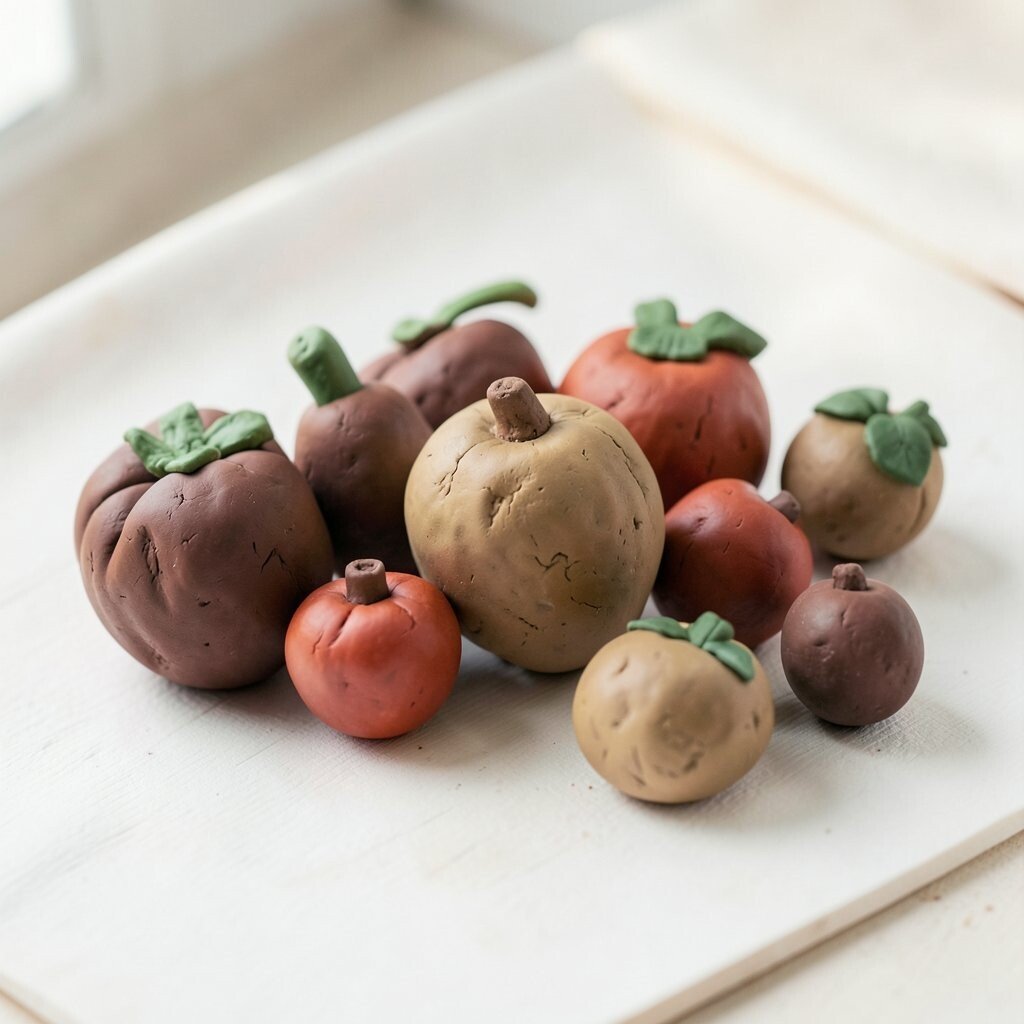
Fruit charms are bright, happy, and full of personality. They look adorable on zipper pulls, keychains, or charm bracelets.
Shape tiny strawberries, lemons, cherries, or watermelons using small bits of clay. Add little leaves, seeds, or stems to help each fruit look clear and fun. Bold fruit charms fit well with current colorful accessory trends and bring a cheerful pop to any item.
This craft is nice because it does not take much clay or time. It is also easy to personalize with favorite fruits or special color choices. If you want a gift idea, make a matching set for a friend who loves sweet, playful things.
Use glossy paint or a shiny finish if you want the fruit to look fresh. A matte finish can also look cute and modern, especially in soft pastel shades. Keep the shapes small and simple so they dry quickly and stay easy to carry.
13. Clay Candle Holders
Top Clay Candle Holders Craft Tutorials
- 🎄 13+ Creative Clay Candle Holder Ideas from chiclivingclub.com.
- 💅 air dry clay ~ coastal winter ~ taper candle holders 🌊 I've … from instagram.com.
- 🧑🌾 DIY Clay Star Candle Holders | Simple and Stylish Craft … from muminthemadhouse.com.
- 🎄 DIY candle holder with air dry clay #airdryclay #candleholder from facebook.com.
- 👓 Easy DIY Taper Candle Holders that Look Expensive! from joyfulderivatives.com.
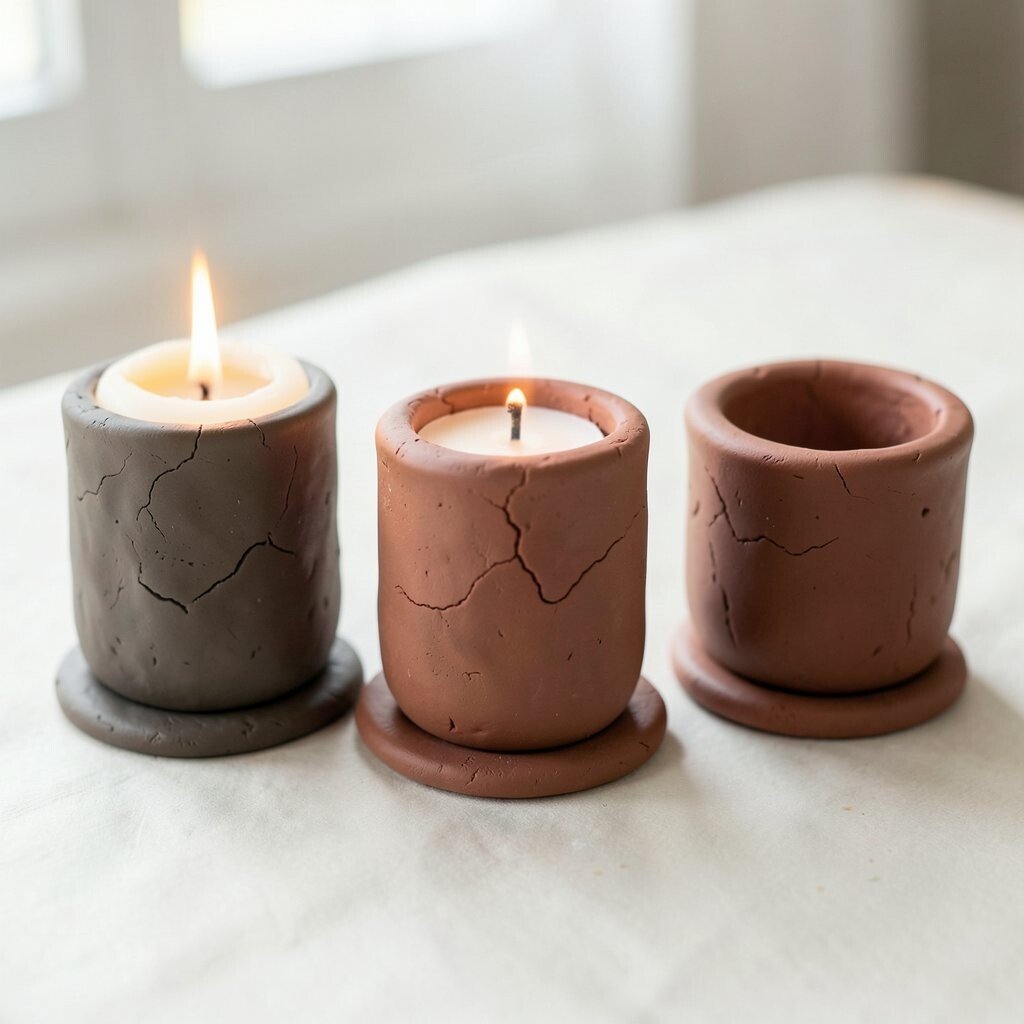
Small clay candle holders can make a table feel cozy and warm. Their simple shape gives them a calm, handmade charm.
Form a thick ring or cup shape and press a tea light or small candle into the center to check the fit. Smooth the sides, then add texture with a fork, stamp, or carved line. Earth tones, cream, and soft gray are popular choices for a calm, stylish look.
This project is useful for special dinners, bedrooms, or quiet reading time. It can also be made cheaply with just a small amount of clay. If you want a personal touch, add initials, a date, or a tiny pattern that means something to you.
Be sure to keep the candle holder sturdy and level so it sits safely. A simple design often looks best and is easier to finish fast. You can make a pair for a matching set or one special piece for a favorite spot.
14. Clay Seashell Dishes
Top Clay Seashell Dishes Craft Tutorials
- 🎄 Making trinket shells with clay accents from facebook.com.
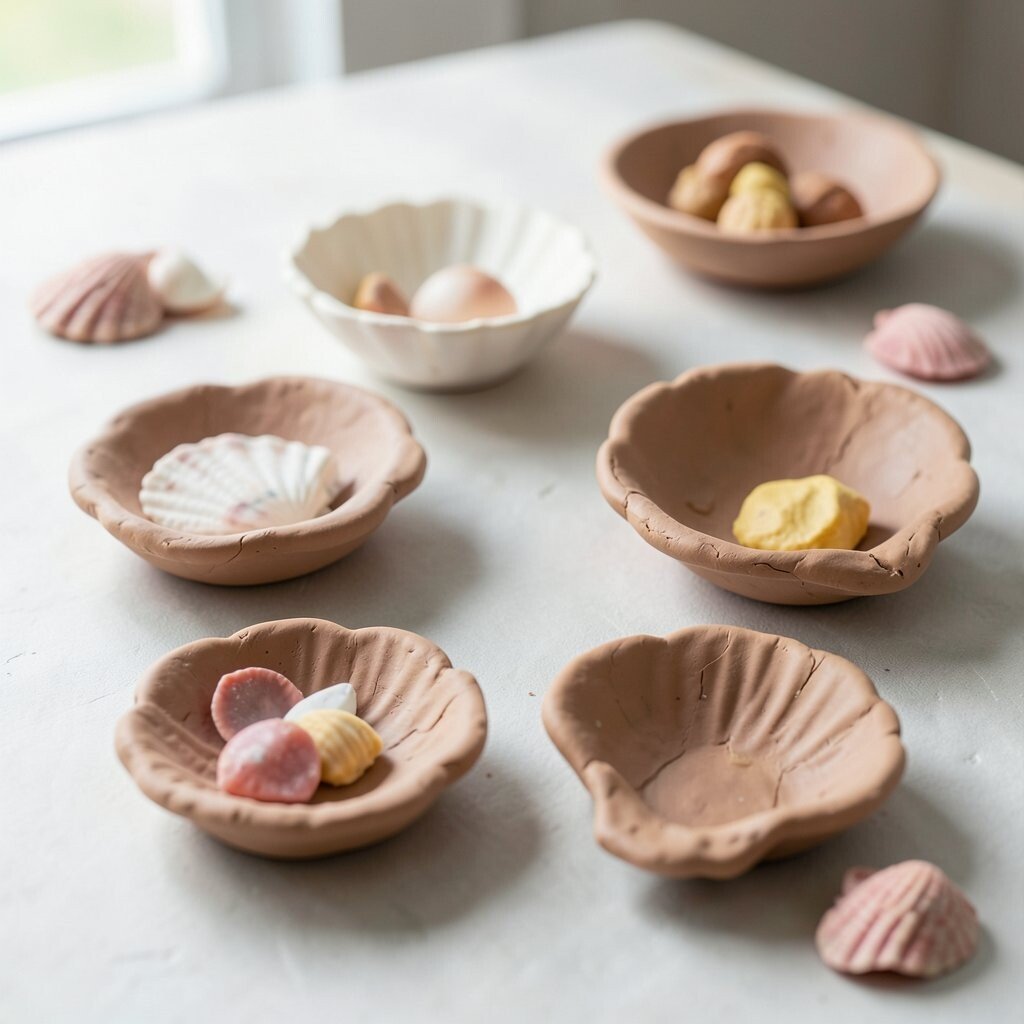
Seashell dishes have a soft, beachy feel that works well in many rooms. They look pretty on a vanity, shelf, or bathroom counter.
Shape the clay into a shell form with curved ridges and a gentle point. Press lines into the surface with a toothpick or skewer to mimic real shell texture. Pearl paint, sandy beige, and pale blue are lovely choices for this style.
This craft is a nice way to hold earrings, coins, or tiny keepsakes. It is also low-cost and simple enough for a quick afternoon project. Try adding a little shimmer if you want a more trendy, ocean-inspired look.
You can make the shell small and delicate or larger and bold. Personalize it by painting the inside with a favorite color. A handmade seashell dish can feel like a little treasure from the shore.
15. Clay Emoji Magnets
Top Clay Emoji Magnets Craft Tutorials
- 🧑🌾 DIY Clay Fridge Magnets steps with quick tips: … – Facebook from facebook.com.
- 🍂 Turn clay into emotions 😍 Learn to make Emoji Fridge … from instagram.com.
- 🧑🌾 Disney's Inside Out Craft: Make Your Own Emoji Magnets from brepea.com.
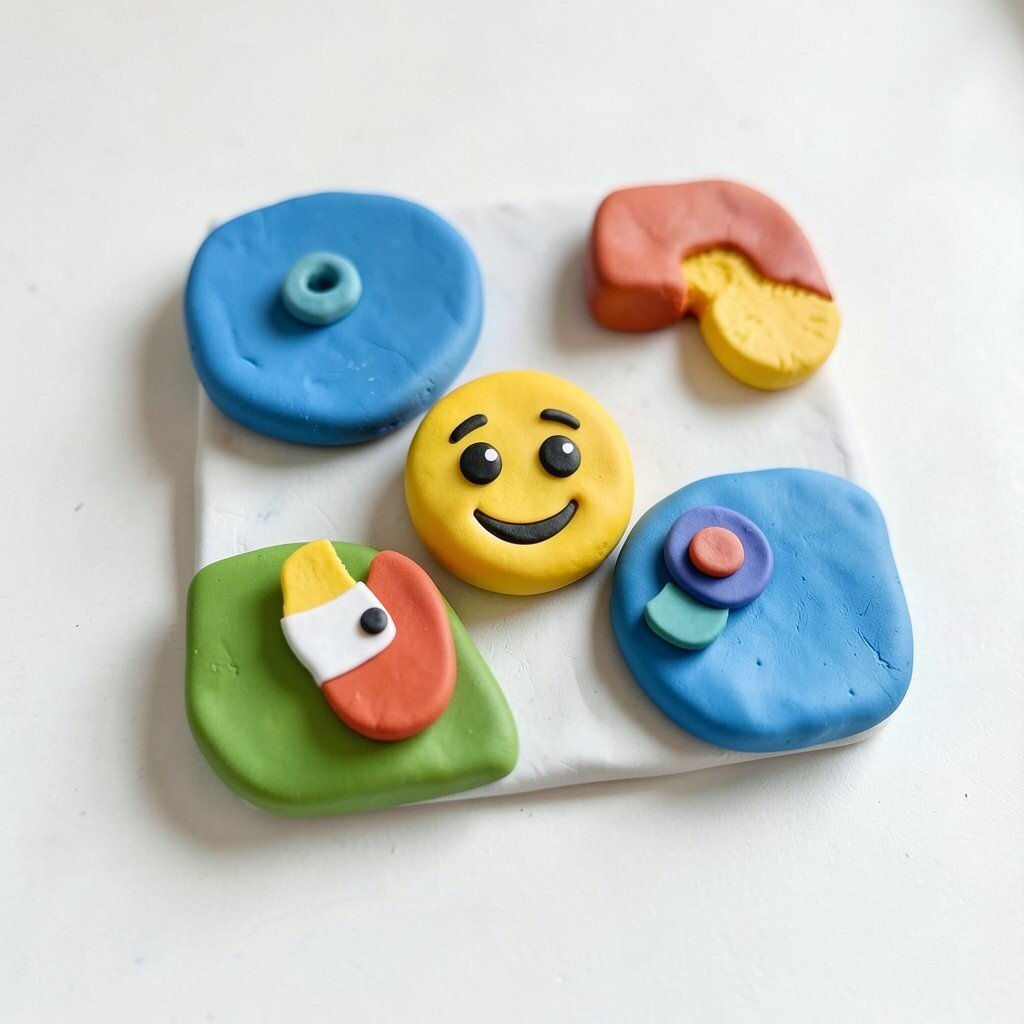
Emoji magnets are fun, bright, and easy to make in a hurry. Their faces can bring a smile to a boring fridge door.
Flatten small circles or hearts and shape them into happy, sleepy, silly, or surprised faces. Add eyes, mouths, and blush marks with tiny clay bits or paint. This craft fits well with playful home trends that use cheerful, simple icons.
They are great for kids, but adults enjoy them too because they are so lighthearted. The cost stays low since each magnet uses only a little clay. Make a set with your favorite moods, or create ones that match your own style and humor.
Emoji magnets also make fun gifts for classmates, siblings, or coworkers. Keep the shapes small so they dry fast and stay neat. A glossy finish can make them look extra lively, while matte paint gives them a softer feel.
16. Clay Flower Hair Clips
Top Clay Flower Hair Clips Craft Tutorials
- 🍂 Custom Made Flower Hairpiece from craftsway.com.
- 💅 Traditional flowers hair clips. Craft flowers clay. Free … from ebay.com.
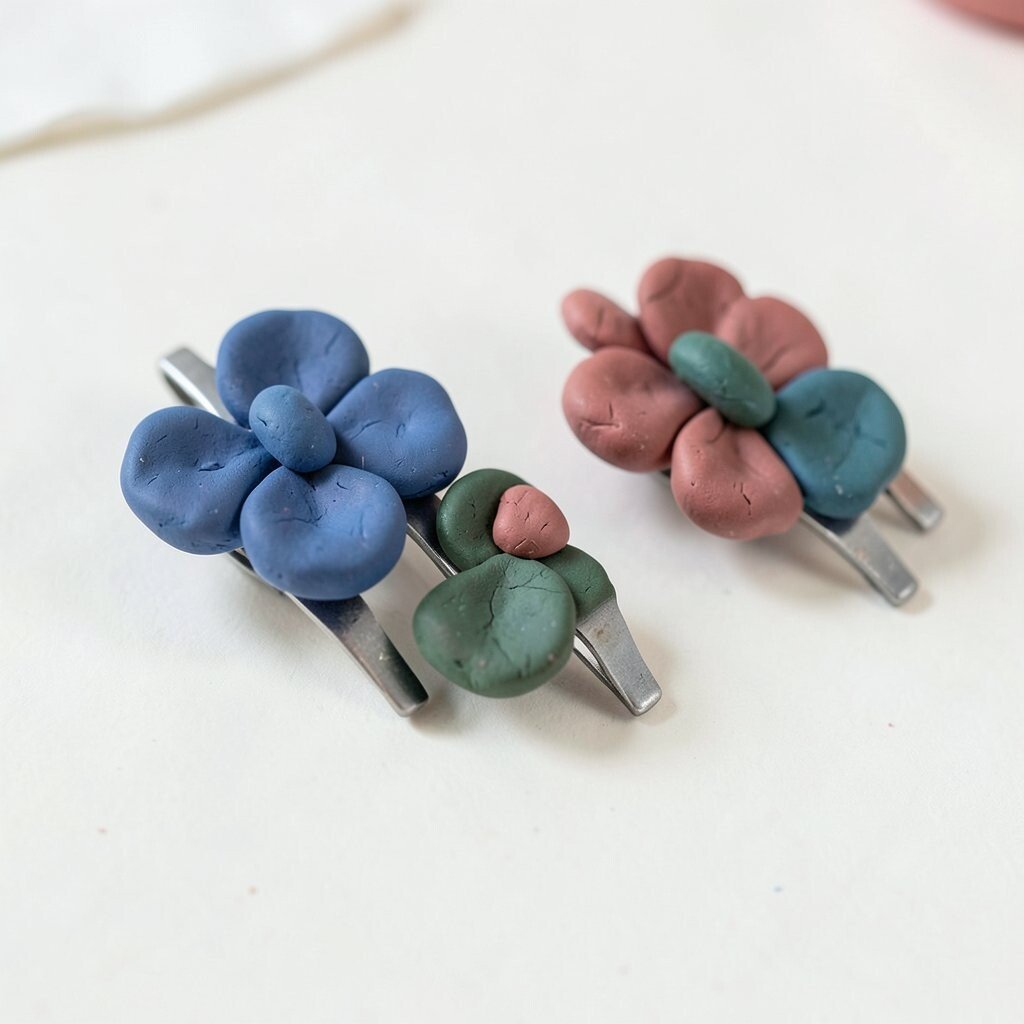
Clay flowers can turn plain hair clips into sweet little accessories. They look delicate, fresh, and ready for spring any time of year.
Shape tiny petals and press them around a small center to make a flower. Attach the finished flower to a plain clip once it is dry, or press the clay directly onto the clip base if the material allows it. Soft pastels, bright garden colors, and daisy shapes are all very popular right now.
This craft is a smart choice because it is affordable and easy to wear. It also gives you a chance to match your outfit, mood, or favorite season. Try making one bold flower or a pair of tiny matching blooms for a sweet custom set.
Children and adults can both enjoy making these because the steps are simple and the results are pretty. Add tiny dots in the center or a painted outline for extra detail. A small handmade clip can make everyday hair feel more special.
17. Clay Desk Critters
Top Clay Desk Critters Craft Tutorials
- 💅 Calm critters are individual crafted creatures I make out of clay. … from instagram.com.
- 🖼️ Polymer clay desk decoration with painted creature from facebook.com.
- 🗺️ 32 DIY Clay Monster Craft Ideas That Let You Go Full … from wonderfuldiy.com.
- 🖼️ Clay Desk Pets – TikTok Shop from tiktok.com.
- 🎨 20 Craft Ideas With Clay (Easy & Fun) from workingtheflame.com.
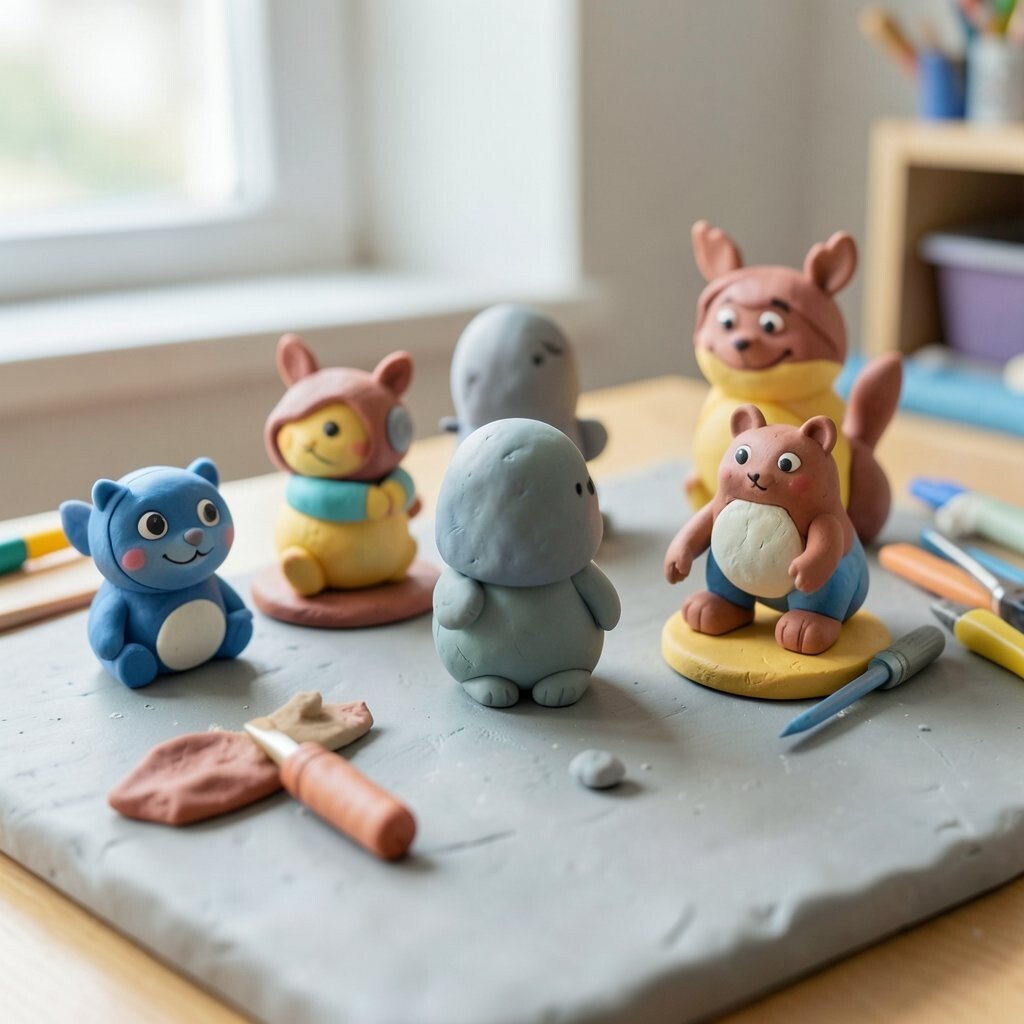
Desk critters are tiny clay buddies that sit on a shelf or next to a computer. They can look sleepy, cheerful, or even a little goofy.
Shape a small body, add simple legs or wings, and press in eyes to give each critter a face. You can make a cat, frog, turtle, or a made-up creature from your own imagination. These are especially fun in today’s trend of cute desk decor that makes workspaces feel friendly.
This craft helps make a desk feel less plain and more personal. It costs very little and can be finished fast with just a few clay scraps. Try giving each critter a tiny prop, like a book, star, or flower, to make it stand out.
Since each one can be different, no two desk critters need to look alike. That makes the craft feel creative and easy for all skill levels. You can place one on a notebook, one on a shelf, or line up a whole little clay crew.