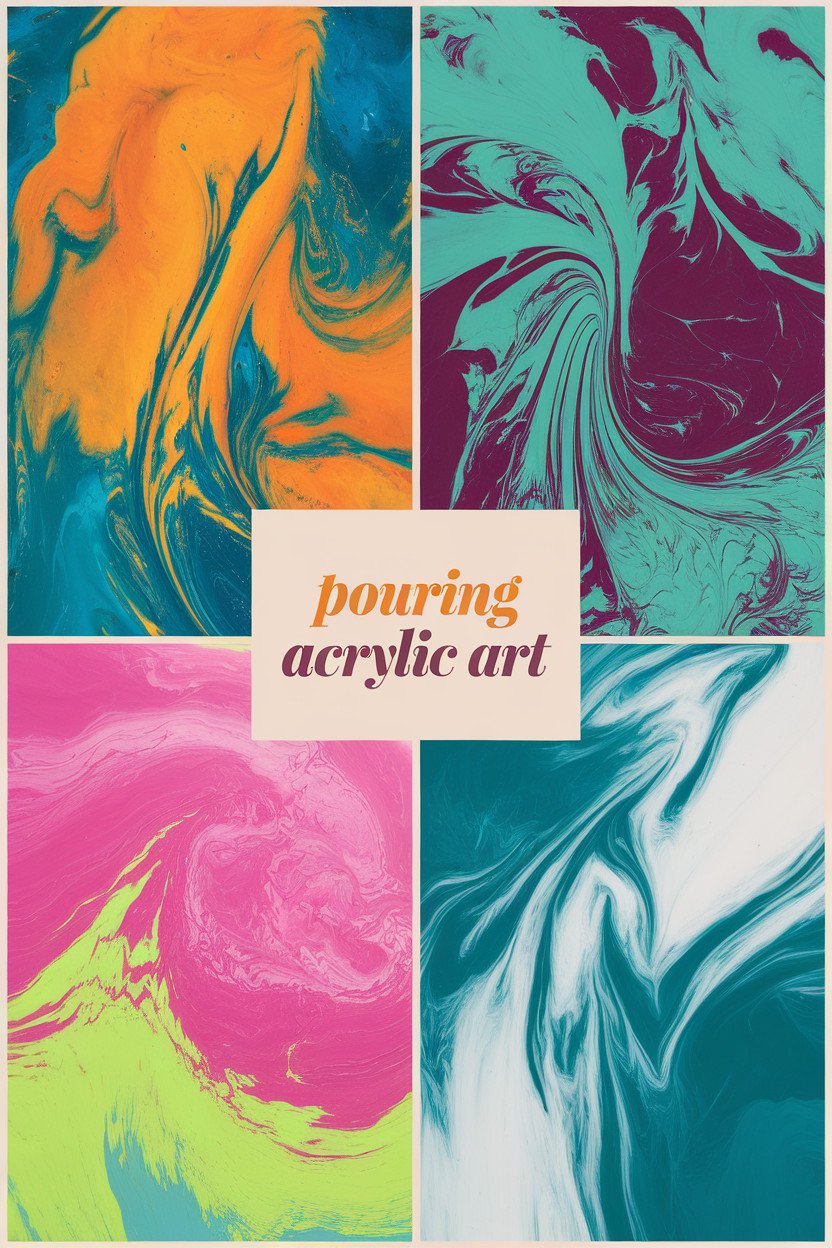
Welcome to the world of Acrylic Pouring Artistry, where creativity flows freely and mesmerizing masterpieces are born. Whether you’re a beginner or an experienced artist, acrylic pouring offers endless possibilities to express yourself through fluid art and experiment with various acrylic pour techniques to create unique effects. In this guide, we’ll provide you with everything you need to know to achieve pouring perfection, from the basics of acrylic pouring to more advanced techniques that will take your artistry to the next level. Let’s dive in!
- Acrylic Pouring Artistry offers endless possibilities to express yourself through fluid art.
- Understanding the basics of acrylic pouring is essential before exploring different techniques.
- Choosing the right pouring medium for acrylics and understanding color theory are crucial in achieving stunning results.
- Protecting and enhancing your artwork with sealing and finishing techniques is important for its longevity.
- Embrace the process, experiment fearlessly, and enjoy the artistic freedom that acrylic pouring offers.
Acrylic Pouring Basics
Before you start pouring acrylics, it is important to familiarize yourself with the basic techniques. Here are some essential tips:
- Choose the right pouring medium for acrylics
- Prepare your canvas by sanding and priming it
- Protect your workspace by using a drop cloth or old newspaper
- Mix your paints and pouring medium in a separate cup to achieve the desired consistency
- Apply a base coat to your canvas to help the paint spread more easily
Remember to experiment with different acrylic pour techniques and have fun!
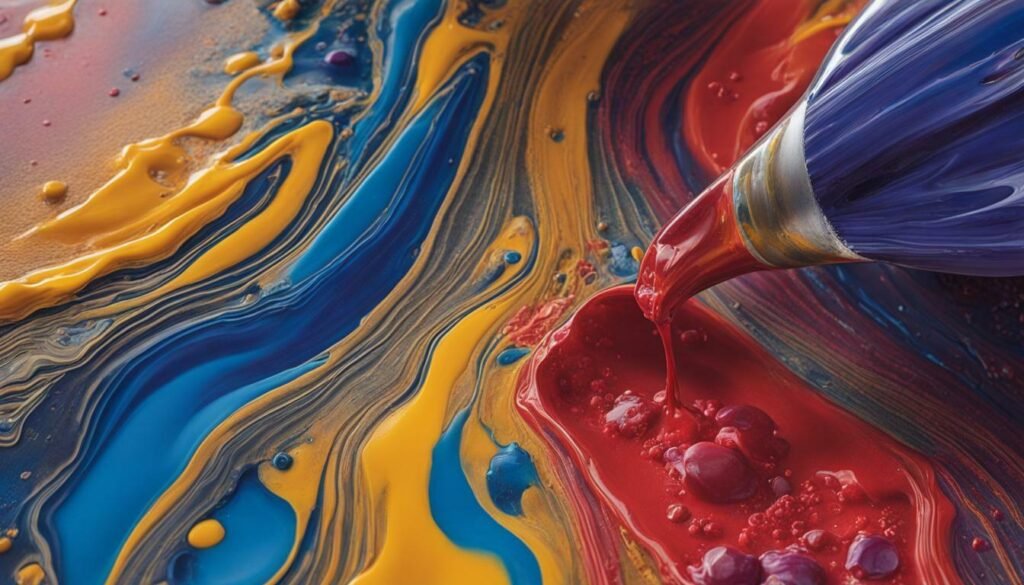
There are various acrylic pour techniques you can use to create unique effects in your artwork. Some popular techniques include:
- The dirty pour: mixing different colored paints and pouring them onto the canvas simultaneously
- The flip cup: pouring the mixed paints into a cup and flipping it onto the canvas
- The swipe: using a clean tool to swipe across the paint to create cells and other interesting effects
Experiment with these techniques and feel free to create your own!
Acrylic Pouring Supplies
To begin your journey in acrylic pouring artistry, you’ll need a few essential supplies. Here is a list of must-have items:
- Acrylic paints (a variety of colors)
- Pouring medium (to achieve the right consistency of the paint)
- Cups or containers (to mix paints and pouring medium)
- Stirring tools (such as popsicle sticks or skewers)
- Canvas or other surface
- Protective covering for your workspace (such as a drop cloth or plastic sheeting)
- Gloves (to protect your hands from chemical exposure)
- Optional: heat gun or torch (to remove bubbles and create unique effects)
When choosing your paints and pouring medium, it’s important to opt for high-quality products to ensure the best possible results. Don’t be afraid to experiment with different brands and varieties to find the ones that work best for you.
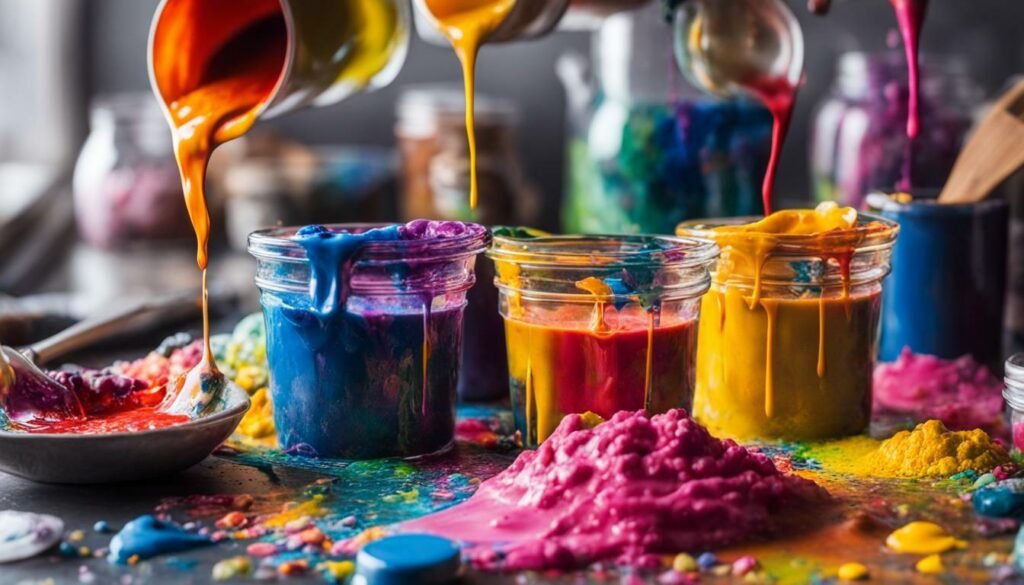
When it comes to achieving the perfect consistency and flow in your acrylic pour artworks, choosing the right pouring medium for your acrylic paints is crucial. Pouring mediums are designed to thin out your acrylic paints, making them more fluid and pourable. But with so many options to choose from, how do you know which one to use?
First, it’s important to understand that different pouring mediums can yield different results in your acrylic pour techniques. Some mediums may create more cells, while others may result in a smoother finish. Additionally, some mediums may affect the drying time and texture of your paints.
Common types of pouring mediums for acrylics include:
- Acrylic medium
- Floetrol
- Liquitex Pouring Medium
- GAC 800
Each medium has its own unique properties and advantages, so it’s important to experiment with different options to find the one that works best for your artistic style. When using a new medium, start by following the manufacturer’s instructions and monitor how it affects the flow and consistency of your paints. Over time, you’ll gain a better understanding of how different pouring mediums interact with your paint and how to achieve the desired results.

Color is a critical aspect of acrylic pouring artistry, and understanding color theory is essential in creating stunning masterpieces. Here are some tips to help you make informed decisions in choosing pigment colors:
- Consider color harmony: Understanding how colors interact with one another is key to creating balanced and visually pleasing artworks. Combining complementary colors, such as blue and orange or red and green, can add visual interest and depth to your piece.
- Experiment with pigments: Don’t be afraid to try different pigments to discover unique color combinations and effects. Metallic and iridescent paints can add a touch of glamour and shine to your artwork, while neon hues can create a bold and eye-catching statement.
- Use the right amount of paint: Overloading your canvas with too much paint can result in color muddiness and an unappealing finish. Aim to use a sufficient amount of paint without overdoing it.
Remember, your choice of pigments and color combinations is a personal choice, and experimentation is key to creating your signature style. Keep these tips in mind, and let your creativity flow!
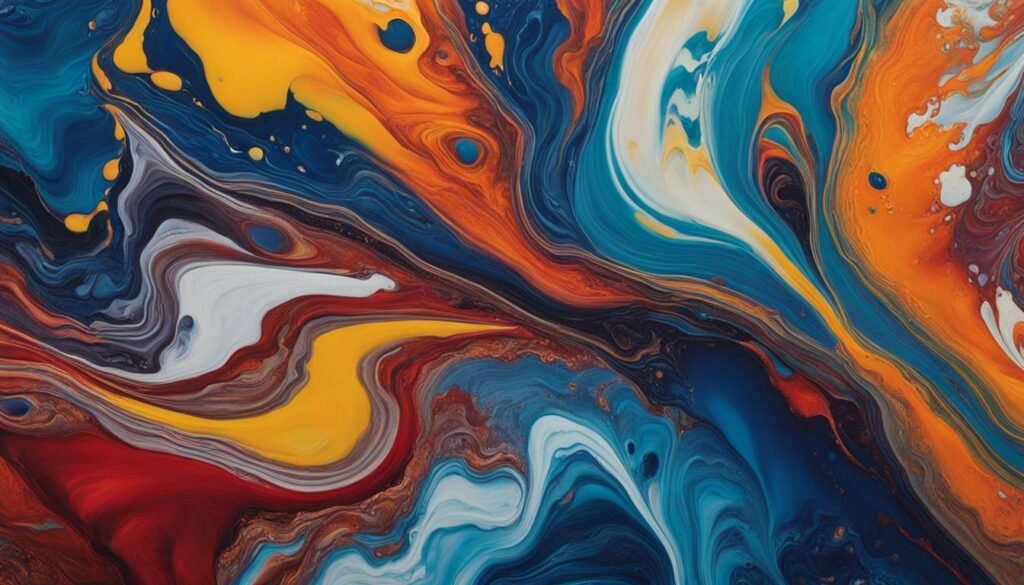
Creating a conducive workspace is critical for achieving optimal results in your acrylic pouring artistry. A well-prepared workspace provides an environment where you can focus on your artistic process without any distractions. Follow these tips to ensure your workspace is ready:
- Cover your work surface with plastic or a drop cloth to protect it from spills and drips.
- Organize your supplies, so they are within easy reach. This will enable you to work more efficiently.
- Ensure adequate ventilation. Acrylic paints emit fumes that can be harmful if inhaled over extended periods.
- Set up your canvas or surface on a flat, level surface to prevent it from shifting during the pouring process.
By preparing your workspace correctly, you can focus on the creative process and produce the desired outcomes without any interruptions.
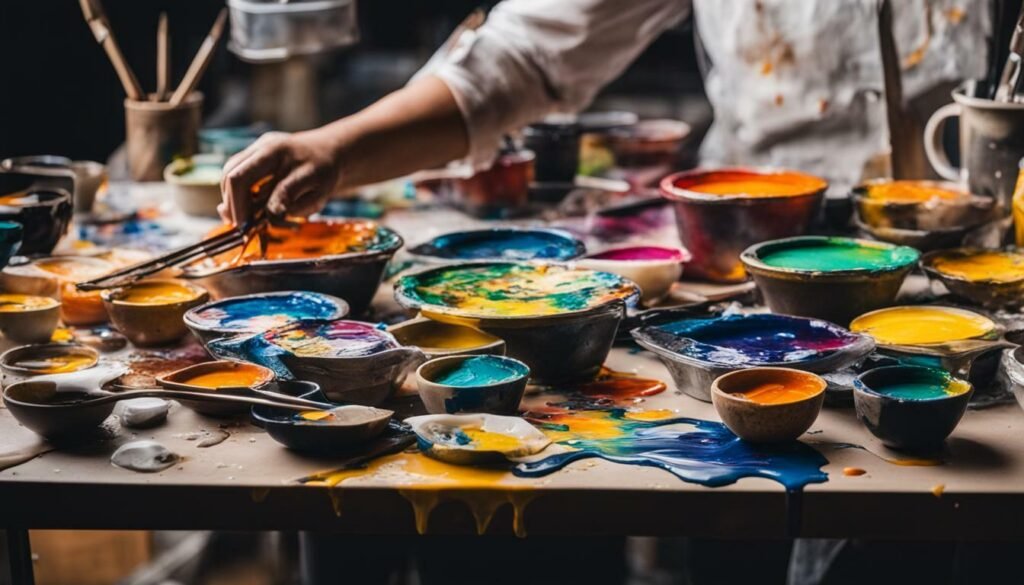
Are you ready to explore the world of acrylic pouring techniques and create stunning effects in your artworks? Here are some methods to try:
- Dirty Pour: One of the most popular techniques, the dirty pour involves layering different colors of acrylic paint and pouring them onto the canvas at the same time. This creates a marbled effect, and you can manipulate the paint by tilting the canvas to create unique patterns.
- Swipe Technique: This involves pouring paints onto the canvas and then swiping a tool, such as a spatula or palette knife, across the surface. This creates fascinating lines and textures.
- Dutch Pour: In this technique, you pour paints into a cup or container in a specific order and then pour the mixture onto the canvas. The result is a striking, serpentine design.
- Tree Ring Pour: For this technique, you layer different colors in a cup and then pour the mixture onto the canvas. You then use a tool, such as a straw or hairdryer, to blow the paint outward from the center, creating a tree ring-like design.
Remember, these are just a few of the many acrylic pouring techniques you can experiment with. Have fun and let your creativity flow!
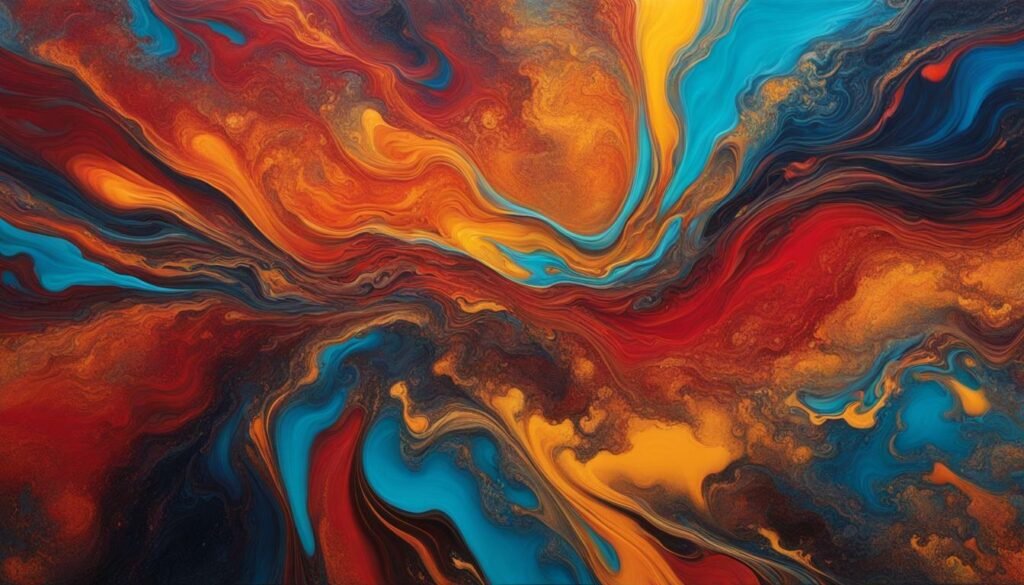
As a beginner in acrylic pouring artistry, you may encounter common issues that can derail your artwork’s success. Here are some tips to help you overcome them:
- Cracking: If your pouring has cracks, it may be due to excess water or air trapped in the paint. Use a torch or a heat gun to eliminate air bubbles before you start pouring, and avoid adding too much water to your paint or pouring medium, as it can cause cracking as well.
- Excessive Cells: While cells can add an interesting texture to your artwork, excessive cells can make it look unattractive. To control cells, avoid over-stirring or under-stirring your paint, and adjust the amount of silicone or other additives you use in your pour.
- Color Muddiness: If your colors appear muddy or dull, it may be due to overmixing or using too many colors that do not complement each other. Mix your colors in separate cups before pouring and avoid using too many colors in one pour unless you know how to create a harmonious blend.
By following these tips and experimenting with different techniques, you can overcome common issues and create stunning acrylic pour artworks. Remember to have fun and enjoy the learning process, as acrylic pour artistry is all about embracing your creativity and unleashing your inner artist.
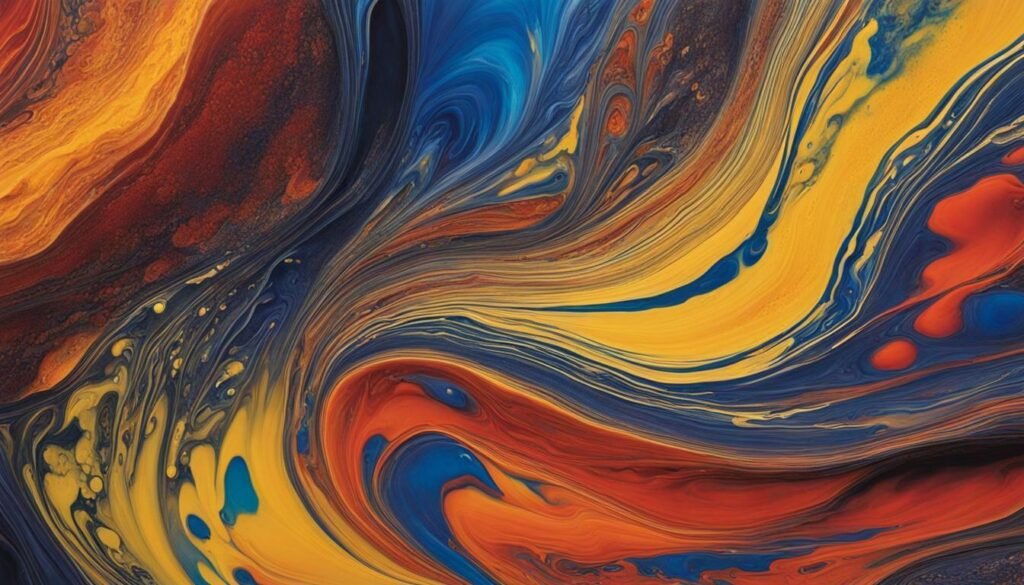
Protect and enhance the longevity of your beautiful acrylic pour artwork with the right sealing and finishing techniques. The sealing method you choose will depend on the specific needs of your artwork. Here are some options you can choose from:
- Acrylic varnish: Provides a clear, glossy or matte finish and protects against UV rays, dust, and dirt.
- Epoxy resin: Offers a durable, glossy finish and depth to your artwork and gives a professional look. It is UV resistant but needs proper ventilation and should be applied in thin coats.
Before sealing your artwork, ensure that it is completely dry and free of dust and debris. Apply the sealant in thin, even layers, allowing each coat to dry completely before applying the next. If you are using resin, mix it according to the manufacturer’s instructions and use a torch to get rid of any air bubbles.
Remember that certain acrylic pouring techniques might require different finishing methods. Experiment with different options and find the one that best suits your artwork.
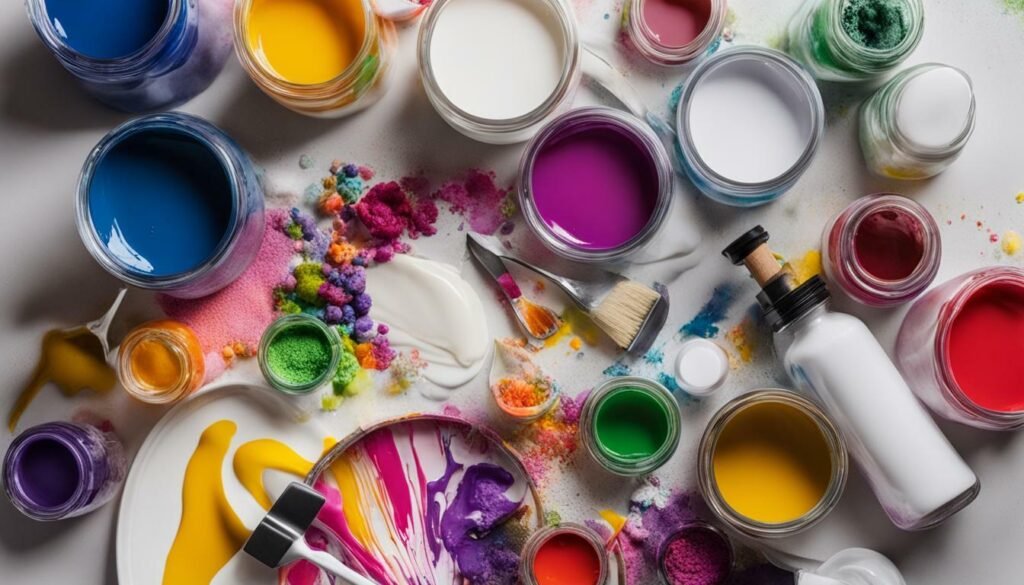
Acrylic pouring artistry offers endless possibilities for creating stunning effects in your artwork. Here are some techniques to try:
- Experiment with metallic and iridescent paints to add depth and shimmer to your pours.
- Add silicone oil or dimethicone to your pouring medium to create unique cells and textures.
- Use a blow dryer or heat gun to manipulate the flow of your paint and create interesting patterns.
- Try incorporating other art mediums like resin or alcohol ink into your pours to create mixed media pieces.
Let your creativity flow and don’t be afraid to combine different techniques to create one-of-a-kind masterpieces.
Ready to try your hand at acrylic pouring? Follow these step-by-step instructions to create a stunning acrylic pour artwork:
- Prepare your workspace by covering your surface with plastic or a drop cloth to protect it from paint spills.
- Mix your acrylic paint with your pouring medium in a 1:1 ratio, stirring slowly to avoid creating air bubbles.
- Add a few drops of silicone oil to your mixture to create cells in your artwork.
- Choose your pouring technique (e.g. dirty pour, flip cup, swipe) and pour your paint mixture onto your canvas.
- Tilt your canvas in different directions to spread the paint and create unique patterns and effects.
- Use a blowtorch or heat gun to pop any remaining air bubbles and enhance the cell formation in your artwork.
- Allow your artwork to dry overnight, then apply a varnish or resin to protect and enhance the colors in your artwork.
Remember, experimentation is key in acrylic pouring artistry. Don’t be afraid to try new techniques, color combinations, or additives to create one-of-a-kind artworks that showcase your unique style and creativity.
Congratulations! You’ve already mastered the basics, and you’re now ready to explore the exciting world of advanced acrylic pouring techniques. Take your acrylic pouring artistry to the next level by experimenting with the following techniques:
- Resin Pour: Create a glossy, glass-like surface by pouring resin over your acrylic pour artwork.
- String Pull: Add a unique, organic element to your artwork using string to manipulate the flow of your paints.
- Cup Flip: Achieve a mesmerizing spiral effect by flipping your cup of paints onto the canvas and allowing the paints to flow.
- Mixed Media: Combine other art mediums, such as collage or drawing, with your acrylic pour artwork to create a one-of-a-kind masterpiece.
Remember, the key to mastering advanced techniques is to experiment fearlessly and have fun! Don’t be afraid to try new things and push the boundaries of your creativity.
As you explore advanced techniques, keep in mind that they may require additional supplies and techniques, so be sure to research and plan accordingly. With practice and patience, you can create stunning acrylic pour artworks that are truly unique and reflective of your artistic vision. Happy pouring!
Embracing Your Acrylic Pouring Journey
Congratulations on taking the first step in your acrylic pouring journey! As a beginner, it’s natural to feel overwhelmed or intimidated by the vast array of techniques and supplies available. However, with the right mindset and approach, acrylic pouring can be an immensely rewarding and enjoyable art form. Here are some tips to help you embrace your journey as a budding acrylic pouring artist:
- Start with the basics: Don’t feel pressured to jump straight into complex techniques or experiments. Begin by familiarizing yourself with the essential supplies and techniques, and practice creating simple pours to build your confidence.
- Experiment and have fun: Acrylic pouring is an inherently experimental and unpredictable art form, and that’s part of its charm. Don’t be afraid to try new techniques, colors, or additives, and embrace the unexpected outcomes that arise in the creative process.
- Patience is key: Acrylic pouring requires patience and attention to detail, as even small variations in the pouring or mixing process can have significant effects on the final result. Give yourself time to learn and experiment, and don’t become discouraged by initial mistakes or setbacks.
- Embrace imperfections: Acrylic pouring artistry is all about embracing the unexpected and celebrating the unique qualities of each artwork. Don’t strive for perfection or get hung up on small flaws or imperfections – instead, appreciate the organic, fluid nature of the medium and enjoy the journey.
Remember, the most important aspect of acrylic pouring is that it offers an opportunity for self-expression and creativity. Whether you’re a beginner or an experienced artist, embrace the journey, have fun, and enjoy the therapeutic qualities of this unique and mesmerizing art form.
FAQ
What is acrylic pouring artistry?
Acrylic pouring artistry is a technique where acrylic paints are mixed with a pouring medium and then poured onto a canvas to create unique and mesmerizing abstract designs. The paint is typically poured in various ways to create different patterns, colors, and textures.
What are the basic acrylic pour techniques?
There are several basic acrylic pour techniques, including the dirty pour, swipe technique, flip cup, and puddle pour. These techniques involve different ways of mixing and pouring the paint onto the canvas to achieve desired effects.
What is a pouring medium?
A pouring medium is a substance that is added to acrylic paint to improve its flow and consistency for pouring. It helps to create a fluid texture, enhance color mixing, and promote the formation of cells and other interesting effects in acrylic pour artworks.
What supplies do I need for acrylic pouring?
The essential supplies for acrylic pouring include acrylic paints, pouring medium, a canvas or other surface to pour on, mixing containers, stirring sticks, and a palette knife. You may also need additional tools such as a torch or heat gun to manipulate the paint and create desired effects.
How do pouring mediums affect the flow of paint?
Pouring mediums affect the flow of paint by altering its viscosity and drying time. They help to create a more fluid consistency, allowing the paint to flow smoothly across the canvas. Different pouring mediums may also affect the appearance of cells and other textures in the finished artwork.
How do I choose the right pigments for my acrylic pour artworks?
When choosing pigments for acrylic pouring, it’s important to consider color theory and harmonious combinations. Experimenting with different color combinations and ratios can help you achieve the desired visual effects in your artwork. It’s also helpful to choose pigments that have good opacity and mixing properties for optimal results.
How do I prevent issues like cracking and color muddiness in my acrylic pour artworks?
To prevent cracking, make sure to use enough pouring medium in your paint mixture and avoid applying thick layers of paint. Properly drying and curing your artwork can also help prevent cracking. To avoid color muddiness, try to limit the number of colors you mix together and avoid overmixing. Use clean tools and containers when mixing and pouring your paint.
How do I seal and finish my acrylic pour artworks?
To seal and finish your acrylic pour artworks, you can use varnishes or resin. Varnishes provide a protective layer and enhance the colors and sheen of the artwork. Resin can create a glossy, glass-like finish. Follow the instructions on the chosen product for proper application and drying time.
What are some advanced techniques I can explore in acrylic pouring?
Advanced techniques in acrylic pouring include resin pours, incorporating other art mediums such as mixed media elements or collage, and experimenting with different pouring styles and tools. These techniques can add depth, texture, and complexity to your acrylic pour artworks.
Is acrylic pouring suitable for beginners?
Yes, acrylic pouring can be enjoyed by beginners as well as experienced artists. It offers a fun and intuitive approach to creating abstract art, allowing beginners to experiment and explore their creativity. Just remember to start with basic techniques and gradually progress to more advanced ones as you gain confidence and experience.
