Quilting stitches can change the whole mood of a project. A tiny line of thread can make fabric look calm, bold, soft, or full of motion.
Some stitches stay hidden, while others shine like part of the art. The fun begins when a quilt starts to feel personal in every seam.
1. Echo Stitching Around a Shape
Top Echo Stitching Around A Shape Craft Tutorials
- 🎄 Echo stitching on quilting designs from facebook.com.
- 🖼️ Echo quilting with a walking foot adds visual appeal from quiltsocial.com.
- 🍅 How to Create Echo Stitching – Threads Magazine from threadsmagazine.com.
- 👓 Echo quilting is one of the techniques we will talk about in … from instagram.com.
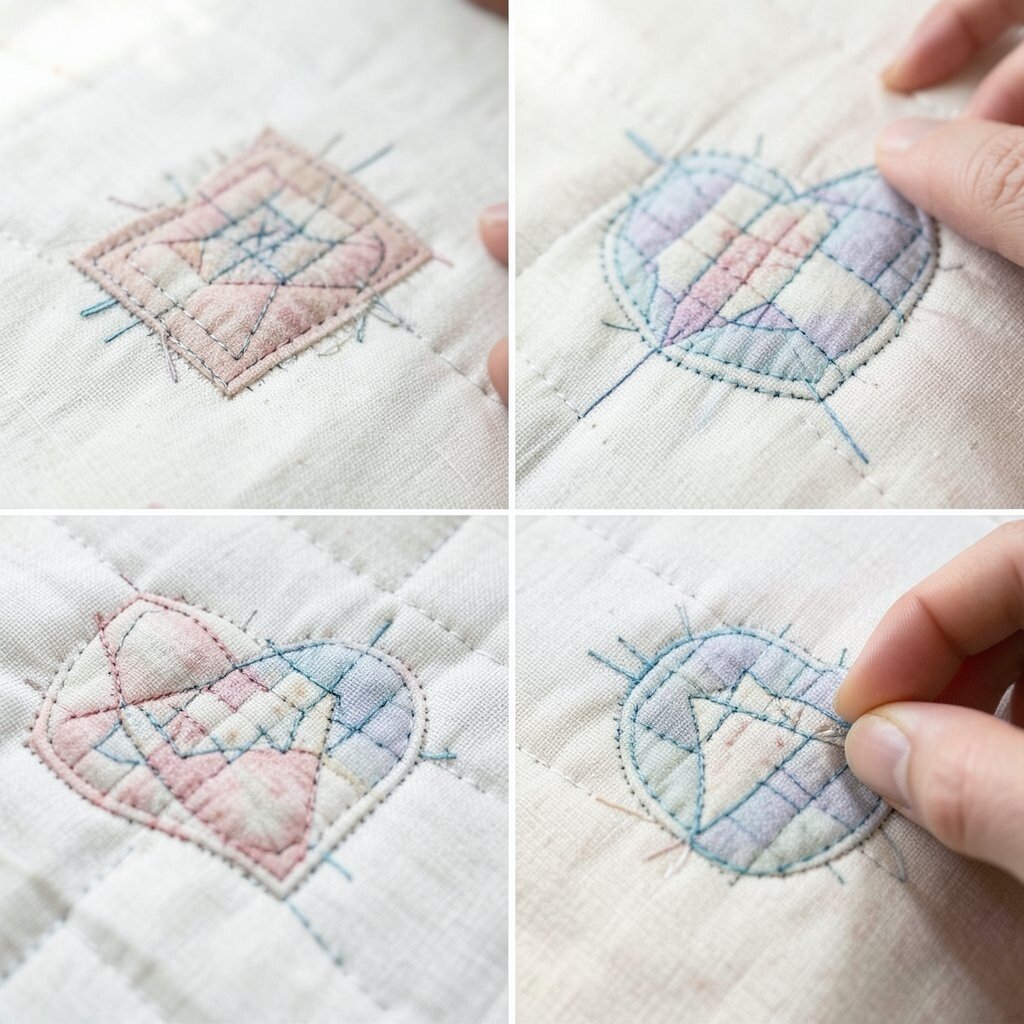
Echo stitching follows the edge of a shape and repeats it again and again. The result looks neat, rippled, and full of gentle movement.
This style works well on flowers, leaves, hearts, and stars. It helps a quilted block stand out without needing fancy fabric, and it can be done with basic thread, so the cost stays low.
2. Simple Straight-Line Quilting
Top Simple Straight-Line Quilting Craft Tutorials
- 🗺️ My Favorite Straight Line Quilting Methods from juniperusthreadworks.com.
- 👓 Inspiration for straight line quilting from thecraftyquilter.com.
- 👓 6 Tips for Straight Line Machine Quilting (a.k.a. Matchstick … from suzyquilts.com.
- 👓 A Guide to Straight Line Quilting Designs from polkadotchair.com.
- 🎄 Straight Line Machine Quilting Patterns for Beginners from sewnikki.com.
Straight-line quilting gives a clean before-and-after look that feels crisp and modern. Before quilting, a piece may look flat, but after a few straight rows, it can feel fresh and polished.
This method is easy for beginners and does not need special tools. It is also budget-friendly because a regular sewing machine and plain thread are often enough.
Many makers like to use straight lines in bold grids or soft diagonal paths. You can make the lines close together for a tight look or spread them apart for a calmer style, and that choice helps match your own taste.
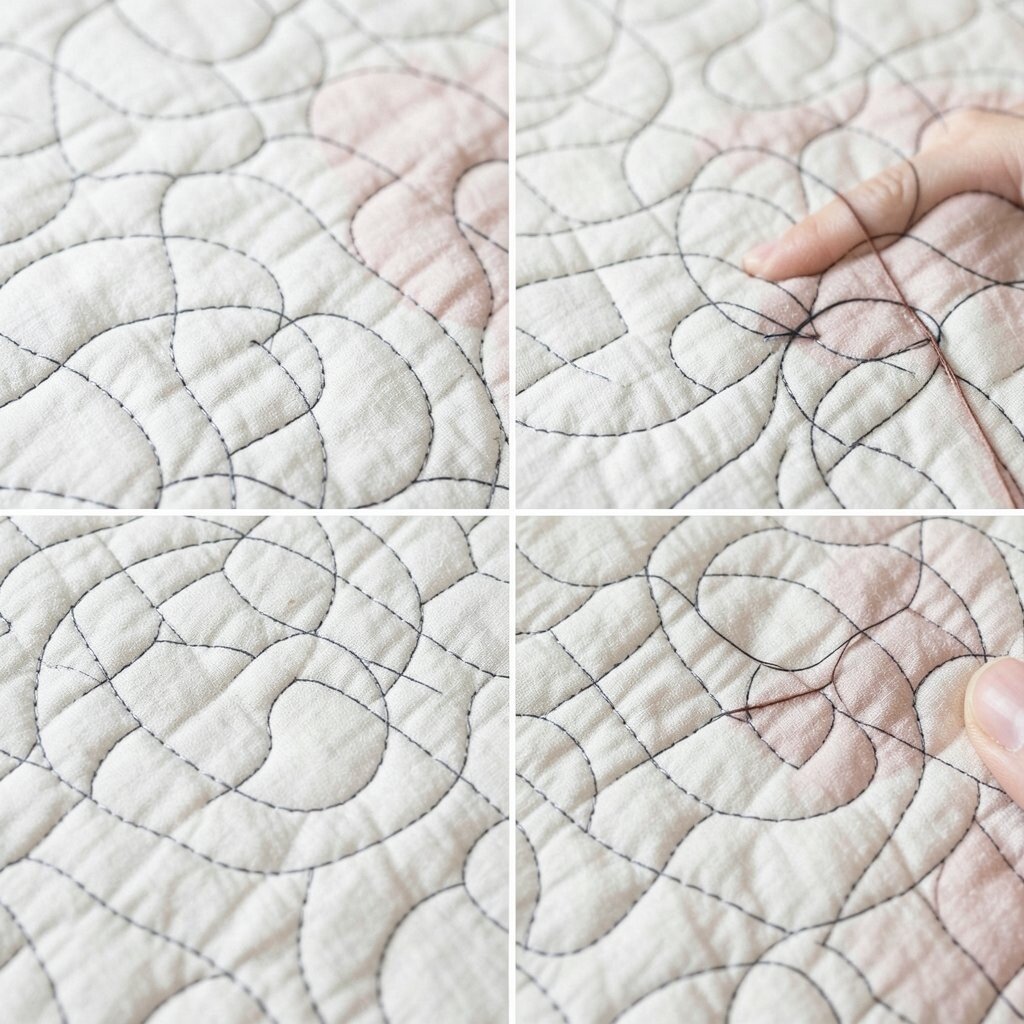
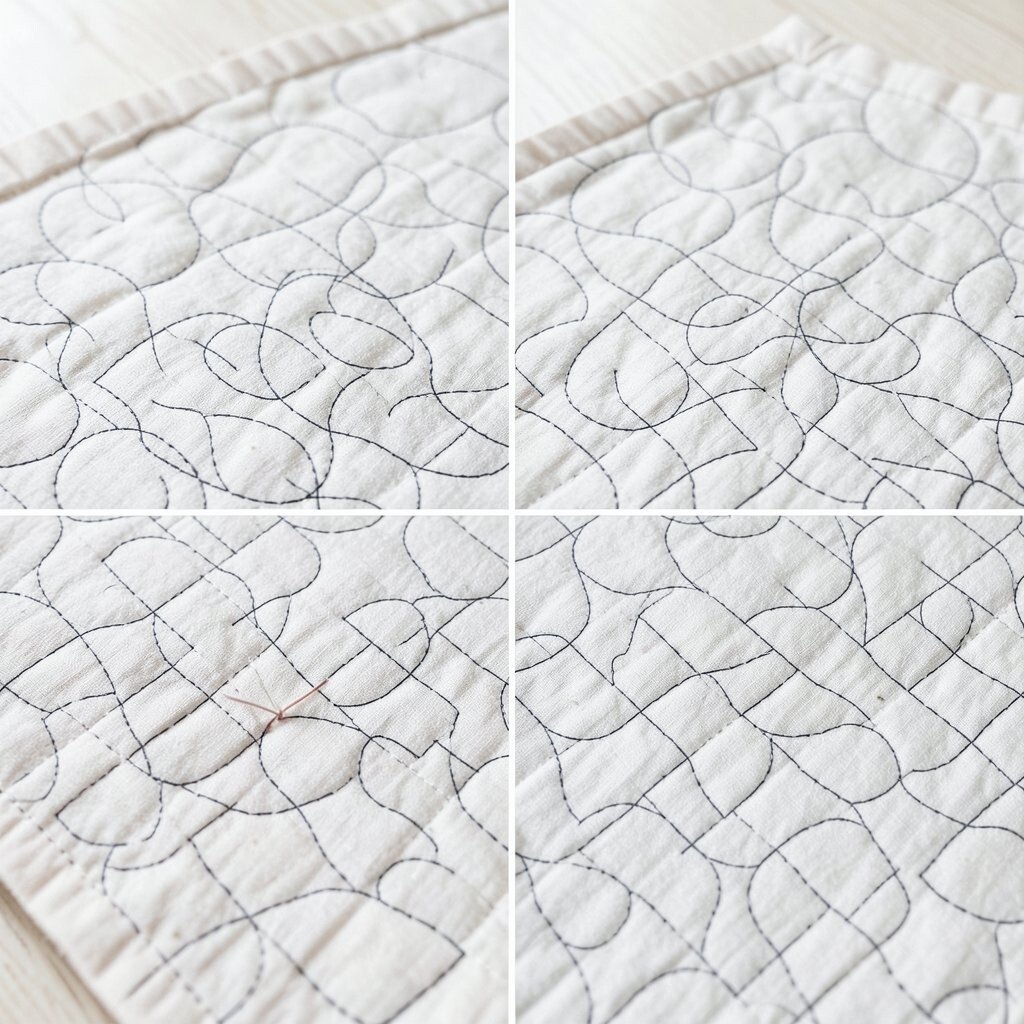
3. Free-Motion Swirls
Top Free-Motion Swirls Craft Tutorials
- 👓 All Free-Motion Tutorials from youtube.com.
- 🍁 Boost your free motion quilting skills with these 3 nature- … from quiltsocial.com.
- 🎨 Quilting Diagrams & Tip Sheet from quiltingismytherapy.com.
- 🎨 These Simple Free-Motion Quilting Designs Are Perfect for … from craftsy.com.
- 🍁 Quilting swirl variations: mastering concentric & elongated … from facebook.com.
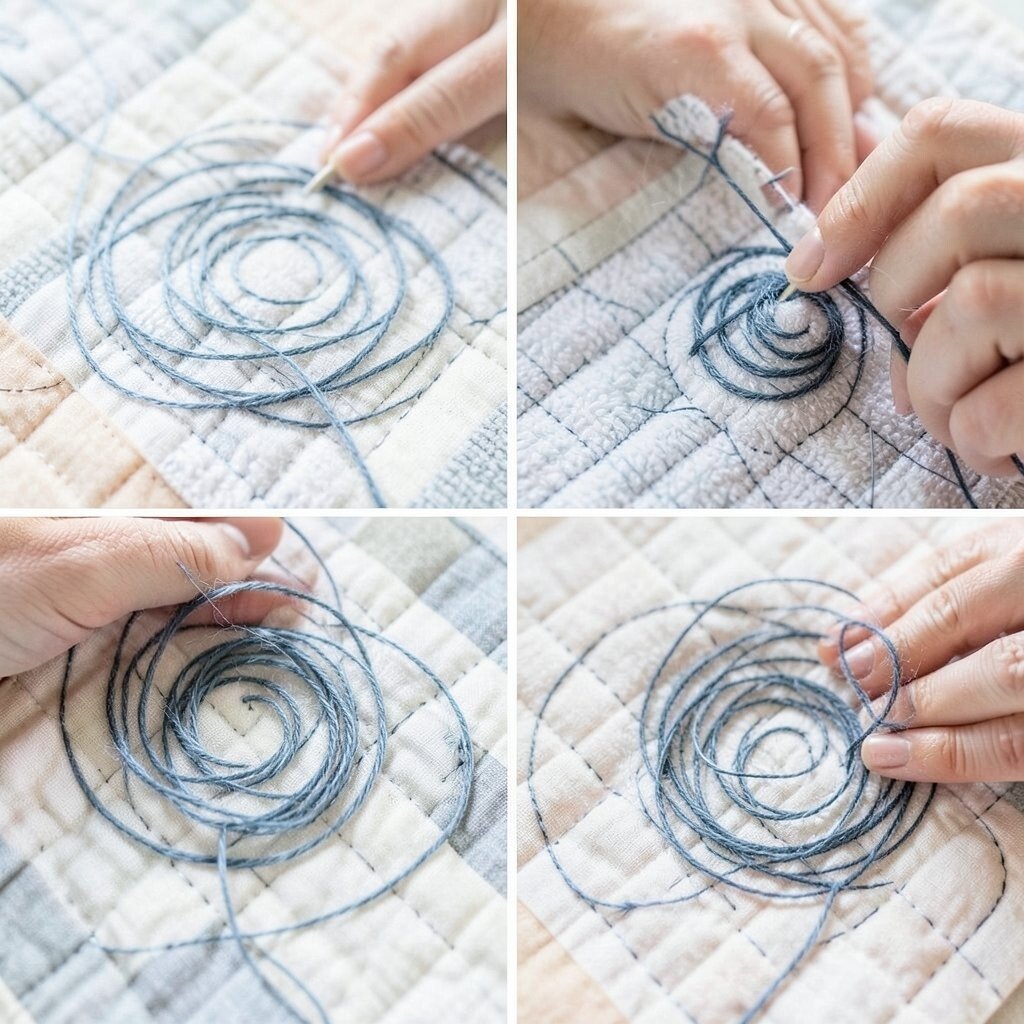
Free-motion swirls add a playful, flowing look that feels lively. A plain quilt top can suddenly seem full of wind, waves, or curls of smoke.
This stitch style gives a lot of freedom, so every quilt can look one of a kind. It may take practice, but the cost stays low once you have a machine that can handle free motion and a good quilting foot.
Swirls are popular in modern quilting because they soften hard shapes. Try making them small for a tidy look or large for a bold, dreamy feel, and use thread color to either blend in or stand out.
4. Crosshatch Quilting
Top Crosshatch Quilting Craft Tutorials
- 🗺️ Cross Hatch Quilting Tutorial from aquiltinglife.com.
- 🎨 How to Do Cross Hatch Quilting Tutorial – using a Walking … from sewcanshe.com.
- 🎄 Guide to Crosshatch Machine Quilting – Lou Lou & Betty from loulouandbetty.com.
- 🧑🌾 The Crosshatch Quilt Pattern: A "Classic Beginner" Quilt from scissortailquilting.com.
- 🖼️ How to add cross-hatch quilting when some of the blocks … from reddit.com.
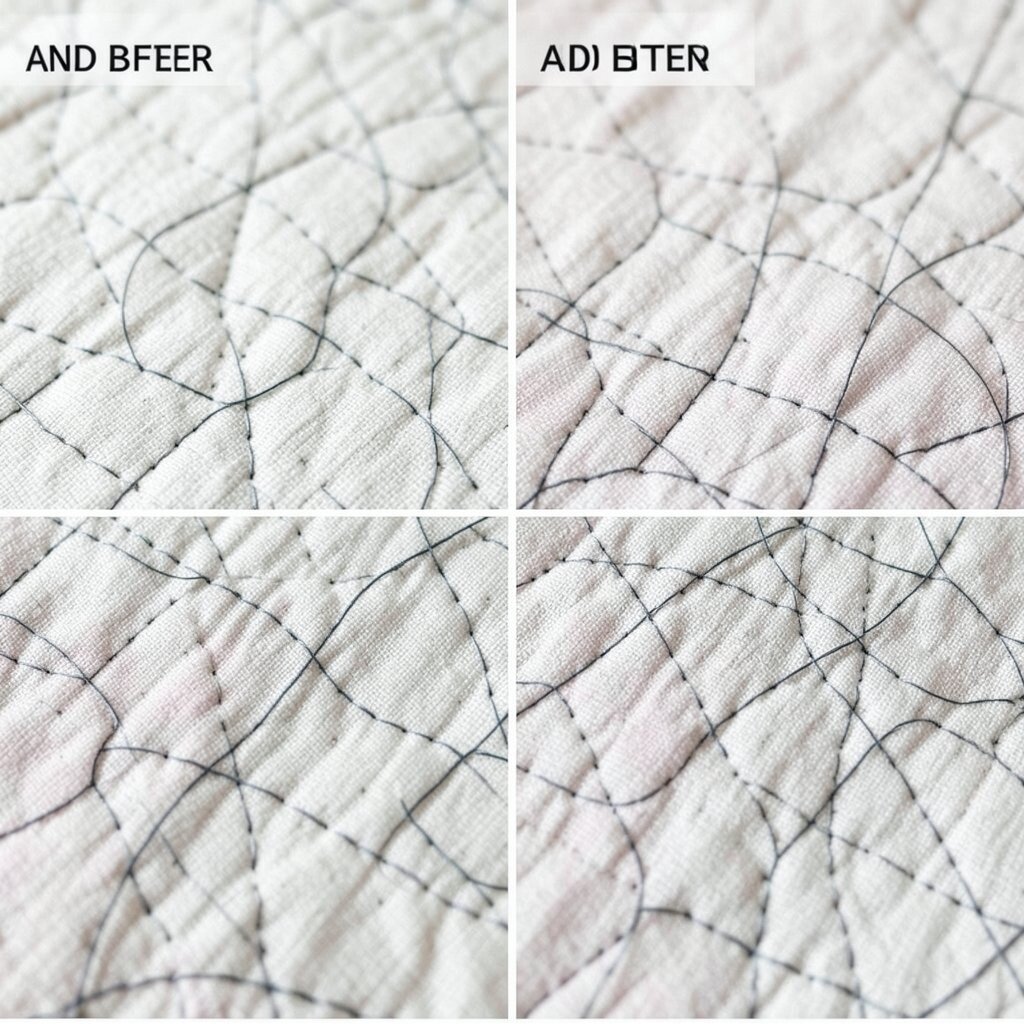
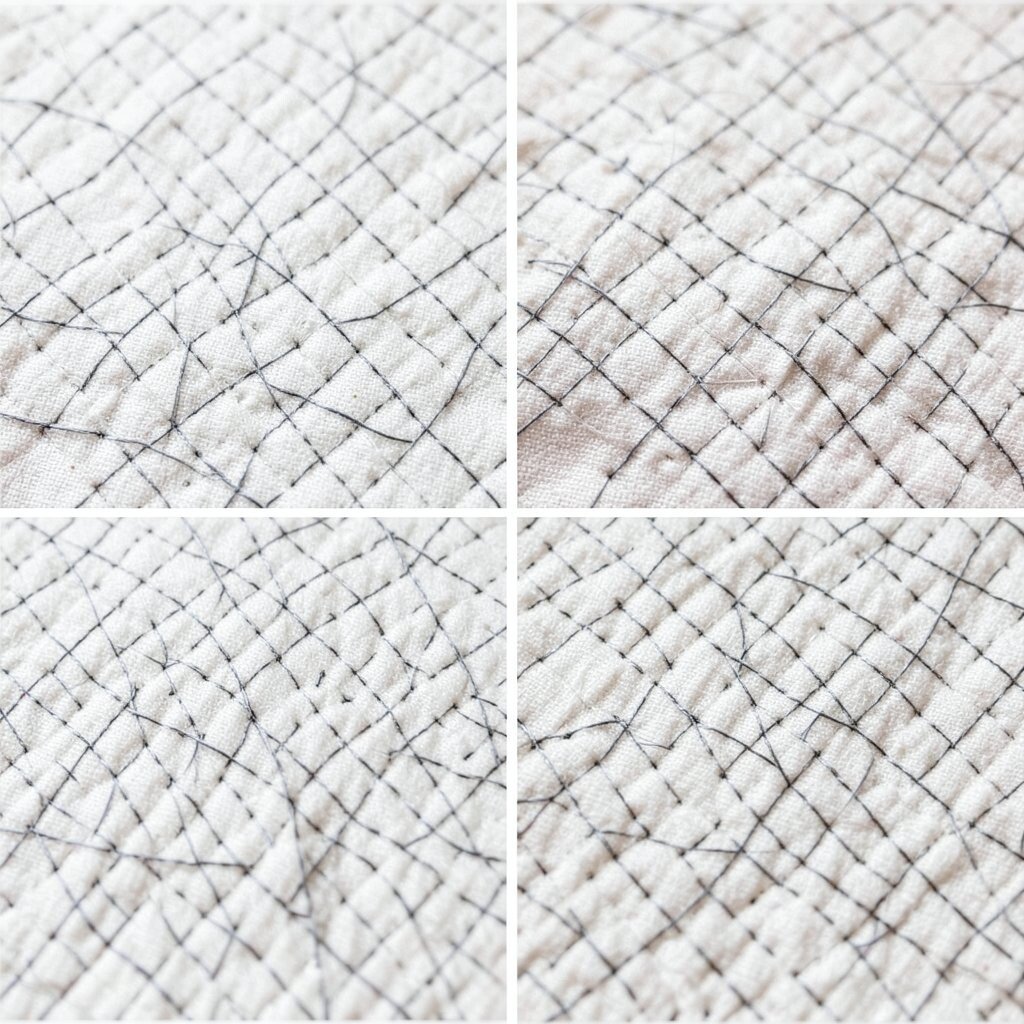
Crosshatch quilting makes a quilt look like a field of diamonds or squares. Before stitching, the fabric may seem plain, but after the lines meet, it gains a classic, tailored style.
This technique adds strength and helps layers stay in place. It is a smart choice for bed quilts, table runners, and wall pieces because it looks neat and wears well.
5. Stitch-in-the-Ditch
Top Stitch-in-the-Ditch Craft Tutorials
- 🍂 Stitch in the Ditch Beginner Quilting Tutorial from sewnikki.com.
- 🎨 How to Stitch in the Ditch from kimberbell.com.
- 🗺️ Mastering Stitch in the Ditch with CS7 from gammill.com.
- 🗺️ Sewing the BEST Stitch in the Ditch Tutorial from wonderfil.ca.
Stitch-in-the-ditch hides thread in the seam lines, so the quilting almost disappears. The fabric pieces stay the stars, and the stitching gives support without stealing attention.
This is a great pick when you want a clean finish and a low-cost plan. It works best with careful sewing, and many quilters like to use it for block quilts that already have strong shapes.
If you want a softer look, use matching thread so the stitches blend in. For a little more edge, choose a slightly darker thread and let the seams show just enough to add quiet detail.
6. Big Stitch Hand Quilting
Top Big Stitch Hand Quilting Craft Tutorials
- 🎨 How to do Big Stitch Hand Quilting with Perle Cotton tutorial from rebeccamaedesigns.com.
- 💅 Big Stitch Hand Binding | A Tutorial from patchworkandpoodles.com.
- 🍂 How to Do Big Stitch Hand Quilting from wonderfil.ca.
- 🖼️ Big Stitch Quilting For Texture and Interest from auntemsquilts.com.
- 🧑🌾 Big-stitch hand quilting is a lovely finish for a quilt. Watch … from facebook.com.
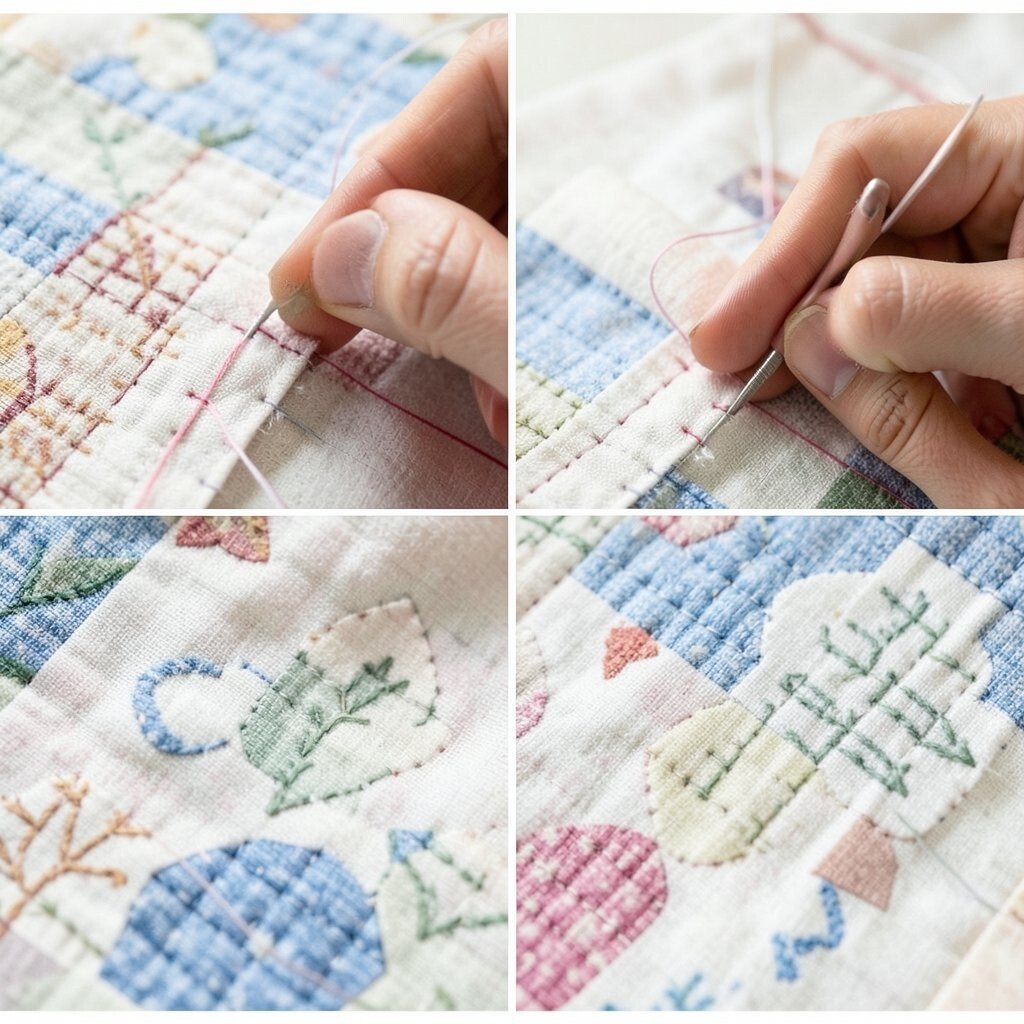
Big stitch hand quilting has a cozy, handmade feel that many people love right now. The stitches are larger than usual, so they create a bold dotted line that looks warm and friendly.
This style is easy to personalize with bright thread colors or soft natural tones. It can be done with simple tools, which keeps the cost down and makes it a nice choice for slow sewing at home.
Try it on baby quilts, lap quilts, or art pieces where texture matters. The bigger stitches can show off your handwork, and they bring a relaxed charm that feels different from machine quilting.
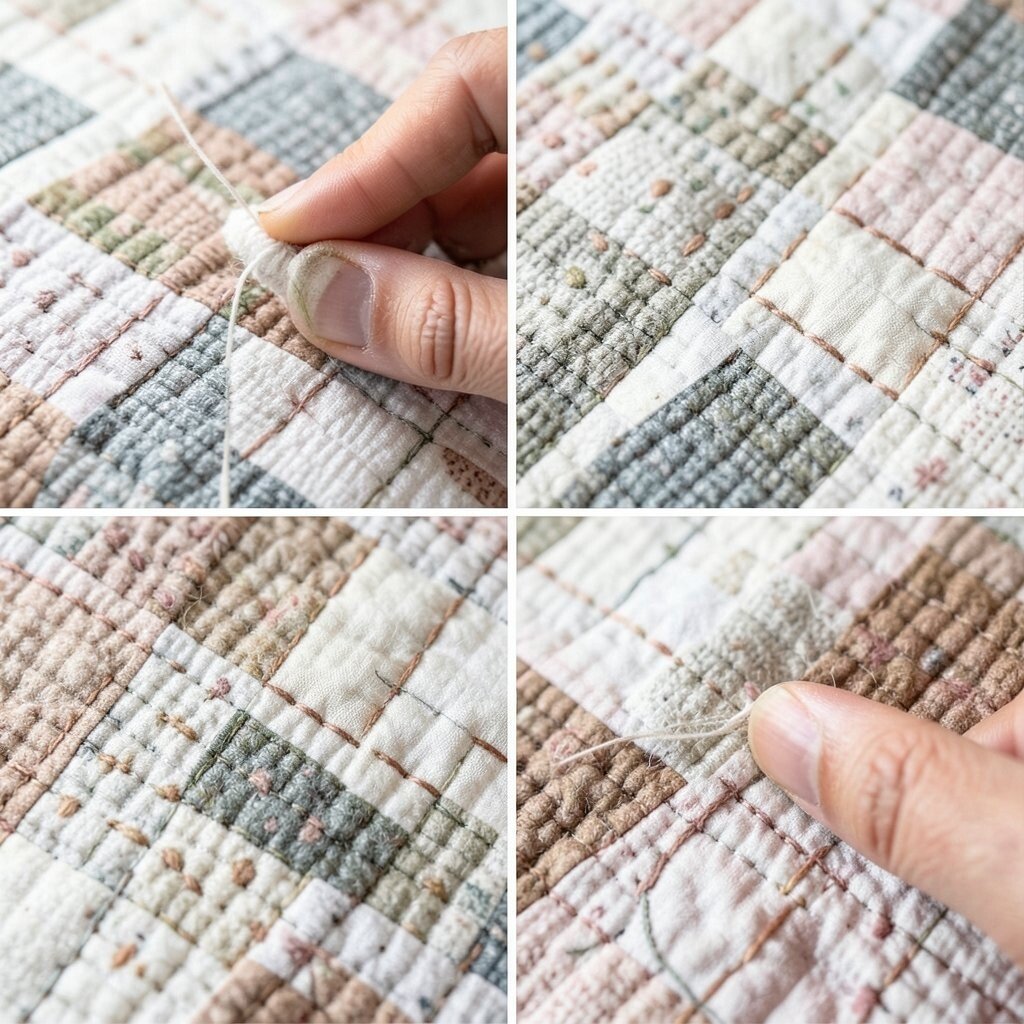
7. Dense Micro Quilting
Top Dense Micro Quilting Craft Tutorials
- 🖼️ Microquilting is an easy technique to make your quilting … from facebook.com.
- 💅 10 Kinds of Quilting Joy from heidiparkes.com.
- 🍅 It LIVES! Bringing the Blue Heron to life. – from whitearborquilting.com.
- 🍂 Thinking of trying a quilt with really tiny pieces, any advice? from reddit.com.
- 🍂 Oh how I love texture and bringing quilts to life💕 Here's a … from facebook.com.
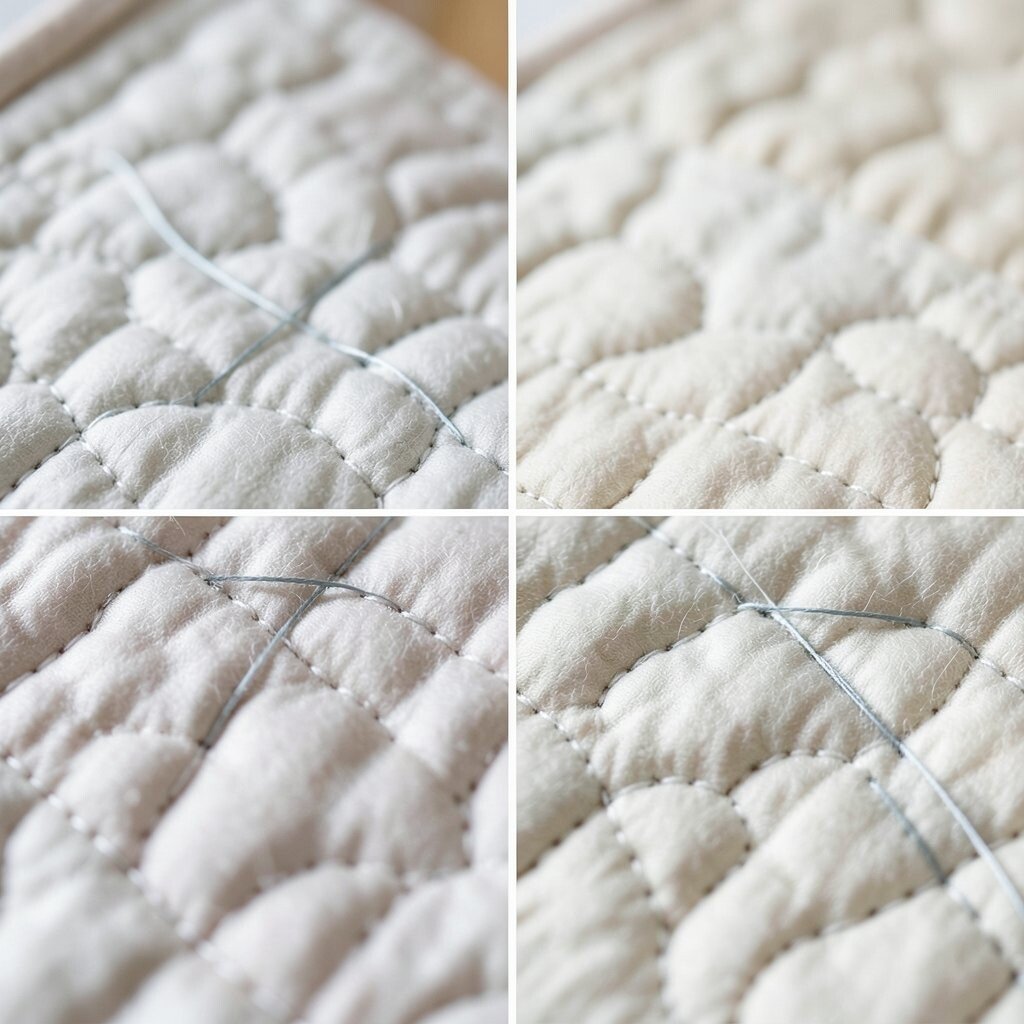
Dense micro quilting uses tiny stitches packed close together, and the effect can be stunning. Before quilting, the fabric may hang loosely, but after this treatment it often looks rich, firm, and almost sculpted.
This method can make a simple fabric look expensive and detailed. It takes time and thread, so the cost can be higher, but the finished look often feels worth it.
Many quilters use micro quilting to frame special areas or build texture in the background. If you want a more personal touch, keep the stitches dense in one spot and lighter in another to guide the eye across the quilt.
8. Curved Line Quilting
Top Curved Line Quilting Craft Tutorials
- 🗺️ Free Motion Monday – Figure 8 Quilting Design from truebluequilts.com.
- 🎄 Quilting with figure 8 design and bump back method from facebook.com.
- 🎄 Curved Quilt Blocks Beginners Guide from bryanhousequilts.com.
- 🖼️ How to Quilt Wavy Lines With a Walking Foot from janome.com.
- 🍂 Curvy Lines Quilt Tutorial, Part 1 from weallsew.com.
Curved line quilting brings softness to blocky designs and can make a quilt feel more relaxed. The flowing lines look like hills, ribbons, or gentle water paths.
This stitch technique is useful when you want to break up stiff shapes. It can also help a quilt feel more modern, since many current quilt styles use curves instead of only straight edges.
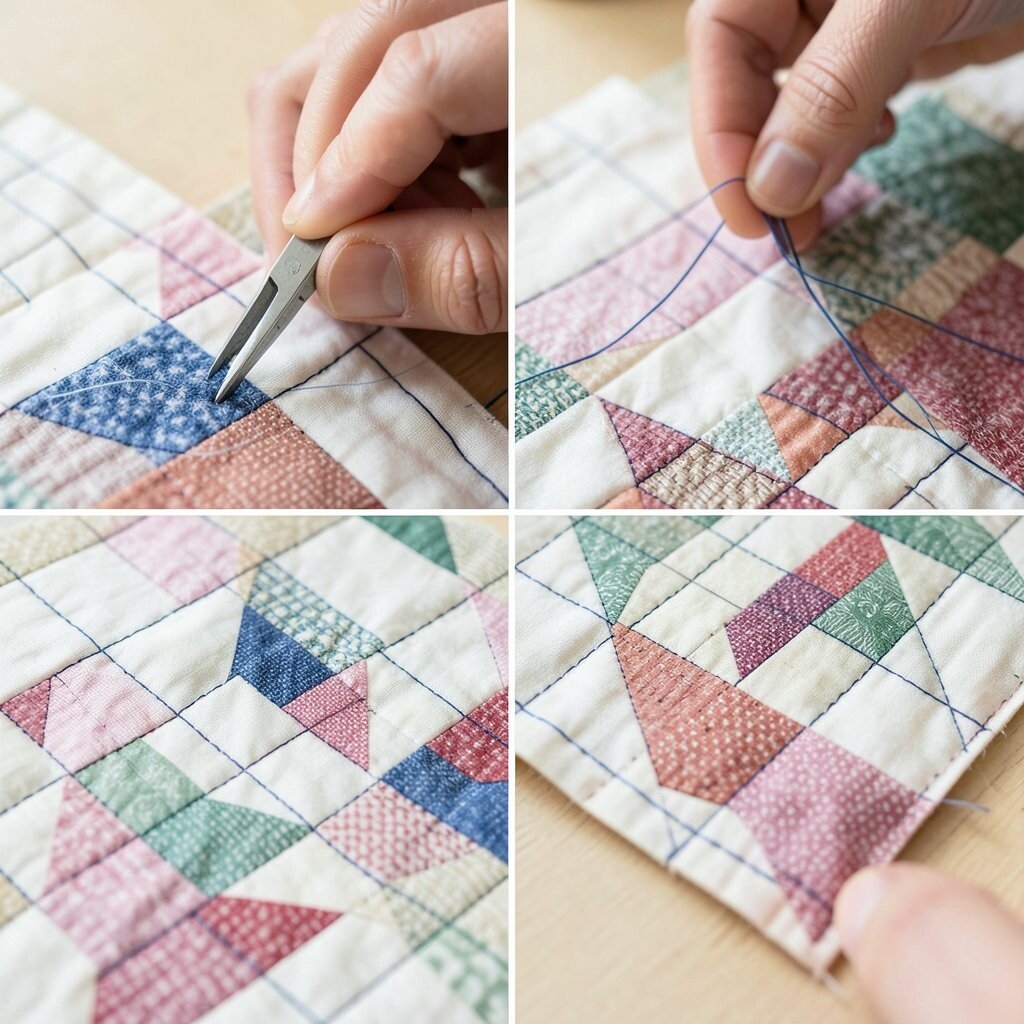
9. Outline Quilting
Top Outline Quilting Craft Tutorials
- 🗺️ Nine Patch Patchwork Quilt Pattern! My Very First Quilt EVER! from makingthingsisawesome.com.
- 🍂 Two at a Time 9 Patch Blocks from matantequilting.com.
- 💅 Basic 9 Patch Quilt Block {Quick Easy Method} from craftpassion.com.
- 🖼️ Easy Disappearing Nine-Patch Quilt Pattern from bonjourquilts.com.
- 🗺️ Red and White Nine Patch Sampler Quilt from epidastudio.com.
Outline quilting traces around printed shapes, appliqué pieces, or pieced blocks. It gives each part a clear border, so the whole quilt looks tidy and easy to read.
This technique is helpful for showing off special fabrics or a favorite center panel. It is not too costly, and it works well with thread that matches or gently contrasts the fabric.
For a personal touch, outline only the most important shapes and leave the rest plain. That balance can save time, reduce thread use, and still give the quilt a finished, custom look.
10. Grid Quilting with Angles
Top Grid Quilting With Angles Craft Tutorials
- 🎄 Ten-Speed Mystery Quilt Clue Four from scrapdash.com.
- 🗺️ if I have seen a quilt pattern that uses a 10 degree wedge … from facebook.com.
- 🗺️ 9 Easy Grid Quilting Ideas for Beginners from quiltingwemple.com.
- 💅 Get Started in Quilting with Quilt Top Piecing from urbanspools.com.
- 🧑🌾 Creative Grids® USA | Designed by machine quilting … from instagram.com.
Grid quilting with angles takes a basic grid and tilts it into diamonds or slanted boxes. The before-and-after change can feel sharp and stylish, almost like turning a simple shirt into a tailored jacket.
This look is very popular in modern home decor because it feels clean and graphic. It is also a smart way to use basic lines while still making the quilt look special.
You can keep the spacing wide for a calm effect or make the lines close for more texture. If you want a unique finish, use a bright thread on dark fabric or a soft neutral on light fabric to shape the mood.
11. Pebble Stitch Quilting
Top Pebble Stitch Quilting Craft Tutorials
- 🖼️ Quilting progress and challenges with pebbles … – Facebook from facebook.com.
- 🍂 Jane A. Stickle Quilt block 11: JAS-A11 – Pebble's Protest from teresadownunder.com.
- 🖼️ Pebble Applique Tutorial from handmadiya.com.
- 🍂 What You Can Make With The New Pebble Bee Cross Stitch … from blog.fatquartershop.com.
- 🍁 Quilting pebbles on a domestic machine Pfaff … from instagram.com.
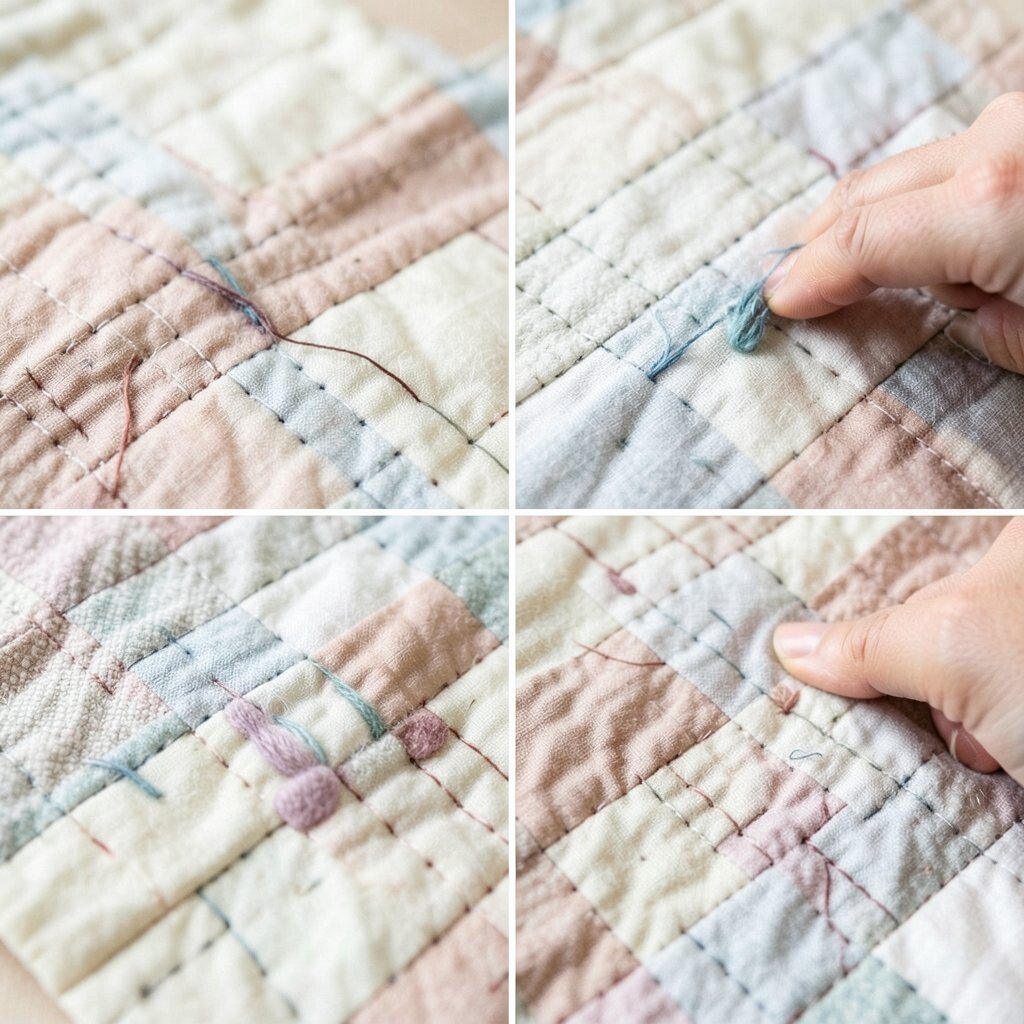
Pebble stitch quilting fills space with tiny round circles that look like stones or bubbles. The surface becomes rich and bumpy, and the quilt gains a soft, lively texture.
This style is great for borders, backgrounds, and small art quilts. It can take patience, but it uses simple motion and does not require expensive extras, so the main cost is time.
Pebbles can be packed tight for a full, plush effect or spaced out for a lighter feel. Try using them around a focal block to make that area pop and give the quilt a handmade signature.
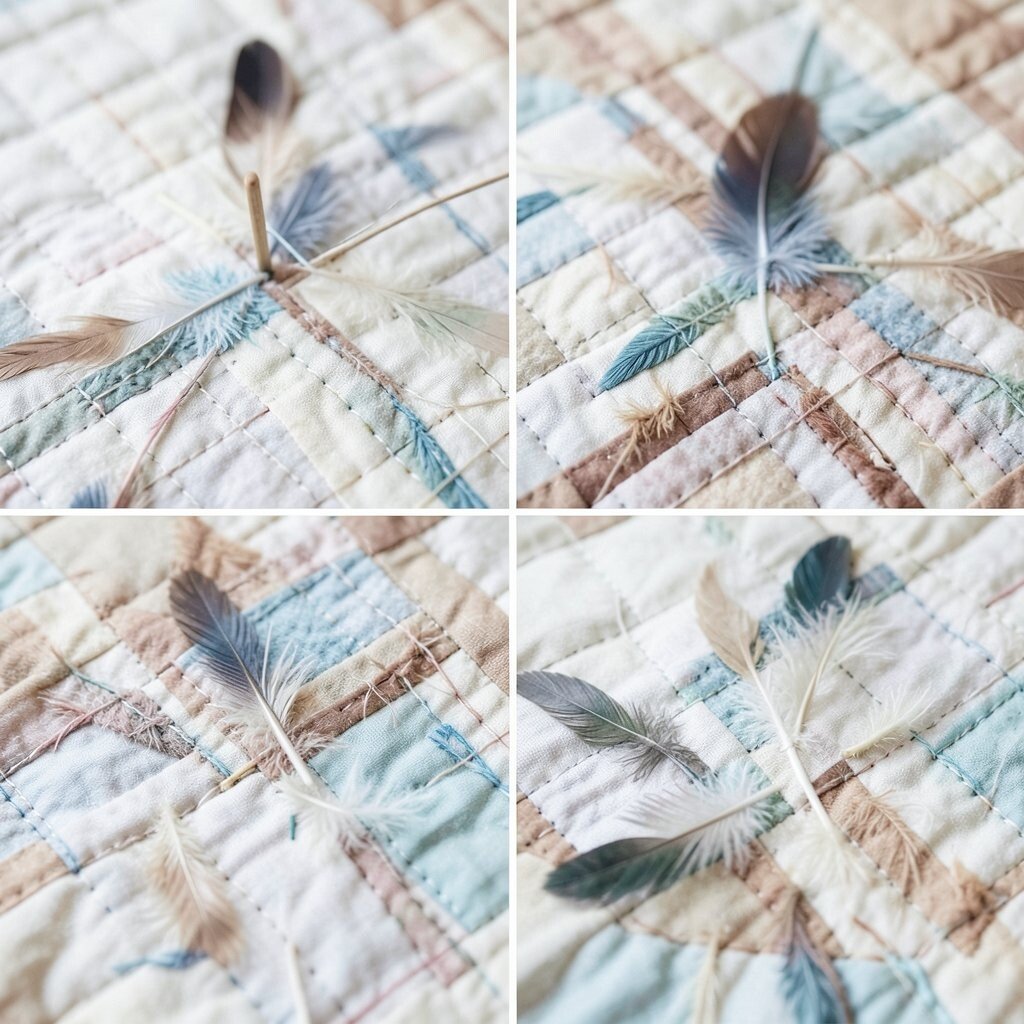
12. Feather Quilting
Top Feather Quilting Craft Tutorials
- 👓 12" Feather Template Spine-Longarm from hcquilts.com.
- 🍁 Arctic feathers pattern 12 with 4 projects from facebook.com.
- 🎄 Lissa's Feather Block 12 from mycreativestitches.net.
- 🎄 12 Unique Ways for Quilting Feathers in Different Shapes from quiltingwemple.com.
- 🧑🌾 Sew Steady Feather Spine Template 12 inch from premierstitching.com.
Feather quilting gives a graceful, classic look that never really goes out of style. The lines curl and branch like leaves, making the quilt feel elegant and full of movement.
This technique can make a project look fancy without needing fancy fabric. It may take practice, but many quilters enjoy the challenge because the final result feels rich and personal.
Feathers can be stitched large for a dramatic effect or small for a softer, more delicate finish. If you want to keep costs in check, use them in key areas only, such as borders or a center panel.
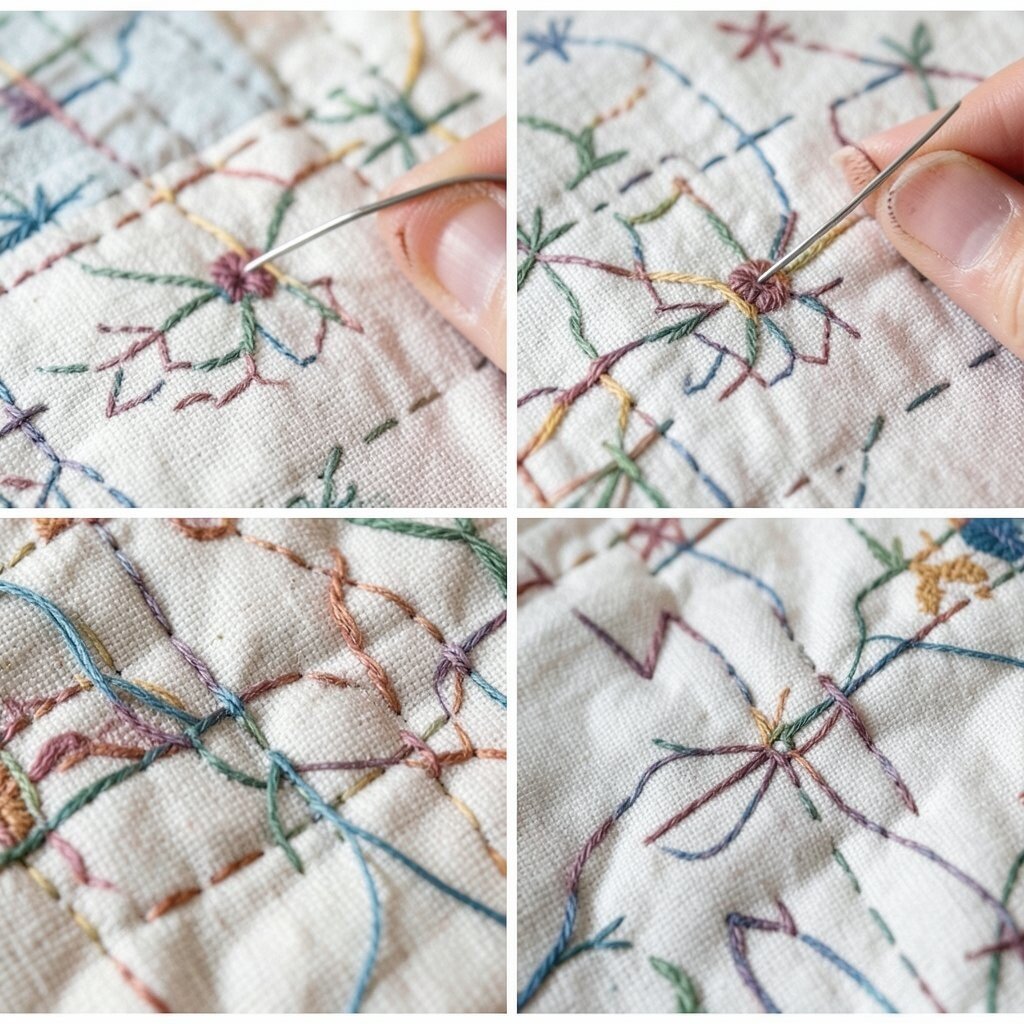
13. Decorative Thread Painting
Top Decorative Thread Painting Craft Tutorials
- 🍁 Hello everyone! My main craft is embroidery and this is one … from facebook.com.
- 🍅 Variegated Thread Painting Tips from weallsew.com.
- 🧑🌾 Woollen thread art is a creative and versatile craft … from instagram.com.
- 💅 DIY Fish Wall Hanging Craft Idea Using Woolen Thread from facebook.com.
Decorative thread painting uses thread like a drawing tool, building color and shape with stitched lines. Before quilting, a design may feel flat, but after thread painting, it can look vivid and full of life.
This method is perfect for flowers, birds, faces, and abstract art. It gives a quilt a unique handmade signature, and current trends often favor this kind of bold, artistic stitching.
Because it uses more thread and time, the cost can rise a little, so many makers save it for special spots. You can make it more personal by mixing thread colors, changing stitch direction, or adding tiny details that match your own style.