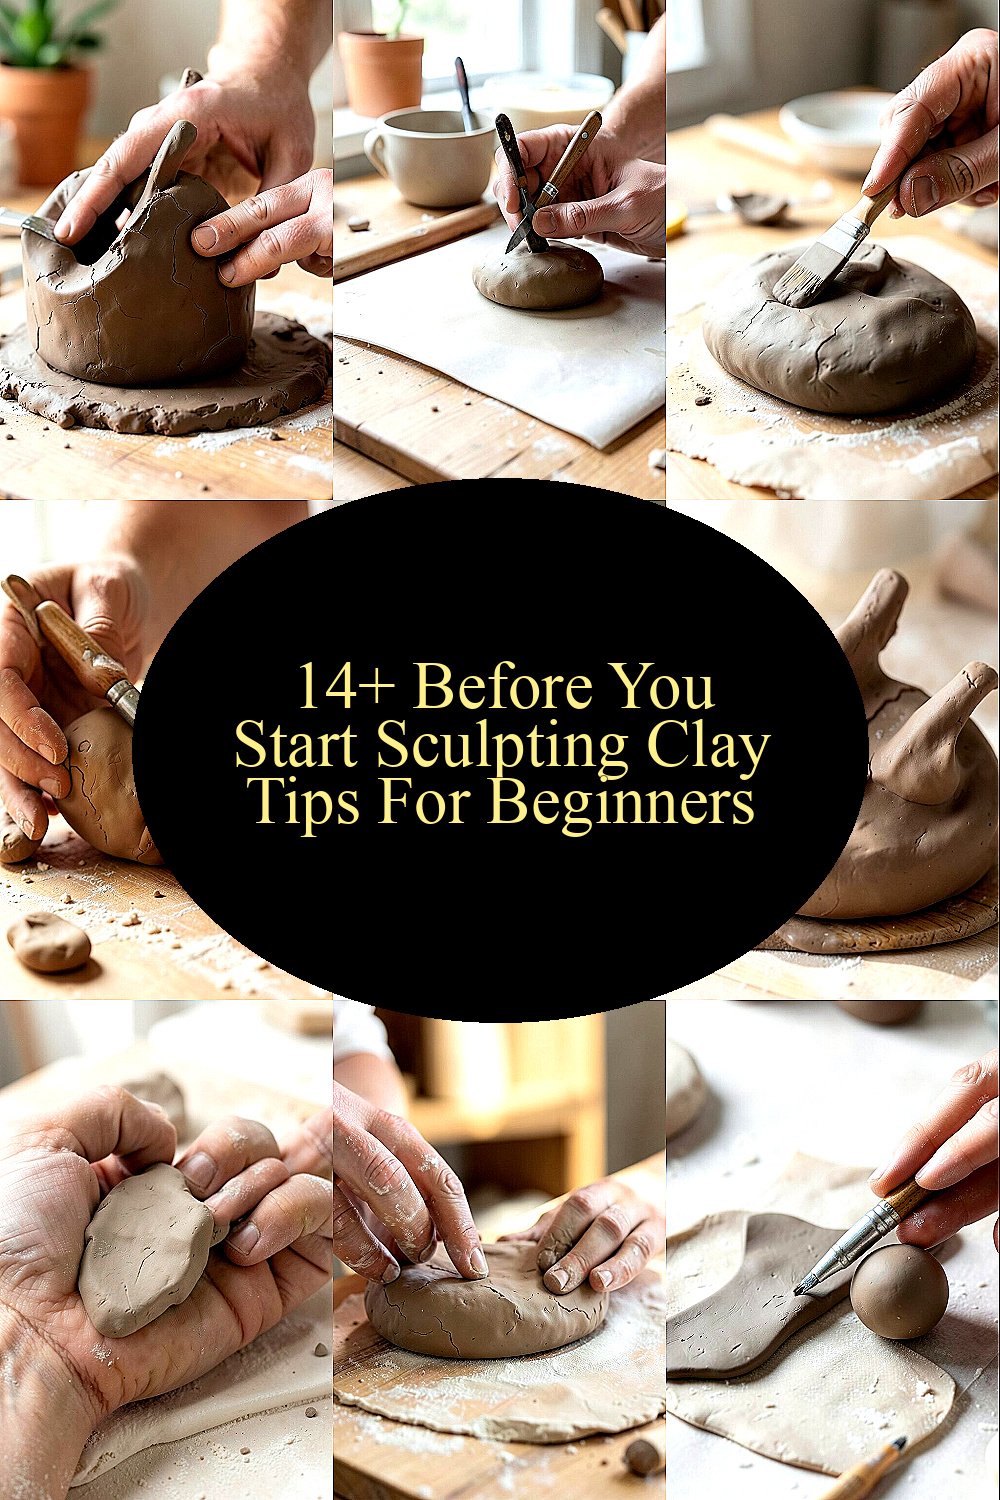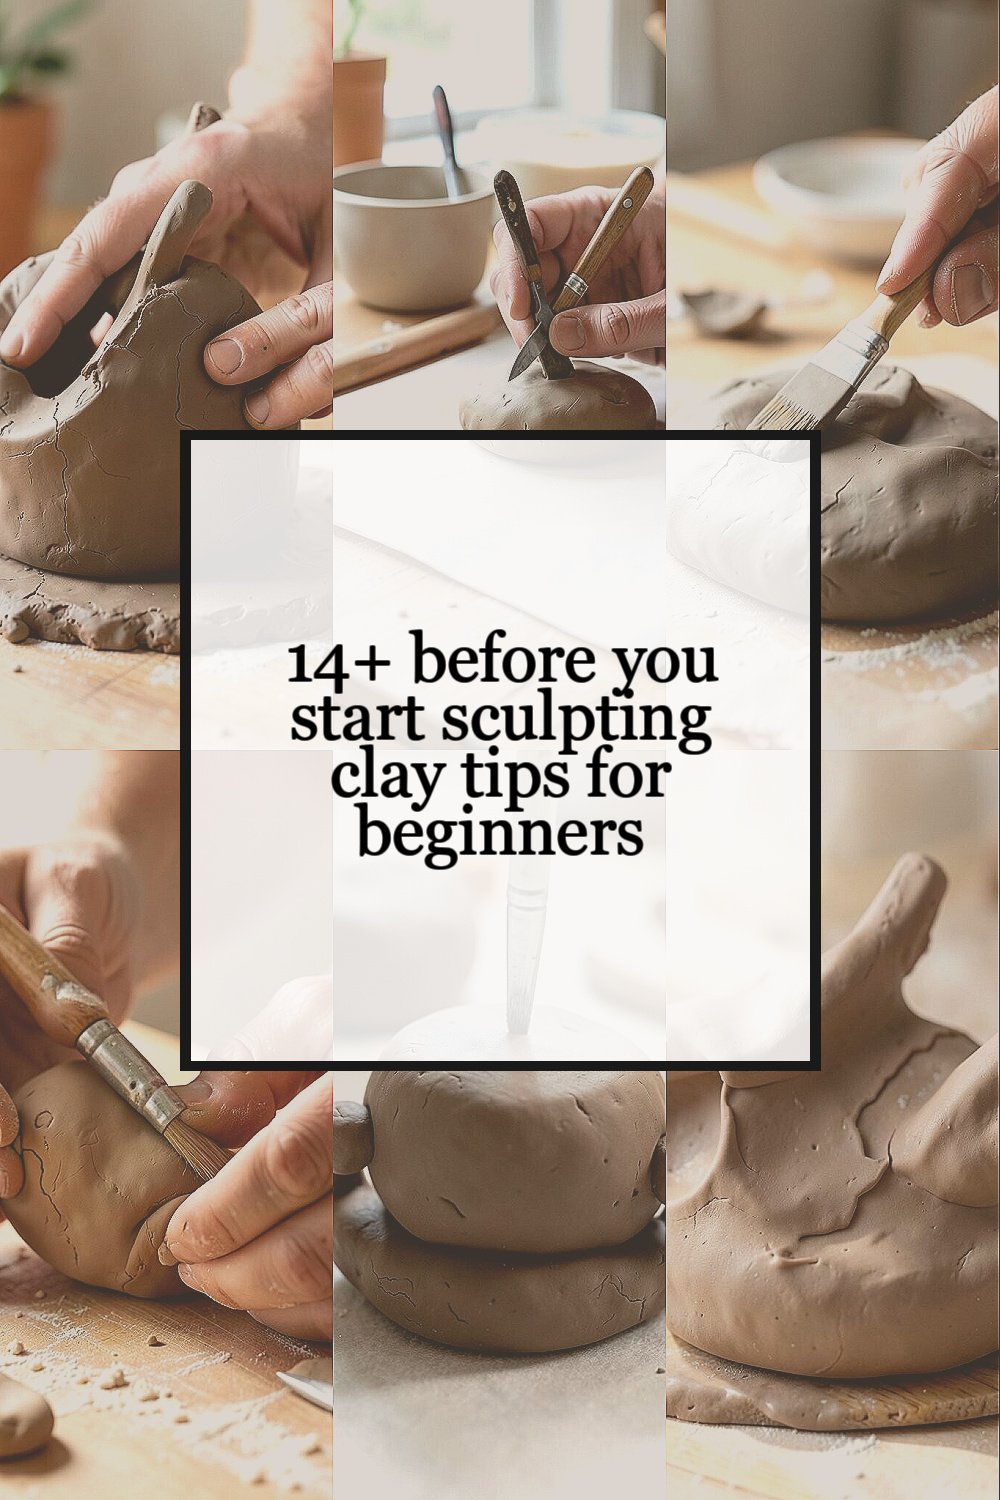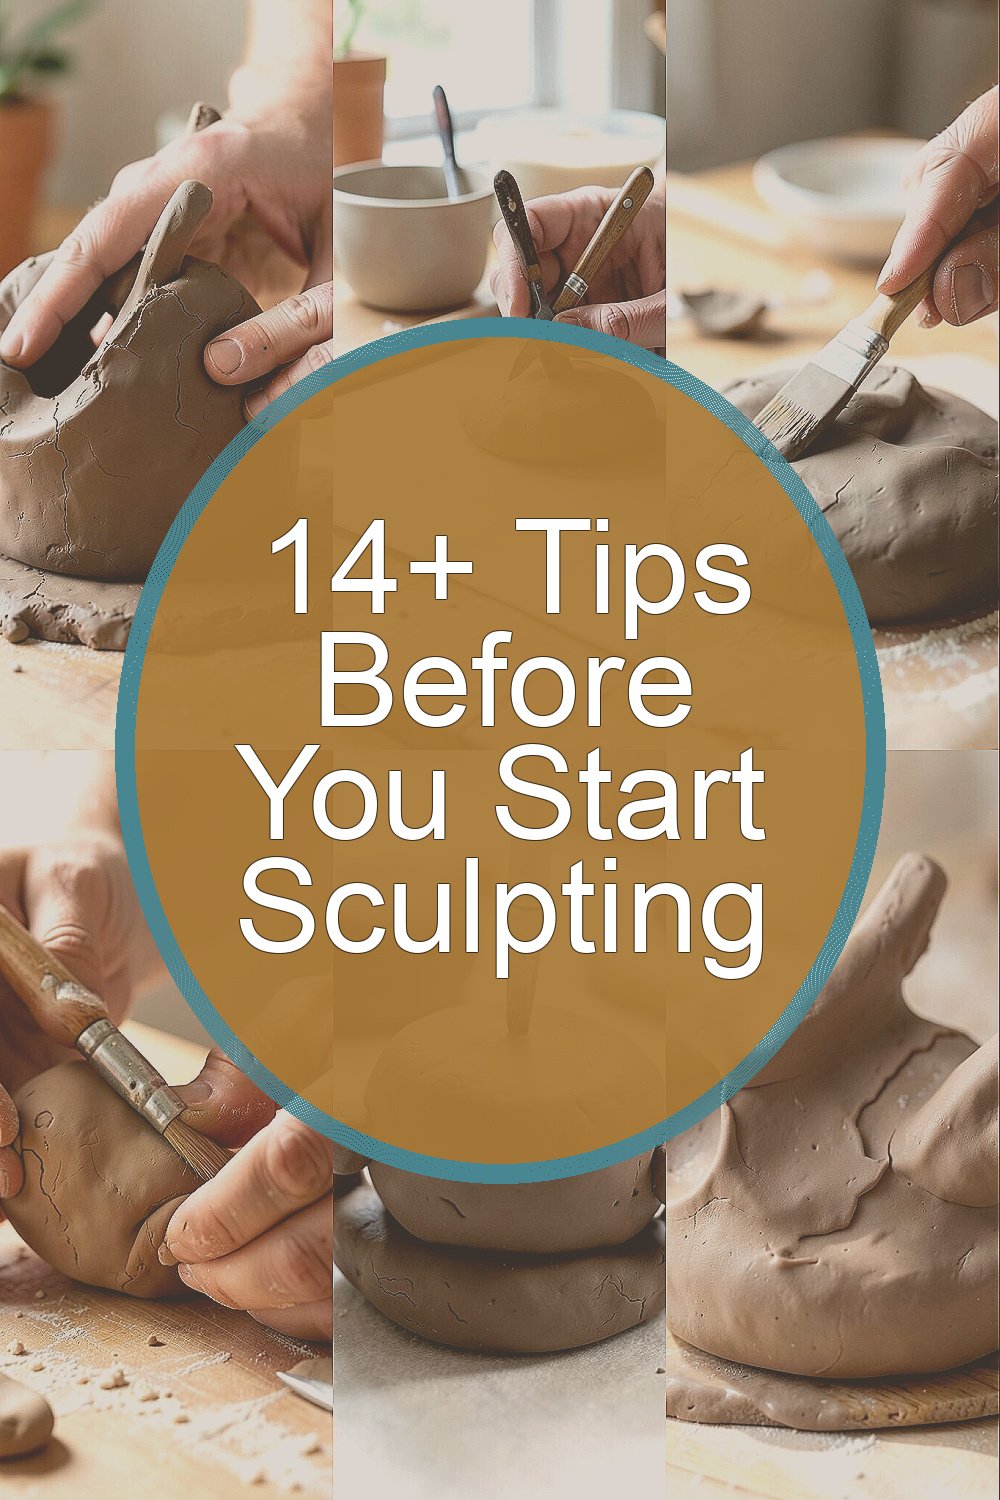
Clay can look soft and simple, but it has a few sneaky rules. A good start can save time, money, and a lot of bent shapes.
With the right habits, your first clay project can feel calm and fun. These tips will help you make cleaner pieces, smarter choices, and more personal art.
1. Pick the Right Clay for Your First Project
Top Pick The Right Clay For Your First Project Craft Tutorials
- 💅 The Best Clay for Beginners: How to Pick the Right Type of … from claymoo.com.
- 💅 Which clay should I choose as a beginner? from blahmage.com.
- 🖼️ Choosing the Right Clay for Your Pottery Project from atelierforma.ca.
- 🧑🌾 [Help] What kind of clay for a novice getting started? from reddit.com.
- 🍂 What clay crafting supplies are best for beginners? from facebook.com.
Clay comes in many kinds, and each one has its own feel. Some look smooth and pale, while others feel gritty or rich and earthy.
Air-dry clay is easy for beginners because it does not need a kiln. Polymer clay is also popular because it comes in bright colors and cures in a home oven.
Think about what you want to make before you buy. A small cup, a tiny animal, or a wall charm may all need different clay types.
Some clays cost less at first, but they may crack if used the wrong way. A little research now can help you spend your money with more care.
If you want a modern look, many new makers are choosing soft neutral clays and natural textures. That trend can make your work feel fresh, even when the shape is very simple.
2. Set Up a Clean, Flat Work Area

Top Set Up A Clean, Flat Work Area Craft Tutorials
- 🍁 15 DIY Small Craft Room Ideas for Creative Spaces from seedsheets.com.
- 🍂 20 Ideas for Designing a Craft Room at Home from extraspace.com.
- 🍅 Planning the Ultimate Craft Room from jennifermaker.com.
- 🎨 How to Set Up a Craft Room from houzz.com.
- 🍅 Craft Room Ideas from homedepot.com.
A tidy space makes clay feel easier to handle. When your table is clear, your hands can focus on shaping instead of hunting for tools.
Use a smooth board, a plastic mat, or a clean counter top. A bright workspace also helps you see dents, cracks, and uneven spots fast.
Keep a towel nearby for wiping hands and tools. Clay can stick to dusty tables, and crumbs can leave marks on your piece.
This step costs very little, yet it can make a big difference. Even a cheap cutting board can become a fine clay station.
Many beginners like to add a small tray for tools so everything stays in one place. That simple habit makes the whole process feel more calm and neat.
3. Gather Only the Tools You Really Need

Top Gather Only The Tools You Really Need Craft Tutorials
- 🎨 Thoughts on Cosmic Exploration from a Crafting and … from reddit.com.
- 🖼️ New World Crafting Guide: How To Make Better Gathering … from gamespot.com.
- 🍂 Effective context engineering for AI agents from anthropic.com.
- 🖼️ Craft: Notes, Documents, AI – App Store – Apple from apps.apple.com.
- 🍂 Tips for beginner gatherers in FFXIV from facebook.com.
It is easy to buy many tools at once, but you do not need a huge kit. A few simple items can do most of the work.
A toothpick, a dull knife, a sponge, and a rolling pin can go a long way. These basic tools help you cut, smooth, and blend without much cost.
Start small so you can learn what you use most. Later, you can add metal ribs, texture stamps, or loop tools if you want more detail.
That slower shopping style keeps your budget safe. It also helps you build a setup that fits your own hands and habits.
Right now, many beginners enjoy handmade tools from home items, like bottle caps or old combs. Those little tricks can give your work a unique touch without extra spending.
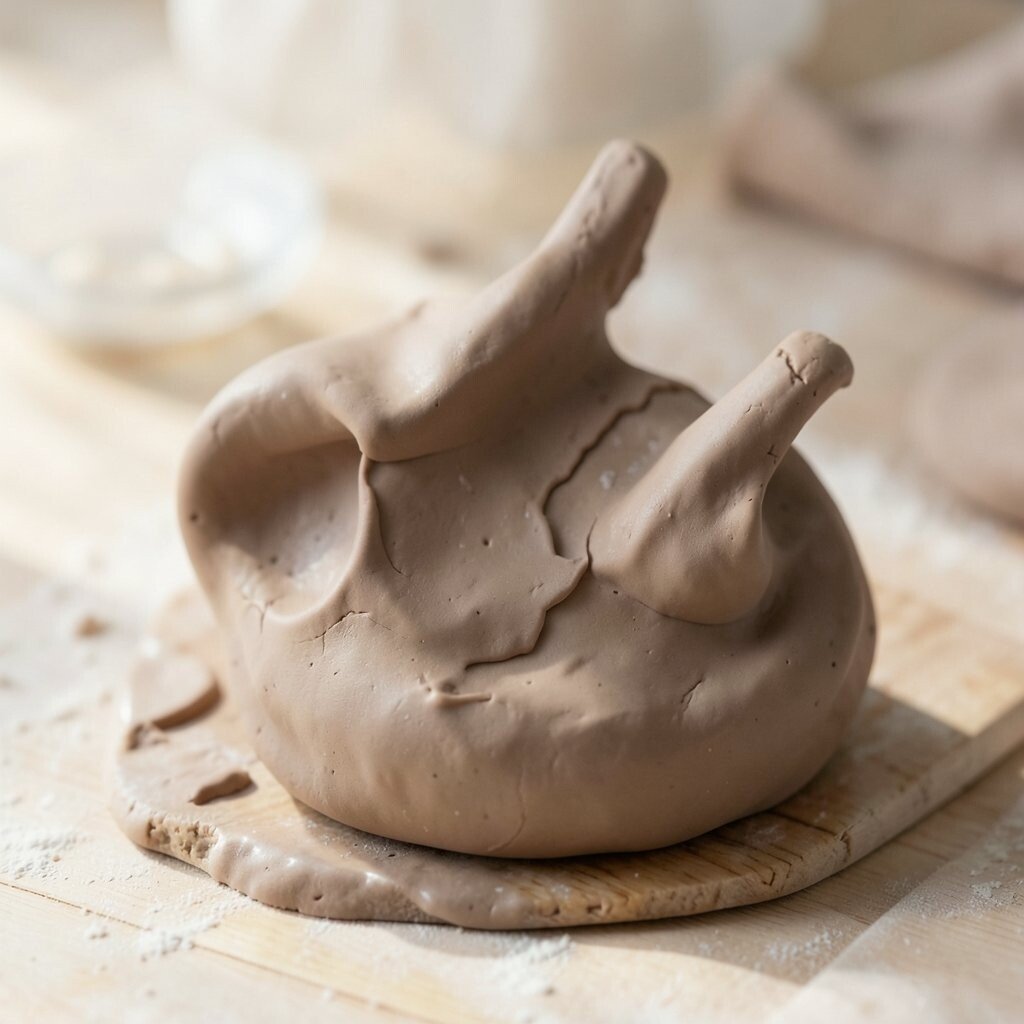
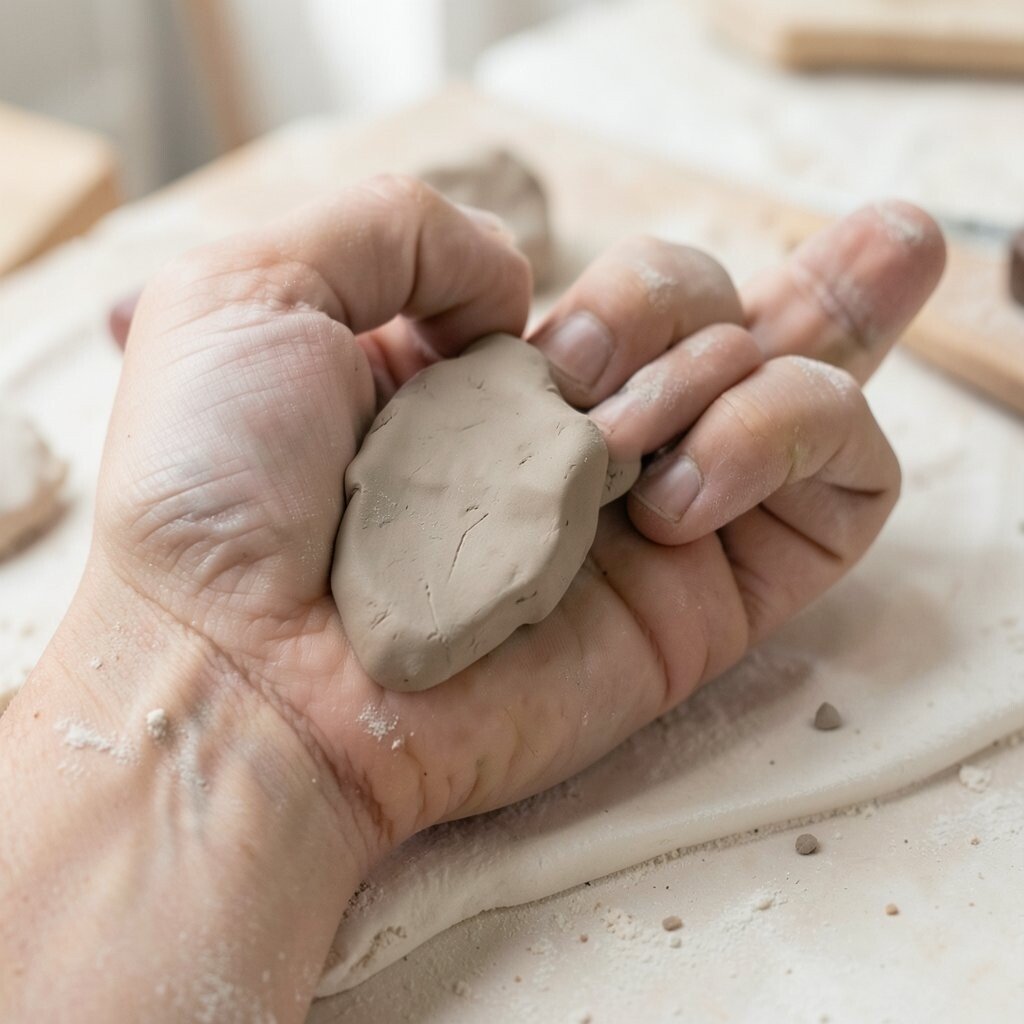
4. Warm and Knead the Clay Before Shaping
Top Warm And Knead The Clay Before Shaping Craft Tutorials
- 🎨 How to Knead Clay: 7 Steps (with Pictures) from wikihow.com.
- 🎨 What technique do you use when kneading clay? from facebook.com.
- 🎄 How to Process Clay – 4 Steps to Turning Dirt Into Usable … from ancientpottery.how.
- 🧑🌾 How to Make Homemade Clay (Easy Recipe for Kids That … from growingajeweledrose.com.
- 👓 14 air dry clay techniques from montmarte.com.
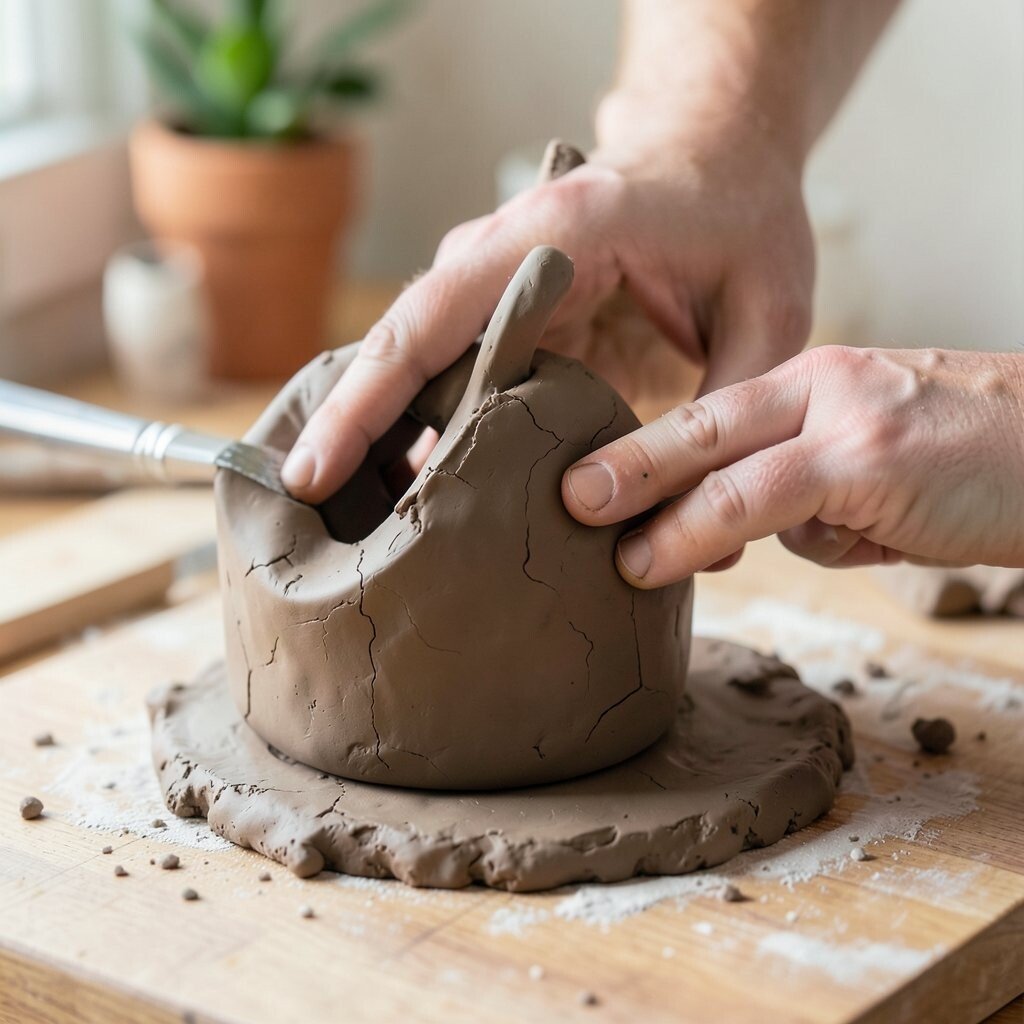
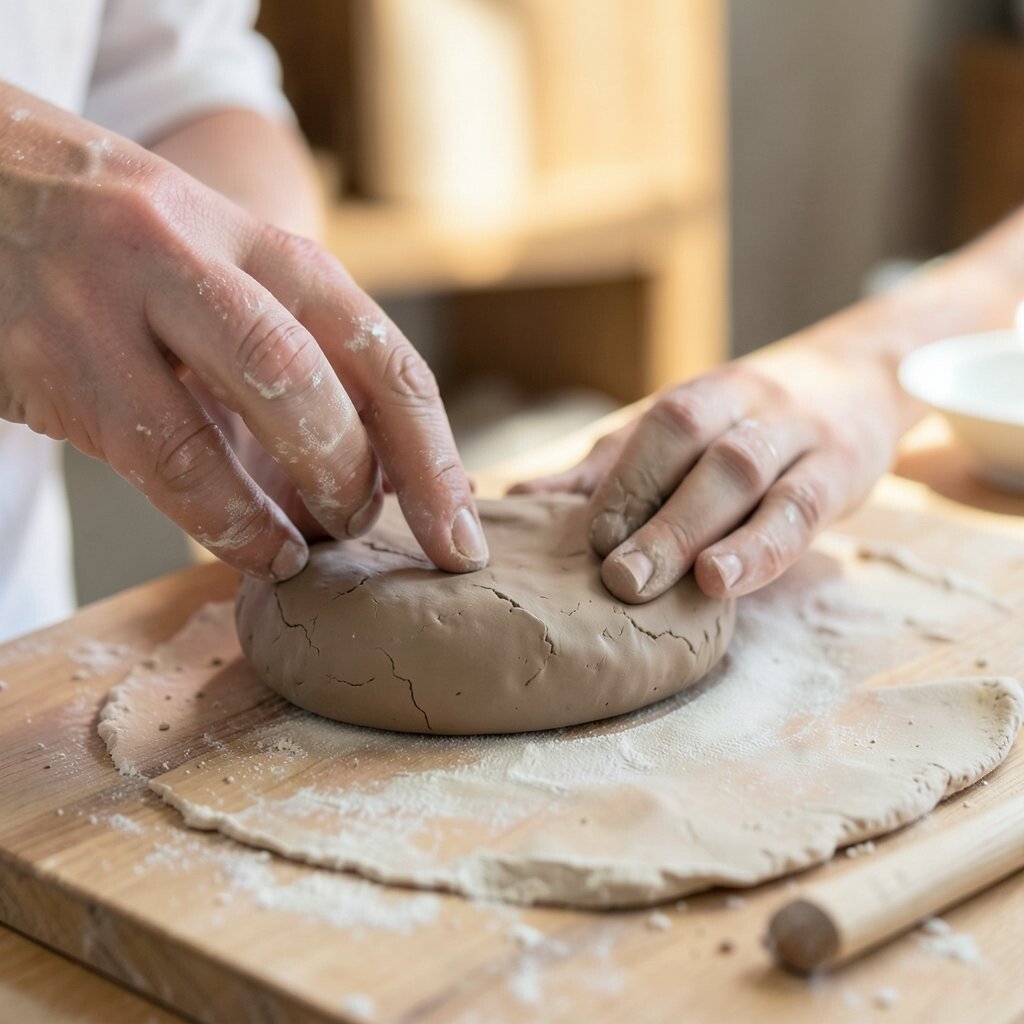
Cold clay can feel stiff and hard to move. Once it warms in your hands, it becomes smoother and much easier to shape.
Kneading also helps mix the clay evenly. That can lower the chance of cracks, weak spots, and strange lumps later on.
Press, fold, and roll the clay until it feels soft and steady. If it starts to stick too much, pause and let it rest for a moment.
This simple prep step can save a lot of frustration. It may also help your finished piece look cleaner and feel more solid.
Some artists like to knead clay into long ropes before forming a ball again. That small ritual can make your work feel personal and almost like a warm-up dance.
5. Start with Small Shapes and Simple Forms
Top Start With Small Shapes And Simple Forms Craft Tutorials
- 🖼️ 15 Shape Crafts For Kids from notimeforflashcards.com.
- 🎨 Fun With Shapes Artwork from inthebagkidscrafts.com.
- 💅 60 Fun and Easy Kids' Craft Ideas | DIY Craft Projects for Kids from hgtv.com.
- 🖼️ 20 Show-Stopping Shape Crafts for Kids from artsycraftsymom.com.
- 🍁 50 EPIC Shape Crafts and Activities for Kids from 123homeschool4me.com.
Big ideas are exciting, but small projects are friendlier for a first try. A tiny bowl, bead, or leaf shape can teach you a lot without stress.
Simple forms also dry more evenly and are less likely to slump. That means you can focus on learning shape, balance, and texture.
Choose one object and keep the plan clear. You can always make a second version later with more detail or a bolder style.
Small projects use less clay, which helps your budget too. If something goes wrong, the loss is much easier to handle.
Mini art is a current favorite in many craft spaces, and it is easy to see why. Tiny mushrooms, charms, and desk pets look cute and give beginners a fast win.
6. Learn How to Keep Clay Moist, But Not Wet
Top How To Keep Clay Moist, But Not Wet Craft Tutorials
- 🧑🌾 4 Ways to Keep Clay Moist from wikihow.com.
- 🍁 Taking sculpture as a class, how can I prevent my clay from … from reddit.com.
- 🎨 Tips for Keeping Air Dry Clay Moist from facebook.com.
- 👓 How to keep clay from drying out from quora.com.
- 🍂 Preserving In-Process Clay Projects Between Class Periods from blog.schoolspecialty.com.
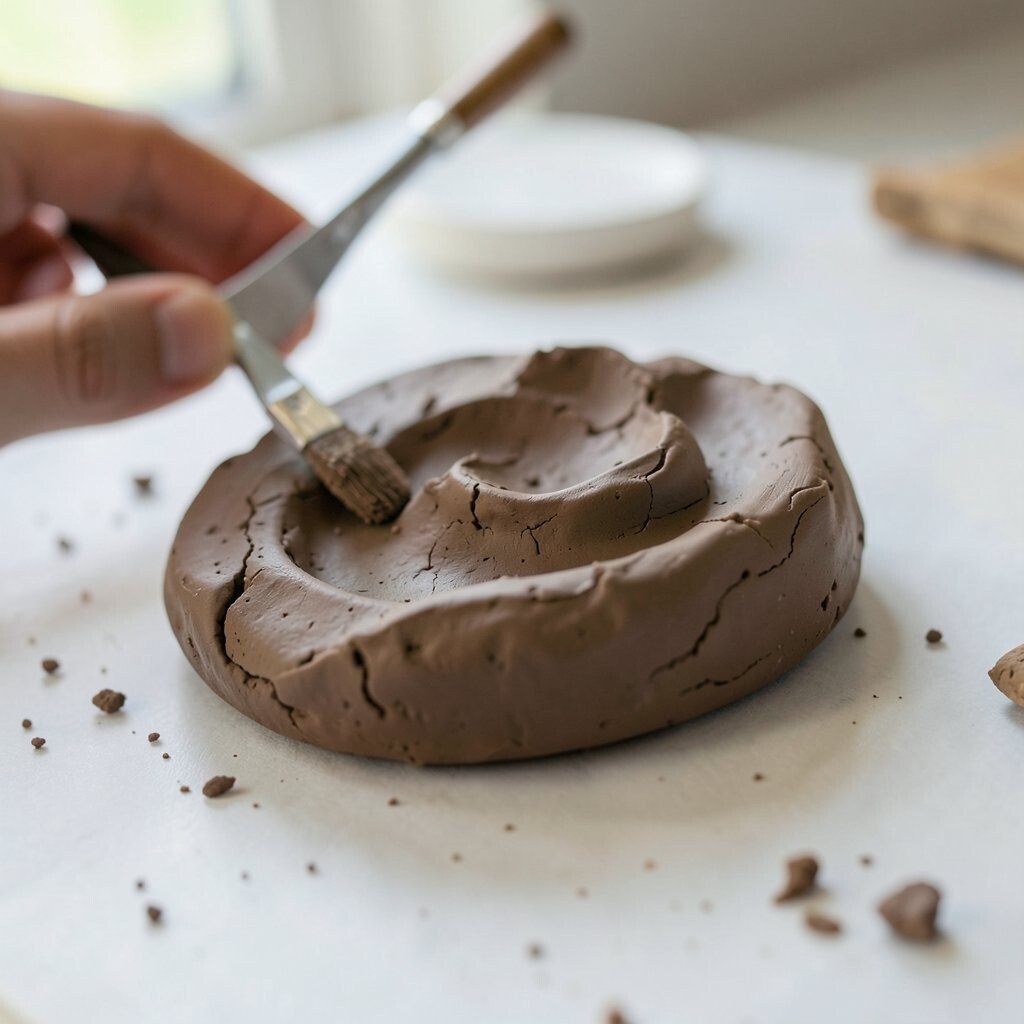
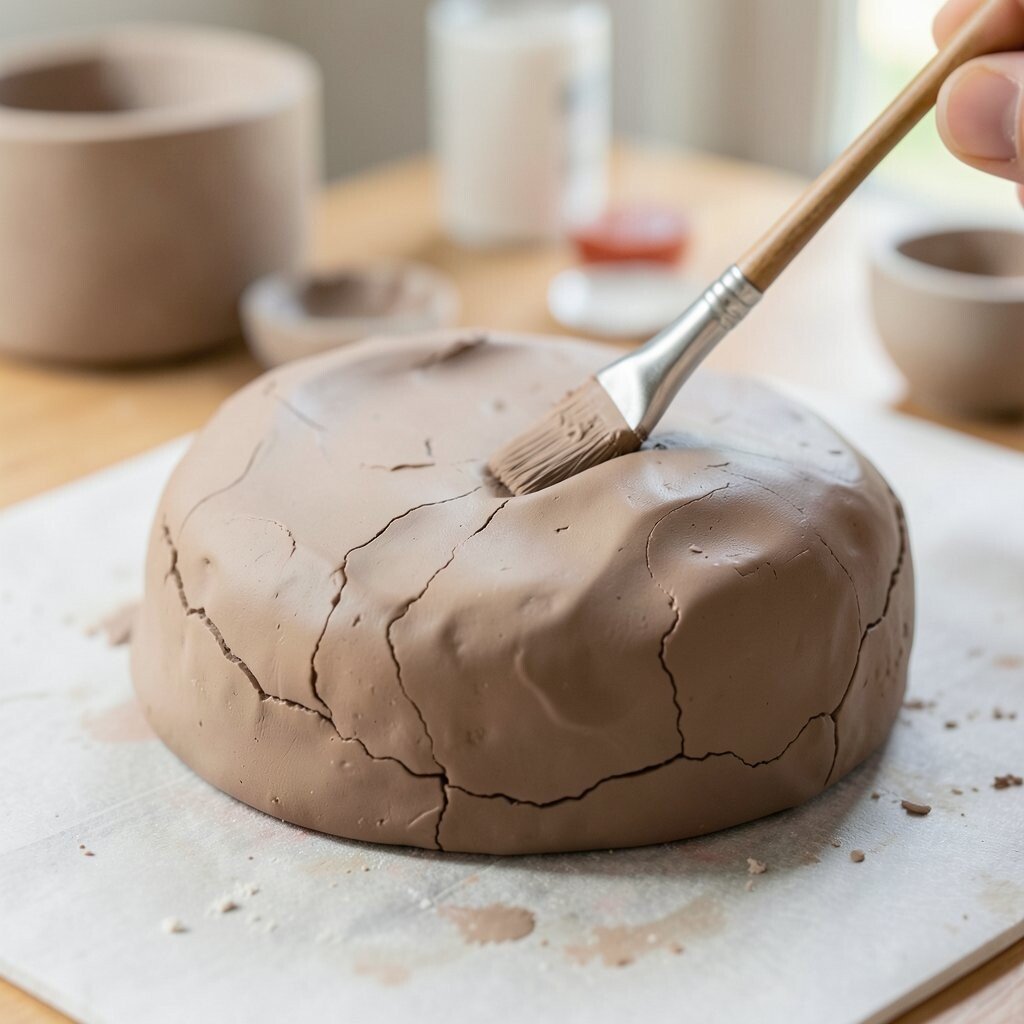
Clay that is too dry can crack and crumble in your fingers. Clay that is too wet can sag and lose its shape.
The best feel is often soft, smooth, and slightly cool. A damp cloth or plastic wrap can help keep unused clay in good shape.
Cover pieces you are not using right away. This helps them stay workable while you pause to think or fix a tool.
If the clay starts sticking, let it air for a short time. If it feels stiff, add a tiny bit of water with care.
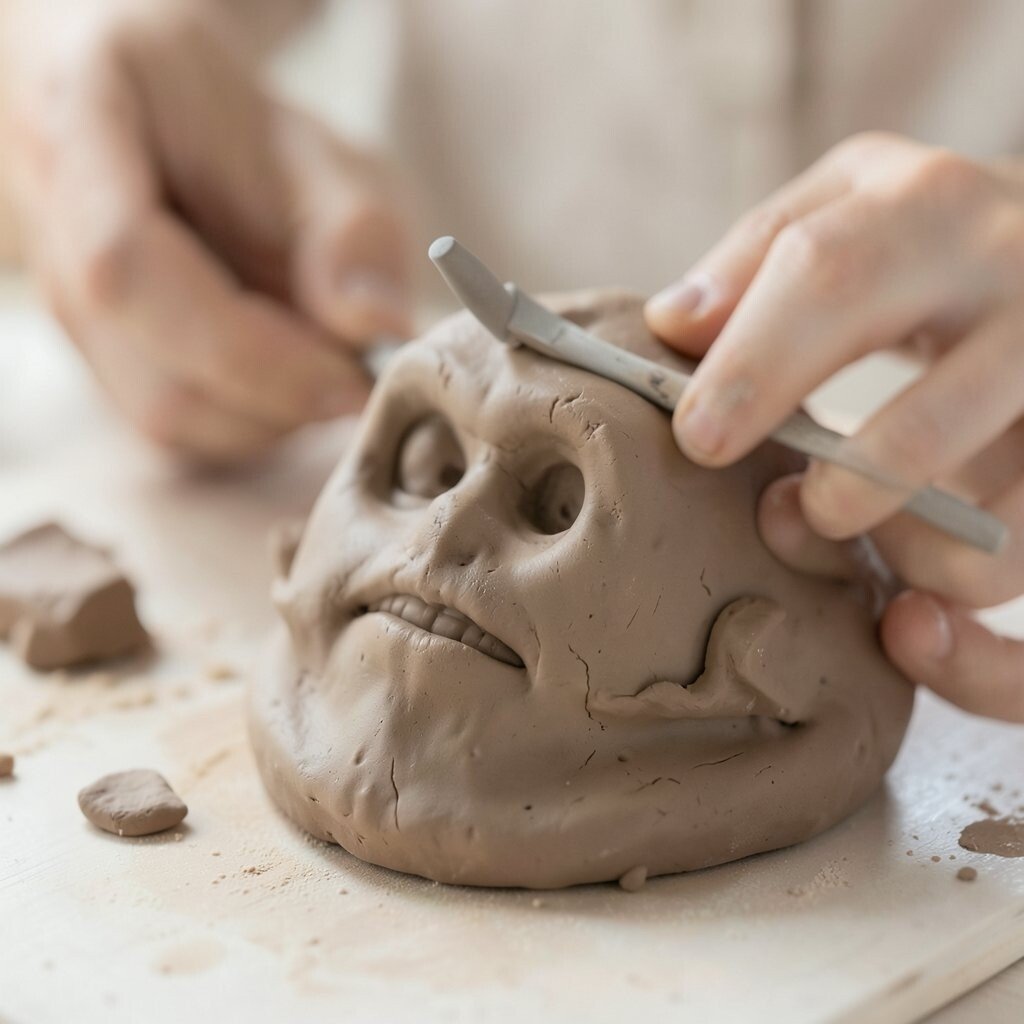
7. Practice Basic Hand-Building Methods First
Top Practice Basic Hand-Building Methods First Craft Tutorials
- 👓 12 Hand Building Clay & Coil Pottery Techniques from ancientpottery.how.
- 🧑🌾 Introduction to Pottery Handbuilding & Throwing from alabamaart.com.
- 💅 Slab pottery ideas for beginners – 25 easy clay projects from frombritainwithlove.com.
- 🎨 How to start making Ceramics at home from riverceramics.net.
- 🍅 31 Pottery Techniques for Beginners to Try in 2026 – ClassBento from classbento.com.
Hand-building is a great way to learn clay without fancy gear. Pinch pots, coils, and slabs are easy to start with and fun to test.
These methods help you understand how clay moves. You can feel the walls, edges, and joins as you work.
Try a pinch cup first if you want a simple shape. It teaches you how to control thickness with your fingers.
Coil forms can look rustic and lovely, while slab work can feel crisp and modern. Each style gives a different mood, so you can pick the one that matches your taste.
8. Keep Your Clay Thickness Even
Top Keep Your Clay Thickness Even Craft Tutorials
- 🧑🌾 How to keep your clay even? : r/polymerclay from reddit.com.
- 🍅 How to achieve even clay thickness? from facebook.com.
- 🎨 14 air dry clay techniques from montmarte.com.
- 🍂 Top Secret Tips for Working with Polymer Clay from whatthecraft.com.
- 🎄 Air Dry Clay: 10 Great Tips to Know Before You Start a … from marialouisedesign.com.
Pieces with uneven thickness can dry at different speeds. That can lead to cracks, weak spots, or warped edges.
Press and smooth the clay so the walls feel steady all around. A ruler, guide sticks, or your own careful eye can help a lot.
Even thickness also makes your piece look more polished. The surface will catch light in a nicer way, and the shape will feel balanced.
This habit is useful for both art and money. It lowers the chance of wasted clay, which is always a nice bonus.
Many makers now like clean, simple forms with neat lines. That style works well when the clay body is even and the edges are well cared for.
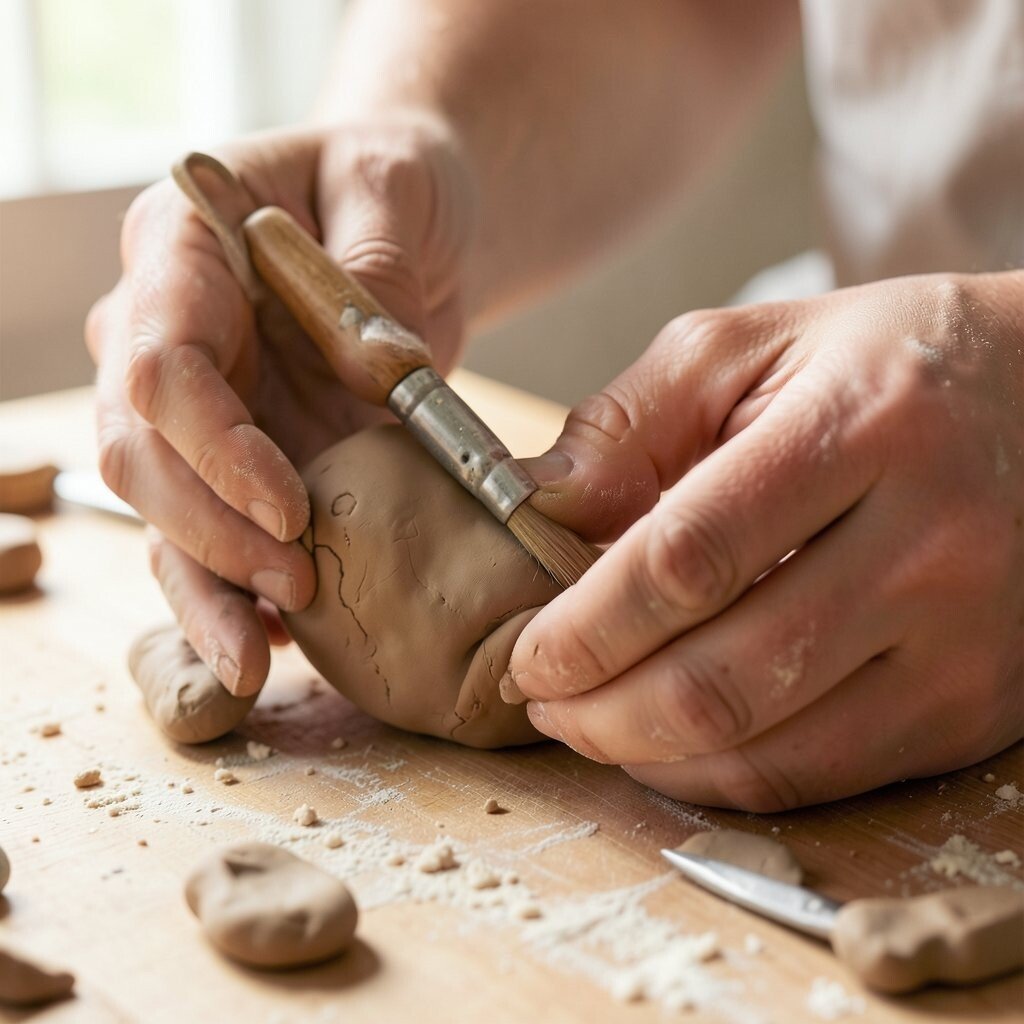
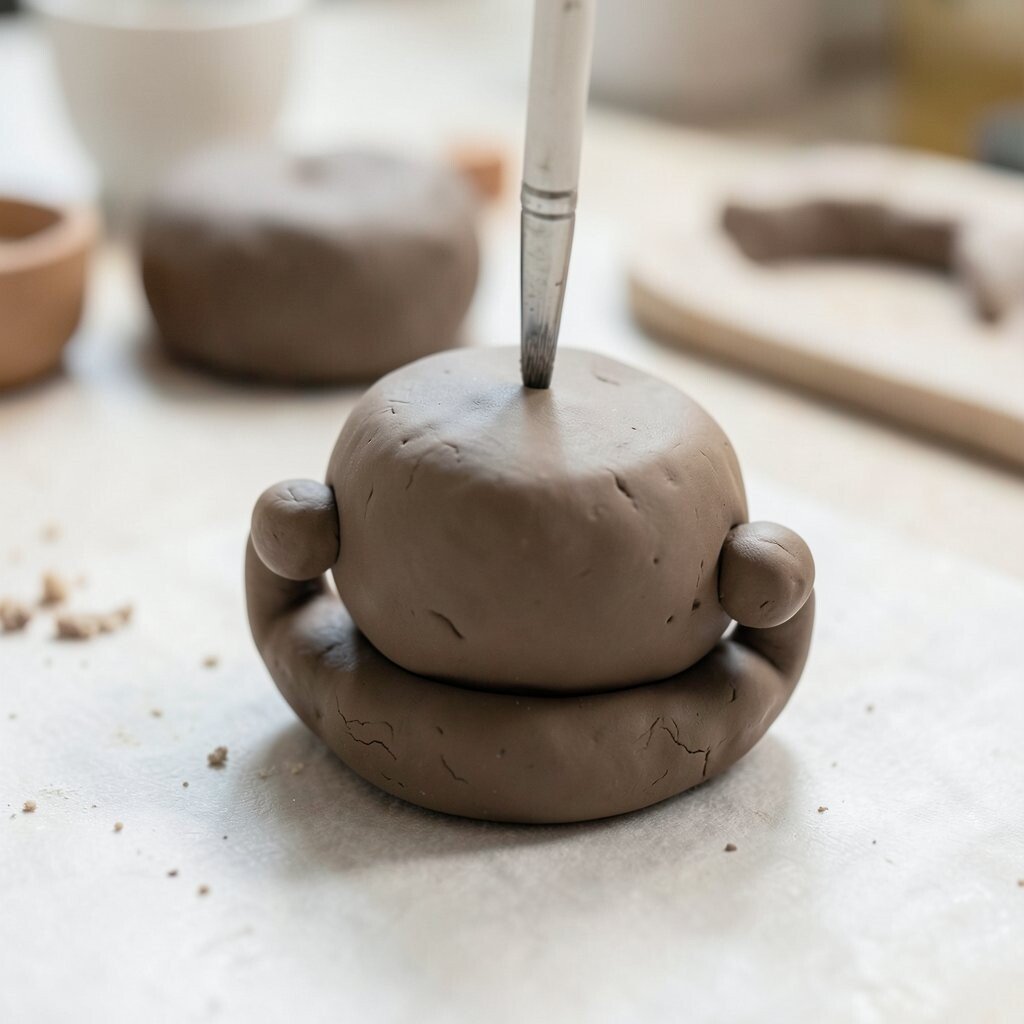
9. Join Pieces with Score and Slip
Top Join Pieces With Score And Slip Craft Tutorials
- 🖼️ Slip and score in ceramics is a technique used to join two pieces … from instagram.com.
- 🗺️ Tips for joining pieces in slip casting from facebook.com.
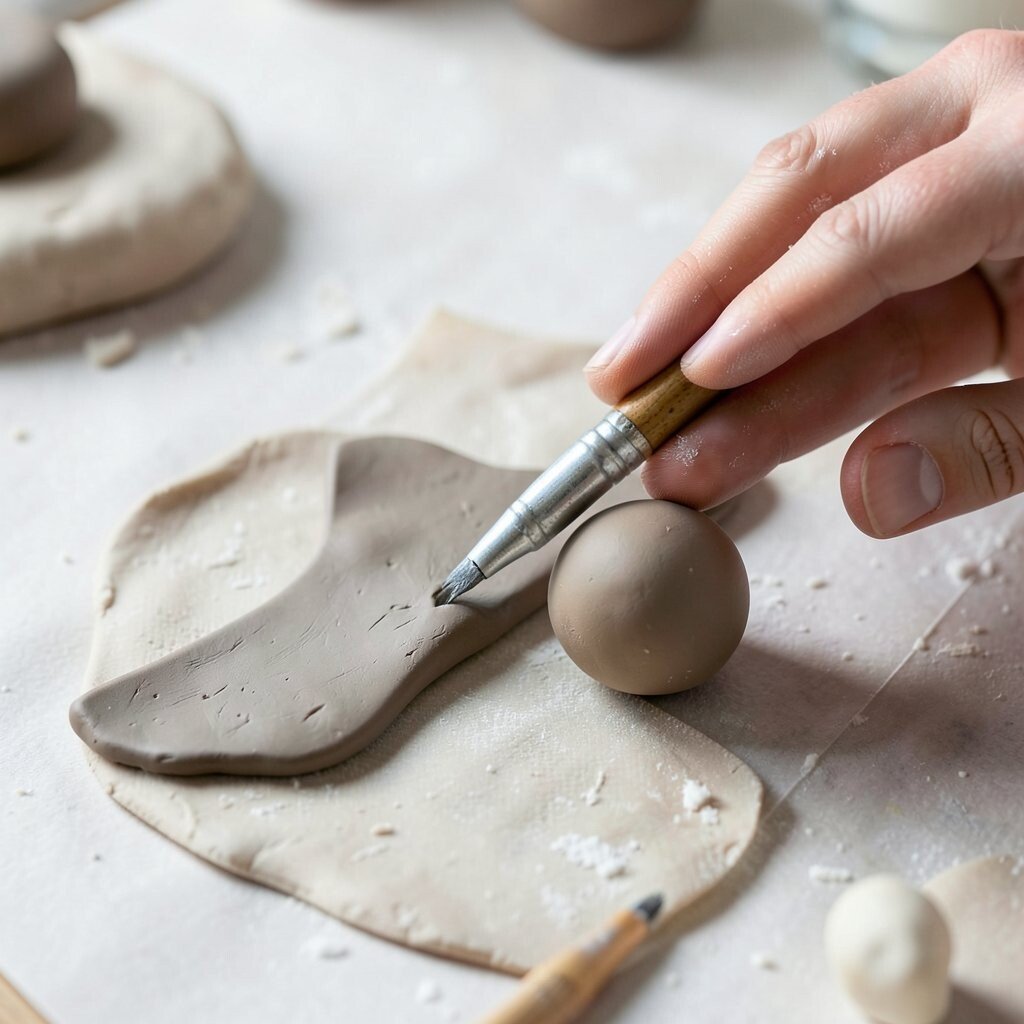
When you attach clay parts, they need more than a quick press. Score and slip help the pieces hold together much better.
Scratch both surfaces with a tool, then add a bit of wet clay paste. After that, press the parts together and smooth the seam.
This method is great for arms, handles, ears, and little add-ons. It helps your work last longer and look less messy.
You do not need special glue for most clay projects. A small brush, water, and leftover clay can do the job well.
For a unique look, some artists leave a few seam marks on purpose. That can give the piece a handmade feel that stands out from factory-made items.
10. Use Texture to Make Your Work Interesting
Top Use Texture To Make Your Work Interesting Craft Tutorials
- 🧑🌾 10 Things You Can Add to Texture from painting-texture.com.
- 🧑🌾 20 Texture techniques – Mont Marte Global from montmarte.com.
- 🗺️ Mastering Painting Texture: 10 Techniques Every Artist … from visualartspassage.com.
- 🗺️ DIY Weaving Techniques | 5 Simple Ways to Add Texture from aprettyfix.com.
- 🍁 What can be done with textured paper from Dollar Tree? from facebook.com.
Texture can turn a plain shape into something lively. Smooth, bumpy, striped, or carved surfaces all tell a different story.
Try leaves, fabric, buttons, or shells to press into soft clay. These simple items can make beautiful marks without much cost.
Texture also helps hide small flaws, which is handy for beginners. A tiny finger mark can become part of the design instead of a problem.
Think about the mood you want before you press anything in. Soft waves feel calm, while sharp cuts can feel bold and modern.
11. Watch Your Drying Time Carefully
Top Watch Your Drying Time Carefully Craft Tutorials
- 💅 Recycled Painted Heart Jar Gifts 💕 ♻️💦 Thoroughly wash … from facebook.com.
- 🎄 One of my favorite things about summer…we take time to … from instagram.com.
- 🍅 Dish Soap Galaxy Ornaments You Will Need: Clear plastic … from facebook.com.
- 🎄 Pennsylvania Learning Standards for Early Childhood from pakeys.org.
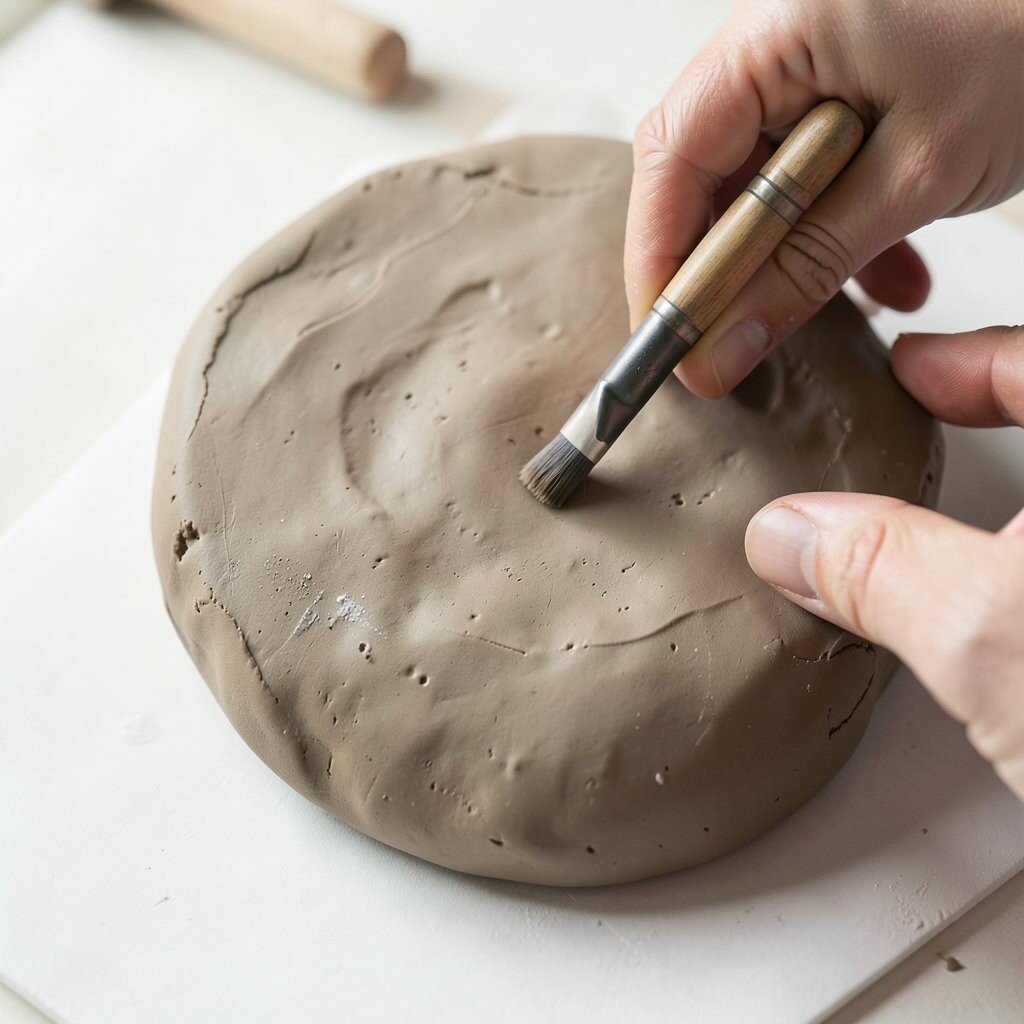
Clay often changes a lot while it dries. A piece may look fine at first and then shift, curl, or crack if it dries too fast.
Keep new pieces away from hot sun, heaters, and strong wind. A slow, even dry is usually kinder to beginner work.
You can cover the clay loosely with plastic to slow the process. That gives you more time to check the shape and smooth the surface.
This step can save both effort and supplies. A cracked project may need more clay, more time, and more patience to fix.
Some makers like the soft matte look that comes from careful drying. It can make handmade pieces feel warm, calm, and very current.
12. Plan Your Colors Before You Begin
Top Plan Your Colors Before You Begin Craft Tutorials
- 🍅 TDITM '26: Plan your colors from mmmcrafts.com.
- 🎨 Color Coordinating 101: Everything You Need to Know from blog.stampinup.com.
- 👓 what colors to include in a 12 color watercolor palette? from facebook.com.
- 🎨 Vibrant Color Crafts for Kids from imthecheftoo.com.
- 🍁 7 Fun Ways to Teach Colors to Preschoolers from greenkidcrafts.com.
Color choices can change the whole feel of a clay piece. Bright shades look playful, while soft earth tones feel quiet and natural.
Think about paint, glaze, or colored clay before you start shaping. A clear color plan can help you avoid extra spending later.
It also makes your project feel more personal. You can pick colors that match your room, your mood, or a gift idea.
Many beginners enjoy simple palettes with just a few shades. That style is easy on the eyes and often looks more polished.
13. Make Test Pieces Before the Final One

Top Make Test Pieces Before The Final One Craft Tutorials
- 🍁 Importance of test cuts before crafting from facebook.com.
- 👓 Do crafters test cut before final design? from facebook.com.
- 🍁 How do you make test tiles? I throw mine, 1.5kg or 3.3lbs … from facebook.com.
- 👓 A couple of test pieces for my D&D build … – Instagram from instagram.com.
Test pieces are small practice versions of your idea. They let you try a shape, texture, or color without pressure.
This is a smart way to save clay and avoid big mistakes. You can see what works before you spend time on the final piece.
Use test pieces to check size, balance, and drying behavior. A tiny sample can teach you more than a long guess.
They can also spark new ideas. Sometimes a rough practice shape turns into the best design of all.
For a fresh look, many artists keep their test pieces as mini art. A shelf of tiny clay studies can look charming and full of creative energy.
14. Keep Your Hands and Tools Clean

Top Keep Your Hands And Tools Clean Craft Tutorials
- 🍅 Clean Hands & Clean Hearts – Bible Craft Ideas: Mark 7:1- … from ministry-to-children.com.
- 🗺️ 14 inch 4 Jet Hard Surface Squeegee Wand from cleancraft.com.
- 🎄 Take care of your tools, and they'll … from instagram.com.
- 🍁 Ideas for an easy keep hands busy craft while on a road trip from reddit.com.
Dirty tools can leave marks, and dusty hands can make clay rough. Clean gear helps your piece look smoother and more cared for.
Wash tools often and wipe your fingers when they get sticky. A small bowl of water and a cloth can make cleanup simple.
Clean habits also help your clay last longer. Bits of dried clay can scratch new work or make seams weaker.
This does not need to be fancy or expensive. A simple routine is enough to keep your workspace ready for the next idea.
Many makers like to keep a tidy kit in a small box or pouch. That makes the hobby easy to pick up again and keeps the creative mood strong.
15. Finish with Patience and Your Own Style
Top Finish With Patience And Your Own Style Craft Tutorials
- 👓 Every craft begins with a simple idea, then slowly becomes … from facebook.com.
- 🍁 How To Develop Patience When Doing DIY Crafts from lynnmumbingmejia.com.
- 🧑🌾 This is a practice built on patience. ⠀⠀⠀⠀⠀⠀⠀⠀⠀ Working … from instagram.com.
- 👓 Sewing With Kids Lesson One: Patience – Whipstitch from whip-stitch.com.
- 👓 55 Simple yet Sophisticated Adult Craft Ideas from goodhousekeeping.com.
The last stage is where your piece starts to feel like yours. Small marks, gentle curves, and careful smoothing can give it real charm.
Do not rush this part, because tiny details can change the whole look. A soft edge or a neat line can make the piece feel much more complete.
Try adding a signature touch, like a tiny symbol, a favorite texture, or a special color spot. That can make your clay art easy to recognize and fun to share.
Patience is also a cost saver, since careful finishing can reduce mistakes. It helps your work feel stronger, prettier, and more like something you truly made.
Today, many clay artists enjoy mixing simple shapes with personal details. That blend of clean design and one-of-a-kind style makes beginner work feel fresh and special.