Imagine a space where creativity flows like a river, where every corner invites you to dream, and every item has a story to tell. Picture a room that sparks joy and ignites your imagination the moment you step inside. This guide is your passport to a world of inspiration, filled with unique ideas that will turn your craft studio into a haven of creativity.
1. Colorful Pegboards
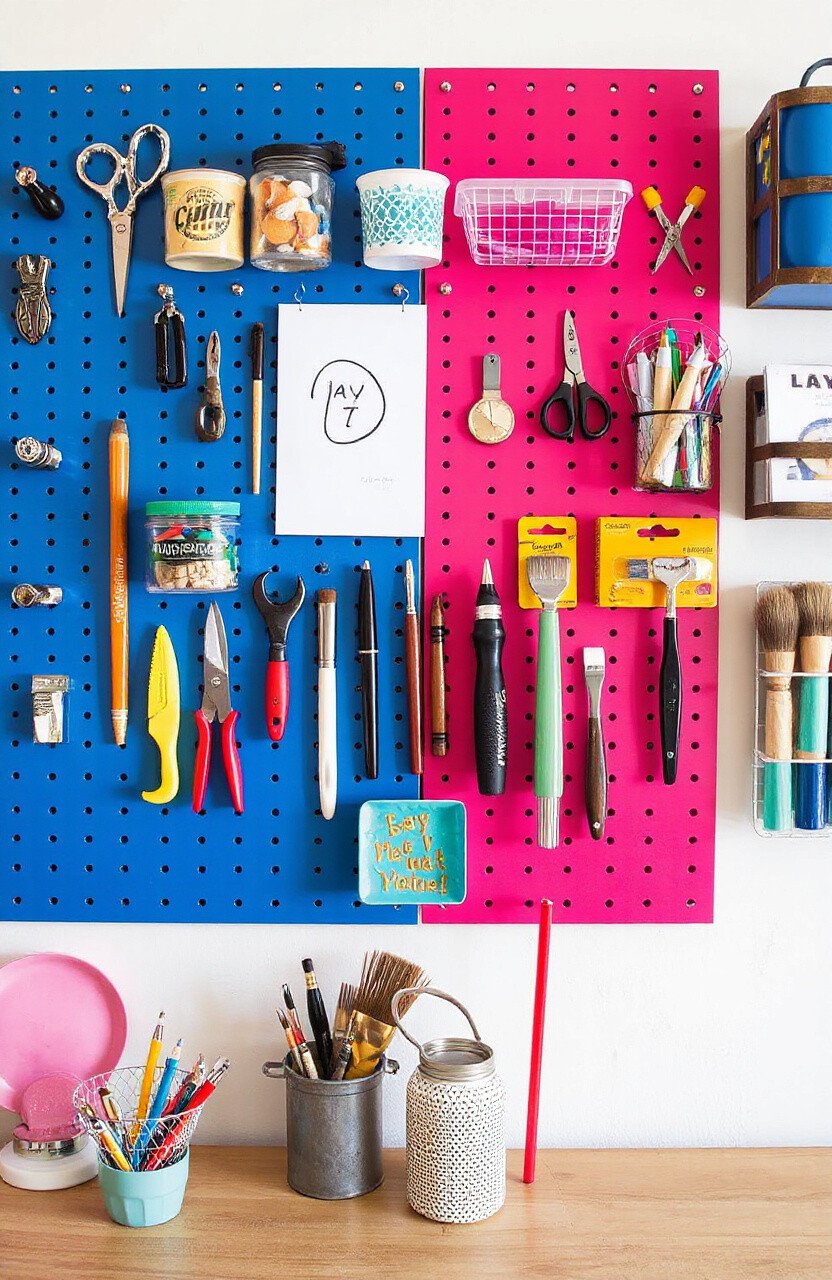
Pegboards aren’t just for garages anymore. Imagine a rainbow of hooks and baskets on your wall, holding all your supplies in a neat, beautiful array. They’re perfect for keeping scissors, ribbons, and brushes within reach.
Choose colors that match your mood; maybe a calming blue or a vibrant pink. The best part is they’re completely customizable. You can rearrange them anytime you want, making them an ever-evolving art piece.
A basic pegboard setup is affordable, and you can add to it over time. Use it to display your favorite tools or mini artworks to keep inspiration in sight.
2. Vintage Furniture
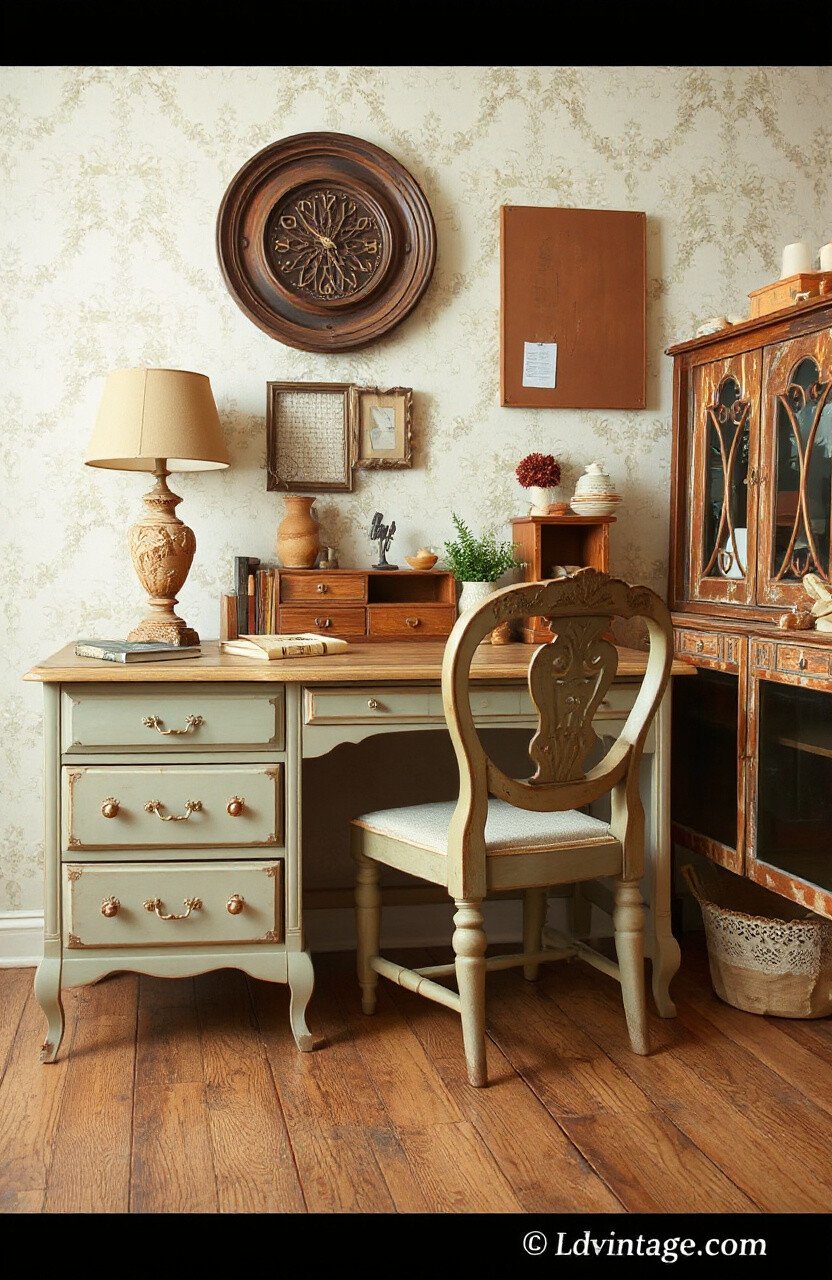
Old furniture has a charm that new pieces just can’t match. A shabby chic desk or an antique chair can add character to your studio. Plus, they’re often built to last.
Scour flea markets or thrift stores for pieces with a story. You might find a desk with carvings of flowers or a chair that creaks with history. Sand them down and give them a fresh coat of paint for a personalized touch.
Vintage doesn’t have to be expensive. Often, older pieces are priced reasonably, especially if you enjoy the thrill of hunting for a bargain.
3. Adjustable Lighting
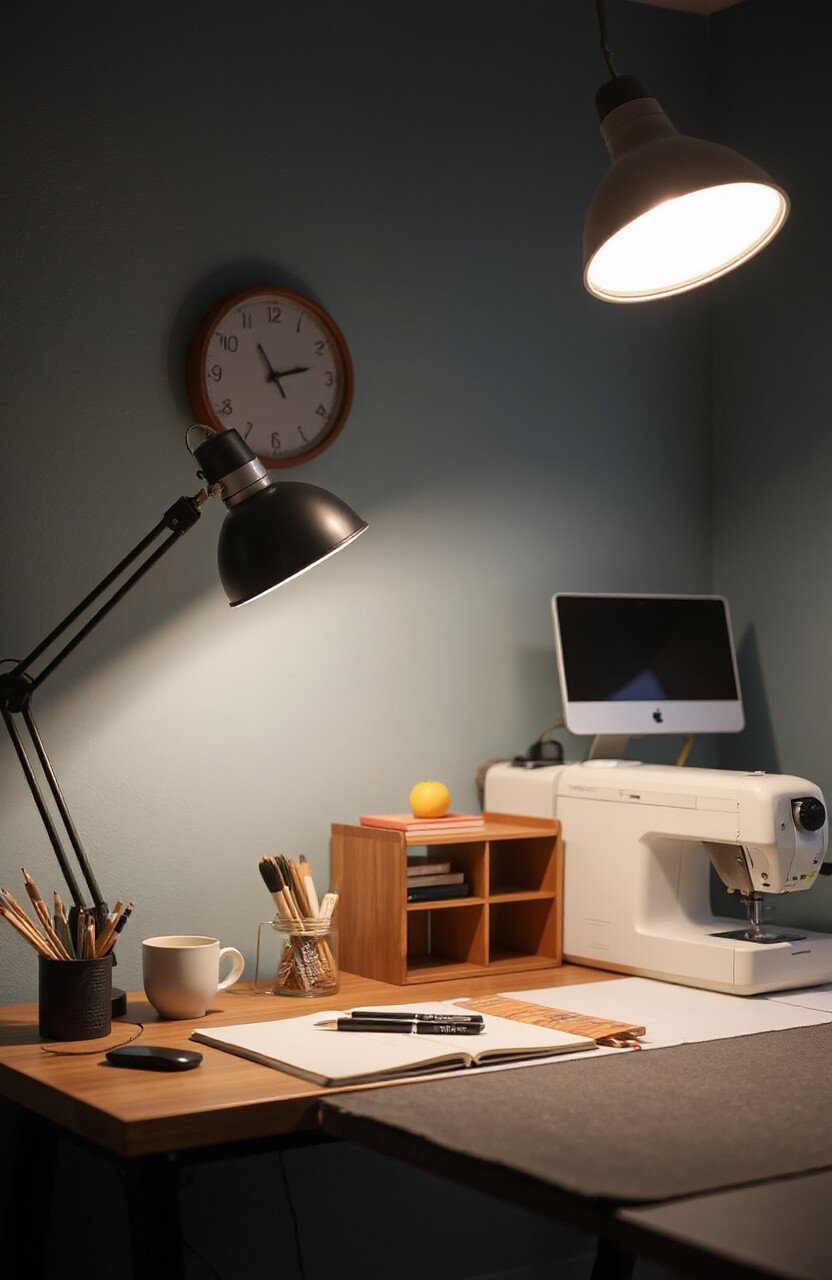
Good lighting can make all the difference in your craft studio. Adjustable lamps allow you to focus light exactly where you need it, whether you’re painting, sewing, or scrapbooking.
Consider lamps with color-changing bulbs. They can set the mood for different projects, from a warm glow for knitting to a bright white for intricate painting. It’s like having the sun in your room, anytime you need it.
While quality lighting can be an investment, it’s worth it for the eyestrain it saves. Check online for sales or deals to find affordable options.
4. Rolling Carts
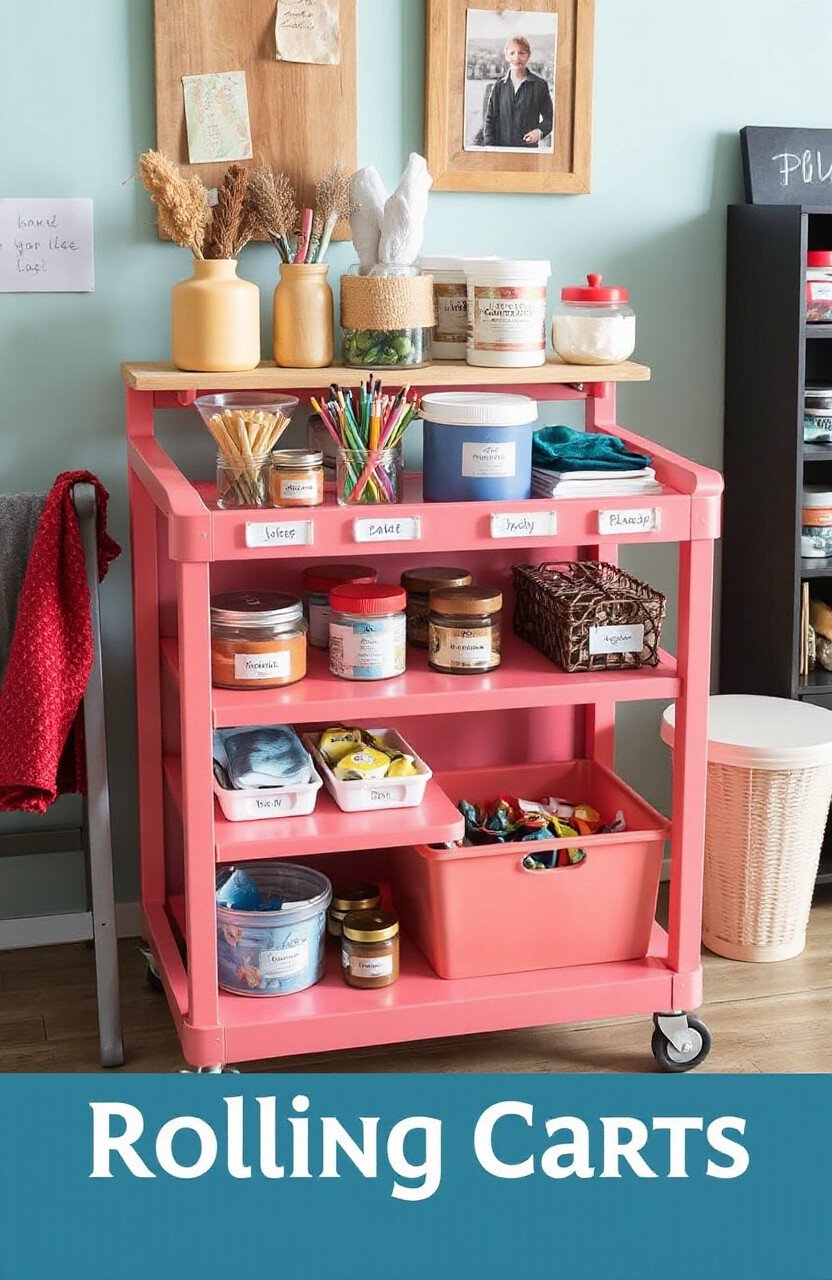
Imagine having a helper that moves your supplies wherever you need them. Rolling carts are perfect for this, offering mobility and convenience in one package. They can hold everything from paints to fabric scraps.
Choose a cart in a fun color or paint it yourself. Add labels to each shelf to keep things organized. It’s like having a sidekick that’s always ready to assist.
These carts are generally budget-friendly and can be found at most home goods stores. Look for sturdy wheels to ensure it glides smoothly across your studio floor.
5. Wall Hooks and Hangers
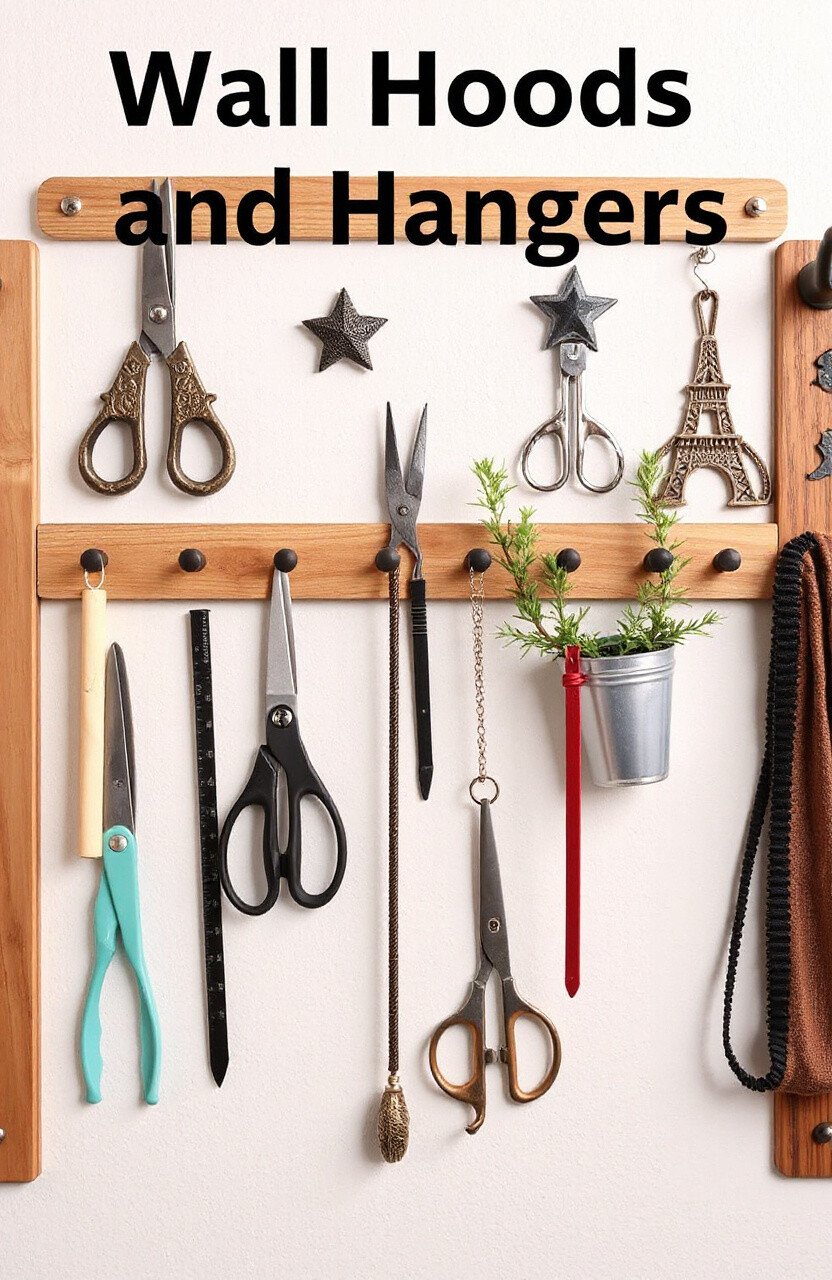
Free up your table space by hanging tools on the wall. Hooks and hangers can hold scissors, rulers, and even small potted plants. They turn your walls into a functional and decorative element.
Mix different styles to create an eclectic look. Add some hooks shaped like animals or stars to bring a playful vibe. It’s a simple way to keep your studio tidy while adding some flair.
Wall hooks are inexpensive and easy to install. You can find them in most hardware stores, ready to bring order and style to your creative space.
6. Fabric Bins and Baskets
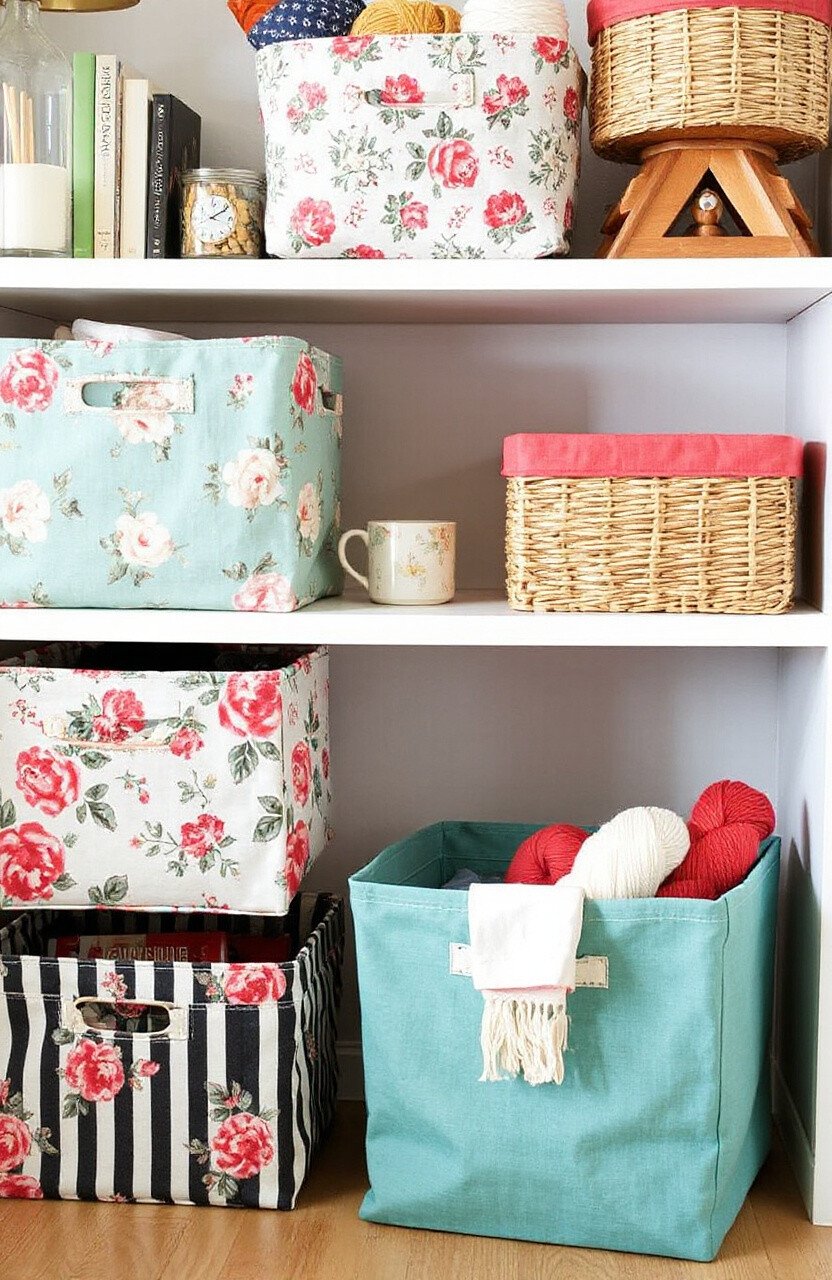
Storage doesn’t have to be boring. Fabric bins and baskets come in all colors and patterns. They’re perfect for storing yarn, fabric scraps, or anything else you need to tuck away.
Choose patterns that inspire you. Maybe something floral for a soft touch or bold stripes for a pop of energy. Stack them on shelves or under tables for easy access.
These bins are often affordable and can be swapped out whenever you feel like a change. They’re a great way to keep your studio organized without sacrificing style.
7. DIY Bulletin Board
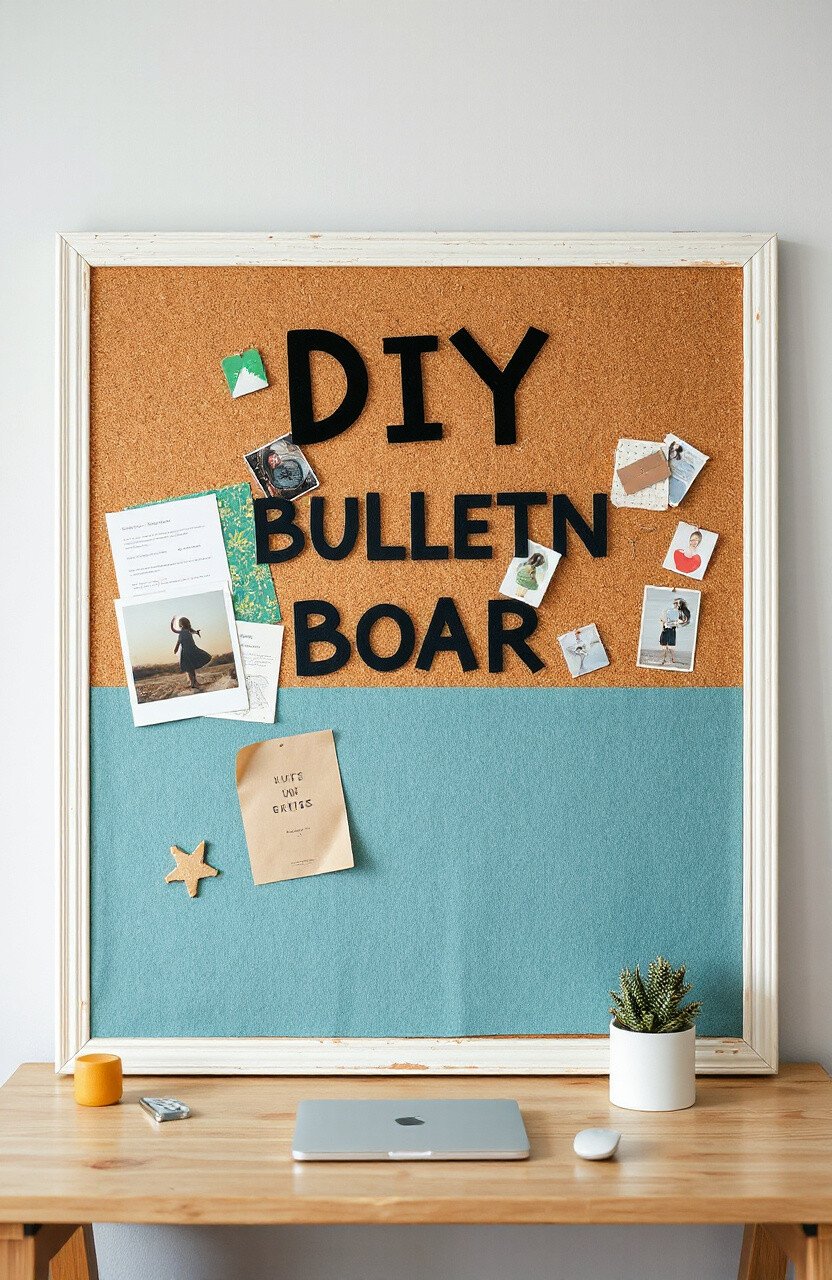
Keep your ideas and inspirations pinned up where you can see them. A DIY bulletin board can be as unique as you are. Cover it with fabric or paint it for a look that’s all your own.
Add photos, fabric swatches, or sketches to create a collage of creativity. It’s a living artwork that keeps you motivated every day. Plus, it’s super easy to change as your projects evolve.
Making a bulletin board is a budget-friendly project. Use corkboard, an old frame, and your choice of covering material. It’s a fun weekend project that will serve you for years.
8. Magnetic Strip for Tools
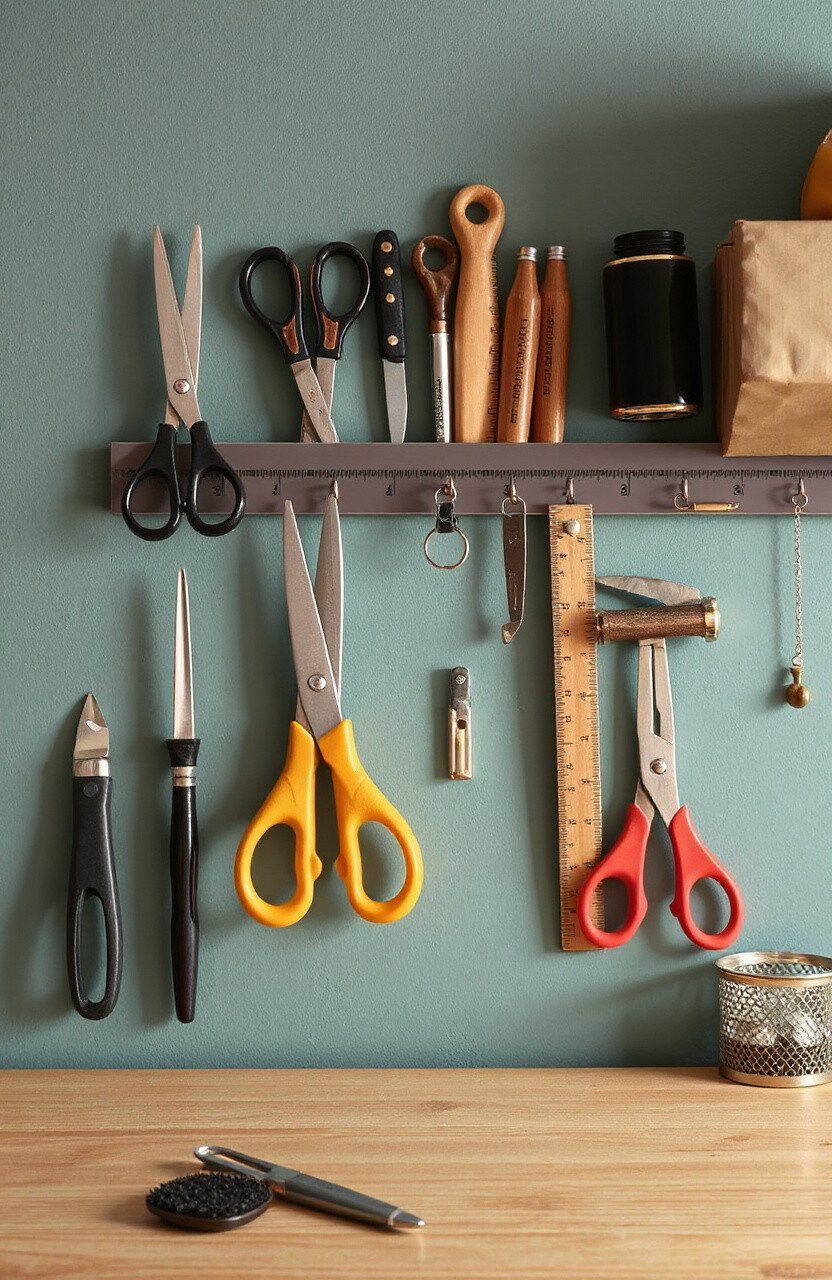
Say goodbye to lost scissors and misplaced rulers. A magnetic strip can hold all your metal tools right on the wall. It’s a sleek way to keep everything in sight and in reach.
Install it above your workstation for maximum convenience. You’ll love how it keeps your space tidy while showcasing your favorite tools like art pieces.
Magnetic strips are affordable and easy to install. You can find them at most home improvement stores, ready to add some magic to your studio.
9. Inspiring Wall Art
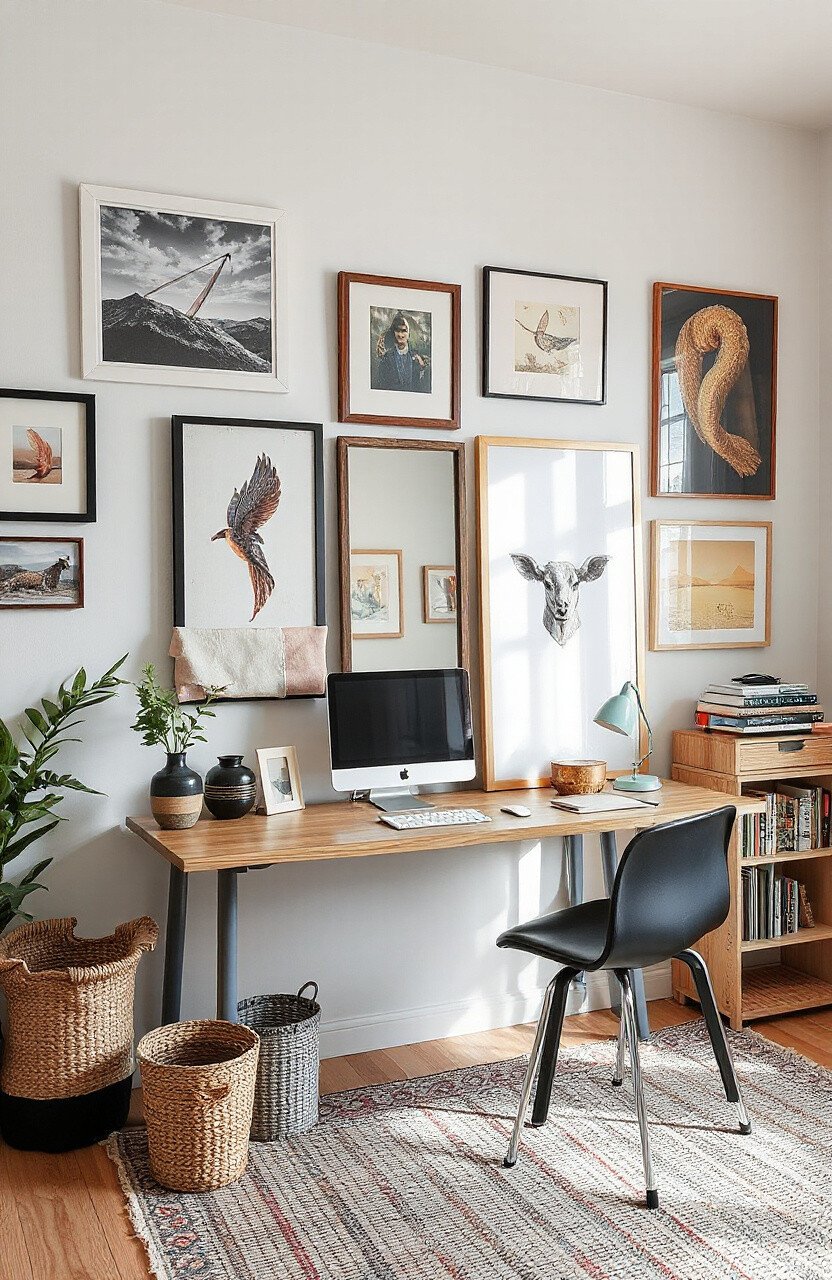
Fill your walls with art that makes your heart sing. Choose prints, paintings, or even your own creations. Art has a way of bringing energy and inspiration into a room.
Mix and match styles for a gallery feel. Hang pieces that remind you of your goals or bring a smile to your face. It’s your personal museum of motivation.
Art doesn’t have to be expensive. Look for prints online, or create your own for a cost-effective way to fill your space with beauty.
10. Comfortable Seating
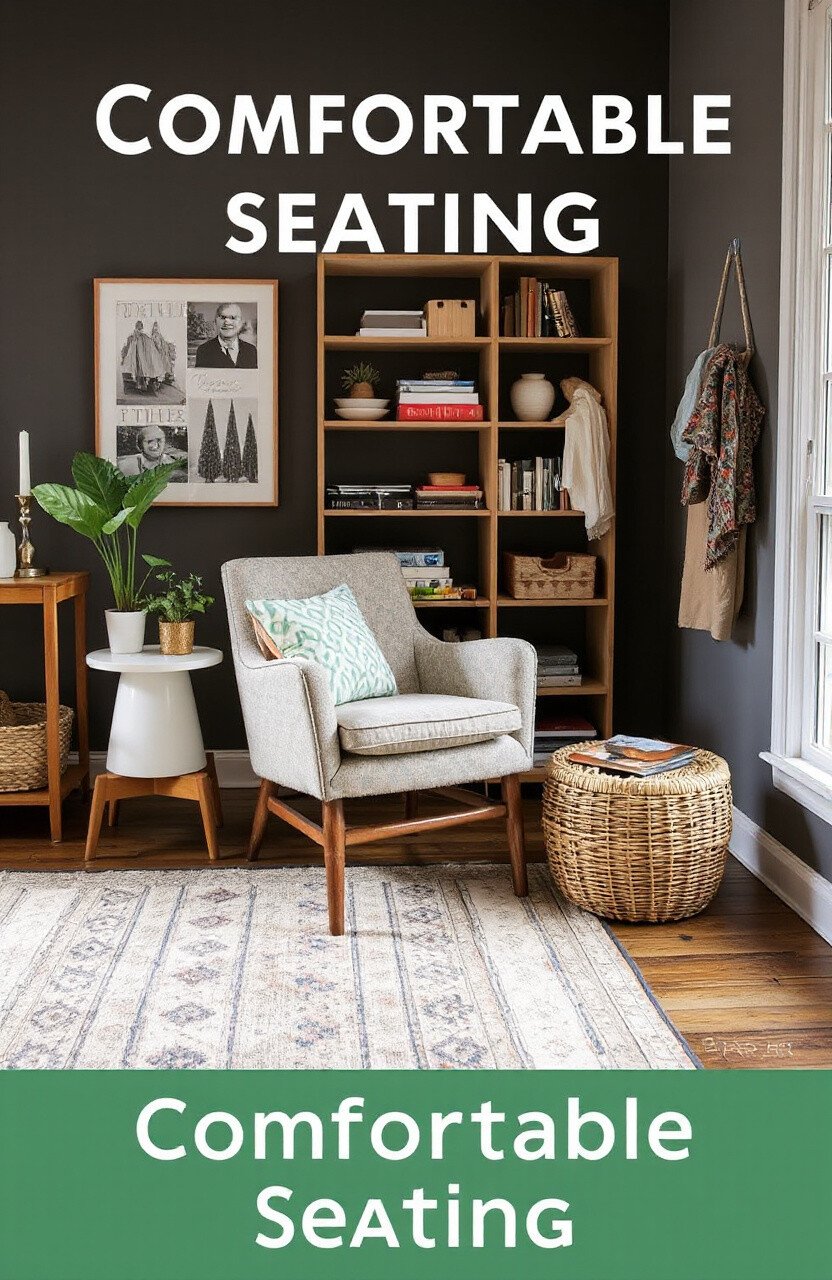
A cozy chair can make all the difference when you’re working on a project. Choose a seat that supports your back and lets you work comfortably for hours.
Consider a chair with a fun pattern or bright color. It’s not just a place to sit; it’s a part of your studio’s style. Add a cushion for extra comfort and flair.
While a good chair can be an investment, it’s worth it for the comfort it provides. Look for sales or gently used options to keep costs down.
11. Multi-level Shelving
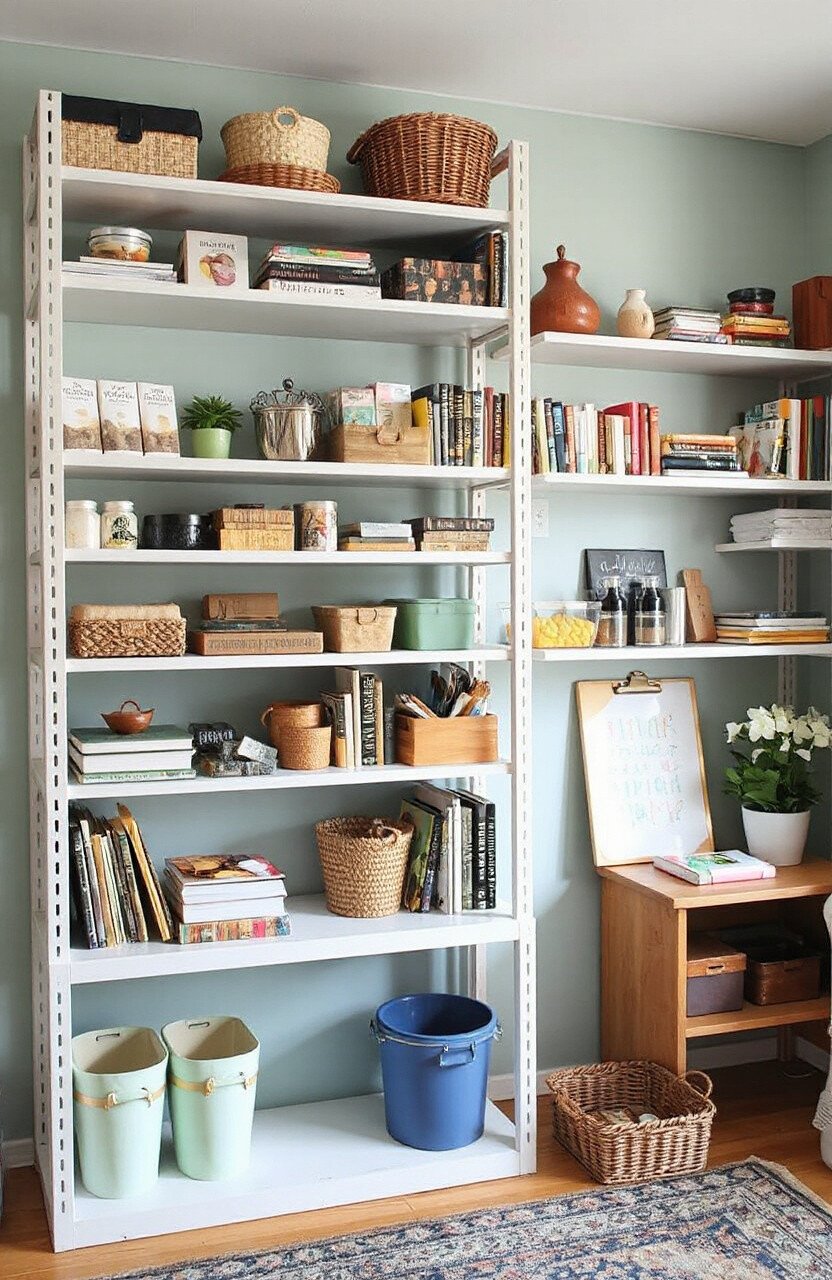
Make the most of your vertical space with multi-level shelving. These shelves can hold everything from books to baskets, keeping your supplies organized and accessible.
Customize the shelves with paint or wallpaper backing for a personal touch. Arrange items by color or size for a visually pleasing display. It’s like having a library of creativity at your fingertips.
Shelving units come in a range of prices, so it’s easy to find something that fits your budget. Check second-hand stores for unique, affordable options.
12. Chalkboard Wall
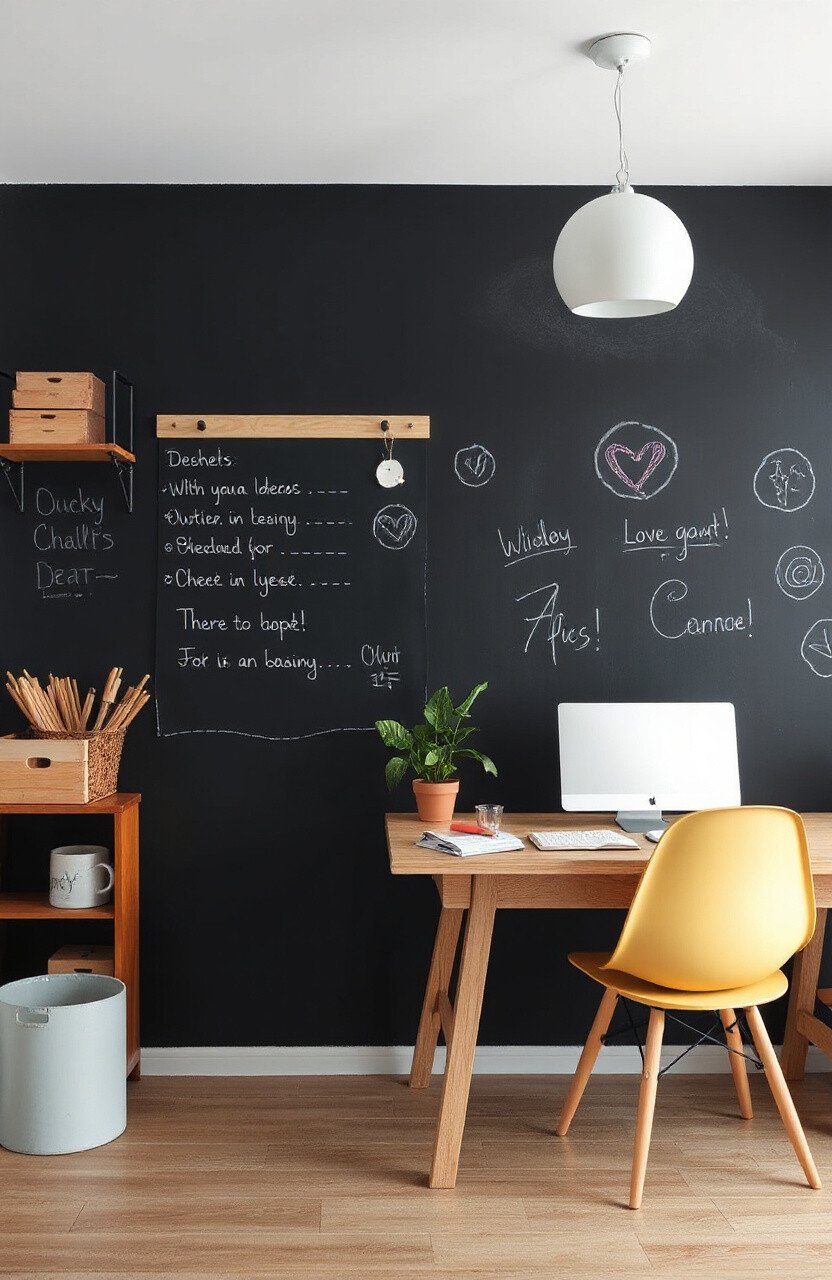
Turn one of your walls into a giant notepad with chalkboard paint. It’s a fun and functional way to keep track of ideas, lists, and doodles.
Draw, write, and erase as often as you need. It’s like having a never-ending canvas right in your studio. Plus, it adds a playful vibe to the room.
Chalkboard paint is inexpensive and easy to apply. You can find it at most hardware stores, ready to bring a touch of creativity to your walls.
13. Creative Desk Setup
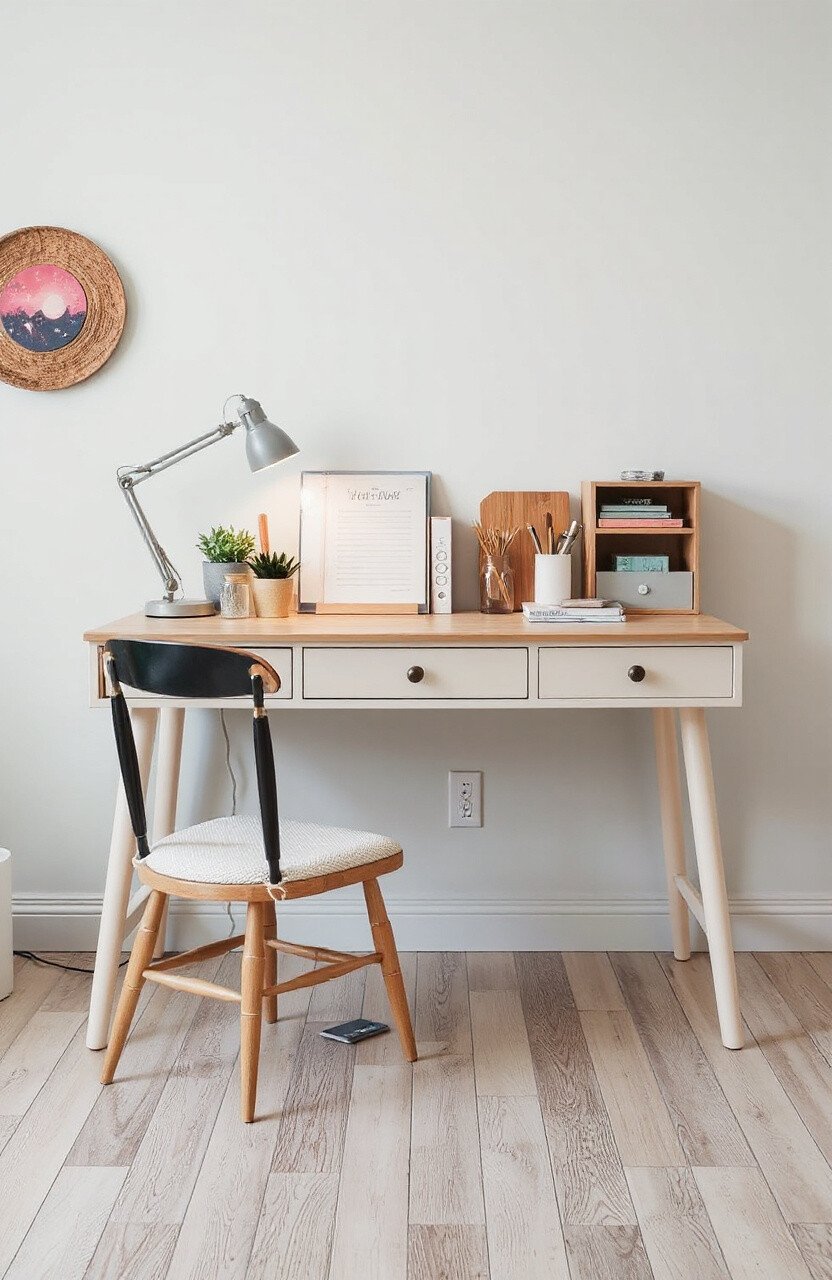
Your desk is the heart of your studio. Choose one that fits your style, whether it’s sleek and modern or rustic and charming. It’s your command center for all things creative.
Add personal touches like a colorful desk mat or a fun lamp. Organize supplies in pretty jars or trays to keep your workspace neat and inspiring.
Desks can range in price, but there are plenty of affordable options out there. Look for something that fits your space and your budget, and make it your own.
14. Hanging Planters
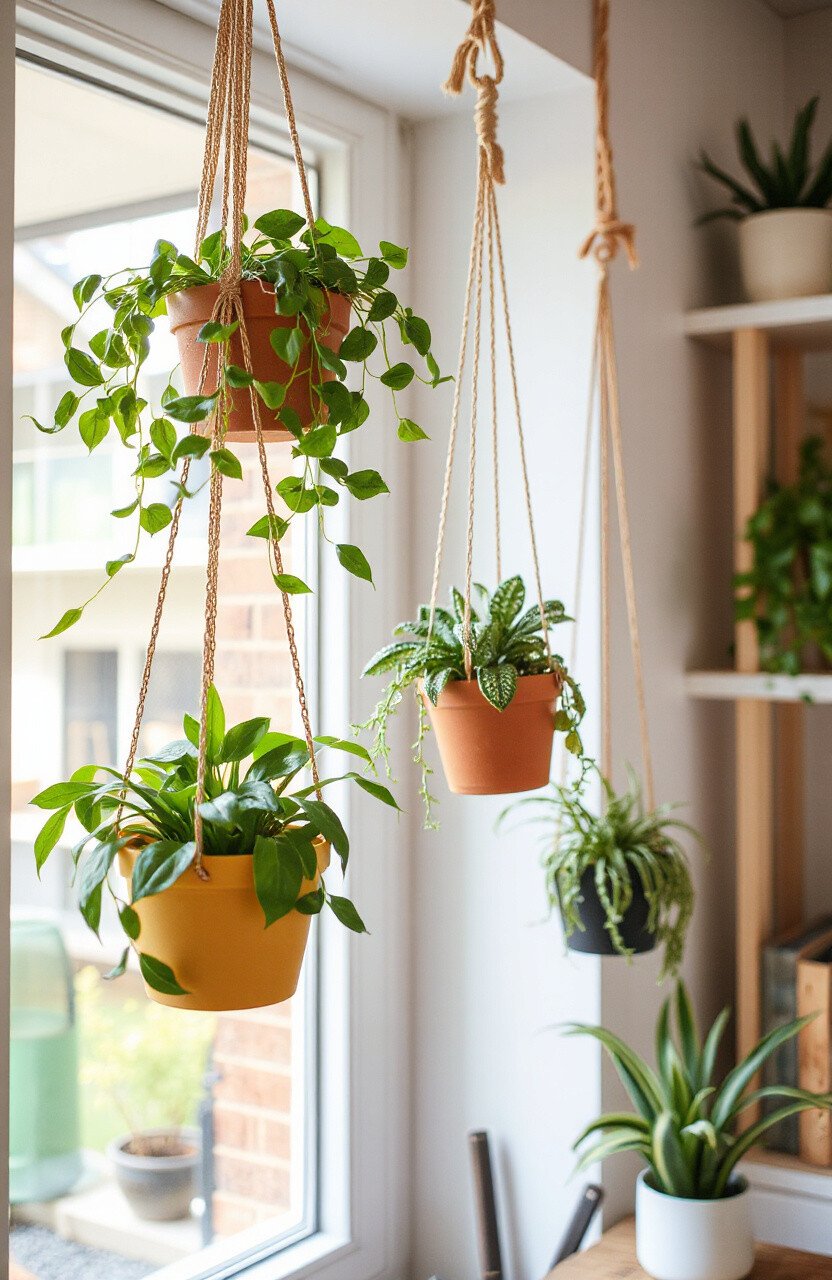
Bring a bit of nature into your studio with hanging planters. They add a touch of green and a breath of fresh air to your creative space.
Choose plants that are easy to care for, like succulents or spider plants. Hang them near a window for natural light. It’s like having a mini garden in your studio.
Hanging planters are usually affordable and easy to find. They’re a simple way to add life and color to your craft haven.
15. Personalized Nameplate
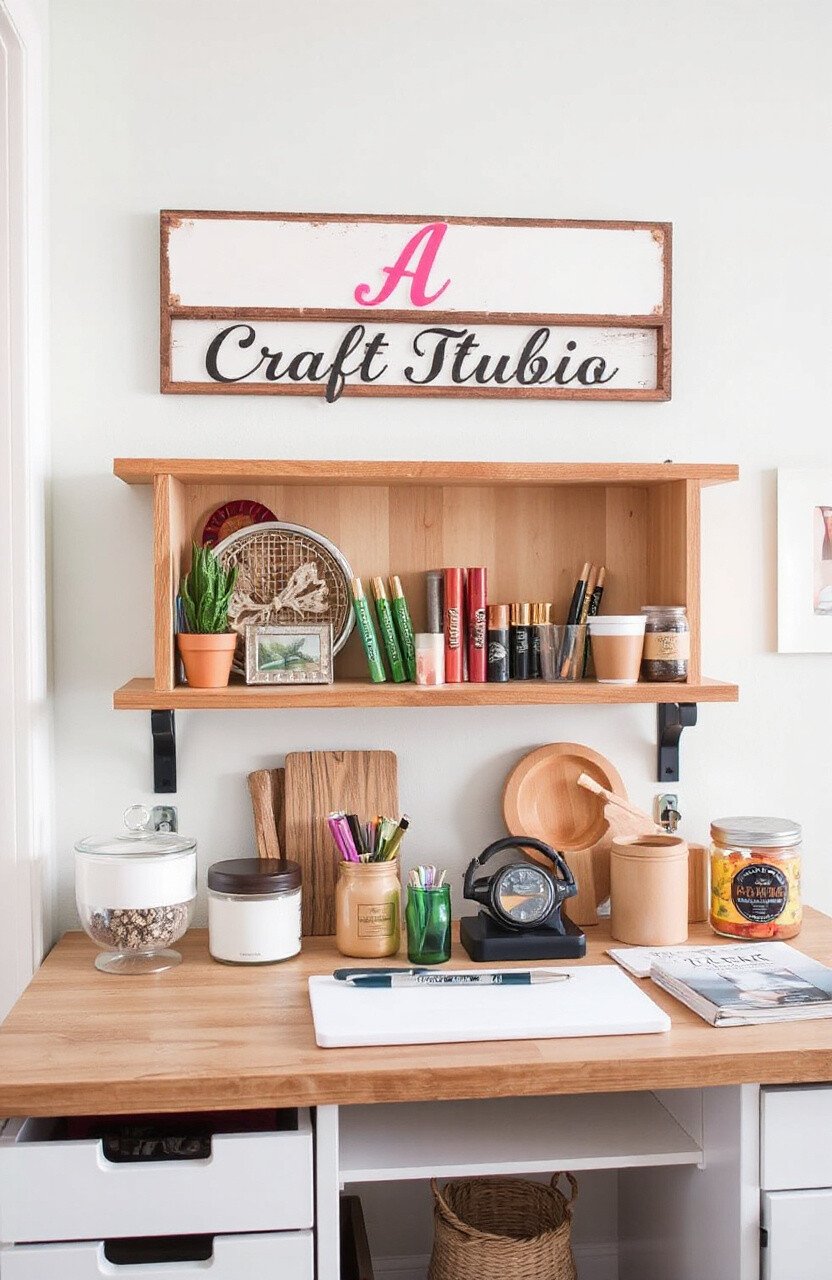
Add a touch of you to your studio with a personalized nameplate. It’s a fun way to claim your creative space and make it truly yours.
Choose a style that matches your personality. Maybe something elegant with your name in cursive, or something playful with bright colors. It’s a small detail that makes a big impact.
Personalized items can be found online at various price points. It’s a special touch that’s worth the investment for your creative sanctuary.
16. Craft Supply Jars
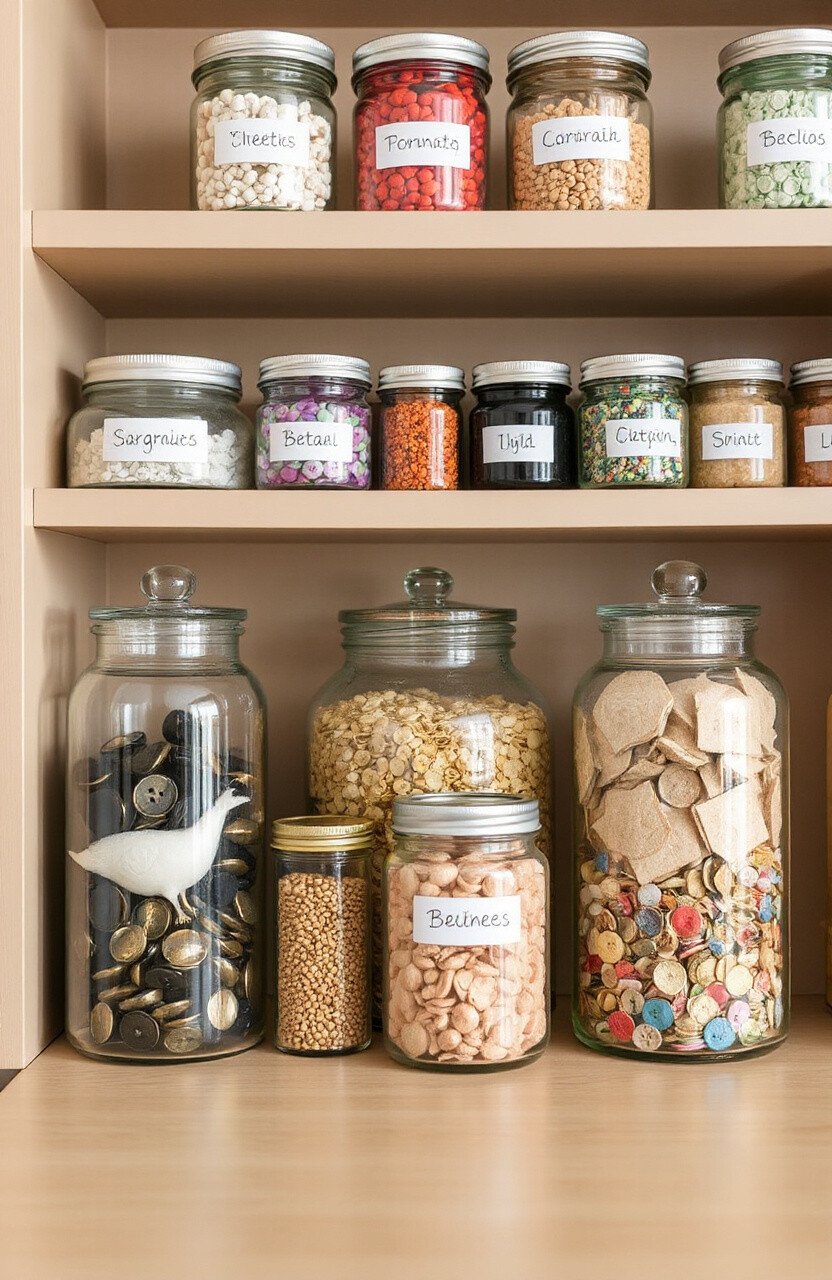
Keep your supplies organized and on display with clear jars. They’re perfect for buttons, beads, or any small items that need a home.
Label each jar for easy access. Arrange them by color or type for a visually pleasing display. It’s like having a candy store of creativity on your shelves.
Jars are generally inexpensive and can be found at most home goods stores. They’re a practical and stylish addition to any craft studio.
17. Cozy Rug
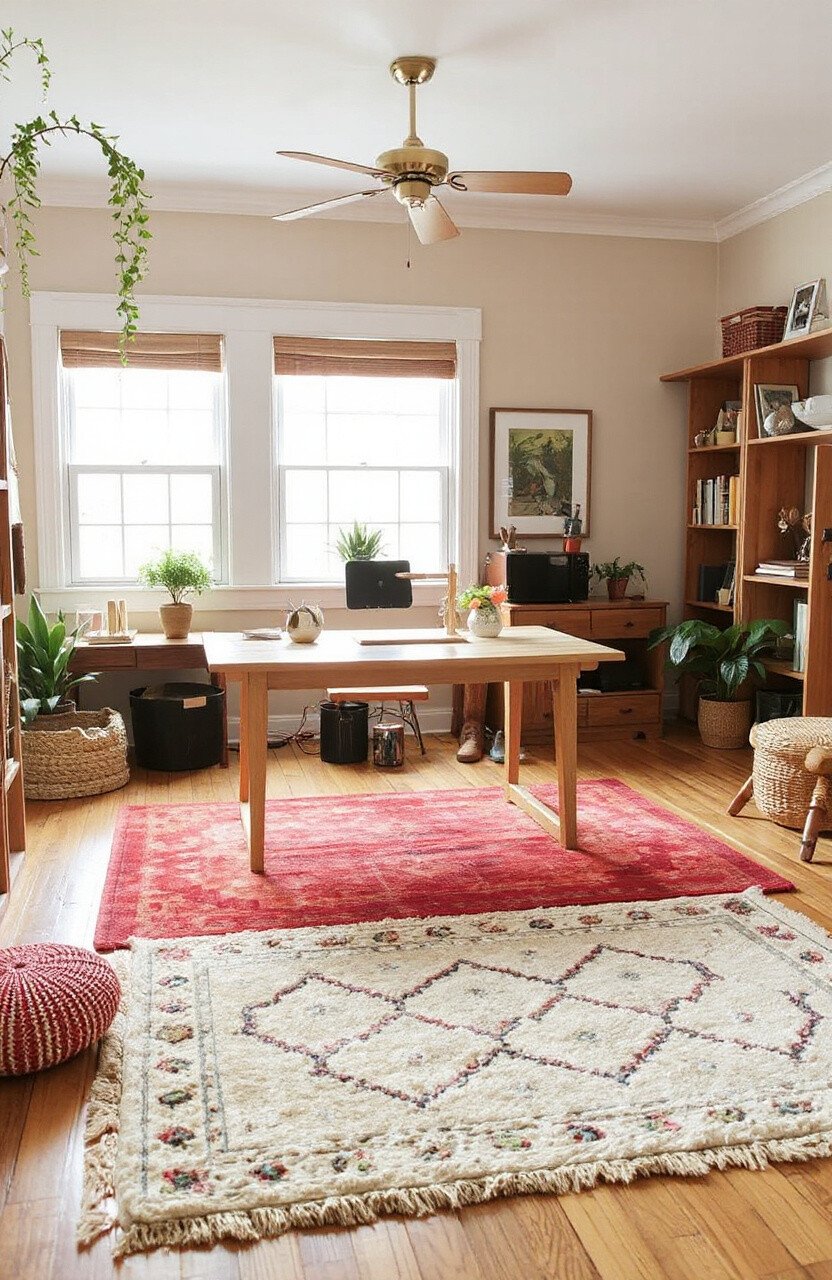
Add warmth and comfort to your studio with a cozy rug. It’s a simple way to define your space and add a splash of color or pattern.
Choose a rug that feels good underfoot and complements your decor. It’s not just a floor covering; it’s a piece of art for your studio.
Rugs come in a range of prices, so you’re sure to find one that suits your budget. Look for sales or second-hand options for a great deal.
18. Inspirational Quote Wall
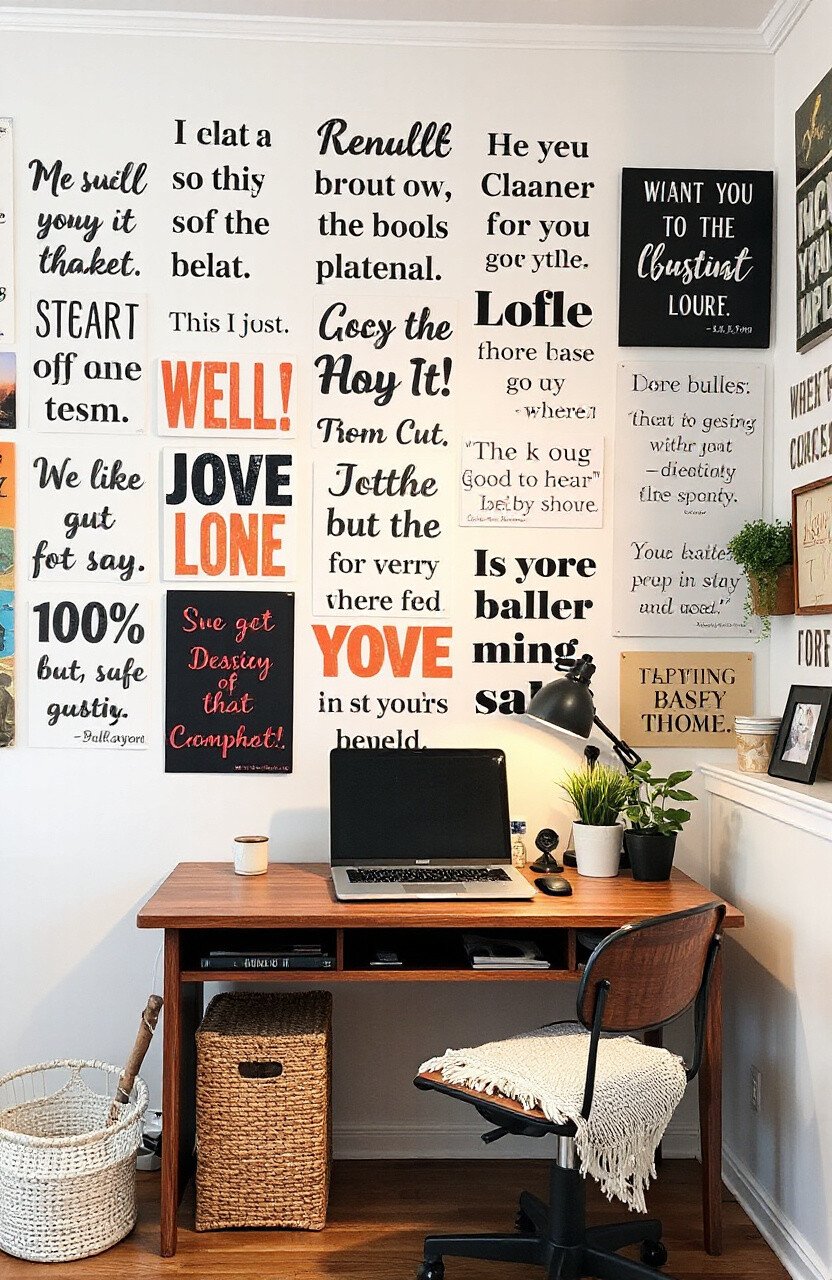
Fill your walls with words that lift you up. An inspirational quote wall is a constant source of motivation and positivity.
Choose quotes that resonate with you. Mix fonts and colors for a dynamic look. It’s like having a cheerleader right in your studio.
Creating a quote wall is inexpensive and can be done with prints or vinyl stickers. It’s a powerful way to set the tone for your creative space.
19. Modular Storage Units
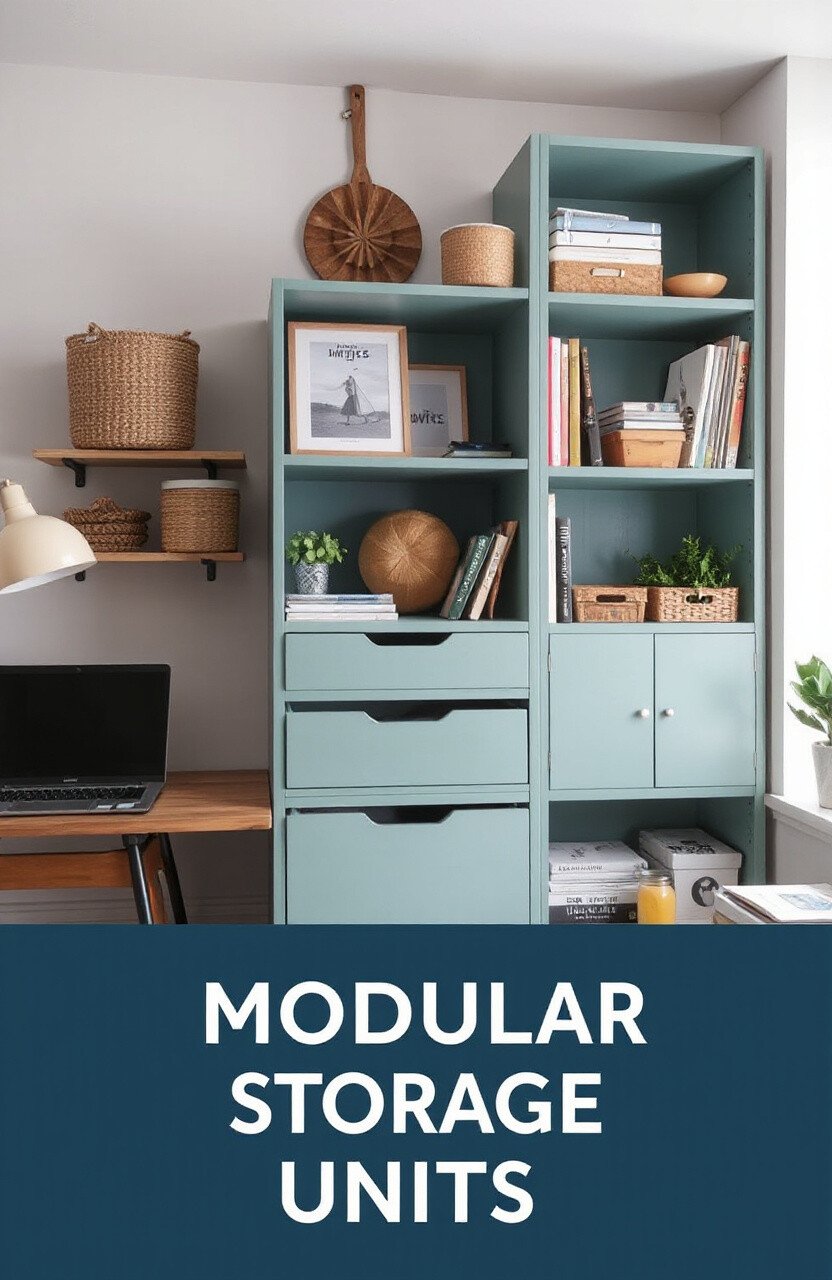
Keep your studio tidy with modular storage units. They’re perfect for adapting to your needs, whether you need drawers for papers or shelves for books.
Customize them with paint or decorative paper for a personal touch. Arrange them in a way that makes sense for your workflow. It’s like having a custom-built storage solution.
Modular units can be found at various price points, making them a flexible option for any budget. They’re a practical investment for a well-organized studio.
20. Artistic Curtain Dividers
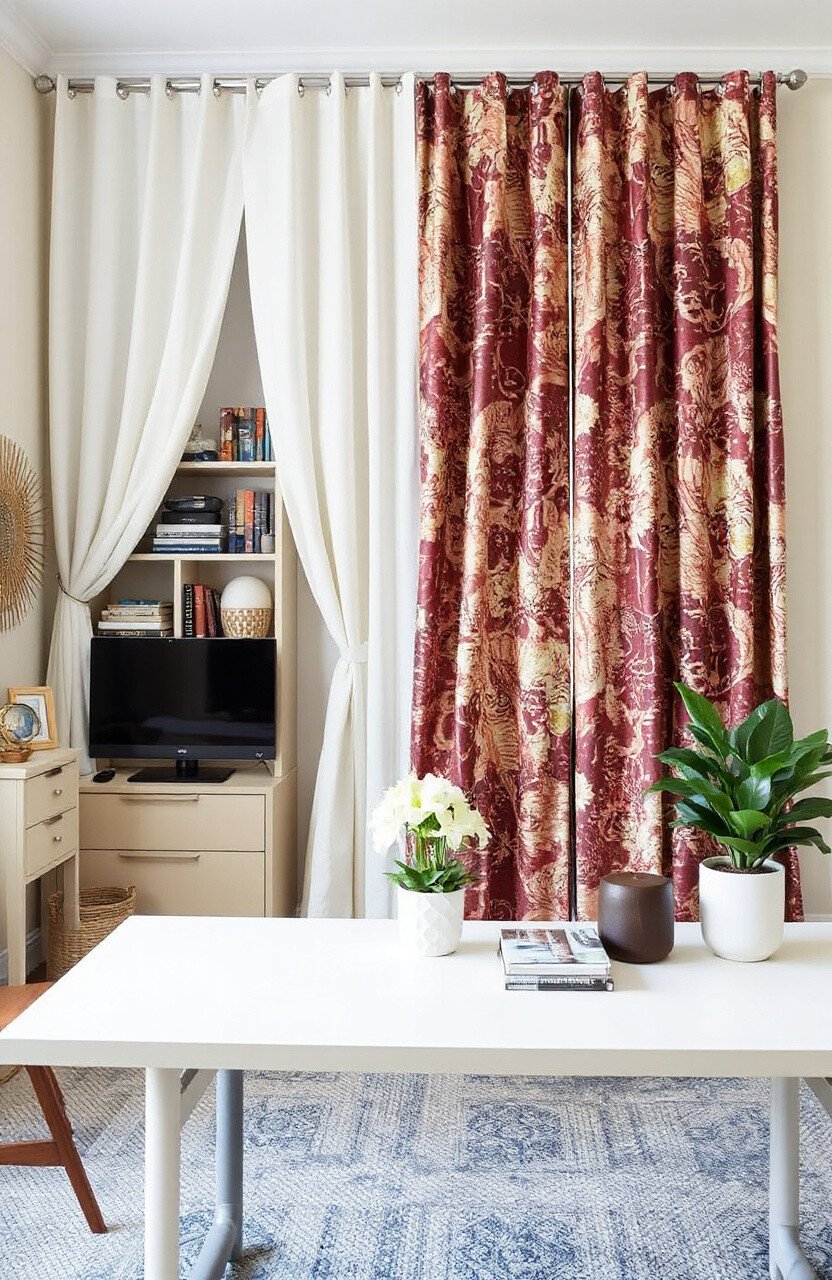
Divide your studio space with style using artistic curtain dividers. They add privacy and a touch of elegance to your creative haven.
Choose patterns or colors that inspire you. It’s like having a moving piece of art that can change the look of your studio in an instant.
Curtains are generally affordable and easy to install. They’re a simple way to create distinct areas within your craft room.
21. Customizable Label Maker
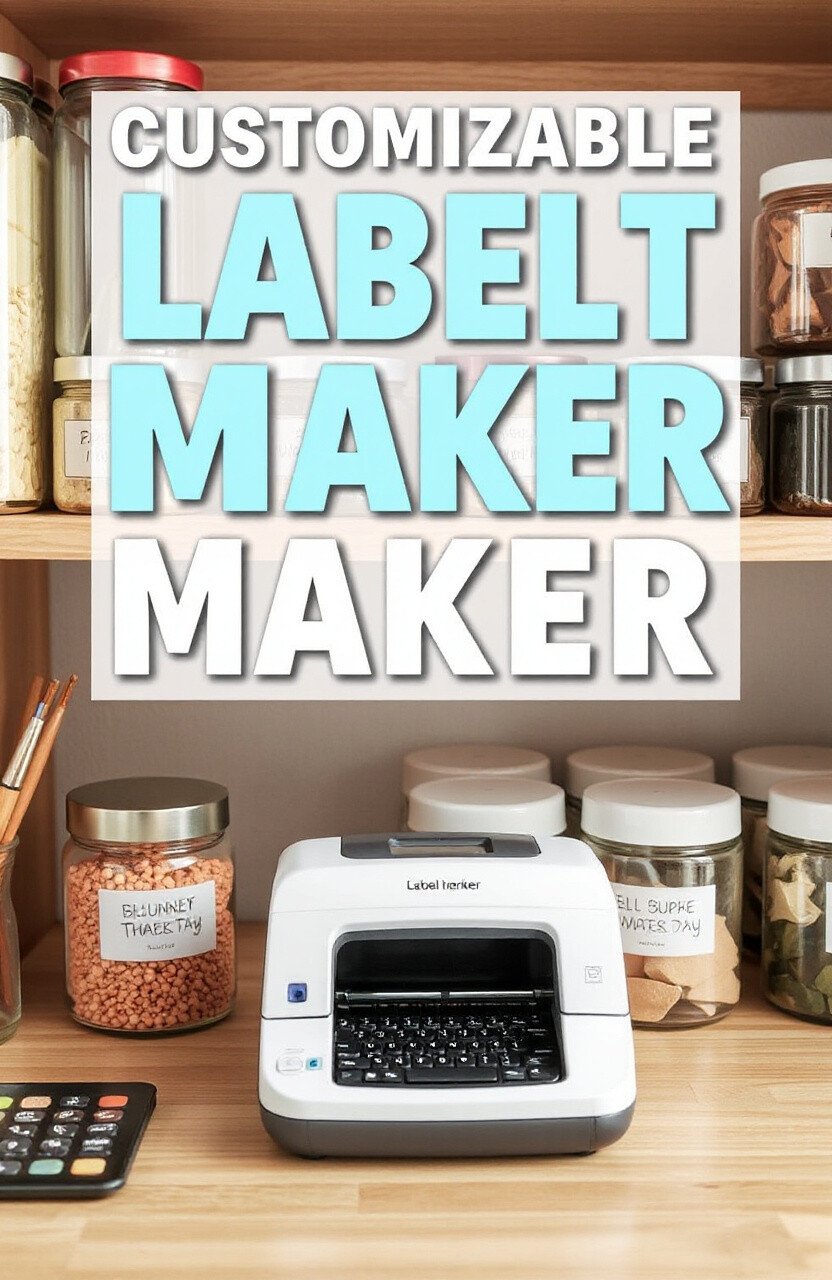
Keep everything in order with a customizable label maker. It’s a must-have tool for any organized craft studio.
Create labels for bins, jars, or shelves. Choose fonts and colors that match your style. It’s like having your own personal assistant keeping things tidy.
Label makers come at different price points, so it’s easy to find one that fits your budget. They’re a valuable tool for maintaining a neat and efficient workspace.
22. Folding Work Table
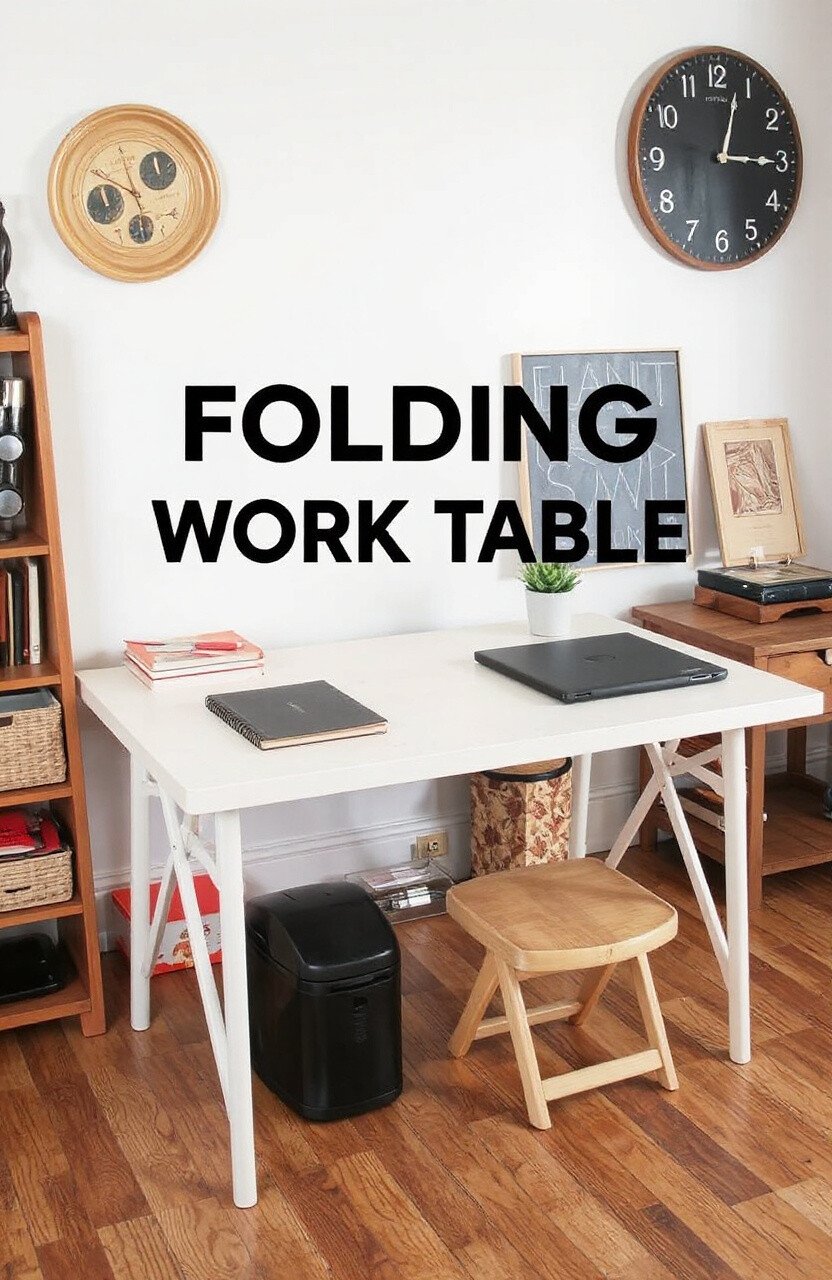
Maximize your space with a folding work table. It’s perfect for small studios or when you need an extra surface for big projects.
Fold it up when not in use to keep your space open. It’s like having a secret weapon that appears when you need it most.
Folding tables are generally affordable and available at most furniture stores. They’re a practical addition to any studio, offering flexibility and convenience.
23. Paint and Brush Holder
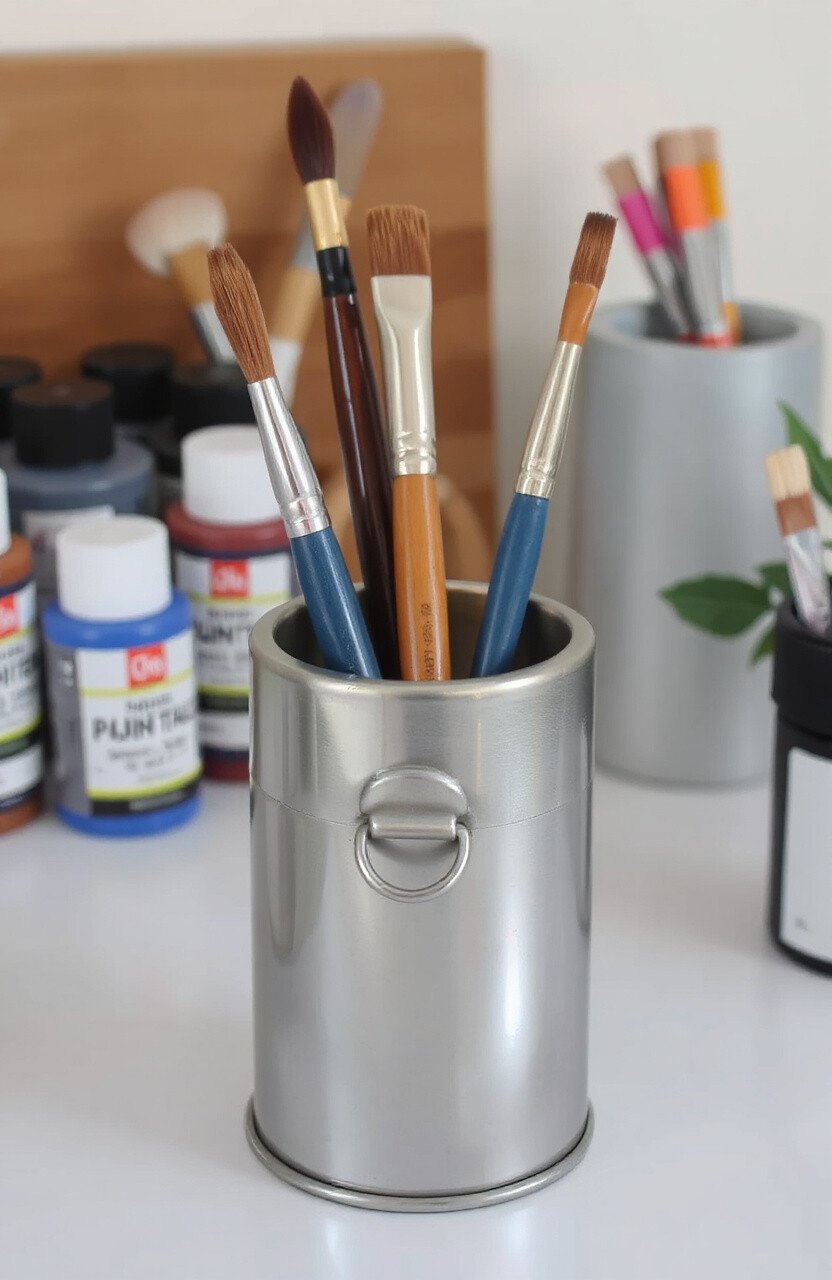
Keep your paints and brushes organized with a dedicated holder. It’s a simple way to keep your art supplies in check and ready for action.
Choose a holder that fits your style, whether it’s sleek metal or rustic wood. It’s like having a personal assistant for your painting sessions.
Paint holders are usually affordable and can be found at most art supply stores. They’re a practical and stylish addition to any artist’s studio.
24. Decorative String Lights
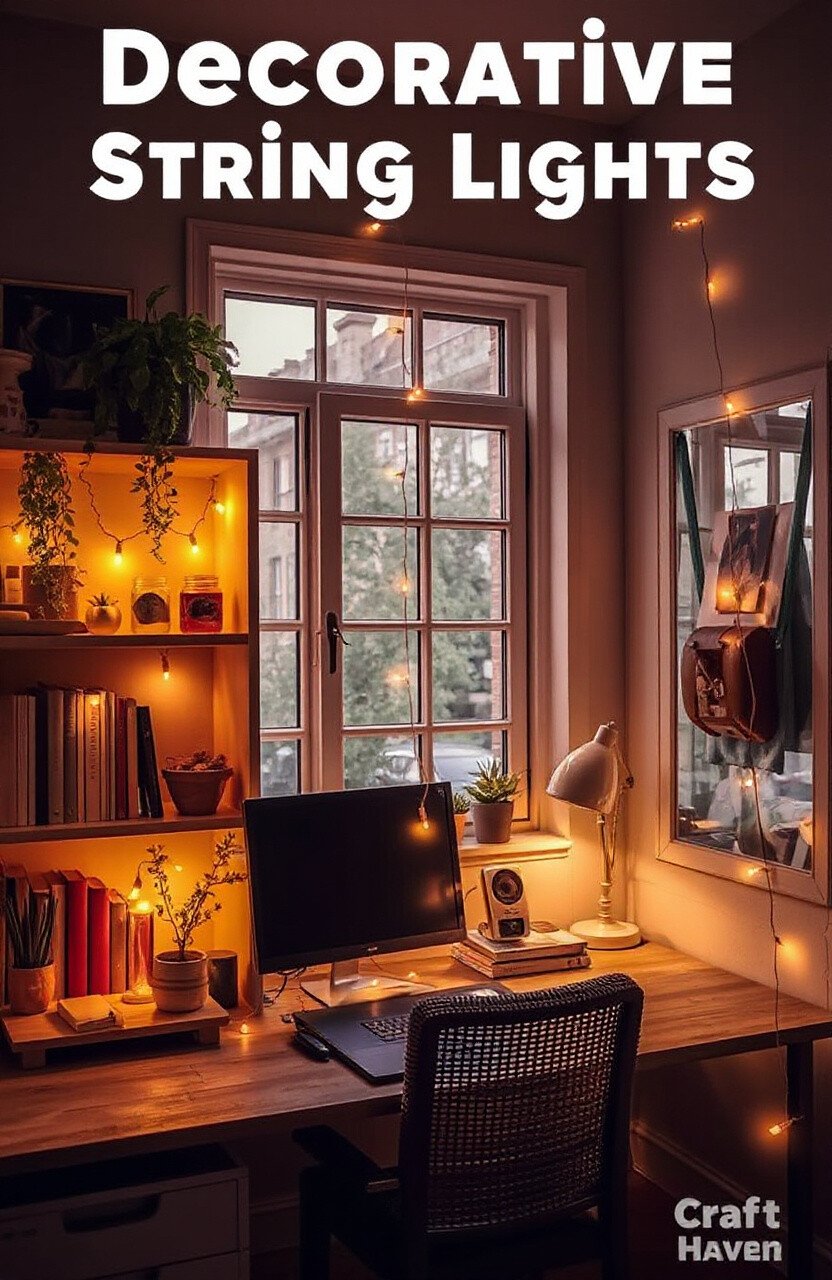
Bring a touch of magic to your studio with decorative string lights. They add a warm glow and a whimsical vibe to your creative space.
Choose lights in fun shapes or colors. Drape them over shelves or around windows for a cozy atmosphere. It’s like having a bit of stardust in your studio.
String lights are generally affordable and easy to find. They’re a simple way to add a touch of enchantment to your craft haven.
25. Portable Speaker System
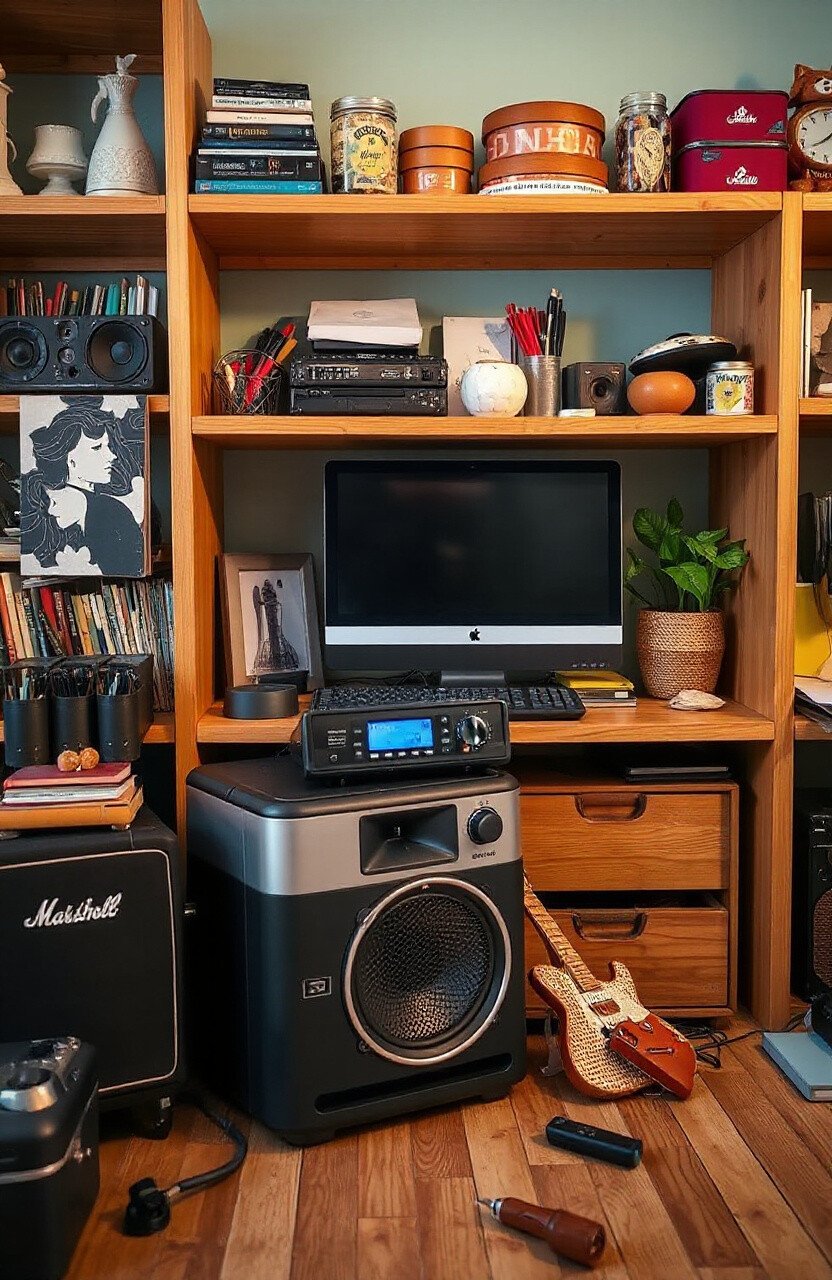
Fill your studio with music that moves you. A portable speaker system lets you listen to your favorite tunes while you create.
Choose a system with good sound quality and a style that matches your decor. It’s like having a personal concert in your studio.
Speakers come at various price points, so it’s easy to find one that fits your budget. They’re a fun way to keep the creative energy flowing.
26. Eco-friendly Supplies
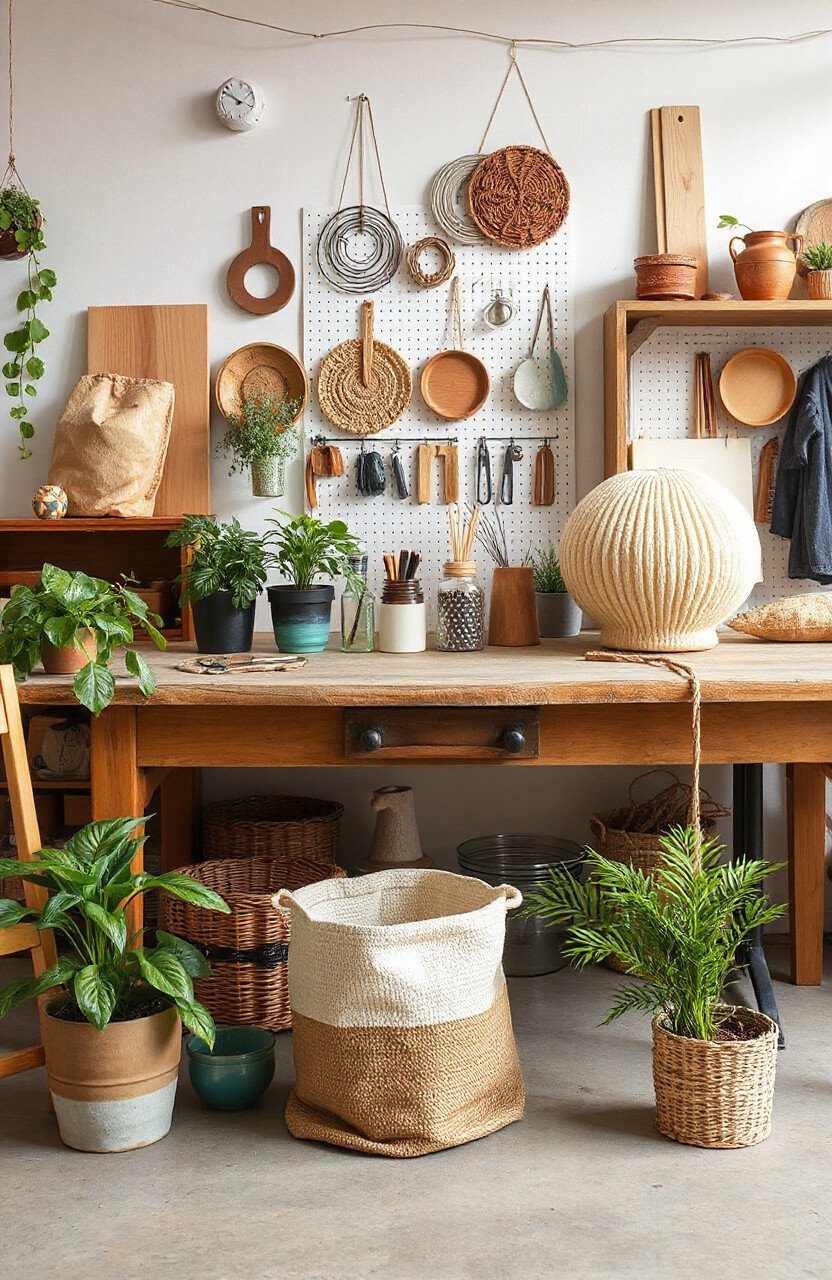
Make your studio greener with eco-friendly supplies. They’re better for the planet and often come with a story of sustainability.
Choose recycled or upcycled materials for your projects. It’s like giving the earth a hug every time you create something new.
Eco-friendly options are becoming more accessible and affordable. They’re a responsible choice for any environmentally-conscious crafter.
27. Mood Board Station
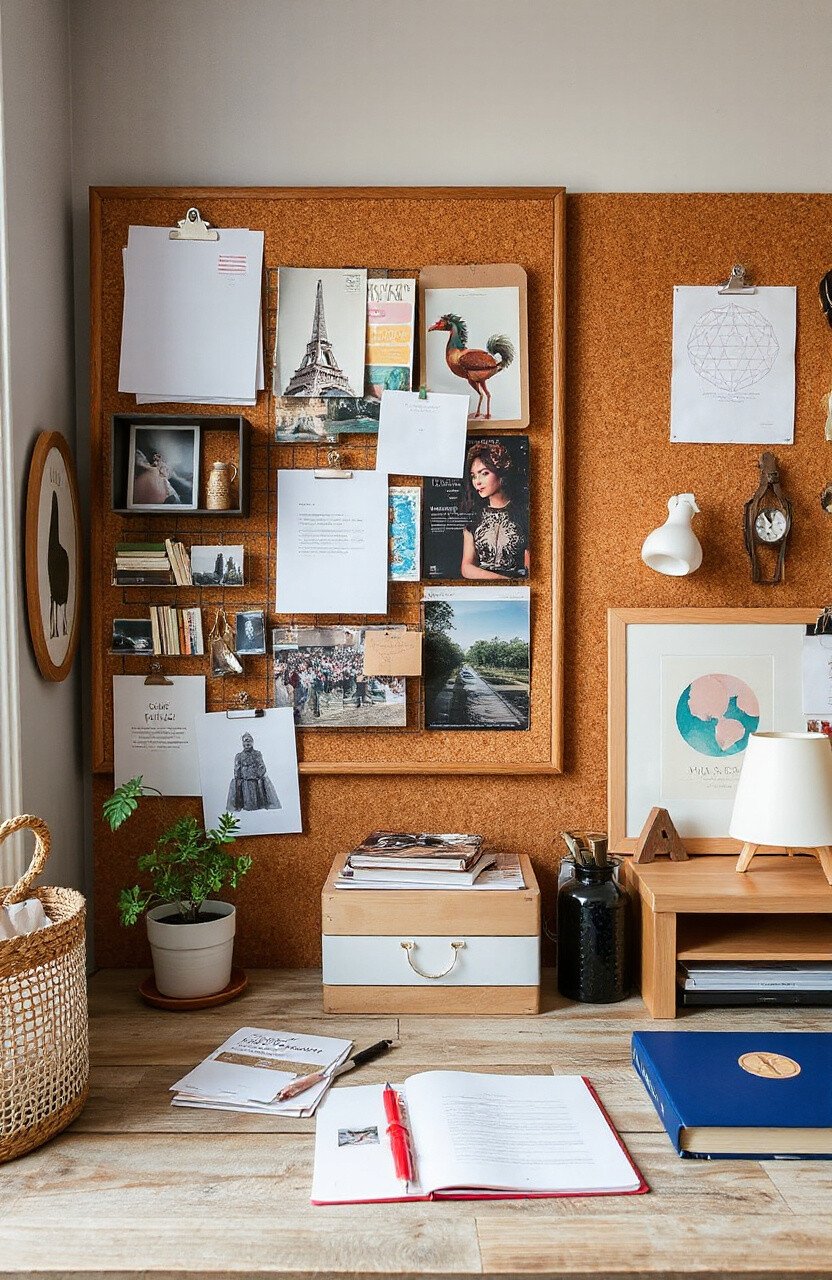
Keep your inspirations organized with a dedicated mood board station. It’s a place to gather your ideas and let them evolve over time.
Use corkboards, clipboards, or a wire grid to display clippings, sketches, and more. It’s like having a window into your creative mind.
Mood board stations are inexpensive and easy to create. They’re a powerful tool for visualizing and developing your creative projects.
