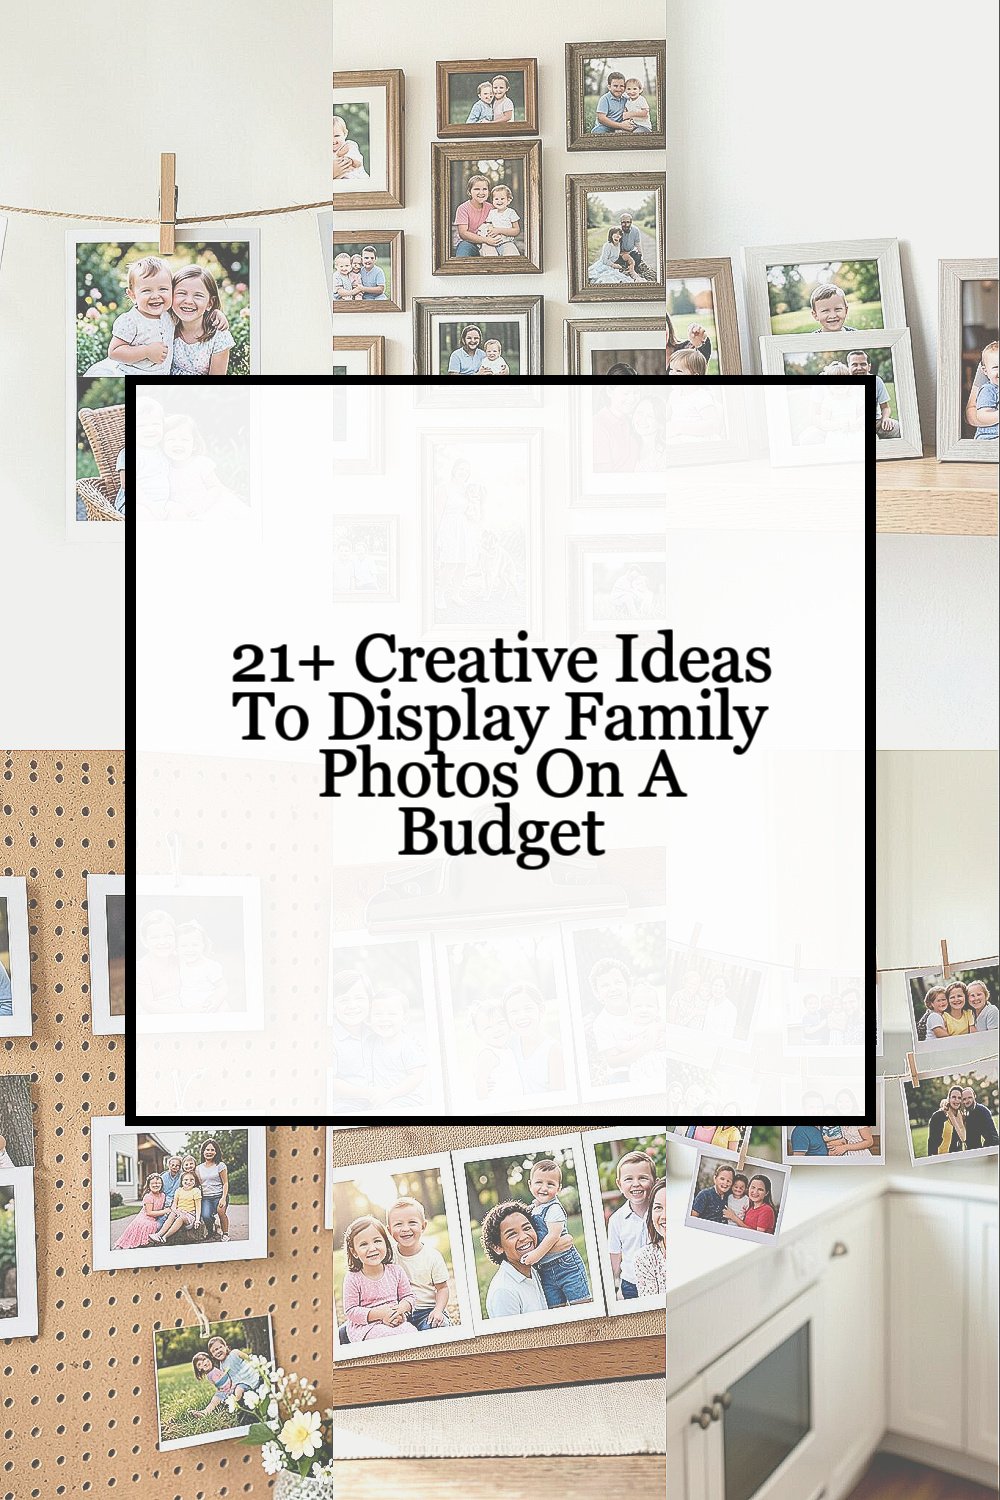
Family photos can warm up a room in an instant. They can also tell a story without saying a word.
Good displays do not need fancy frames or a big budget. A little imagination can make everyday pictures feel special.
1. Clip Photos To A String

Top Clip Photos To A String Craft Tutorials
- 👓 How to Make a Photo Clip String Set from sharifacreates.com.
- 🍁 Not as impressive as some projects here but its surprising … from reddit.com.
- 🍅 hanging pictures on string ideas from shop.tiktok.com.
- 💅 DIY rustic twig photo frame 🌿 Thin sticks are cut to size, tied … from facebook.com.
- 🍅 Diy String Photo Display from walmart.com.
String displays feel light, cheerful, and easy to change. They bring a casual look that works well in bedrooms, hallways, and play spaces.
Use twine, baker’s string, or thin rope and clip prints with small clothespins. You can hang one line or several lines for a fuller look, and the whole project stays very low cost. Add notes, postcards, or tiny paper hearts for a more personal touch.
2. Make A Gallery Wall With Thrifted Frames

Top Make A Gallery Wall With Thrifted Frames Craft Tutorials
- 🍂 How to Make a Thrifted Gallery Wall for Family Photos from honestlymodern.com.
- 🍅 How to Build a Gallery Wall with Thrifted Frames from thesimplehomeplace.com.
- 💅 The secret to a perfect gallery wall? I combined thrifted … from facebook.com.
- 🗺️ Decorate with Old Thrift Store Picture Frames from thecrazycraftlady.com.
- 🎄 How To Make A Gallery Wall From Old Picture Frames from pictureboxblue.com.
A gallery wall can look polished even when the frames come from thrift shops. Matching the frames with spray paint helps the whole display feel calm and neat.
Mix black, white, gold, and wood tones for a modern look. Lay the frames on the floor first so you can test the arrangement before making holes in the wall. This idea saves money because used frames are often cheap, and it gives you room to show different family moments together.
Try black-and-white photos for a clean style, or keep color prints for a lively feel. You can even add one small art print or handwritten quote to make the wall feel more personal. Many people like gallery walls because they feel current, but they still work in classic homes too.
3. Use A Simple Photo Ledge

Top Use A Simple Photo Ledge Craft Tutorials
- 👓 Easy DIY Picture Ledge With the BEST Game-Changing … from southhousedesigns.com.
- 🧑🌾 HOW TO MAKE DIY PHOTO LEDGES: Have a long or … from facebook.com.
- 🧑🌾 Photo Ledge DIY from abeautifulmess.com.
- 🍁 How to Make Your Own Picture-Perfect Photo Ledge from hgtv.com.
- 🗺️ Make a Photo Ledge in 15 Minutes – Fixer Upper Style from thehowtohome.com.
Photo ledges are great for people who like to switch things around. They create a layered look that feels relaxed and stylish.
You can build one with a basic board and a few brackets, or buy a low-cost shelf. Lean framed photos against the wall and mix in small plants or candles for a cozy effect. This setup is budget-friendly because it uses fewer frames and lets you reuse the same pieces in new ways.
Try placing taller frames in the back and smaller ones in front for depth. Add school pictures, vacation shots, or baby photos to tell a family story. The best part is that you can update the ledge whenever new memories come home.
4. Hang Photos On A Pegboard

Top Hang Photos On A Pegboard Craft Tutorials
- 💅 what craft can hang on a pegboard wall? from facebook.com.
- 🍂 Pegboard Wall Art – Rachel Hollis from msrachelhollis.com.
- 🧑🌾 How to Build a Framed Pegboard from happilyeverafteretc.com.
- 🍁 DIY Framed Pegboard Craft Organizer for Tools from jennifermaker.com.
- 🍁 How to Hang Pictures on Peg Board from tiktok.com.
Pegboards are not just for tools anymore. They can become a playful photo wall with a bright, modern feel.
Paint the board in a soft color and clip photos with hooks, string, or tiny clips. This makes the display easy to move and fun to refresh as your family grows. It is also a smart choice for renters or small spaces because the board can be placed almost anywhere.
5. Turn A Clipboard Set Into Art

Top Turn A Clipboard Set Into Art Craft Tutorials
- 🍁 How to Make a Vintage-Style Decorative Clipboard from adirondackgirlatheart.com.
- 🧑🌾 Easy Clipboard Art from realhousemoms.com.
- 👓 Repurpose ideas for an old clipboard? from facebook.com.
- 💅 DIY Dollar Tree Makeover: Turn Clipboards Into Decorative … from craftsbycourtney.com.
- 🍁 17+ Cute DIY Clipboard Ideas from makingjoyandprettythings.com.
Clipboards can make photos look neat and tidy with very little effort. Their simple shape gives the display a clean, schoolhouse style that feels a bit retro.
Buy a pack of plain clipboards and paint them if you want a custom look. Then swap in favorite prints whenever you like, which keeps the cost low over time. This idea works well for kids’ rooms, home offices, and hallways where you want an organized look without much fuss.
Use one clipboard for each child, or group them by season and event. Add labels, stickers, or painted corners to give each one a personal twist. Because the photos are easy to change, this style is handy for families who love new pictures all the time.
6. Make A Photo Clothesline In The Kitchen

Top Make A Photo Clothesline In The Kitchen Craft Tutorials
- 🍅 Displaying Kids' Artwork with a Clothesline from facebook.com.
- 🍂 DIY Photo Clothesline Display: Using an Antique Frame from adirondackgirlatheart.com.
- 💅 Vintage Clothesline Laundry Room Art Printable Set from blesserhouse.com.
- 💅 Miniature laundry room scene in shadowbox from facebook.com.
- 🍅 cost effective/ diy displaying arts and crafts projects from reddit.com.
A kitchen clothesline can bring warmth to a room that often feels plain. Family pictures near the table or coffee area can make the space feel more lived in.
Use a thin wire, ribbon, or twine and hang it between two hooks. Add small prints with mini clips and mix in recipe cards or kid drawings for a homey look. The supplies are cheap, and the display can be changed in minutes when you want something fresh.
Choose bright photos for a happy feel or soft-toned images for a calm look. This kind of display is great for showing everyday moments, like pancake mornings or backyard dinners. It feels personal because it celebrates the small parts of family life, not just the big events.
7. Fill A Large Tray With Mini Prints

Top Fill A Large Tray With Mini Prints Craft Tutorials
- 👓 Miniature items for type tray under $1 inch tall from facebook.com.
- 🍅 Easy DIY Patterned Trays with Agate Printable Art for … from remodelaholic.com.
- 🍁 How to Make an Air Dry Clay Tray with Flowers from the Garden from hearthandvine.com.
A tray can become a tiny photo gallery on a table or shelf. It gives a neat, collected look that feels special without taking over the room.
Place small framed prints, loose photos, or photo cards inside a decorative tray. Add a candle, a small plant, or a stone to make the display feel complete. This is a low-cost idea if you already own a tray, and it works well in spaces that need a small accent.
Try using a tray with a metallic finish for a modern look or a wooden one for a softer feel. You can swap the pictures by season, holiday, or family milestone. The tray keeps everything together, so the display always looks tidy.
8. Build A Photo Tree On The Wall

Top Build A Photo Tree On The Wall Craft Tutorials
- 🧑🌾 DIY Photo Wall Tree from thecraftedlife.com.
- 🍁 Family Photo tree diy 😱 #photoframe #diy #trees #crafs from facebook.com.
- 👓 How to create a family tree on a wall? from facebook.com.
- 🎨 Family Photo tree diy 😱 #photoframe #diy #trees #crafs from facebook.com.
- 🎨 4 Ways to Make a Paper Tree for Kids from wikihow.com.
A photo tree can feel playful and full of life. It turns family pictures into part of the room design instead of just wall decor.
Use removable wall decals, washi tape, or painted branches to make the shape of a tree. Then attach photos like leaves, using tape or small clips. The supplies are cheap, and the final look is unique enough to stand out in a child’s room or family nook.
For a softer style, use neutral colors and small sepia prints. For a bolder look, use bright tape and colorful snapshots. This idea also gives children a fun way to help, since they can choose which pictures go where.
9. Use Washi Tape Frames

Top Use Washi Tape Frames Craft Tutorials
- 🧑🌾 20 Washi Tape Craft Ideas Your Kids Will Love from sliceproducts.com.
- 🖼️ 9 Creative Ways of Using Washi Tape – Instructables from instructables.com.
- 🗺️ DIY Washi Tape Frames from thecraftedlife.com.
- 🗺️ Washi Tape Uses: 21 Washi Tape Ideas You Can Easily Try from altenew.com.
- 🎨 Top 10 Washi Tape Crafts to Try TODAY from thewashitapeshop.com.
Washi tape frames are quick, colorful, and easy to remove. They are perfect for renters and anyone who likes to change decor often.
Stick the tape directly on the wall around each photo to make a frame shape. You can use one color for a clean line or mix patterns for a playful style. Since the tape is inexpensive and the photos do not need actual frames, this is one of the easiest low-budget ideas on the list.
Try making a grid for a tidy look or a loose cluster for something more casual. Washi tape comes in many colors now, which fits modern home trends that favor simple, flexible decor. It is also a fun way to let kids help with the design.
10. Display Photos On Floating Shelves

Top Display Photos On Floating Shelves Craft Tutorials
- 🍂 What to put on floating shelves in a loft or media room? from facebook.com.
- 🎨 66 Ways to Decorate With Floating Shelves from hgtv.com.
- 🎨 Picture Ledge Floating Shelves from lifeonvirginiastreet.com.
- 🖼️ DIY Floating Shelves – 10 Creative Ways to Use! – Amber Oliver from amber-oliver.com.
- 🧑🌾 28 Stylish Floating Shelf Ideas for Every Space in the Home from bhg.com.
Floating shelves give photos a calm, airy look. They also make it simple to add books, plants, and keepsakes beside the pictures.
Use a few narrow shelves and lean framed prints against the wall. Mix frame sizes for depth and place the largest ones in the back. This option can be affordable if you buy basic shelves or make them from simple wood boards.
Try grouping photos by theme, like grandparents, travel, or holiday memories. Add one or two small objects that match the photo colors so the shelf feels planned. The result feels neat, personal, and easy to update as your family changes.
11. Repurpose Old Windows As Frames

Top Repurpose Old Windows As Frames Craft Tutorials
- 🗺️ 11 Sensational Repurposed Old Windows from catharticcrafting.com.
- 👓 Grab an old window for these 11 DIY decor ideas! from facebook.com.
- 💅 21 Creative Old Window Ideas from thebudgetdecorator.com.
- 🍁 Turn an old window frame into a gorgeous family photo … from facebook.com.
- 🎨 How to Repurpose with Old Window Ideas from theidearoom.net.
Old windows can give family photos a charming farmhouse look. The divided panes make each picture feel like part of a bigger story.
Clean the frame well, then attach photos behind the glass or on the back side with tape. You can leave the paint chipped for vintage character or repaint it for a fresher style. Since many old windows can be found cheaply at yard sales or salvage stores, this is a smart budget pick.
Use black-and-white prints for an old-time feel or bright color photos for a fresher twist. This idea stands out because it turns a simple found object into art. It also works nicely above a sofa, in an entryway, or over a mantel.
12. Create A Photo Grid With Matching Prints

Top Create A Photo Grid With Matching Prints Craft Tutorials
- 🍁 How To Easily Create a Grid Gallery Wall from inmyownstyle.com.
- 🍅 Any formula for a 12×36 canvas from an 8×10 photo? from facebook.com.
- 🖼️ Gallery Wall Ideas & Layouts for Every Wall or Style from artifactuprising.com.
- 🎨 Pic Stitch – Collage Editor – App Store – Apple from apps.apple.com.
- 🍂 DIY Photo Wall Under $30! Transform Your Space with an … from lemon8-app.com.
A photo grid makes a wall look clean and organized. It gives a modern feel that works well in hallways, offices, and family rooms.
Print photos in the same size and use matching frames or borders. Keep the spacing even so the whole display feels balanced. This style can be very budget-friendly because simple frames and standard print sizes often cost less than custom pieces.
Choose one theme, such as yearly portraits, holidays, or baby milestones. You can also use all black-and-white images for a polished look. The grid style is popular because it feels tidy while still showing lots of family love.
13. Hang Photos From A Branch

Top Hang Photos From A Branch Craft Tutorials
- 🍁 DIY Photo Frame from Branches <3 from facebook.com.
- 🎨 23 DIY Branch Wall Hanging Ideas Creating Natural Focal … from wonderfuldiy.com.
- 🍂 Best advice for hanging family photos on tree branches? from facebook.com.
- 🗺️ 25 Easy Twig Crafts You Must Try – Rustic Crafts & DIY from rustic-crafts.com.
- 🖼️ 15 Easy DIY Picture Frame Ideas for Crafting Holiday Gifts from bobvila.com.
A branch display brings a natural touch indoors. It feels soft, handmade, and just a little bit magical.
Find a sturdy branch, clean it, and hang it with twine or ribbon. Clip photos from the branch and let them dangle at different lengths for a pretty layered look. This project costs very little if you use a branch from your yard and simple string from home.
Add dried flowers, small tags, or paper leaves for extra charm. You can paint the branch white or gold if you want a more modern look. This idea is especially nice for seasonal decor or a nursery wall.
14. Use A Corkboard In A Busy Space

Top Use A Corkboard In A Busy Space Craft Tutorials
- 🗺️ Repurposed ceiling fan blades as a craft space cork board from facebook.com.
- 💅 5 Uses For A Corkboard In Your Home from whiteboardsandpinboards.com.au.
- 💅 Elevate your home office with a game-changing design … from facebook.com.
- 🗺️ Well, have you ever thought of making your own cork … from instagram.com.
- 💅 Create a Large Custom Bulletin Board for Cheap – rehab dorks from rehabdorks.com.
Corkboards are practical and friendly at the same time. They work well in mudrooms, kitchens, and family command centers where people stop often.
Pin up family photos with colorful pushpins and mix in calendars, reminders, or kids’ artwork. The board can be as neat or as messy as you like, which makes it easy to match your home style. Corkboards are inexpensive and easy to replace, so they are a strong choice for families on a tight budget.
Try painting the frame or covering the board with fabric for a custom look. You can also group photos by month or event so the board tells a clear story. Because it is so easy to change, this display stays useful all year long.
15. Make A Mini Photo Wall With Magnet Strips

Top Make A Mini Photo Wall With Magnet Strips Craft Tutorials
- 🍂 Grab your glue gun! 🔫 These vintage mini photo frame … from facebook.com.
- 🧑🌾 🎁 DIY gifting at its cutest and so personalized 🎁 These “ … from instagram.com.
- 🎨 Simple DIY Magnetic Poster Hangers from thenavagepatch.com.
Magnet strips give photos a clean, fresh look on fridges, filing cabinets, or metal boards. They are simple to use and easy to move around.
Attach small magnets to the backs of printed photos or use magnetic strips made for craft projects. This keeps the display low cost and lets you update it whenever new pictures arrive. It is also a nice choice for people who want photos in places where frames would feel too heavy.
Use matching photos for a tidy style or mix family faces with fun snapshots for a more relaxed feel. Kids often love helping choose which pictures go up. The display can become a small daily joy every time someone walks past it.
16. Arrange Photos In A Stair-Step Pattern

Top Arrange Photos In A Stair-Step Pattern Craft Tutorials
- 🎄 How To Make A Staircase Gallery Wall from farmhouseonboone.com.
- 🍅 Best Staircase Gallery Wall Formula: Frame Sizes Broken … from blesserhouse.com.
- 💅 If I want to hang 10-15 photos in this staircase wall, what … from facebook.com.
- 🍁 How to create a gallery wall up a staircase by … from thelistedhome.co.uk.
- 🍂 25 Creative Ways To Make a Staircase Gallery Wall from chatbooks.com.
A stair-step layout gives the eye a fun path to follow. It makes a wall feel active and full of movement.
Place photos in a rising or falling line, using frames that get slightly larger or smaller as they go. This works well on stair walls, but it can also look great over a desk or sideboard. The idea costs little if you use simple frames you already own.
Try using a mix of family portraits and candid shots to keep the design from feeling stiff. You can also echo the angle with matching shelves or wall art nearby. The result feels fresh and a little unexpected, which makes it memorable.
17. Fill A Basket With Framed Photos

Top Fill A Basket With Framed Photos Craft Tutorials
- 🧑🌾 The Best Art Supplies for Kids and DIY Art Gift Baskets from mericherry.com.
- 🧑🌾 Raffle basket ideas: finished crafts or handmade … from facebook.com.
- 💅 The Zip, Divide it! Basket is the perfect handmade … from instagram.com.
A basket display feels cozy and relaxed. It gives family photos a soft homey look that is easy to move from room to room.
Choose a wide basket and stand a few small frames inside it, leaning them toward the front. Add a folded blanket, a book, or a small plant to make the basket feel styled. Since baskets are often inexpensive and reusable, this is a smart budget idea for shelves, entry tables, or bedroom corners.
Try a woven basket for a warm rustic feel or a wire basket for a more modern edge. You can also tuck in handwritten notes or ticket stubs to make it more personal. The whole setup feels casual, but it still looks thoughtful and complete.
18. Make A Photo Mobile

Top Make A Photo Mobile Craft Tutorials
- 👓 Artist Mobile Craft from darcymillerdesigns.com.
- 🍅 Phone Case DIY – Apps on Google Play from play.google.com.
- 🗺️ DIY Hanging Mobile Craft Ideas <3 from facebook.com.
- 🖼️ How To Make Paper Mobiles for Kids | HowStuffWorks – Lifestyle from lifestyle.howstuffworks.com.
A photo mobile can turn memories into something that moves gently in the air. It adds a soft, dreamy feeling to nurseries, craft rooms, or reading corners.
Use embroidery hoops, sticks, or wire circles as the base and hang small prints with thread. Keep the photos light so the mobile balances well and moves easily. This project stays affordable because it uses simple craft supplies and small photo prints.
Choose baby pictures, vacation moments, or favorite pet photos for a playful twist. You can add beads, paper stars, or felt shapes for extra charm. The mobile stands out because it feels handmade and full of motion.
19. Frame Photos In Painted Cans Or Jars

Top Frame Photos In Painted Cans Or Jars Craft Tutorials
- 👓 Mason Jar Picture Frame Vase from homestoriesatoz.com.
- 🍁 Looking for ideas on how to make the picture stand out with … from facebook.com.
- 🎨 Frosted Mason Jar Photo Frames from craftsbyamanda.com.
- 👓 How to put a photo inside a jar with paint from facebook.com.
- 🖼️ how to make a wood mason jar farmhouse frame from burlapkitchen.com.
Painted cans and jars can become tiny photo holders with a crafty look. They are perfect for desks, shelves, and windowsills.
Wrap paper around the outside, paint the container, and slide a photo into the front or attach it with glue. Use one container for each family member to make the display feel personal. This idea is very cheap because it uses items many homes already have.
Try soft pastel paint for a gentle look or bold colors for a lively one. Add ribbon, twine, or stickers to match your room style. The display feels unique because it turns ordinary containers into little memory holders.
20. Use A Ladder As A Photo Stand

Top Use A Ladder As A Photo Stand Craft Tutorials
- 🍁 LADDER PHOTO HOLDER…this is so cute! from facebook.com.
- 🎄 This isn't perfect but I wanted a “ladder” picture frame, so … from facebook.com.
- 🎄 Love this rustic ladder turned into a display from facebook.com.
- 🎄 So easy peasy and so cute. You probably have a broken … from instagram.com.
A small ladder can work like a tall display shelf. It gives a room height and makes family photos feel layered and special.
Lean the ladder against the wall and place framed prints on the steps. You can also hang photos from the rungs with clips or string. Since old ladders are often found at low cost in thrift stores or garages, this idea can be very budget-friendly.
Add a throw blanket, a basket, or a plant to soften the look. The ladder style fits well with current home trends that like rustic and mixed-material decor. It is a strong choice for corners that need something tall but not too heavy.
21. Make A Photo Collage Board

Top Make A Photo Collage Board Craft Tutorials
- 🗺️ DIY Photo Collage Using Foam Board and Personal Pictures from facebook.com.
- 🍂 huge DIY photo wall bulletin board {instagram wall} from itsalwaysautumn.com.
- 🍁 How to Make a DIY Photo Board for Your Favorite Memories from lemon8-app.com.
- 🗺️ Design Your Own 21 Photo Collage Foam Board from zazzle.com.
- 🍅 Letter Photo Collage Board – K > Guest Books from carlsoncraftproducts.com.
A collage board feels lively and full of memories. It lets you show many moments at once without needing lots of frames.
Use foam board, cardboard, or a poster board and cover it with fabric, paper, or paint. Then layer photos in a fun pattern and add captions, stickers, or small notes. This project is cheap, easy to move, and great for kids’ rooms, dorm-style spaces, or family work areas.
Try a theme like birthdays, school years, or summer fun to keep it from feeling too busy. You can also leave a little blank space so new photos can be added later. The collage style feels personal because it looks like a scrapbook on the wall.
22. Print Photos On Everyday Objects

Top Print Photos On Everyday Objects Craft Tutorials
- 🗺️ 50+ Photo Crafts So Good You'll Finally Print Pictures from modpodgerocksblog.com.
- 🍁 These prints are free to use and crafts you make and sell … from facebook.com.
- 🍁 Beautiful Images Of Everyday Objects Organized By Color from digitalsynopsis.com.
- 🗺️ Arts and crafts ideas using everyday objects … from instagram.com.
Everyday objects can become photo displays when you think a little differently. Mugs, pillows, and blankets with family pictures can make a room feel warm and full of love.
Look for budget photo gifts during sales, or use coupon codes when ordering online. A single printed pillow or mug can be enough to make a shelf or couch area feel personal without spending much. This idea works especially well for gifts, but it also adds a fun touch to your own home.
Choose a favorite close-up, a silly face, or a picture from a special trip for the best effect. Photo objects are popular because they mix memory and function in one piece. They also let you show family pride in a way that feels fresh and useful.