Welcome to the world of embroidery! Whether you’re a complete beginner or looking to improve your skills, this comprehensive guide is the perfect resource for anyone interested in this timeless craft. In this section, you will find essential embroidery stitching tips to help you get started and master the basics. From selecting the right needle to perfecting your stitch technique, we’ve got you covered.
- Mastering basic embroidery stitches is the first step to becoming a skilled embroiderer.
- The right tools and materials are essential for a successful embroidery experience.
- Understanding the different embroidery stitches and their uses is crucial before delving into specific stitching techniques.
- Perfecting basic stitches like running stitch, backstitch, and satin stitch is essential to creating beautiful designs.
- Embroidery can be done on various materials, and choosing the right fabric is key to achieving the best results.
Understanding Embroidery Stitches
Before you start stitching, it’s important to understand the different embroidery stitches and their uses. Whether you’re a beginner or an experienced embroiderer, having a guide to reference can be tremendously helpful. Here’s a brief embroidery stitch guide to get you started:
- The running stitch is one of the most basic and versatile stitches, used for outlining designs, creating borders, and filling in large areas.
- The backstitch is similar to the running stitch but creates a more solid line and is suitable for creating text or outlining shapes.
- The satin stitch is perfect for filling in small areas with a smooth, solid surface and is often used for lettering and monograms.
- The French knot creates a raised dot that is often used for adding texture and detail to designs.
These are just a few of the stitches you’ll come across in embroidery. For more detailed embroidery stitch tutorials, including step-by-step instructions and illustrations, refer to our embroidery stitch guide.
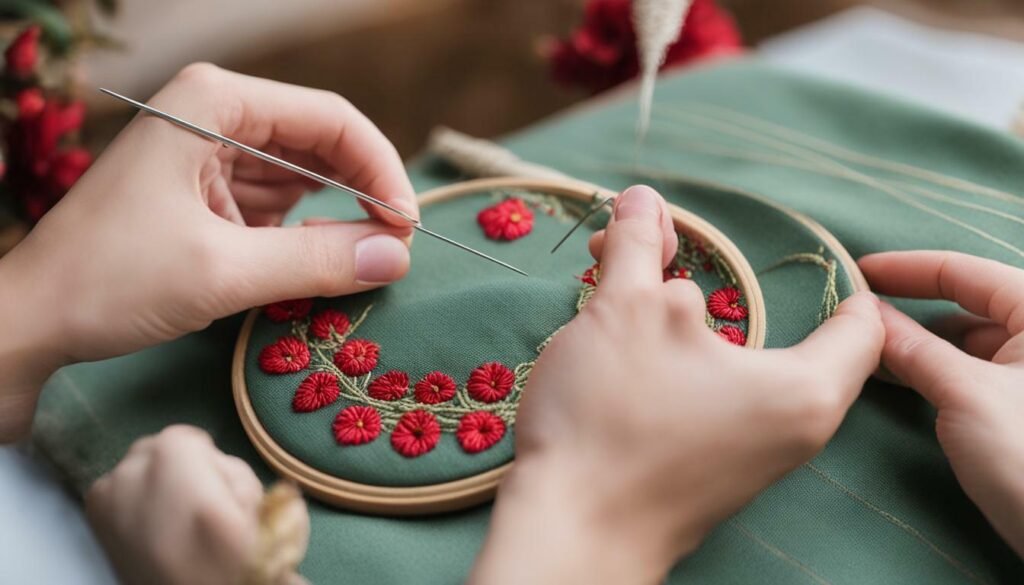
Learning embroidery stitches can take time and practice, but with patience and dedication, you’ll soon be creating beautiful designs. Remember to keep your stitches even and consistent, and experiment with different thread colors and textures to add depth and interest to your embroidery.
Getting Started: Embroidery Essentials
Embroidery is a delightful craft that is easy to start, but to achieve success, you need the right tools. Here are some embroidery stitch tips and tricks to get you started.
- Choose the right needle: The needle you choose depends on the fabric you’re using, but generally, a size 7 or 9 embroidery needle is recommended.
- Use the right thread: Embroidery floss is the most commonly used thread. Choose high-quality threads to ensure that your stitches will last for a long time.
- Use a hoop: A hoop will keep your fabric taut and ensure that your stitches remain even. It will also prevent puckering and make stitching easier.
- Choose the right fabric: The type of fabric you choose is essential to the success of your embroidery. Choose a fabric that is easy to work with and has a smooth surface.
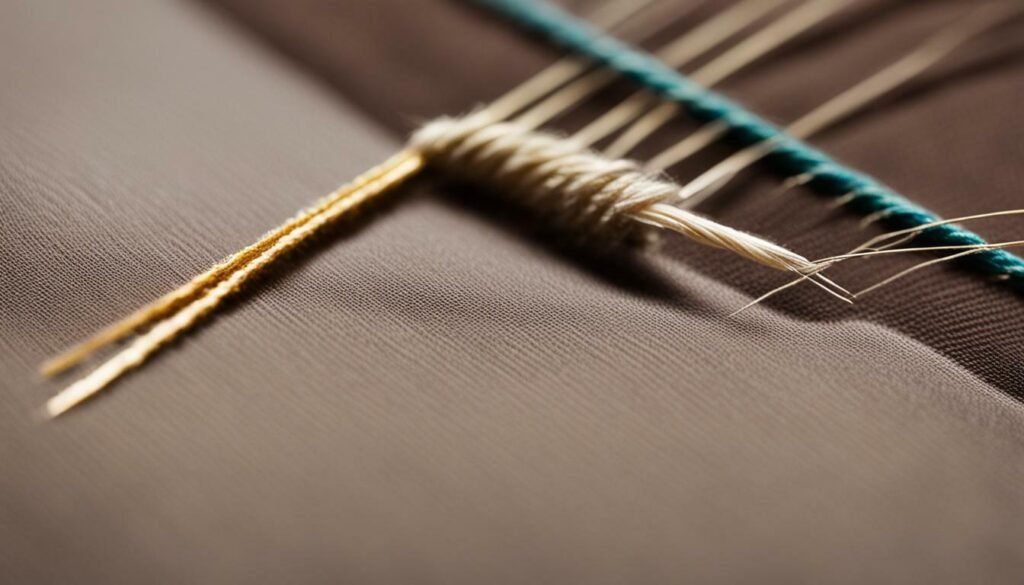
With these embroidery stitch tips and tricks, you’re ready to get started on your first embroidery project.
Perfecting Basic Stitches
Now that you’re familiar with the basic embroidery stitches, it’s time to perfect your technique. Practice makes perfect, and the more you stitch, the better you’ll become. Here are some tips and tutorials to help you perfect your beginner embroidery stitches:
- Make sure your stitches are even and consistent in size.
- Use a hoop to keep your fabric taut and prevent puckering.
- Practice stitching in different directions to create smooth curves and straight lines.
- Experiment with different thread colors and textures to add depth and interest to your designs.
Below are tutorials for some popular beginner embroidery stitches:
| Stitch Name | Image | Tutorial |
|---|---|---|
| Running Stitch | 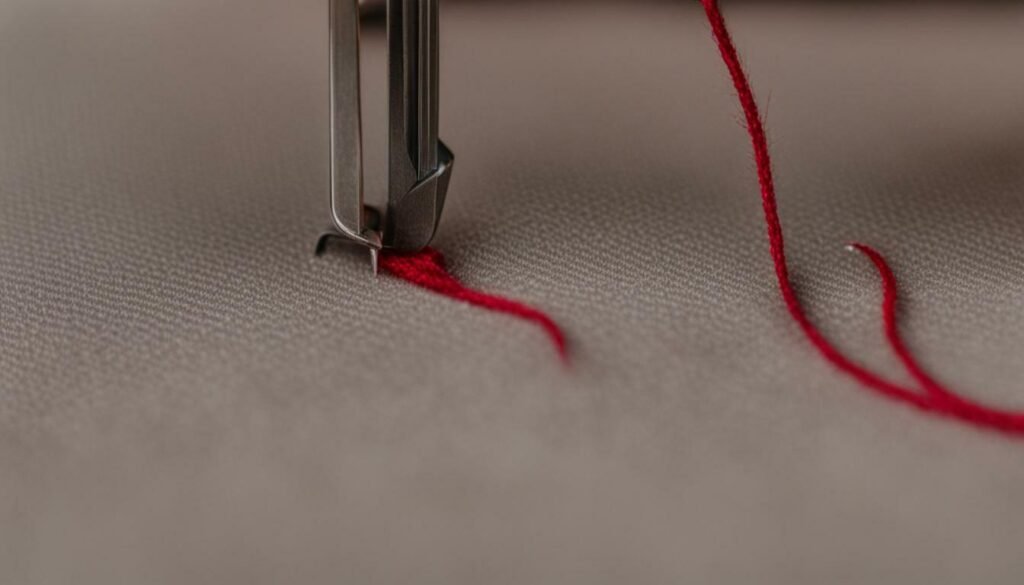 |
Running Stitch Tutorial |
| Backstitch | 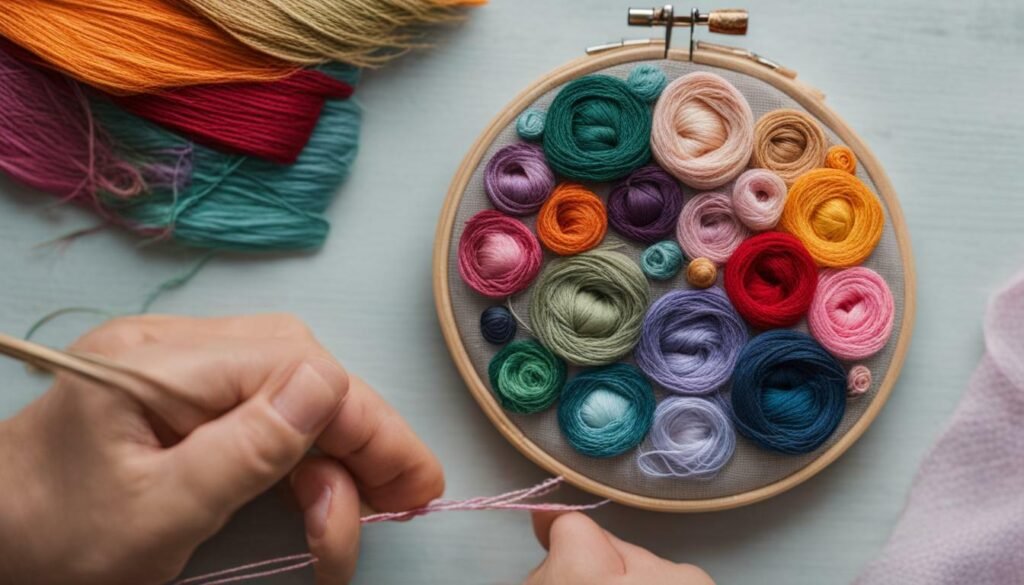 |
Backstitch Tutorial |
| Satin Stitch | 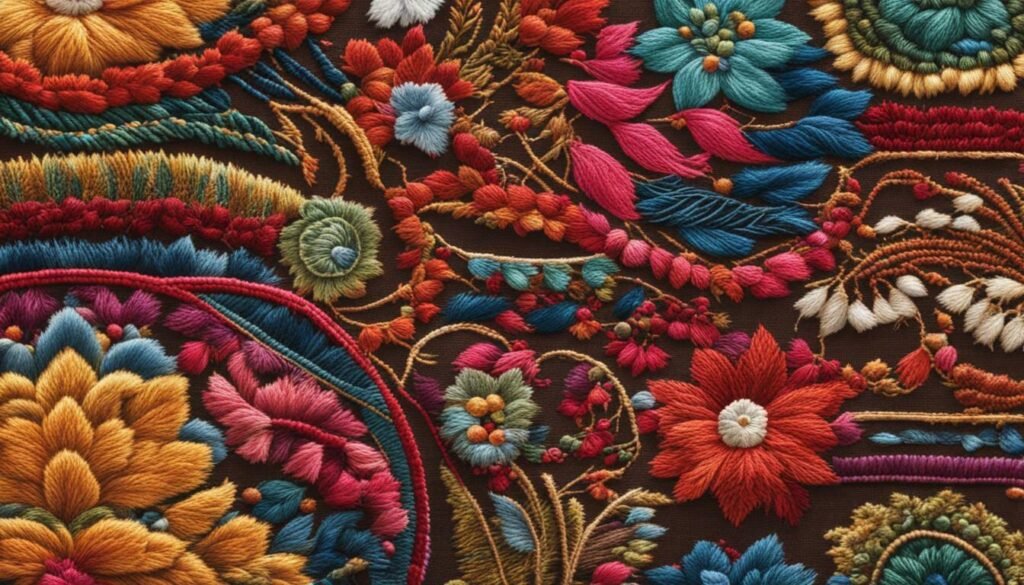 |
Satin Stitch Tutorial |
Practice these stitches until you feel comfortable with them before moving on to more complex techniques.
Exploring Advanced Embroidery Techniques
Congratulations, you’ve mastered the basic embroidery stitches! Now it’s time to take your skills to the next level with some advanced techniques that will add depth and texture to your designs. Here are some ideas to get you started:
- Create 3D effects with stumpwork embroidery, which involves stitching parts of your design separately and then attaching them to the main embroidery piece.
- Experiment with different types of threads, such as metallic or variegated floss, to add extra dimension to your designs.
- Use embroidery stitches to create a variety of textures, such as chain stitch for a rope-like effect or couching for adding decorative strands.
- Combine different embroidery stitches to create unique designs, such as combining satin stitch and French knots for a floral motif.
Remember, the key to mastering advanced embroidery techniques is practice, so don’t be afraid to experiment and try new things. With time and patience, you’ll be creating stunning embroidery pieces that showcase your creativity and skill.
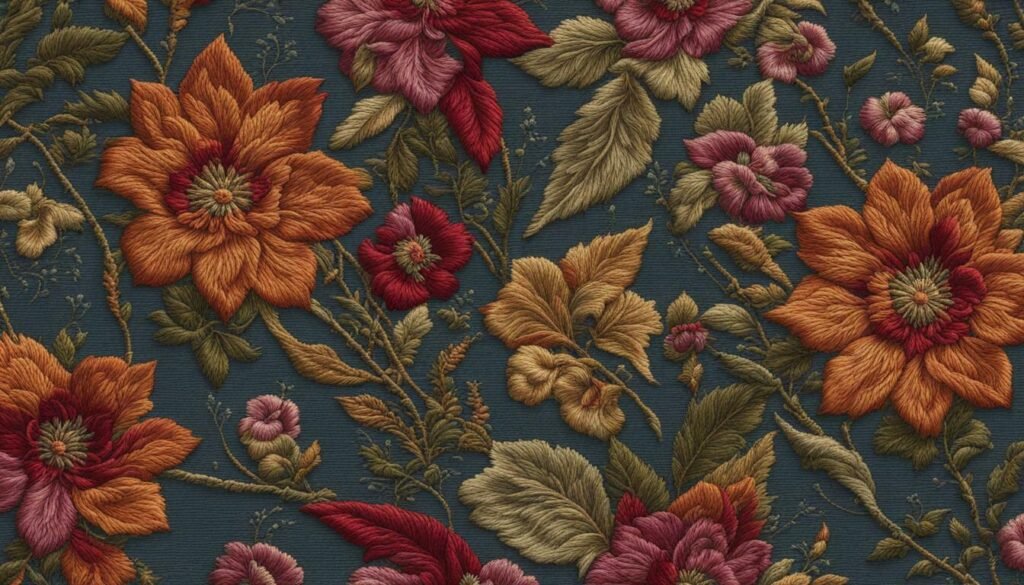
Choosing the right fabric for your embroidery project is crucial for achieving the desired outcome. Consider the following factors when selecting your fabric:
- Weight: Choose a fabric weight that complements the type of embroidery you’re doing. For example, lightweight fabrics like cotton and linen are great for delicate embroidery, while heavier fabrics like denim and canvas are suited for embroidery that requires more durability.
- Weave: The weave of the fabric determines its rigidity and texture. Loosely woven fabrics like muslin are great for embroidery that requires a softer, more delicate look, while tightly woven fabrics like twill are ideal for embroidery that needs to hold its shape.
- Texture: The type of embroidery you’re doing should complement the texture of your fabric. Smooth fabrics like silk and satin are great for embroidery that requires a polished, refined look, while textured fabrics like burlap and felt add depth and dimension to your embroidery.
Always be sure to wash and dry your fabric before starting your embroidery project to prevent shrinkage or distortion after completing your work.
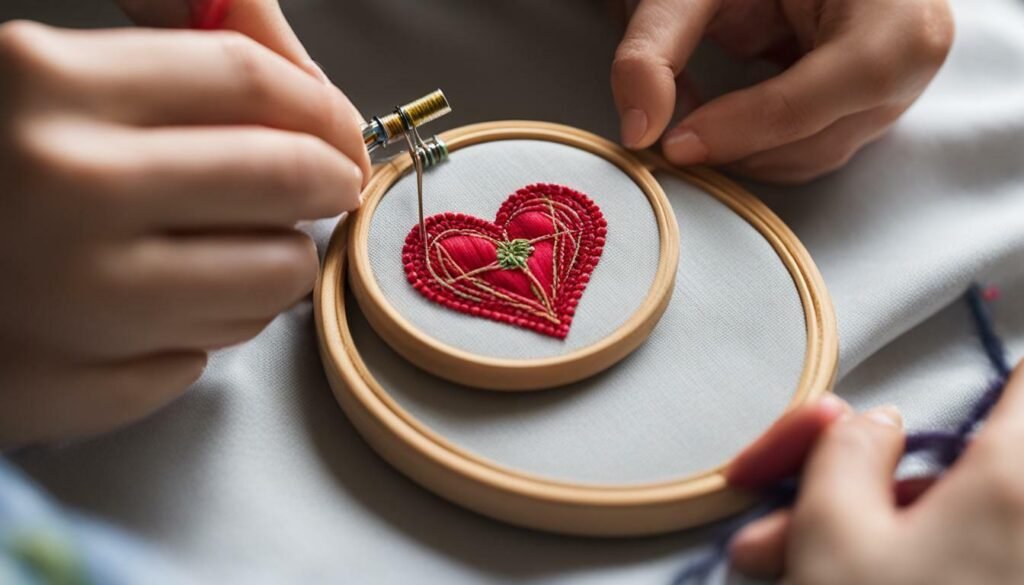
Looking for inspiration? Browse a range of embroidery stitch patterns and designs to spark your creativity. From simple motifs to intricate designs, there’s something for everyone.
- Explore floral patterns, perfect for adding a touch of nature to your embroidery projects.
- Try geometric shapes for a modern, abstract feel.
- Consider incorporating lettering or words into your embroidery for a personalized touch.
- Experiment with combining different stitches and techniques to create unique designs.
Don’t be afraid to get creative and make each project your own. Use embroidery stitch patterns as a starting point and make adjustments or additions to suit your personal style.
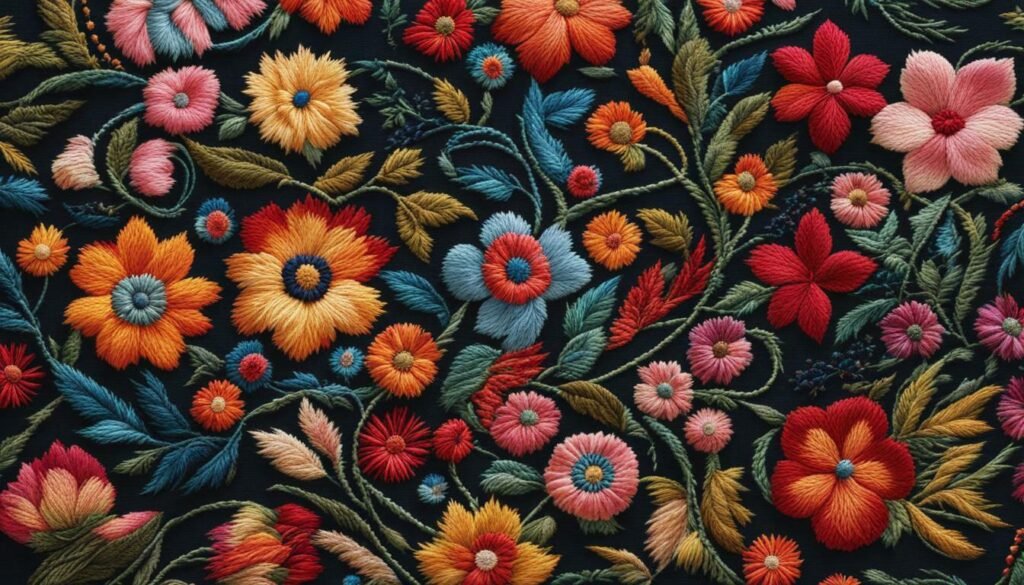
Embroidery isn’t limited to fabric alone. With some creativity and practice, you can embellish a wide range of surfaces, including clothing, home decor items, and accessories. Here are some tips and tricks for embroidering on different materials:
- When embroidering on thin or delicate materials like silk or chiffon, use a stabilizer to prevent puckering or distortion.
- For thick or heavy materials like denim or leather, use a heavy-duty needle and embroidery floss to ensure your stitches are visible and secure.
- When embroidering on knitted or stretchy fabrics like T-shirts or socks, use a ballpoint needle to avoid snagging or breaking the fibers.
- Before starting, always test your stitches on a scrap piece of the same material to ensure their appearance and durability.
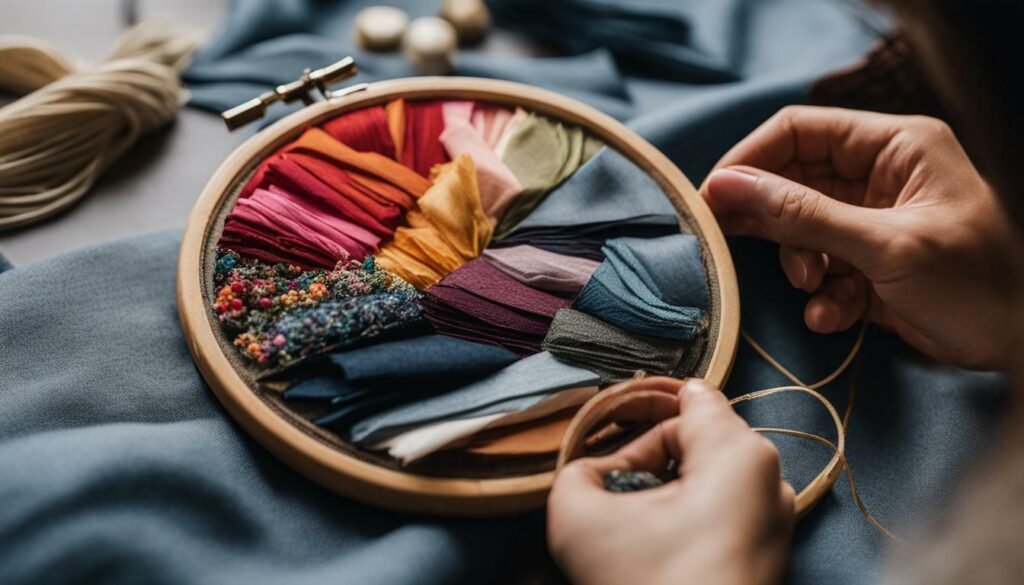
With these tips, you can confidently and creatively embroider on a variety of materials to add a personalized touch to any project.
Popular Embroidery Stitches: A Closer Look
As a beginner, it’s essential to familiarize yourself with the popular embroidery stitches and their unique characteristics. Here’s a closer look at a few:
- Satin Stitch: A smooth and glossy stitch that is perfect for creating solid areas of color and texture.
- French Knot: A versatile stitch that is used for adding texture and dimension to embroidered designs.
- Backstitch: A strong and versatile stitch that is ideal for outlining and creating straight lines.
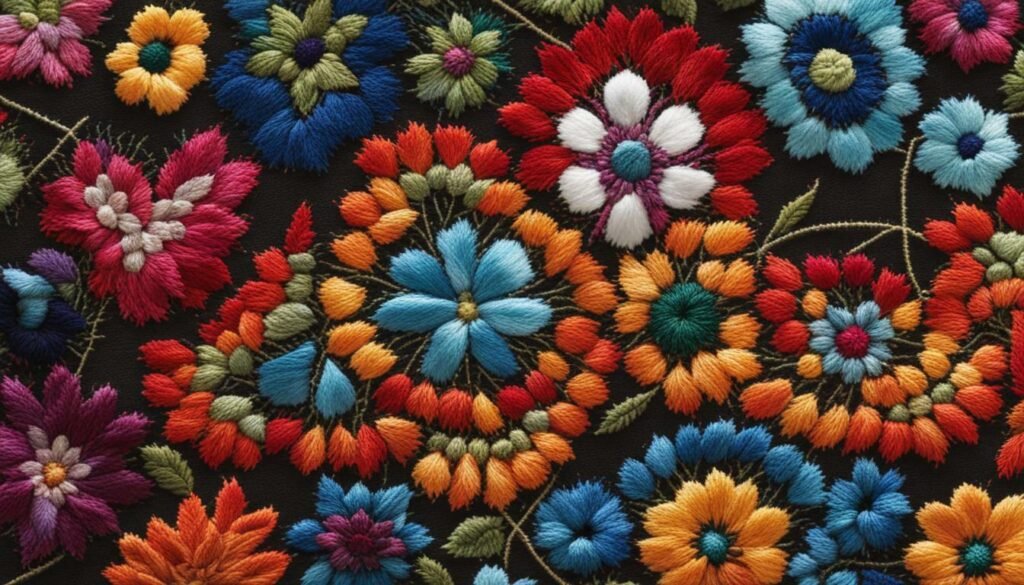
As you become more comfortable with these beginner embroidery stitches, you can explore more advanced techniques and incorporate them into your projects.
Embroidery Embellishments and Add-ons
Take your embroidery to the next level by exploring various embellishments and add-ons. From beads and sequins to ribbons and lace, there are countless ways to add extra flair and creativity to your designs. Here are some embroidery stitch tips and tricks to get you started:
- Consider using metallic floss to add a shiny and eye-catching element to your embroidery.
- Lace can be sewn onto fabric and embroidered around for an added delicate touch.
- Beads and sequins can be stitched onto your embroidery to add texture and sparkle.
- Instead of using traditional embroidery floss, try using ribbon for a unique and colorful effect.
- You can also incorporate other fabric bits into your embroidery, such as buttons, patches, and fabric scraps.
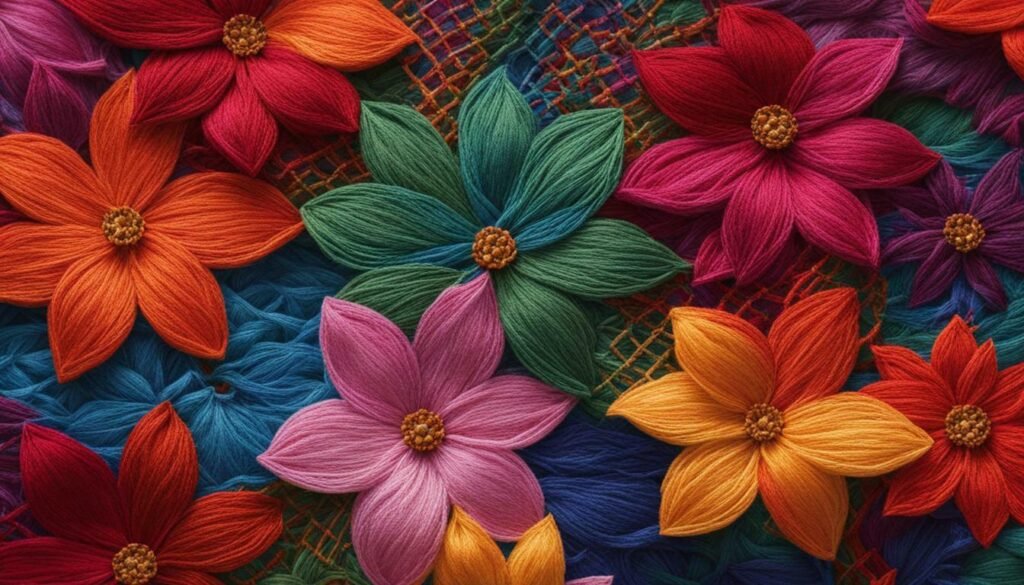
Adding embellishments and add-ons can take some practice and experimentation, but with these embroidery stitch tips and tricks, you’ll be on your way to creating one-of-a-kind embroidered pieces that truly stand out.
Section 11: Troubleshooting Embroidery Mistakes
Embroidery is a unique craft that requires patience and attention to detail, but even the most experienced embroiderers make mistakes. Here are some tips and tricks to help you troubleshoot common embroidery mistakes:
- If you accidentally snip a thread, don’t worry! Simply weave the end of the thread back through a few stitches on the back of your work.
- If you make a mistake in your stitching, carefully remove the stitches with a seam ripper or small scissors. Be cautious not to damage the fabric or surrounding stitches.
- If your fabric puckers or wrinkles, try using a smaller hoop or adjust the tension of your stitches.
- If your stitches are uneven or inconsistent, practice on a scrap piece of fabric until you feel comfortable with the technique.
- If you’re struggling to thread your needle, try using a needle threader or a thicker thread.
Remember, mistakes are a natural part of the learning process. Don’t be afraid to make mistakes and experiment with different techniques.
Now that you’ve completed your embroidery project, it’s time to properly mount and display it. Follow these embroidery stitch tips and tricks for the perfect finishing touches:
- Clean your finished piece by gently washing it in cold water to remove any markings or stains left by the embroidery process. Air dry or use a clean towel to pat it dry carefully.
- Press your embroidery piece on the reverse side with a warm iron to remove any wrinkles or creases without flattening the stitches.
- Consider mounting your embroidery to a backing or matting to enhance its presentation and protect it from damage.
- Choose a frame that complements the colors and style of your embroidery. Avoid using frames with heavy matting or glass, as they can flatten the stitches and cause reflection.
- Hang your embroidery in a location that is protected from direct sunlight, humidity, and dust. Avoid hanging it in a bathroom or kitchen, where moisture and grease can damage the fabric and threads.
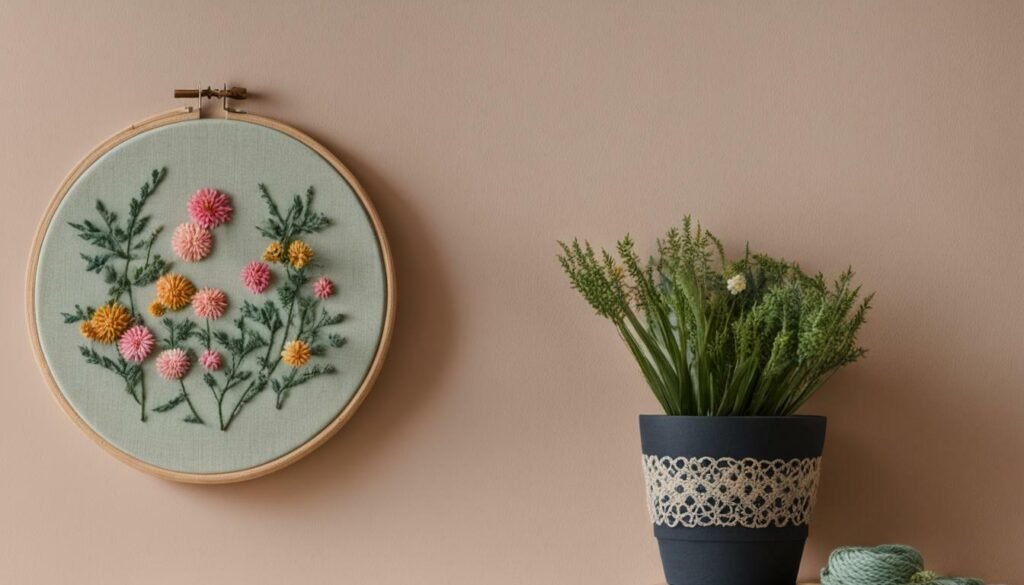
With these tips, you can showcase your embroidery masterpiece with pride. Remember to share your work with others, and don’t be afraid to experiment with new techniques and designs to take your embroidery to the next level. Happy stitching!
Taking Your Embroidery to the Next Level
Congratulations! You’ve mastered basic embroidery stitches and explored advanced techniques. Now it’s time to take your embroidery to the next level with these tips and tricks.
Experiment with Different Textures
Incorporating different textures into your embroidery can add depth and interest to your designs. Try using materials like ribbon, yarn, or even feathers to create unique textures in your embroidery.
Play with Color
Experimenting with color can also elevate your embroidery. Try using different shades and hues of thread to create dimension in your designs or using contrasting colors for a bold impact.
Use Unconventional Materials
Don’t limit yourself to traditional embroidery materials. Consider using unexpected materials like paper or plastic in your designs. Pushing the boundaries of what’s possible can lead to exciting results.
Incorporate Negative Space
Sometimes less is more. Incorporating negative space in your embroidery can add a modern and minimalist touch to your designs.
Combine Embroidery with Other Techniques
Embroidery can be combined with other techniques like appliqué, quilting or weaving for a one-of-a-kind creation. Explore different combinations to create standout pieces.
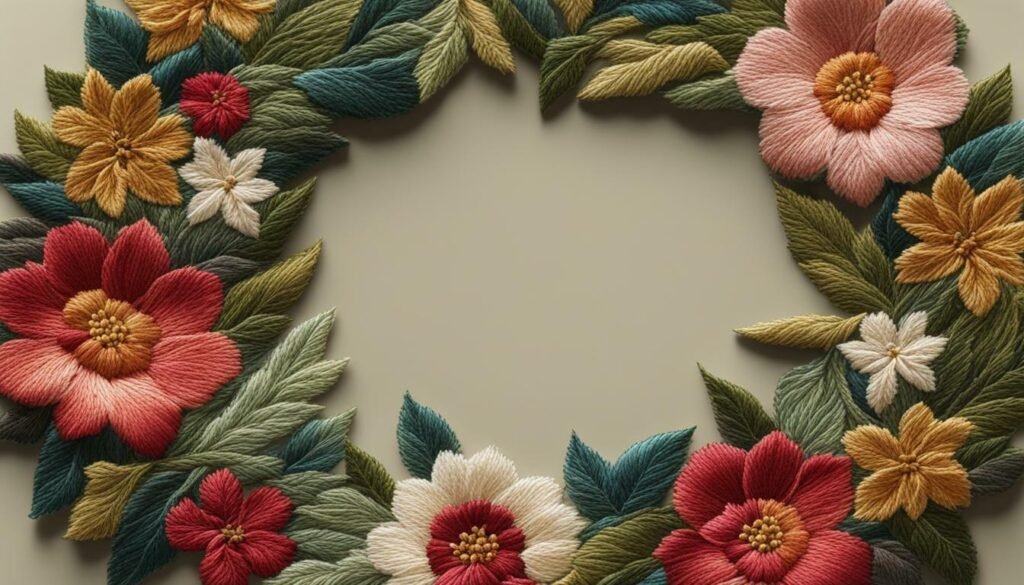
With these tips and tricks, you’re well on your way to becoming a master of embroidery. Remember to keep practicing and pushing yourself to try new things. The possibilities are endless!
Conclusion: Mastering Embroidery Stitching Tips
Congratulations on completing this comprehensive guide to embroidery stitching tips! You are well on your way to becoming a skilled embroiderer. Remember, practice makes perfect, and exploring new techniques will take your craft to the next level.
By following the tips and tutorials provided in this guide, you have learned how to:
- Master basic embroidery stitches
- Understand the different embroidery stitches and their uses
- Choose the right tools and materials for embroidery
- Perfect your technique with stitch tutorials and patterns
- Explore advanced embroidery techniques
- Embroider on different materials and surfaces
- Add embellishments and finishing touches to your designs
- Avoid and troubleshoot common embroidery mistakes
- Properly mount and display your finished embroidery pieces
With your newly acquired skills and knowledge, the possibilities for your embroidery projects are endless. Keep practicing and experimenting with different techniques, and let your creativity shine through every stitch. Thank you for reading this embroidery stitch guide, and happy stitching!
FAQ
What are some essential embroidery stitching tips for beginners?
Some essential embroidery stitching tips for beginners include practicing basic stitches, using the right tools and materials, and experimenting with different techniques.
What are the different types of embroidery stitches?
The different types of embroidery stitches include running stitch, backstitch, satin stitch, French knots, bullion stitches, and shadow work.
What tools and materials do I need to start embroidery?
To start embroidery, you will need needles, fabric, embroidery floss, and hoops. These are the essential tools and materials for a successful stitching experience.
How can I perfect basic embroidery stitches?
You can perfect basic embroidery stitches by practicing regularly, following step-by-step tutorials, and experimenting with different patterns and designs.
What advanced embroidery techniques can I explore?
Some advanced embroidery techniques you can explore include French knots, bullion stitches, and shadow work. These techniques add depth and texture to your designs.
How do I choose the right fabric for embroidery?
When choosing fabric for embroidery, consider factors such as weight, weave, and texture. Opt for fabrics with a tight weave and medium weight for best results.
Where can I find embroidery stitch patterns and designs?
You can find embroidery stitch patterns and designs in books, online resources, and by exploring various embroidery communities and forums.
How do I embroider on different materials?
To embroider on different materials, such as clothing, accessories, or home decor items, adapt your techniques accordingly and use appropriate stabilizers or adhesives if needed.
What are some popular embroidery stitches I should know?
Some popular embroidery stitches you should know include running stitch, backstitch, satin stitch, French knots, and cross stitch. These stitches are widely used in embroidery projects.
How can I add embellishments to my embroidery?
You can add embellishments to your embroidery by incorporating beads, sequins, ribbons, lace, or other decorative elements. Experiment with different techniques and combinations to create unique designs.
What do I do if I make a mistake in my embroidery?
If you make a mistake in your embroidery, don’t panic. You can try to fix the mistake by gently removing stitches or covering it up creatively. Practice and patience will help you improve.
How do I properly mount and display my finished embroidery?
To properly mount and display your finished embroidery, you can frame it using a suitable frame, mount it on a fabric-covered board, or use other display options like embroidery hoops or shadow boxes.
What are some advanced tips to elevate my embroidery?
Some advanced tips to elevate your embroidery include experimenting with new stitches, incorporating mixed media elements, playing with different textures, and exploring unconventional materials.
Any final advice for mastering embroidery stitching tips?
Congratulations on completing this comprehensive guide! Remember to keep practicing, exploring new techniques, and embracing your creativity. With dedication and perseverance, you will master the art of embroidery.
