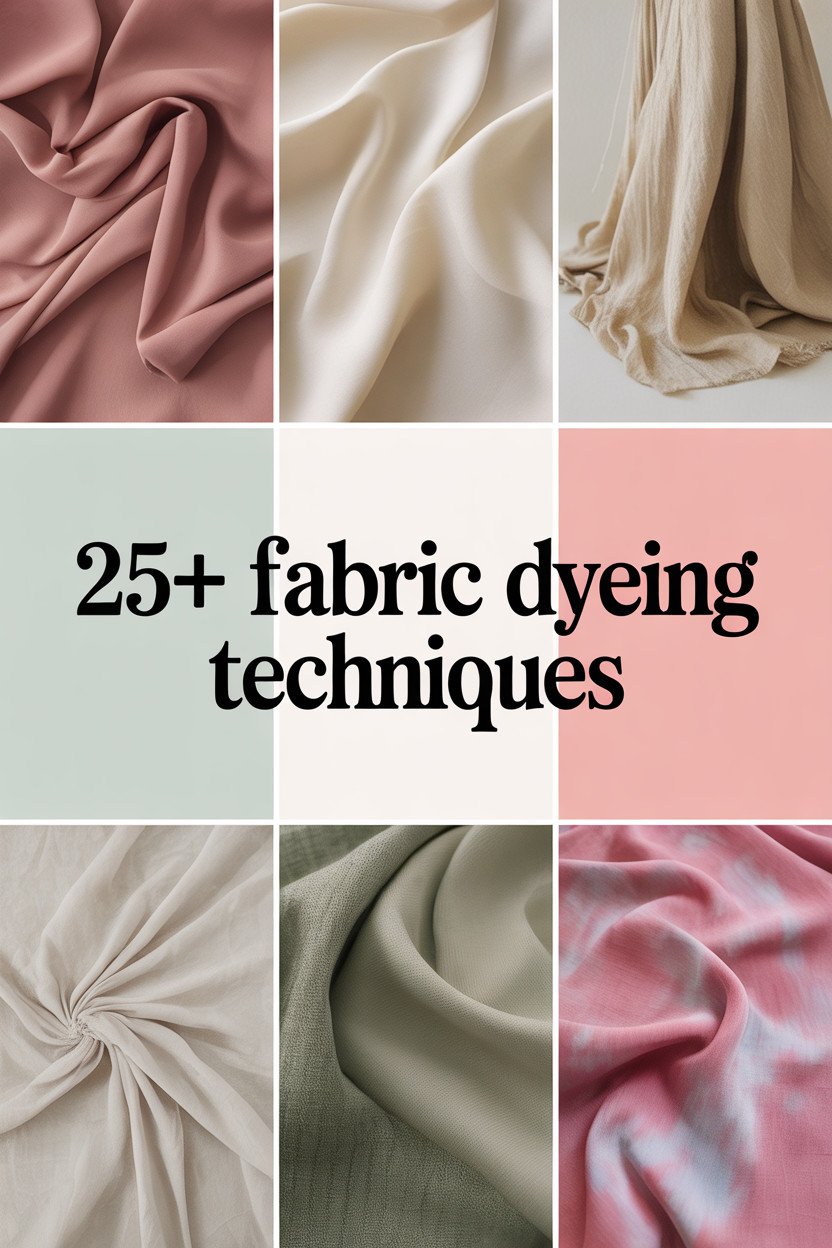
Imagine a world where plain fabrics turn into colorful masterpieces with just a touch of creativity. The art of fabric dyeing is like alchemy, offering endless possibilities to bring life and color to textiles. Get ready to be inspired by these mesmerizing techniques that will ignite your imagination and add a splash of color to your projects.
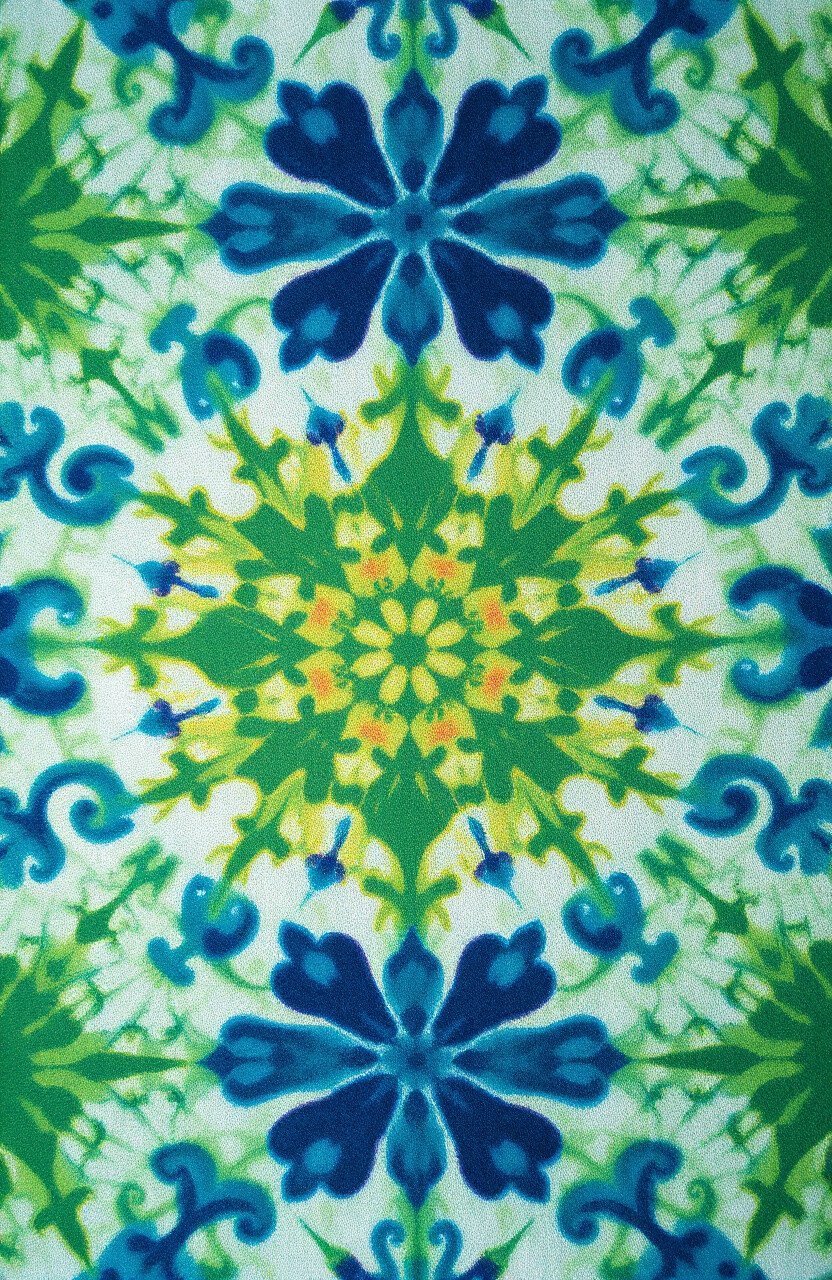
1. Tie-Dye Magic
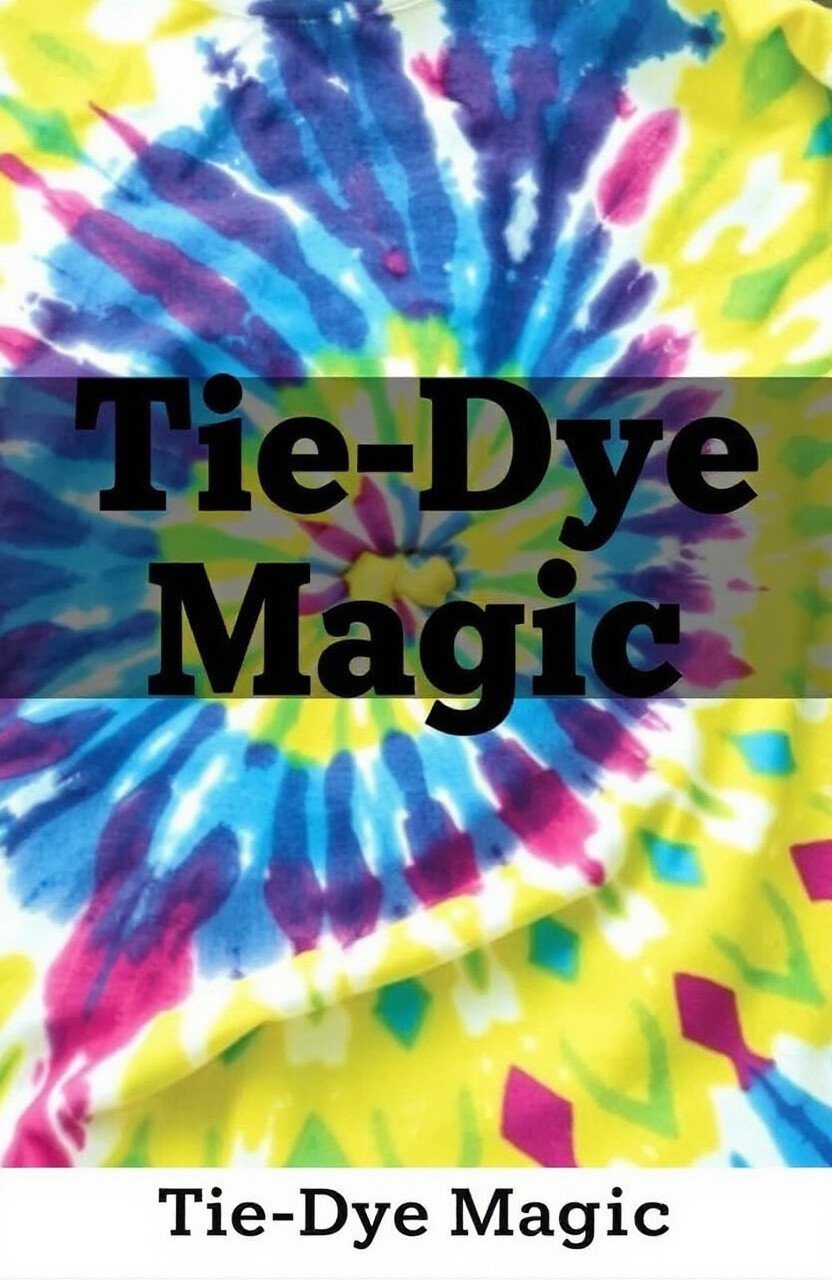
Tie-dye is a groovy way to add vibrant patterns to your fabrics. By twisting, folding, and binding the fabric, you can create unique designs that look like bursts of color. This technique is perfect for t-shirts, pillowcases, and even socks!
The best part? Each piece is a one-of-a-kind masterpiece. Try using different tying methods, like spirals or bullseyes, to achieve different looks. Tie-dye is budget-friendly, requiring only dye, rubber bands, and your imagination.
2. Ice Dyeing Wonders
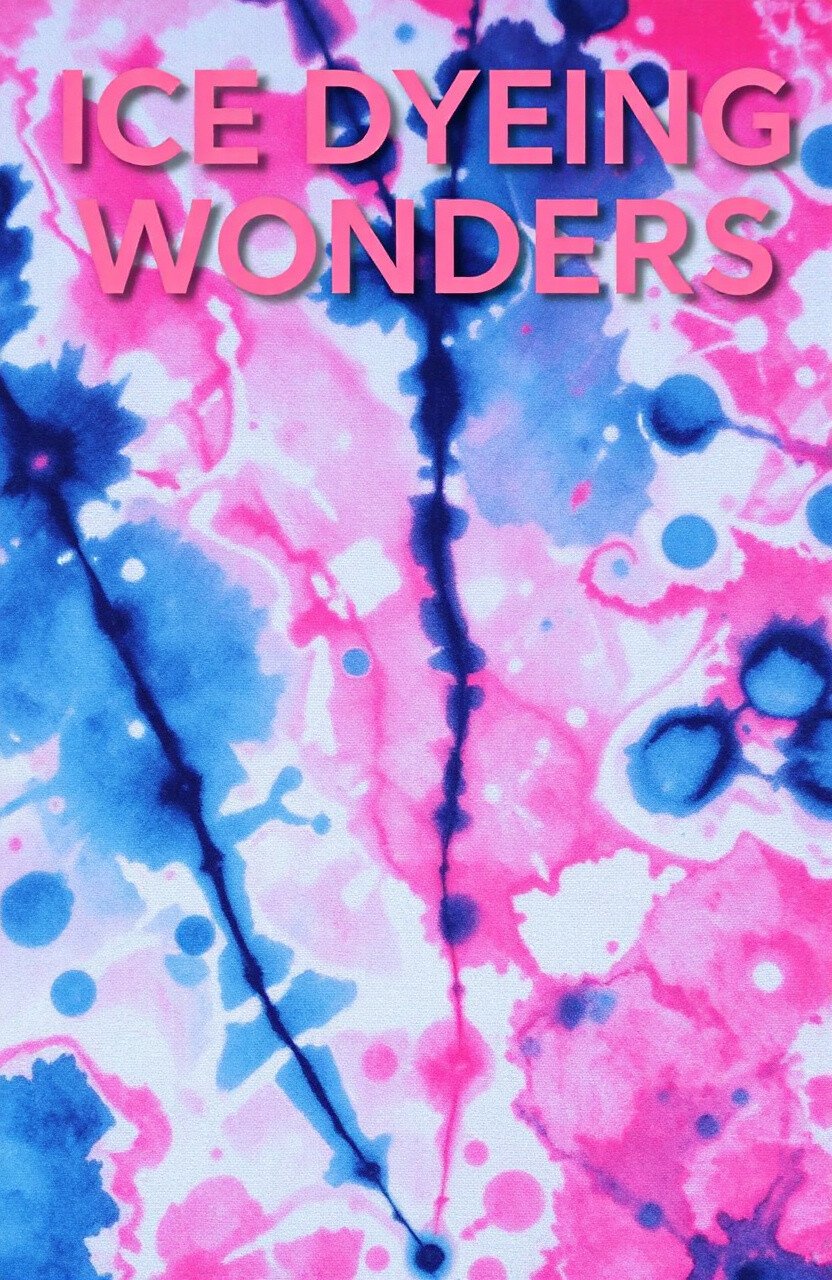
Ice dyeing is like a magical experiment. You sprinkle dye powder over a fabric covered with ice, and as the ice melts, it creates watercolor-like patterns. The result is a dreamy, abstract design that is perfect for scarves and wall hangings.
This method is full of surprises because you never know exactly how the colors will blend. It’s an affordable technique, and you can even use old fabric scraps to try it out. Let your creativity melt into something beautiful!
3. Shibori Elegance
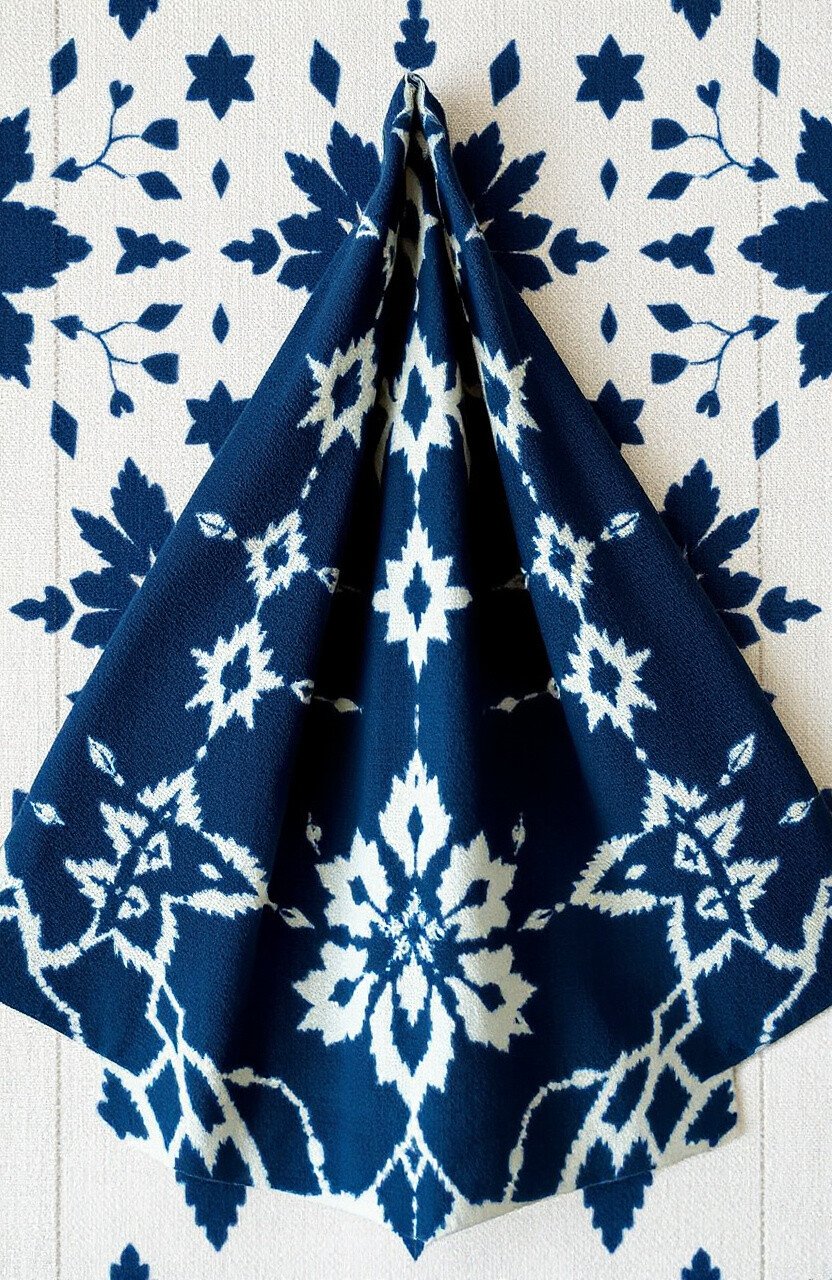
Shibori is a Japanese dyeing technique that involves folding and binding fabric before dyeing it. The result is a sophisticated pattern with a rich cultural history. You can create mesmerizing geometric designs that are perfect for tablecloths and dresses.
The intricate designs make each piece feel special and unique. Experiment with different folding techniques like arashi (pole-wrapping) or itajime (clamp dyeing) for varied effects. Though it requires some patience, the results are worth every minute.
4. Sun Printing Surprises
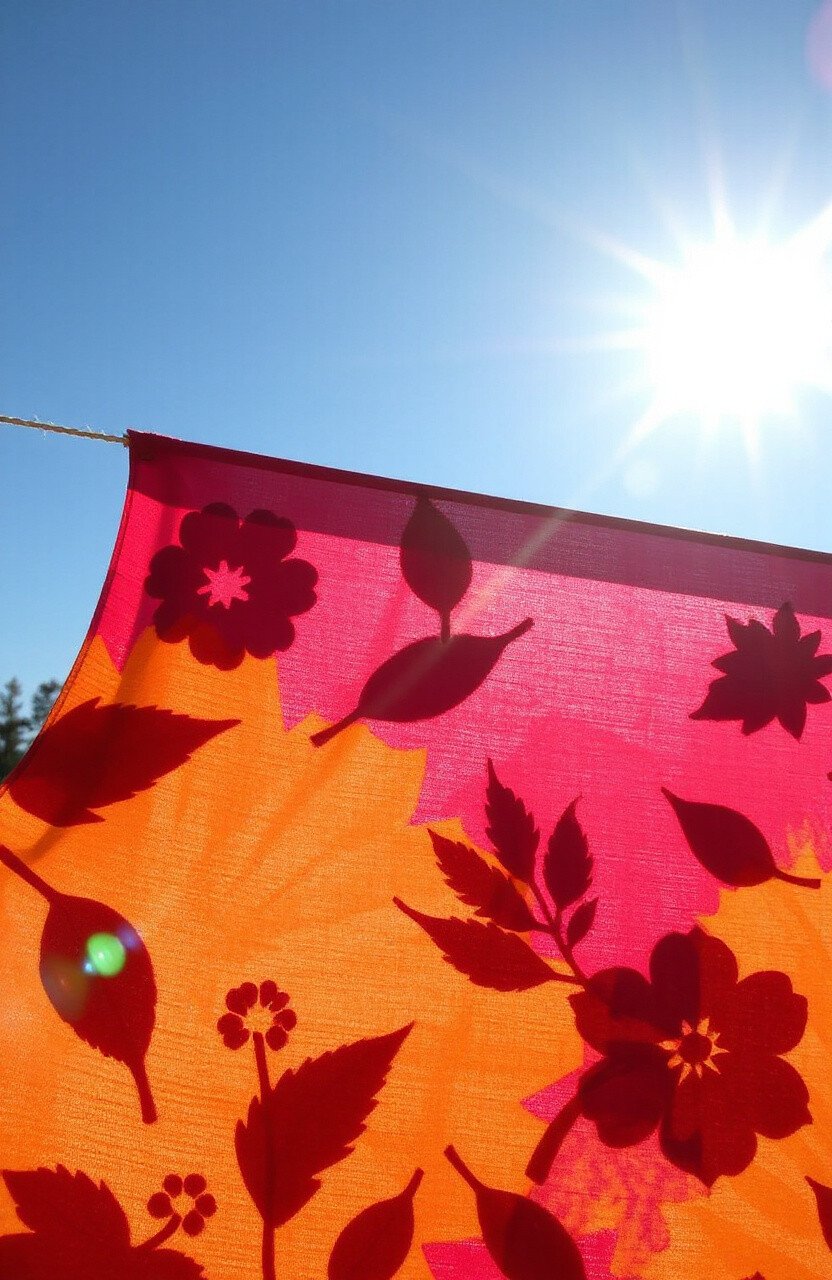
Sun printing uses the power of the sun to create beautiful silhouettes on fabric. Lay your fabric in the sun with objects like leaves, flowers, or cut-out shapes, and watch as the sun creates a lovely print. It’s like capturing nature’s beauty on cloth!
This technique is great for creating personalized gifts or unique home decor. Plus, it’s a fantastic way to enjoy a sunny day outdoors. The process is simple and inexpensive, using only fabric and fabric paint.
5. Natural Dyeing Delights
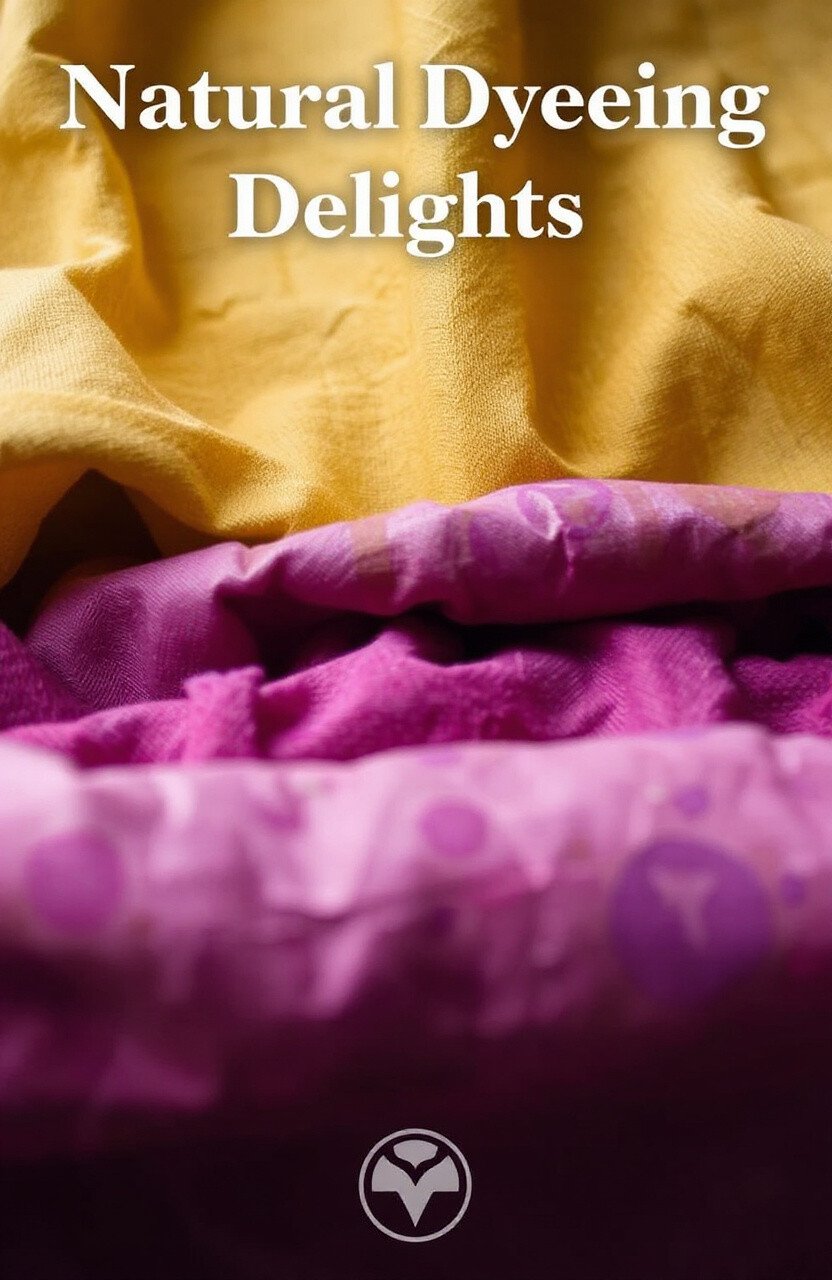
Natural dyeing involves using plants, fruits, and vegetables to color fabric. Imagine using onion skins for a warm yellow or beetroot for a rich purple. It’s an eco-friendly way to dye fabric with stunning results.
This technique connects you with nature, and you can experiment with different plant materials to see what colors you can create. It’s a wonderful way to upcycle old fabrics into something new and beautiful.
6. Batik Beauty
Batik involves applying wax to fabric before dyeing it, creating intricate patterns. The wax resists the dye, allowing you to create beautiful, detailed designs. It’s a traditional technique with a modern twist.
With batik, you can create anything from simple shapes to complex artworks. It can be a bit more time-consuming, but the results are stunning and worth the effort. This technique is perfect for creating unique clothing or home textiles.
7. Ombre Elegance
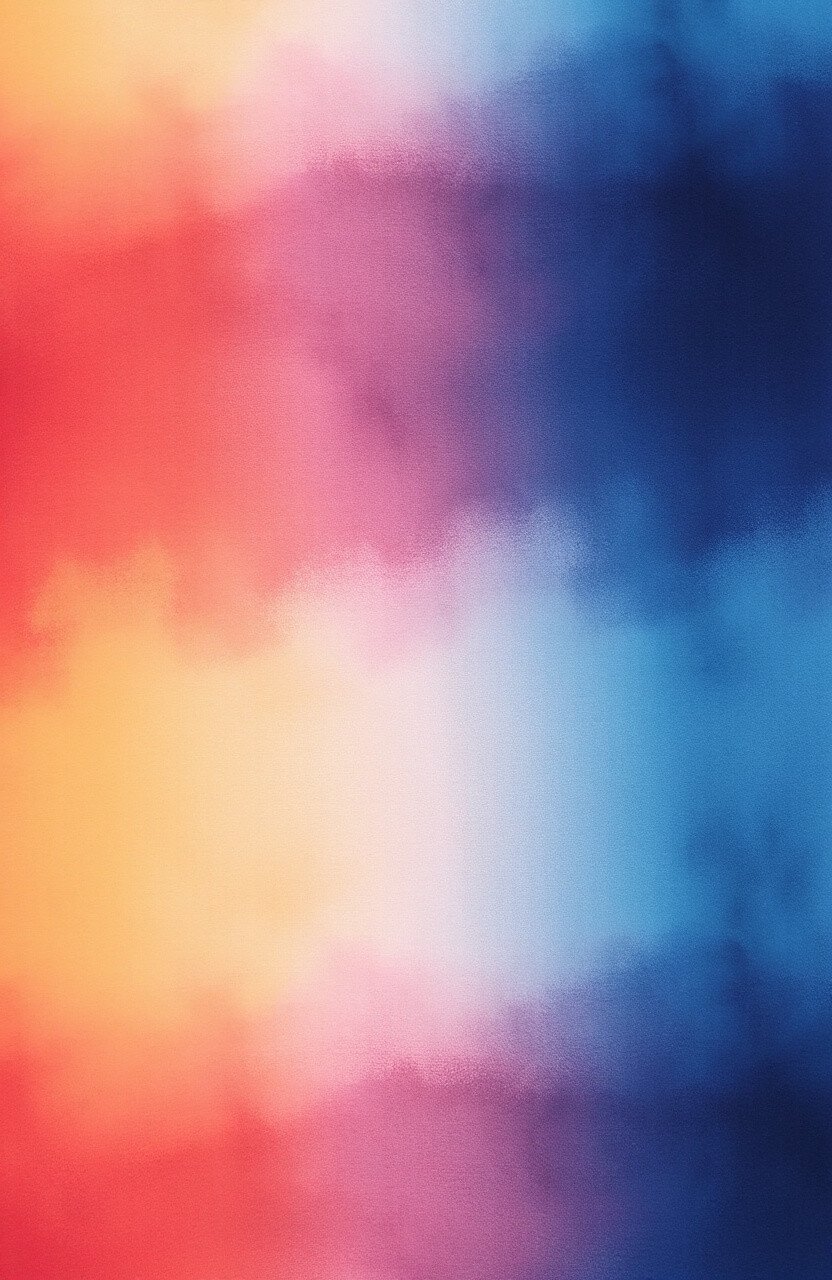
Ombre dyeing creates a gradient effect, where colors blend seamlessly from light to dark. This technique adds a touch of elegance to any fabric, making it perfect for curtains, dresses, or skirts.
It’s simple to achieve by dipping fabric into the dye at different levels. The result is a soft, flowing color transition that looks professionally done. Ombre is a trendy choice for anyone looking to add a touch of sophistication to their projects.
8. Space Dyeing Adventure
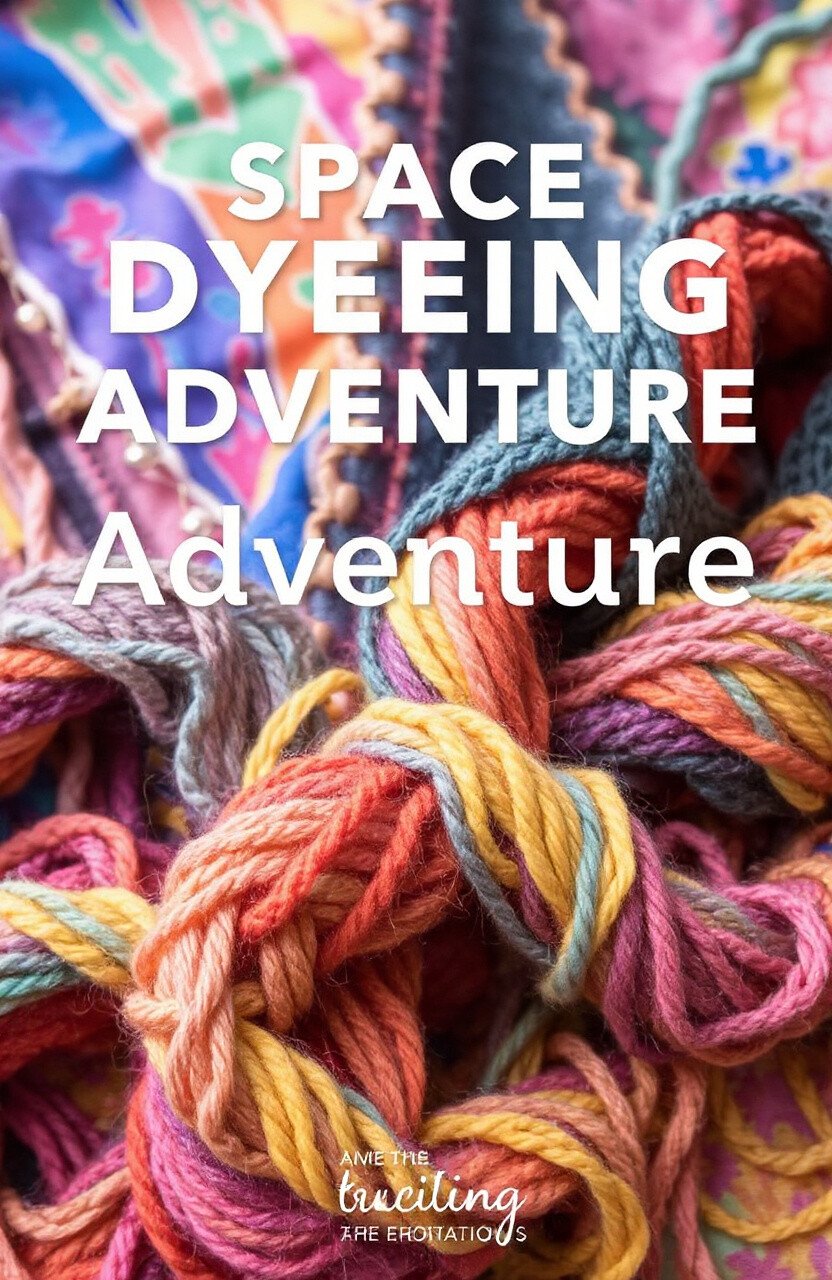
Space dyeing involves dyeing sections of yarn in different colors, resulting in a multicolored effect when knitted or woven. It’s like painting with yarn, creating a tapestry of colors in your fabric.
This technique adds a fun and playful touch to any project. It’s perfect for scarves, sweaters, or blankets, giving them a vibrant, lively look. While it requires some planning, the end result is a joyful explosion of color.
9. Dip Dye Delight
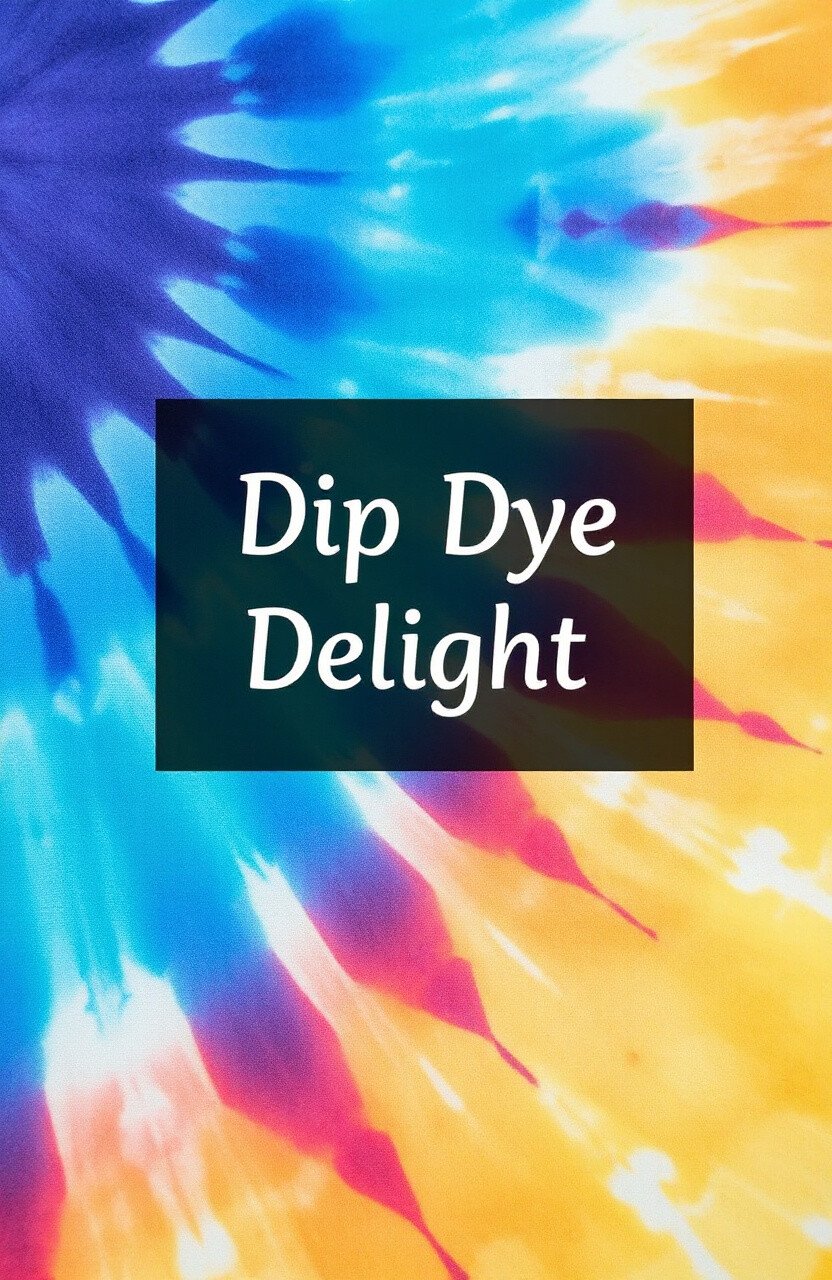
Dip dyeing is a simple yet effective way to add a splash of color to fabric. By dipping sections of fabric into dye, you can create dramatic color blocks or subtle gradients. It’s a versatile technique for clothing and home decor.
This method is quick and easy, making it perfect for beginners. You can control the depth of color by adjusting the dipping time. Dip dyeing is an affordable way to refresh old fabrics with new hues.
10. Reverse Dyeing Intrigue
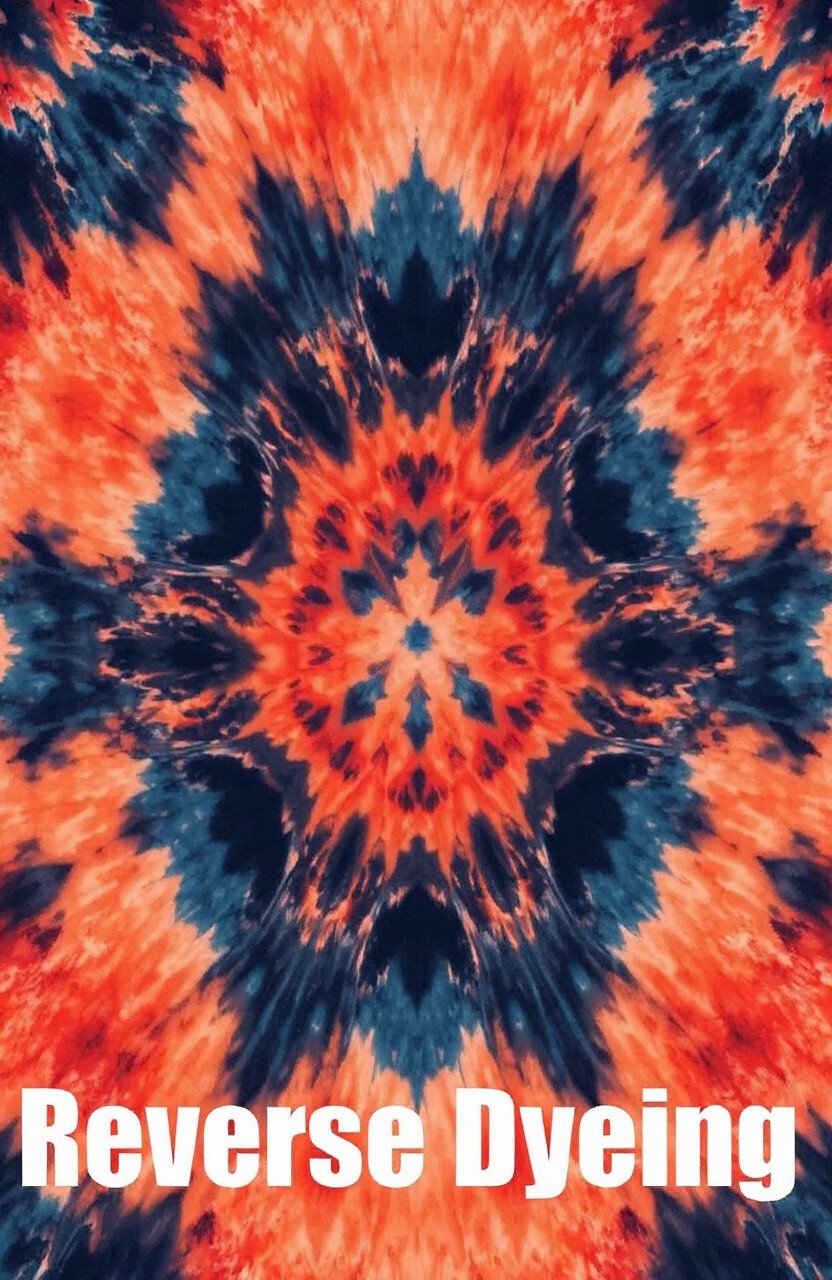
Reverse dyeing, or discharge dyeing, removes color from fabric using bleach or a similar agent. This creates striking designs by revealing the original fabric color beneath. It’s like uncovering hidden patterns!
This technique allows for high contrast designs and is great for creating eye-catching t-shirts or bags. Be sure to work in a well-ventilated area and wear gloves. Reverse dyeing is a creative way to transform dark fabrics into something exciting.
11. Marbling Magic
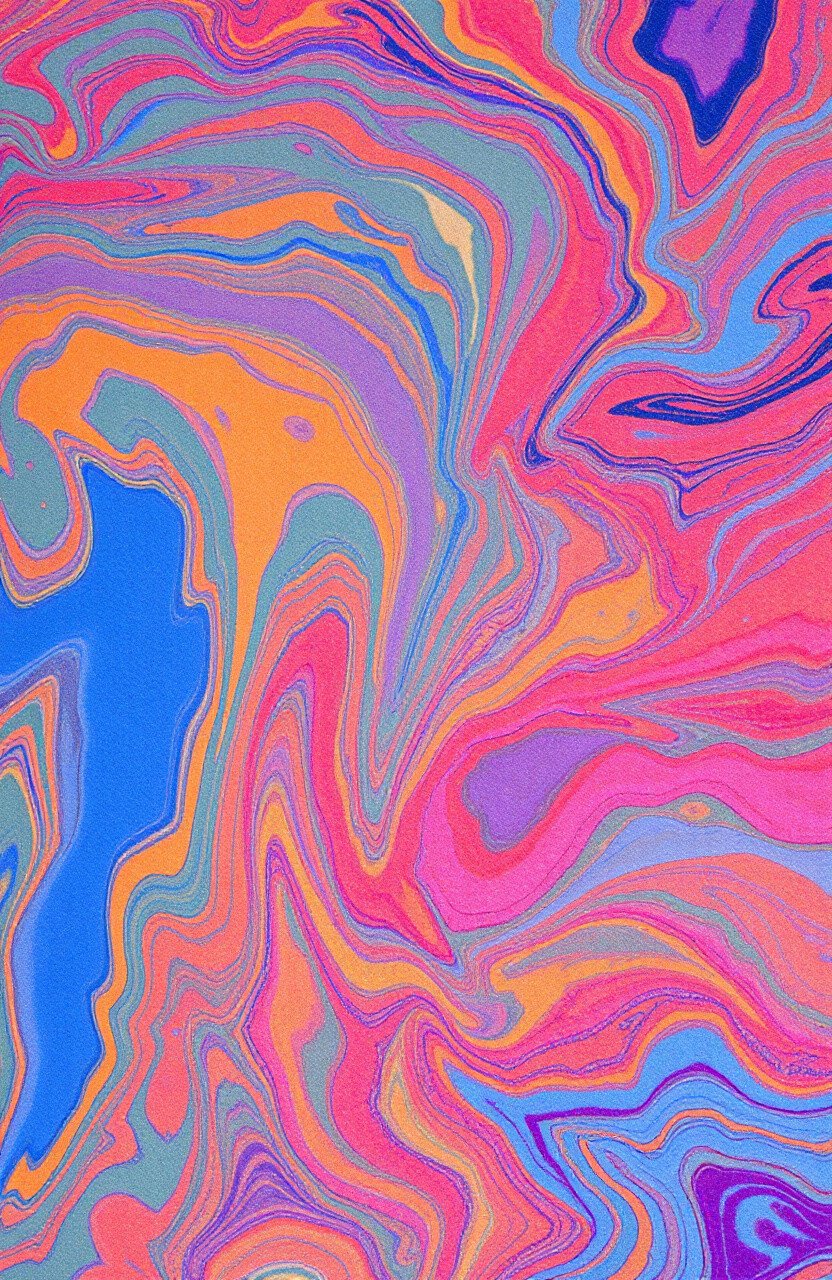
Marbling involves floating paint on water and transferring it to fabric, creating swirling, marble-like patterns. It’s a mesmerizing process that results in one-of-a-kind prints. This technique is perfect for scarves or decorative fabrics.
The beautiful, flowing patterns make each piece feel like a piece of art. Experiment with different color combinations and tools to create unique effects. Marbling is a bit more involved but offers stunning results.
12. Crumple Dyeing Fun
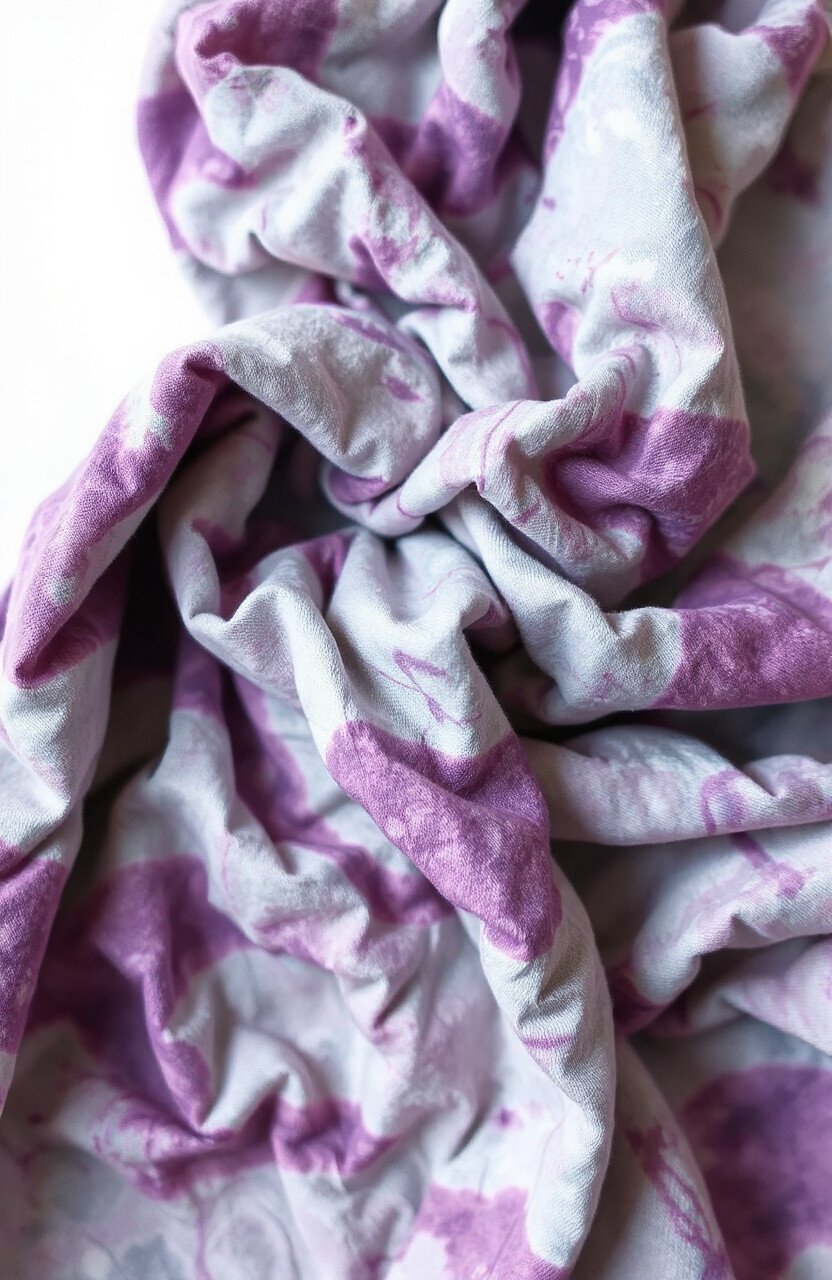
Crumple dyeing is all about creating random, textured patterns. By crumpling fabric into a ball and applying dye, you can achieve a unique, organic look. It’s a fun and easy technique perfect for casual wear and home textiles.
This method is quick and doesn’t require precise skills, making it ideal for spontaneous projects. The results are always a surprise, and each piece is truly one-of-a-kind. Crumple dyeing is a cost-effective way to add personality to your fabric.
13. Stencil Dyeing Art
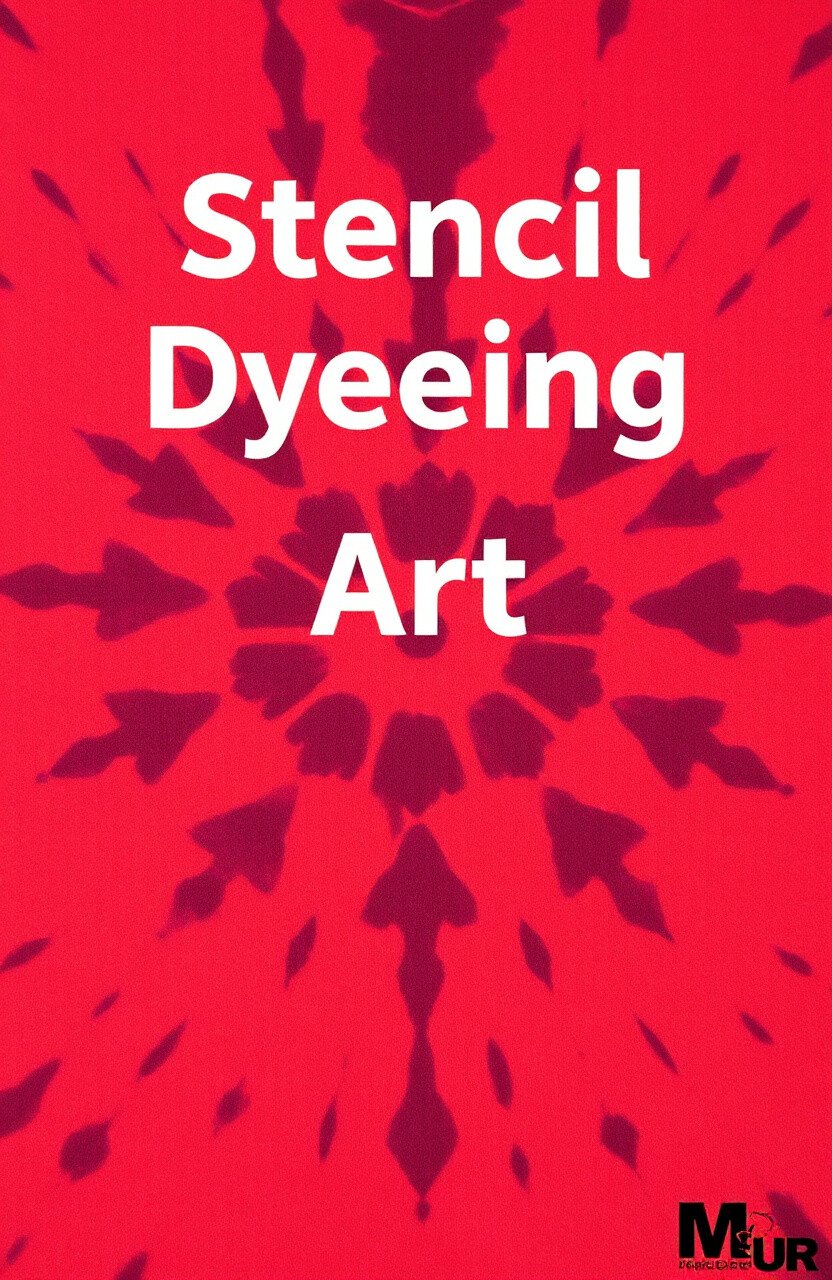
Stencil dyeing uses cut-out shapes to apply dye in specific areas, creating defined patterns. This allows for precise, repeatable designs that can be as simple or complex as you like. It’s great for personalized gifts or themed decor.
This technique provides endless possibilities for creativity. You can use store-bought stencils or create your own for a truly customized look. Stencil dyeing is affordable and offers professional-looking results.
14. Block Printing Brilliance
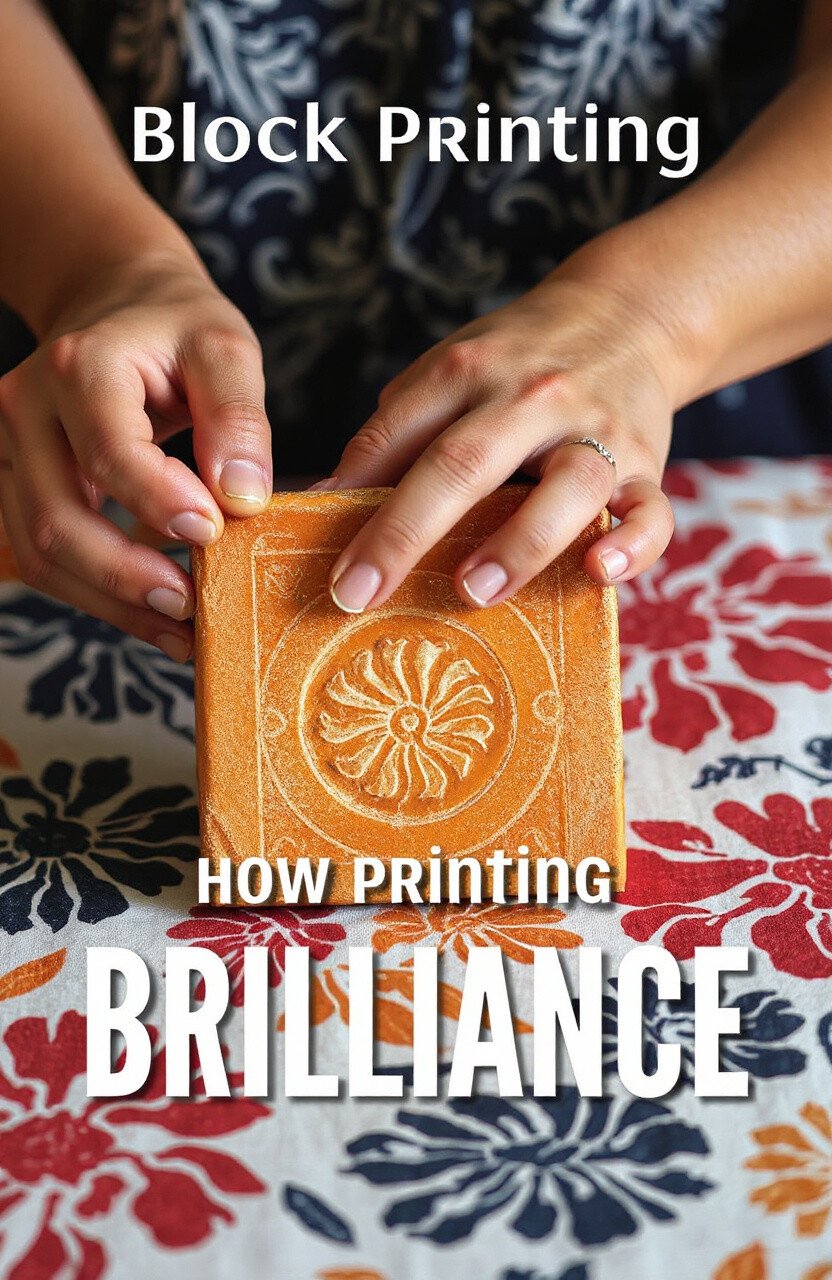
Block printing involves carving a design into a block and using it to stamp dye onto fabric. This traditional method creates bold, repeatable patterns and is excellent for creating textiles with a handmade touch.
The tactile process of carving and stamping is both satisfying and creative. It’s perfect for making curtains, tablecloths, or fabric for clothing. Block printing requires some tools but is a rewarding and creative experience.
15. Splatter Dyeing Excitement
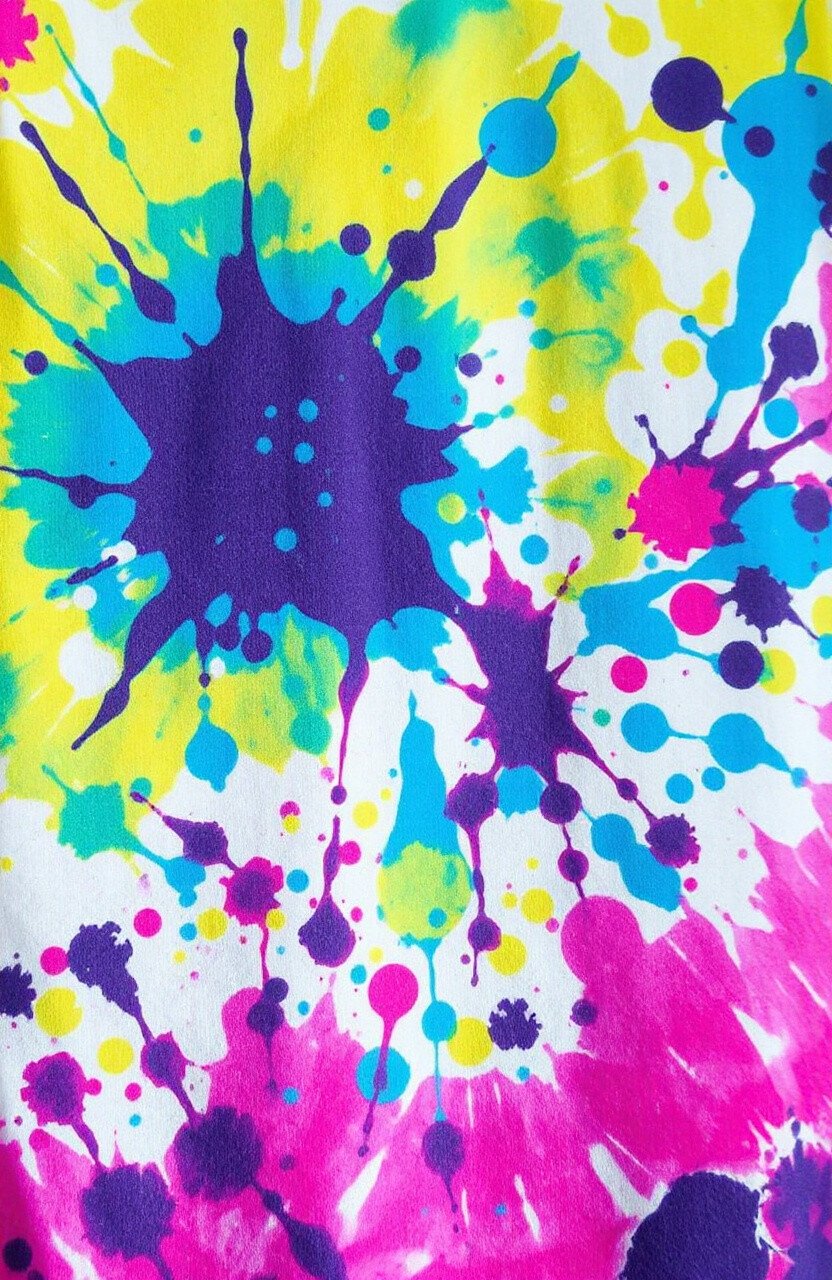
Splatter dyeing is about creating spontaneous, abstract designs by flicking dye onto fabric. This method is all about having fun with color and embracing unpredictability. It’s ideal for playful projects like t-shirts or tote bags.
The randomness of splatter dyeing makes each piece unique and full of character. It’s a great activity for kids or anyone looking to let loose creatively. This technique is low-cost and high-fun, requiring only dye and a flick of the wrist.
16. Gradient Dyeing Grace
Gradient dyeing involves slowly blending colors into each other, creating a smooth transition. This technique is perfect for achieving sophisticated, elegant designs on fabric. It’s great for fashion pieces or home decor.
The seamless color flow adds a touch of class to any project. You can experiment with different color combinations to find the perfect look. Gradient dyeing requires patience but results in beautifully blended colors.
17. Resist Dyeing Techniques

Resist dyeing involves applying a substance to fabric to prevent dye from reaching certain areas. This creates stunning designs with contrast and depth. It’s perfect for creating detailed patterns on clothing or decorative textiles.
The magic of resist dyeing lies in its ability to reveal intricate designs. You can use wax, paste, or tape as resist materials. This technique offers infinite possibilities for creativity and customization.
18. Salt Dyeing Surprises
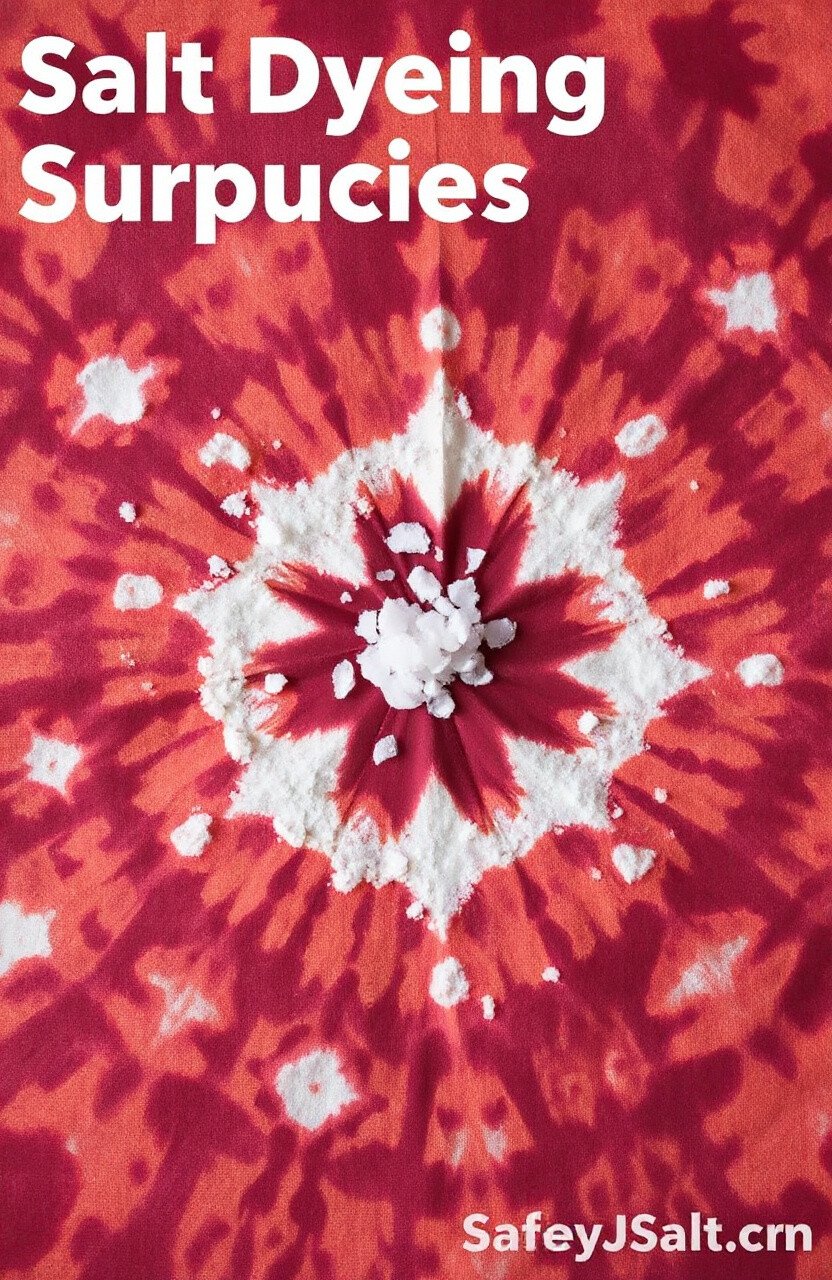
Salt dyeing involves sprinkling salt on wet dyed fabric. As the salt absorbs the dye, it creates beautiful, starburst patterns. This technique is ideal for adding a touch of whimsy to any fabric.
Salt dyeing is simple to execute and offers delightful results. It’s a fantastic way to add texture and interest to plain fabrics. With just dye and salt, you can create a magical effect that’s both easy and affordable.
19. Brush Dyeing Creativity
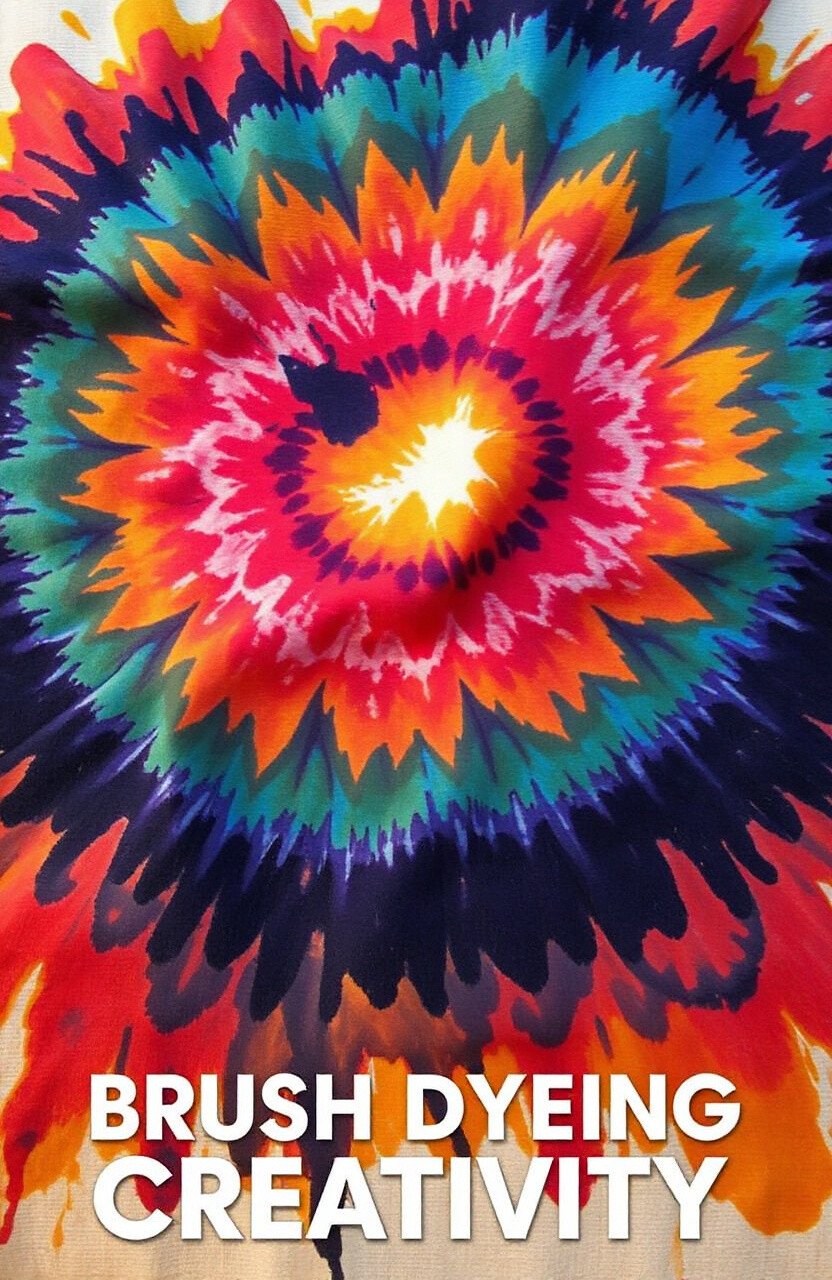
Brush dyeing lets you paint directly onto fabric, offering complete control over your designs. This technique is perfect for creating detailed images or abstract patterns. It’s like painting a masterpiece on cloth!
The artistic freedom of brush dyeing is unmatched. You can use different brush sizes and techniques to achieve various effects. Though it requires a steady hand, the personalized results are worth the effort.
20. Screen Printing Sophistication
Screen printing uses a mesh screen to apply dye to fabric, creating sharp, precise patterns. This technique is ideal for creating professional-looking designs on t-shirts, posters, or fabric prints.
The clean, crisp lines make each piece look polished and high-quality. You can create multiple prints with the same screen, making it perfect for batch projects. Screen printing requires some equipment but yields impressive results.
21. Wax Resist Dyeing Wonder
Wax resist dyeing involves applying wax to fabric before dyeing to create intricate patterns. The wax prevents dye from coloring those areas, resulting in beautiful designs. It’s a fantastic way to create detailed, artistic textiles.
This technique allows for precise, complex designs that stand out. You can combine colors for layered effects, adding depth to your pieces. Though it requires some patience, wax resist dyeing produces stunning, artistic results.
22. Tie and Dye with Stencils
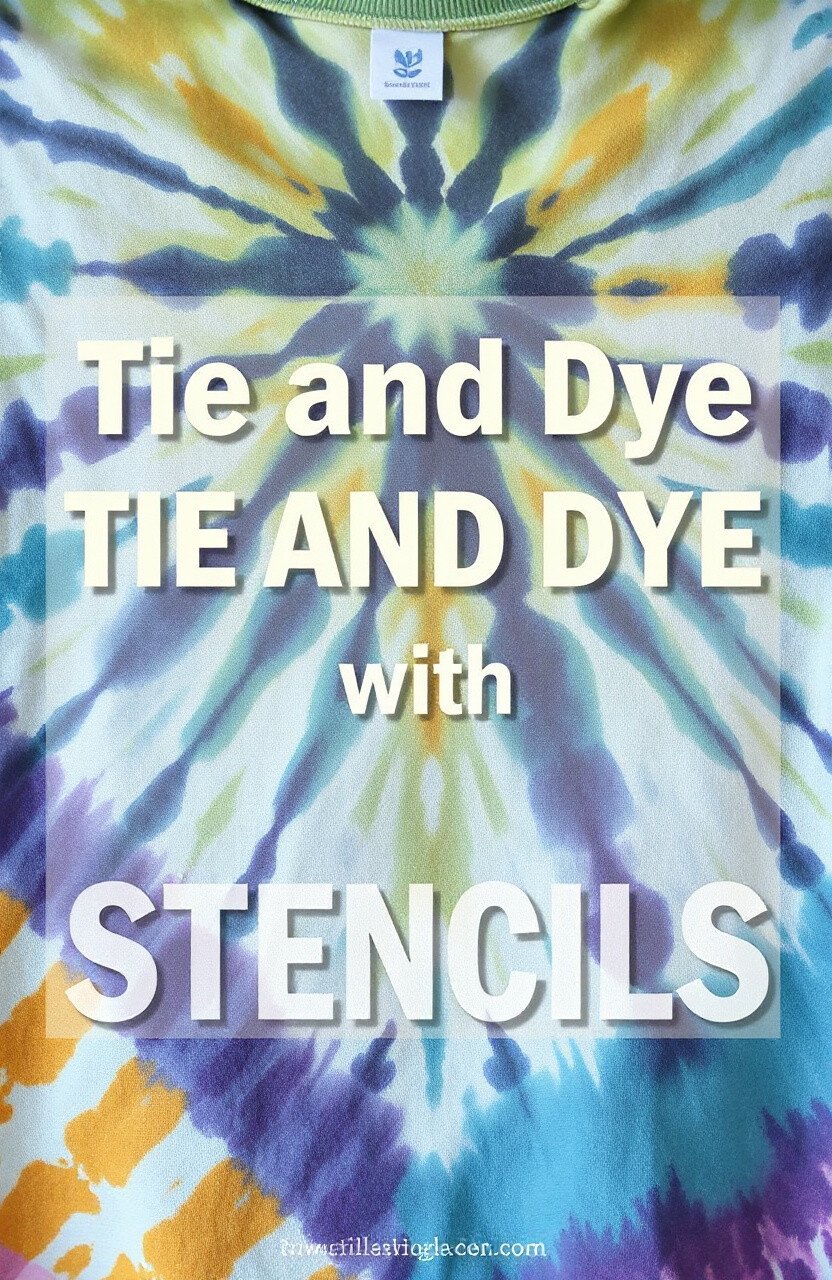
Combining tie-dye with stencils allows for both colorful patterns and defined shapes. This technique adds a creative twist to traditional tie-dye, offering more design possibilities. It’s perfect for unique clothing or home textiles.
The blend of organic and structured patterns creates a dynamic look. You can use ready-made stencils or create your own for a personal touch. This method is fun, creative, and affordable, perfect for any dyeing enthusiast.
23. Eco-Printing Passion
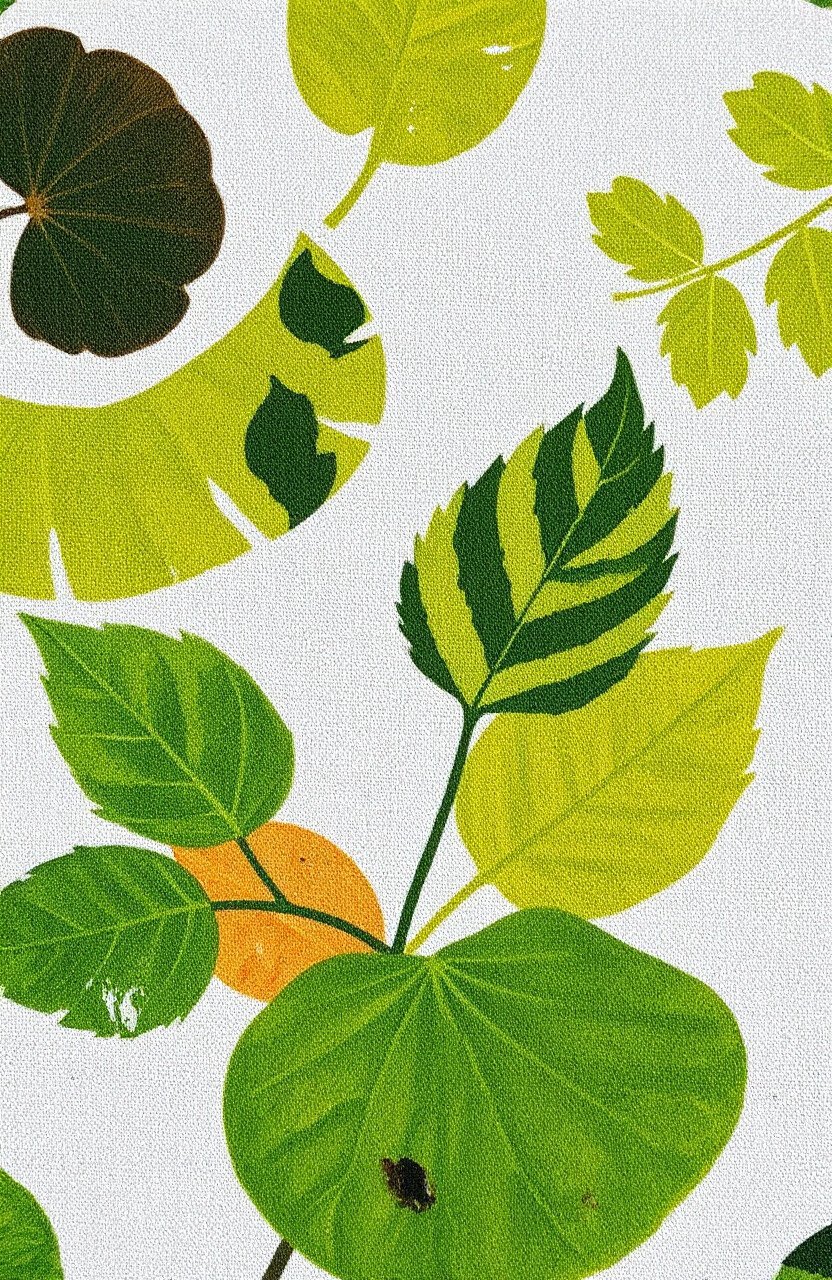
Eco-printing uses natural materials like leaves and flowers to imprint their shapes and colors onto fabric. This technique results in beautiful, nature-inspired designs. It’s perfect for anyone who loves organic, earthy aesthetics.
The connection to nature makes each piece feel special and unique. You can experiment with different plants to see what colors and patterns they create. Eco-printing is an eco-friendly, cost-effective way to make stunning textiles.
24. Yarn Dyeing Adventure
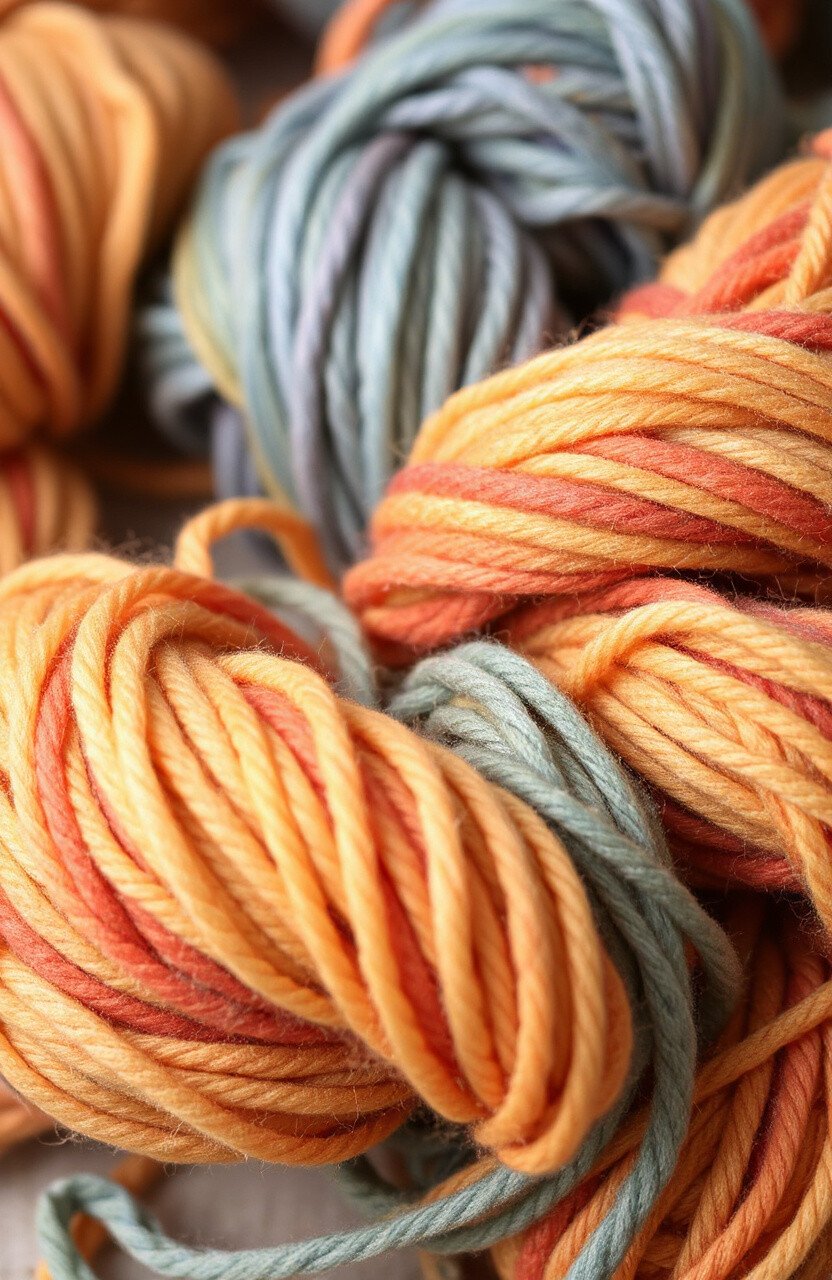
Yarn dyeing involves coloring yarn before it’s used for knitting or weaving. This technique offers complete control over color placement, resulting in beautifully coordinated fabrics. It’s perfect for creating custom knitting projects.
The ability to pre-plan your color scheme makes each project feel intentional and cohesive. You can experiment with different dyeing methods for varied effects. Yarn dyeing requires some preparation but offers endless creative possibilities.
25. Spray Dyeing Fun
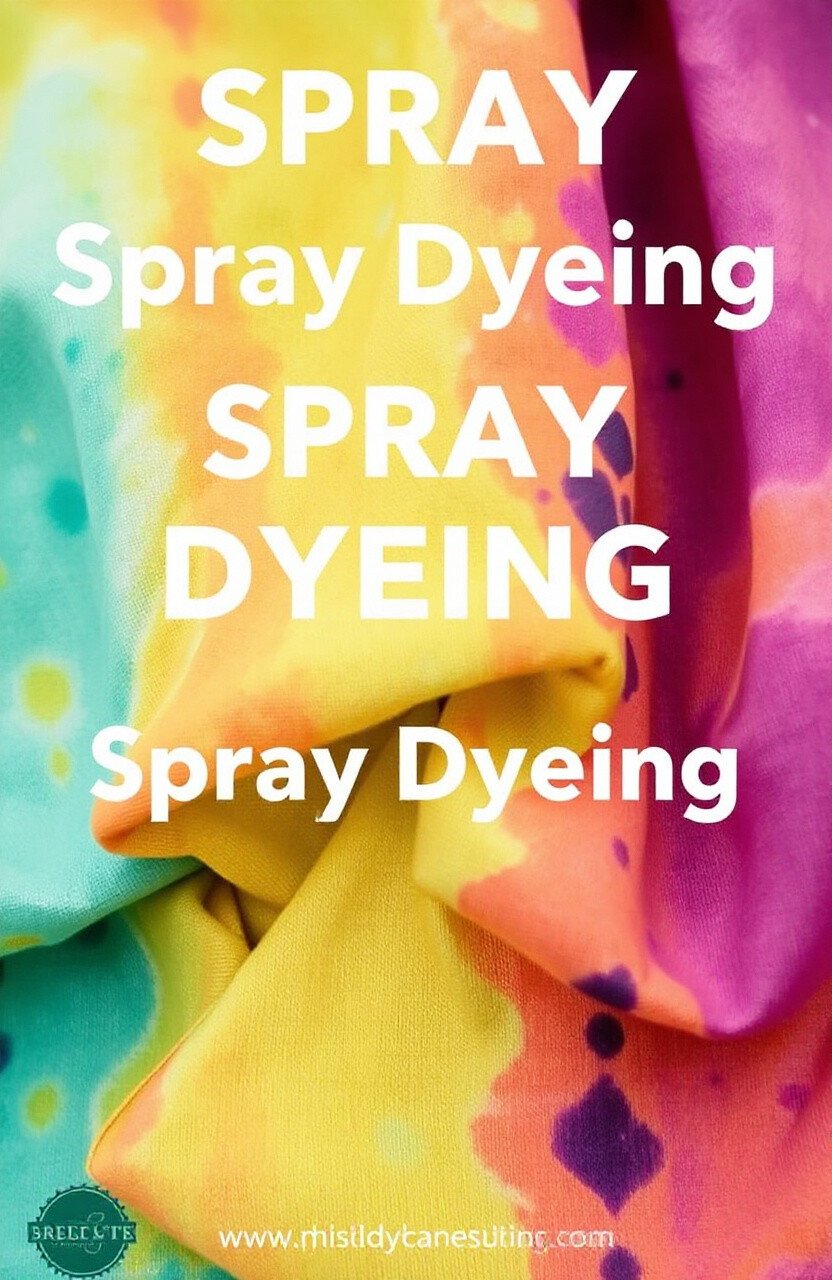
Spray dyeing uses spray bottles to apply dye, allowing for quick and easy color application. This technique is great for creating soft, blended designs or bold color blocks. It’s perfect for casual wear or creative home decor.
The ease of spray dyeing makes it accessible to everyone, even beginners. You can mix colors directly on the fabric for unique effects. This method is affordable and offers exciting, instant results.
26. Tie-Dye with Embroidery
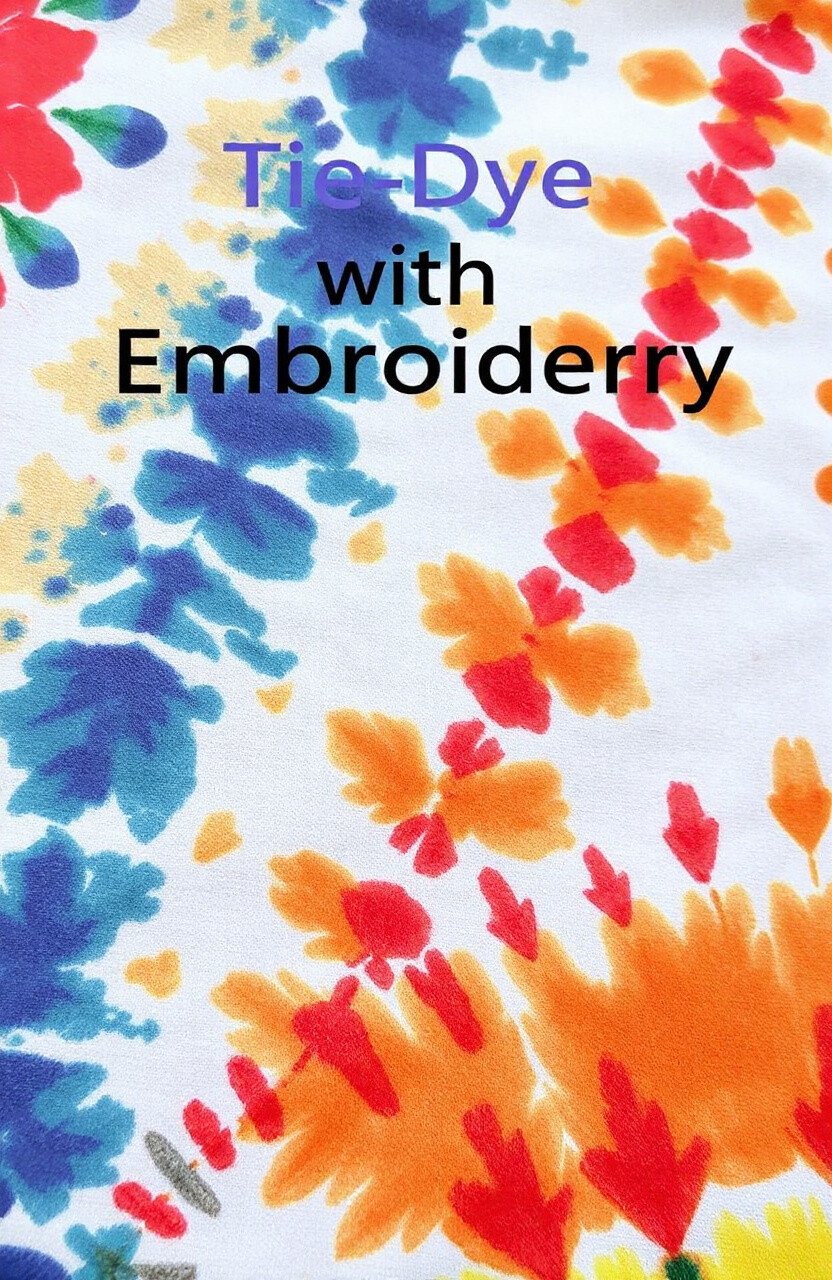
Combining tie-dye with embroidery creates a stunning fusion of color and texture. This technique adds a personal, handcrafted touch to any dyed fabric. It’s perfect for creating unique, artistic textiles.
The contrast between the colorful dye and intricate embroidery makes each piece feel special. You can choose simple or complex embroidery designs to complement your tie-dye patterns. This method is a bit more involved but offers beautifully personalized results.