
Felt, with its soft texture and vivid colors, opens a world of crafting possibilities. Each technique offers a unique way to express creativity, turning simple materials into stunning works of art. Curious about how felt can transform your crafting projects?
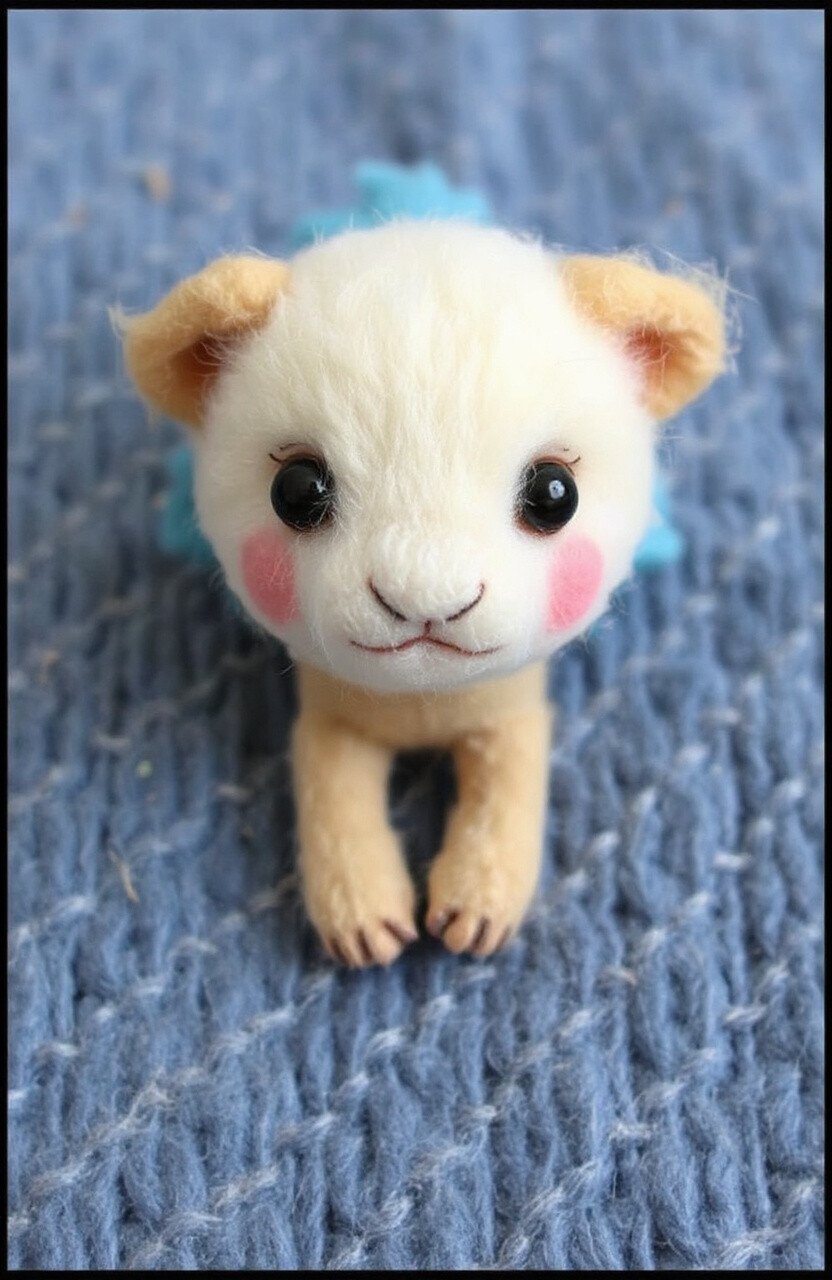
1. Needle Felting
Top Needle Felting Craft Tutorials
- 👓 Needle Felting for Beginners from shaydacampbell.com.
- 🗺️ Successful Needle Felting Projects for Beginners from bearcreekfelting.com.
- 🍁 Needle Felting Supplies, Tools, Kits & … from feltingsupplies.livingfelt.com.
- 🎄 Guide to Needle Felting: How to Get Started from skillshare.com.
- 🍅 Needle felting for beginners from youtube.com.
Needle felting is like painting with wool. By poking a barbed needle into loose wool, you can shape it into anything from cute animals to abstract art. It’s incredibly satisfying to see your creation come to life with every poke.
Needle felting is affordable. All you need is a felting needle and some wool roving. It’s a unique way to relieve stress and create something beautiful at the same time.
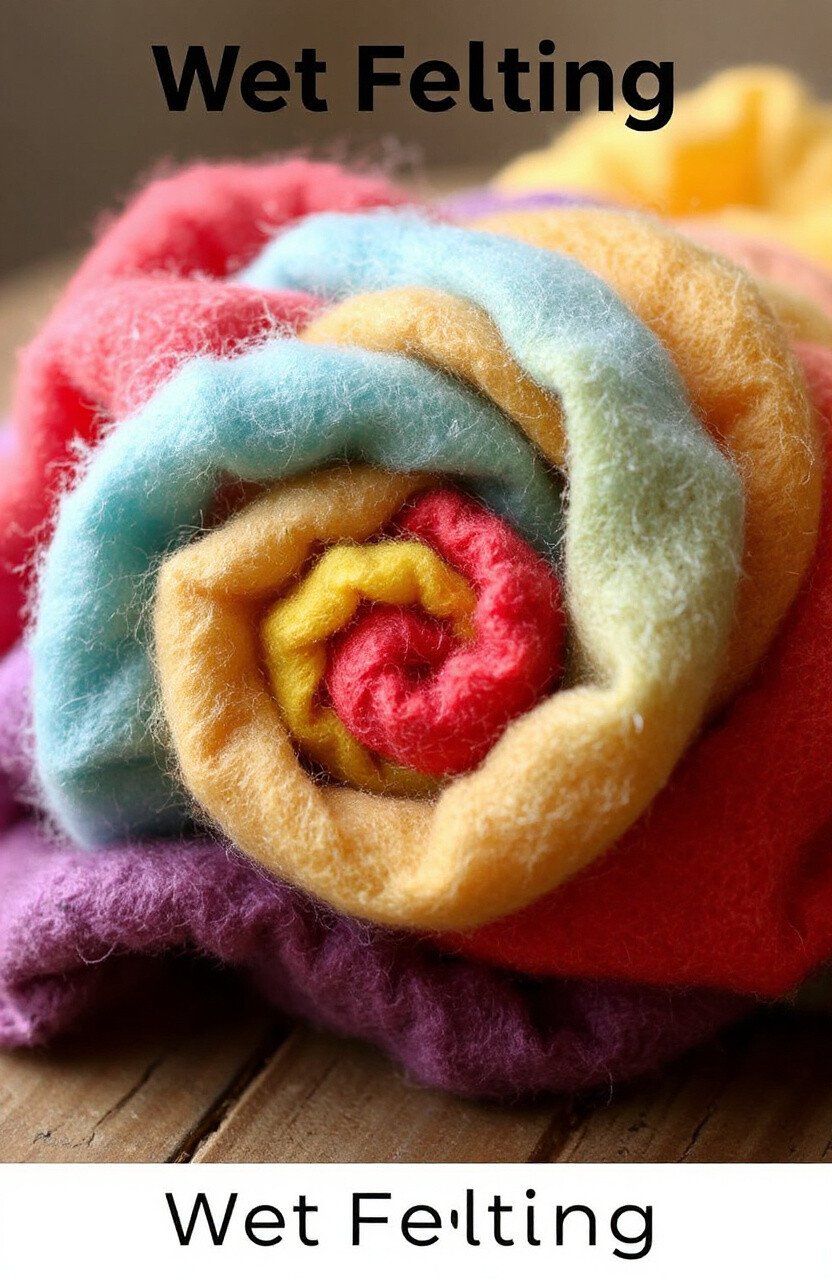
2. Wet Felting
Top Wet Felting Craft Tutorials
- 🖼️ 6 Wet Felting Projects I'd Like to Try from mypoppet.com.au.
- 💅 Felting Tutorials – Wet Felting and Needle Felting Projects from youtube.com.
- 💅 I would love some wet felting ideas to do with 2 and 3 year … from facebook.com.
- 🗺️ Wet Felting with Kids from mericherry.com.
- 🎄 Wet Felting For Beginners from lacreativemama.com.
Wet felting combines warm water, soap, and wool to create a solid fabric. It’s like a magic trick as the fibers bind together to form sturdy felt sheets. This technique is perfect for making scarves, bags, and even hats.
Imagine creating your colorful handbag using just water and soap. Wet felting can be a messy but rewarding process that results in strong, durable pieces.
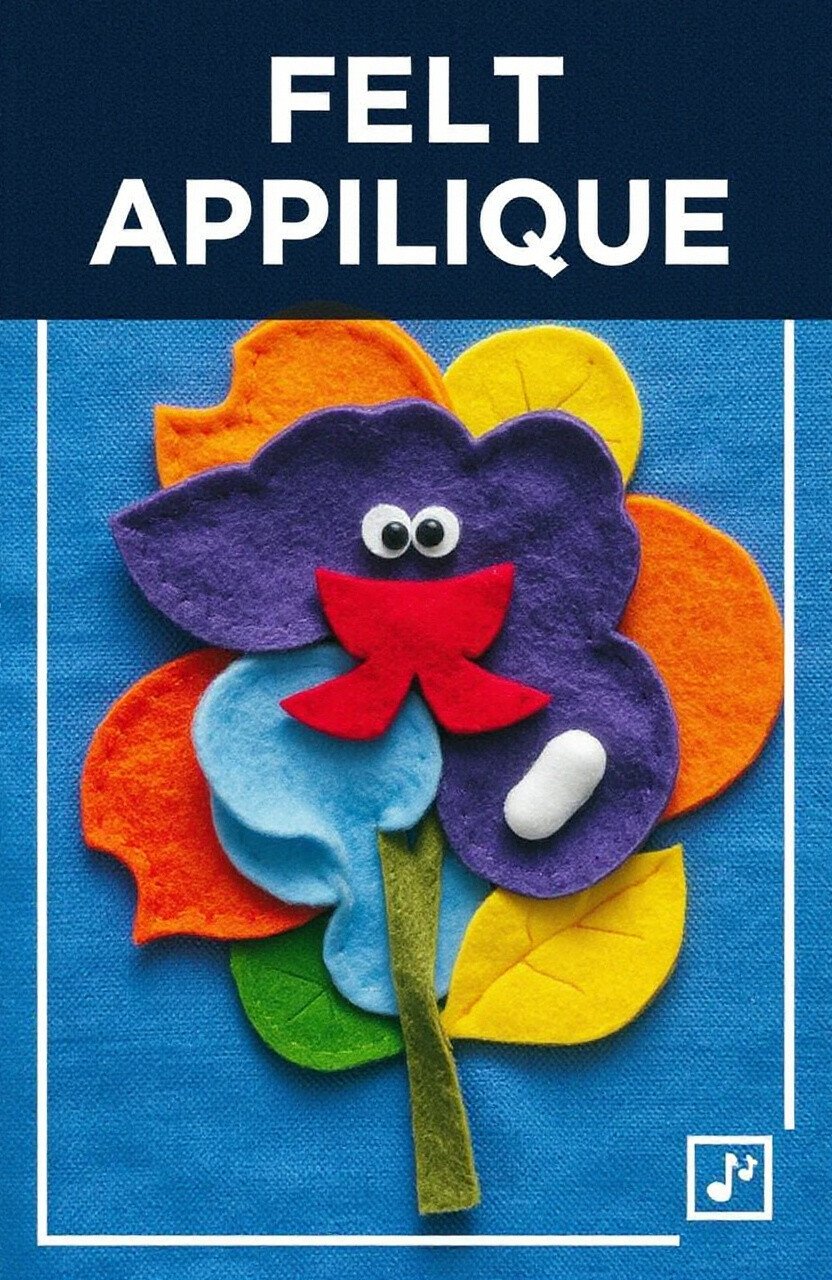
3. Felt Appliqué
Top Felt Appliqué Craft Tutorials
- 🧑🌾 Felt Applique Tutorial from benziedesign.com.
- 🖼️ A Complete Guide to Getting Started with Felt Appliqué from bethcolletti.com.
- 💅 Set of 3 Little Raccoon Felt Applique – Art & Craft Kits from walmart.com.
- 🧑🌾 3 felt applique kits pooh tigger from ebay.com.
- 💅 Dimensions Felt Applique Kits from 123stitch.com.
Felt appliqué is the art of layering felt pieces to create designs on fabric. It’s like creating a fabric mosaic. You can make beautiful wall hangings, pillow covers, or embellish clothing with this technique.
This technique allows for endless creativity. Cut out fun shapes, layer them, and sew them onto your project. It’s simple and perfect for beginners.
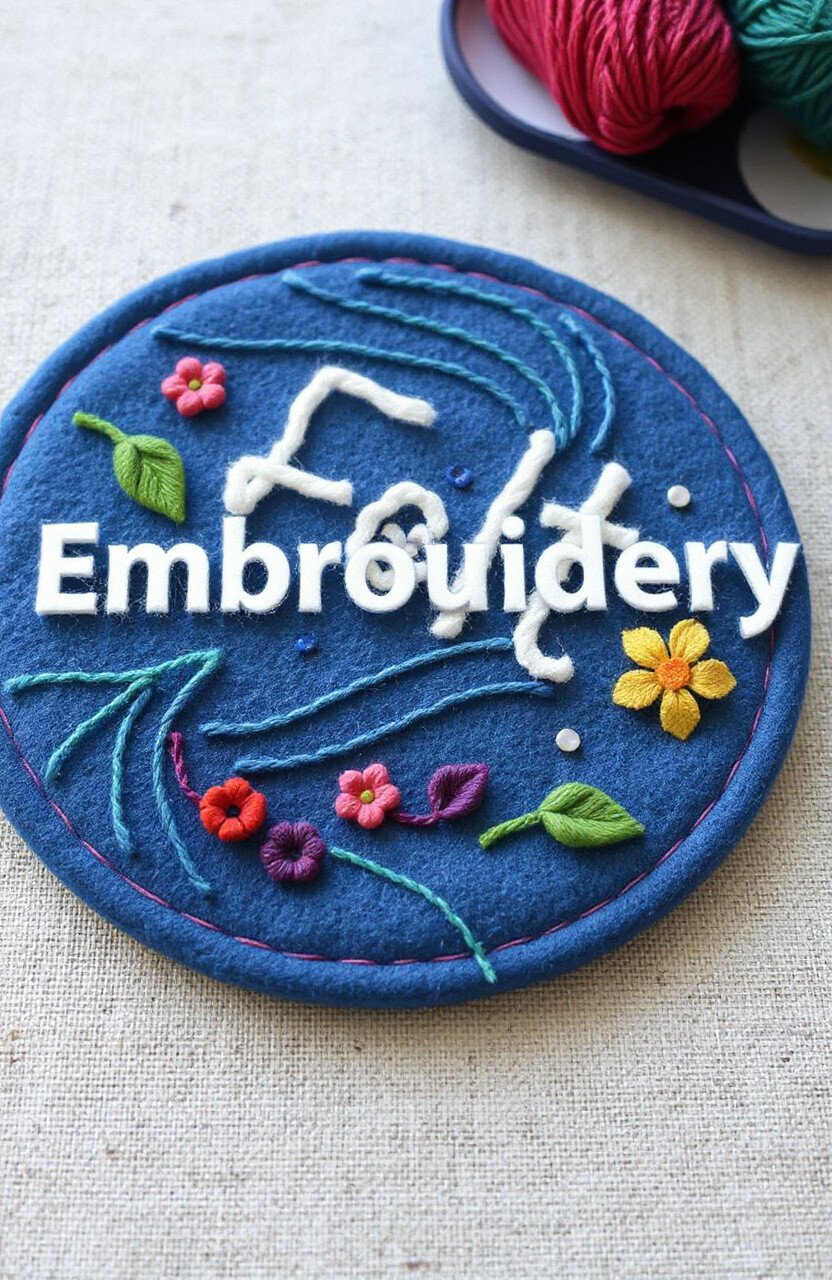
4. Felt Embroidery
Top Felt Embroidery Craft Tutorials
- 💅 DIY Animal Embroidery Doll Kit – 4 Felt Sewing Crafts With … from americobuilders.com.
- 🍂 Sewing Pouch Felt Embroidery Craft Kit from snugglymonkey.com.
- 🧑🌾 Felt Crafts from herrschners.com.
- 🎨 Beginner Craft Kits, Embroidery Kits, Needle Felting & … from hawthornhandmade.com.
- 🖼️ Bucilla Needlecraft & Felt Kits from plaidonline.com.
Felt embroidery combines stitching and felt for a colorful, textured design. It’s a great way to add detail and personality to your felt projects. The combination of felt and thread creates a beautiful contrast.
Embroidery on felt is an easy way to personalize gifts. Stitch a friend’s name or a special date onto a felt piece to make it extra special.
5. Felt Flowers
Top Felt Flowers Craft Tutorials
- 🎨 A Step by Step Guide to DIY Felt Flowers 5 Ways from papernstitchblog.com.
- 🍅 Easy DIY Felt Flowers from happinessishomemade.net.
- 🎨 Felt Flower Bouquet craft activity guide from bakerross.co.uk.
- 🧑🌾 Felt Flowers, Set of 5 (Set A) from mytoywagon.com.
- 💅 Make Felt Flowers – Craft Project from superiorthreads.com.
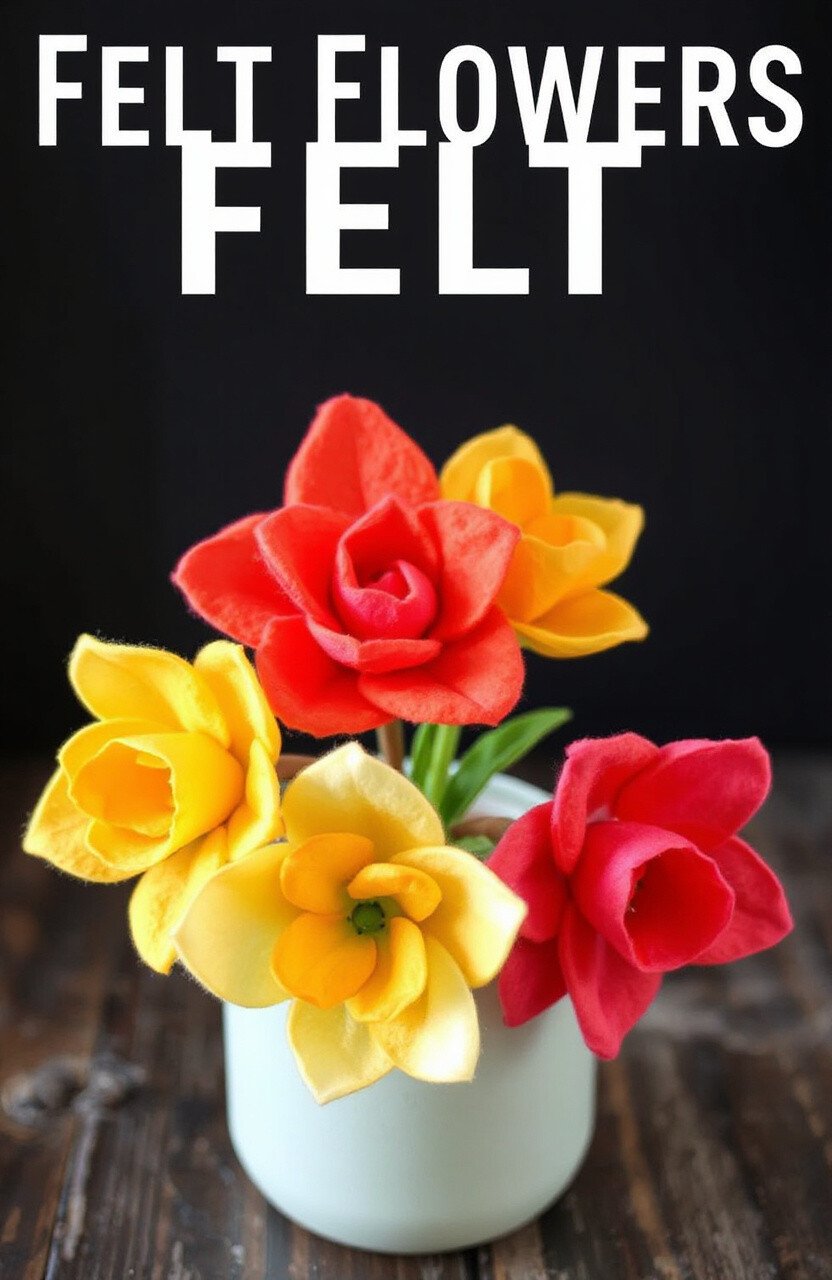
Creating felt flowers is like bringing a garden indoors. These colorful and everlasting blooms can brighten up any space. Use them for home décor, accessories, or as unique gift toppers.
Felt flowers require only a few materials but offer endless possibilities in color and design. They’re an affordable and beautiful way to add a pop of color to any project.
6. Felt Jewelry
Top Felt Jewelry Craft Tutorials
- 👓 Watermelon Felt Garland 6 Foot from jewelrymadebyme.com.
- 🧑🌾 Making Jewelry with Felt from tryit-likeit.com.
- 🗺️ June Craft Club: Custom Felt Patches – 6/20 from goldenhrdesigns.com.
- 🎄 Handcrafted Walnut Wood 6” Square Felt Lined Jewelry … from ebay.com.
- 💅 6 Sheets Self Adhesive Felt Sheets Jewelry Box Felt Liner Craft … from amazon.ca.
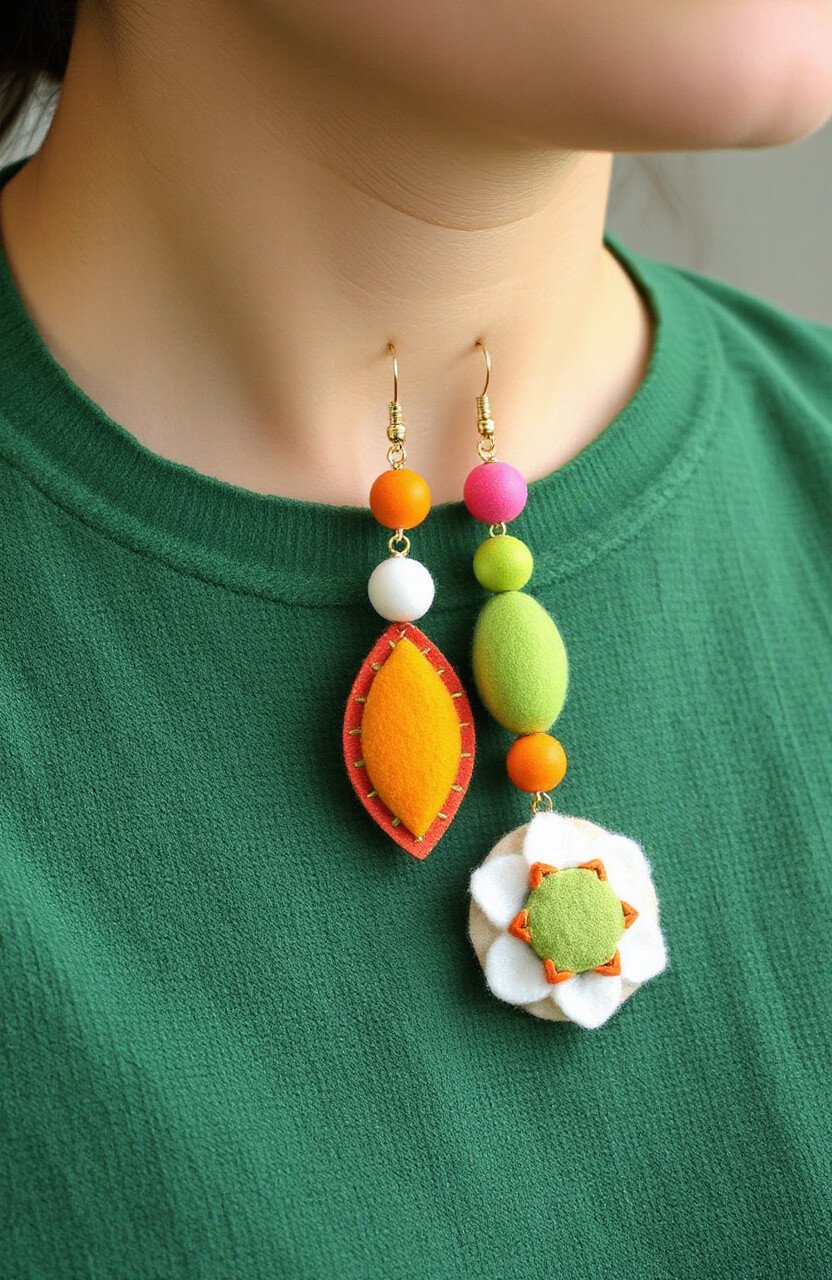
Felt jewelry is soft, lightweight, and vibrant. Create earrings, necklaces, or bracelets using felt beads or shapes. These pieces are stylish and comfortable to wear.
Making felt jewelry is a fun way to express your style. Mix and match colors to create unique pieces that stand out.
7. Felt Puppets
Top Felt Puppets Craft Tutorials
- 💅 Make Felt Animal Puppets | Make it and Love it from makeit-loveit.com.
- 👓 Free Felt Patterns from thetucsonpuppetlady.com.
- 🎨 How to Make Felt Hand Puppets! from freshlycompleted.blogspot.com.
- 🍂 How to make felted puppets for loose parts play <3 from facebook.com.
- 🎨 Finger Puppet Tutorial from benziedesign.com.
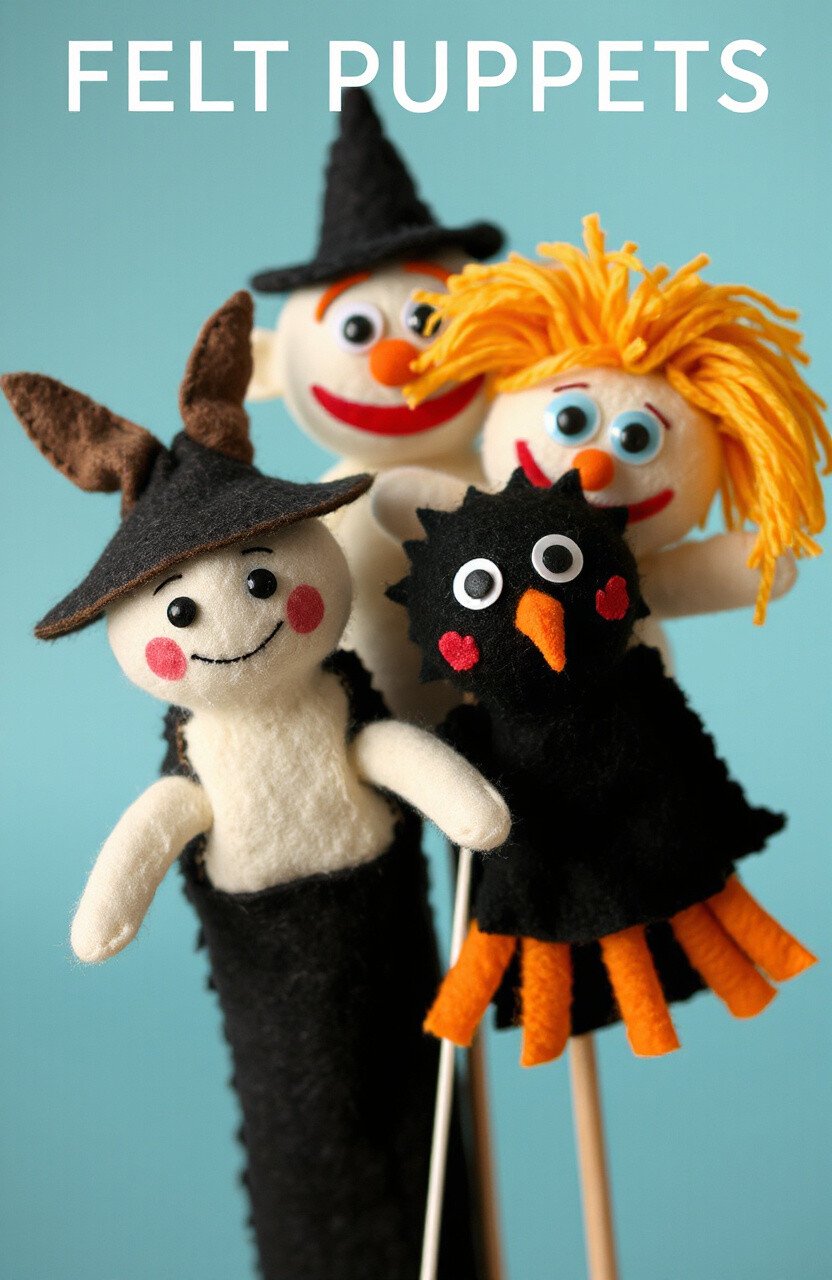
Felt puppets bring stories to life. Create characters from your favorite tales or invent new ones. It’s a great way to entertain kids and spark their imagination.
Puppets made from felt are easy to sew and customize. Add googly eyes or yarn hair for extra personality. They’re perfect for playtime or puppet shows.
8. Felt Bookmarks
Top Felt Bookmarks Craft Tutorials
- 🍁 DIY Sloth Felt Bookmarks for Kids to Make from redtedart.com.
- 🍂 Practicality of felt bookmarks? : r/crafts from reddit.com.
- 🍂 Day 1: Felt Corner Bookmark from madeformermaids.com.
- 🎨 Made this bookmarks with scraps of felt I have.♥ from facebook.com.
- 👓 Easy DIY Kids Crafts: Spring Felt Bookmarks – Naomi M. Gruer from bmoreenergy.wordpress.com.
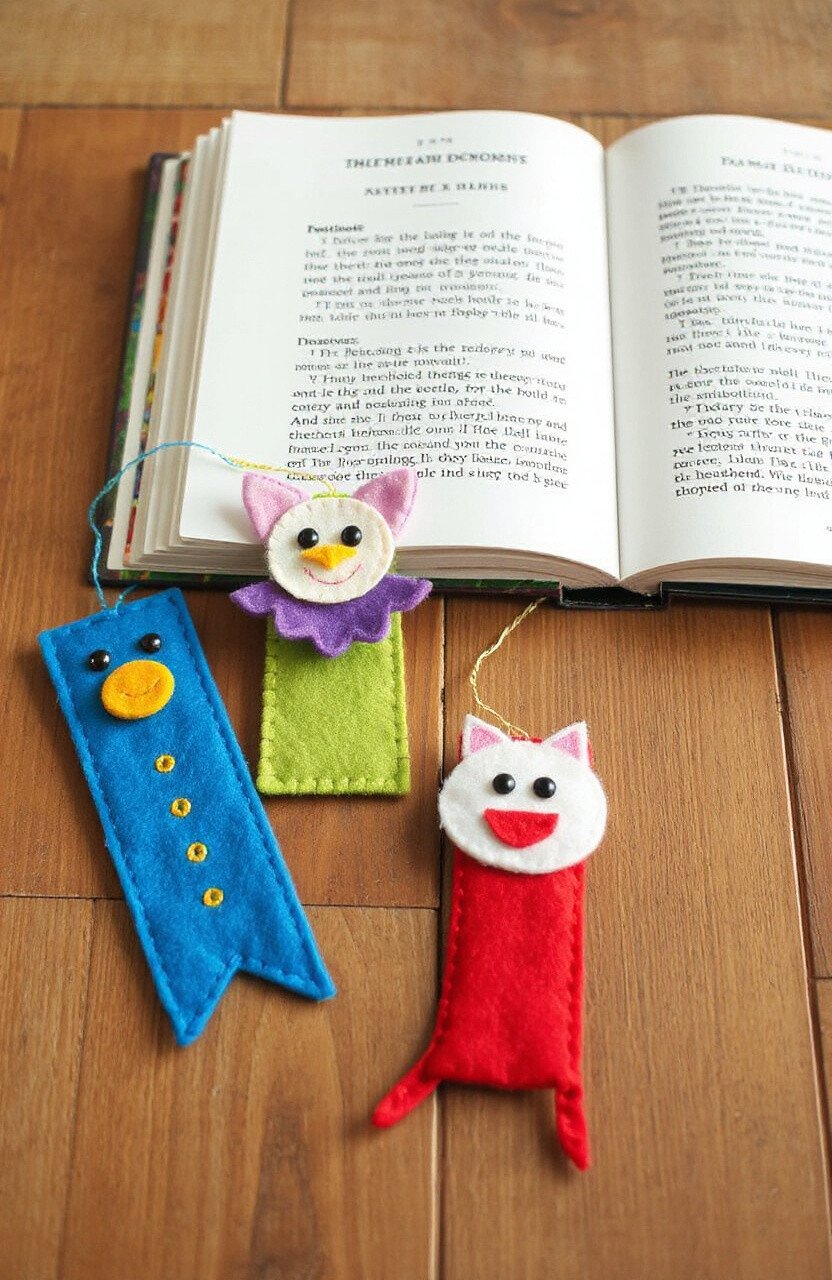
Felt bookmarks are a delightful way to mark your spot in a book. Create whimsical shapes or characters to make reading even more fun. They’re quick and easy to make, perfect for gifts or party favors.
With just a few felt scraps, you can create a whole library of bookmarks. Personalize them with initials or small stitched designs for a thoughtful touch.
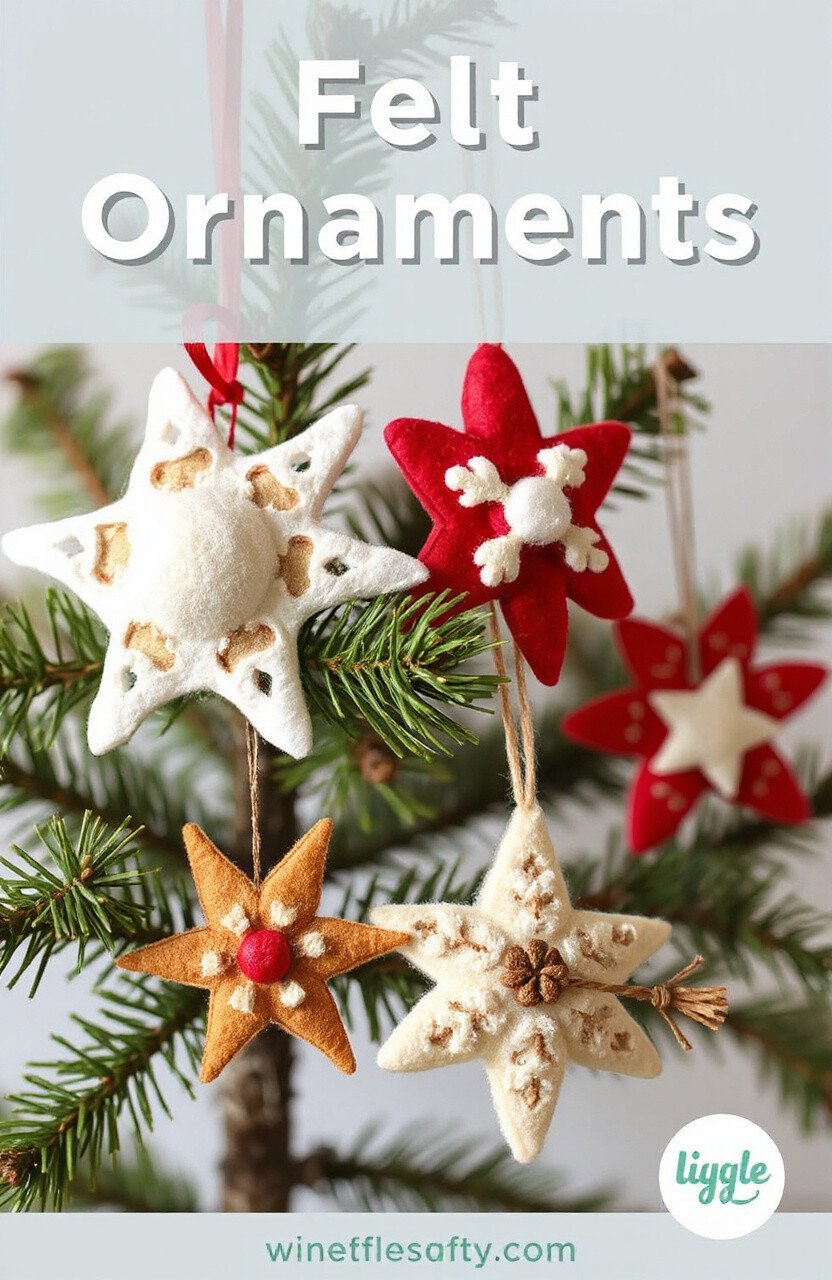
9. Felt Ornaments
Top Felt Ornaments Craft Tutorials
- 👓 37 DIY Felt Ornament Patterns (Free and Paid) from funclothcrafts.com.
- 🖼️ 13 Free Felt Christmas Ornament Patterns from cutesycrafts.com.
- 🎄 How to Make Felt Animal Ornaments from danslelakehouse.com.
- 🍁 The Top 9 Felt Ornament Patterns For The Holidays from rachelsofgreenfield.com.
- 🍁 I make felt ornaments for my Grandchildren. Here are a … from facebook.com.
Felt ornaments add a handmade touch to your holiday décor. Create stars, trees, or snowflakes to hang on your Christmas tree. They’re also great for decorating gifts.
Making felt ornaments is a cozy winter activity. Use them to decorate your home or give them as treasured gifts. They’re sure to be cherished for years.
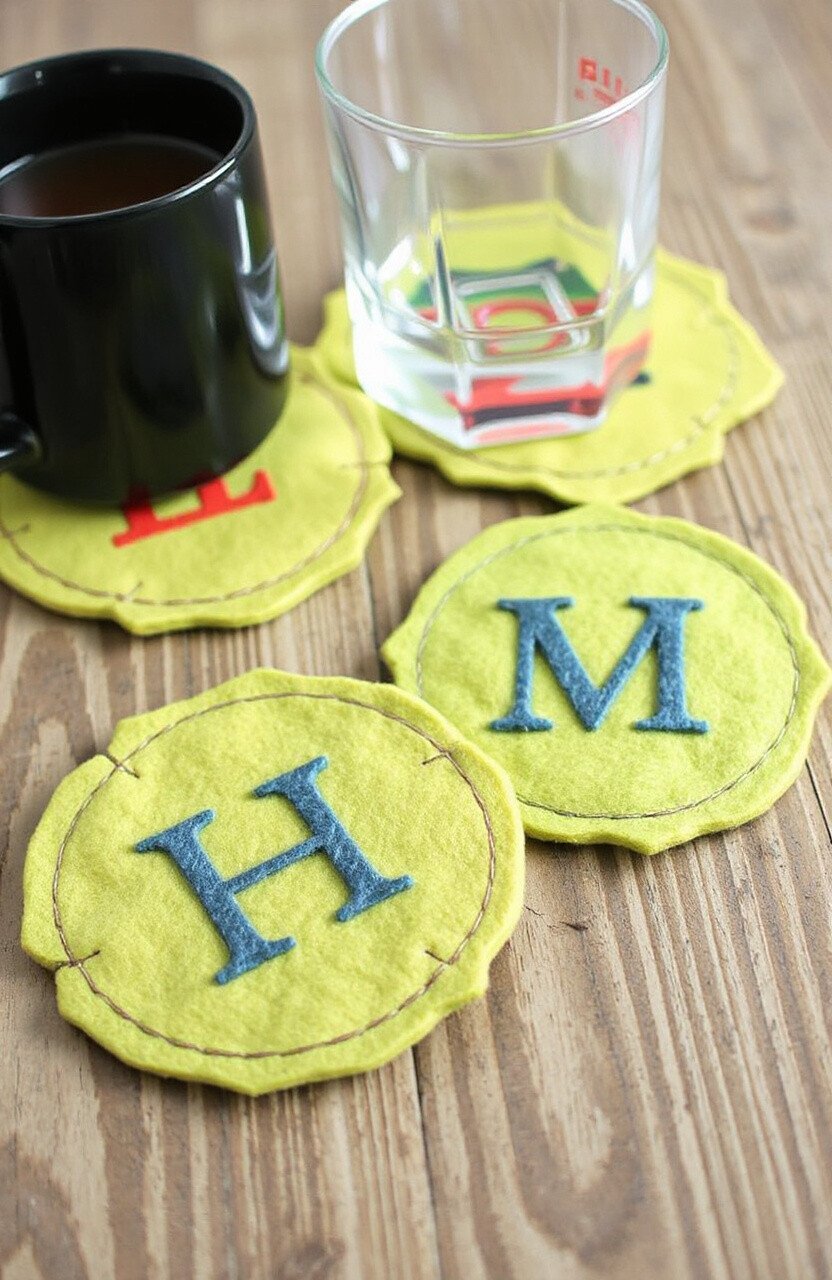
10. Felt Coasters
Top Felt Coasters Craft Tutorials
- 🗺️ Colorful DIY Felt Coasters Tutorial – AppleGreen Cottage from applegreencottage.com.
- 🎨 DIY woven felt coasters from thecraftygentleman.net.
- 🎄 Felt Coasters DIY (Colorful, No-Sew, Woven & Modular … from customcoastersnow.com.
- 🧑🌾 How to: Make felt coasters in six easy steps from crafterscompanion.com.
- 🍂 Coasters – Wool Felted Crafts from woolfelted.com.
Felt coasters are both functional and stylish. Protect your surfaces with customized coasters in any shape or color. They’re easy to make and wash, adding a pop of color to your table.
These coasters make excellent housewarming gifts. Personalize them with initials or fun patterns to match any décor.
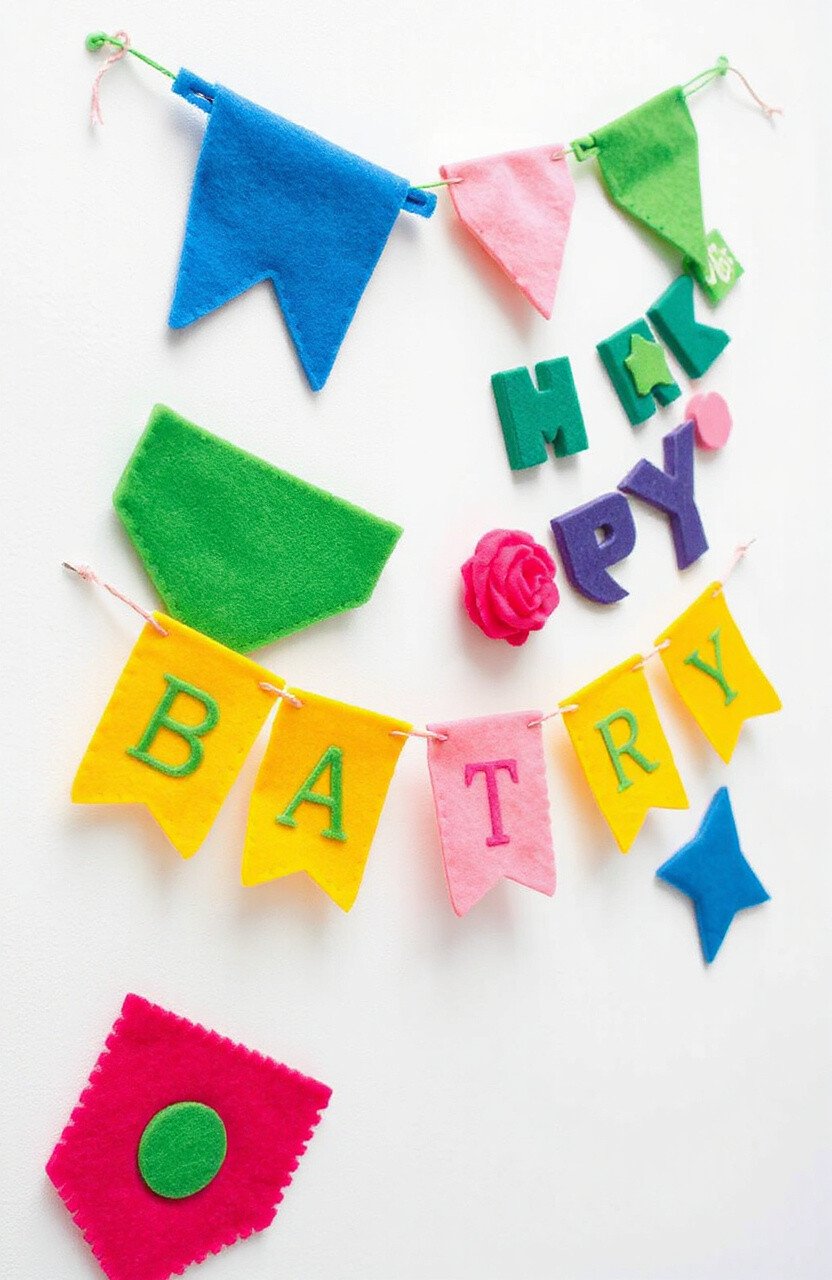
11. Felt Banners
Top Felt Banners Craft Tutorials
- 🍂 DIY: How To Make an Easy No-Sew Felt Banner from funclothcrafts.com.
- 🍁 DIY Felt Pennants by Courtney Cerruti from creativebug.com.
- 🖼️ Reversible Felt Banner from benziedesign.com.
- 👓 DIY Hand Lettered Felt Flags from ohhappyday.com.
- 🎄 Make Your Own Felt Pennants from liagriffith.com.
Felt banners create a festive atmosphere for any occasion. Bright colors and fun shapes make these banners a hit at parties or as room décor. Hang them up to celebrate birthdays, holidays, or just to brighten your space.
They’re easy to make and can be reused for multiple events. Mix and match colors to fit the theme of your celebration.
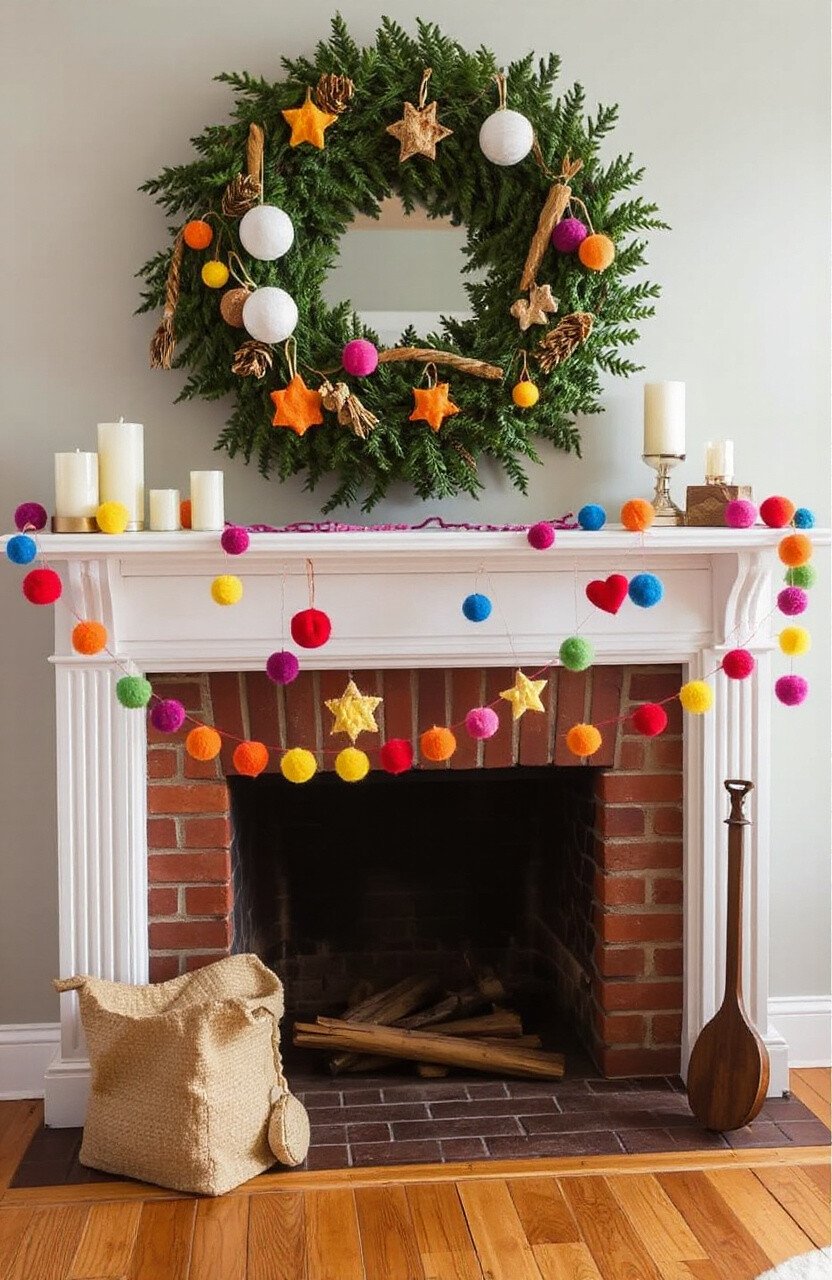
12. Felt Garlands
Top Felt Garlands Craft Tutorials
- 👓 The felt chain garland craft that never ends – northstory + co. from northstoryandco.com.
- 🖼️ Felt Garlands – Crafts – DIY Inspiration from hobbylobby.com.
- 🗺️ How to Make a Handmade Felted Garland (Step-by- … from thistlewoodfarms.com.
- 🖼️ DIY Holiday Felt Garlands from suzyquilts.com.
- 🗺️ Felt Greenery Garland for the Holidays from liagriffith.com.
Felt garlands are like strings of happiness. Drape them across mantels, walls, or trees for a whimsical touch. Create patterns with felt balls, stars, or hearts.
Garlands are simple to make and can be as long or short as needed. They add a playful and colorful element to any room.
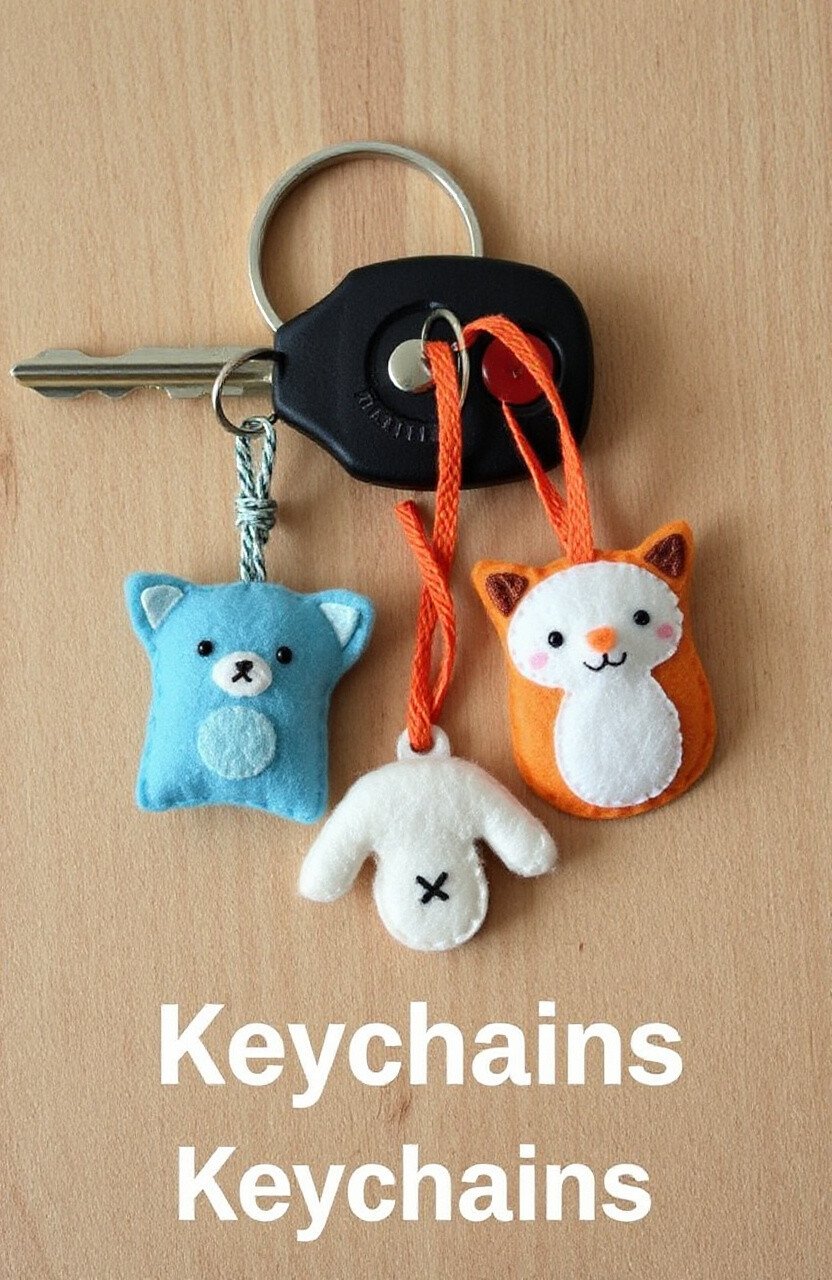
13. Felt Keychains
Top Felt Keychains Craft Tutorials
- 👓 How to Make Needle Felted Keychains – Ignite Studio at HEPL from ignite.hamiltoneastpl.org.
- 🎨 felt keychain i made : r/crafts from reddit.com.
- 🎄 Strong Felt Keychains Personalizes Felt Key Holders Craft … from ebay.com.
- 🍂 Felt peep keychain DIY tutorial and tips from facebook.com.
- 🖼️ DIY Clay, Felt, Foam & Yarn Keychains from youtube.com.
Felt keychains are cute and practical. Create little animals, initials, or fun shapes to hang on your keys. They make charming gifts or personal accessories.
These keychains are a quick project that uses minimal materials. Add embroidery or sequins for extra flair.
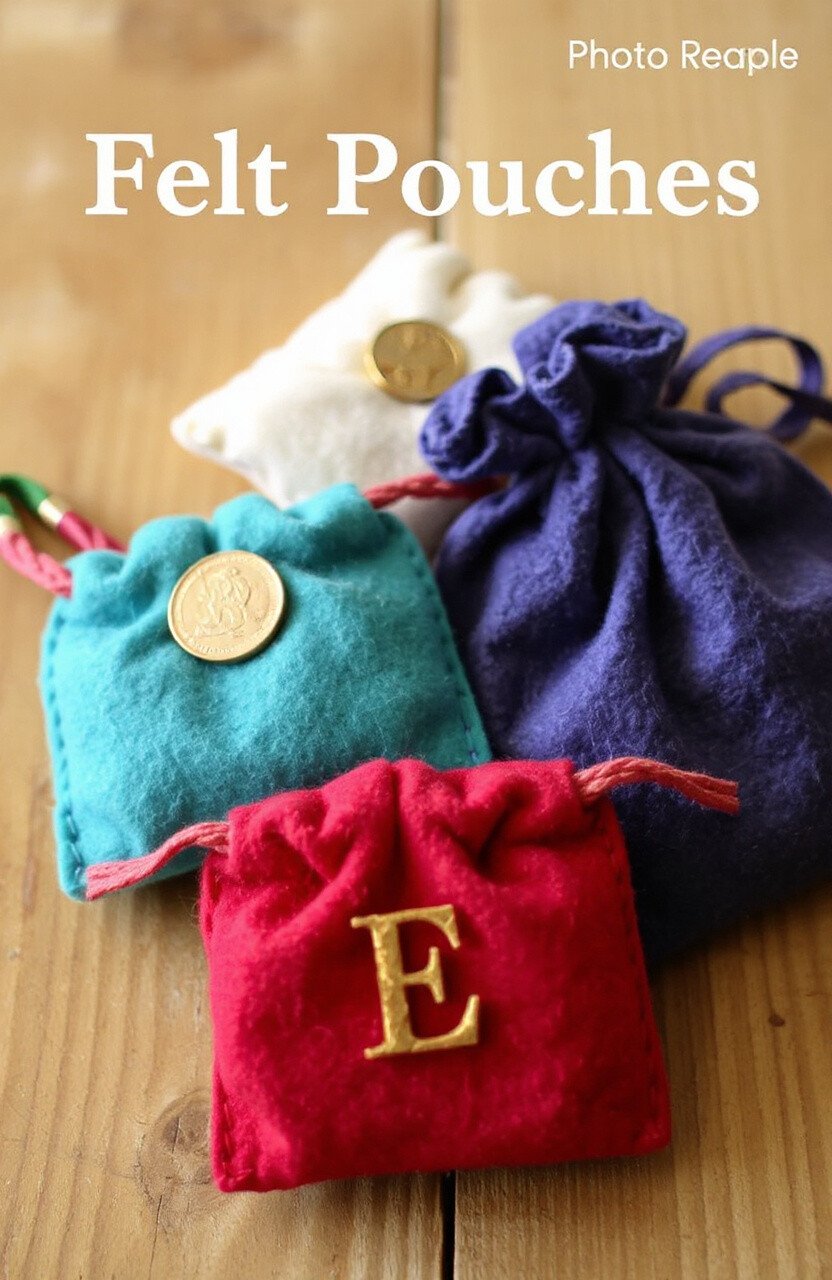
14. Felt Pouches
Top Felt Pouches Craft Tutorials
- 🧑🌾 Felt Zipper Pouch Tutorial from benziedesign.com.
- 🧑🌾 13+ Handmade Felt Pouches for Kids from chiclivingclub.com.
- 🍅 "This week's project to reach our goal of 2500 items. 25 felt … from facebook.com.
- 🖼️ DIY Felt Jewelry Pouches from liagriffith.com.
- 🖼️ Sewing Pouch Felt Embroidery Craft Kit from snugglymonkey.com.
Felt pouches are perfect for storing small treasures. Create simple or elaborate designs to hold jewelry, coins, or stationery. They’re soft, durable, and easy to make.
Customize pouches with colors, patterns, or initials. They make thoughtful gifts or handy travel companions.
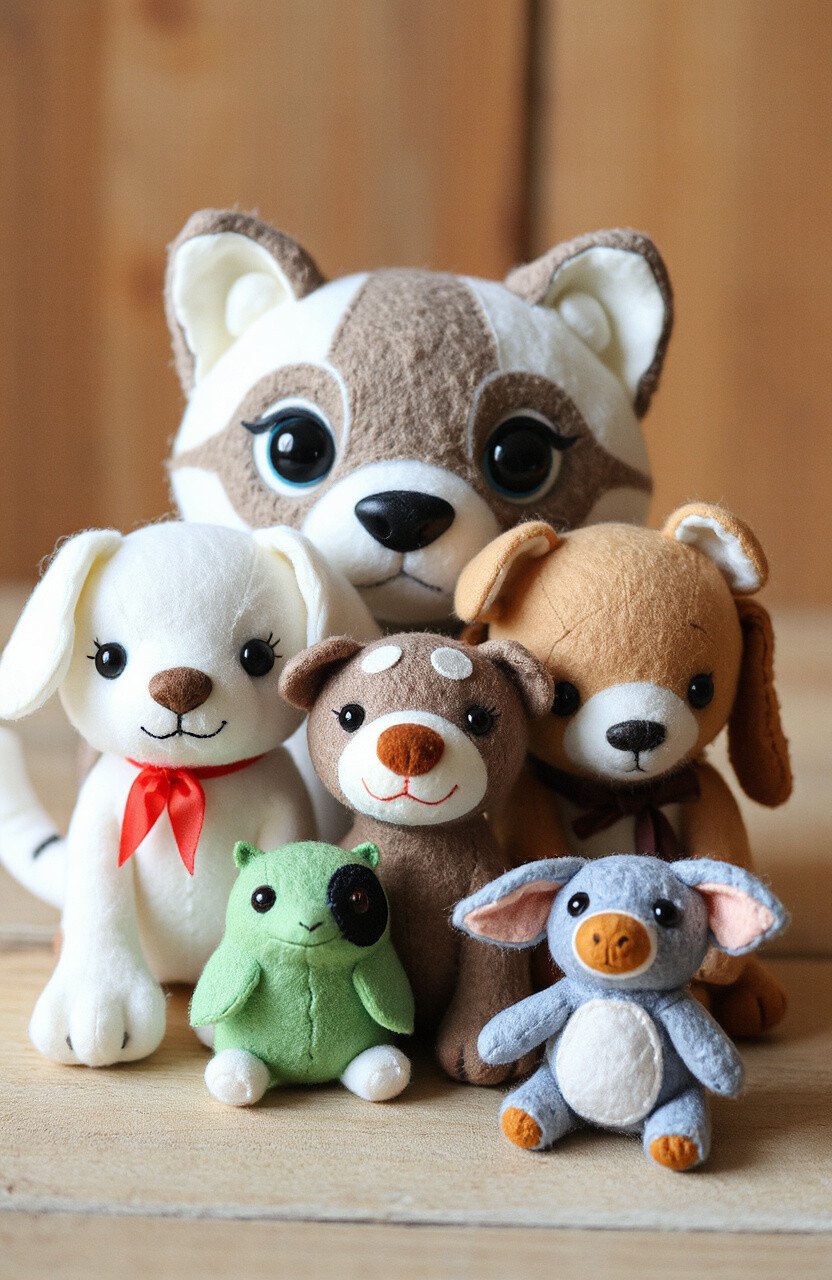
15. Felt Stuffed Animals
Top Felt Stuffed Animals Craft Tutorials
- 💅 Felt Softie Parade: Sew 15 Delightful Animals (Paperback) from asburybookcoop.org.
- 👓 Felt Softie Parade: Sew 15 Delightful Animals from books.google.com.
- 💅 How To Sew Felt Animals: 27 Ideas For Toys, Gifts & More! from sewistslab.com.
- 🍅 30+ DIY Felt Plushies from happinessishomemade.net.
- 🎨 45 Free Felt Animal Patterns from funclothcrafts.com.
Felt stuffed animals are cuddly and adorable. Create your own zoo with felt cats, dogs, bears, or any animal you can imagine. They’re perfect for kids and animal lovers alike.
These toys are a labor of love, allowing for endless creativity. Experiment with colors and details to bring each animal to life.
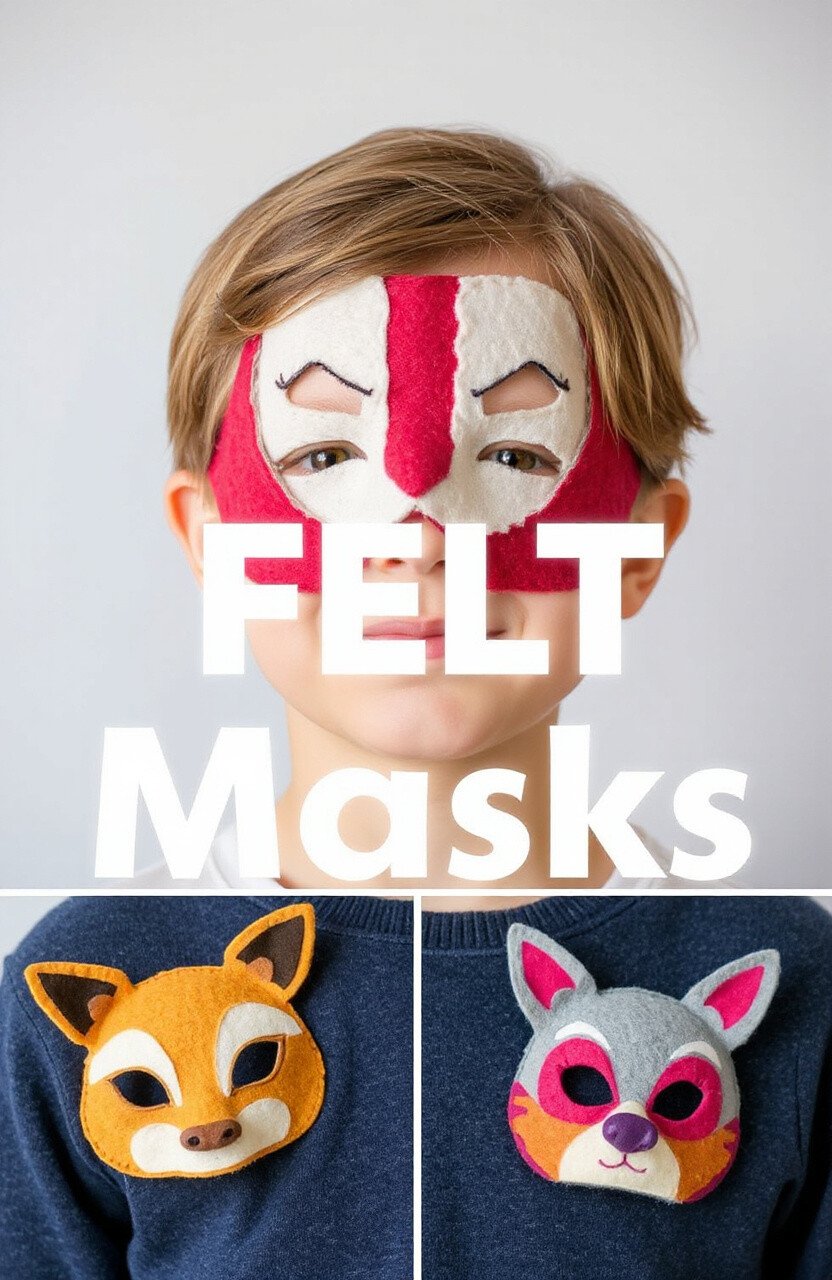
16. Felt Masks
Top Felt Masks Craft Tutorials
- 💅 16-Piece Thanksgiving Craft Kit – Felt Turkey Masks for DIY Arts … from michaels.com.
- 🖼️ 16-Piece Thanksgiving Turkey Mask Craft Kit – DIY Felt … from cannonlawsc.com.
- 👓 16PCS Thanksgiving Turkey Felt Masks Craft Kit – DIY Fall … from drkinamd.com.
- 👓 16-Pack Dinosaur Masks For Kids – Felt Party Favors With … from ravecommercial.com.
- 🖼️ 16 Packs Halloween Monster Felt Mask Craft Kit for Kids … from ebay.com.
Felt masks are fun for dress-up and parties. Create animal faces, superheroes, or fantasy creatures. They’re easy to make and comfortable to wear.
Masks can be simple or elaborate, offering a playful escape into imaginary worlds. They’re a hit at costume parties and playdates.
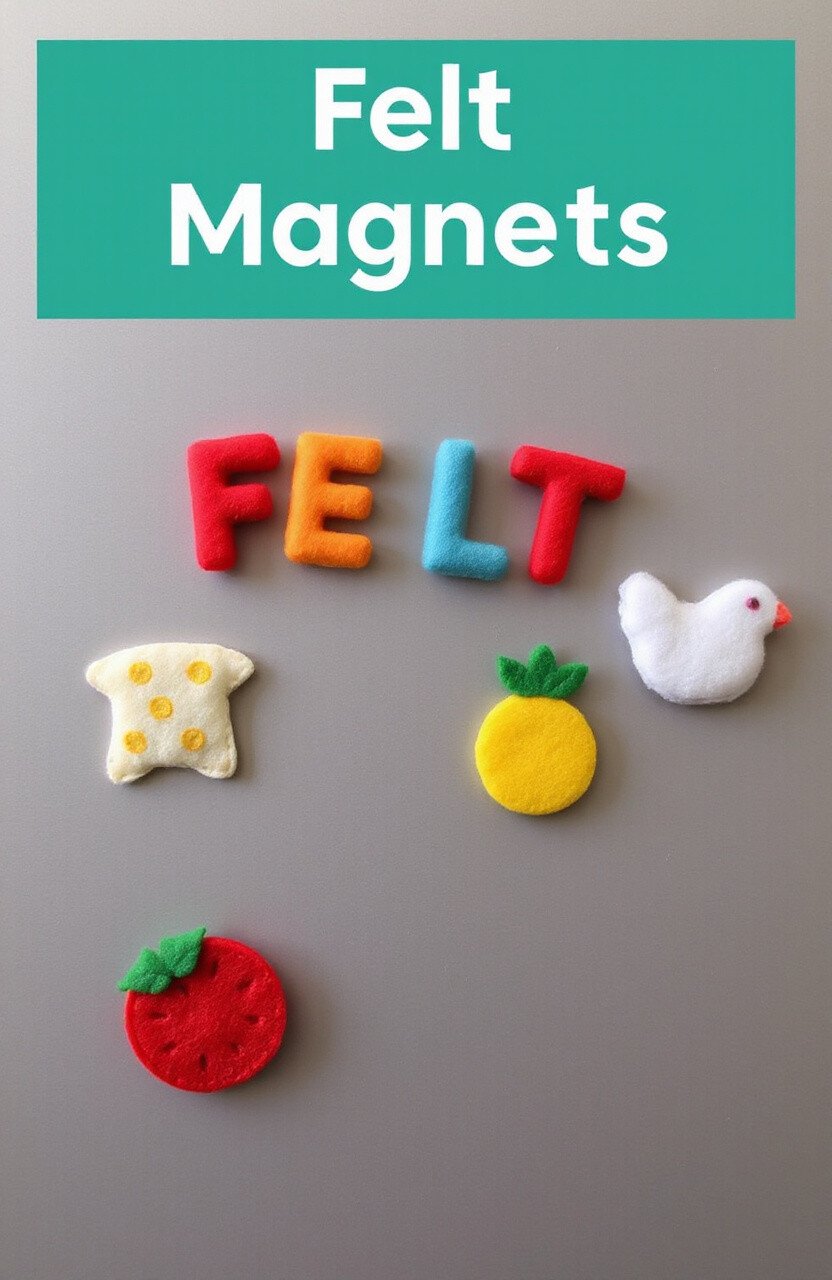
17. Felt Magnets
Top Felt Magnets Craft Tutorials
- 🖼️ Felt Magnets – #17 by bananaleg – Completed Projects from forum.lettucecraft.com.
- 🍅 Felted Bug Magnets from benziedesign.com.
- 👓 Making magnets with felted designs on craft felt from facebook.com.
- 🍁 Felt Flower Magnets : r/crafts from reddit.com.
- 🧑🌾 DIY Craft Kit – Pre-Cut Felt Memo Magnets-Dover the Dog from ebay.com.
Felt magnets add character to any fridge. Create food shapes, animals, or letters to spell out messages. They’re a fun and colorful way to keep notes or photos on display.
These magnets are quick to make and allow for endless creativity. They make great gifts or party favors.
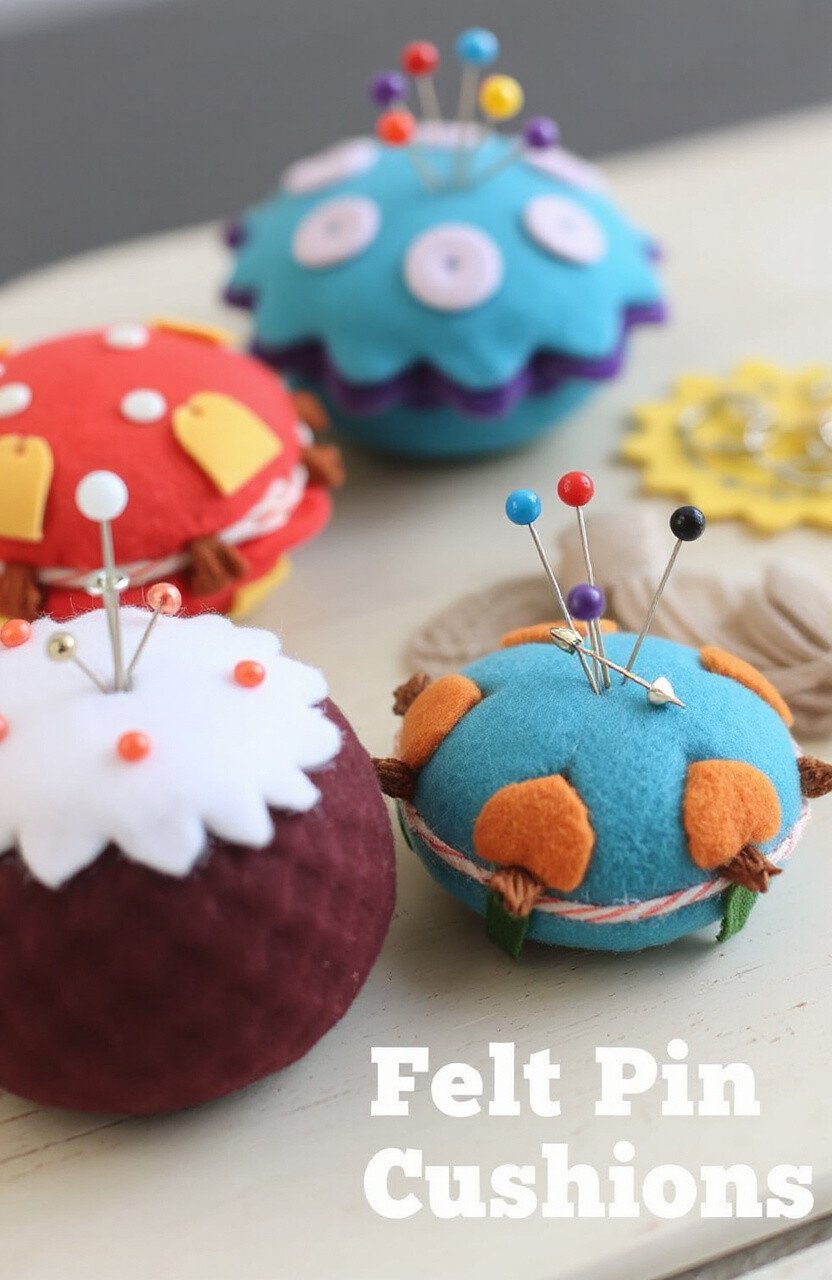
18. Felt Pin Cushions
Top Felt Pin Cushions Craft Tutorials
- 🎄 Handmade Felt Appliqué Pincushions from weallsew.com.
- 🍂 How to Make a Felt Cactus Pincushion from liagriffith.com.
- 🧑🌾 Bird Pin Cushion craft activity guide from bakerross.co.uk.
- 🧑🌾 I made a needle felted pin cushion : r/somethingimade from reddit.com.
- 🖼️ Prickly Pin Cushion DIY from acraftycomposition.com.
Felt pin cushions are a must for any sewing enthusiast. Create functional and adorable cushions in any shape or size. They’re a great way to keep your pins organized.
These cushions can be personalized with colors and patterns to match your sewing room décor. They’re practical and stylish.
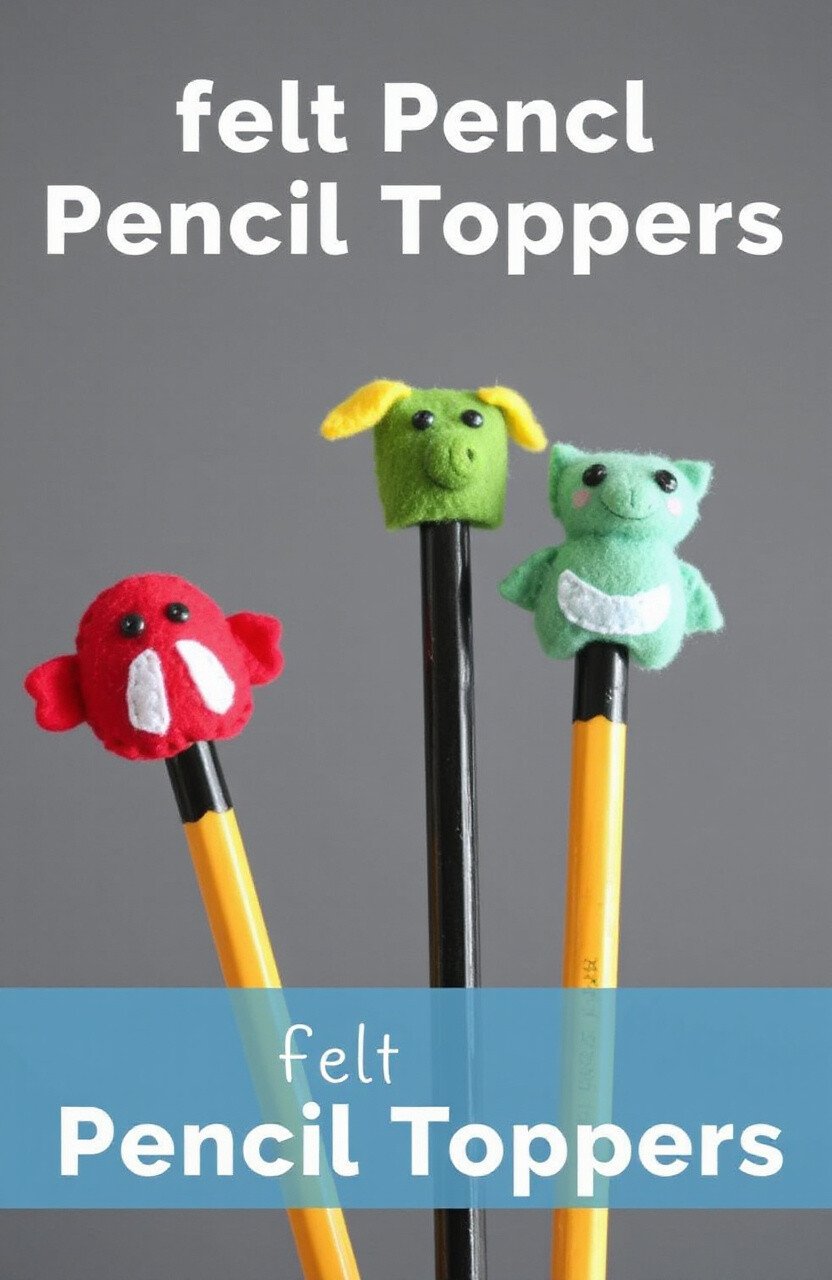
19. Felt Pencil Toppers
Top Felt Pencil Toppers Craft Tutorials
- 💅 Animal Pencil Toppers – NWF from rangerrick.org.
- 🎄 East Felt Monster Pencil Toppers for Kids from redtedart.com.
- 🎄 20 DIY Pencil Toppers for Kids to Make from artsycraftsymom.com.
- 🖼️ I made these pencil toppers for my grandkids valentines … from facebook.com.
- 🍅 Monster and Kitty Felt Pencil Toppers for Kids from liagriffith.com.
Felt pencil toppers add fun to writing and drawing. Create little characters or shapes to sit atop your pencils. They’re perfect for kids and make doing homework more enjoyable.
These toppers are easy to make and customize. They’re a great way to use up small felt scraps.
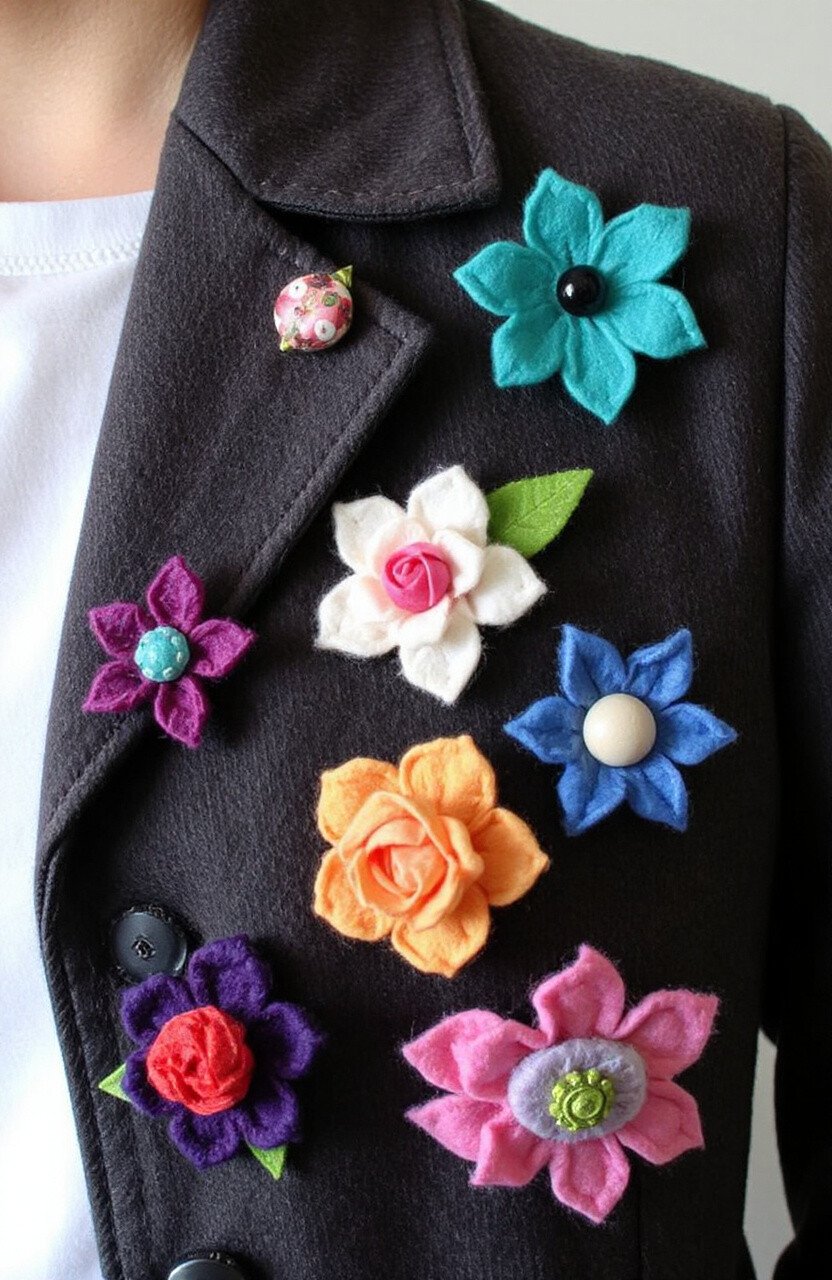
20. Felt Brooches
Top Felt Brooches Craft Tutorials
- 🍅 Twenty to Make: Felt Brooches with Free-Machine Stitching from searchpressusa.com.
- 🍂 Twenty to Make: Felt Brooches with Free-Machine Stitching from worldofbooks.com.
- 🎄 20 Felt Rose 4D Flower Brooch Applique/Christmas/Bow … from ebay.com.
- 🍅 My formula for making brooches: I take felt, add fantasy … from facebook.com.
- 💅 Hand made felt brooches : r/Embroidery from reddit.com.
Felt brooches are a stylish accessory. Create flowers, animals, or abstract designs to pin on your clothing. They’re a great way to showcase your personal style.
Brooches are quick to make and can be customized with beads or sequins. They make lovely gifts or personal fashion statements.
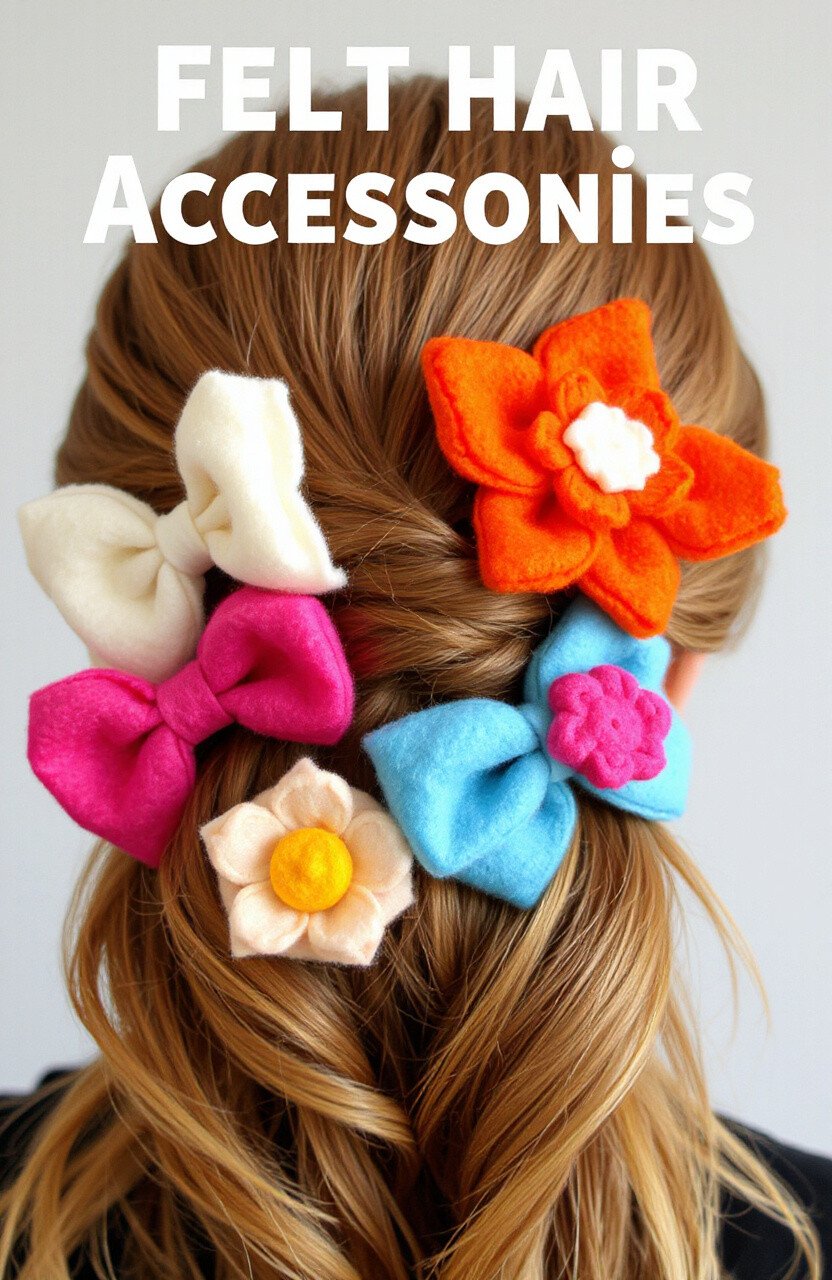
21. Felt Hair Accessories
Top Felt Hair Accessories Craft Tutorials
- 🖼️ Making cute felt hair clips with Cricut Maker 3 from facebook.com.
- 🍁 Valentine Heart Barrettes from purlsoho.com.
- 🧑🌾 Set of 21 Felt Bow Cutouts from ebay.com.
- 🧑🌾 Felt Rose Hair Pin and Boutonniere from liagriffith.com.
Felt hair accessories are playful and pretty. Create bows, flowers, or headbands for a pop of color in your hair. They’re perfect for parties or everyday wear.
These accessories are easy to make and allow for endless creativity. Mix and match colors to suit any outfit.
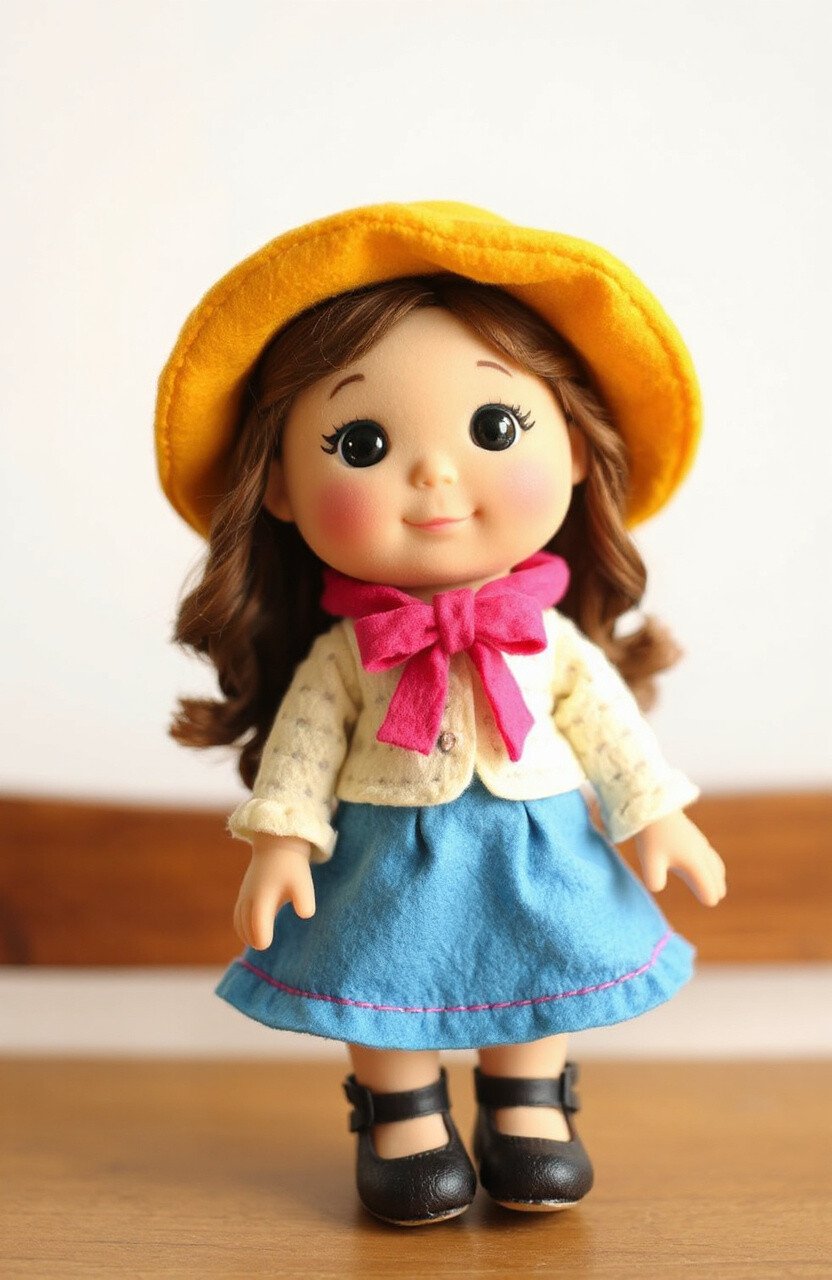
22. Felt Doll Clothes
Top Felt Doll Clothes Craft Tutorials
- 🧑🌾 Felt Doll Clothes Patterns – No Sew from knoll22.com.
- 🎄 Felt Paper Doll Tutorial + Pattern from thecraftpatchblog.com.
- 🍁 Creating doll clothes is SUPER EASY with felt. from facebook.com.
- 🎨 Doll pattern making process : r/Amigurumi from reddit.com.
- 🖼️ Farm House Crafts 22" Cloth Grandma Doll & … from ebay.com.
Felt doll clothes are perfect for imaginative play. Create outfits for dolls or stuffed animals in any style. They’re easy to sew and can be as fancy or simple as you like.
These clothes allow for creativity and customization. They’re a great way to give old toys a new look.
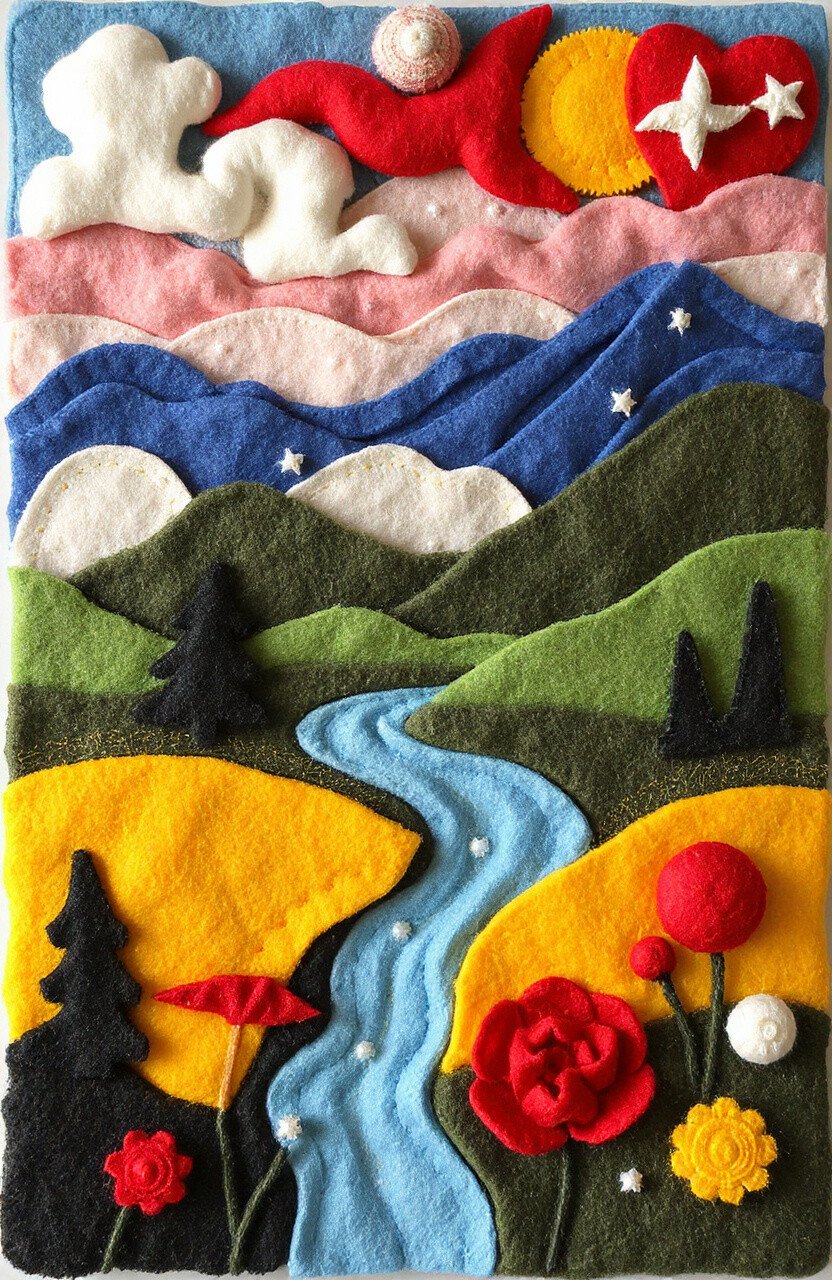
23. Felt Wall Art
Top Felt Wall Art Craft Tutorials
- 🍂 University Of Kentucky Rico Color Me Felt Wall Art 23×23 … from ebay.com.
- 🎨 Large Felt Board Tutorial from athomewithnatalie.com.
- 🎨 Storyboard set ideas for large felt wall from facebook.com.
- 🍂 r/crafts – Tried something new and painted the felt for the … from reddit.com.
- 🎨 23 Awesome Felt Craft Kits for Adults from colorfulcraftcorner.com.
Felt wall art is a bold and beautiful way to decorate your space. Create landscapes, abstract designs, or portraits to hang on your walls. The soft texture and vibrant colors make a striking statement.
This type of art is unique and customizable. It’s a great way to showcase your creativity and personal taste.
24. Felt Gift Wrap

Top Felt Gift Wrap Craft Tutorials
- 🍁 33 DIY Gift Wrap Ideas for the Holidays – from papernstitchblog.com.
- 🗺️ Gifts wrapped with kraft paper, felt bows, and a lotta love from paperandhoney.com.
- 🍁 Gift card holder made from felt and ribbon from facebook.com.
- 🧑🌾 FuWeave 24 Sets Christmas Felt Craft Kits – DIY Winter … from team91national.com.
- 🍂 Our New Summer Fruit Printable Gift Wrap from liagriffith.com.
Felt gift wrap is a luxurious and reusable alternative to paper. Wrap gifts with felt sheets and embellish with ribbons or appliqués. It’s an eco-friendly and elegant way to present your gifts.
Personalize gift wrap with colors and designs to suit any occasion. It’s a thoughtful touch that recipients will appreciate.
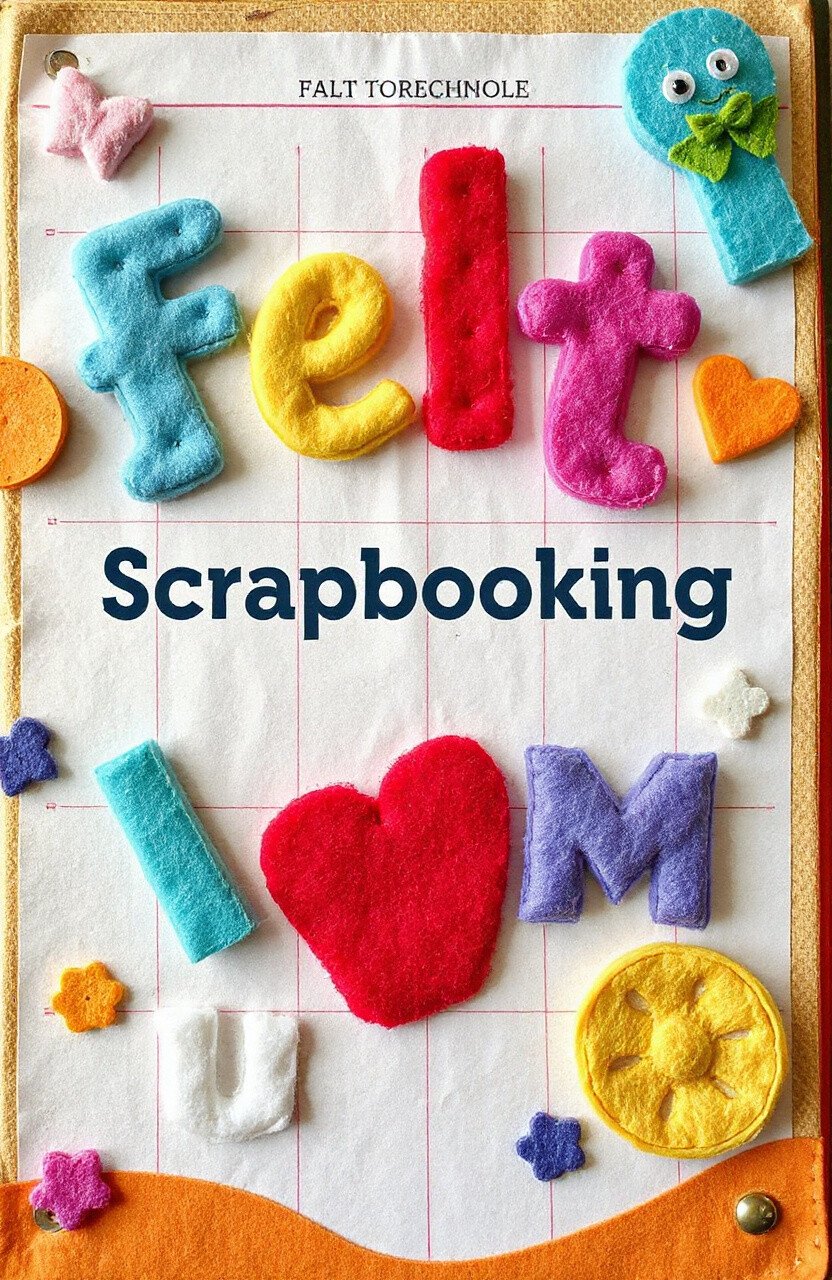
25. Felt Scrapbooking
Top Felt Scrapbooking Craft Tutorials
- 👓 100Pieces 25mm Round Felt Circles for DIY Craft … from amazon.ca.
- 🎨 100pcs 15/20/25/30mm Round Sheet Non-Woven Felt … from aliexpress.com.
- 🖼️ Sponge Felt Embellishments, Mushroom Shape, DIY Craft … from emart.us.com.
- 🎨 Felt Scrapbooking Cardstock for sale from ebay.com.
- 🧑🌾 Scrapbooking Embellishments in Scrapbooking(1000+) from walmart.com.
Felt scrapbooking adds texture and color to your memory books. Use felt shapes and letters to enhance your scrapbook pages. It’s a creative way to preserve memories with a tactile element.
Scrapbooking with felt allows for creativity and personalization. It’s a fun way to tell your story with fabric and photos.