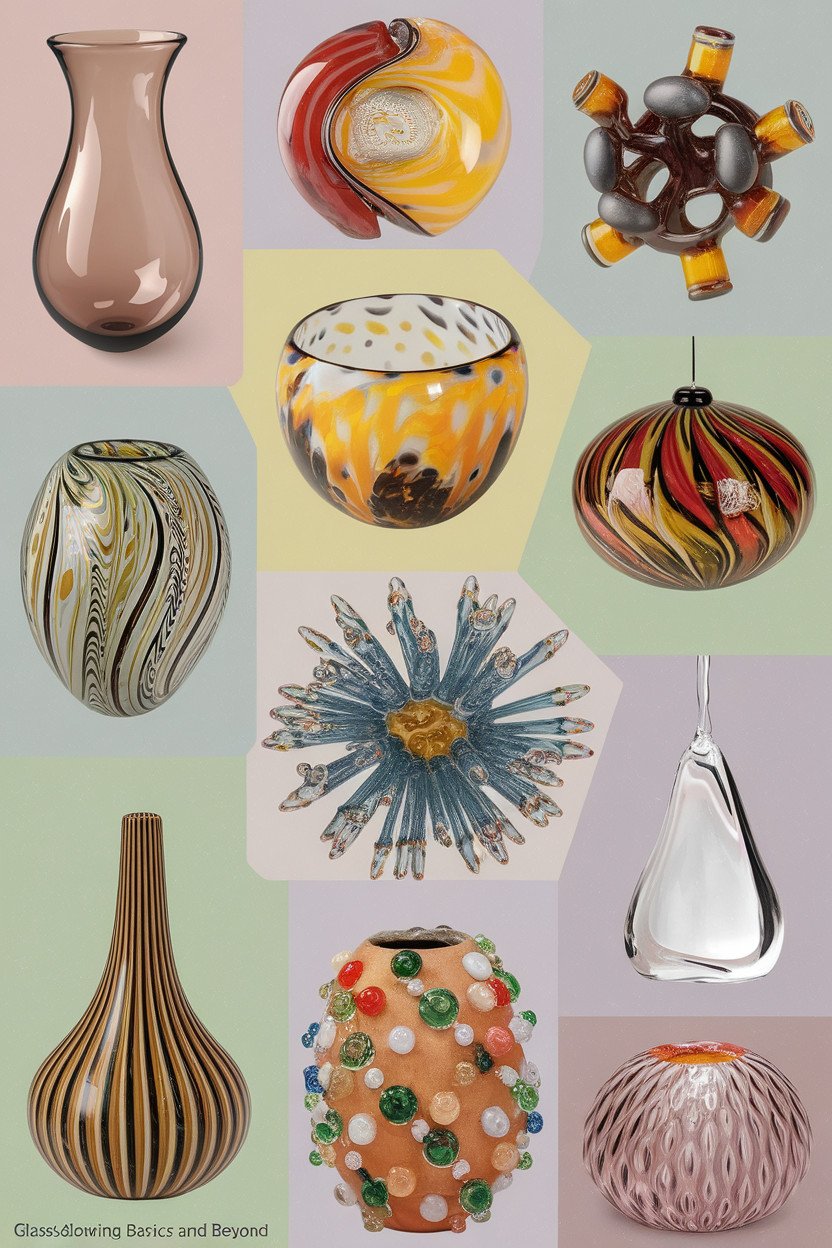
Welcome to the world of glassblowing! Whether you’re a beginner or looking to enhance your glassblowing skills, this comprehensive guide will provide you with the essential knowledge and techniques to create stunning glass art pieces. Glassblowing is an ancient art that requires patience, precision, and creativity. By understanding the basics and mastering the techniques, you can turn molten glass into beautiful works of art.
In this article, you will learn about the glassblowing process, essential equipment, safety precautions, basic and advanced techniques, glass types and compatibility, color application, troubleshooting, different styles and decorative techniques, annealing, equipment maintenance, finding classes and workshops, and showcasing your creations. By the end of this guide, you will have a solid foundation in glassblowing and the inspiration to explore and expand your skills.
Key Takeaways:
- Glassblowing is an ancient art that requires patience, precision, and creativity.
- By mastering the basics and techniques, you can turn molten glass into beautiful works of art.
- This guide will cover the glassblowing process, essential equipment, safety precautions, basic and advanced techniques, glass types and compatibility, color application, troubleshooting, different styles and decorative techniques, annealing, equipment maintenance, finding classes and workshops, and showcasing your creations.
- By the end of this guide, you will have a solid foundation in glassblowing and the inspiration to explore and expand your skills.
- Let’s dive into the world of glassblowing and unveil the basics and beyond!
Understanding the Glassblowing Process
Before you can start creating beautiful glass art, it’s essential to understand the glassblowing process. Here’s a breakdown of the steps involved:
- Gathering: The first step is to gather molten glass on the end of your blowpipe. This process involves dipping the end of the blowpipe into the furnace, where the intense heat melts the glass. The glass is then gathered onto the end of the pipe.
- Shaping: Once you have gathered enough glass, it’s time to start shaping it. This is done by rolling the pipe on a marver, which is a flat metal surface. Different tools are used to shape the glass into the desired form.
- Blowing: Once the glass is shaped, it’s time to blow air into it. This is done by placing your mouth on the end of the blowpipe and blowing gently. The air expands the glass, allowing you to create larger forms.
- Annealing: After the glass has been shaped and blown, it needs to be annealed. This is a process of slowly cooling the glass to room temperature to release any internal stresses and ensure its durability.
Mastering the glassblowing process takes time and practice, but with dedication and the right techniques, you can create stunning works of art.
Tools and Techniques
The glassblowing process involves a variety of tools and techniques. Here are some of the most commonly used:
| Tool | Purpose |
|---|---|
| Blowpipe | Used to gather molten glass and blow air into the glass. |
| Punties | Used to hold and shape the glass while it’s being worked on. |
| Marver | A flat metal surface used to shape and cool the glass. |
| Jacks | Used to shape the glass and create specific forms. |
| Shears | Used to cut and shape the glass. |
| Kiln | Used to anneal the glass. |
Each tool serves a specific purpose, and using them correctly is essential for creating high-quality glass art.
Tips for Successful Glassblowing
Here are some tips to help you make the most of your glassblowing practice:
- Work in a well-ventilated area to prevent inhaling harmful fumes.
- Wear protective eyewear to shield your eyes from flying debris.
- Keep your tools clean and well-maintained to ensure consistent quality.
- Take breaks often to prevent exhaustion and maintain focus.
- Practice basic techniques before moving on to more advanced ones.
By following these tips and mastering the glassblowing process, you can create beautiful and unique works of art that showcase your skills and creativity.
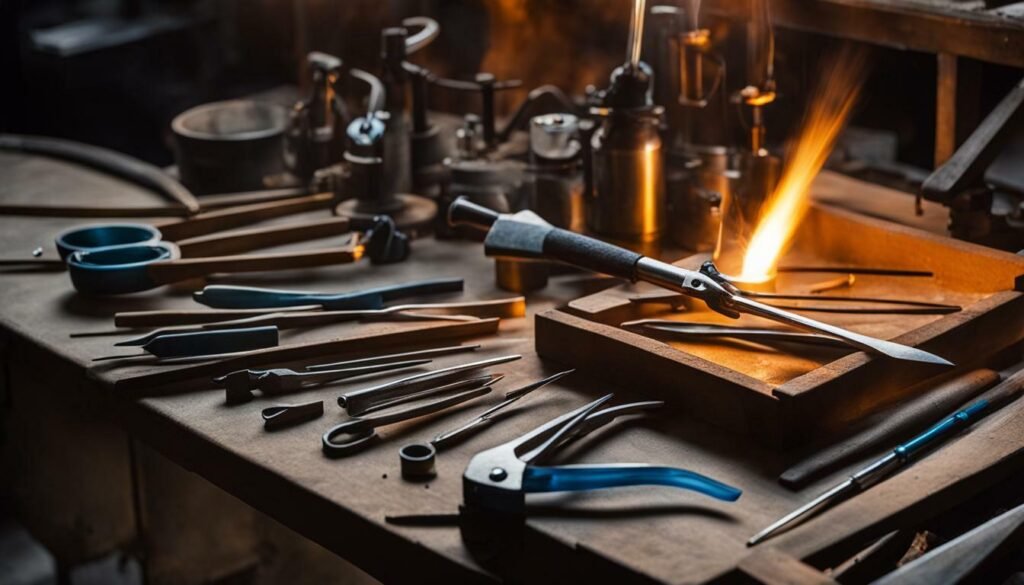
Before you delve into the intricate world of glassblowing, it’s important to familiarize yourself with the essential equipment and supplies needed. Here is your complete guide to glassblowing equipment and supplies:
- Blowpipe: A long metal pipe used to shape and blow glass.
- Punties: A second iron rod used to hold and shape the glass while the blowpipe is used for blowing.
- Goggles: Protective eyewear to safeguard against broken glass, hot glass, and glass dust.
- Kiln: An oven used to heat the glass to high temperatures for shaping and annealing.
- Tweezers and Pliers: Used to manipulate hot glass and add details to creations.
- Marver: A flat surface used to shape and cool glass.
- Hand Torch: A small torch used to add details and shapes to glass, often used for borosilicate glass.
- Shears: Cutting tool used to cut glass, making it easier to handle.
- Glass Cutter: Used for scoring glass before breaking it into desired size.
When selecting equipment, consider factors like your skill level, the type of glassblowing you plan to do, and your budget. Be sure to choose high-quality equipment that suits your specific needs.
It’s important to take proper care of your glassblowing equipment to ensure it lasts for years to come. Store your equipment in a dry and clean space, and clean them regularly after each use. This will help prevent rust buildup and damage to the equipment.
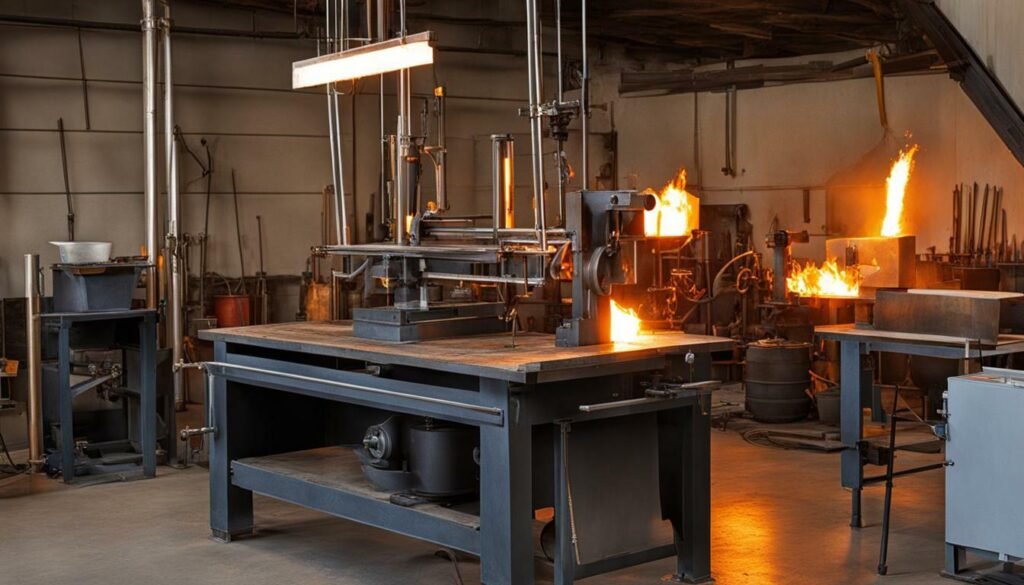
With these essential glassblowing tools and equipment in your arsenal, you’re ready to create stunning glass art pieces!
Safety Precautions in Glassblowing
When working with hot glass, it’s crucial to prioritize safety. Here are some essential safety precautions to follow when engaging in glassblowing:
- Wear protective clothing, such as long sleeves and pants made of non-flammable material, as well as closed-toe shoes.
- Wear protective eyewear to shield your eyes from flying glass shards or debris, as well as high-intensity light from flame or kiln.
- Ensure proper ventilation in your workspace by opening doors and windows or using a fan. This will help to prevent inhalation of harmful vapors released during the glassblowing process.
- Handle hot glass with caution by using tools like tweezers or gloves to prevent burns or cuts. Do not touch the glass with your bare hands.
- Keep your workspace clean and tidy to avoid accidents and tripping hazards.
- Never leave your equipment unattended while it’s turned on or hot.
By following these safety precautions, you can ensure a safe and enjoyable glassblowing experience.
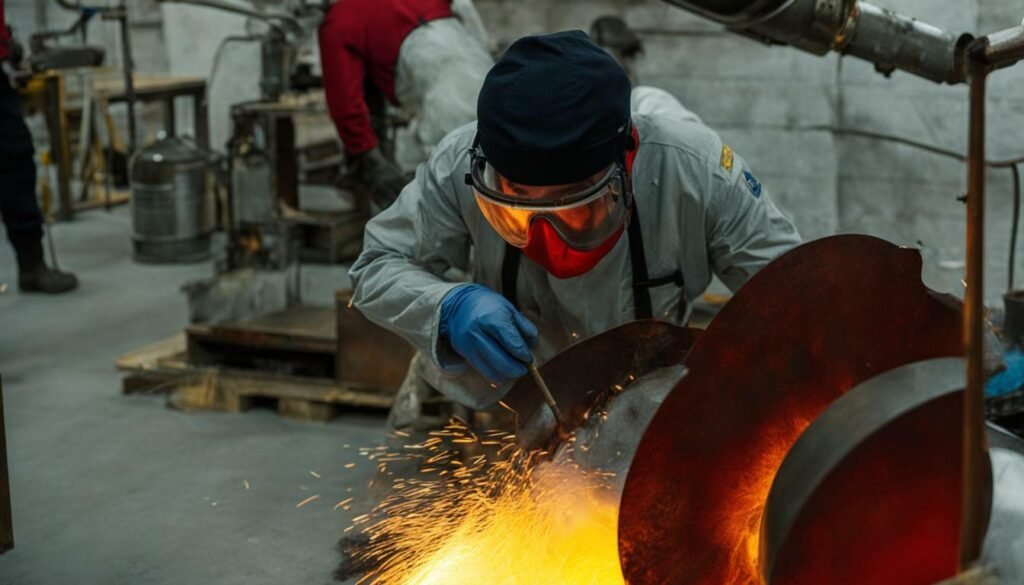
Now that you’re equipped with the knowledge of essential safety precautions, it’s time to start exploring the world of glassblowing techniques. Remember to always prioritize safety and follow the guidelines to ensure a successful and enjoyable experience.
Getting Started with Basic Glassblowing Techniques
Are you ready to dive into the world of glassblowing? Let’s start with the basics. These techniques will provide the foundation for more complex projects.
1. Gathering Molten Glass
The first step in glassblowing is to gather molten glass on the end of a blowpipe. Dip the blowpipe into the furnace and rotate it to gather the molten glass. Keep turning the pipe to ensure an even coating of glass on the end of the blowpipe.
2. Blowing into the Blowpipe
Once the glass is gathered, it’s time to blow into the blowpipe to create a bubble. Seal your lips tightly around the mouthpiece and blow gently to create a small bubble. Continue to blow and shape the bubble until it reaches the desired size.
3. Shaping Glass with Tools
Use various tools to shape the glass, such as jacks, shears, and paddles. Jax are used to create a constriction in the glass, while shears are used to cut and shape the glass. Paddles can be used to flatten and shape the surface of the glass. Be gentle and precise to achieve the desired shape.
4. Creating Simple Forms
Now that you have gathered the molten glass, blown a bubble, and shaped it with tools, it’s time to create simple forms. Some examples of simple forms are paperweights, spheres, and cylinders. Mastering these forms will set you on the path to creating more complex glass art.
Remember, practice makes perfect. These techniques may take time to master, but with patience and perseverance, you’ll be creating beautiful glass art in no time!
- Gather molten glass on a blowpipe
- Create a bubble by blowing into the blowpipe
- Shape the glass with jacks, shears, and paddles
- Create simple forms like paperweights and spheres
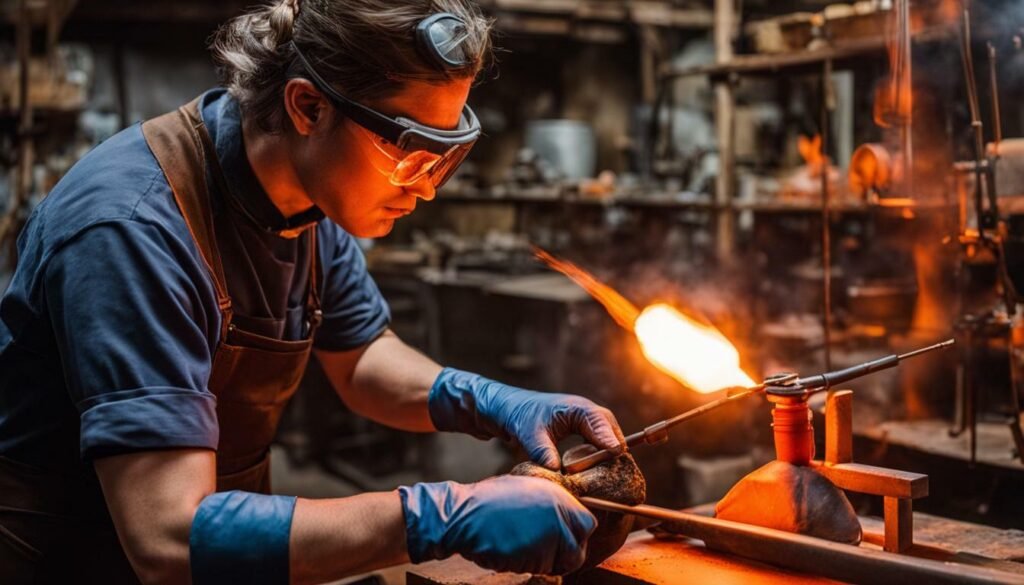
Now that you have mastered the basic techniques of glassblowing, it’s time to explore more advanced methods to take your skills to the next level. Here are some techniques to expand your expertise:
- Optic Molding: This technique involves creating unique textures and patterns within the glass by using molds with intricate patterns.
- Cane Pulling: Cane pulling is a process of stretching and twisting molten glass into thin, multicolored rods that can be used to create intricate designs and patterns.
- Intricate Glass Manipulations: A technique that involves manipulating the glass while it’s still hot to create intricate shapes and patterns, such as flowers and animals.
It’s important to note that these advanced techniques require a strong foundation of the basic techniques and a lot of practice. Don’t be discouraged if it takes time to perfect these advanced techniques. Use your creativity and patience to produce unique and beautiful glass pieces.
Optic Molding
Optic molding is a technique that involves creating patterns or textures within the glass by using molds with intricate designs. These molds can be purchased or created with an engraving tool. Once you have your desired design, you will need to prepare the glass by gathering it onto the blowpipe and heating it until it’s molten.
Next, you’ll use the mold to shape the glass while it’s still hot. You can create beautiful designs by using a combination of different molds and colors. Optic molding is a challenging technique that requires practice, but the results can be stunning.
Cane Pulling
Cane pulling is a technique that involves stretching and twisting molten glass into thin, multicolored rods. These rods can be used to create intricate designs and patterns within the glass.
To pull canes, you’ll need to gather glass on a blowpipe and add different colors of molten glass to the surface. Once you have your desired colors, you’ll stretch the glass while it’s hot until it forms long, thin rods. You can then use these rods to create intricate designs within the glass.
Intricate Glass Manipulations
Intricate glass manipulations involve manipulating the glass while it’s still hot to create intricate shapes and patterns, such as flowers and animals. This technique requires a lot of skill and patience but can produce stunning results.
To create intricate glass manipulations, you’ll need to gather glass on a blowpipe and shape it into the desired form while it’s still hot. This technique requires a lot of practice and patience, but with time, you can create beautiful glass art pieces that are both intricate and unique.
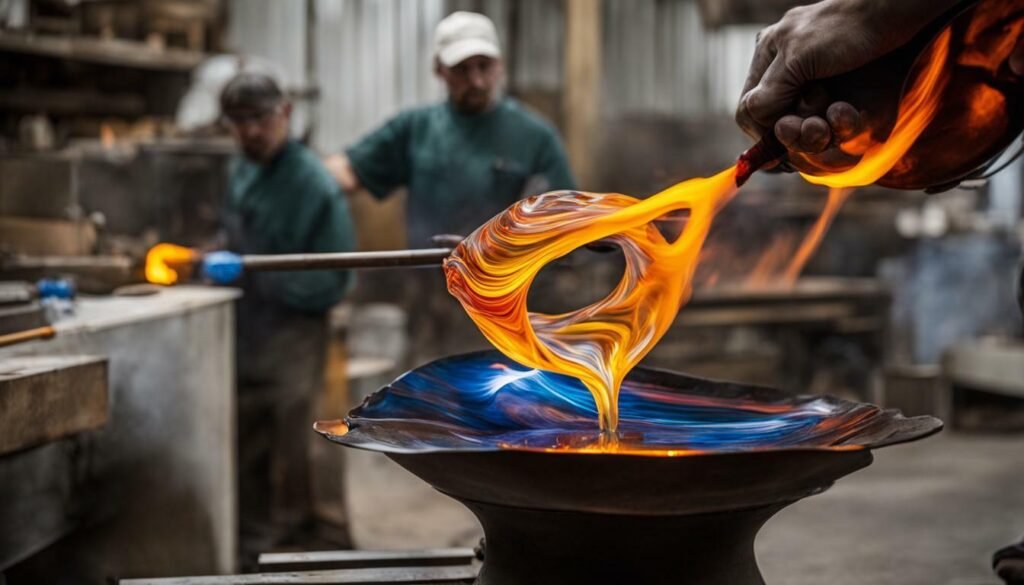
As a glassblower, it’s important to understand the different types of glass and their compatibility in the glassblowing process. The two most commonly used types of glass in glassblowing are borosilicate glass and soda-lime glass.
Borosilicate glass is a type of glass that contains boron trioxide, which makes it more resistant to thermal shock than soda-lime glass. It is also more durable and less prone to cracking during the glassblowing process. Borosilicate glass is commonly used to create laboratory glassware and scientific instruments.
Soda-lime glass, on the other hand, is a type of glass that is composed of silica, soda, and lime. It is less expensive than borosilicate glass and is commonly used to create glassware such as bottles, jars, and windows. While soda-lime glass is not as durable as borosilicate glass, it is easier to work with and has a wider range of colors available.
Glass Compatibility
When working with glass, it’s important to know which glass types are compatible with each other. Mixing incompatible glasses can result in stress fractures, cracking, and other issues that can compromise the integrity of your glass art.
- Borosilicate glass is compatible with other borosilicate glasses and some types of soda-lime glass.
- Soda-lime glass is not compatible with borosilicate glass, but is compatible with other types of soda-lime glass.
Compatibility Testing
If you’re unsure whether two types of glass are compatible, it’s important to perform a compatibility test first. To do this, fuse a small piece of each glass type together and anneal the resulting piece. If the piece holds up to the annealing process without cracking or shattering, the glasses are likely compatible.
Understanding the properties of different types of glass and their compatibility is essential to successful glassblowing. Whether you’re a beginner or an experienced glass artist, taking the time to learn about glass types and compatibility will help you create beautiful and durable glass art pieces.
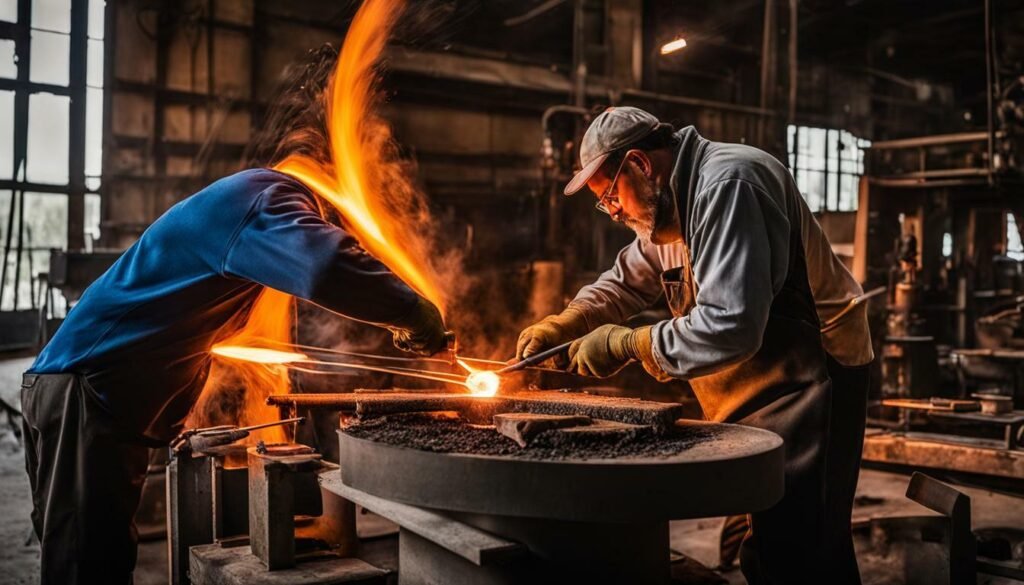
Color is a crucial element in glassblowing, as it adds personality, emotion, and a unique touch to your creations. Here are some essential tips and techniques to create striking, colorful glass art:
- Experiment with different color application techniques, such as frits, powders, and rods. Each technique provides a different effect, so try a variety to find your preferred method.
- Consider the compatibility of glass types when choosing colors, as certain colors may not work well together. Familiarize yourself with glass types and their properties to ensure compatibility.
- Think about the contrast and harmony of your color choices. Complimentary colors can enhance each other, while contrasting colors can create a bold statement.
- Pay attention to the amount of color you use in your creations. Too much color can overwhelm the piece, while too little may not have enough impact. Find a balance that suits the overall design of your creation.
- Take inspiration from other glassblowers and artists. Observe their techniques and color choices, and incorporate them into your own style.
Remember that color is subjective, and there are no right or wrong choices in glassblowing. Allow yourself to experiment, take risks, and have fun with color in your art.
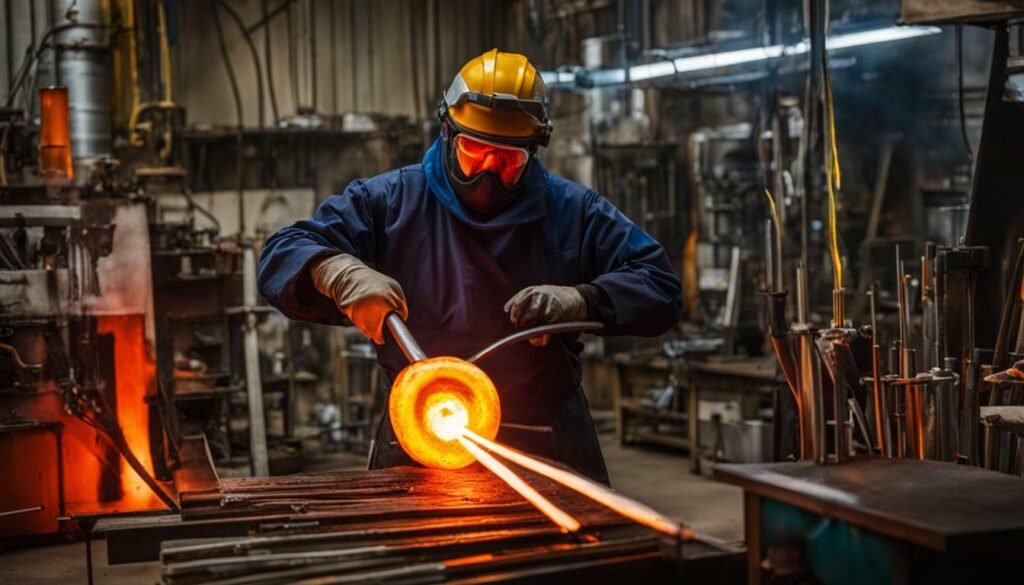
Glassblowing is an art form that requires practice, patience, and precision. While it’s a rewarding experience, it’s not without its challenges. Here are some common issues that you may encounter when working with glass and how to troubleshoot them.
- Glass cracking: Often caused by sudden temperature changes or uneven heating. To prevent glass from cracking, heat it evenly and gradually, and avoid cooling it too quickly.
- Uneven heating: Can occur when the torch flame is too close to the glass or when the glass is not rotated evenly. To ensure even heating, maintain a safe distance between the flame and glass and rotate the glass continuously.
- Misshapen forms: Can be caused by improper shaping techniques, uneven heating, or air bubbles getting trapped in the glass. To avoid misshapen forms, practice proper shaping techniques, heat the glass evenly, and eliminate air bubbles by tapping the glass gently with a tool.
If you encounter any of these issues, don’t get discouraged. Glassblowing is a process of trial and error, and with practice, you’ll develop a better understanding of the techniques and tools involved.
In addition to these common challenges, glassblowing also involves some safety risks. Be sure to follow the necessary precautions, such as wearing protective eyewear and handling hot glass with care. Be aware of your surroundings and use proper ventilation to avoid inhaling harmful fumes.
Lastly, don’t hesitate to seek assistance from experienced glassblowers or take a class to improve your skills. With patience, persistence, and a willingness to learn, you’ll be able to overcome any challenges that come your way in your glassblowing practice.

- Heat glass evenly and gradually
- Rotate glass continuously
- Maintain a safe distance between the flame and glass
- Eliminate air bubbles by tapping gently
- Wear protective eyewear
- Use proper ventilation
- Seek assistance from experienced glassblowers
- Take a class to improve your skills
Exploring Different Glassblowing Styles
There are numerous styles of glassblowing that you can explore to create unique and captivating glass art. Each style has distinct characteristics and techniques that make them stand out. Here are some of the most popular styles:
- Venetian Glassblowing: This style originated in Venice, Italy, and is known for its intricate detail work and use of colorful glass. Venetian glassblowers utilize techniques such as filigrana, incalmo, and avventurina to create their exquisite creations.
- Contemporary Glassblowing: This style focuses on pushing the boundaries of traditional glassblowing techniques to create innovative and modern designs. Contemporary glass artists experiment with different forms, textures, and colors to create one-of-a-kind pieces.
- Studio Glass: This style emerged in the United States in the 1960s and emphasizes the artist’s role in the creative process. Studio glass artists create unique, handmade pieces that showcase their individual style and creativity.
- Swedish Glass: This style is characterized by its clean lines and minimalist design. Swedish glassblowers use a technique called graal, which involves the layering of colored glass to create intricate patterns and designs.
Exploring different glassblowing styles can help you find your unique voice and style in glass art. Don’t be afraid to experiment and try new techniques to create pieces that are true to your artistic vision.
Traditional Venetian Glassblowing Techniques
Venetian glassblowing is one of the most intricate and detailed styles of glassblowing. Here are some traditional techniques used in Venetian glassblowing:
- Filigrana: This technique involves the use of thin glass canes to create intricate patterns and designs.
- Incalmo: Incalmo is the process of fusing different colored glass pieces together to create a seamless, multicolored piece.
- Avventurina: This technique involves the use of metal particles to create a glittery, metallic effect in the glass.
Mastering these traditional techniques can take time and practice, but they can add intricacy and detail to your glassblowing pieces.
Contemporary Glassblowing Techniques
Contemporary glassblowing is all about experimentation and pushing the boundaries of traditional techniques. Here are some techniques used in contemporary glassblowing:
- Kiln Casting: This technique involves melting glass in a kiln and casting it into a mold to create unique shapes and forms.
- Pate de Verre: Pate de verre involves the use of a paste made from crushed glass and binders to create intricate, delicate pieces.
- Flameworking: Flameworking involves using a torch to melt and manipulate glass rods to create intricate designs and forms.
Contemporary glassblowing techniques can be used to create unique and innovative pieces that showcase your individual style and creativity.
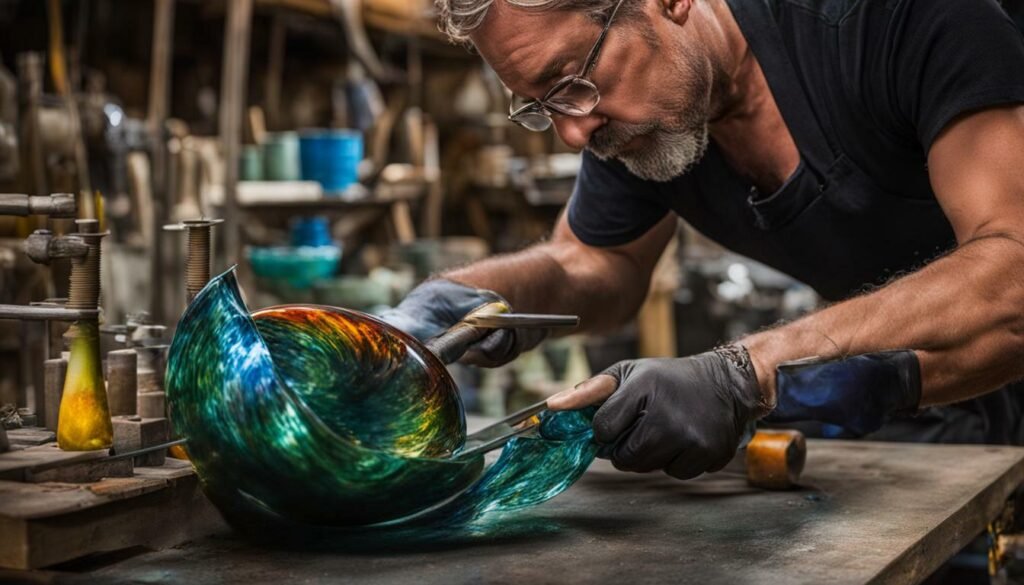
Enhance the beauty of your glass art with decorative techniques that add texture, interest, and complexity to your creations.
Murrine
Murrine is a decorative technique that involves creating intricate patterns and designs in glass. To create murrine, glass rods of different colors are fused together and then sliced crosswise to reveal the pattern. Murrine can be incorporated into a piece by fusing it to the surface of the glass, or it can be melted into the glass during the blowing process.
Glass Cane
Glass cane is a decorative technique that involves pulling and stretching glass rods into long, thin strands that can be twisted, bent, or woven together to create intricate designs. Glass cane can be used to add stripes, spirals, or other patterns to a piece, or it can be used as a structural element in the piece itself.
Glass Frit
Glass frit is a form of crushed or powdered glass that can be applied to a piece in a variety of ways. Frit can be sprinkled onto the surface of a piece and melted into the glass during the blowing process, or it can be used to create intricate designs by layering it onto the surface of the glass in specific patterns.
- Other decorative techniques in glassblowing include:
- Air trapping – creating pockets of air within the glass to create unique patterns and textures
- Inciso – cutting into the surface of the glass to create intricate designs or patterns
- Engraving – carving designs or images into the surface of the glass with a variety of tools
Experiment with these and other decorative techniques to add depth and interest to your glass art.
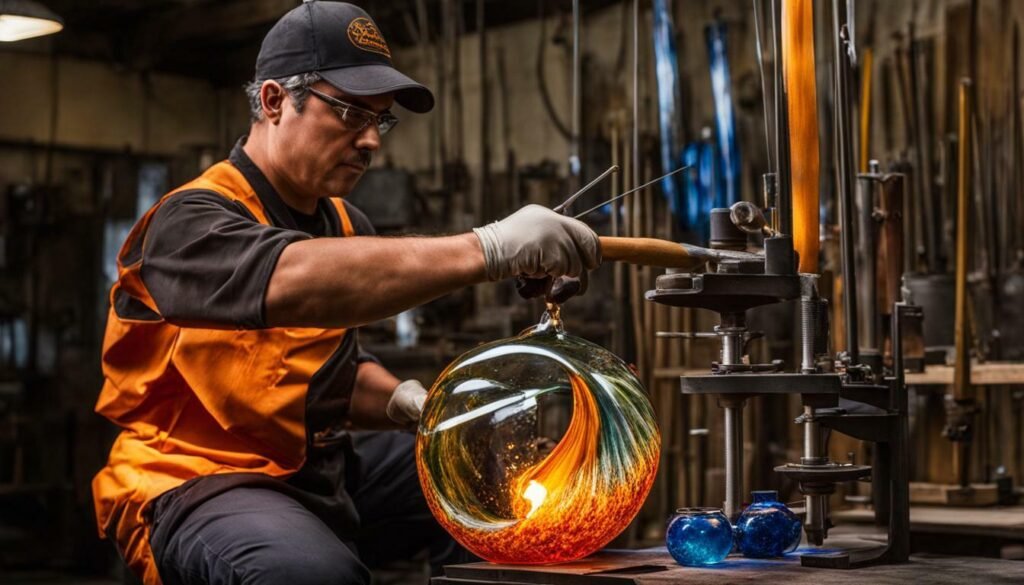
After putting in all the hard work to create your glass art, the last thing you want is for it to break or shatter due to internal stresses in the glass. This is where annealing comes in – it is an essential step that helps to ensure the durability of your finished piece.
During the glassblowing process, the high temperatures and rapid cooling can cause internal stresses to build up in the glass. These stresses can cause the glass to crack or break over time, even after the piece has been finished and cooled. Annealing is the process of slowly cooling the glass to release these stresses and to ensure that the glass maintains its integrity over time.
Typically, annealing involves placing the glass object in a kiln and gradually reducing the temperature over several hours or even days. The length of the annealing process depends on the thickness and shape of the glass, as well as the type of glass being used. Once the glass has been fully annealed, it will be much more resistant to internal stress and much more durable overall.
- Annealing is a critical step in ensuring the longevity and safety of your glass art.
- Without proper annealing, your glass art can be prone to cracking or breaking due to the buildup of internal stresses.
- The process of annealing typically involves slowly cooling the glass in a kiln over several hours or even days.
- The length of the annealing process will depend on factors such as the thickness and shape of the glass and the type of glass being used.
Don’t neglect the importance of annealing in your glassblowing practice. Take the time to properly anneal your glass art and ensure that it remains durable and beautiful for years to come.
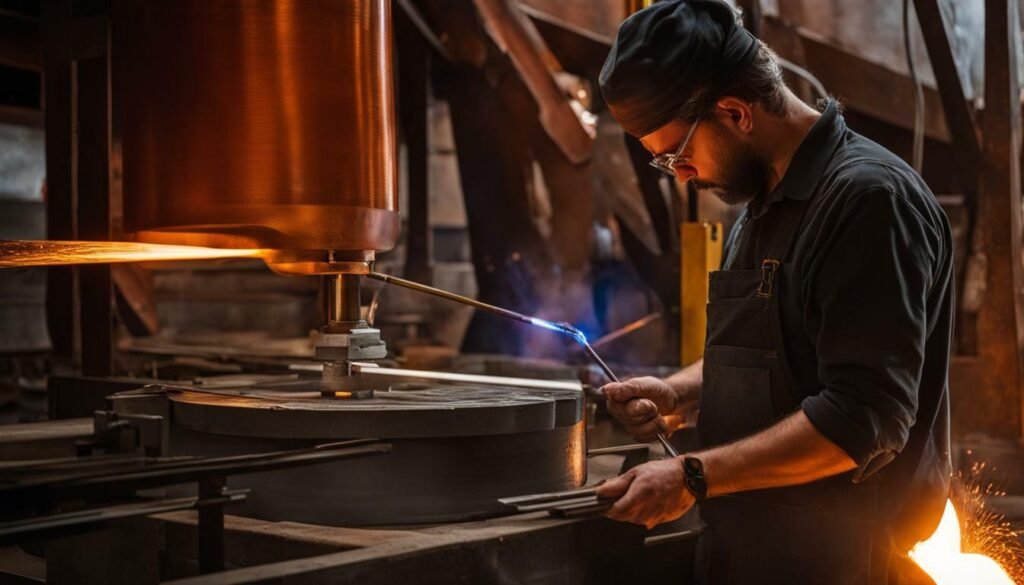
Proper maintenance of your glassblowing tools and equipment is essential for ensuring consistent quality in your glassblowing practice. These tools are an investment, and taking care of them will not only prolong their life but also improve and maintain their functionality. Here are some tips on maintaining your glassblowing equipment:
- After each use, clean your equipment thoroughly to prevent the buildup of glass particles that can affect the quality of your glassblowing.
- Store your equipment in a dry and cool space, away from direct sunlight. Avoid placing them on top of each other, as this can cause damage or deformity.
- Regularly inspect your equipment to identify any signs of wear and tear.
- Replace any damaged or worn out equipment promptly.
- Before each use, check that your equipment is in good condition and functioning correctly.
Blowpipes and punties are the most commonly used tools in glassblowing. As they are in direct contact with the molten glass, they require the most attention in terms of maintenance. Here are some tips on caring for your blowpipes and punties:
- Before and after use, clean your blowpipes and punties with a wire brush. Remove any leftover glass particles that may have accumulated on the surfaces.
- Replace your blowpipes and punties regularly, especially if they show signs of cracks or wear.
- Store your blowpipes and punties vertically, with the tips pointing up to prevent damage or deformation.
- Regularly inspect your blowpipes and punties to ensure they are not damaged, cracked, or bent.
Kilns are essential for annealing your glass pieces to ensure durability and prevent stress. Proper maintenance of your kiln is crucial for its longevity and efficiency. Here are some tips on caring for your kiln:
- Regularly clean your kiln after each use to remove any debris or leftover glass particles.
- Inspect your kiln regularly for any signs of damage or wear.
- Replace any damaged or malfunctioning components immediately.
- Follow the manufacturer’s instructions for proper kiln usage and maintenance.
By following these basic maintenance tips, you can ensure your glassblowing tools and equipment remain in excellent condition, helping you create beautiful and high-quality glass art pieces for years to come.
If you’re looking to take your glassblowing skills to the next level, consider enrolling in a glassblowing class or workshop. These resources provide hands-on guidance, expert instruction, and a supportive community of fellow glassblowers.
Where to Find Classes and Workshops
There are several ways to find glassblowing classes and workshops near you:
- Check local community centers, art schools, and universities for glassblowing courses or workshops.
- Search for glassblowing studios or instructors in your area. Many offer classes or private lessons.
- Attend glass art shows or festivals and connect with participating artists to learn about their upcoming classes or workshops.
Additionally, online resources such as Glass Art Society, Corning Museum of Glass, and Urban Glass offer listings of glassblowing events, workshops, and classes.
Benefits of Glassblowing Classes and Workshops
Attending a glassblowing class or workshop offers several benefits:
- Gaining hands-on experience with expert guidance from instructors.
- Learning new techniques and refining existing skills.
- Connecting with other glassblowers and building a supportive community.
- Accessing specialized equipment, tools, and materials not available at home.
- Having the opportunity to produce more ambitious glass works.
Additionally, some classes or workshops may focus on specific aspects of glassblowing, such as color application, advanced techniques, or studio safety, allowing you to tailor your glassblowing education to your interests and needs.
What to Expect in a Glassblowing Class or Workshop
Most glassblowing classes or workshops provide a similar structure:
- A safety briefing and introduction to studio equipment and tools.
- A demonstration of the techniques you’ll be using.
- Hands-on practice time with guidance from the instructor.
- The opportunity to produce one or more glass art pieces.
- A debriefing and discussion of your experience, feedback, and next steps.
Some classes or workshops may be more intensive and require multiple sessions, while others may be shorter and focus on specific techniques or projects. Be sure to research the class or workshop beforehand to ensure it aligns with your goals and expectations.
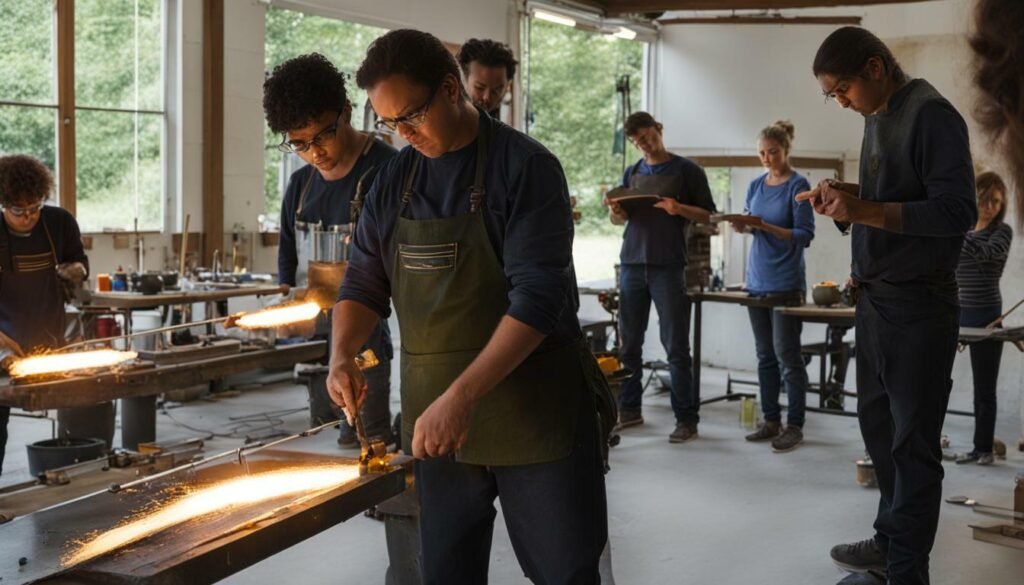
Enrolling in a glassblowing class or workshop is an excellent way to deepen your knowledge, refine your skills, and build connections with fellow glassblowers. Use the resources available to find the right class or workshop for you and embark on an exciting journey of glassblowing education.
Section 15: Showcasing Your Glassblowing Creations
Congratulations on creating your stunning glass art pieces! Now it’s time to showcase your creations to the world. Here are some tips to help you display and market your glassblowing work:
- Invest in professional photography equipment or hire a photographer to capture high-quality images of your glass art. Showcase your art in different angles, and make sure to highlight the details and unique features of each piece.
- Create an online portfolio or website to showcase your glass art. Include high-quality images of your work, a brief artist bio, and contact information for potential buyers or gallery owners.
- Participate in art shows or galleries to gain exposure and expand your network. Research local and national exhibitions and shows and submit your work for consideration.
- Reach out to potential buyers or gallery owners through email or social media. Introduce yourself and share images of your work, along with a brief description of your glassblowing process and techniques.
Remember, showcasing your glassblowing creations is an important part of being a successful glass artist. Stay true to your unique style and continue to hone your skills to create even more stunning glass art pieces.
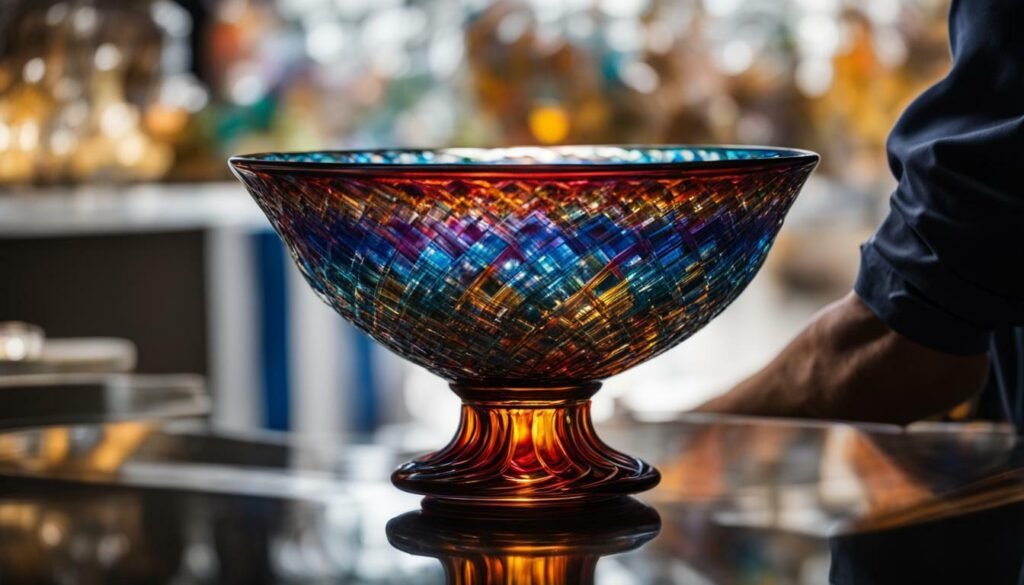
Congratulations on beginning your journey into the captivating world of glassblowing! With the right knowledge, skills, and inspiration, you can create stunning glass art pieces that will wow your friends and family. Whether you are a beginner or looking to enhance your glassblowing skills, this guide has everything you need to know to get started.
How to Blow Glass: Glass Blowing Instructions for Beginners
The first step in your glassblowing journey is to learn how to blow glass. Here are some basic steps to get you started:
- Gather molten glass on the end of a blowpipe.
- Shape the glass by blowing into the blowpipe and using tools to manipulate the glass.
- Continue shaping until you achieve the desired form.
- Anneal the glass in a kiln to prevent stress and ensure durability.
Remember, practice makes perfect, so don’t be discouraged if your first attempts are less than perfect. Keep practicing and experimenting with different techniques to find your unique glassblowing style.
Beginner Glassblowing: Tips and Techniques
As a beginner, it’s important to start with basic techniques before moving on to more advanced ones. Here are some tips and techniques to get you started:
- Start with simple forms, such as spheres or cylinders, to get a feel for the glassblowing process.
- Use a marver to shape and cool the glass quickly.
- Experiment with color application techniques, such as frits or powders, to add interest to your glass art.
By mastering these basic techniques, you will build a strong foundation for more complex glassblowing projects in the future.
Resources for Learning Glassblowing
If you’re serious about pursuing glassblowing as a hobby or profession, consider taking classes or workshops. Here are some resources to get you started:
- Check local community centers or arts organizations for glassblowing classes or workshops.
- Research online for reputable instructors or studios near you.
- Invest in instructional books or DVDs to expand your knowledge and skills.
Through structured glassblowing education, you can unlock your full potential and take your glassblowing creations to the next level.
Enjoying Your Glassblowing Journey
Most importantly, remember to enjoy your glassblowing journey. Glassblowing is a fascinating art form that allows you to express your creativity and bring your visions to life. Whether you’re creating for yourself or to share with others, your glass art is a reflection of your unique perspective and talent. So embrace the process, take risks, and keep learning and growing as a glassblower.
FAQ
Q: What is glassblowing?
A: Glassblowing is a technique used to shape molten glass into various forms by blowing air into a blowpipe, manipulating the glass with tools, and annealing the finished piece for durability.
Q: Is glassblowing suitable for beginners?
A: Yes, glassblowing can be learned by beginners. However, it requires patience, practice, and adherence to safety guidelines. Taking a glassblowing class or workshop can be a great way to get started.
Q: What equipment do I need for glassblowing?
A: Essential glassblowing equipment includes a blowpipe, punties, marvers, shears, jacks, and a kiln for annealing. Additional tools and supplies may be needed depending on the specific techniques and projects you want to pursue.
Q: How do I ensure safety while glassblowing?
A: Safety is paramount in glassblowing. Ensure you wear protective eyewear, have proper ventilation in your workspace, and handle hot glass with caution. Familiarize yourself with safety guidelines and take necessary precautions to prevent accidents or injuries.
Q: What are some basic glassblowing techniques for beginners?
A: Basic glassblowing techniques include gathering molten glass, blowing into the blowpipe to form a bubble, shaping the glass with tools like jacks and shears, and creating simple forms such as bowls or ornaments.
Q: Are there advanced glassblowing techniques?
A: Yes, once you have mastered the basics, you can explore advanced glassblowing techniques such as optic molding, cane pulling, and intricate glass manipulations. These techniques allow for more complex and detailed glass art creations.
Q: What types of glass can I use for glassblowing?
A: Glassblowing can be done with various types of glass, including borosilicate glass and soda-lime glass. Each type has its own characteristics and compatibility, which can influence the outcome of your glassblowing projects.
Q: How can I add color to my glassblowing creations?
A: Color can be added to glassblowing creations using various techniques such as frits, powders, and rods. These color application methods allow you to achieve vibrant hues and captivating patterns in your glass art.
Q: What should I do if I encounter problems in the glassblowing process?
A: Troubleshooting is part of the glassblowing journey. If you encounter issues such as glass cracking, uneven heating, or misshapen forms, it’s important to analyze the problem and apply appropriate troubleshooting techniques to improve your skills.
Q: Are there different styles of glassblowing?
A: Yes, glassblowing encompasses a wide range of styles, from traditional Venetian techniques to contemporary glass art. Each style has its own distinct characteristics and techniques, allowing artists to explore and express their creativity.
Q: Why is annealing important in glassblowing?
A: Annealing is a critical step in glassblowing that helps relieve internal stress in the glass and ensures its long-term durability. Proper annealing prevents the glass from cracking or breaking due to internal tension.
Q: How do I maintain my glassblowing tools and equipment?
A: To maintain the longevity and functionality of your glassblowing tools and equipment, it’s important to clean them regularly, handle them with care, and store them properly. This will ensure consistent quality in your glassblowing practice.
Q: Where can I find glassblowing classes and workshops?
A: Glassblowing classes and workshops can be found at reputable instructors and studios near you. Online resources and directories can help you locate opportunities for hands-on learning and structured glassblowing education.
Q: How can I showcase my glassblowing creations?
A: To showcase your glassblowing creations, you can photograph them professionally, create an online portfolio or website, and participate in art shows or galleries. These avenues allow you to share your unique glass art with a wider audience.
Q: How do I get started with glassblowing?
A: To get started with glassblowing, it’s recommended to take a class or workshop to learn the basics. Equip yourself with the necessary knowledge, skills, and inspiration to embark on an exciting glassblowing journey and bring your creative visions to life.
