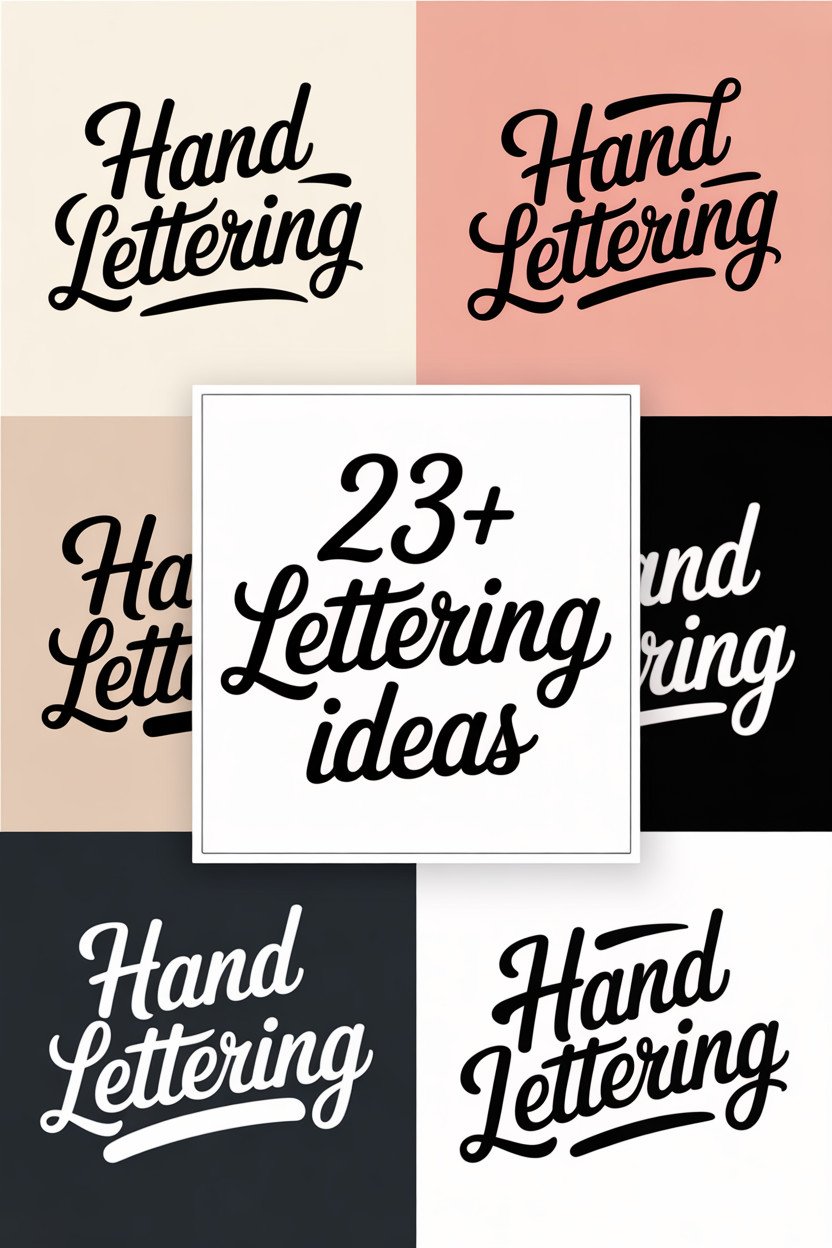
Hand lettering is like magic on paper. Each stroke can whisk you away to a world of creativity and charm. These ideas are like a treasure chest waiting to be opened, ready to fill your mind with delightful inspiration.
1. Watercolor Wonders
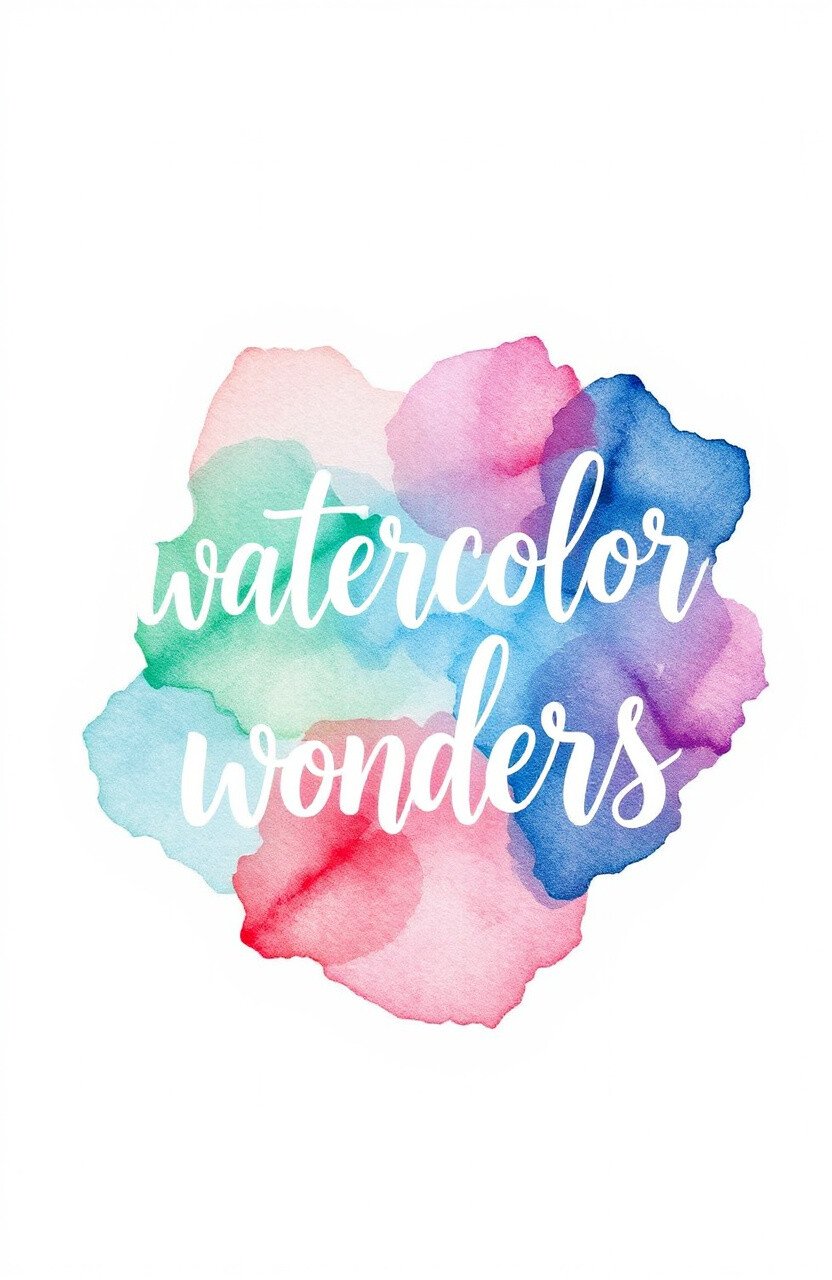
Using watercolors for hand lettering adds a soft, dreamy look to your words. The colors blend beautifully, creating gradients that are simply mesmerizing. It’s perfect for greeting cards or wall art.
Watercolors are affordable, and you can find sets in most craft stores. Start with basic colors and experiment by mixing them. Try adding a splash of water for a more diluted effect, which gives you an ethereal and unique touch.
2. Chalkboard Creations
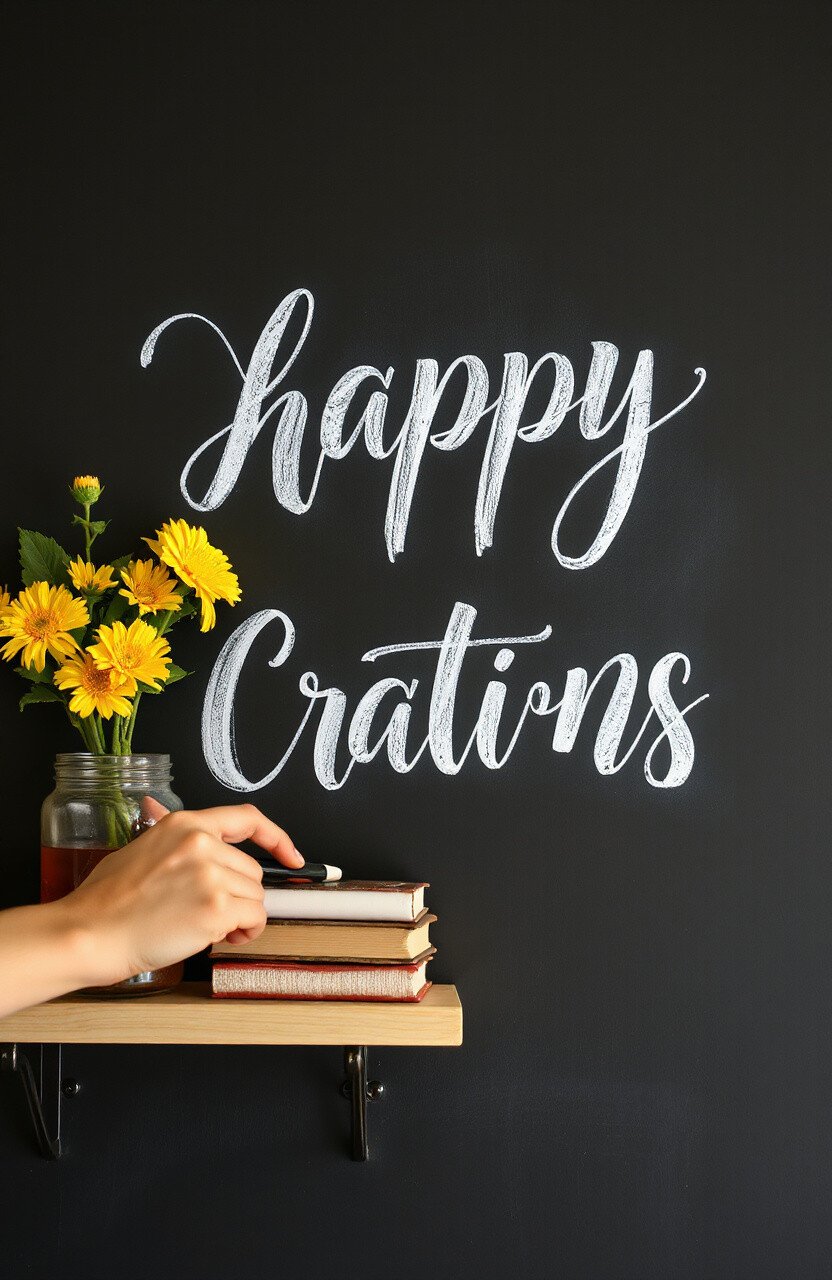
Chalkboard lettering is not just for classrooms. It’s trendy and looks amazing at parties or in kitchens. You can use real chalk or chalk markers for a cleaner look.
Chalkboards are reusable, which means you can change your message whenever you want. Plus, they’re a great way to practice because you can erase mistakes easily. Consider framing your chalkboard for a more polished look.
3. Brush Pen Bliss

Brush pens offer a smooth and flowing style that mimics the look of calligraphy. They are easy to control and come in various colors. This makes them ideal for beginners and experienced letterers alike.
Brush pens are relatively inexpensive, and you can find them online or in art stores. They’re perfect for adding personal touches to journals or planners. Try using different pressures to create varied line thicknesses.
4. Gold Foil Glam
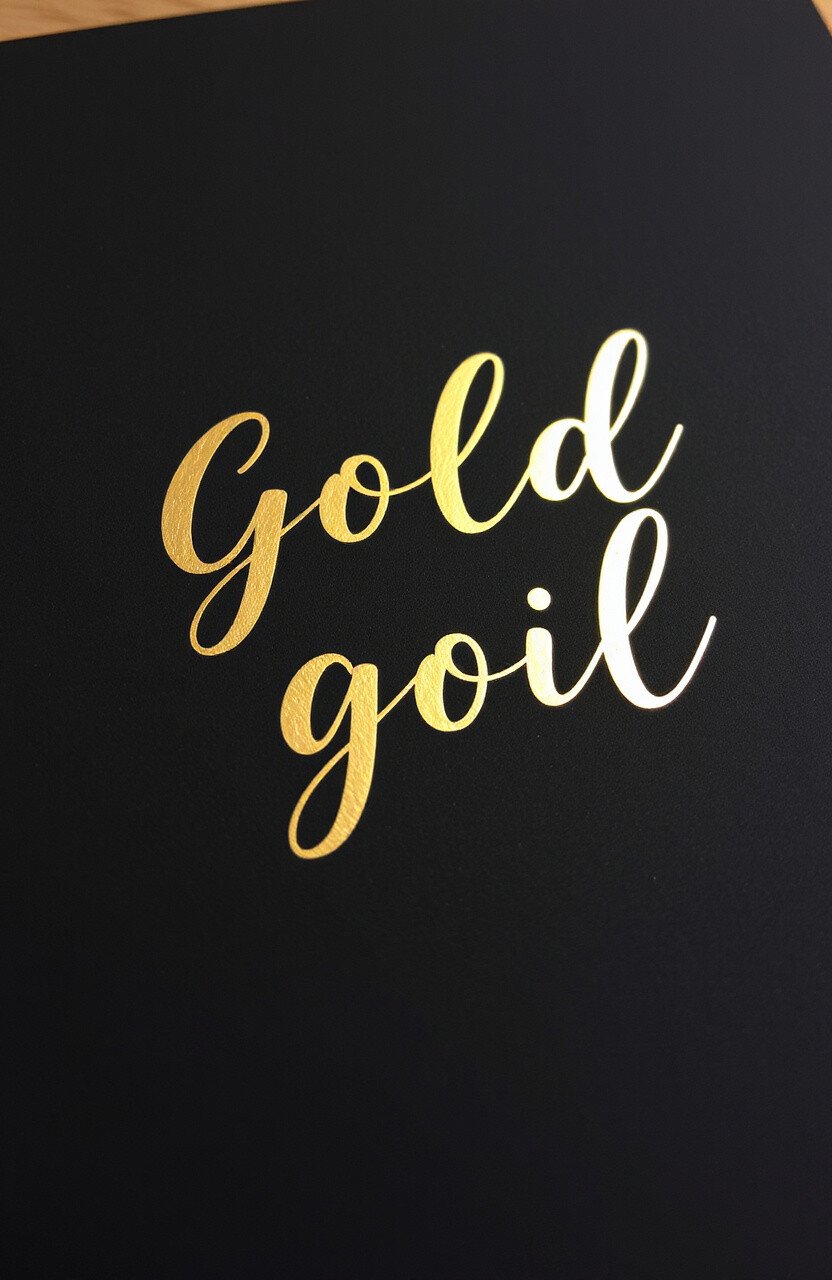
Gold foil lettering adds a touch of luxury to any project. The shiny effect catches the eye and makes your words stand out. It’s perfect for wedding invitations or special gifts.
You can use gold foil sheets and a laminator or opt for gold foil pens for ease. It’s a bit more costly, but the stunning results are worth it. Try pairing it with black or dark-colored paper for a striking contrast.
5. Embossed Elegance
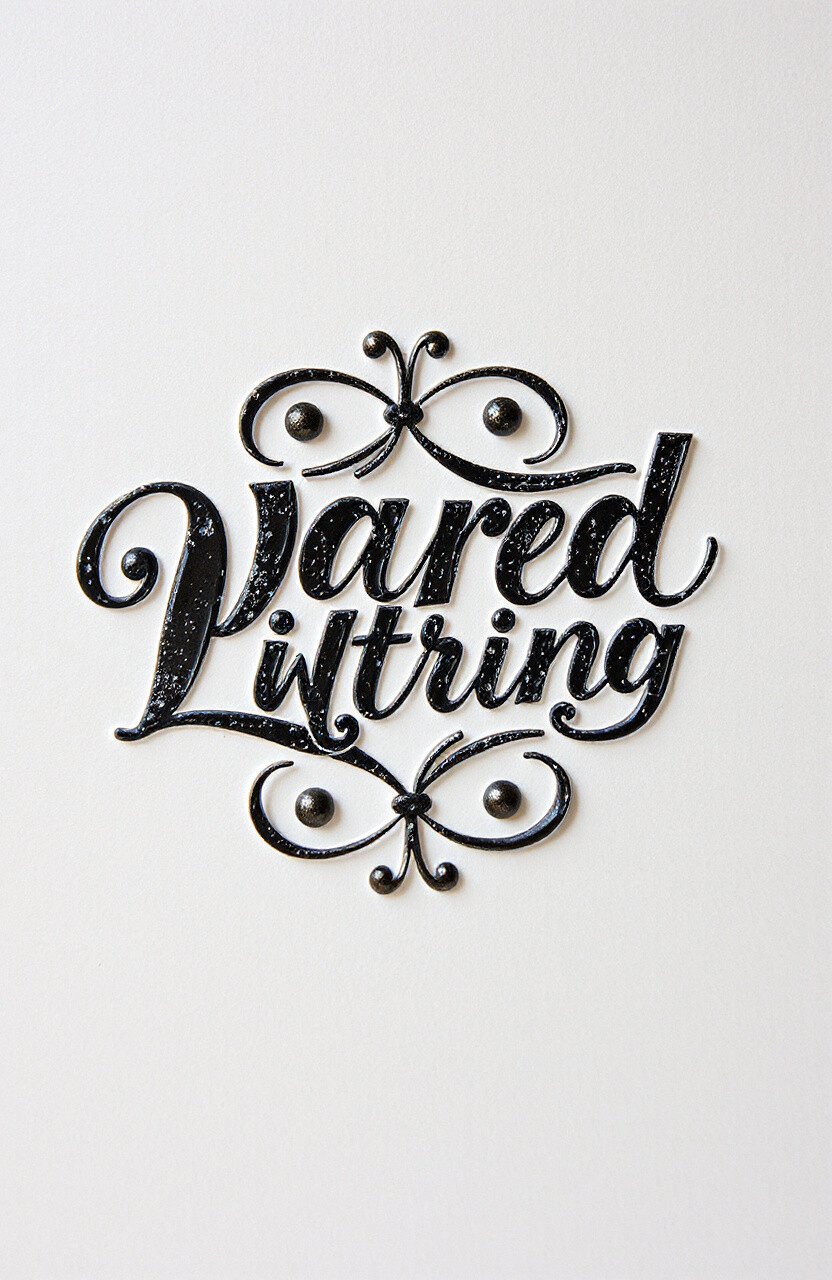
Embossing gives your lettering a raised, textured look. It’s perfect for adding dimension and interest to cards or scrapbooks. The process is simple but looks incredibly sophisticated.
You’ll need embossing powder, a heat gun, and a stamp pad. Choose colors that complement your paper for a cohesive look. The supplies might be a bit of an investment, but the professional results are a great payoff.
6. Neon Signs
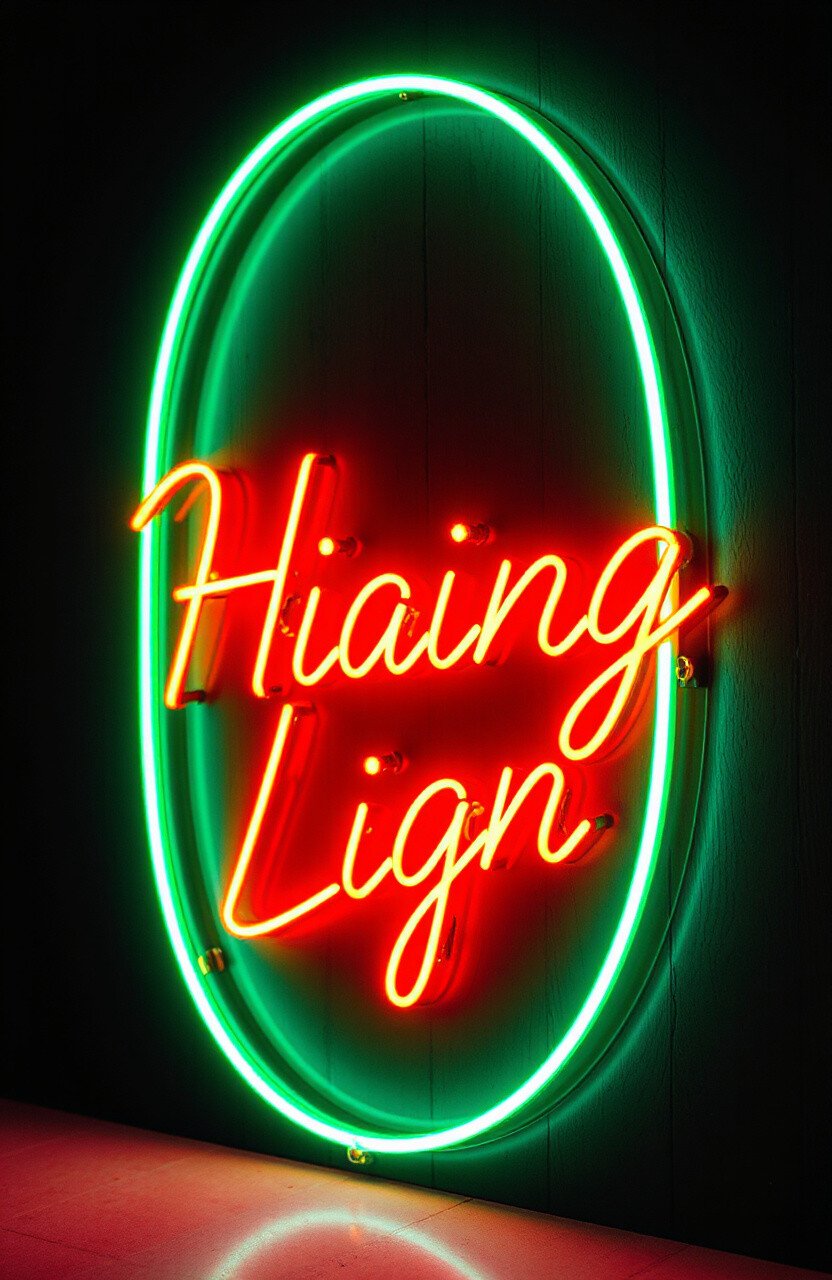
Neon lettering is vibrant and playful, ideal for parties or room decor. It brings a pop of color and a modern vibe to any space. You can achieve this look with neon markers or paints.
Neon supplies are easy to find, and a little goes a long way. Use darker backgrounds to make your neon colors really pop. This style is great for making bold statements or fun signs.
7. Vintage Vibes
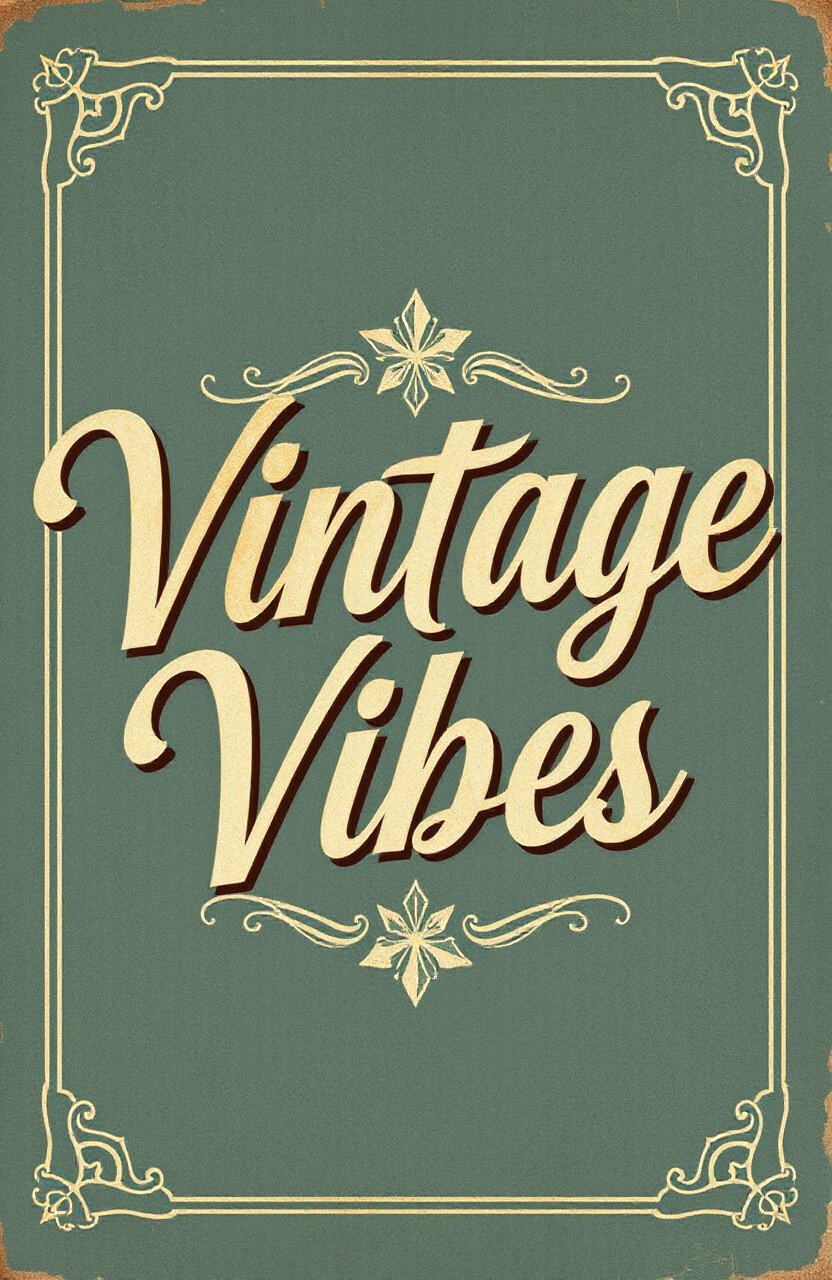
Embrace the past with vintage-style lettering. Think of old advertisements or movie posters for inspiration. This style adds nostalgia and charm to your projects.
Use muted colors and ornate fonts to capture that vintage feel. You can find vintage-style papers and embellishments at craft stores. This style is perfect for themed parties or retro-styled home decor.
8. Minimalist Marvels
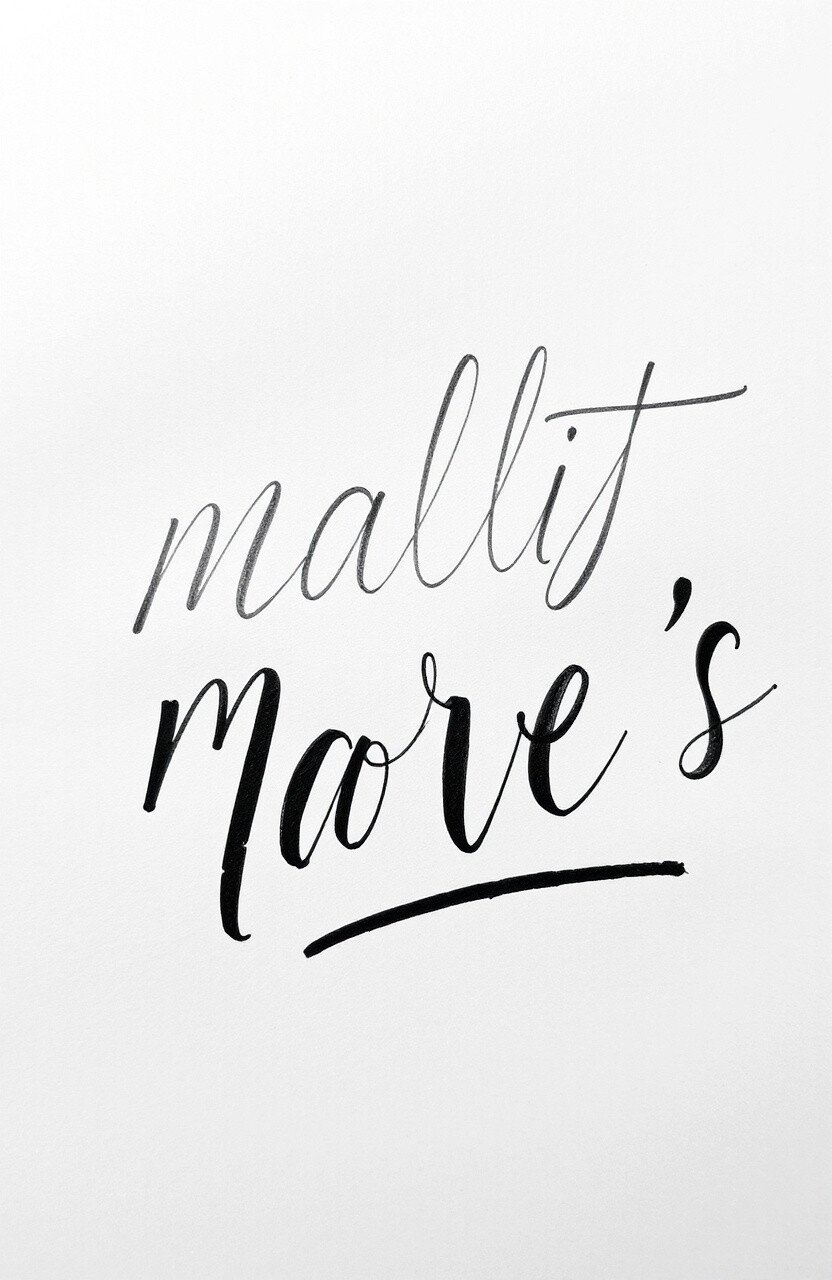
Sometimes less is more. Minimalist lettering focuses on clean lines and simplicity. It’s perfect for modern homes or those who prefer a more understated look.
Use black ink on white paper for a classic look, or try monochrome palettes. This style is cost-effective and easy to master with a bit of practice. Minimalist lettering is perfect for creating elegant and timeless pieces.
9. Floral Flourishes
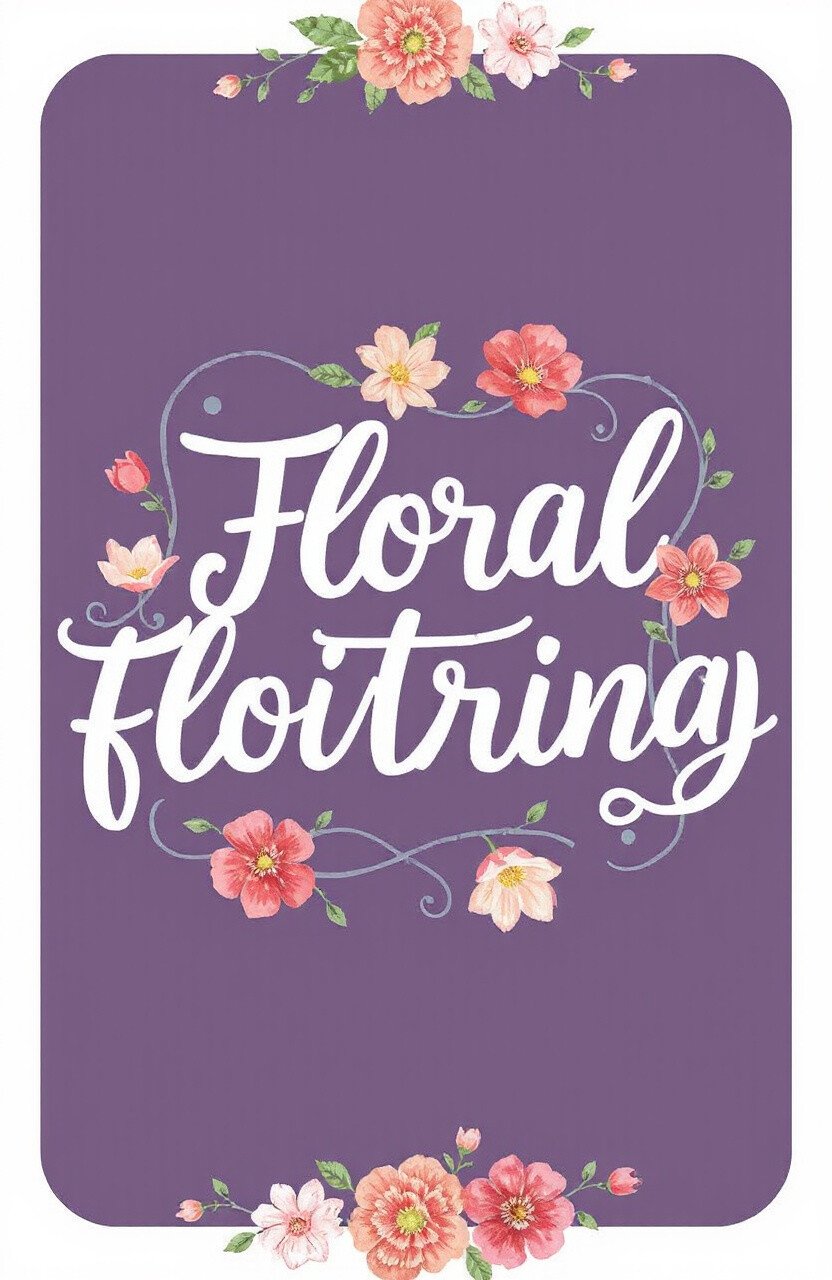
Adding floral elements to your lettering brings a touch of nature to your creations. It’s delicate and lovely, perfect for springtime projects or wedding decor.
You can draw simple flowers yourself or use stamps or stencils for more complex designs. Pair with soft, pastel colors for a cohesive look. Floral lettering adds a feminine and whimsical touch to any piece.
10. 3D Illusions
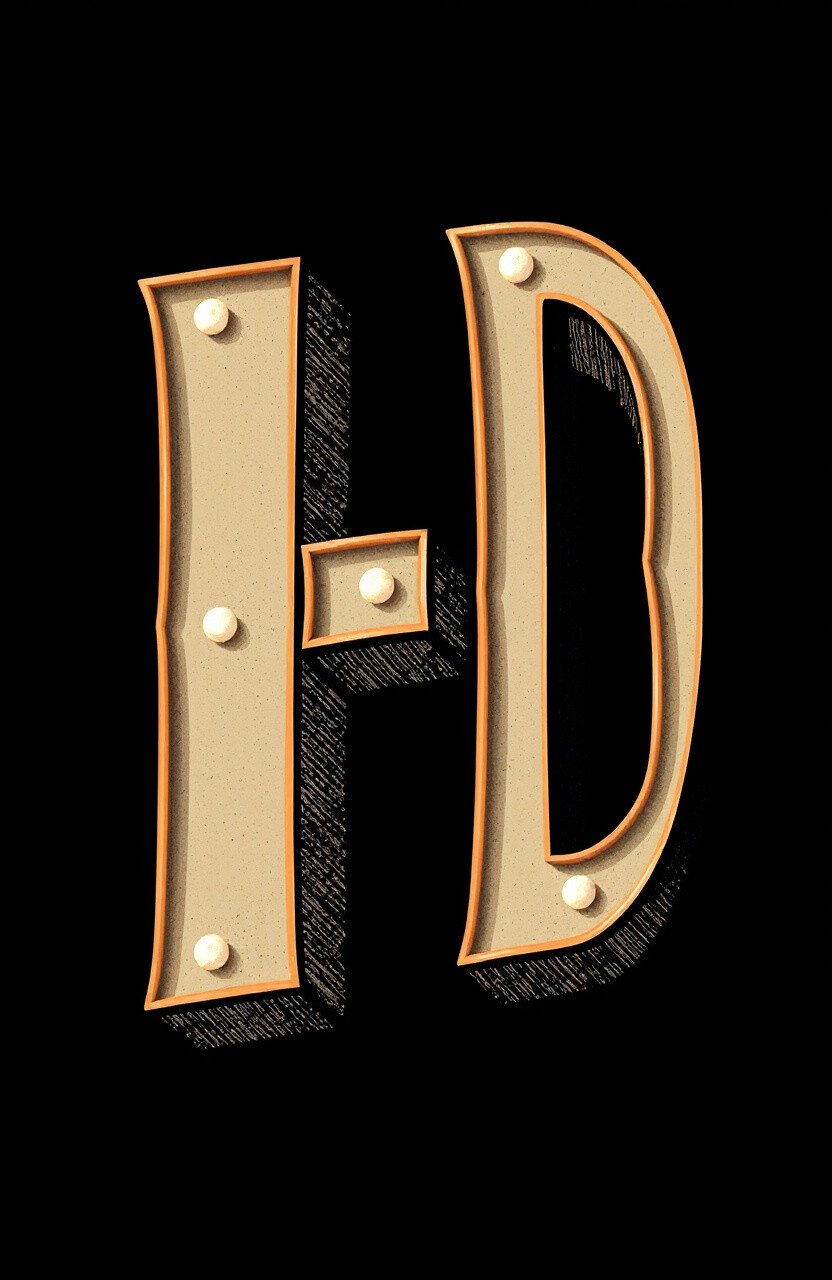
Creating 3D letters adds depth and interest to your work. It’s like your words are popping off the page! This style is fun for posters or signs.
Use shading and highlights to create the illusion of depth. Start with simple shapes before moving to more complex designs. It’s an eye-catching style that will surely impress anyone who sees it.
11. Rainbow Radiance
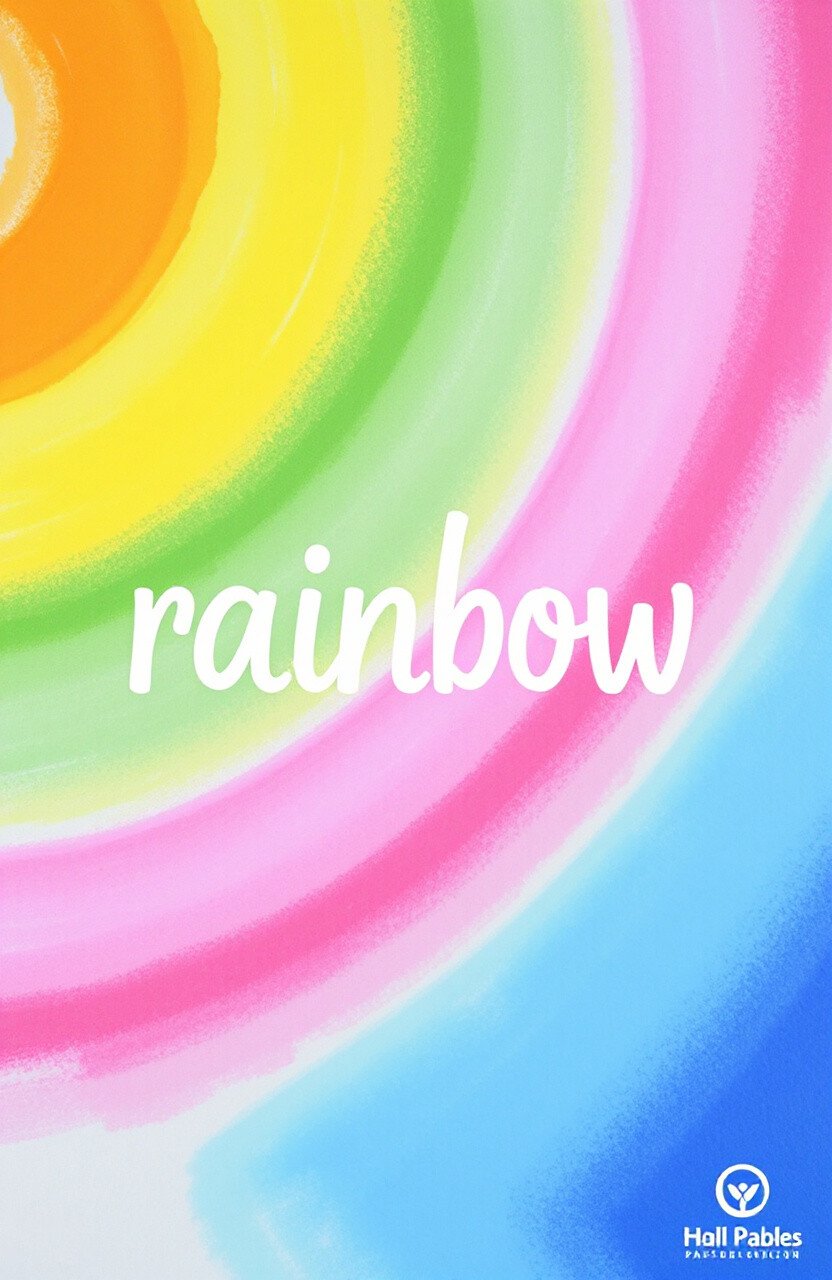
Who doesn’t love a splash of color? Rainbow lettering is cheerful and bright, perfect for kids’ rooms or fun events. It’s all about using multiple colors in one piece.
You can use markers, paints, or colored pencils to achieve this look. Experiment with different color combinations for a unique twist. Rainbow lettering is sure to bring a smile to anyone’s face.
12. Galaxy Glamour
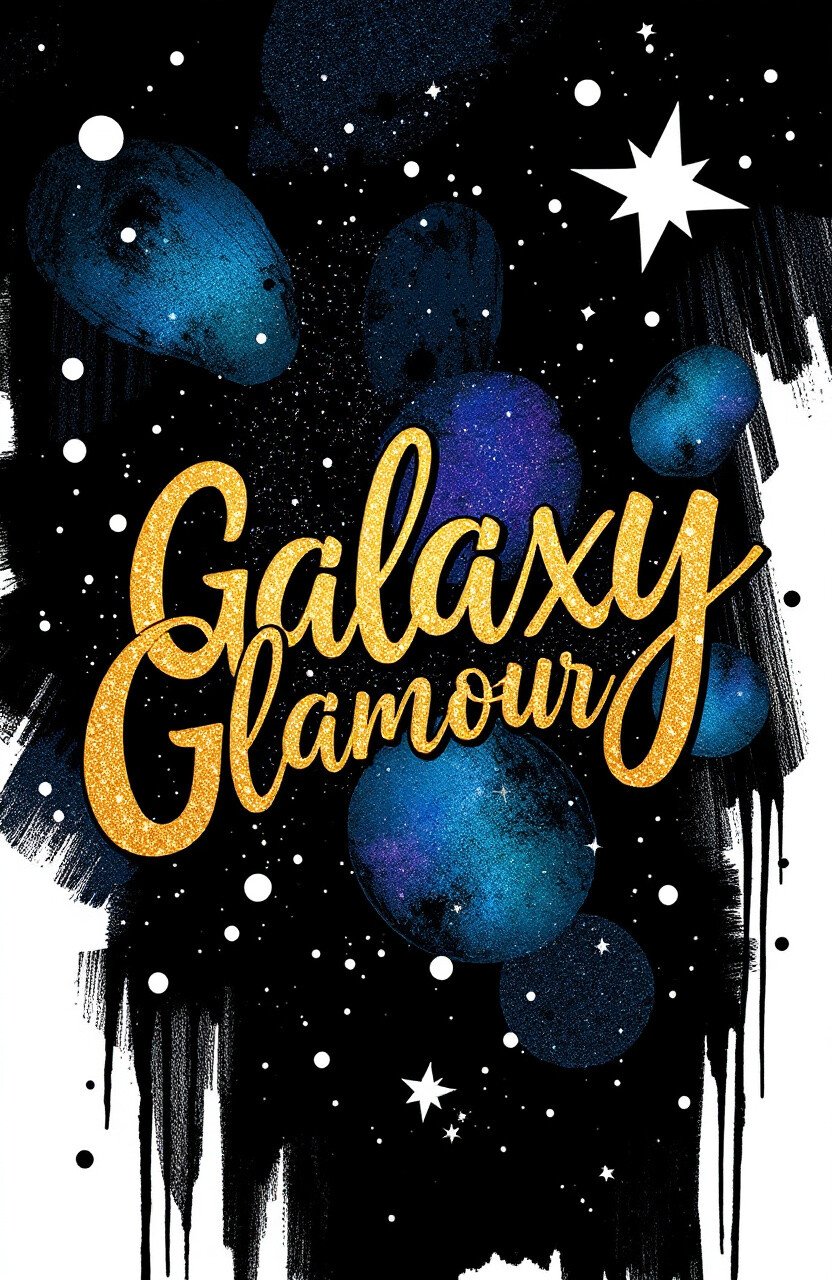
Galaxy lettering is out of this world! It combines dark colors with pops of bright stars and swirls. It’s great for those who love all things space-related.
Use a mix of blues, purples, and blacks to create a starry night effect. Add white dots and splatters for stars. Galaxy lettering is a fun way to add a cosmic touch to your projects.
13. Monogram Magic
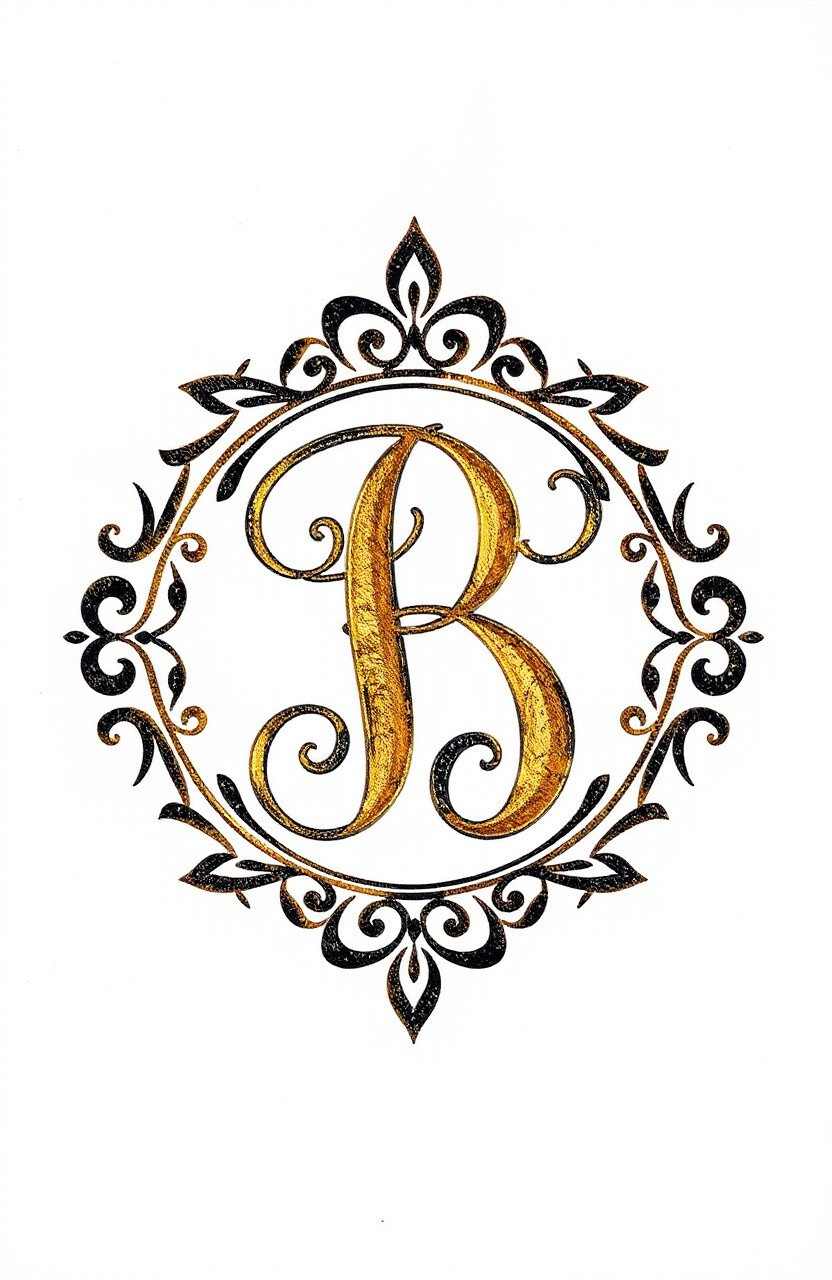
Monograms are a classic way to personalize your belongings. They’re elegant and timeless, perfect for gifts or stationery.
Choose a font that suits your style, and consider adding decorative elements. Monograms are also a great way to practice your lettering skills. They’re a simple yet effective way to make your mark.
14. Ombre Brilliance
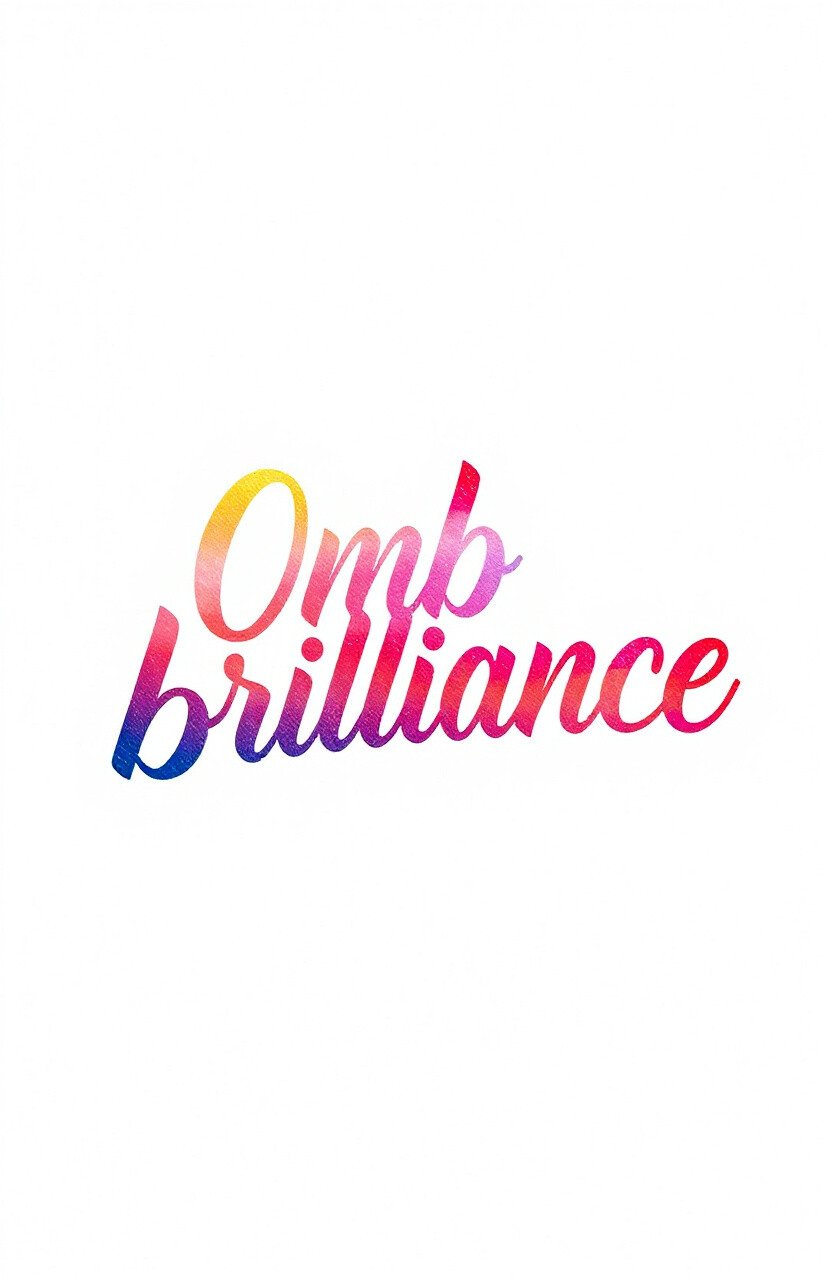
Ombre lettering features a gradual blend of colors. It’s trendy and visually appealing, perfect for modern designs.
Start with light colors and gradually add darker tones. You can use markers or paints for this effect. Ombre is a versatile style that can be used in a variety of projects.
15. Rustic Retreat
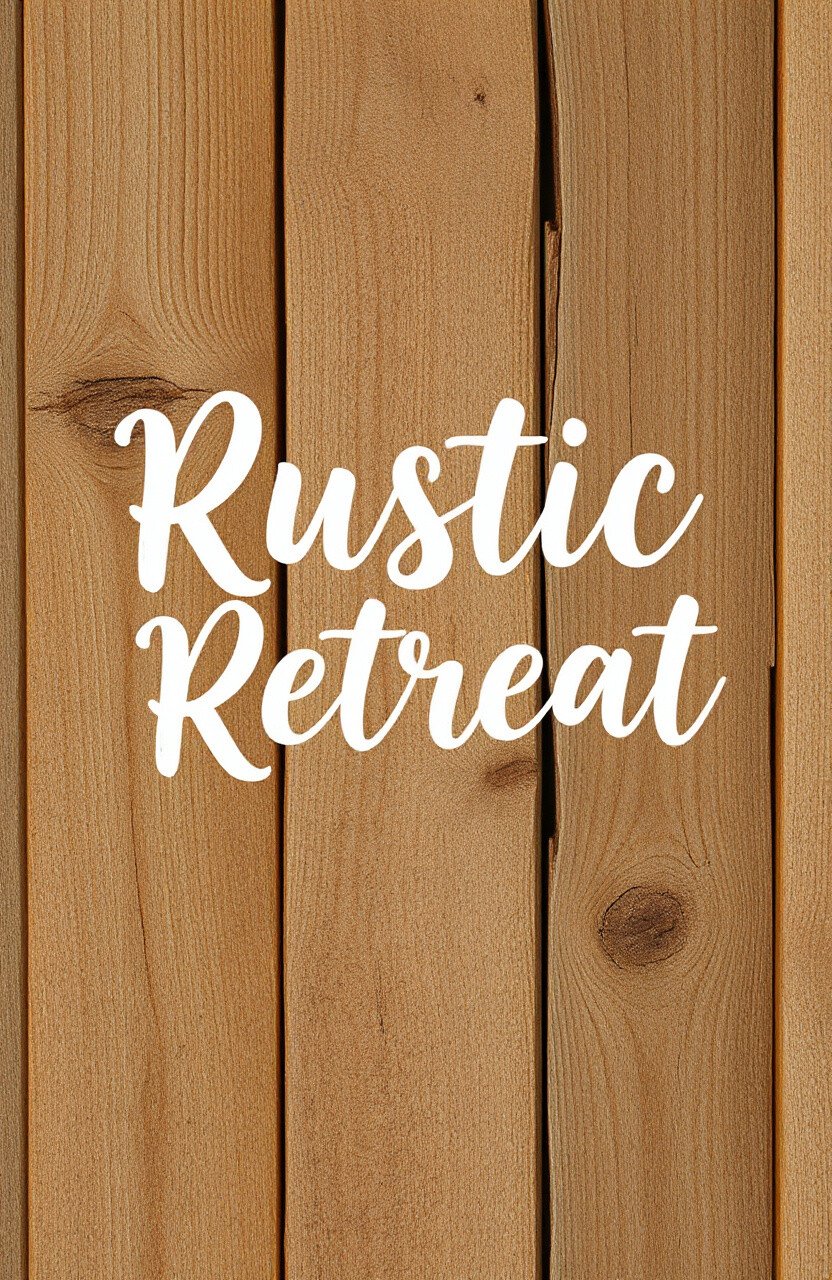
Rustic lettering has a cozy, homey feel. It’s great for farmhouse decor or country-themed events. Think of wood textures and earthy tones.
Use brown or muted colors, and consider adding wood or burlap textures. Rustic lettering is perfect for creating a warm and inviting atmosphere.
16. Art Deco Delight

Art Deco lettering is bold and geometric, taking inspiration from the 1920s. It’s perfect for adding a touch of glamor to your projects.
Use gold, silver, or black for a classic Art Deco look. This style is great for party invites or themed decor. It’s a distinctive and stylish way to make a statement.
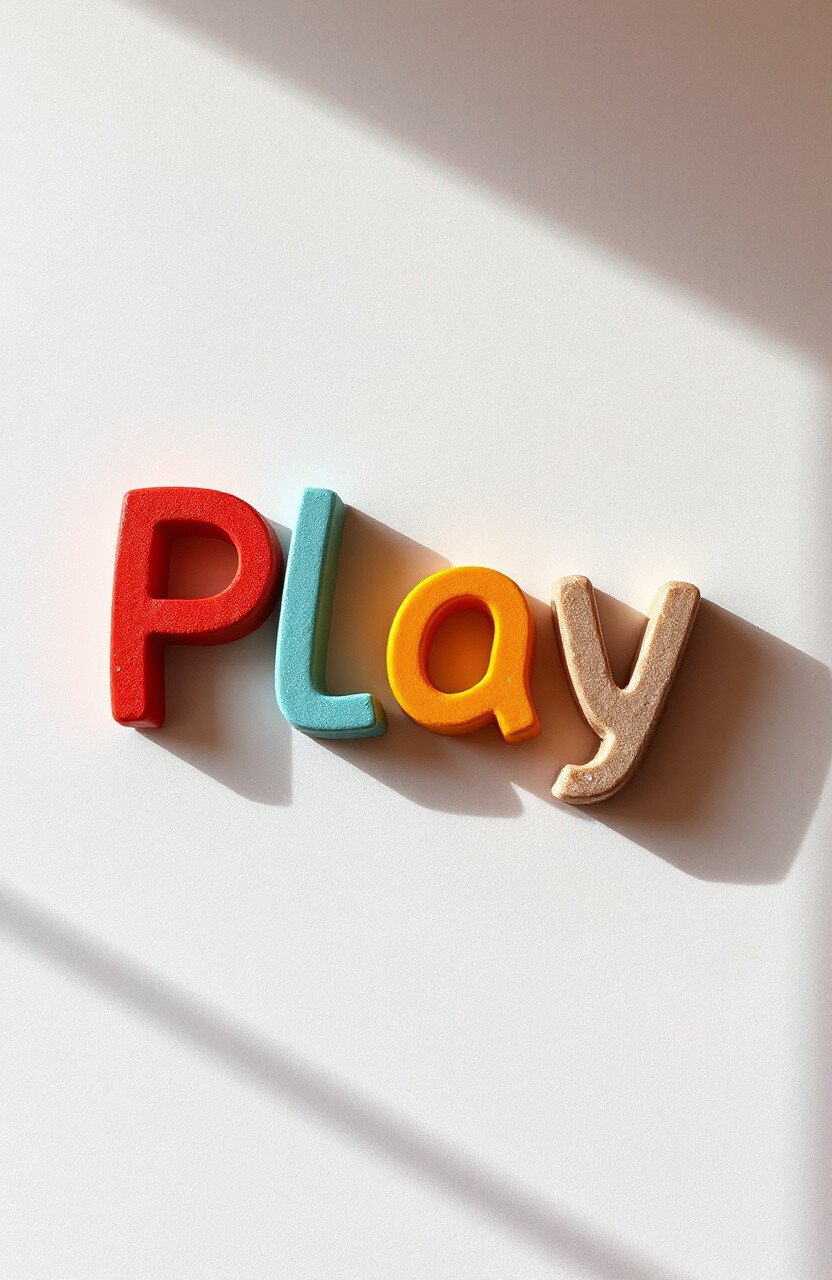
17. Whimsical Whirl
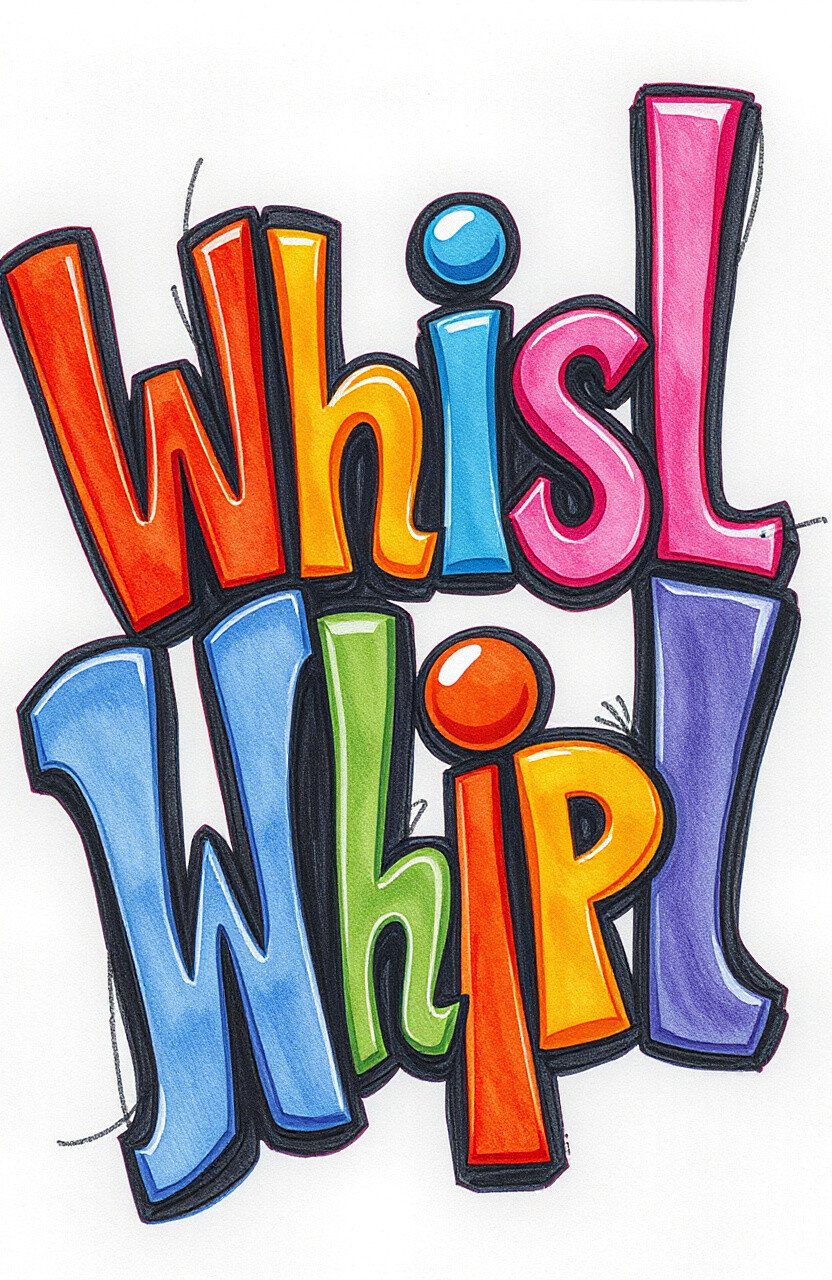
Whimsical lettering is all about creativity and imagination. It’s playful and fun, great for children’s rooms or lighthearted projects.
Use bright colors and quirky shapes to bring your letters to life. This style allows for lots of personalization and experimentation. It’s a fun way to let your creativity run wild!
18. Calligraphy Class
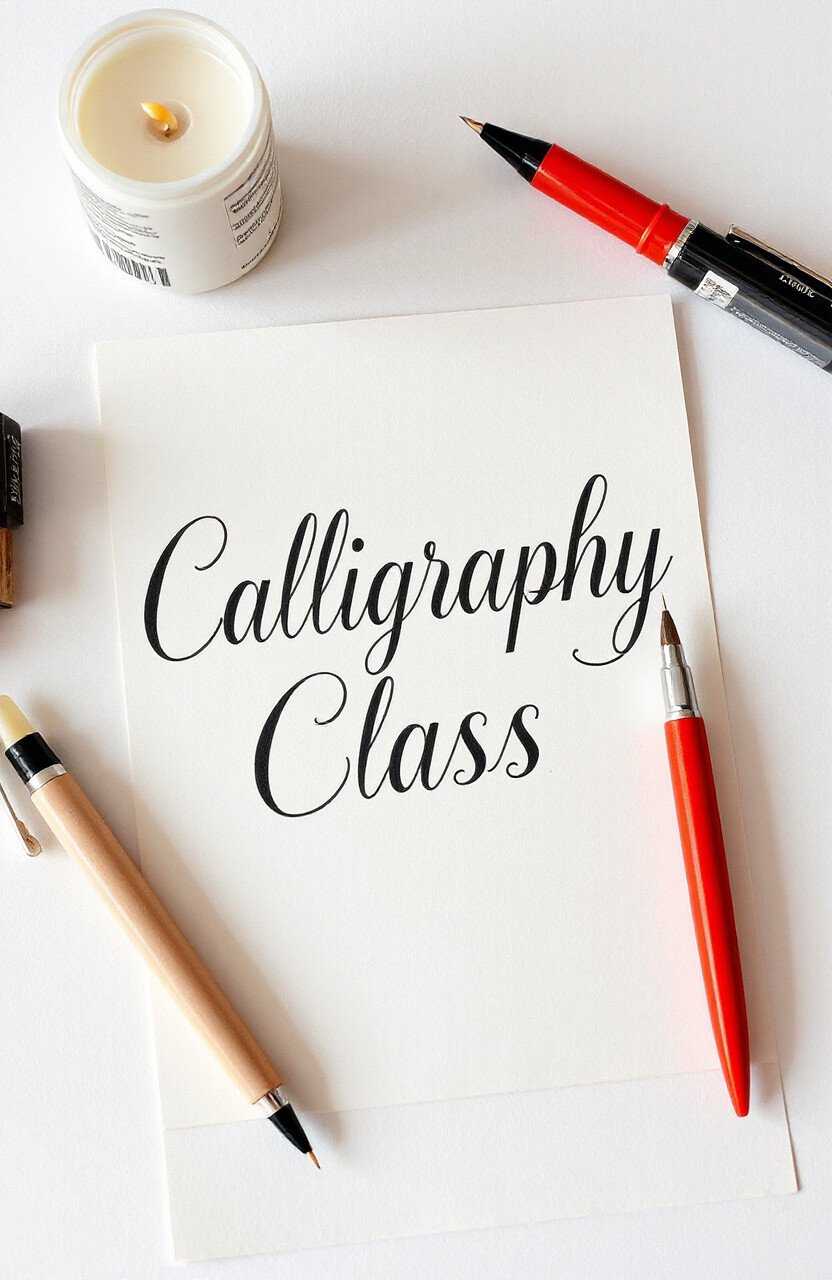
Calligraphy is a beautiful form of art with centuries of history. It’s elegant and sophisticated, perfect for formal occasions.
You’ll need special calligraphy pens and ink to get started. It can take some practice, but the results are stunning. Calligraphy adds a touch of class to any project.
19. Bubble Bonanza
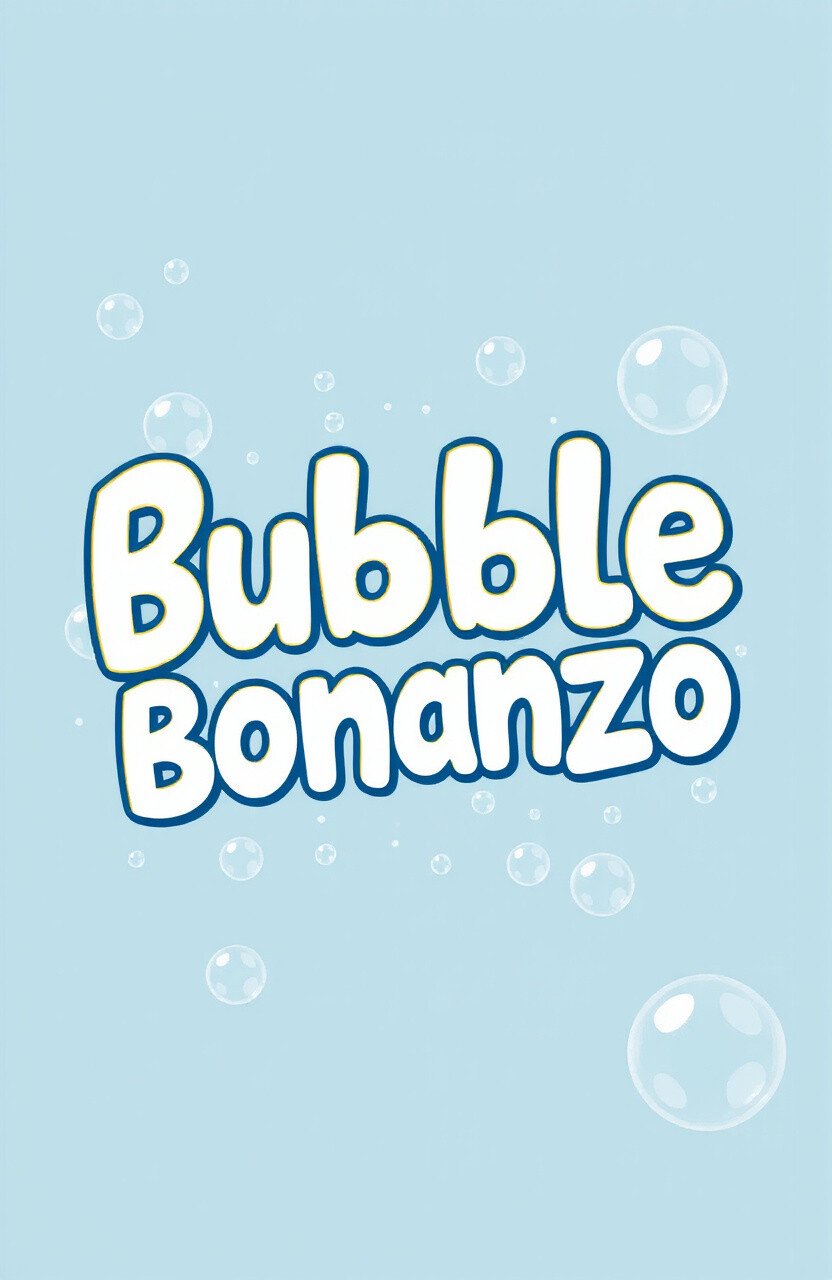
Bubble letters are fun and easy to create. They have a playful, cartoonish feel, perfect for kids’ projects or casual designs.
Outline your letters in a bold, round shape and fill them with bright colors. Bubble lettering is a great way to add a pop of fun to your work.
20. Gothic Grandeur
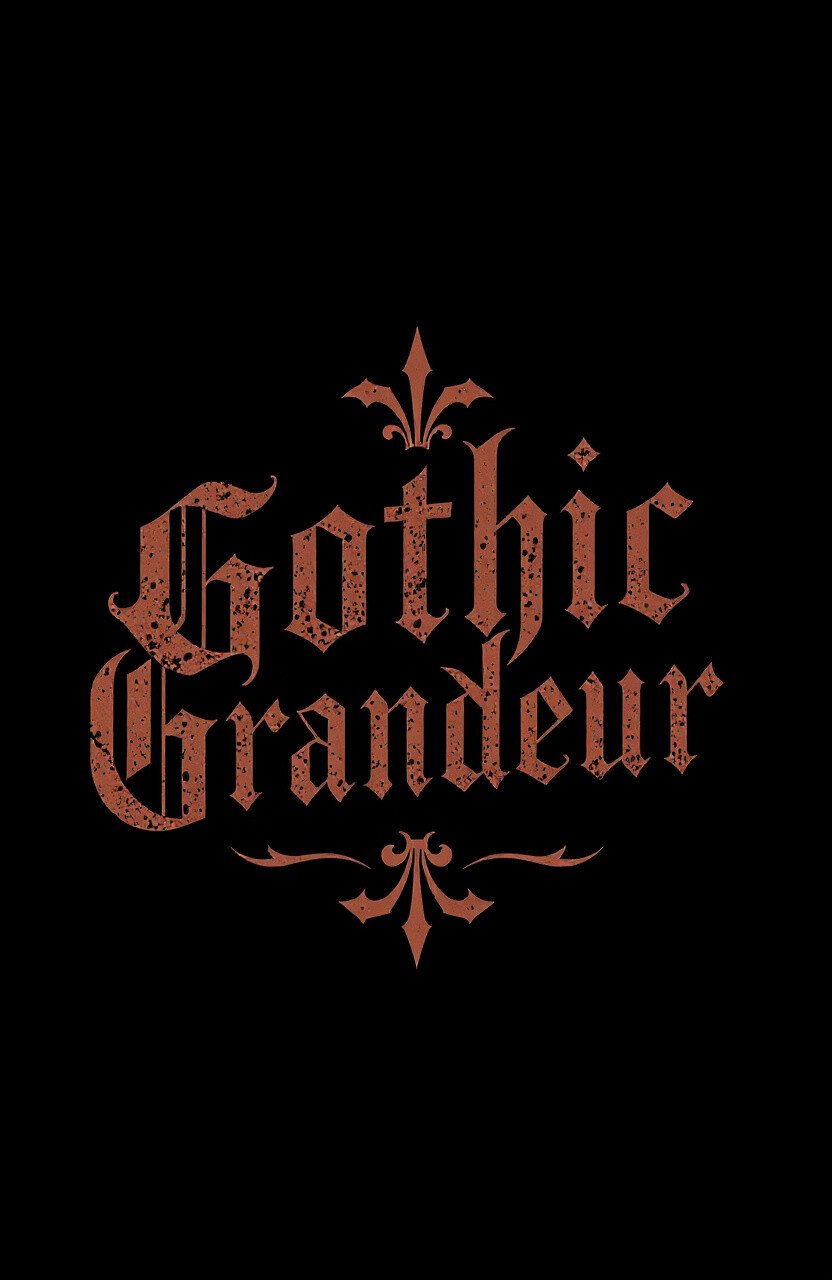
Gothic lettering is dramatic and bold, perfect for creating a striking piece. It’s ideal for Halloween or themed events.
Use dark colors and sharp angles to capture the Gothic vibe. It’s a unique style that’s sure to grab attention.
21. Sparkle and Shine
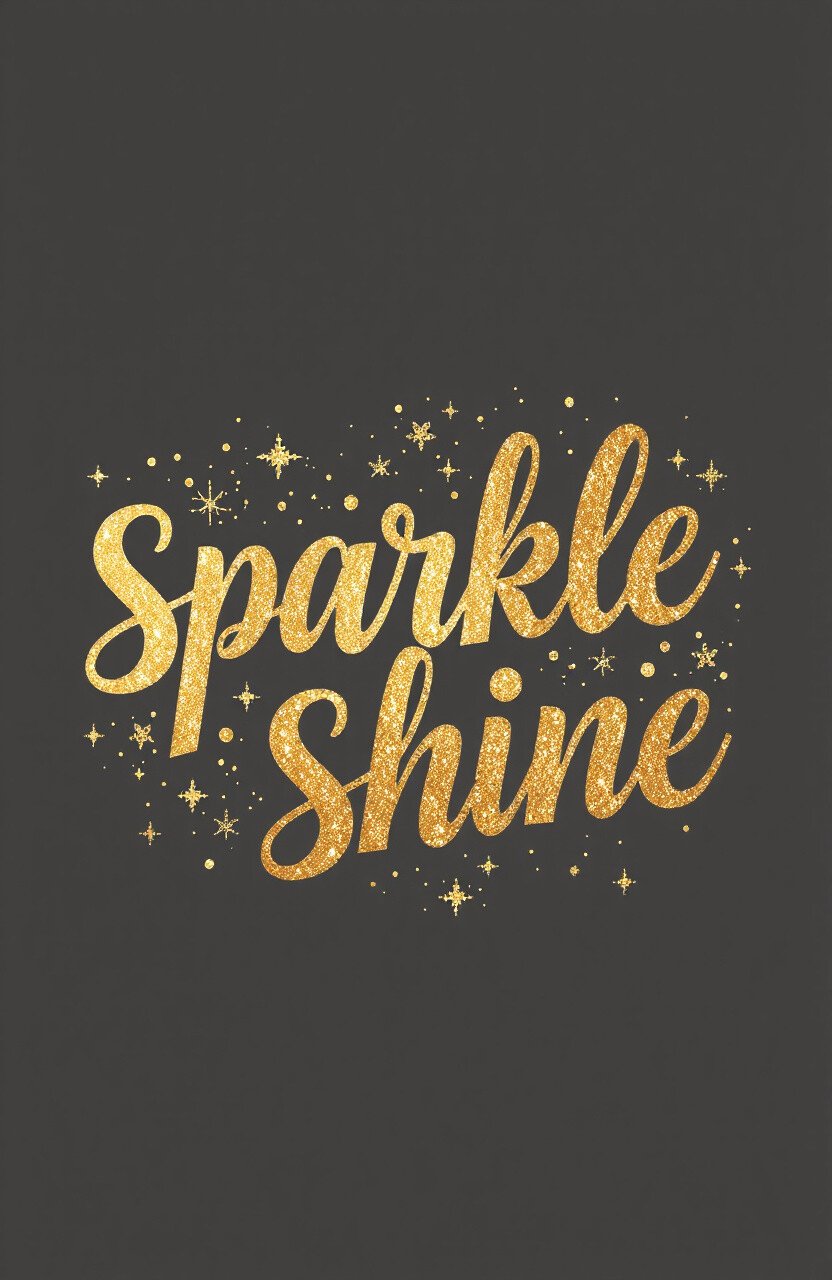
Adding glitter to your lettering can make it truly sparkle. It’s perfect for festive occasions or anytime you want to add a bit of bling.
You can use glitter pens or add loose glitter to wet ink. This style is all about adding a touch of glam to your projects.
22. Pastel Perfection
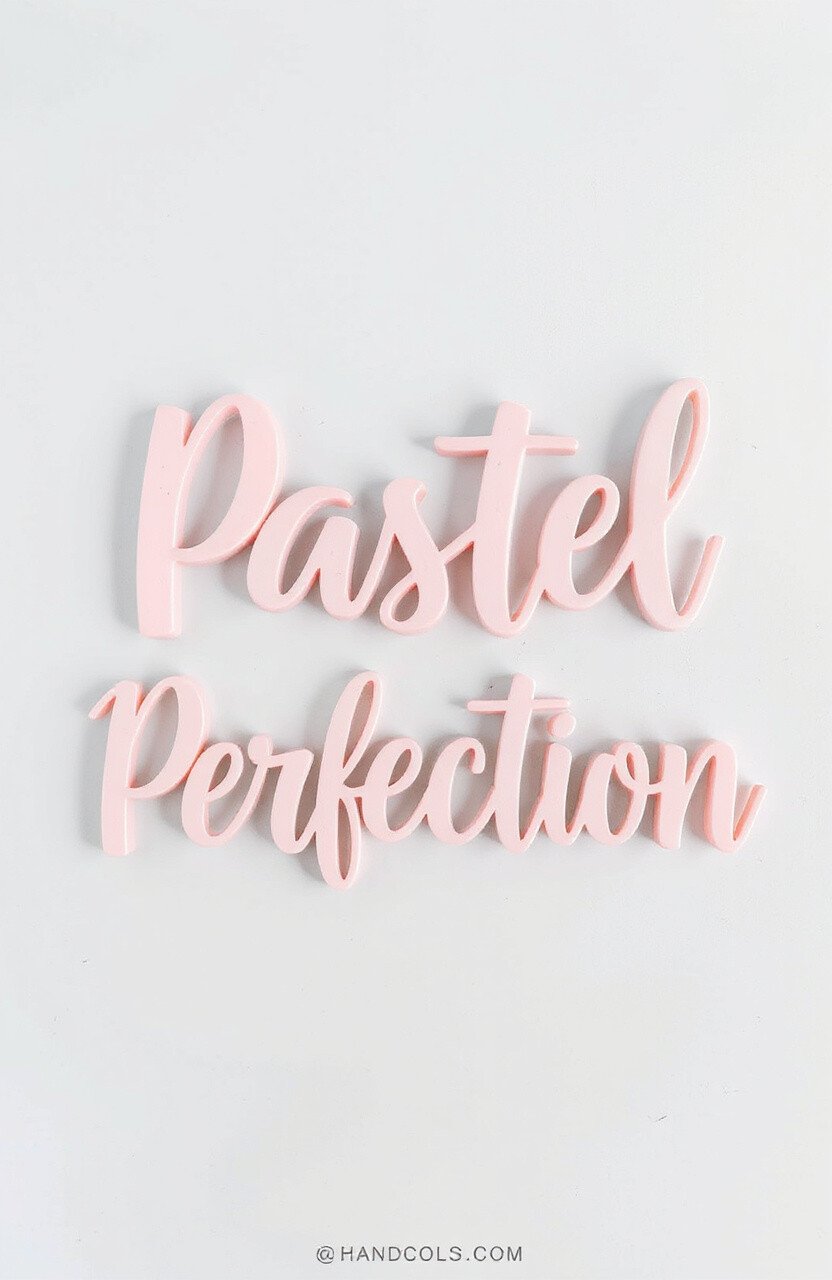
Pastel colors are soft and soothing, perfect for creating a calming atmosphere. They’re great for baby showers or springtime events.
Use light, muted colors to achieve this look. Pastel lettering is gentle on the eyes and adds a sweet touch to any piece.
23. Geometric Genius
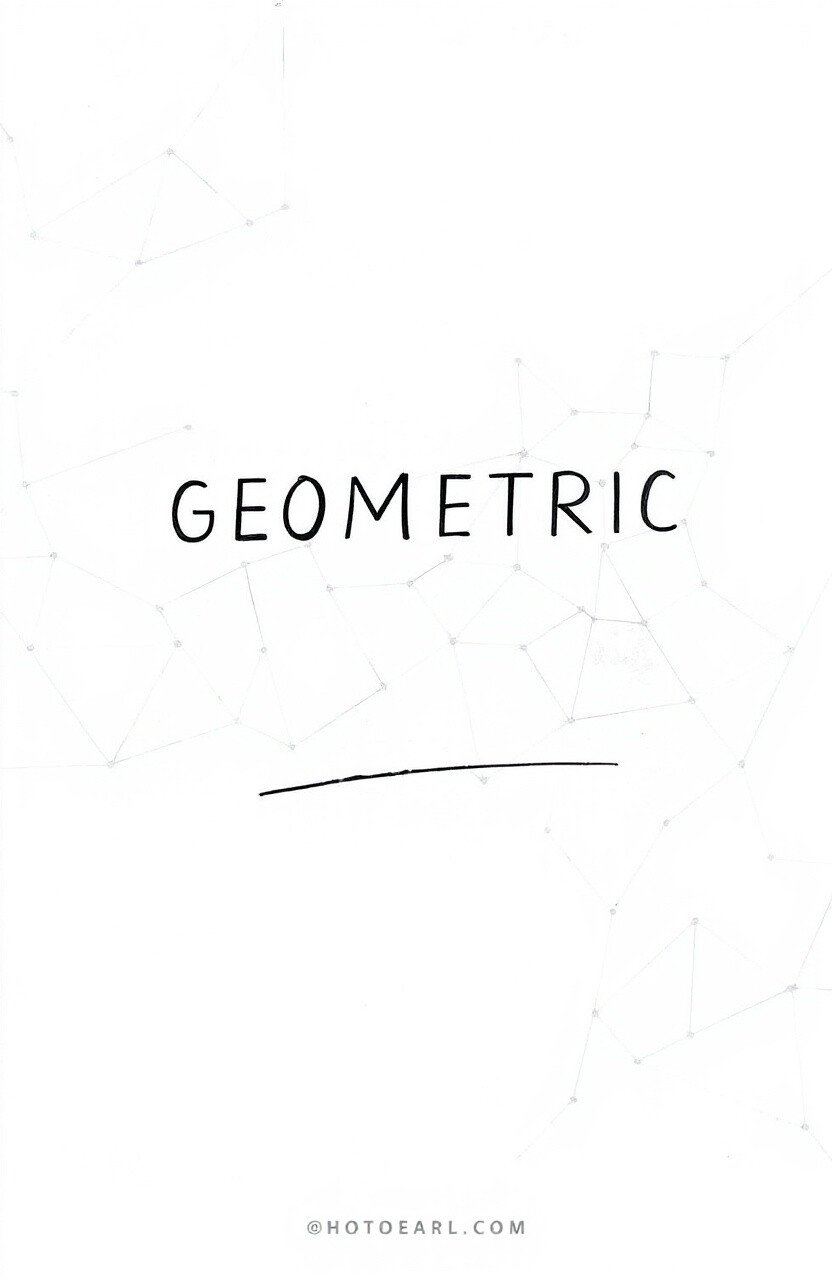
Geometric lettering combines shapes and angles for a modern look. It’s perfect for those who love clean lines and structure.
Use rulers or stencils to create precise shapes. Geometric lettering is a stylish way to add a contemporary feel to your projects.
24. Shadow Play
Adding shadows to your letters creates depth and dimension. It’s a simple way to make your words stand out.
Use a lighter color for the letters and a darker shade for the shadow. Shadow lettering is a great technique for adding interest to any design.