Watercolor cards feel soft, warm, and full of heart. They can make a simple message feel extra special.
1. Gather a Small, Beginner-Friendly Supply Kit
Top Gather A Small, Beginner-Friendly Supply Kit Craft Tutorials
- 🍅 11 Essential Craft Supplies for Beginners from crafterscompanion.com.
- 👓 Mindless crafts for beginner adults from reddit.com.
- 🧑🌾 Weaving your own baskets for gift baskets. Where to start? from facebook.com.
- 🍅 11 Beginner-Friendly Crafts Using Household Items from amagicalmess.com.
- 🍅 Beat half-term bordem with these creative craft kits for kids! from gathered.how.
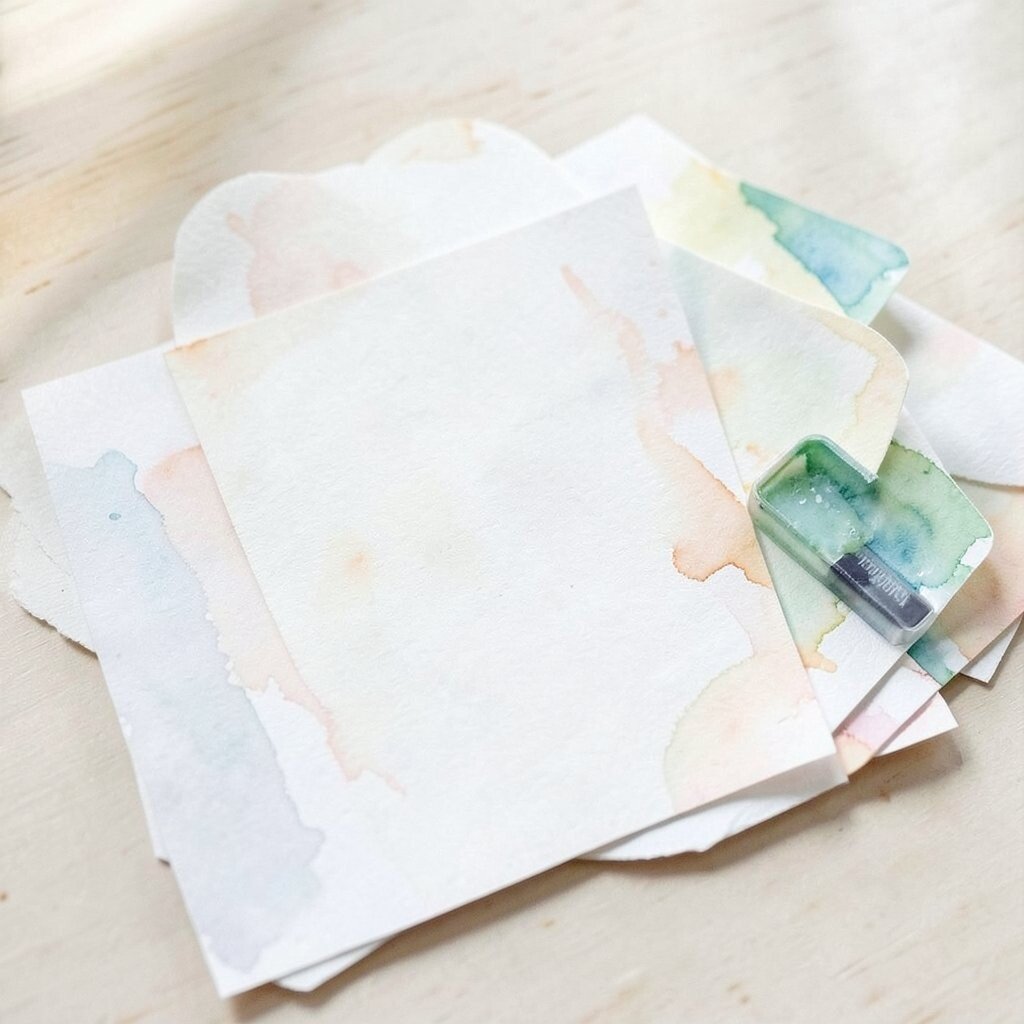
Start with a few basic tools that are easy to use and not too pricey. A small set of watercolor paints, watercolor paper, two brushes, and a cup of water can be enough for your first cards.
The look of a simple kit is neat and inviting, with bright paint pans and thick paper ready for color. Keeping your supplies basic helps you feel calm, and it also keeps costs low while you practice. If you want a personal touch, choose paint colors that match the person who will get the card.
2. Pick Card Sizes That Feel Easy to Handle
Top Pick Card Sizes That Feel Easy To Handle Craft Tutorials
- 🎄 What is the best size for handmade cards? from facebook.com.
- 🎄 Crafting doesn't have to be complicated to feel magical. … from instagram.com.
- 🖼️ What's size cards for beginner do make? : r/cardmaking from reddit.com.
- 🍅 DIY Pop-Up Card ✂️✨ So Easy It Feels Like Magic" from facebook.com.
- 🎄 Homemade Cards for Kids to Make from howweelearn.com.
Small cards are often the best choice for beginners because they are less scary to fill. They also dry faster, which helps when you want to add writing or extra details later.
A postcard size or folded note card gives you a clean, pretty space to paint. These sizes are easy to store, mail, and gift, so they are practical too. Many makers like smaller cards right now because they feel handmade and cozy without needing a lot of time or materials.
You can make each card unique by choosing a size that fits the message, like a tiny card for a thank-you note or a larger one for a birthday wish. Try sketching a few size ideas on scrap paper before you cut anything. This helps you avoid waste and makes the whole process feel simpler.
3. Learn a Few Easy Watercolor Shapes
Top A Few Easy Watercolor Shapes Craft Tutorials
- 🍅 9 Simple Watercolor Projects for Beginners from jennarainey.com.
- 🖼️ Easy Watercolor Techniques for Kids That Produce … from projectswithkids.com.
- 🍁 The easiest shape to start your watercolor practice from lexisworksart.com.
- 🍅 Paint a Unified Watercolor Scene from learntopaintwatercolor.com.
- 🍂 Painting with Watercolors for Beginners from thepostmansknock.com.
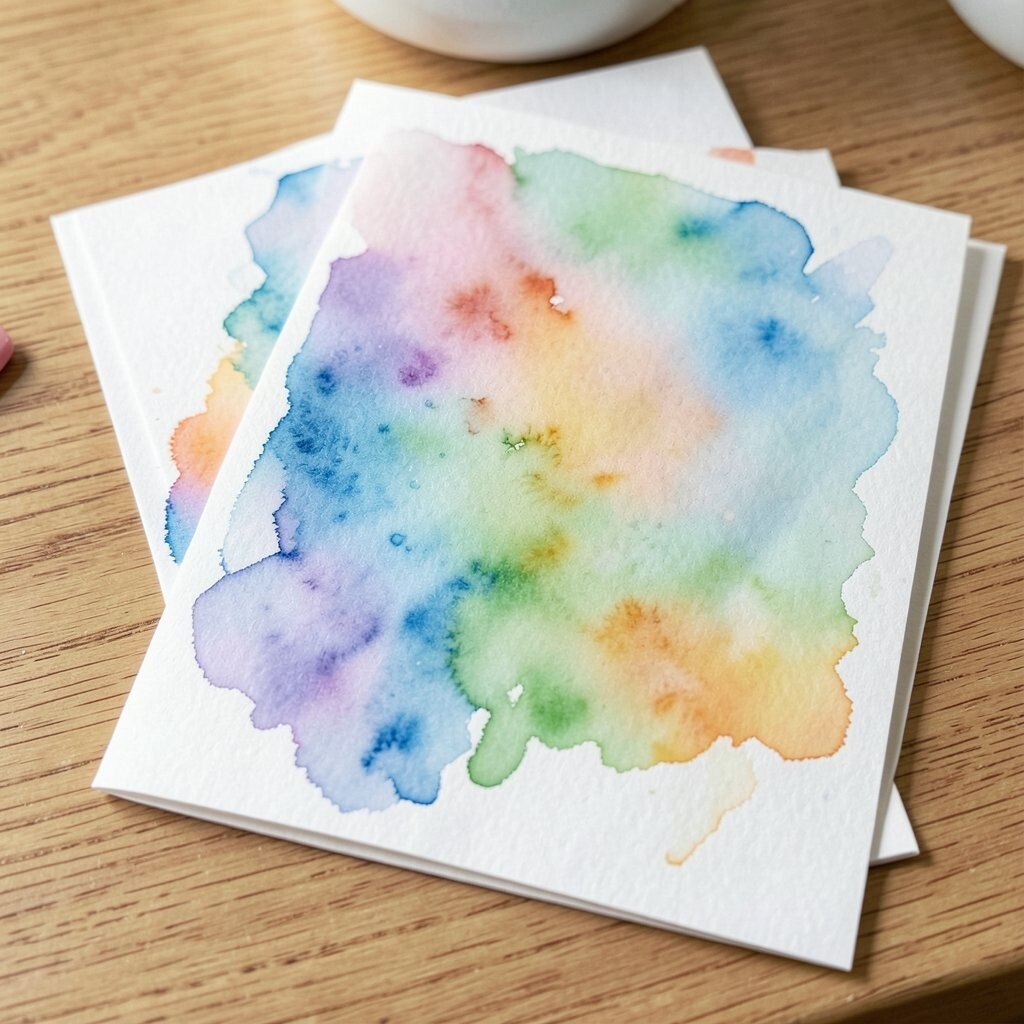
Simple shapes like hearts, leaves, flowers, and stars are great starting points. These shapes look lovely in watercolor because their soft edges feel gentle and friendly.
Practice painting each shape with loose brush strokes and light color. You do not need perfect lines, and that relaxed look is part of the charm. Adding a name, date, or short phrase beside the shape can make the card feel personal and one of a kind.
These shapes work well for many events, so one small skill can help you make many kinds of cards. They also save money because you do not need fancy stamps or stickers to make the card look nice. If you want a trendy feel, try painting simple botanical shapes with lots of white space around them.
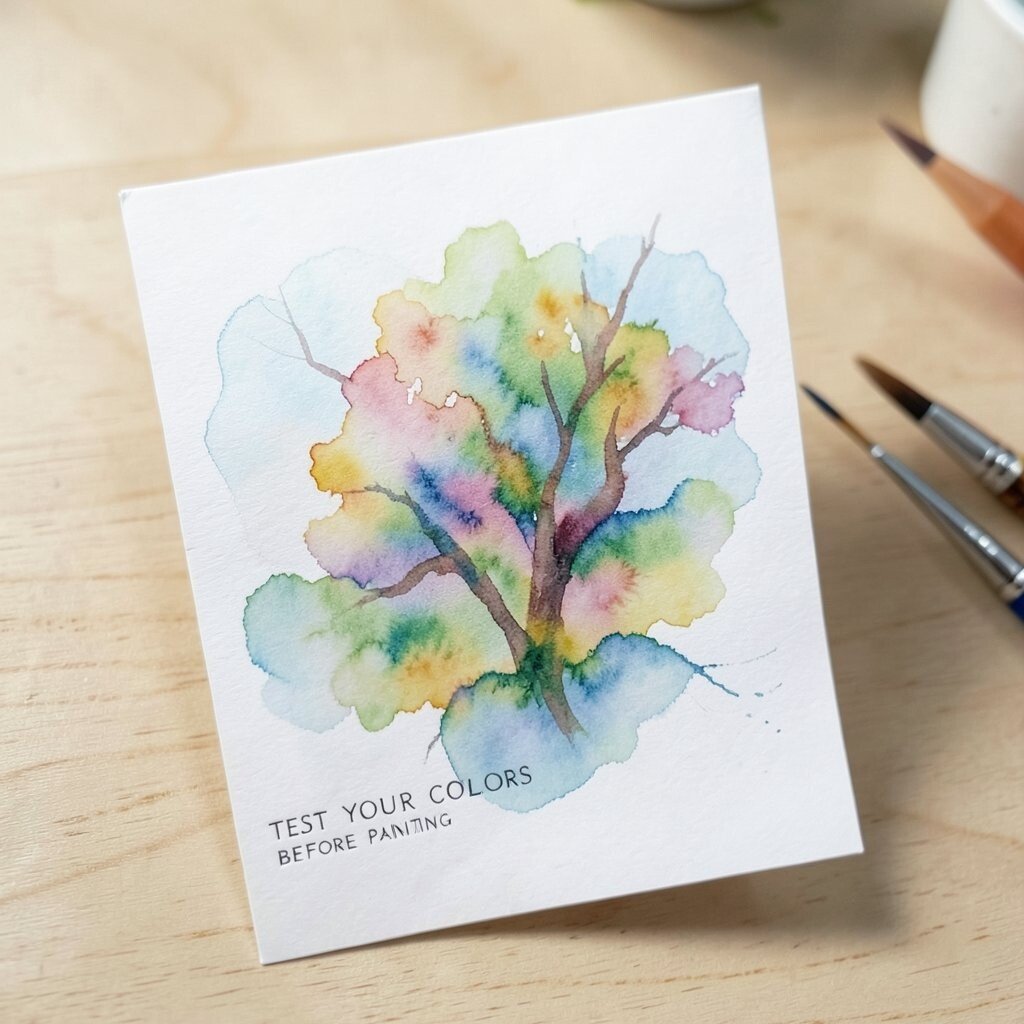
4. Test Your Colors Before Painting the Card
Top Test Your Colors Before Painting The Card Craft Tutorials
- 👓 Tips for beginners painting on cards with acrylics from facebook.com.
- 🎨 Paint Scrape Notecards – DIY Art Project Idea from persialou.com.
- 🗺️ paint card sample ideas from shop.tiktok.com.
- 🍂 Utilizing Paint Samples from behr.com.
- 💅 Credit Card Paint Technique from tulipcolor.com.
Paint swatches on scrap paper before you begin the real card. This helps you see how the colors look when they dry, since watercolor often dries lighter than it looks at first.
A little test strip can save you from using a color that feels too dark or too muddy. It also helps you mix shades that match the mood of your card, like soft pink for sweet notes or cool blue for calm messages. If you are making a gift card, you can even test colors that match the person’s favorite outfit, room, or flower.
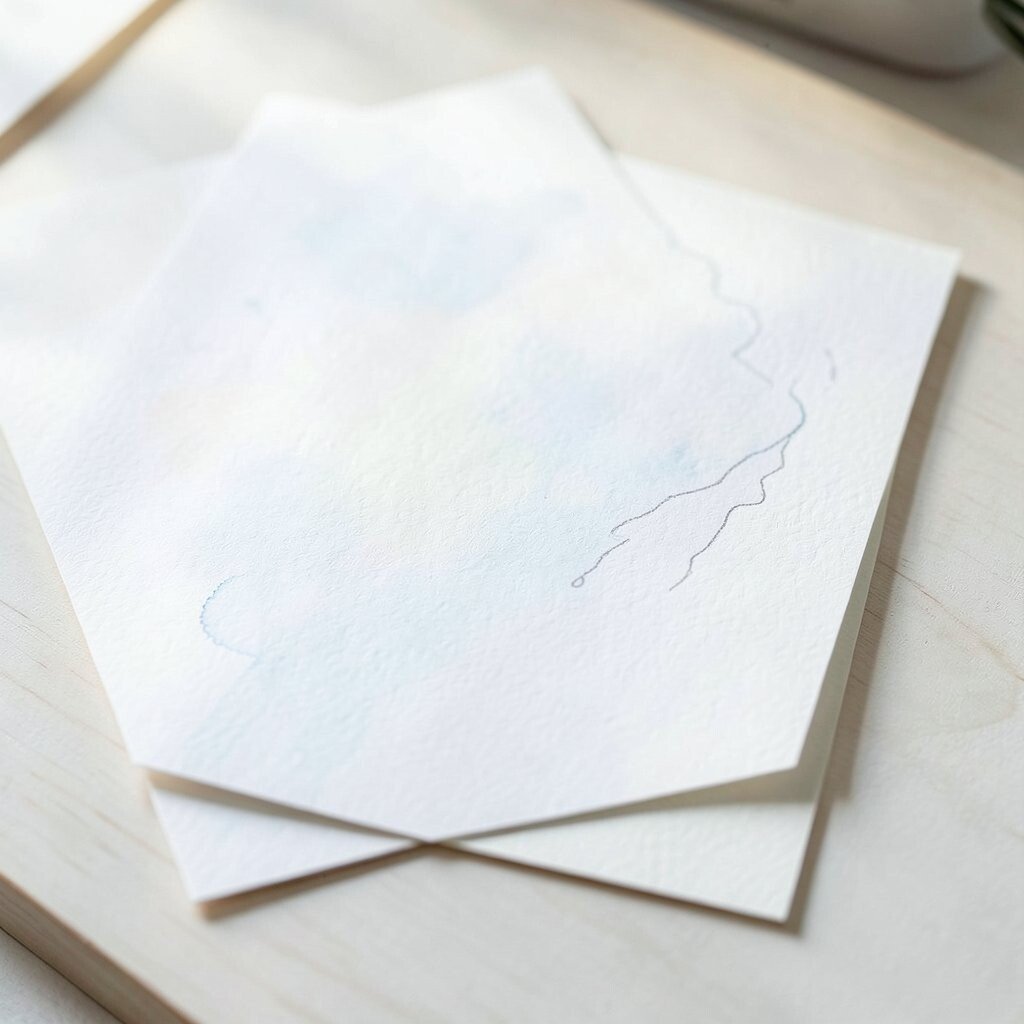
5. Use Light Pencil Marks for a Simple Plan
Top Use Light Pencil Marks For A Simple Plan Craft Tutorials
- 🍁 Hey art Reddit, keeping it short, how should I plan to cover … from reddit.com.
- 🍂 What can I use to hide pencil lines with light-colored … from facebook.com.
- 🍂 The way you hold your pencil determines what kind of mark … from facebook.com.
- 🍂 Which grade of pencil is easy to erase and leaves no marks? from quora.com.
- 🍁 How to Draw Landscapes: Tips for Drawing Trees from samuelearp.com.
A soft pencil sketch can guide your design without taking away the handmade feel. Light lines help you place flowers, words, or borders in the right spot before the paint goes on.
Try drawing very gently so the marks stay easy to hide later. This makes your card look cleaner and gives you more confidence as you paint. Many beginners like this step because it cuts down on mistakes and makes the card feel more polished.
You can personalize the sketch by adding a tiny banner, a favorite pet shape, or a special symbol like a moon or a crown. Keep the design simple so the watercolor can stay the star. If you want to save money, use a regular pencil and a scrap sheet to plan before you touch the card paper.
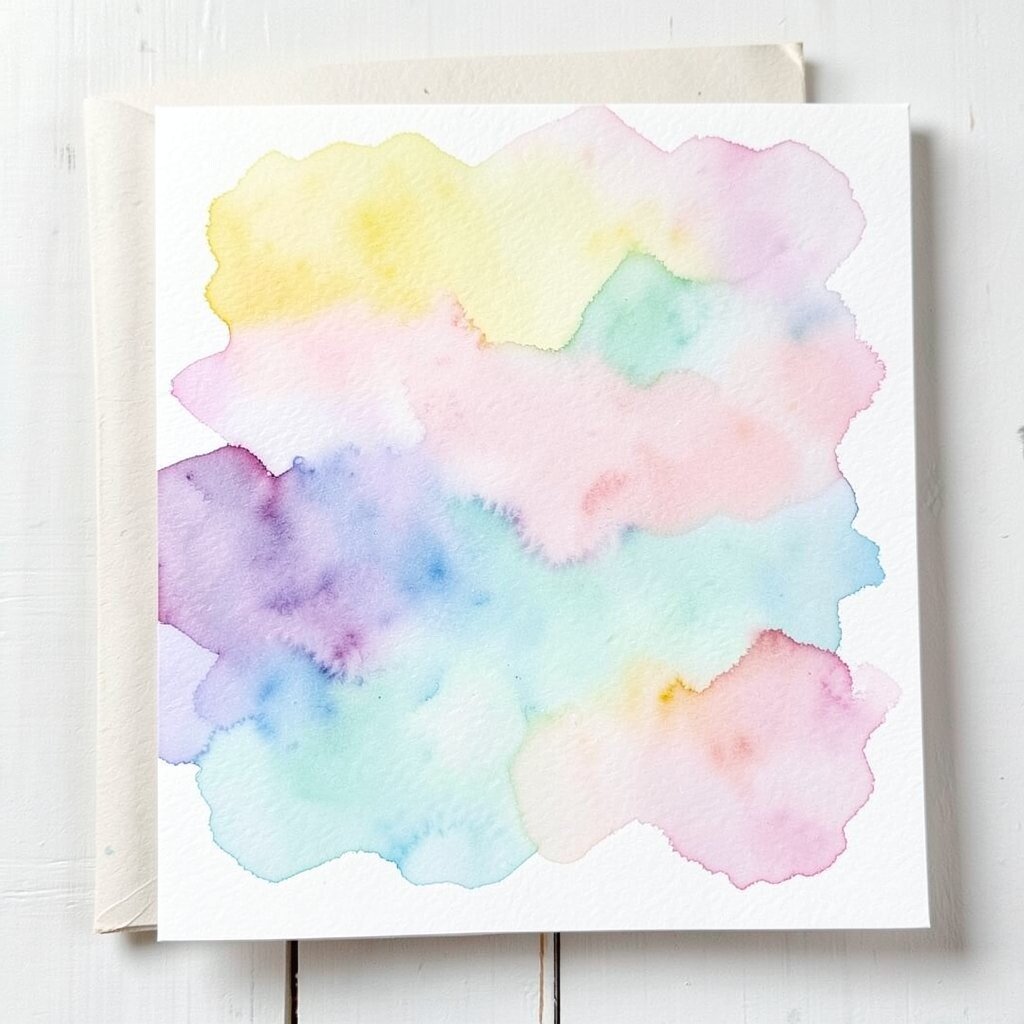
6. Mix Soft Background Washes for a Pretty Base
Top Mix Soft Background Washes For A Pretty Base Craft Tutorials
- 💅 🎨 Graded Wash Watercolor Technique This background … from facebook.com.
- 🎨 Background wash technique video from facebook.com.
- 🎨 Easy Handmade Card Backgrounds: Craft Awesome … from lemon8-app.com.
- 🍁 How do you create the perfect background for your line and … from instagram.com.
- 🖼️ Exploring Watercolor Washes: Techniques for Beautiful … from louisedemasi.com.
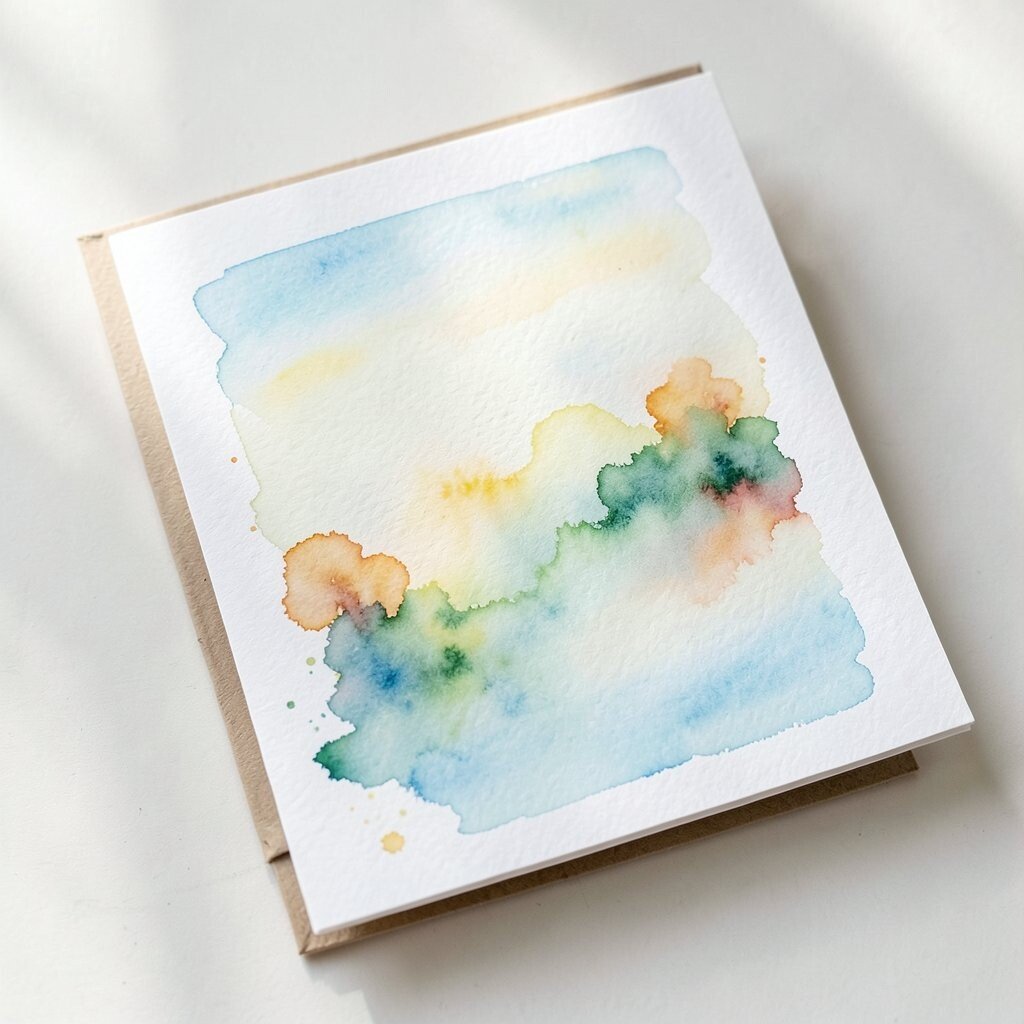
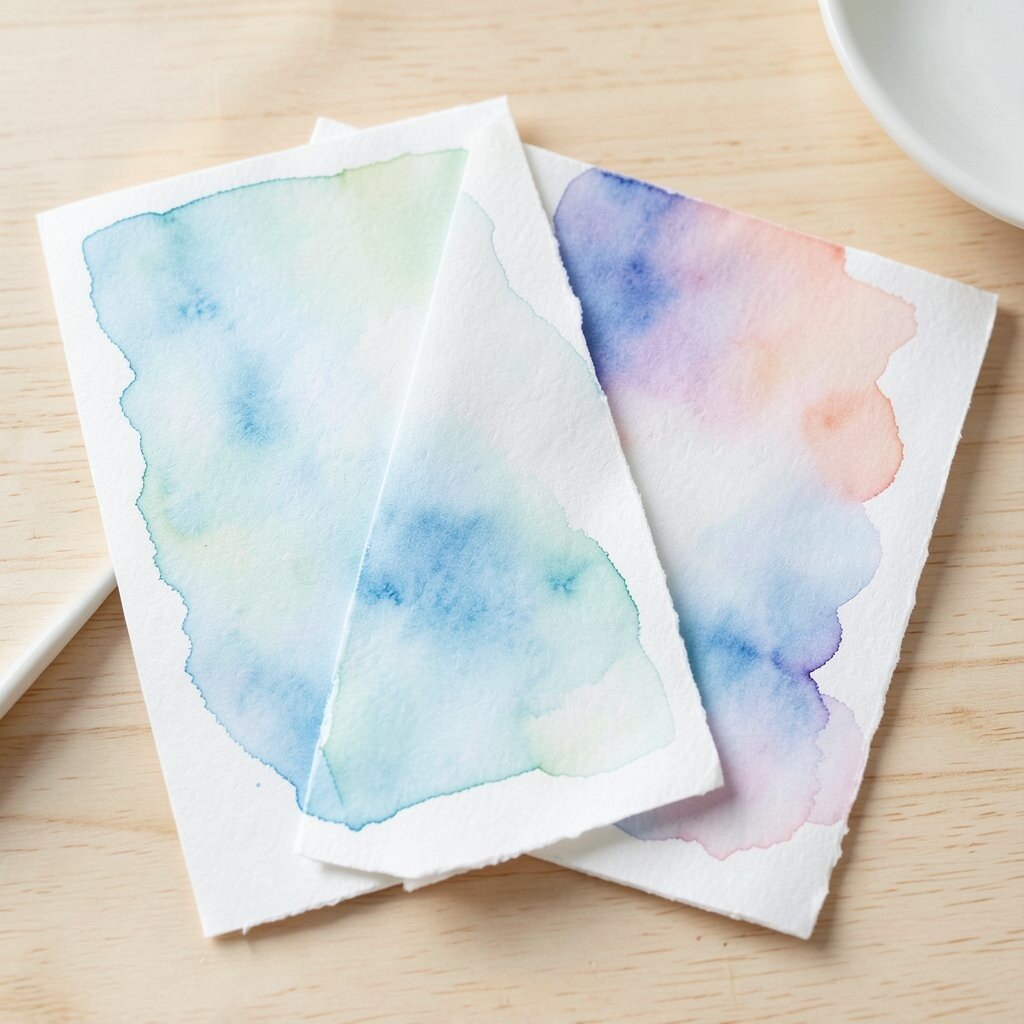
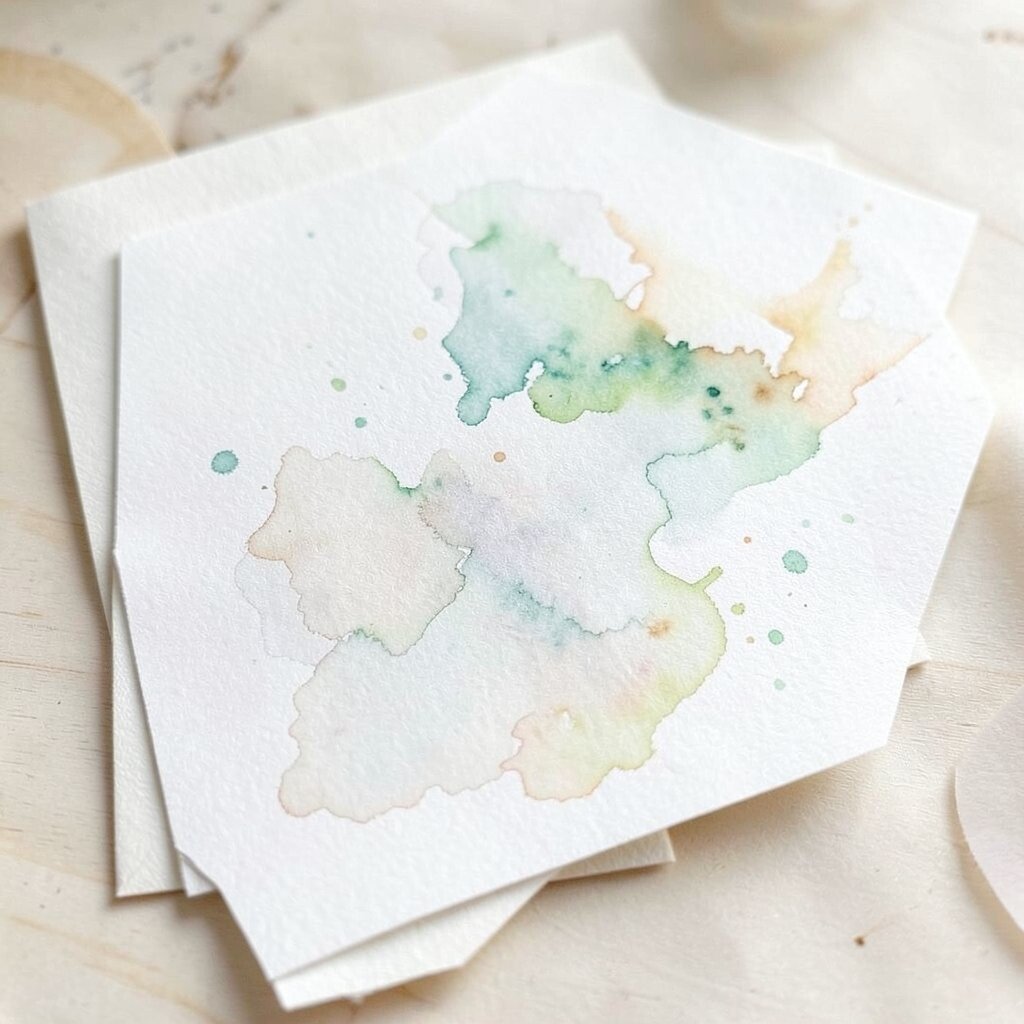
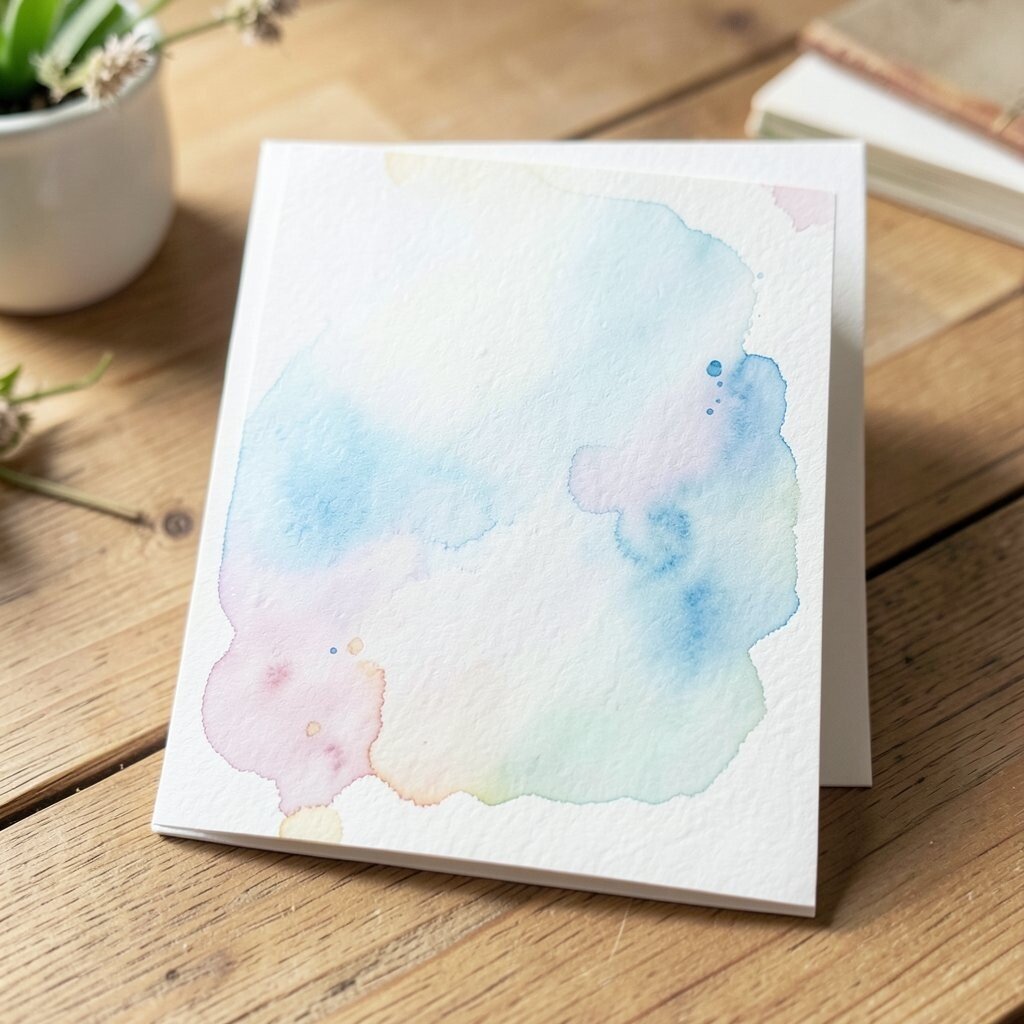
A light wash of color can give your card a dreamy look right away. Soft washes also make the paper feel full and rich without needing a lot of extra work.
Use plenty of water and a gentle brush stroke to spread the color across the page. You can make the wash fade from one side to the other for a calm, modern style. This look is popular now because it feels airy and fresh, and it works for birthdays, thank-yous, and love notes.
Try using a background color that matches the season or the person receiving the card. Pale green can feel springlike, while soft gold can feel warm and festive. A simple wash is also budget-friendly because it uses only a little paint and gives a big visual effect.
Let the wash dry fully before adding details so the colors stay crisp. If you want a more personal touch, write the message in a spot where the background is lighter. That makes the words easier to read and helps them stand out.
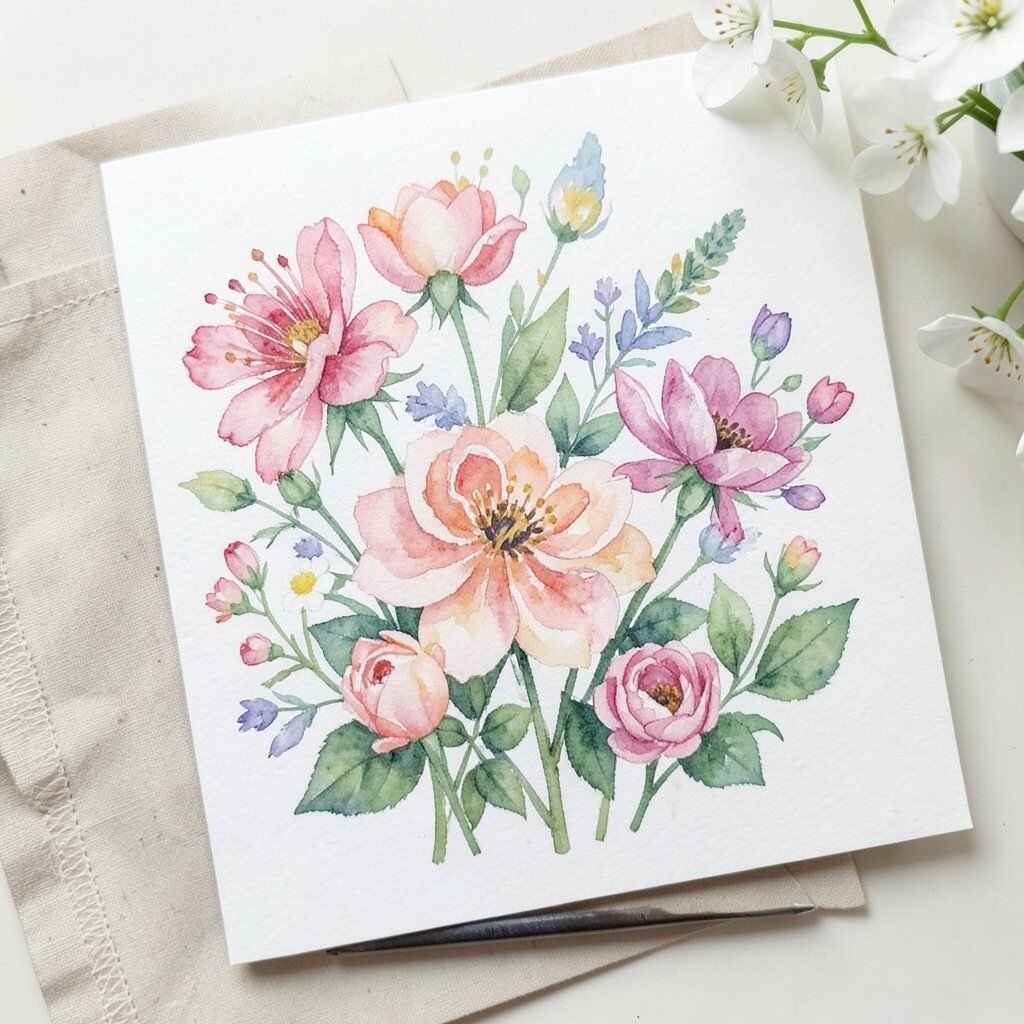
7. Paint Loose Floral Designs for a Charming Look
Top Paint Loose Floral Designs For A Charming Look Craft Tutorials
- 🍅 Watercolor floral ornament painting from facebook.com.
- 🍅 Paint Beautiful Watercolor Flowers in 15 Minutes from apieceofrainbow.com.
- 🍅 5 Easy Loose Watercolor Flowers anyone can paint🤍✨🌼🌸 … from instagram.com.
- 🖼️ Acrylic Gouache Loose Florals from eccentricitiesbyjvg.com.
- 🗺️ how to paint loose watercolor flowers in your art Journal from artfulhaven.com.
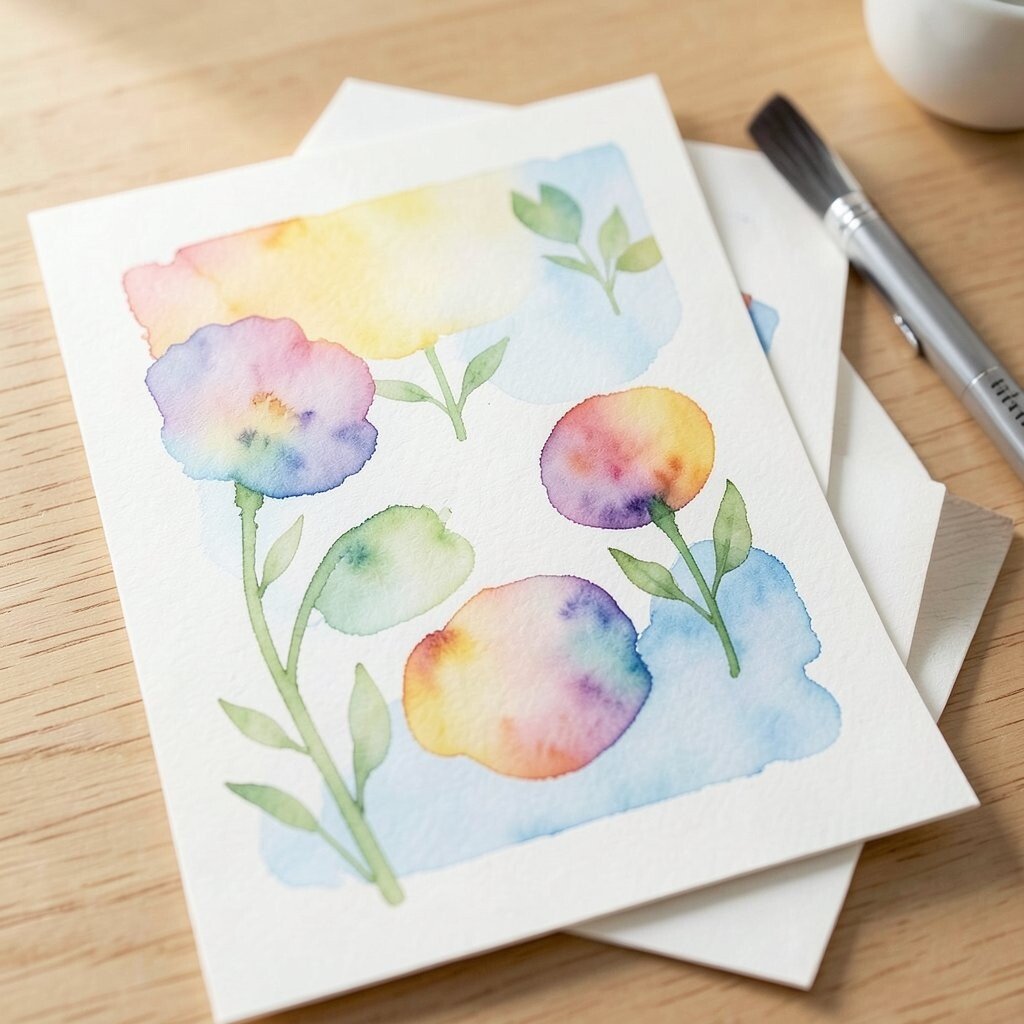
Flowers are a favorite choice because they feel cheerful and kind. Even a few loose petals can make a card look full of life and care.
Try painting roses, daisies, tulips, or tiny wildflowers with simple brush shapes. You do not need to copy real flowers exactly, and that freedom is what makes watercolor fun. A loose floral card feels handmade in the best way and can be changed to fit any person or occasion.
You can make the design more personal by choosing flowers with meaning, like a birth flower or a bloom someone loves. Add green leaves for balance and a fresh look. If you want to keep costs low, one small brush and a few paint colors can create a whole bouquet.
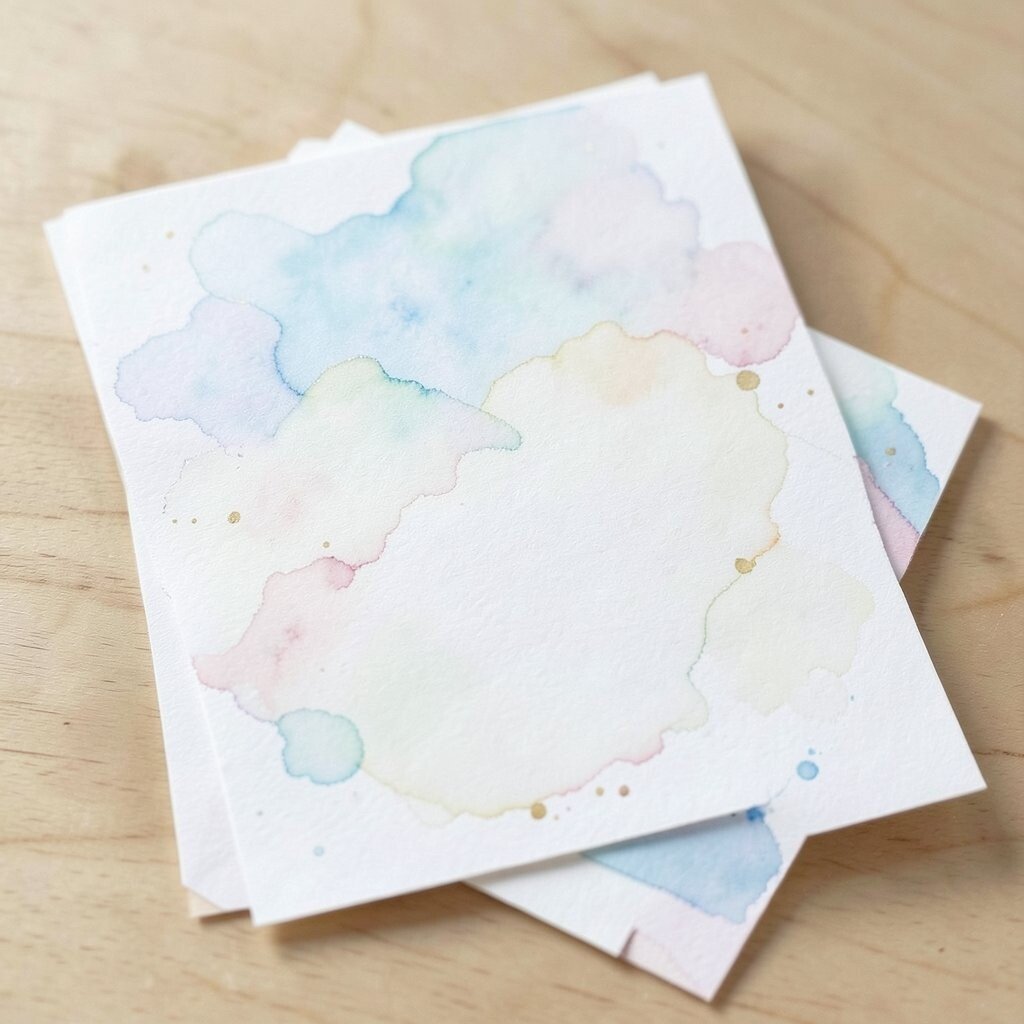
Current card trends often use floral clusters in corners with lots of open space in the center. This style gives your message room to shine. It also feels clean, modern, and easy for beginners to copy.
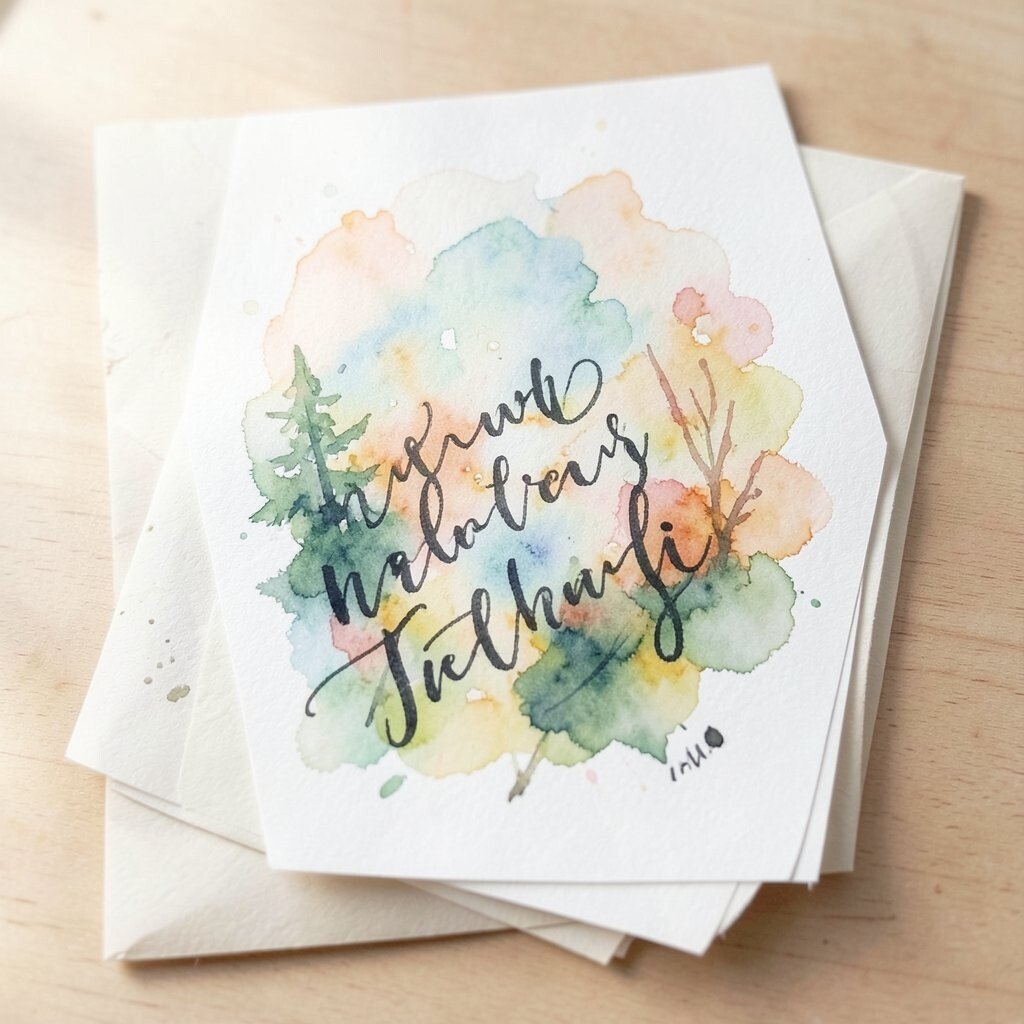
8. Add Hand Lettering That Matches the Painting
Top Add Hand Lettering That Matches The Painting Craft Tutorials
- 💅 Adding calligraphy to easy paintings from facebook.com.
- 👓 DIY Brush Lettering on Canvas with Acrylic from lemonthistle.com.
- 🧑🌾 How To Sign Paint 3D Letters (The ULTIMATE Guide) from lettering-daily.com.
- 👓 How to Develop an Artistic Hand Lettering Style from thepostmansknock.com.
- 🍂 Hand lettering 101 from edding.com.
Words matter just as much as the art, so choose a message that feels warm and true. A short phrase like “Happy Day” or “With Love” can fit nicely with the watercolor style.
Use a pen that will not bleed on the paper, and test it first on scrap paper. Simple block letters or neat cursive both work well, and they can make the card feel more finished. The mix of paint and handwriting gives the card a special handmade charm that store-bought cards often miss.
You can personalize the lettering by writing the person’s name in a fun style or adding a tiny doodle near the words. Try placing the text where it balances the painted art instead of covering it. This keeps the card looking calm and easy to read.
If you are nervous about writing straight, lightly mark guide lines with a pencil first. That small step can make a big difference in how neat the card looks. It also helps beginners feel more relaxed while working on the final piece.
9. Try Easy Texture Tricks for More Interest
Top Try Easy Texture Tricks For More Interest Craft Tutorials
- 🎄 20 Texture making Ideas using Household Items(Part 1) … from facebook.com.
- 🎄 20 Texture techniques – Mont Marte Global from montmarte.com.
- 🧑🌾 How to make textured paint (13 ways) for DIY, art & crafts from clairedouglasstyling.co.uk.
- 🍂 58 Easy Crafts for Adults That You'll Actually Use from purewow.com.
- 🍅 30 Best Crafts for Teens and Tweens from hgtv.com.
Texture can make watercolor cards feel richer and more playful. Small splatters, salt effects, or dry brush marks can add a lovely handmade look.
A few paint flicks can turn a plain background into something full of movement. Salt can create tiny star-like spots when used on wet paint, and dry brush strokes can look soft and fuzzy. These effects are fun because they add surprise without needing extra tools.
Texture is a smart way to make each card unique, even if you use the same colors again and again. It also helps hide small mistakes, which is a nice bonus for beginners. If you want to save money, these tricks use items you may already have at home.
Keep the design balanced so the texture feels like a choice, not a mess. A little goes a long way, especially on a small card. That makes the final piece feel stylish and current without looking too busy.
10. Make Theme-Based Cards for Special Moments
Top Make Theme-Based Cards For Special Moments Craft Tutorials
- 🍂 Paper crafting for special occasions from facebook.com.
- 🎄 How to Create Meaningful Cards for Life's Big Moments from altenew.com.
- 🍅 10 Creative Occasions to Use Pop-Up Cards from viet-craft.com.
- 💅 40 Homemade Cards for Kids to Make from tinkerlab.com.
- 🎨 49+ Card Making Ideas for Kids from redtedart.com.
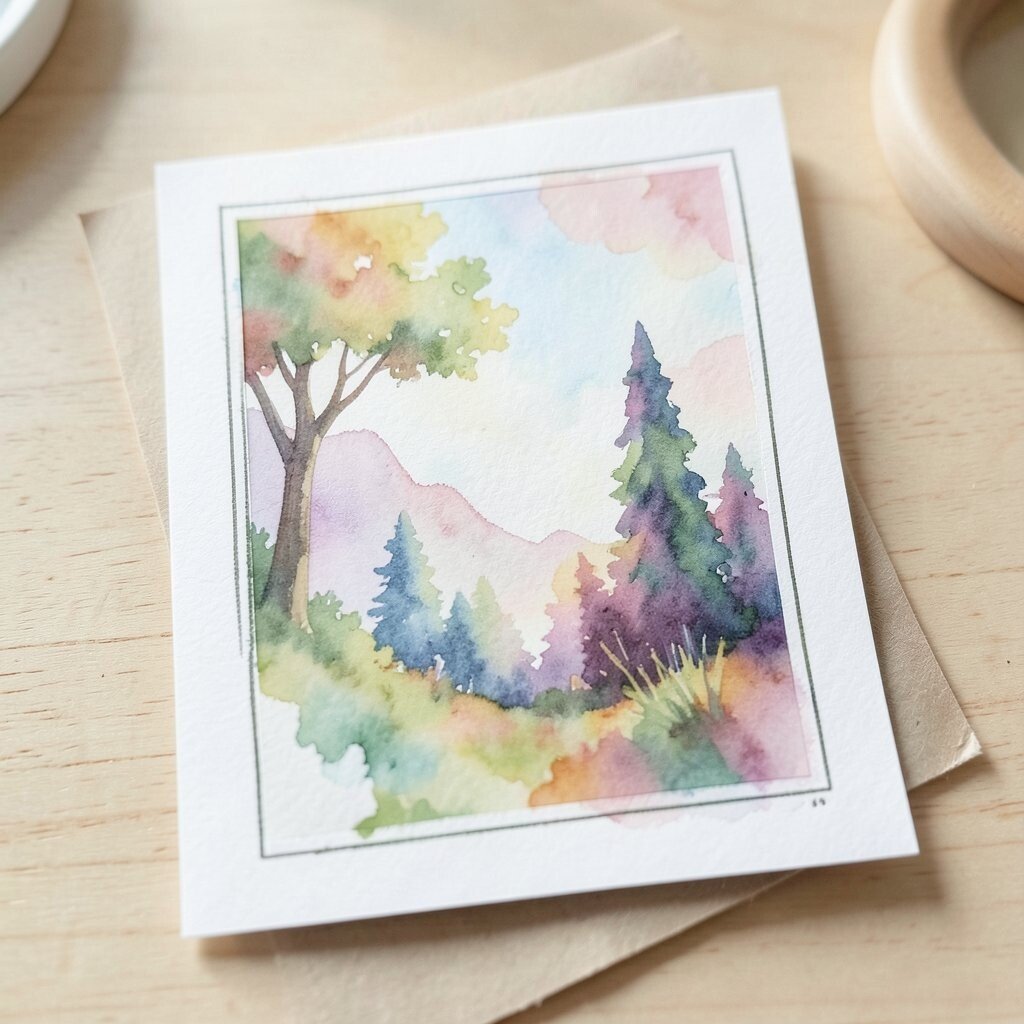
Theme cards are a fun way to match the event or the person. You can paint birthday balloons, holiday trees, baby animals, or even a favorite snack.
These cards are easy to tailor, which makes them feel thoughtful and personal. A themed design also gives you a clear path, so you do not have to guess what to paint. For beginners, having a theme can make the process faster and less stressful.
Think about colors, shapes, and small details that fit the occasion. A spring theme might use fresh greens and yellow flowers, while a winter theme might use blue washes and tiny snow dots. This kind of planning helps you use your supplies wisely and keeps your cost low.
Many people love cards that feel made just for them, and theme-based art does that well. You can add a name, date, or inside joke to make it even sweeter. That little extra touch makes the card feel truly personal.
11. Use Simple Borders to Frame the Art
Top Use Simple Borders To Frame The Art Craft Tutorials
- 🗺️ Paper border design ideas for handmade artwork from facebook.com.
- 🍁 Creating beautiful border and frame designs in fineliner pen. from skillshare.com.
- 🎨 Painting Stencil for Crafts A4 8.3” x 11.8”, Art Deco Frames … from walmart.com.
- 🖼️ 2569 results for "simple border" in all from stock.adobe.com.
- 💅 Easy border design for all #art #craft #diy #teachers from facebook.com.
A border can make the whole card look neat and finished. Thin lines, leafy edges, or dotted frames can guide the eye to the center of the design.
Borders are easy to paint and do not need much time. They also help small watercolor pieces feel more complete, especially when the center has a message or name. A delicate frame is a nice trend because it gives the card a clean, modern look.
You can make the border match the mood of the card by using soft curves, tiny flowers, or tiny stars. This is a great place to add personal style without making the design too crowded. If you want to keep expenses down, one brush and one color can still create a beautiful frame.
Try leaving a little space between the border and the edge so the card feels open and airy. That simple choice can make the art look more polished. It also helps the painted parts stand out without needing extra decoration.
12. Practice Layering for a Richer Finish
Top Practice Layering For A Richer Finish Craft Tutorials
- 🎄 How to improve layering in Cricut crafts? from facebook.com.
- 🧑🌾 Layering🙌 Most watercolor paintings don't look “bad” they … from instagram.com.
- 🍅 Layering Watercolors Art Project for Kids from kidsactivitiesblog.com.
- 🧑🌾 We explore the power of layering in art! Don't randomly add … from facebook.com.
- 🎨 How to layer watercolors beautifully from watercoloraffair.com.
Layering means adding one paint layer after another after the first one dries. This can make your card look deeper, brighter, and more alive.
Start with light shapes and then add darker details on top. For example, paint a pale flower first and then add a darker center or a few shadow petals. The layered look feels more artistic and gives beginners a chance to build skill step by step.
This method is useful when you want the card to feel special without buying more supplies. You can create depth with just a few colors and a little patience. If you like current watercolor styles, soft layered petals and gentle shadows are very in right now.
Personalize the layers by adding tiny details that matter to the person receiving the card. A favorite color in the second layer can make the design feel thoughtful. Just remember to let each layer dry so the colors stay clear and pretty.
13. Turn Mistakes Into Creative Features
Top Turn Mistakes Into Creative Features Craft Tutorials
- 🧑🌾 Turning Cricut mistakes into unique designs and products from facebook.com.
- 🎄 Creativity is allowing yourself to make mistakes art is … from facebook.com.
- 🗺️ Is it considered cheating to get the items you wasted using … from reddit.com.
- 🍁 Fun & Easy Kids Craft Ideas for Creative Play from speechblubs.com.
- 🎨 Decoupage Craft | Day 14 of the 20 Day Creativity Challenge from thecreationstation.co.uk.
Watercolor is forgiving, and that is one reason beginners enjoy it. A small drip or uneven edge can often become part of the design.
If a shape looks too dark, add a lighter wash nearby to soften it. If a petal spreads more than you wanted, turn it into a bigger flower or leaf. This playful mindset keeps the process fun and helps you feel less worried about perfection.
Many beautiful handmade cards come from happy accidents, so do not be too quick to cover everything up. You can add a dot, a line, or a small leaf to make an odd spot look planned. This saves time, cuts waste, and often makes the card more unique than your first idea.
When you make peace with mistakes, your style starts to feel more natural. That relaxed energy often shows in the final card and makes it feel warm and real. It is one of the best parts of making art by hand.
14. Finish With Small Details That Make the Card Shine
Top Finish With Small Details That Make The Card Shine Craft Tutorials
- 🍅 This is amazing! I used all types of shiny and shimmery … from facebook.com.
- 💅 Make Your Artwork Shine with These Stellar Products from plaidonline.com.
- 👓 this card shocked me in the best way.💥💥 #cardmaking # … from instagram.com.
The last touches can make your card feel extra special and ready to give. Tiny dots, metallic pen accents, or a soft wash around the edges can add a lovely final glow.
These small details are easy to add, but they can change the whole mood of the piece. A gold pen line can make a birthday card feel festive, while a few white dots can make a night sky look magical. Many makers love these little extras because they give the card a polished look without much cost.
Think about what the person would like most and add one small detail just for them. Maybe that means a tiny heart, a favorite color, or a little symbol from a shared memory. This is where the card becomes deeply personal and hard to forget.
Keep the finishing touches simple so the card still feels soft and balanced. Too many extras can crowd the design and hide the watercolor beauty. A few careful accents are often enough to make the whole card feel complete and heartfelt.