Watercolor cards can look soft, bright, and full of charm. They are also easier to make than many people think.
With a few simple tools, you can create cards that feel personal and special. The best part is that each one can look different, even when you use the same colors and ideas.
1. Pick Simple Supplies That Make Painting Easy
Top Pick Simple Supplies That Make Painting Easy Craft Tutorials
- 🖼️ What are some basic painting supplies to get started? from facebook.com.
- 👓 Top 15 Must Have Painting Tools from prettyhandygirl.com.
- 🖼️ Start Painting Today: 40+ Easy Ideas for Absolute Beginners from modpodgerocksblog.com.
- 💅 15 Tools to Make Your Painting Project Easier from lowes.com.
- 💅 Craft Store Supermarket Sweep: Prepping for my Flower … from facebook.com.
Start with basic watercolor paper, a small brush, and a beginner paint set. These simple tools can give you a clean and pretty look without much cost.
Thicker paper helps the colors stay bright and keeps the card from bending too much. If you are on a budget, a small pan set and a pack of folded blank cards are a smart choice. This simple setup also makes it easy to practice without feeling worried about wasting supplies.
2. Use Soft Color Washes for a Calm Look
Top Use Soft Color Washes For A Calm Look Craft Tutorials
- 💅 Watercolor tutorial for peaceful landscapes with soft washes from facebook.com.
- 🧑🌾 Exploring Watercolor Washes: Techniques for Beautiful … from louisedemasi.com.
- 👓 Watercolor Painting: Get to Know Your Water & Colors With … from skillshare.com.
- 🎄 Can I water down standard paints to turn them into a wash … from reddit.com.
- 🧑🌾 Mastering Watercolor Techniques for Beginners from creativiu.com.
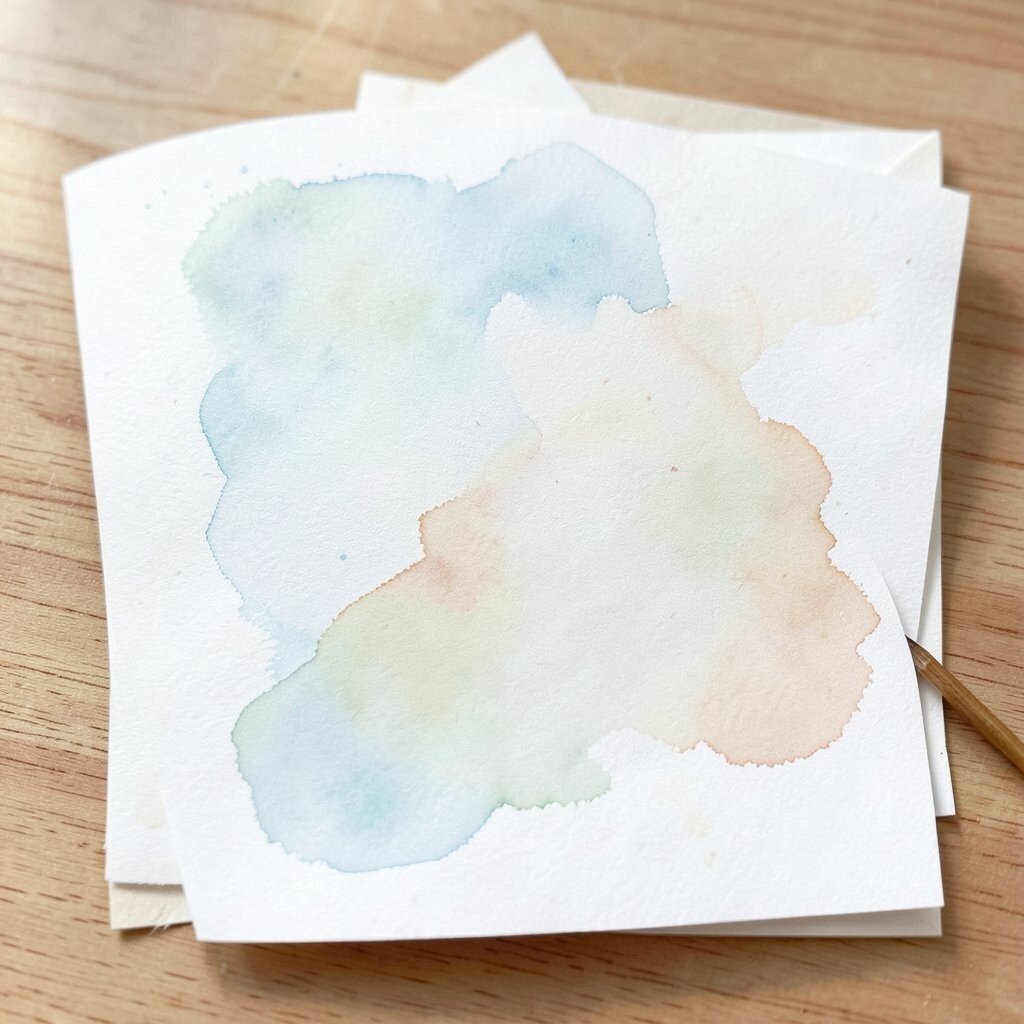
Soft color washes give cards a gentle and dreamy feel. They are great for flowers, skies, hearts, and many other sweet designs.
Wet your brush with plenty of water and add a little paint at a time. Light layers look fresh and airy, which is a style many people love right now. You can also blend two or three colors for a smooth look that feels calm and handmade.
If you want a personal touch, try using favorite colors from a birthday, wedding, or holiday theme. These soft backgrounds make words stand out well, so they work nicely for greetings too. A wash card often looks more polished than a plain white one, even when the painting is very simple.
3. Try Loose Florals for a Pretty Handmade Style
Top Try Loose Florals For A Pretty Handmade Style Craft Tutorials
- 🍁 Trying loose watercolor for florals from facebook.com.
- 👓 Loose watercolor Spring Flowers to brighten your day. 🌸 A … from instagram.com.
- 🍁 Watercolor Loose Florals: Easy Tips for Luminous Flower Art from lemon8-app.com.
- 🍂 how to paint loose watercolor flowers in your art Journal from artfulhaven.com.
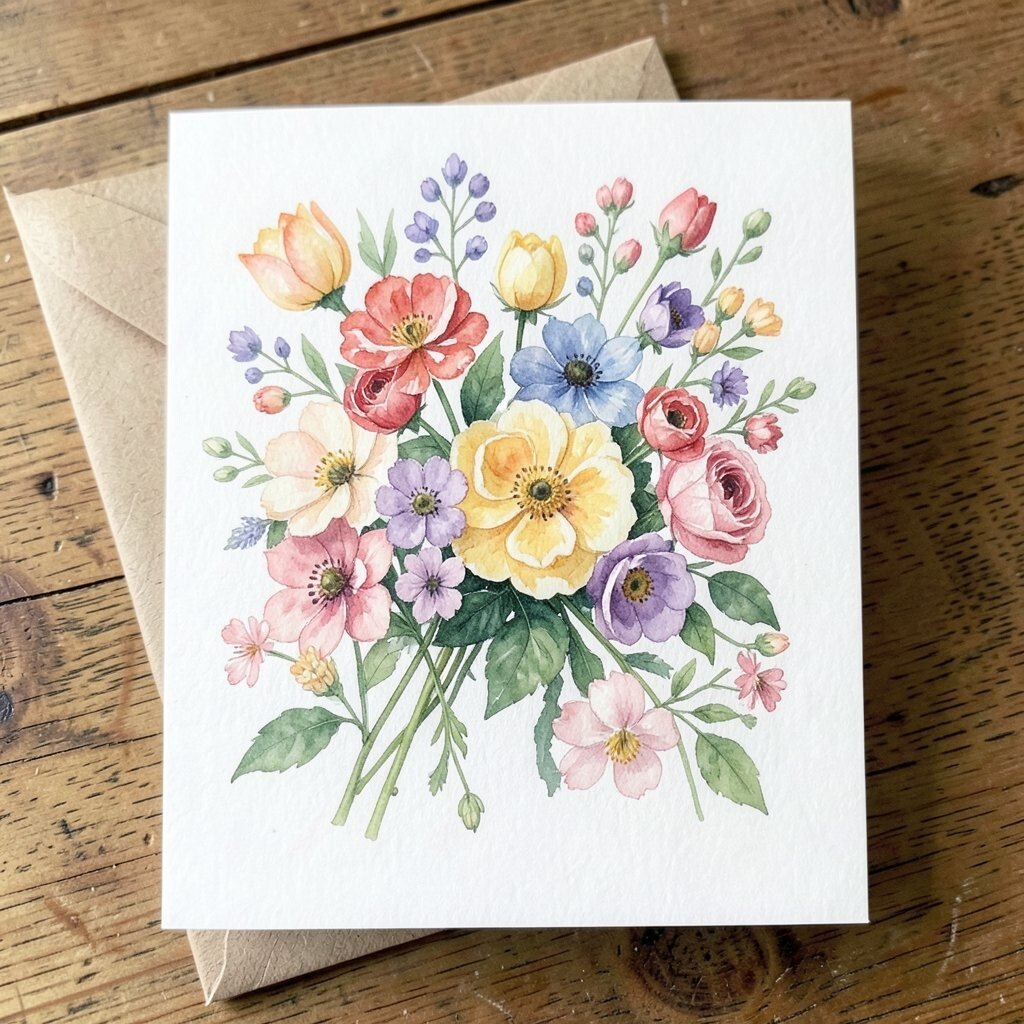
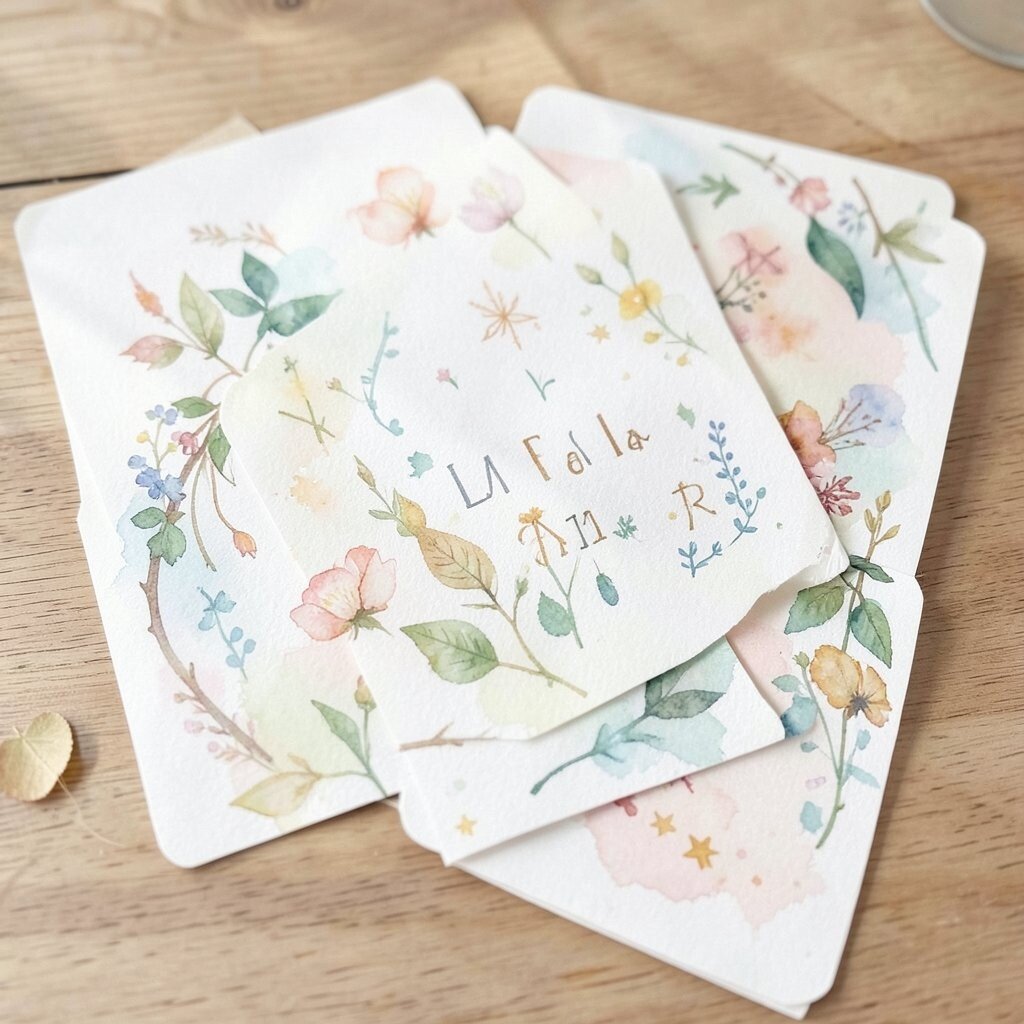
Loose flower shapes are one of the easiest ways to make a card look lovely. They do not need perfect petals, and that makes them friendly for beginners.
Use round brush strokes to make petals, leaves, and tiny dots for centers. A few blooms in one corner can create a balanced look without filling the whole card. This style feels unique because every flower can be a little different, just like in real life.
Many people enjoy floral cards for birthdays, thank-you notes, and spring gifts. You can match the flowers to the season or to someone’s favorite colors. If you want the card to feel extra special, add a short hand-lettered message in the open space.
Loose florals also work well with low-cost tools, so they are kind to your wallet. A small practice sheet can help you test petal shapes before painting the final card. Once you get the hang of it, you can make several cards quickly and still keep each one one of a kind.
4. Add Simple Shapes for a Modern Card Design
Top Add Simple Shapes For A Modern Card Design Craft Tutorials
- 🧑🌾 Creating a sunny card with Tea Boutique DSP and … from facebook.com.
- 👓 Easy Ways to Create Cards With a Modern Aesthetic from altenew.com.
- 👓 Easy DIY Postcards: Craft Your Own Unique Designs! from lemon8-app.com.
- 🍁 Next Level Crafting – 8 Ways To Add Dimension To A … from blog.ellenhutson.com.
- 🍂 IOD – Iron Orchid Designs from facebook.com.
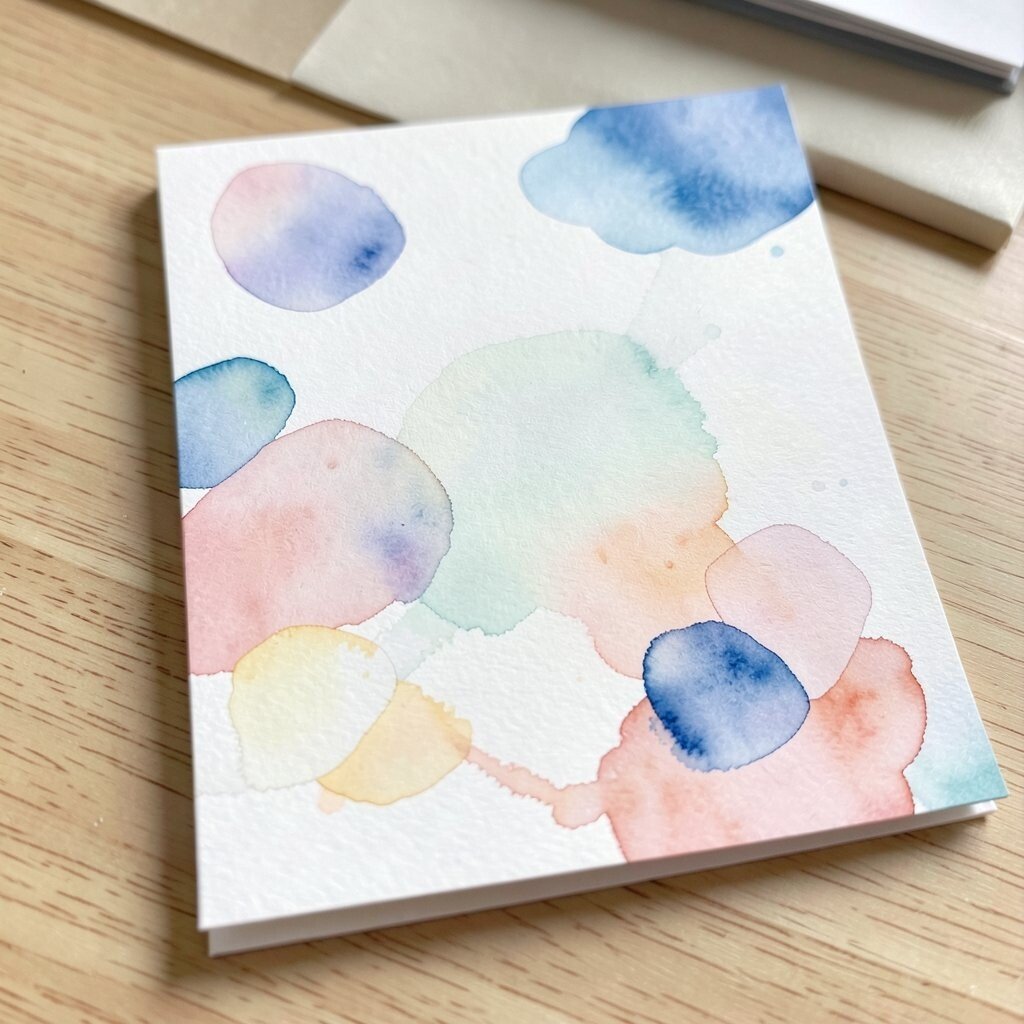
Circles, arches, stripes, and blobs can make watercolor cards look fresh and modern. These shapes are easy to paint and can still look very stylish.
Use tape or a pencil guide if you want cleaner edges. You can fill each shape with one color or layer a few shades for more depth. This idea is popular in current card design because it feels neat, bold, and easy to personalize.
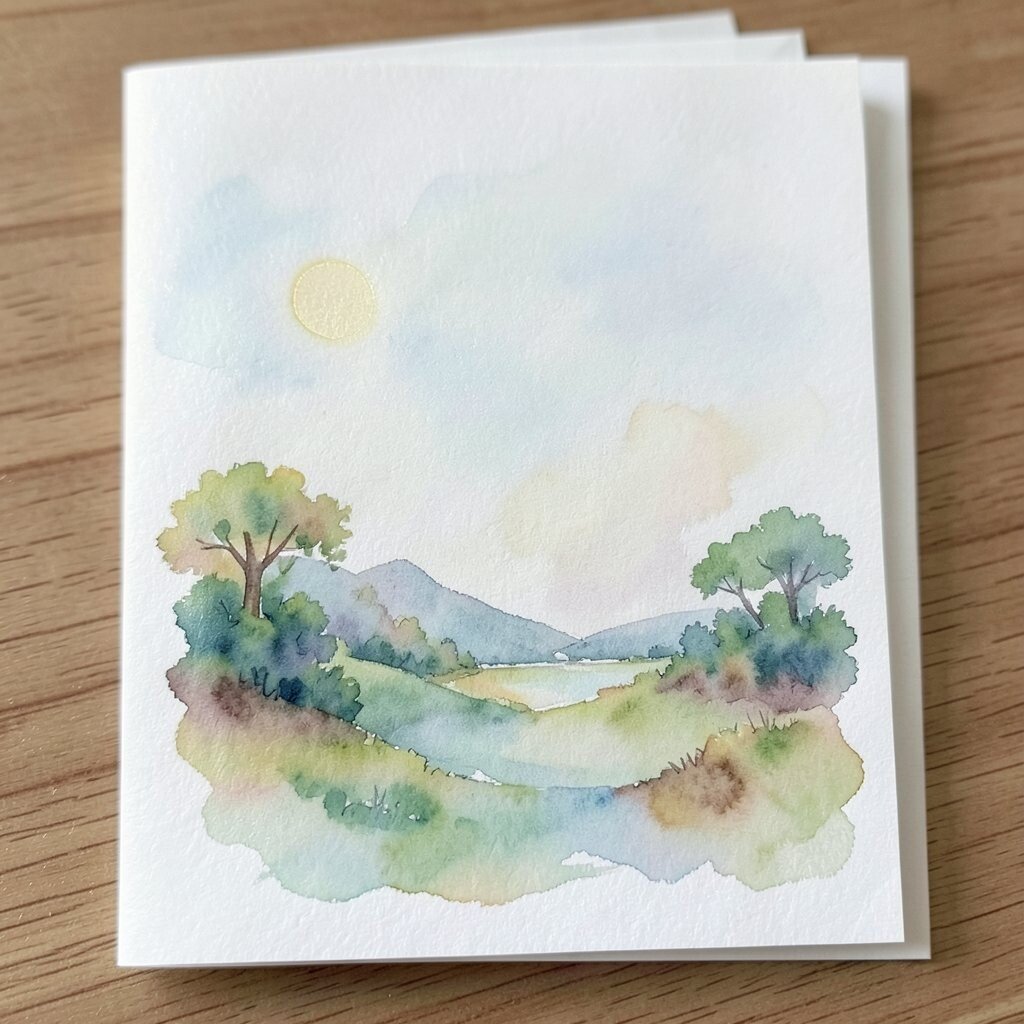
5. Paint Tiny Scenes That Tell a Story
Top Paint Tiny Scenes That Tell A Story Craft Tutorials
- 👓 Paint Splat Desert Scene Craft for Kids 🌵 https://www. … from facebook.com.
- 🖼️ 50 + Art Projects for 3-5 Year Olds from mericherry.com.
- 💅 Arts and Crafts for Kids – Ideas & Inspiration from artycraftykids.com.
- 🍅 'Craft' Stories – Getting Children Writing from sk.sagepub.com.
- 🍅 Crafts With Paint Videos from snapchat.com.
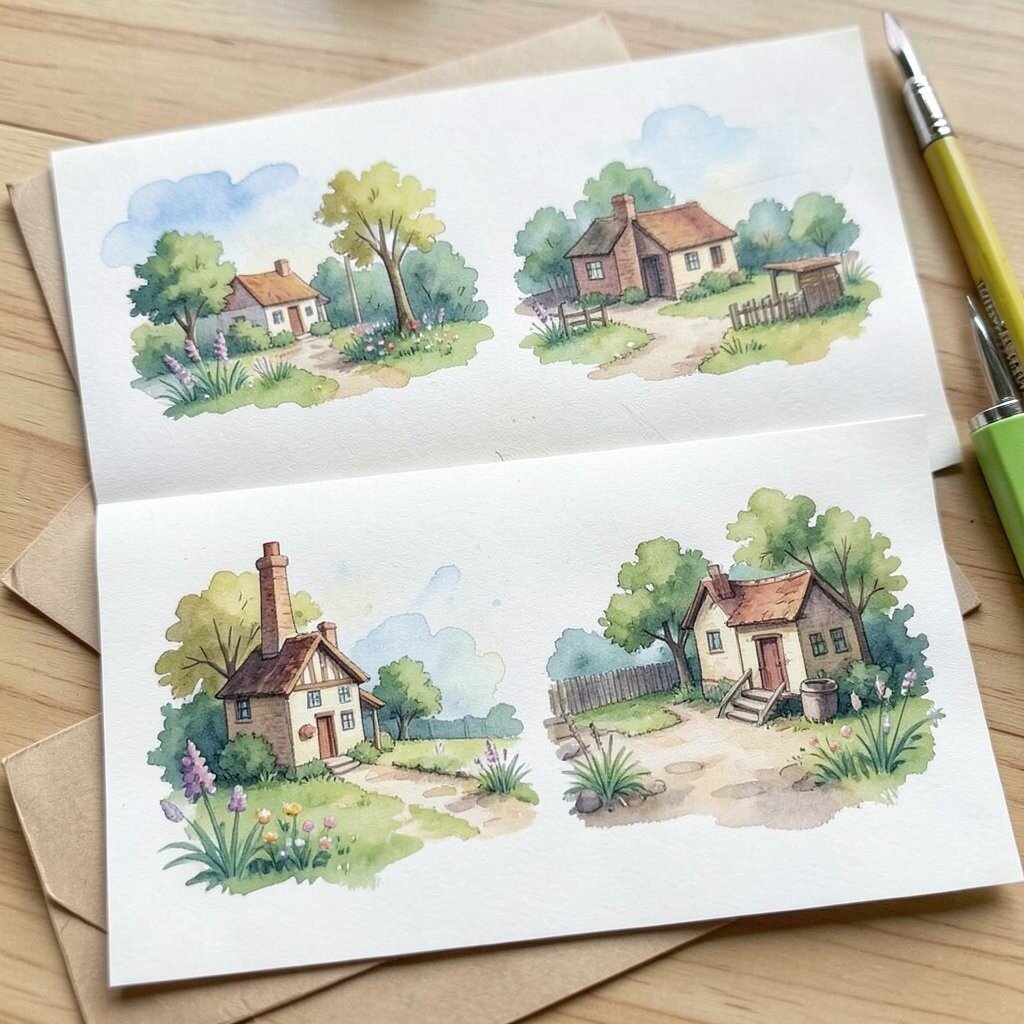
Small scenes can make a card feel warm and thoughtful. A little house, a rainy window, or a cozy mug can say a lot with very little detail.
Keep the scene simple so it stays clear on the card. Use soft outlines and a few color spots to show the main idea without crowding the page. Tiny scenes are special because they can match the person you are giving the card to, which makes them feel more personal.
Try a beach scene for summer, a snowy tree for winter, or a garden path for spring. These cards often become keepsakes because they feel like little pieces of art. If you want to save money, paint several scenes on one practice sheet and cut them into card fronts later.
6. Layer Colors for Richer Results
Top Layer Colors For Richer Results Craft Tutorials
- 🍂 How to make layered color crafts with Cricut from facebook.com.
- 🗺️ How do people figure out how to layer colours in certain … from reddit.com.
- 🖼️ Layering Watercolors Art Project for Kids from kidsactivitiesblog.com.
- 🎨 Drawing from the beautiful layers and rich colours of … from instagram.com.
- 🎨 Building layers with red tones over green tones. #nicolealger from facebook.com.
Layering colors can make your cards look deeper and more alive. It is a simple trick that gives a big visual payoff.
Let each layer dry before adding the next one. This helps the colors stay bright instead of mixing into mud. You can build up shadows, flower petals, or background shapes with just a few gentle passes.
Layered cards often look more finished than flat ones, even when the design is simple. They also give you room to try trendy color blends like peach and coral, blue and lilac, or sage and gold. If you want a unique effect, paint one layer with soft edges and another with sharper details.
This method is useful for beginners because it teaches patience without needing hard skills. You can start with cheap supplies and still make cards that look rich and polished. A little layering can turn a plain card into something people want to save.
7. Use Salt, Plastic Wrap, or Water Drops for Texture
Top Use Salt, Plastic Wrap, Or Water Drops For Texture Craft Tutorials
- 💅 Have you ever tried this watercolor technique? If you add … from facebook.com.
- 🍁 “Rock Solid” watercolor projects using wet in wet and the … from facebook.com.
- 💅 4 watercolor techniques kids should know from instagram.com.
- 🧑🌾 Have you tried salt painting? It's such a fun process art … from facebook.com.
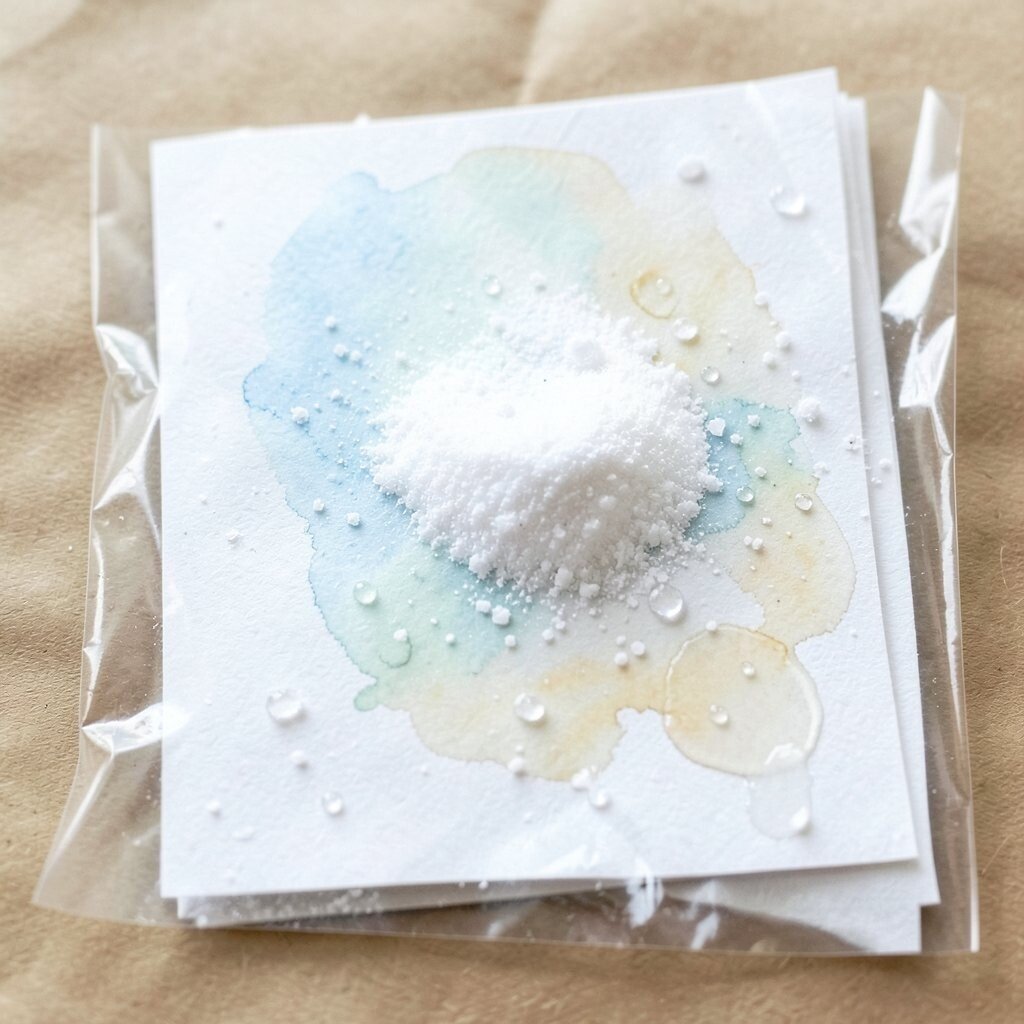
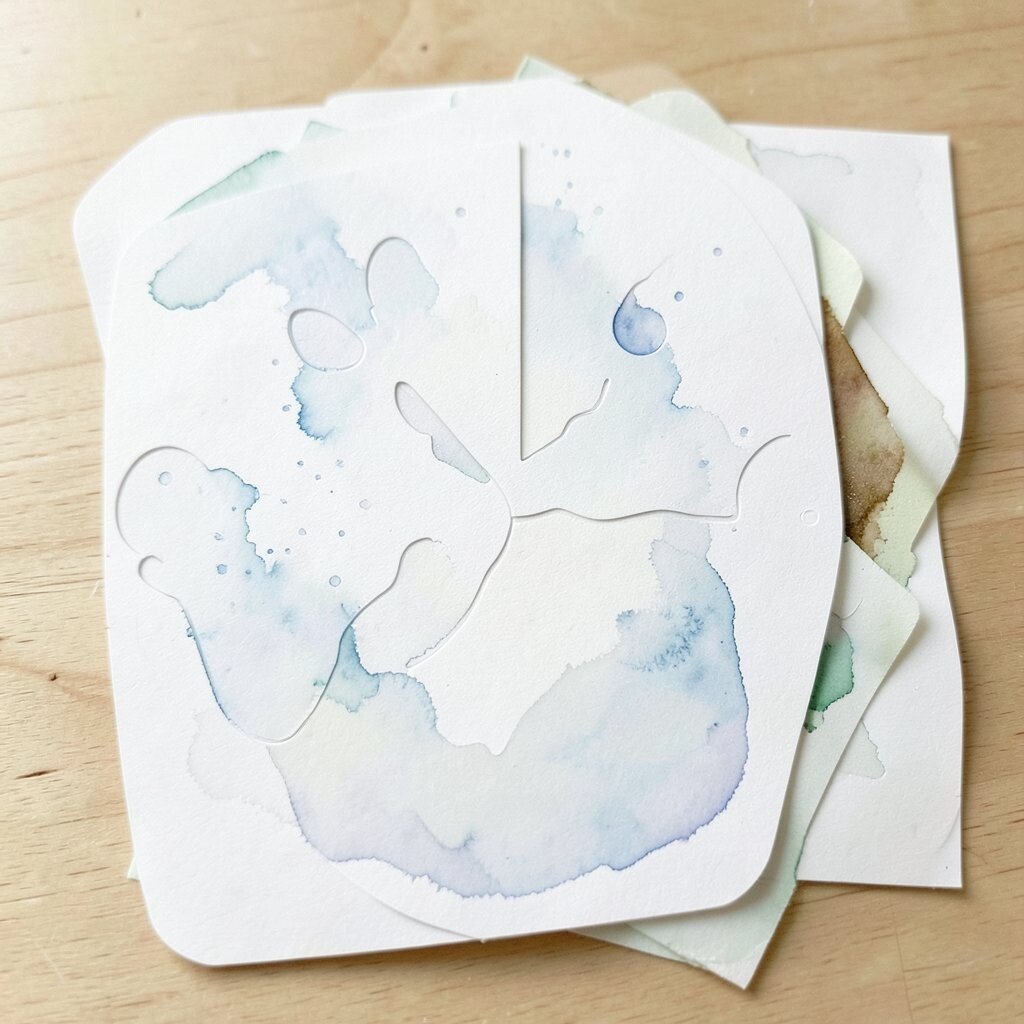
Texture can make watercolor cards feel playful and special. A few simple household items can create fun effects that look magical.
Sprinkle salt on wet paint for a starry or speckled look. Plastic wrap can leave soft wrinkles, and clean water drops can make light blooms in the color. These tricks are easy, low-cost, and great for beginners who want something different.
Try them on a test sheet first so you can see how each one behaves. Some effects work best on very wet paint, while others need a little drying time. Texture is a great way to make cards stand out without adding extra drawing skills.
8. Make Your Own Backgrounds with Easy Color Blends
Top Make Your Own Backgrounds With Easy Color Blends Craft Tutorials
- 🗺️ Quick fix for adding color to backgrounds from facebook.com.
- 🍅 Creating a rainbow background with color blending from facebook.com.
- 🧑🌾 Colliz – DIY Wallpaper Craft – App Store – Apple from apps.apple.com.
- 🎨 DiyDreaming from facebook.com.
- 👓 In this project, I'm combining ink blending with colored … from instagram.com.
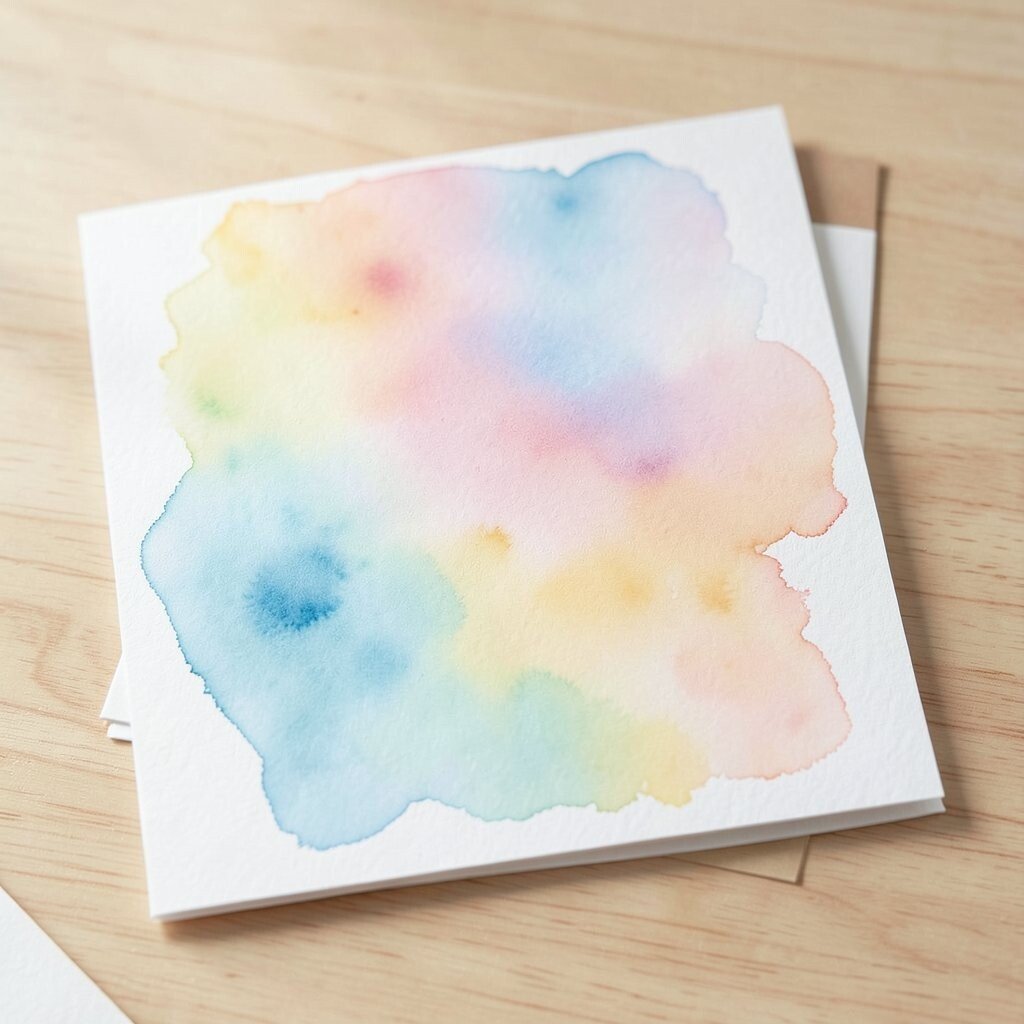
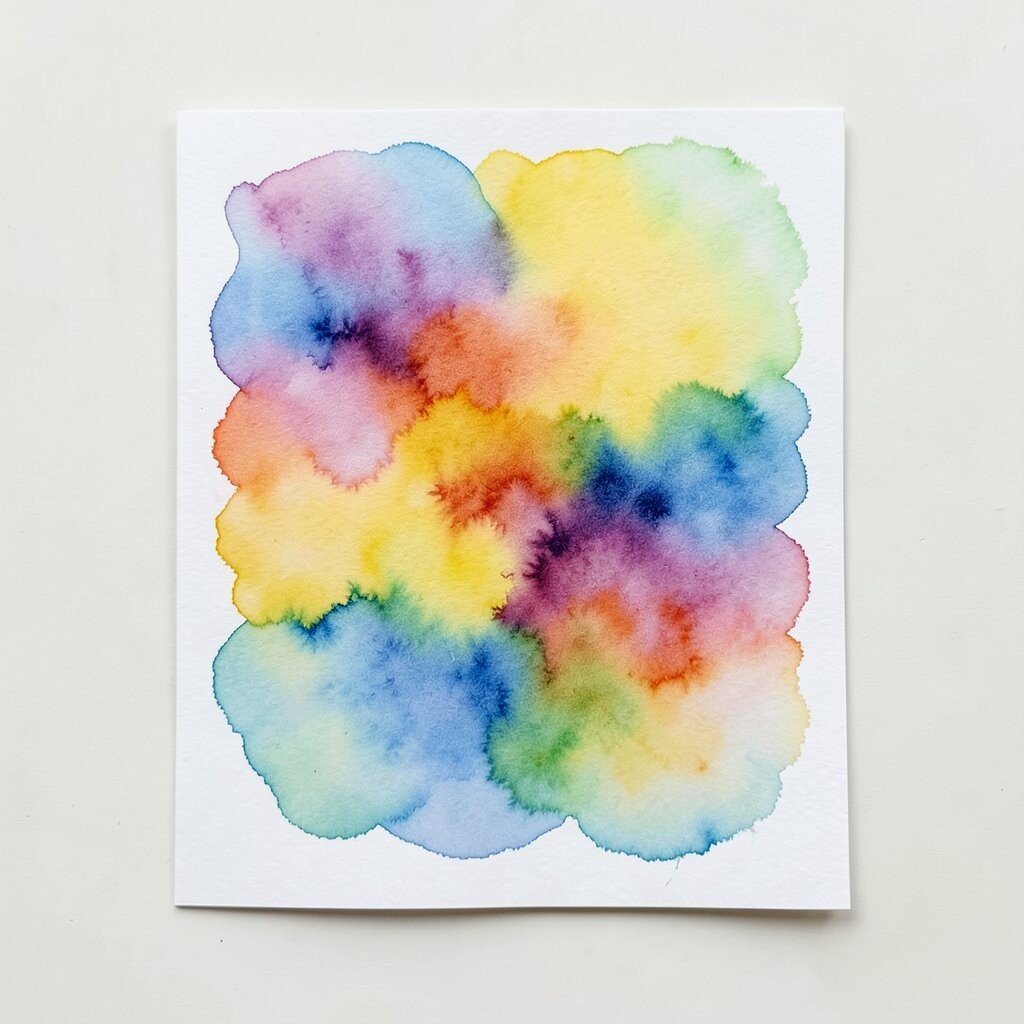
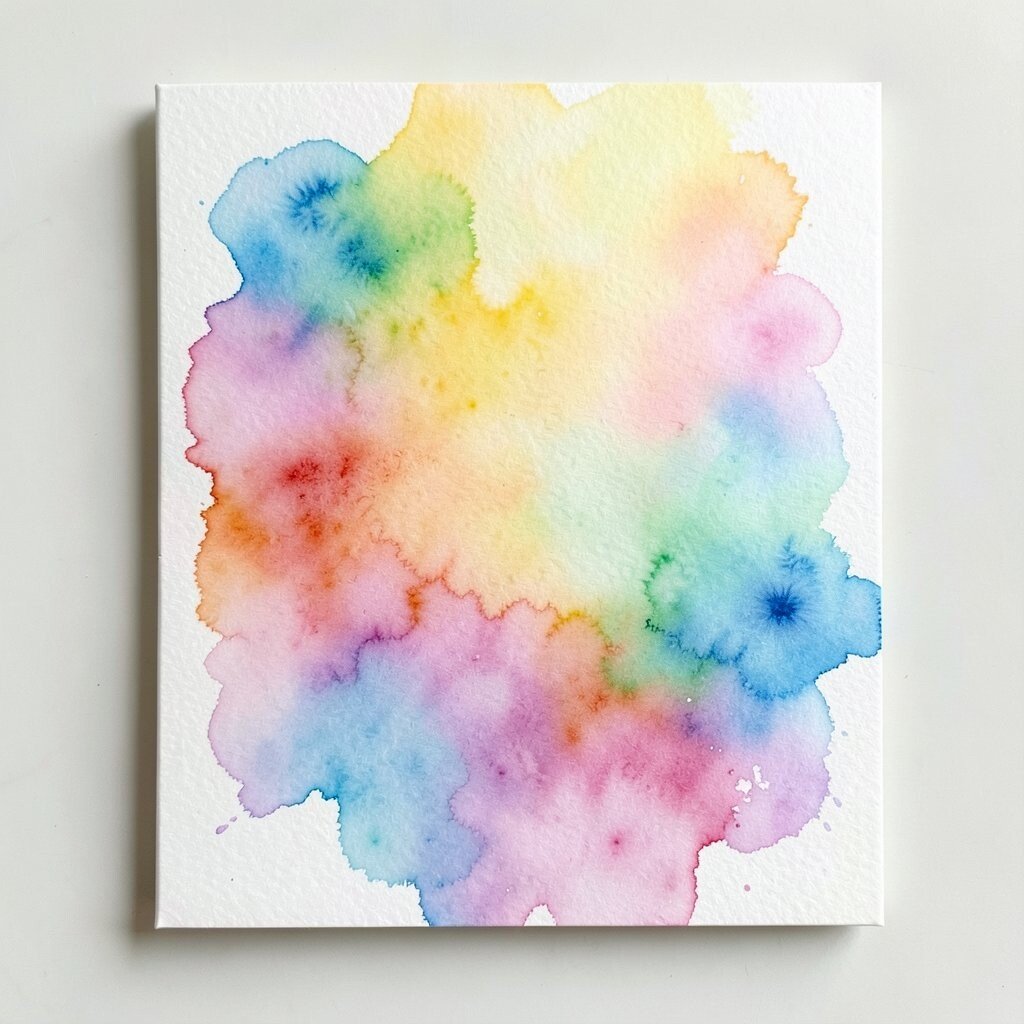
A blended background can set the mood for the whole card. It can look like a sunrise, a misty sky, or a soft wash of color behind a message.
Use two or three colors that sit well together, then blend them with clean water. The colors can fade into each other in a smooth way or stay slightly separate for a dreamy edge. This style is popular because it looks artistic and works for many card themes.
For a personal touch, choose colors that match the season or the person’s style. A pastel background feels sweet, while a bright one feels cheerful and bold. You do not need expensive tools for this look, only a brush, paper, and a little practice.
Soft backgrounds also help your lettering or stamped words stand out. If the card feels too plain, add a small flower, star, or heart after the background dries. That tiny detail can make the whole design feel complete.
9. Add Hand Lettering for a Personal Message
Top Add Hand Lettering For A Personal Message Craft Tutorials
- 🎄 Pretty Handwriting & Lettering Made Easy from inmyownstyle.com.
- 🍁 Get Creative with Hand Lettering ! 🤩🌈🖍️ from facebook.com.
- 🖼️ How to hand letter with background graphics and make … from facebook.com.
- 💅 Hand Lettering For Beginners Videos from snapchat.com.
- 🍂 Taking Up Hand Lettering or Calligraphy from captel.com.
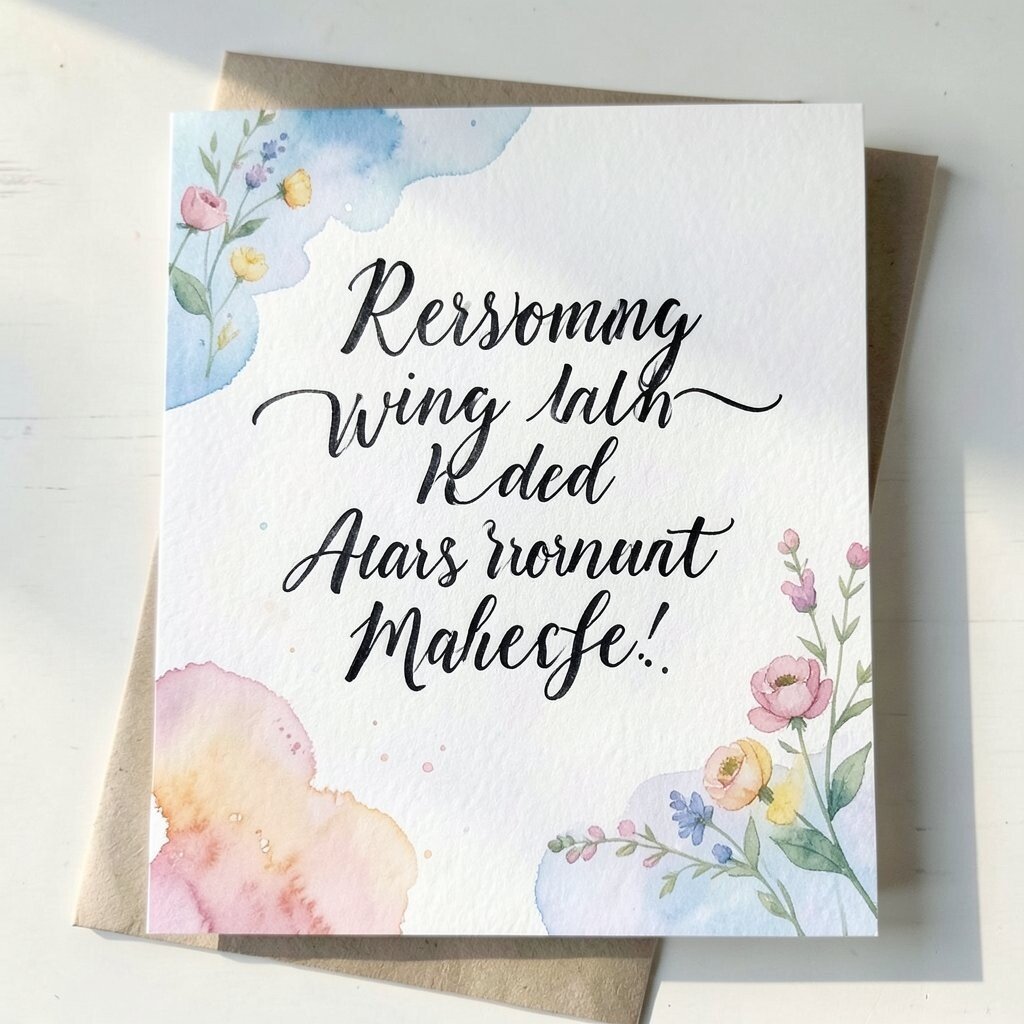
Hand lettering can make a watercolor card feel warm and thoughtful. Even simple block letters can look beautiful when placed on a painted background.
Write the message lightly in pencil first if that helps you feel steady. Then trace it with a fine pen or paintbrush once the card is dry. A short phrase like “Happy Day” or “Thank You” can look charming and easy to read.
Many handmade cards feel more special because the words and art work together. You can match the lettering color to the flowers, background, or border for a neat look. If you are new to lettering, start with one word and keep the rest of the card soft and simple.
10. Use Stencils, Stamps, or Tape for Clean Shapes
Top Use Stencils, Stamps, Or Tape For Clean Shapes Craft Tutorials
- 🗺️ I used stencils for the shapes and words. from facebook.com.
- 🎄 All You Need To Know About Stencils from altenew.com.
- 🖼️ Masking tape crafts: 10 DIY washi tape ideas from craftychica.com.
- 🍂 Art Stamps, Stencils, Masks – No Drawing Required! from craft-e-corner.com.
- 🎄 Stamp and Stencil Crafts for Kids | HowStuffWorks – Lifestyle from lifestyle.howstuffworks.com.
Tools like stencils, stamps, and tape can help you get neat results fast. They are useful when you want a card to look tidy and modern.
Painter’s tape can make crisp edges, while stamps can add quick shapes or words. Stencils are helpful for hearts, stars, circles, and other repeated forms. These tools are a smart choice if you want to make several cards at once without spending much money.
You can also mix these tools with freehand painting for a more personal style. For example, stamp a shape, then paint inside it with soft watercolor layers. This blend of clean and loose looks fresh and current, and it keeps each card from feeling too stiff.
Try different tools to see what feels best in your hands. Some people like the control of tape, while others enjoy the surprise of stamps. A little testing can help you find a style that feels fun and easy to repeat.
11. Create Seasonal Themes for Gifts and Events
Top Create Seasonal Themes For Gifts And Events Craft Tutorials
- 🎄 Unique seasonal craft ideas for craft shows from facebook.com.
- 🗺️ Craft Show Roundup – Over 30 Handmade Gift Ideas To … from handmakewithlove.com.
- 🍂 The Top Crafting Ideas For 2026 You'll Want to Try This Year from my100yearoldhome.com.
- 🍅 Michaels: Arts & Crafts, Frames, Seasonal Décor | DIY … from michaels.com.
- 💅 Canadian Crafter's Calendar – Seasonal ideas from yxecreations.com.
Seasonal cards are always useful because they fit holidays, birthdays, and special moments. They can also help you practice different colors and shapes all year long.
Think of spring flowers, summer fruit, autumn leaves, or winter snowflakes. These ideas are easy to paint and can be made in many ways, from soft and dreamy to bright and bold. Seasonal cards feel timely, and that makes them a nice choice for gifts or party notes.
You can personalize them by adding names, dates, or favorite colors. A winter card with blue berries or a fall card with orange leaves can feel extra thoughtful. If you want to keep costs low, use the same card base and change only the painted design.
Seasonal themes are also great for selling or sharing if you make cards often. People like designs that fit the time of year, and that can make your cards feel more useful. A small set of themed cards can give you many options without needing a huge supply list.
12. Finish with Small Details That Make the Card Shine
Top Finish With Small Details That Make The Card Shine Craft Tutorials
- 🧑🌾 What causes shine on handmade cards? from facebook.com.
- 🖼️ Make Your Cricut SVG Card Shine! | CR 287 from amyulen.com.
- 🍅 Did you make this cutest little gnome card? Complete with … from facebook.com.
Little details can take a card from nice to truly memorable. A dot, a gold line, or a tiny leaf can add just enough charm.
Use a white pen, fine marker, or metallic paint to add highlights after the watercolor is dry. These bright touches can make petals pop, edges sparkle, or lettering stand out. They are also a fun way to make your cards feel unique without much effort.
Small details are perfect for beginners because they do not need a lot of time or skill. They can hide tiny mistakes, balance empty spaces, and make the whole design feel finished. If you want a trend-friendly touch, try simple gold accents or minimal line art over soft watercolor shapes.
Think about the person who will get the card and add one small detail that fits them. A tiny star for a dreamer, a leaf for a nature lover, or a heart for a close friend can make the card feel more personal. With just a few careful touches, your watercolor card can look polished, warm, and ready to give.