
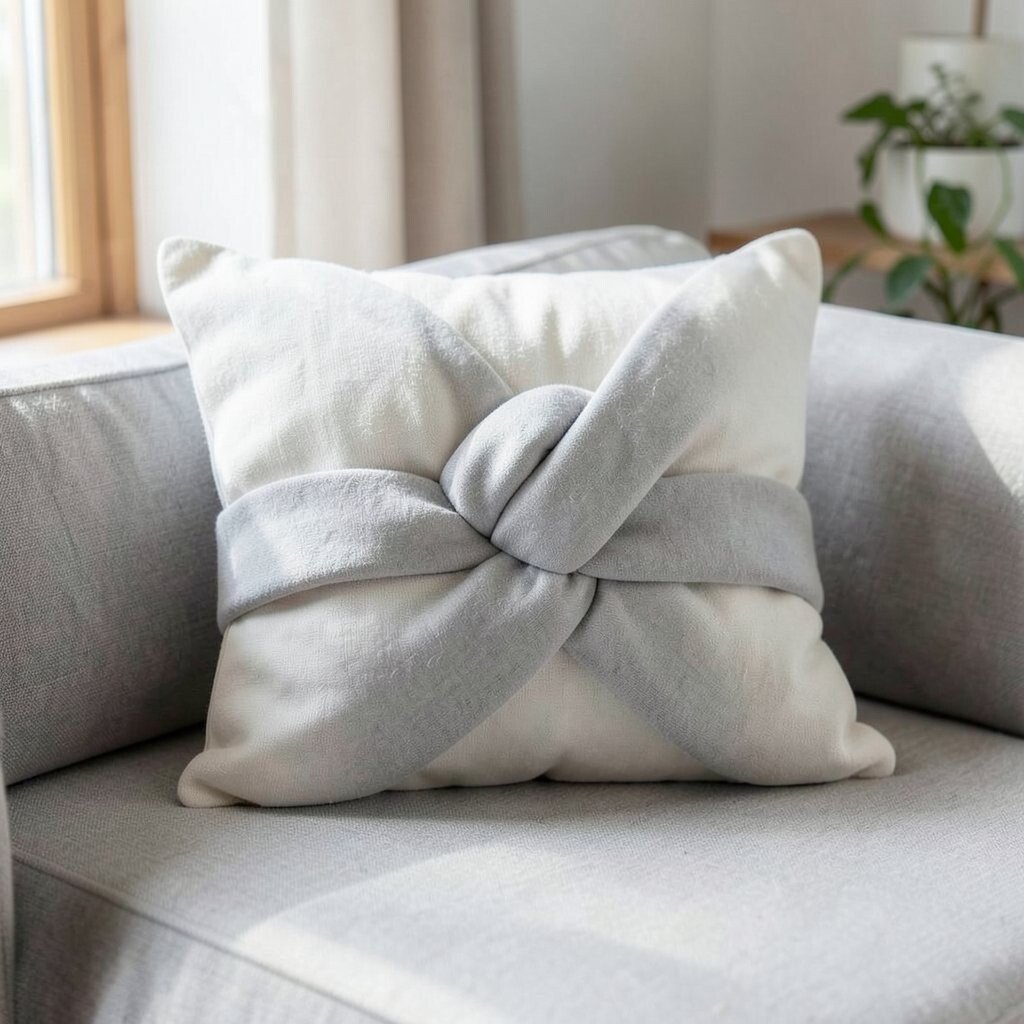
Soft knots can make a room feel cozy in a snap. This project looks fancy, but it is easier than it seems.
1. Pick a pillow style that fits your space
Top Pick A Pillow Style That Fits Your Space Craft Tutorials
- 🖼️ How to Choose the Pillow for Side, Back & Stomach Sleepers from bedsurehome.com.
- 🍁 The 5 Best Bed Pillows of 2026 | Reviews by Wirecutter from nytimes.com.
- 🍂 The Best Pillows of 2026: Expert Tested and Reviewed from sleepfoundation.org.
- 👓 The Best Travel Pillows for Long-Haul Flights, According to … from cntraveler.com.
- 🎄 I get SO many questions about how to style pillows! There … from facebook.com.
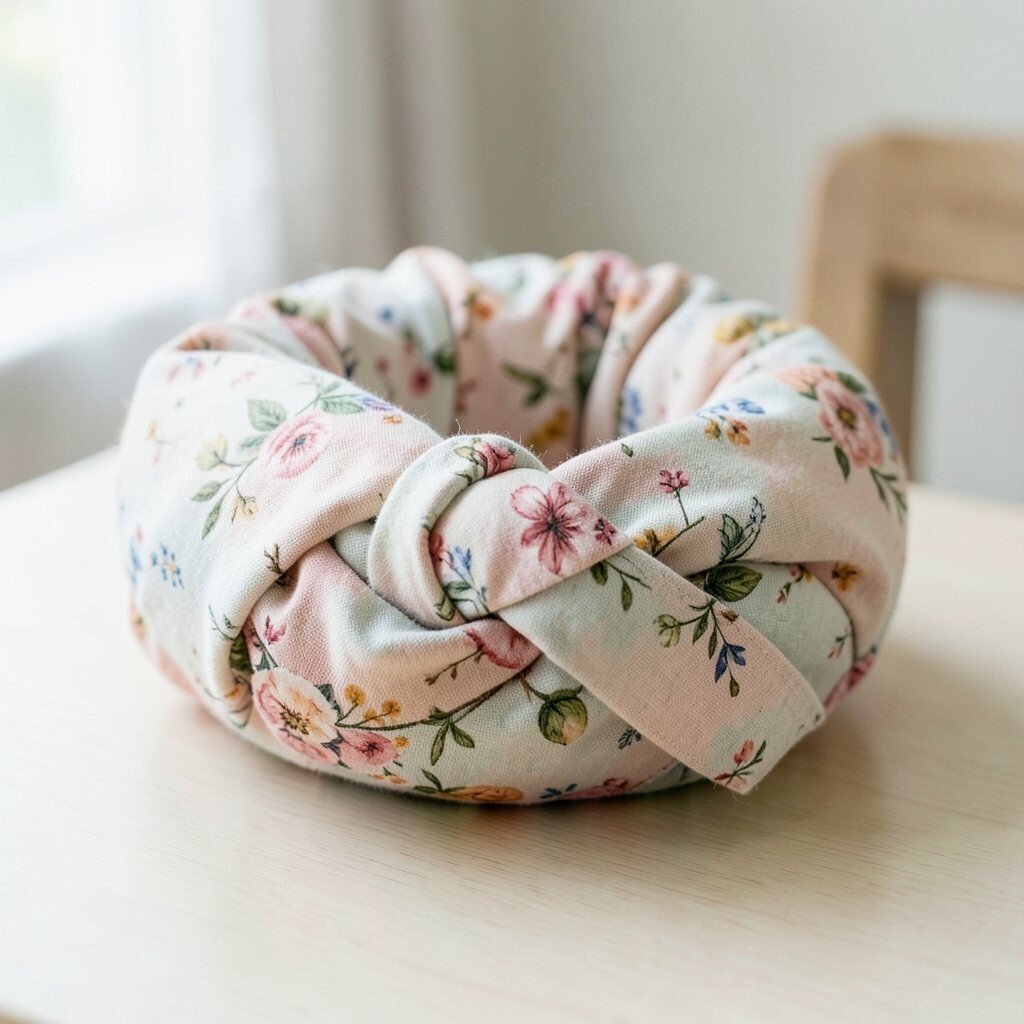
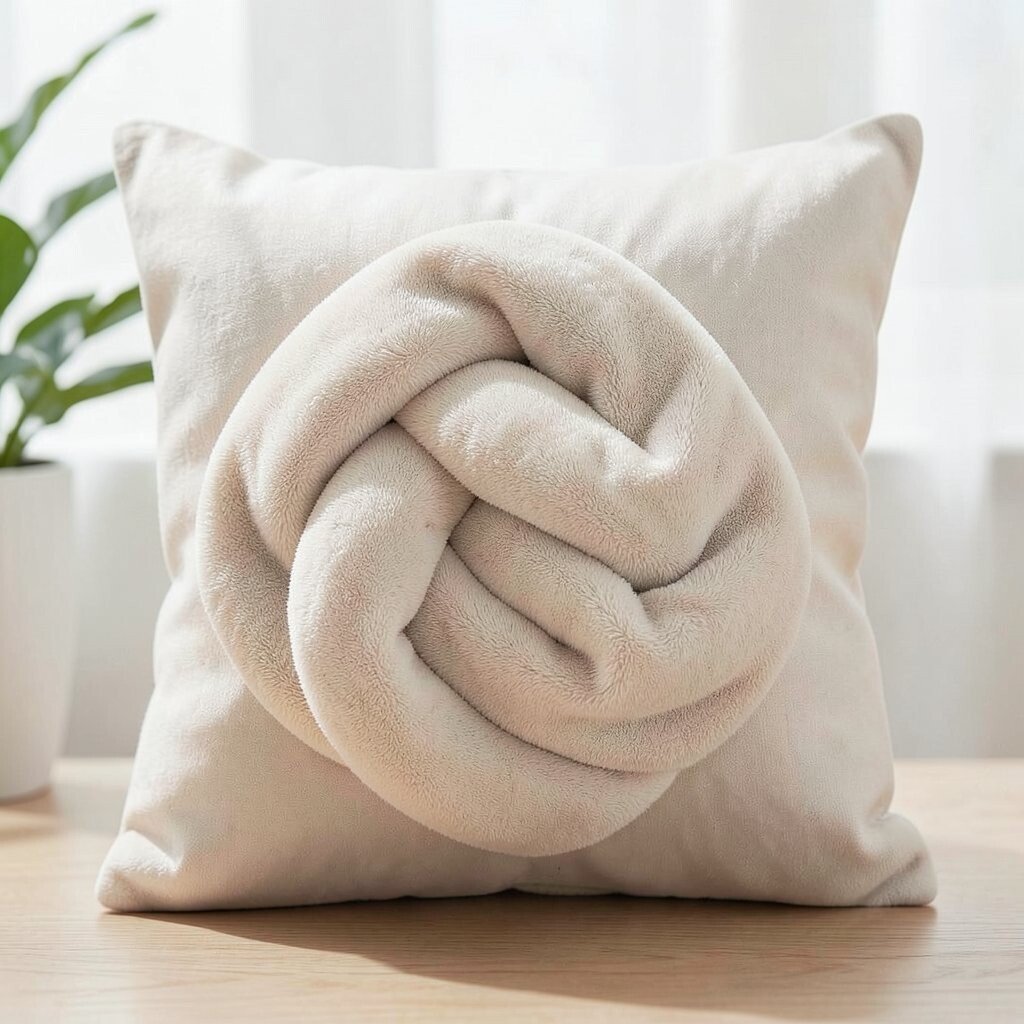
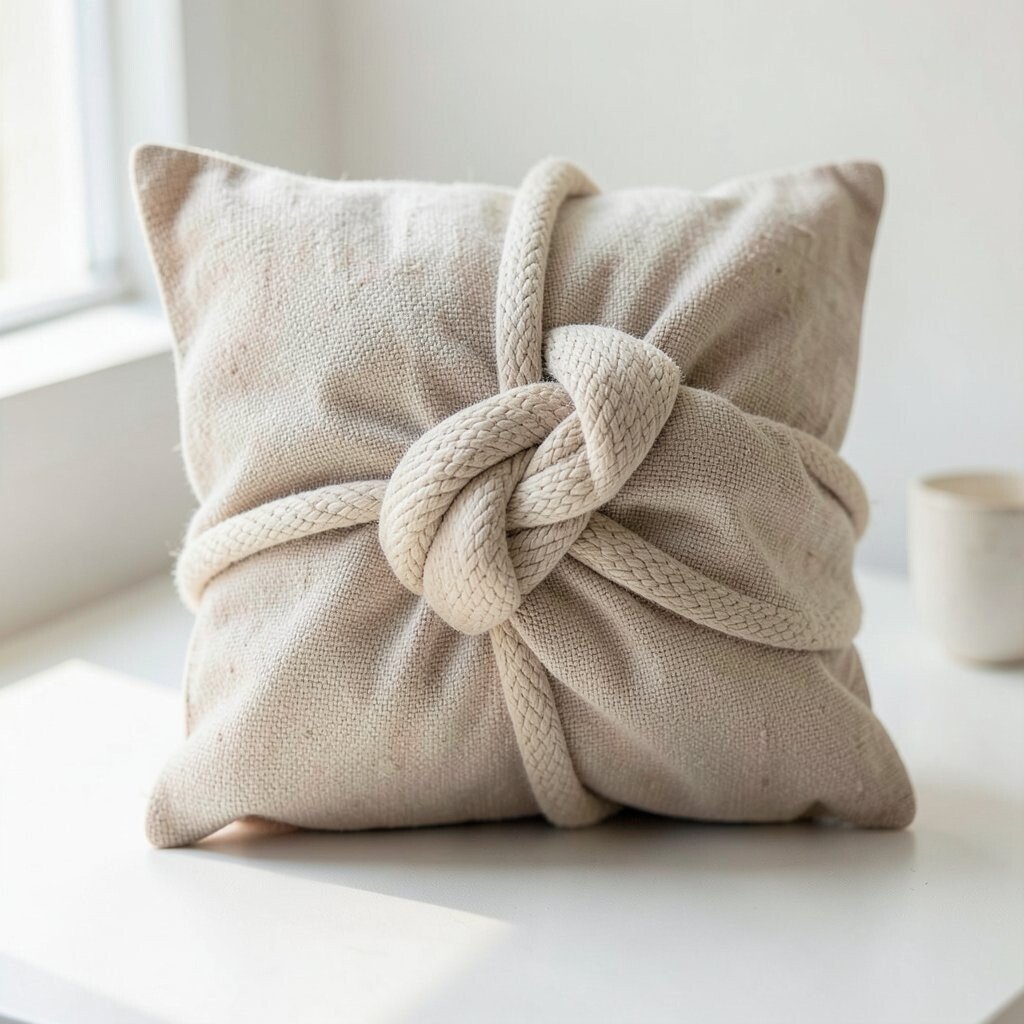
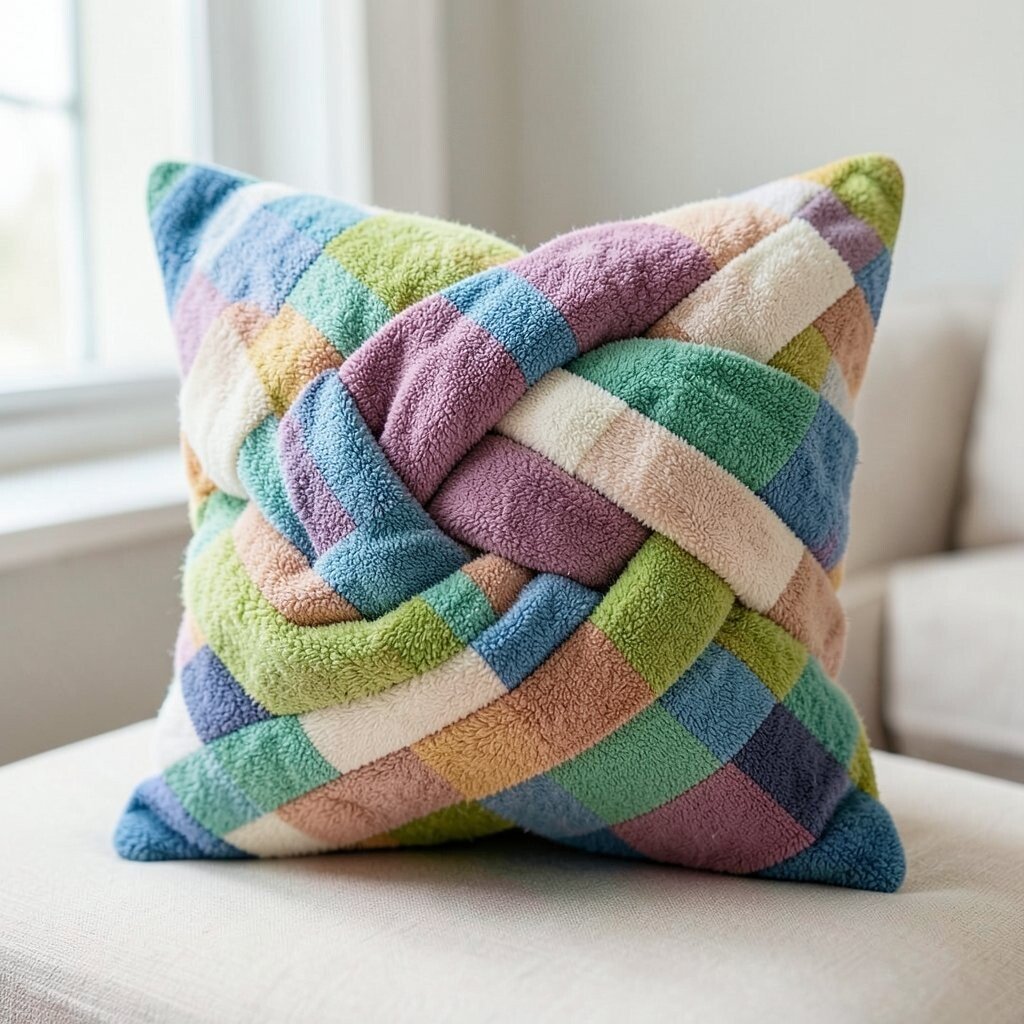
Start by choosing the look you want, because the shape of your knot pillow changes the whole mood of the room. A round, chunky knot feels playful, while a slim one can look neat and modern.
Think about where it will sit, such as a couch, bed, chair, or reading nook. A good choice can save money later because you will make something that fits your space instead of buying the wrong size. If you like current home trends, soft neutral shades and earthy tones are very popular right now.
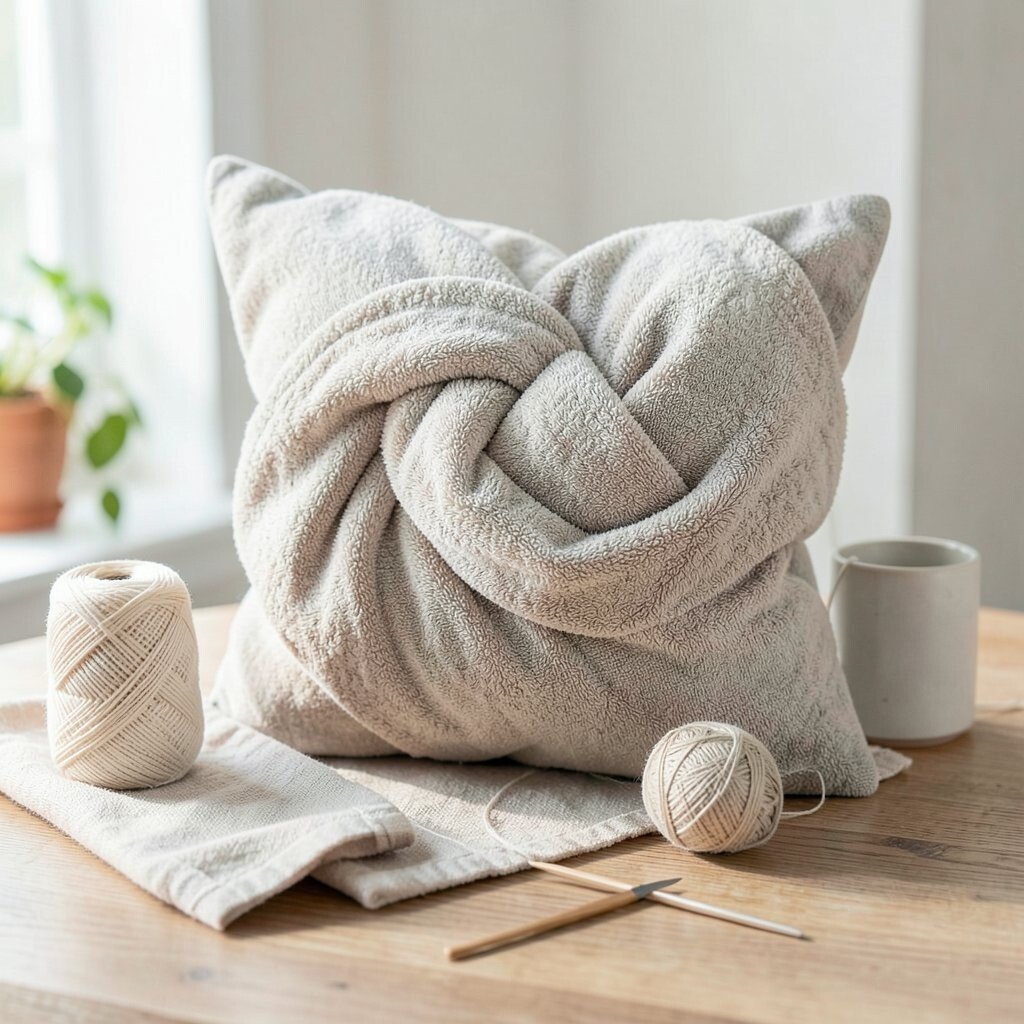
2. Gather simple materials before you begin
Top Gather Simple Materials Before You Begin Craft Tutorials
- 🎄 I've tried tons of craft ideas with my kids, but these quick … from facebook.com.
- 🎄 35 Simple & Fun Classroom Craft Ideas for Kids at School from freddythefrogcaster.com.
- 🖼️ 10 Minute Magic Free Workshop from learn.sewastory.com.
- 🖼️ Crafts for Preschoolers: 50 Amazing and Simple Ideas from howweelearn.com.
- 🧑🌾 7 Easy Projects Kids Can Make Together from catbears.com.
You do not need a long shopping list for this project. Most knot pillows use soft fabric, stuffing, thread, scissors, and a needle or sewing machine.
Many crafters like fleece, knit fabric, or stretchy velvet because these fabrics feel smooth and look plush. These materials can be affordable, especially if you use fabric scraps or leftover stuffing from other projects.
Choose supplies that match your skill level so the process stays fun. If you want a custom touch, pick a bold print, a pastel shade, or a fabric with a little shine.
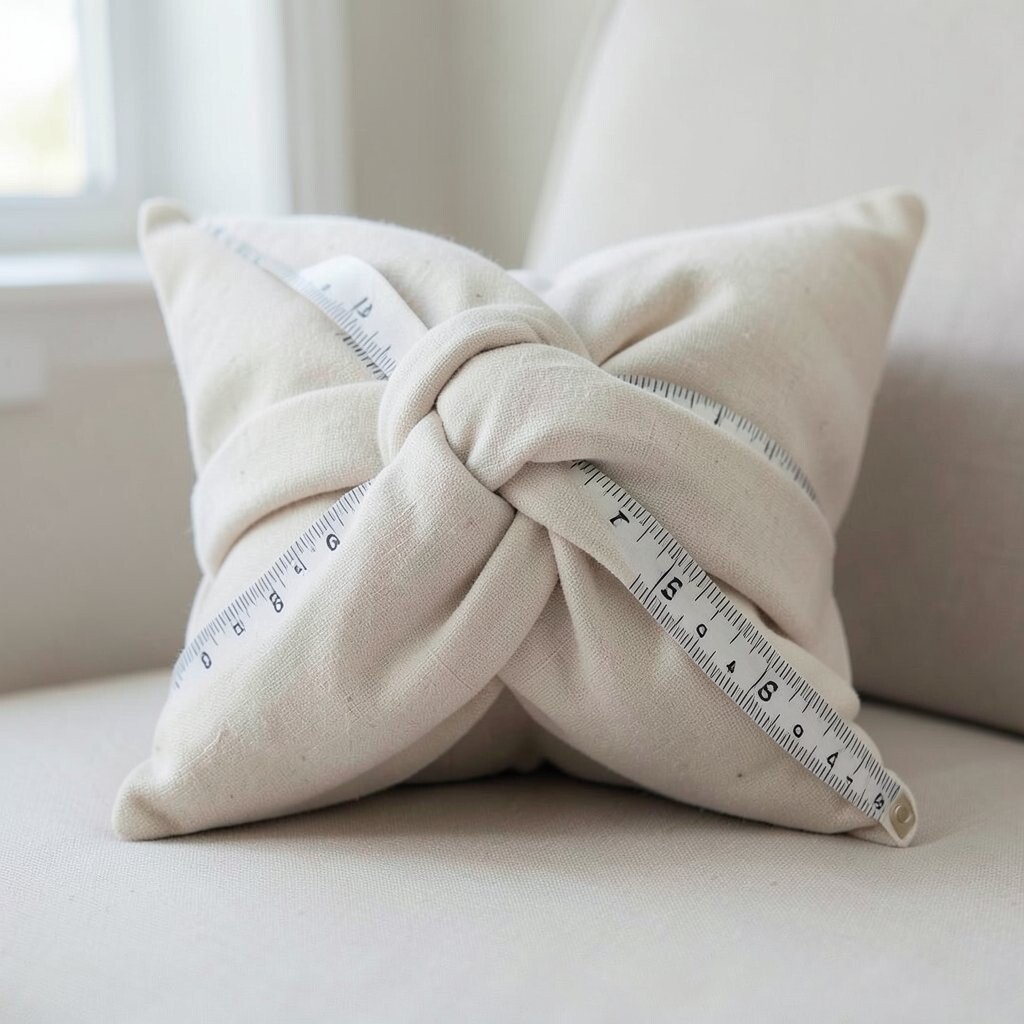
3. Measure your fabric pieces carefully
Top Measure Your Fabric Pieces Carefully Craft Tutorials
- 🍂 How to Cut Fabric PERFECTLY STRAIGHT…and Square It … from makeit-loveit.com.
- 🍅 READER TIP: To measure long pieces of fabric, such as … from facebook.com.
- 🧑🌾 How to Measure for Fabric Yardage: Step-by-Step Guide from fabric-fabric.com.
- 💅 Do you know how to cut the fabric and correctly measure … from facebook.com.
- 🎄 Fabric Buying and Cutting Tips from snugglesquilts.com.
Good measuring helps the knot look full and even. If the pieces are too small, the pillow may look tight and stiff.
Lay the fabric flat and mark the strips or tubes you need with chalk or a fabric pen. This step can help you avoid waste, which is great for keeping the cost low.
Take your time and check each mark before cutting. Small changes in size can make a big difference in the final shape, especially if you want a neat, stylish knot.
4. Cut long strips for a smooth knot shape
Top Cut Long Strips For A Smooth Knot Shape Craft Tutorials
- 🖼️ Homemade Garlic Knots – recipe in comments Soft dough … from facebook.com.
- 💅 These garlic knots are a game changer. Once you've tried … from facebook.com.
- 🖼️ Homemade Garlic Knots Recipe from 4sonrus.com.
- 🍅 Rag Tree – Video What I did: 7 different fabrics Tore … from facebook.com.
- 🎄 Easy 1-Hour Garlic Knots from itsalwaysautumn.com.
Long fabric strips help create that soft wrapped look people love. They also give the pillow a comfy, squishy feel that works well on sofas and beds.
Use sharp scissors so the edges stay clean and easy to sew. If you want a more unique look, mix two colors or use one solid color with a patterned accent strip.
Keep the strips even so the knot does not twist in odd ways. Many makers like this design because it looks handmade in a good way, not messy.
5. Sew the fabric into a tube
Top Sew The Fabric Into A Tube Craft Tutorials
- 🍁 Fabric Tube Maker Placement- Sewing Hack from blog.clover-usa.com.
- 💅 Just a simple trick using a homemade tube for fabric from facebook.com.
- 🍅 How to Turn a Tube of Fabric Fast without Tube Turner from sparklybelly.com.
- 👓 How To Turn A Fabric Tube Inside Out Easily from theseamanmom.com.
- 🧑🌾 Turning fabric tubes doesn't have to be frustrating! ✨ The … from facebook.com.
Fold the strip with the pretty side facing in, then stitch along the edge to make a tube. This tube is the base that holds the soft knot shape.
Leave one end open so you can turn it right side out later. A tube made with steady stitching is stronger and lasts longer, which adds value to your work.
If sewing feels new, use simple straight stitches and go slowly. A clean tube makes the final pillow look polished, even if you are keeping the design very simple.
6. Turn the tube right side out
Top Turn The Tube Right Side Out Craft Tutorials
- 🖼️ 3 Ways to Turn a Fabric Tube Right Side Out from mellysews.com.
- 🗺️ Can I use these to turn fabric tubes right side out? from facebook.com.
- 🎨 How to Turn a Skinny Piece of Fabric Right Side Out from instructables.com.
- 👓 Losing my mind trying to turn fabric tubes right side out. from reddit.com.
- 🎄 Sewing Tips: Easy Solutions To Pesky Problems from blog.fabrics-store.com.
This part feels a little magical because the plain tube starts to look like a real pillow piece. Use a pencil, chopstick, or turning tool to help push the fabric through.
Once it is flipped, smooth the seams with your fingers so the tube looks round and neat. This small step makes the pillow softer to the eye and more pleasant to touch.
Many people love knot pillows because they look handmade but still stylish. If you want a modern finish, press the fabric lightly before stuffing so the surface stays tidy.
7. Fill the tube with soft stuffing
Top Fill The Tube With Soft Stuffing Craft Tutorials
- 🖼️ Tubular gauze for stuffed toy stuffing from facebook.com.
- 💅 Kogyxe 7.06oz Natural Cotton Stuffing Soft Filling for Crochet … from ebay.com.
- 🍂 Polyester Fiber Fill, Premium Pillow Stuffing Fluff … from walmart.com.
- 🧑🌾 Alternatives to traditional stuffing (like cotton, polyester, fluff … from reddit.com.
- 🍁 z-news-how to-stuff-a-soft-toy from funkyfriendsfactory.com.
Stuffing gives the pillow its cozy shape and helps the knot stay puffy. Polyester fill is common, but you can also use leftover fabric scraps for a budget-friendly option.
Add the filling little by little so the tube stays smooth and does not bulge in one spot. A well-filled pillow feels comfy and holds its shape better on a couch or bed.
If you want a firmer pillow, pack the stuffing a bit tighter. For a softer, more relaxed style, keep the fill light and fluffy.
8. Close the open end securely
Top Close The Open End Securely Craft Tutorials
- 🧑🌾 How to close jump rings securely? from facebook.com.
- 💅 50 Pack, Plastic Hooks For 1/8" Shock/Bungee Cord, DIY & Jewelry from fromagerie-chevrefeuille.com.
- 🖼️ Art and Craft Safety Guide from cpsc.gov.
- 🎨 End Loop Knots from animatedknots.com.
After stuffing, stitch the open end shut so the filling stays inside. A strong closing seam is important because the knot will be handled and moved often.
Use matching thread if you want the seam to blend in, or choose a bold color for a fun handmade detail. This is a smart place to think about cost too, since a small amount of thread goes a long way.
Check the seam twice before moving on. A good closure keeps the pillow looking neat and helps it last through daily use.
9. Shape the first loop of the knot
Top Shape The First Loop Of The Knot Craft Tutorials
- 💅 Different Stunning Ways To Tie Knot Step By Step from facebook.com.
- 💅 Useful knots for crafting – ReveDreams.com from revedreams.com.
- 💅 How to quickly tie a tie knot from facebook.com.
- 🍂 Different Types Of Knots Used In Crafts And Sewing from sewguide.com.
- 🗺️ The Weaver's Knot & Beyond from lambontheloom.com.
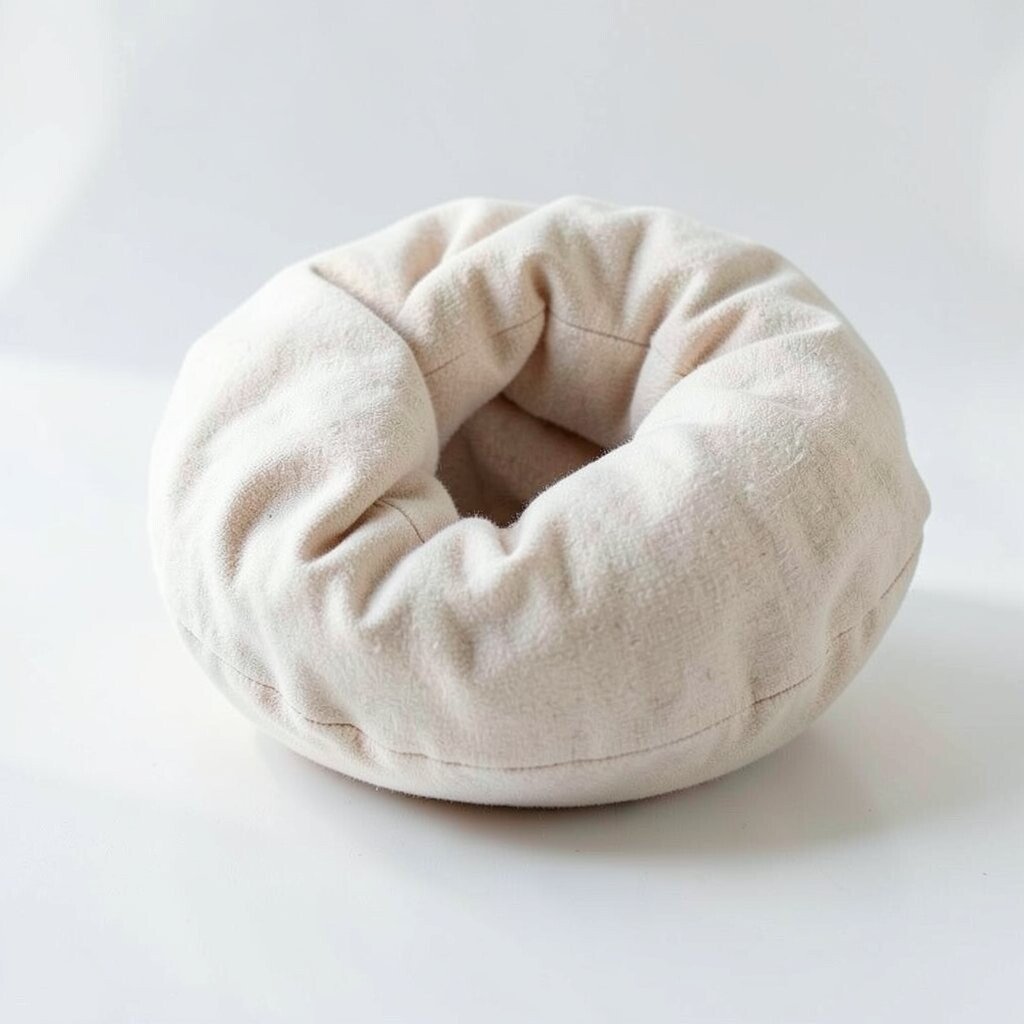
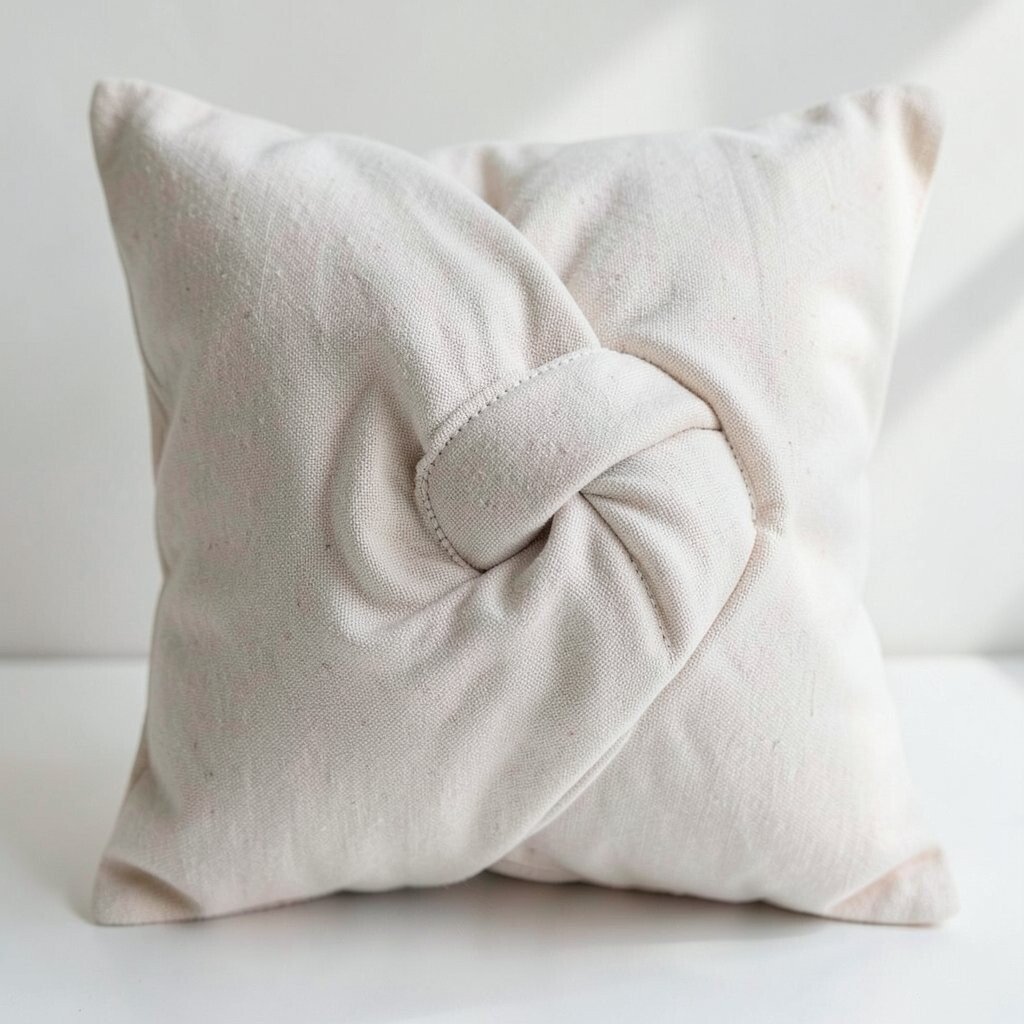
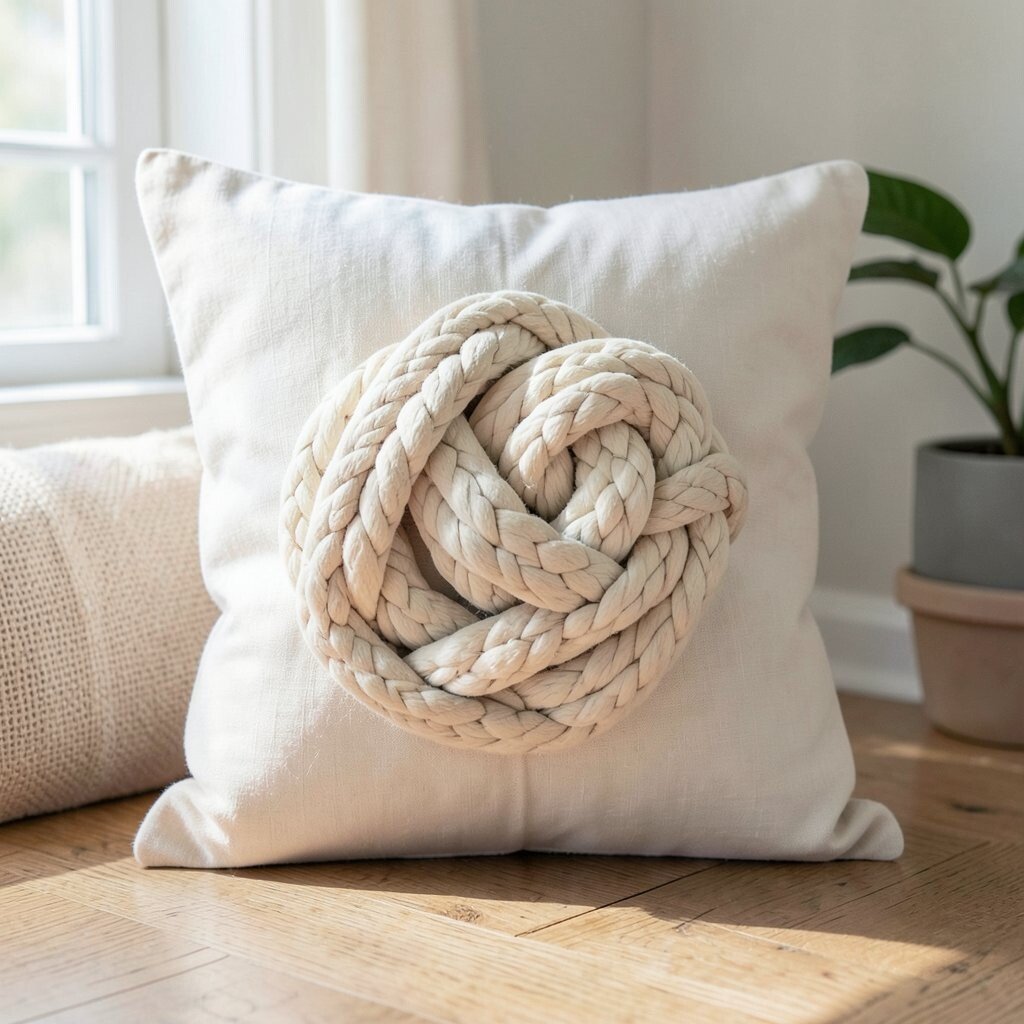
Now the pillow starts to become something special. Bend the stuffed tube into a loop and let the fabric curve naturally.
This loop gives the knot pillow its signature look and makes it stand out from plain cushions. The rounded shape feels soft and friendly, which is why many people use it in kids’ rooms and cozy corners.
Adjust the loop until it feels balanced in your hands. If you want a more personal style, make one loop larger than the others for a relaxed handmade look.
10. Weave the tube through itself
Top Weave The Tube Through Itself Craft Tutorials
- 🖼️ Making Decorative Items with Rolled Newspaper Tubes from facebook.com.
- 🖼️ Easy way to turn fabric tubes with cotton reel from facebook.com.
- 💅 One year ago we started developing a prototype for a light- … from instagram.com.
- 👓 3 Ways to Turn a Fabric Tube Right Side Out from mellysews.com.
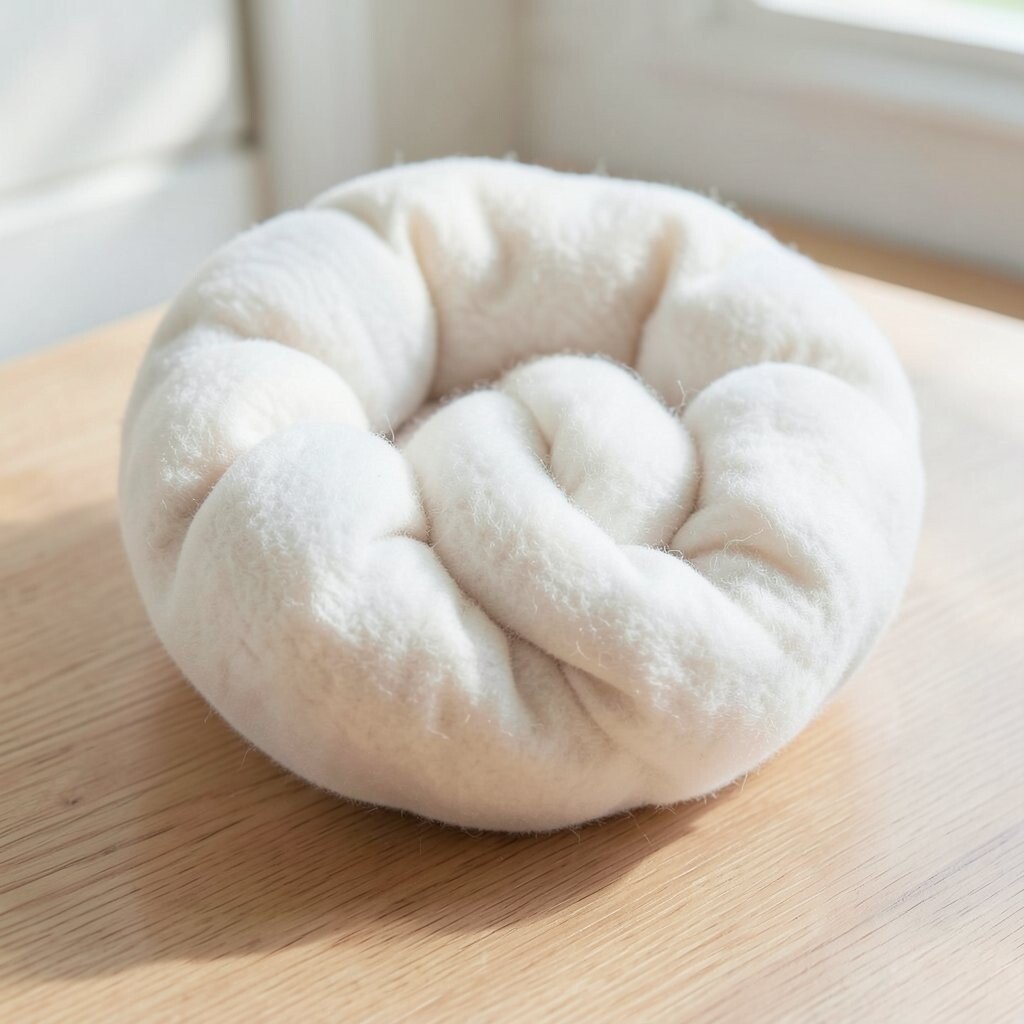
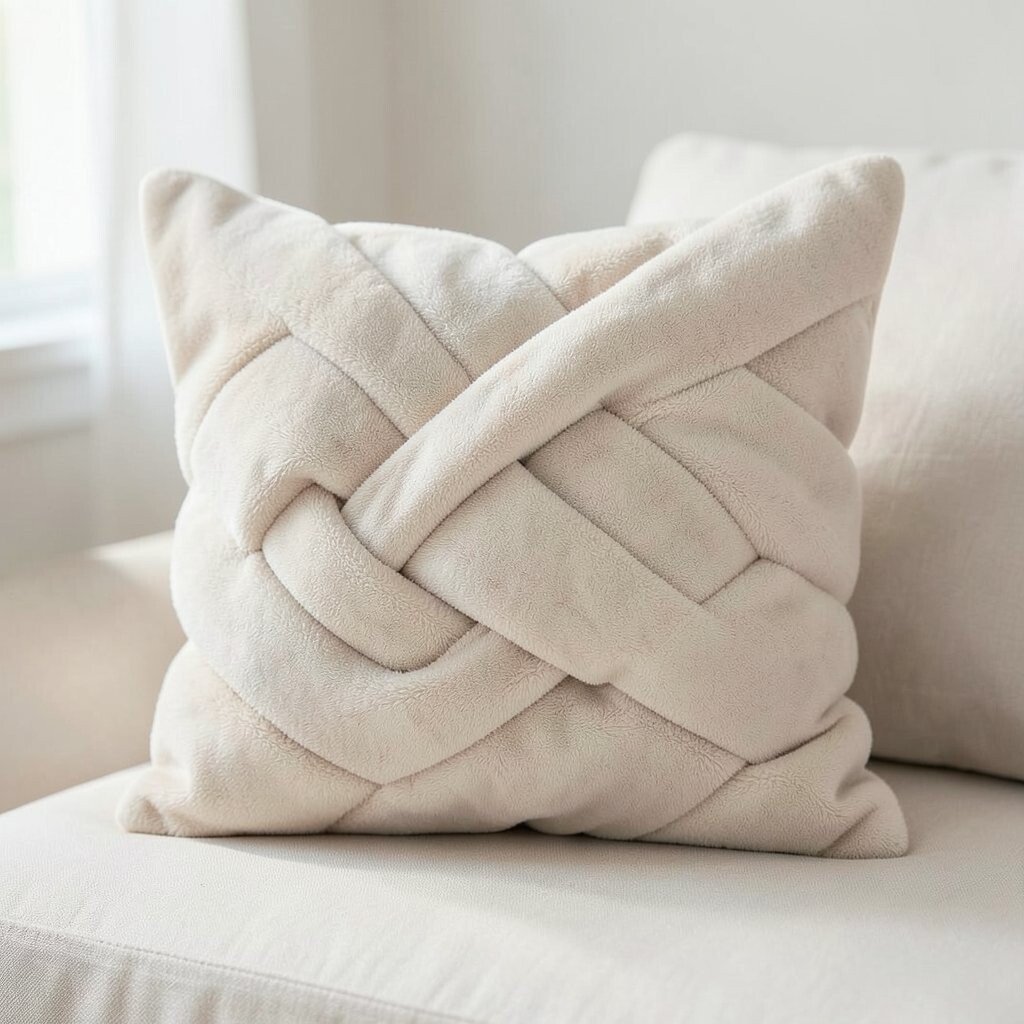
Pass the tube through the loop to begin the knot pattern. This is the step that turns a simple stuffed tube into a real knot pillow.
Work slowly so the fabric does not twist too tightly. A gentle weave gives the pillow a smooth, full appearance and makes the shape look intentional.
Many makers enjoy this part because the design starts to look like a sculpted piece of decor. If you like trendy home accents, this woven style fits well with soft, layered room setups.
11. Tuck in loose sections for a clean look
Top Tuck In Loose Sections For A Clean Look Craft Tutorials
- 🍁 What to tuck in a room to make it less hideous? from facebook.com.
- 🎄 11 Best Tips for Multi-Purpose Craft Room Challenges from mixmeasuremake.com.
- 🍂 How do yall keep your shirt tucked? : r/HVAC from reddit.com.
- 🎄 Easy Updos Step By Step from ftp.nuneslaw.com.
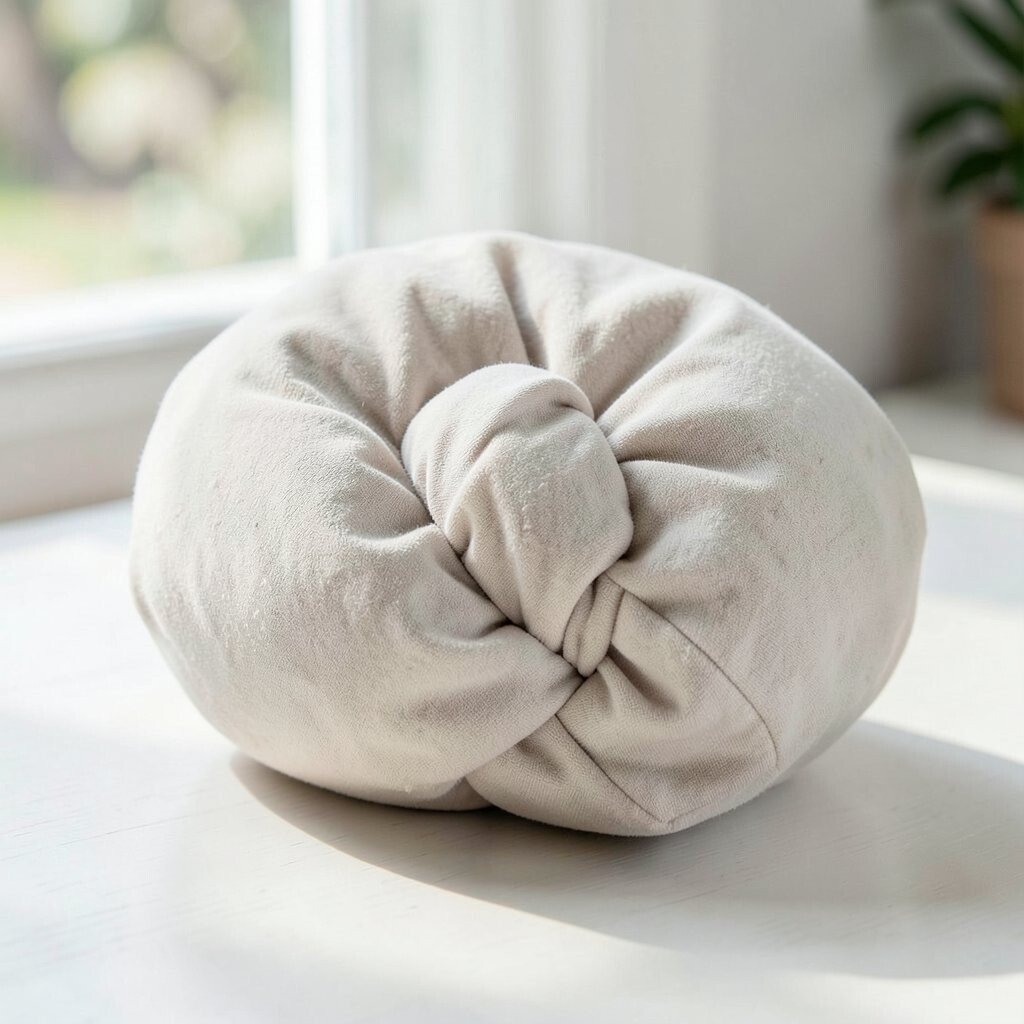
Once the knot is formed, tuck any loose fabric ends into the folds. This helps the pillow look neat and keeps the shape from slipping apart.
You can use your fingers to smooth each bend until the curves feel even. Careful tucking also makes the pillow more comfortable to hold and sit against.
If the pillow looks lopsided, shift the stuffing a little before tightening the folds. Small fixes here can make the final piece look much more professional.
For a personal touch, place the knot slightly off center if you want a more artistic style. Many people like this because it gives the pillow a handmade charm.
12. Secure the knot with hidden stitches
Top Secure The Knot With Hidden Stitches Craft Tutorials
- 👓 How to make a hidden knot when sewing with a piece of … from facebook.com.
- 🍁 [tutorial] Magic Knot in 6 Easy Steps! … from knotions.com.
- 🍁 Invisible Knot Crochet Series Part 1 Lockstitch Double Side … from www2.flagstar.com.
- 🧑🌾 How to Sew the Ladder Stitch – Hand Sewing Tutorial from whatthecraft.com.
- 🎨 How much do you trust a magic knot? How close … from reddit.com.
Hidden stitches help the pillow stay together while keeping the outside clean. Use small stitches in the folds so the thread does not show much.
This step adds strength, which is helpful if the pillow will be used often on a sofa or floor. Strong stitching can also save money over time because the pillow will not need quick repairs.
Take your time and pull the thread snug, but not so tight that the fabric puckers. A neat finish makes the knot pillow look smooth, soft, and ready for display.
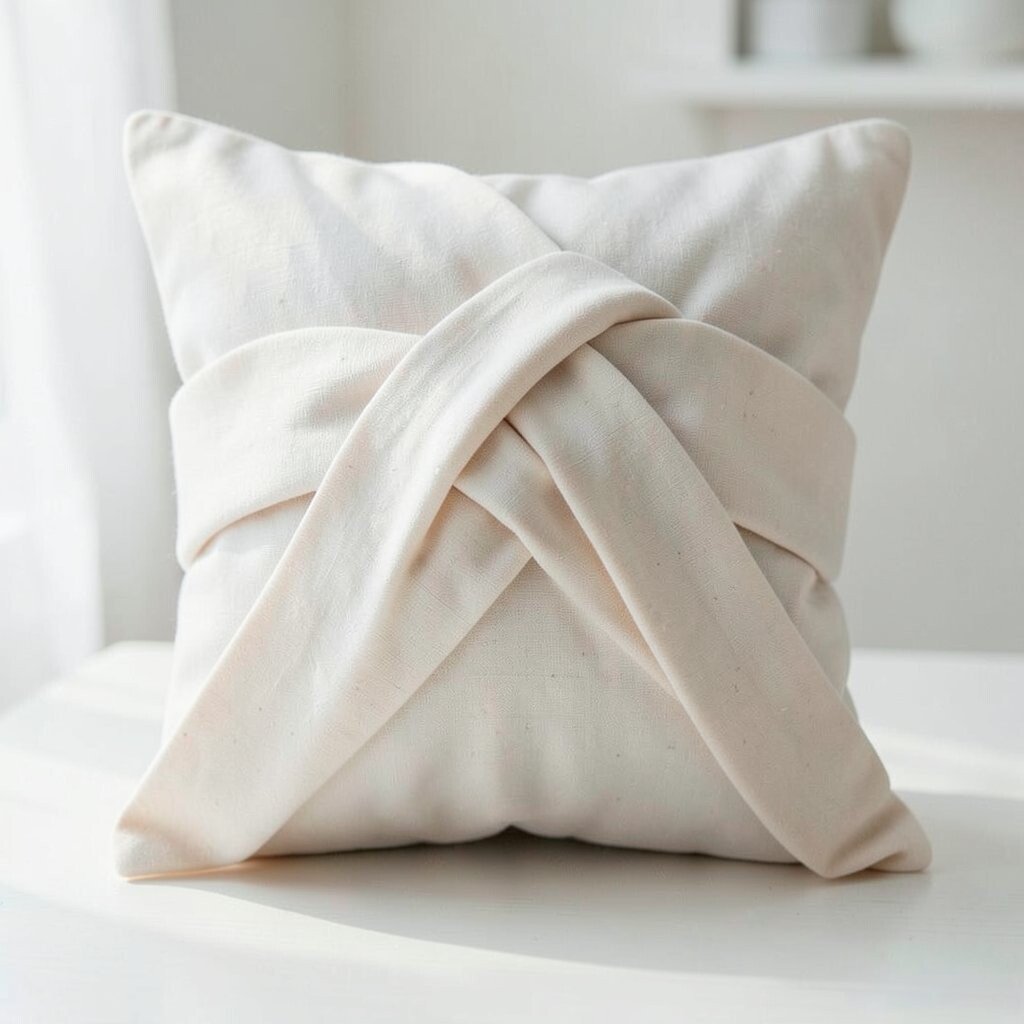
13. Add color or texture for a custom style
Top Add Color Or Texture For A Custom Style Craft Tutorials
- 🎄 They're an easy way to add texture and color to your tabletop. from facebook.com.
- 🖼️ The new "made in Yorkshire" Stylecraft Special DK is awful from reddit.com.
- 👓 How to Add Timeless Color and Texture to a Room from shadesofblueinteriors.com.
- 🗺️ Homeowner Guide from media.stylecraft.com.
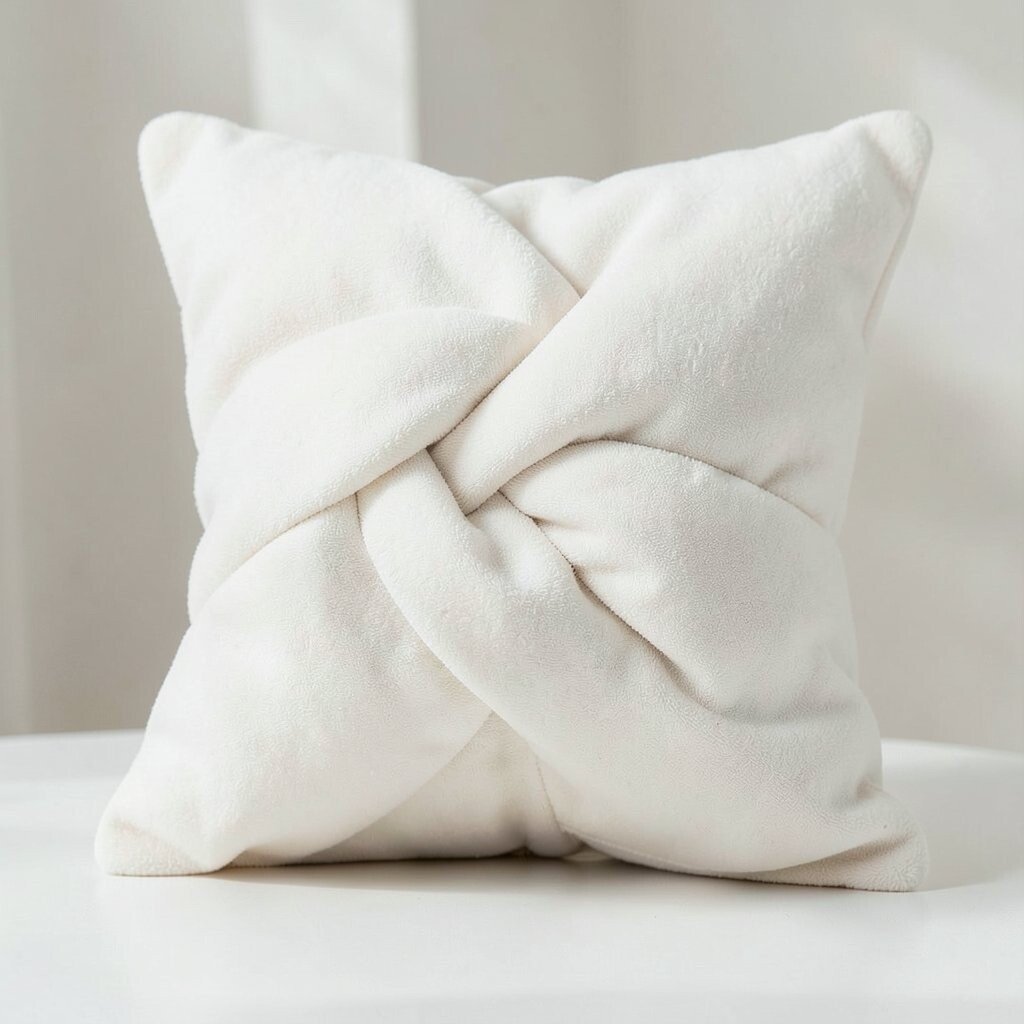
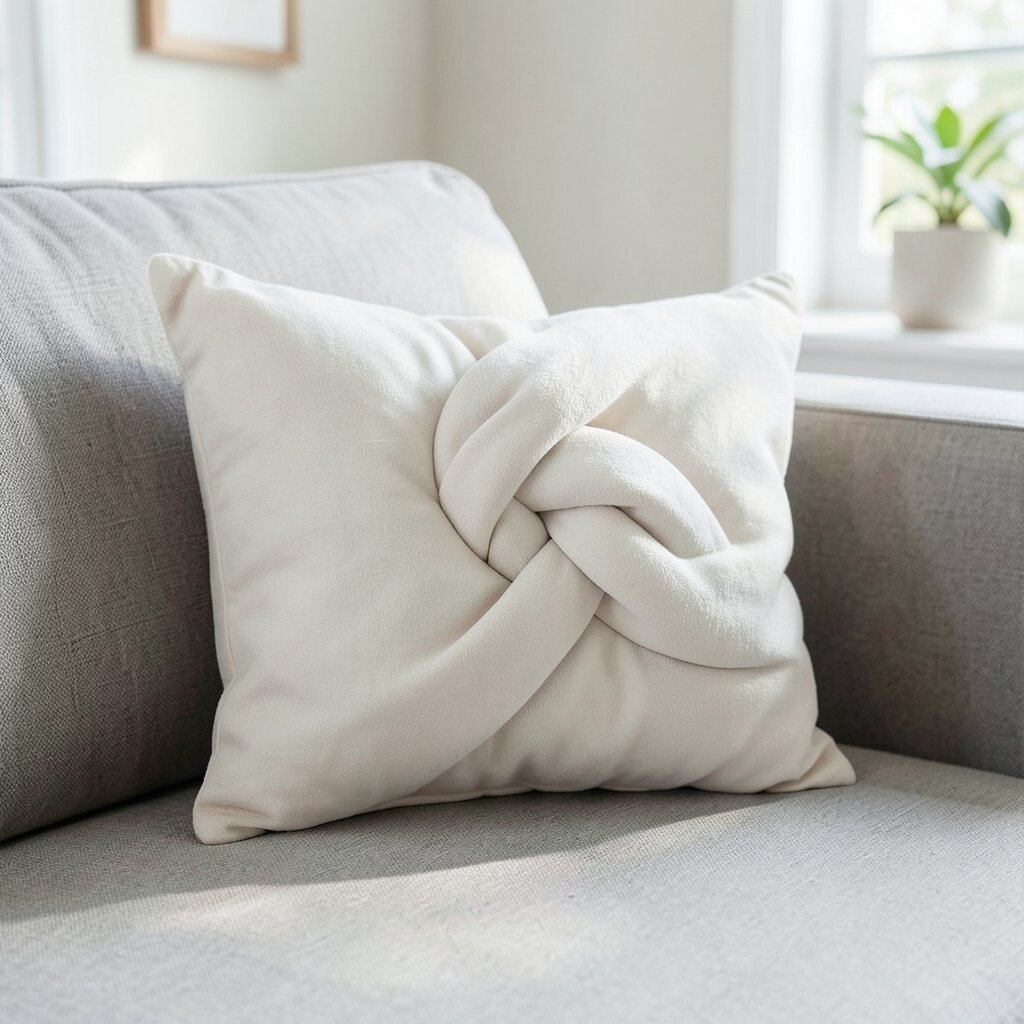
A knot pillow is a great place to show off your taste. You can use velvet for a rich look, cotton for a simple feel, or faux fur for extra fluff.
Color choices can change the whole mood of the room. Soft cream and tan shades feel calm, while bright pink, blue, or green can make the pillow pop.
If you like current decor trends, try mixing warm neutrals with one bold accent pillow. This gives your knot pillow a fresh look without spending a lot.
Small details like ribbon tags, tiny fabric patches, or stitched initials can make it feel personal. These little touches are easy, low-cost ways to make your pillow one of a kind.
14. Make the pillow the right size for the room
Top Make The Pillow The Right Size For The Room Craft Tutorials
- 👓 How do u. make pillow. Iknow fabic cotton ijust want to how … from facebook.com.
- 🍅 How to Make a Throw Pillow – A Great Project for Beginners! from whatthecraft.com.
- 🧑🌾 How To Make A Pillow – from newtoncustominteriors.com.
- 🎨 DIY ONE PIECE FABRIC ENVELOPE PILLOW COVER from funstuffcrafts.com.
- 🎄 How to Sew an Envelope Pillow Cover from aubreeoriginals.com.
Size matters because a knot pillow should fit the place where it will live. A large one works well on the floor or a big bed, while a smaller one fits shelves or chairs.
Think about use as well as looks. A pillow that is easy to hug or lean on can be both pretty and useful, which is a big benefit for busy homes.
If you are making several pillows, vary the sizes for a layered style. This can make a room feel more designed without requiring expensive decor pieces.
Try one sample size first before making more. That way you can test the comfort, shape, and cost before cutting extra fabric.
15. Keep the pillow balanced and comfy
Top Keep The Pillow Balanced And Comfy Craft Tutorials
- 🍅 This kind of pillow can help you sleep better (and it only … from facebook.com.
- 🍂 My Favorite Comfy & Cute Throw Pillows! from lemon8-app.com.
- 🎄 Let's save money on outdoor pillows! Is it just me, or are … from instagram.com.
- 🍂 Are you a Crocheter? Have you heard of the Valari Pillow? … from facebook.com.
- 🖼️ Honeydew Sleep Founders on Craft, Comfort, and … from cubed3.com.
Balance is what makes a knot pillow look polished instead of lumpy. Check each curve and make sure the stuffing is spread evenly inside the tube.
A balanced pillow feels better to use and looks better in photos too. That is one reason this project is so popular for home styling and social posts.
If one side feels heavier, move some stuffing around with your fingers. Gentle shaping can fix many problems without any extra materials.
You can also make the pillow softer or firmer based on who will use it. A kid may like a squishier feel, while an adult may want a firmer decorative piece.
16. Style and care for your finished knot pillow
Top Style And Care For Your Finished Knot Pillow Craft Tutorials
- 🎨 Oh look! A fun, easy craft project to take on this weekend. We're … from facebook.com.
- 👓 Trendy Knot Pillow: Unique Design & Cozy Style … from lemon8-app.com.
- 🖼️ Knit Knot Pillow in cheerful colorblock. from instagram.com.
- 🎨 No-Sew Fringe Fleece Pillow | An Easy Cozy Project from craftwarehouse.com.
- 🧑🌾 You've tried the blanket, now make the pillow! Our No-Sew … from facebook.com.
Place your finished knot pillow where it can be seen and enjoyed. It can brighten a couch, soften a chair, or add a cute touch to a bedroom corner.
To keep it looking fresh, fluff it now and then and spot clean it when needed. Good care helps protect your work and keeps the pillow looking new for longer.
If you make more than one, try different colors, fabrics, or knot shapes for a fun set. That is an easy way to create a custom collection without spending too much.
Many people love knot pillows because they are stylish, cozy, and simple to personalize. With the right fabric, careful stitching, and a little creativity, your handmade piece can feel special in any room.