
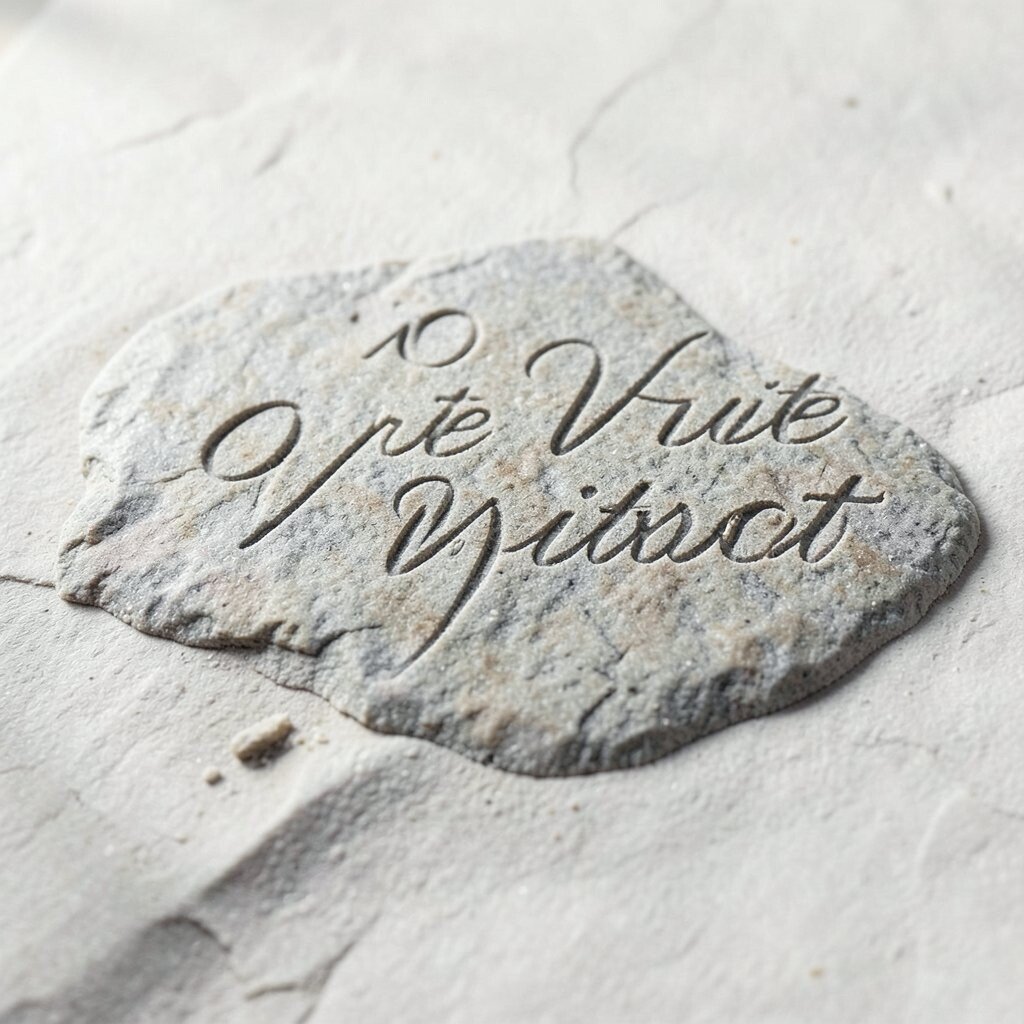
Stone painting feels calm and magical. A plain rock can become a tiny work of art.
With a few simple tools, anyone can make bright designs on smooth stones. The best part is that each stone turns out a little different, which makes every piece special.
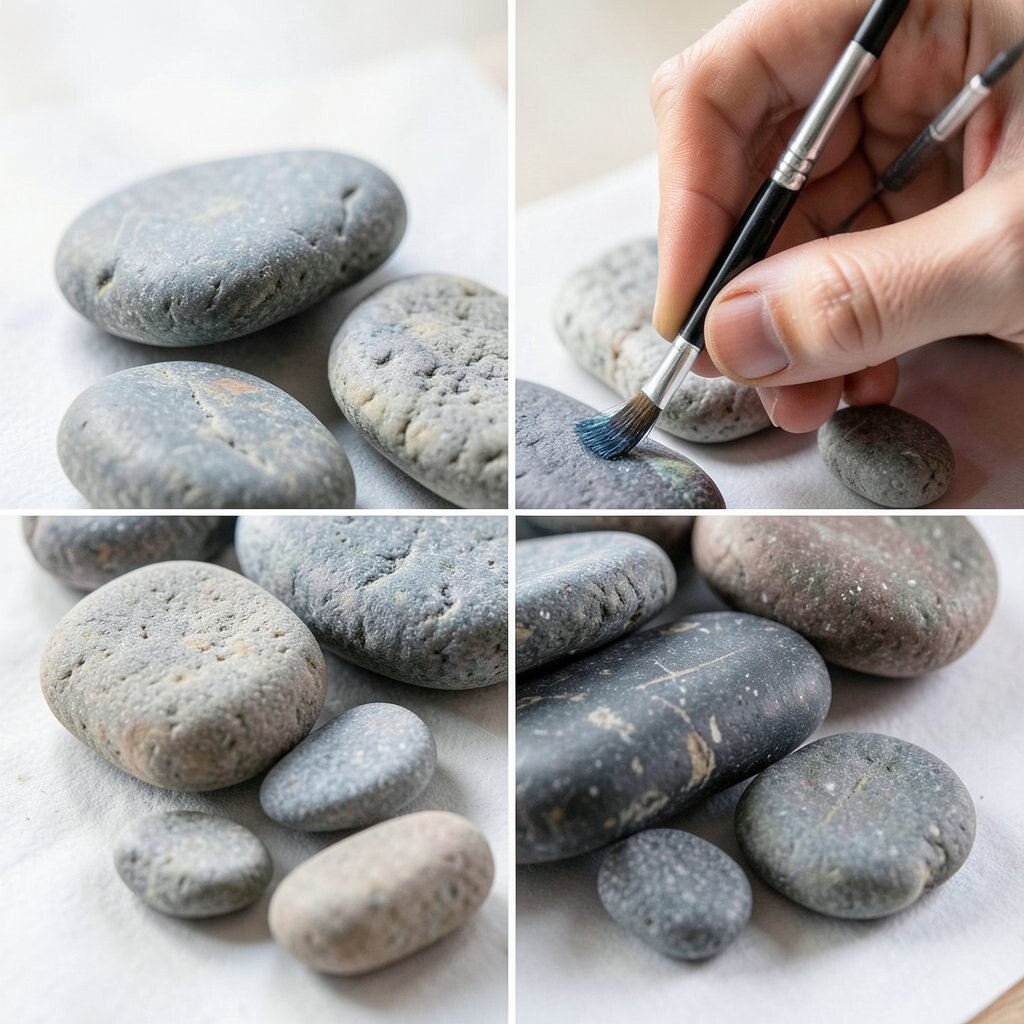
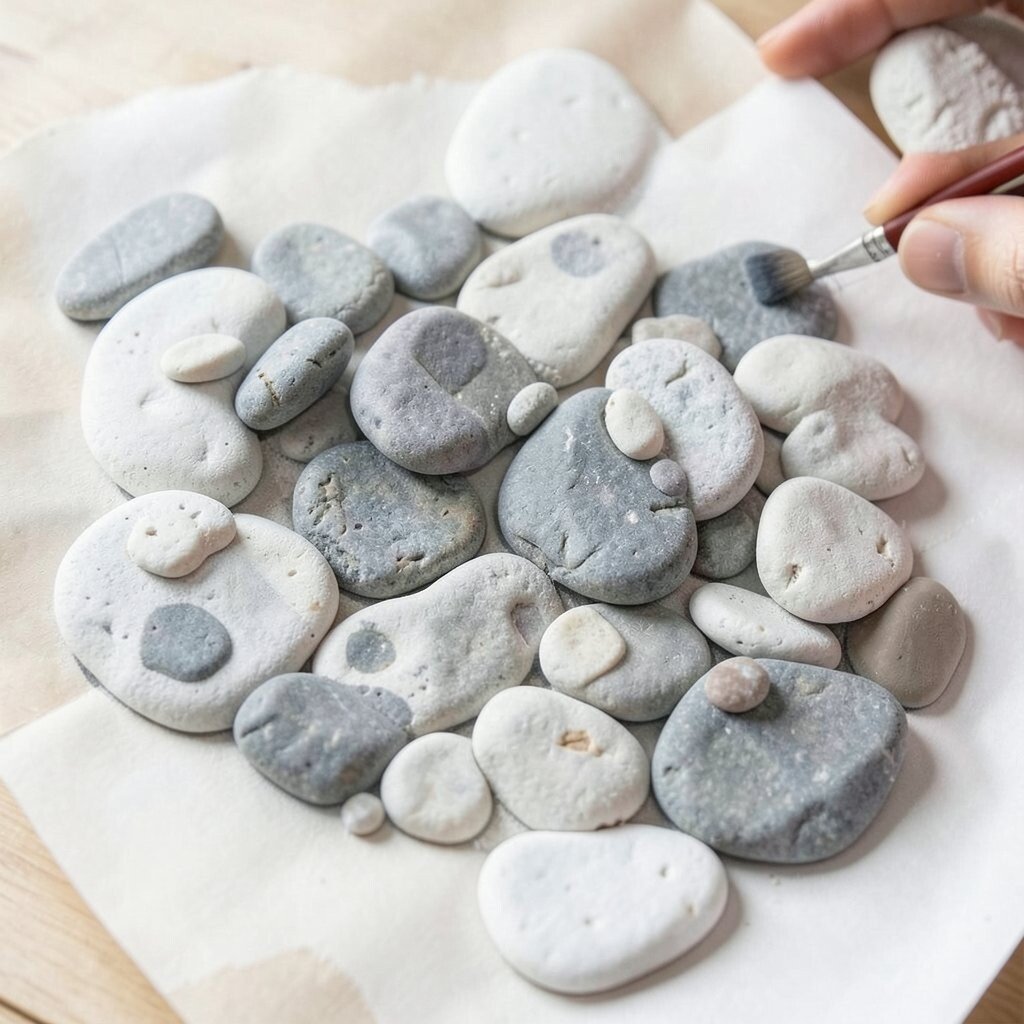
1. Pick the Right Stone Shapes
Top Pick The Right Stone Shapes Craft Tutorials
- 🎄 10+ Simple and Beautiful Stone Activities for Kids from littlepinelearners.com.
- 🍁 😆 Here are 10 simple and beautiful stone activities for all of … from facebook.com.
- 💅 How to Make Fun Word Stones From Rocks from thrivingwithless.com.
- 🍂 Make story stones the easy way! People often ask me from instagram.com.
- 💅 How to Make Homemade Story Stones from happyhooligans.ca.
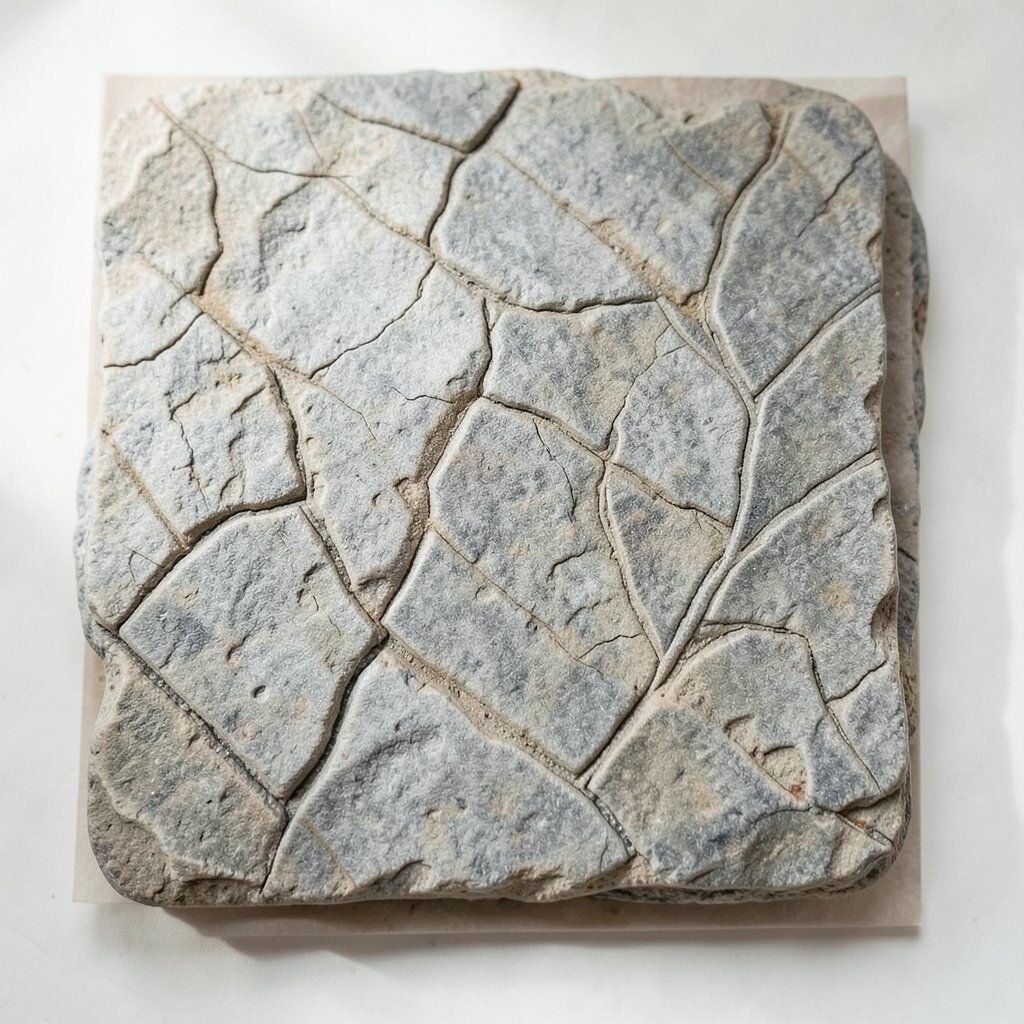
Good stone painting starts with the stone itself. Smooth, flat stones are easier for beginners because they give you a steady surface.
Look at the shape before you paint, because the outline can help your idea come to life. A round stone may look like a sun, a leaf-shaped stone may suggest a fish, and a long stone might work well for a feather or a rocket.
Try collecting stones from your yard, a beach, or a craft store. Free stones can save money, and store-bought stones can be clean and ready to use right away.
Choose stones that feel good in your hand and fit your design. This simple choice can make painting easier and more fun.
Many people now use nature-inspired shapes for cute animals, tiny gardens, and calming symbols. That trend makes each stone feel personal and fresh.
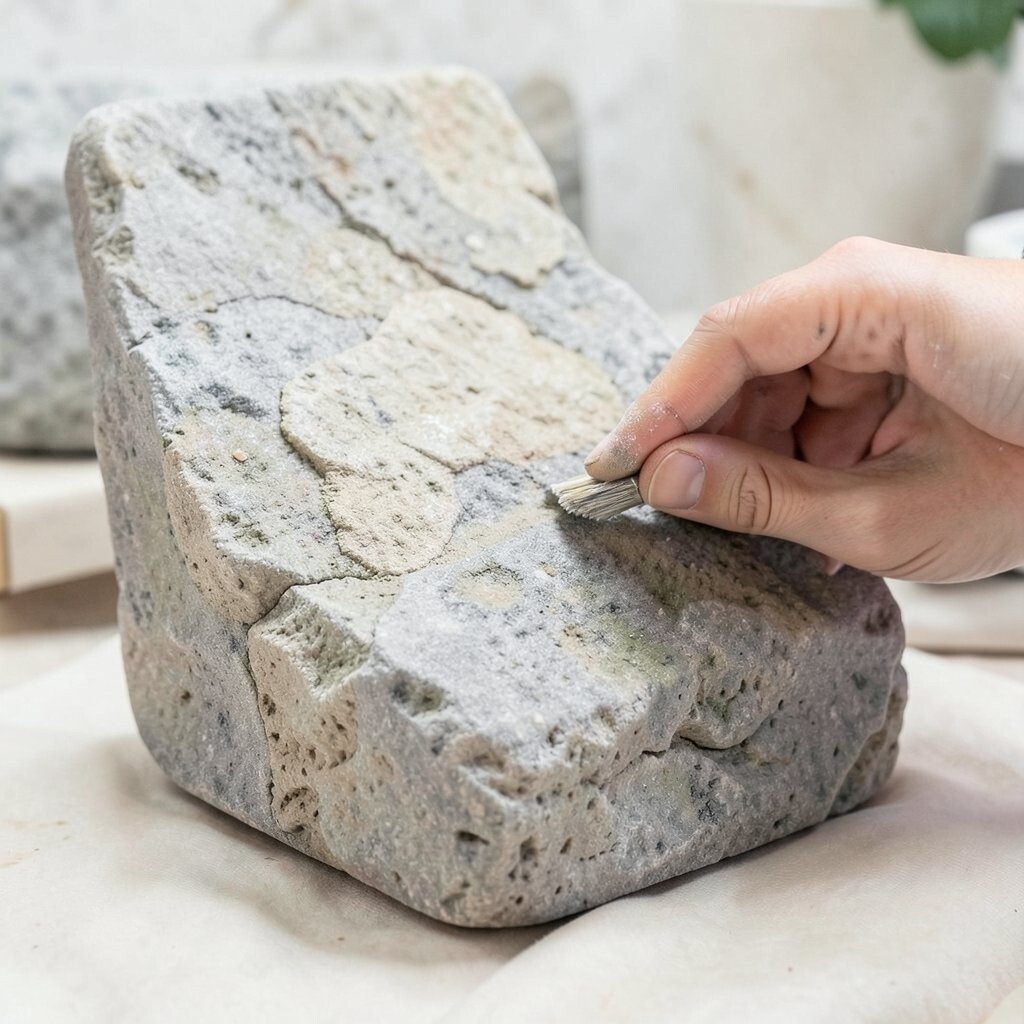
2. Clean and Prep the Surface
Top Clean And Prep The Surface Craft Tutorials
- 👓 Surface Prep Cleaner Metal Craft from nwmissouri.edu.
- 🍅 Surface Prep and Pre-Treatment: The Unsung Heroes of … from mastercraftfinishers.com.
- 💅 Blogs from thesurfacecraft.com.
- 🧑🌾 What work surface and cleaning methods are used for … from facebook.com.
- 💅 Solid Surface Care & Maintenance from customcraftcountertops.com.
Before you paint, wash the stones with soap and water. Dirt, dust, and oil can stop paint from sticking well.
After washing, let the stones dry all the way. A dry stone gives you a smoother base and helps your colors stay bright.
If the surface feels rough, gently rub it with fine sandpaper. This extra step can make the stone easier to paint and can help your brush glide better.
Use a cheap sponge or old cloth to wipe the stone clean. Simple prep tools keep costs low and still give great results.
Some painters like to add a thin white base coat first. That trend can make colors pop, especially on dark stones.
3. Gather Simple Tools First
Top Gather Simple Tools First Craft Tutorials
- 🎨 First 3 tools you craft in MC when you start … from facebook.com.
- 🍂 Making useful things with simple tools from facebook.com.
- 🖼️ Which true tool or weapon to craft first? : r/fantasylife from reddit.com.
- 🎨 Tutorials/Your first 10 minutes – Minecraft Wiki – Fandom from minecraft.fandom.com.
- 🍁 New World Crafting Guide: How To Make Better Gathering … from gamespot.com.
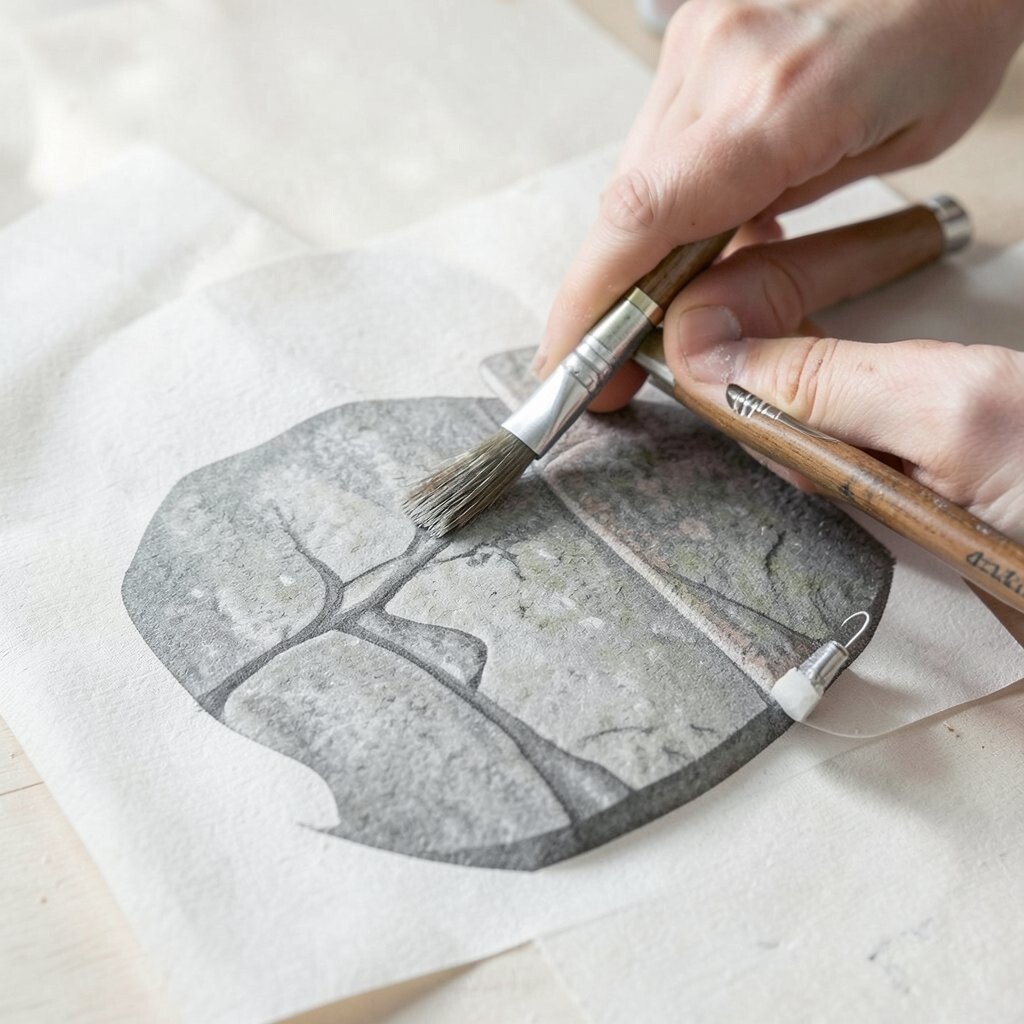
You do not need a big art kit to begin. A few brushes, acrylic paint, water, and paper towels are enough for many projects.
Dotting tools, toothpicks, and cotton swabs can help make neat spots and tiny details. These tools are low-cost and easy to find at home.
Try using a small tray or paper plate for your paint. Keep a cup of water nearby, and place a napkin under the stone to protect your table.
Start with basic supplies before buying fancy extras. That way, you can learn what you enjoy without spending too much.
4. Practice Base Coats for Smooth Color
Top Practice Base Coats For Smooth Color Craft Tutorials
- 🍅 What base coat to use on natural rock for painting? from facebook.com.
- 💅 Is it possible to make a model look good with just a base … from reddit.com.
- 🎄 FAQ: Do I Need A Base Coat? ANSWER: No While adding … from facebook.com.
- 🍅 My Gel X Base Coat Routine: Do You Need One Before … from lemon8-app.com.
- 👓 Top Coats and Sealers for Crafts – A Comprehensive Guide! from thegraphicsfairy.com.
A base coat gives your stone a fresh, even look. It also helps the final design stand out more clearly.
Use one solid color or a soft blend of two colors. Thin layers work better than thick blobs, because they dry faster and look cleaner.
White, cream, and light blue are popular choices for a bright background. These colors can make flowers, faces, stars, and patterns look crisp.
Let each layer dry before adding more paint. Patience here saves time later because it prevents smudges and cracks.
If you want a softer style, leave some stone showing through. That natural look gives each piece a rustic charm.
5. Learn Easy Brush Control

Top Easy Brush Control Craft Tutorials
- 🧑🌾 Practicing brush control 😊 from facebook.com.
- 🧑🌾 5 Brush Techniques Every Beginner Should Know – Studio B from studioblearn.com.
- 👓 Any tips on brush control? : r/minipainting from reddit.com.
Brush control is one of the most useful stone painting skills. A steady hand helps you make clean lines and neat shapes.
Hold the brush near the middle, not too close to the tip. Light pressure works best for thin lines, while a little more pressure makes wider strokes.
Practice on scrap paper first if you feel nervous. Short practice marks can build confidence before you paint on the stone.
Small round brushes are great for beginners because they can do many jobs. They cost little and can handle dots, leaves, eyes, and outlines.
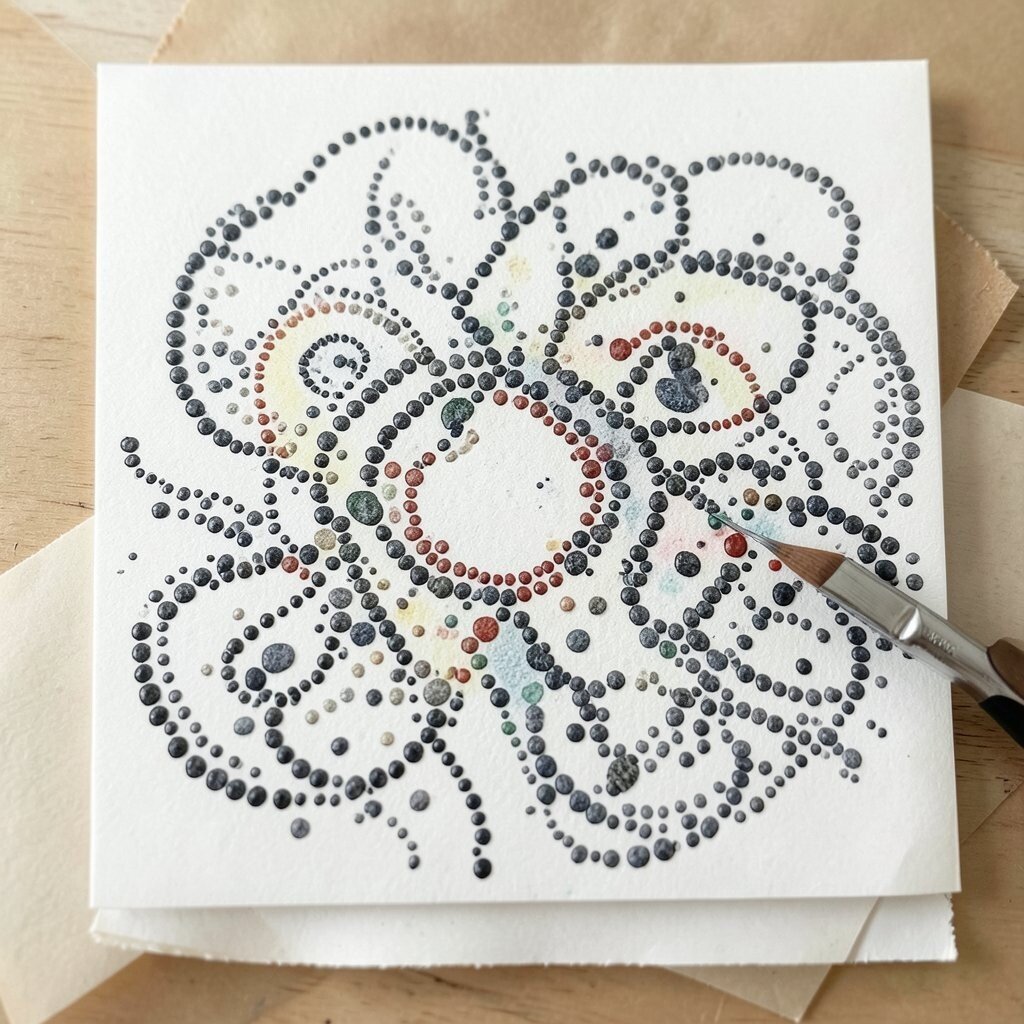
6. Use Dots to Build Fun Designs
Top Use Dots To Build Fun Designs Craft Tutorials
- 🍁 Lovely dot painting activity for kids from facebook.com.
- 🗺️ Easy Dot Art Activity for Kids – Hands-On … from teachingideas.ca.
- 👓 20 Interactive & Fun Dot Sticker Activities for Hands-On … from earlylearningideas.com.
- 🍅 10 Fun Dot Marker Activities from theinspiredtreehouse.com.
- 🧑🌾 More Dot Markers Creative Uses from chalkola.com.
Dot painting is one of the easiest ways to decorate stones. Dots can make flowers, stars, mandalas, ladybugs, and simple borders.
Use the end of a brush, a cotton swab, or a dotting tool to make even circles. Try different sizes so the design has movement and life.
Dots are helpful because they hide small mistakes and still look polished. They also work well for kids and beginners who want fast success.
Bright dot patterns are very popular right now because they feel cheerful and modern. You can make them bold or soft depending on your color choice.
For a personal touch, spell a name or short word with dots. That makes a stone feel like a gift instead of just a craft.
7. Try Simple Line Art

Top Try Simple Line Art Craft Tutorials
- 🎨 10 Inspiring Line Art Projects to Boost Your Creativity from skillshare.com.
- 🎨 Line Art for Kids with Keith Haring from littlebinsforlittlehands.com.
- 💅 Easy DIY Line Art from thenavagepatch.com.
- 🎨 25 of Our Favorite Easy Art Projects for Kids from weareteachers.com.
- 🍁 Easy Color & Line Art Lesson from deepspacesparkle.com.
Clean lines can make a stone look stylish and neat. Even a few careful strokes can turn a plain rock into a small piece of art.
Start with easy shapes like hearts, waves, arrows, or leaves. Once you feel ready, add outlines around animals, faces, or symbols.
Use a thin brush and move slowly. Rest your hand on the table if you need more control.
Line art is great for people who like a calm, tidy look. It often uses less paint, so it can be a budget-friendly style too.
8. Paint Tiny Animals and Faces
Top Paint Tiny Animals And Faces Craft Tutorials
- 🍅 🐞🐝 Painted Rock Animals 🐛 Turn ordinary stones into the … from facebook.com.
- 🎄 Animal Resist Painting from funlittles.com.
- 👓 25 of Our Favorite Easy Art Projects for Kids from weareteachers.com.
- 🎄 Animal Crafts for Toddlers from messforless.net.
- 🍁 14 Tips for painting realistic animals in acrylic with Dawie … from montmarte.com.
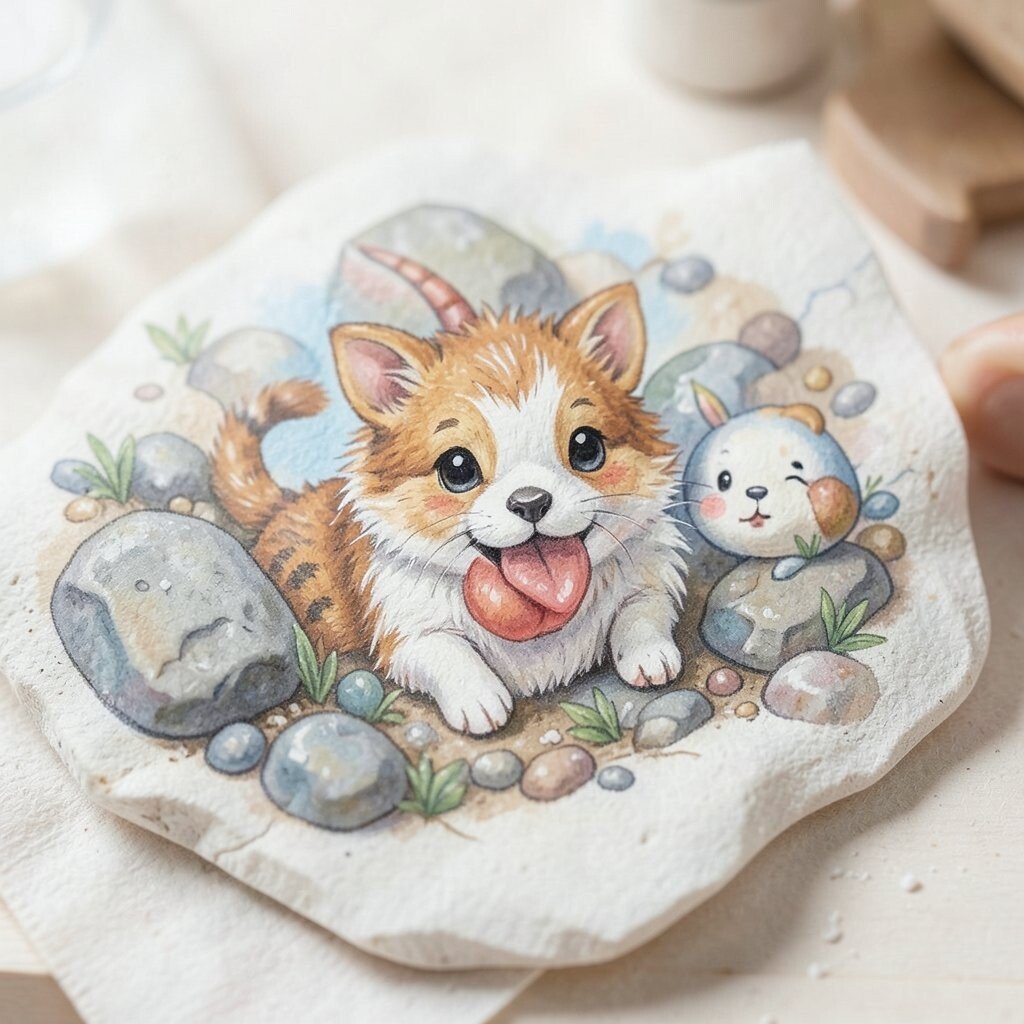
Little animals are a favorite stone painting idea for beginners. A cat, fox, bee, or turtle can look adorable on a small rock.
Start with a simple shape and add the face last. Big eyes, tiny noses, and soft smiles make the design feel friendly and alive.
You can make the animal match your pet or your favorite creature. That personal touch makes the stone more meaningful and fun to keep.
Use light pencil marks first if you want help placing the features. This can save paint and reduce mistakes.
Animal stones are often given as gifts or used as desk decorations. They are small, cute, and easy to display anywhere.
9. Mix Colors for Soft Blends
Top Mix Colors For Soft Blends Craft Tutorials
- 💅 What colours blend nicely together for blending? from facebook.com.
- 🧑🌾 How to Blend Colors Tutorial and Coloring Page from artprojectsforkids.org.
- 🗺️ Tips for blending the different shades of color? from reddit.com.
- 🧑🌾 Color Blending Using Multiple Wefts from elizabethbuckleytapestryartist.com.
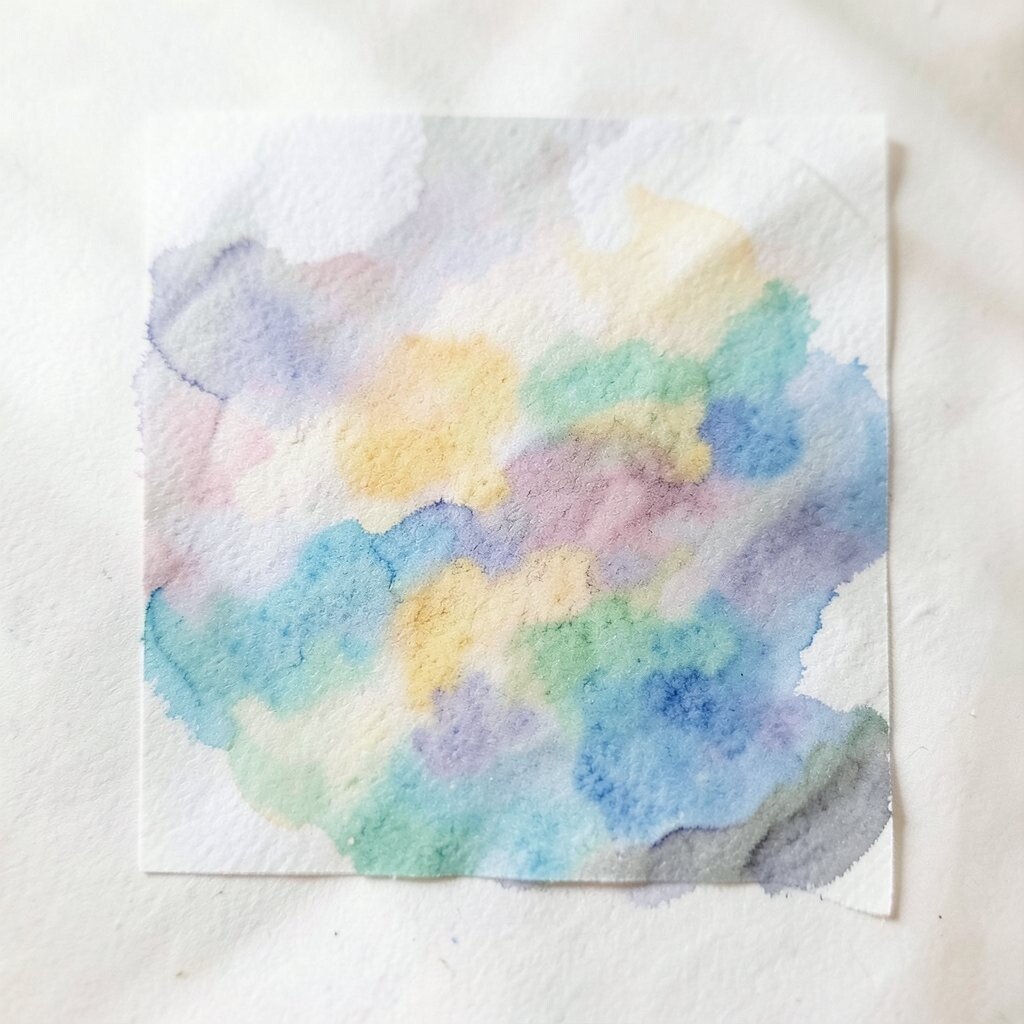
Blending colors on stones can create a dreamy look. Sunset skies, ocean water, and flower petals all look lovely with soft mixes.
Place two wet colors side by side and gently pull them together with a clean brush. Keep your strokes light so the colors melt instead of turning muddy.
Try warm shades like pink and orange, or cool shades like blue and purple. These pairs are easy to use and look rich on stone.
Blended stones feel more artistic and modern. They can look like tiny landscapes, which makes them stand out in a craft collection.
10. Add Patterns for Extra Style
Top Add Patterns For Extra Style Craft Tutorials
- 🖼️ Made a waffle pattern hat…Stylecraft double knit wool. … from facebook.com.
- 🎨 Loved making these sample panels. Primarily to show how … from instagram.com.
- 🎨 Free Crochet Patterns – Mezzacraft – Sharing the Art of … from mezzacraft.com.
- 🍅 10 Easy Free Crochet Patterns by Nicki's Homemade Crafts from saltypearlcrochet.com.
- 👓 70+ FREE Craft Fair Sewing Patterns: Quick Projects … from sewcanshe.com.
Patterns can make a simple stone look full and lively. Stripes, checks, swirls, and zigzags are easy ways to add charm.
Choose one pattern and repeat it across the stone. Repetition gives the design a neat rhythm and helps beginners stay focused.
Try using two or three colors only so the pattern stays clear. Too many colors can make the stone look busy instead of bold.
Patterned stones are popular in home decor because they feel bright and playful. They also make nice paperweights or shelf accents.
If you want a custom look, use colors from a room in your home. That simple idea helps the stone fit your space beautifully.
11. Write Words and Short Messages
Top Write Words And Short Messages Craft Tutorials
- 💅 Hungry Bunny Craft🐰 This literacy & math craftivity has 11 … from instagram.com.
- 🖼️ Fun writing craft for grades 1-8 from mmerainbows on TPT from facebook.com.
- 🎄 A Closer Look: GOING SHORT – CRAFT Literary from craftliterary.com.
- 🎨 Introduction to 'How to Write Short: Word Craft for Fast Times' from poynter.org.
- 🗺️ Foundations: Craft and Structure | SAT Reading and Writing from khanacademy.org.
Words can turn a stone into a tiny reminder or gift. Kind notes, names, and short sayings are easy to paint and fun to share.
Use thick letters if you are new to lettering. Simple block letters are easier than fancy script and still look strong.
Try words like hope, calm, joy, or peace. These messages fit current trends in mindful art and make stones feel thoughtful.
Lettered stones are great for gardens, desks, and small gift baskets. They are also cheap to make, since you only need paint and a brush.
For a personal touch, paint a favorite word in a loved one’s favorite color. That small choice can make the gift feel extra special.
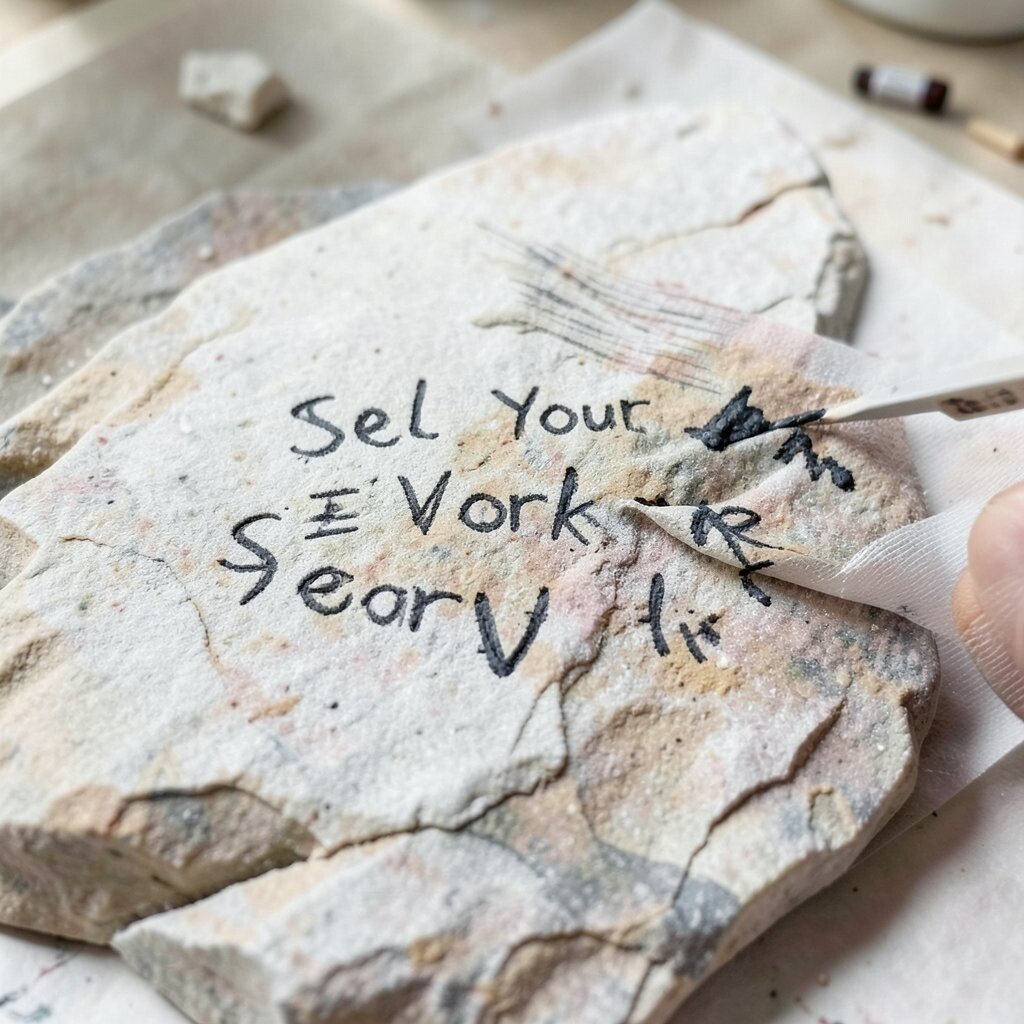
12. Seal Your Work for Lasting Color
Top Seal Your Work For Lasting Color Craft Tutorials
- 🗺️ How do folks seal their unframed work? Like cards, etc from facebook.com.
- 🗺️ Top Coats and Sealers for Crafts – A Comprehensive Guide! from thegraphicsfairy.com.
- 🍁 Upcoming Workshops from redsealcraftstudio.com.
- 🗺️ How To Seal & Protect Works On Paper from artistsjourney.com.
- 🗺️ Art and craft materials that cannot be purchased for use in … from oehha.ca.gov.
Sealing protects your painted stone and helps the colors stay bright. It also gives the surface a finished look.
Use a clear craft sealer or outdoor-safe spray if the stone will stay outside. A simple brush-on sealer can work well for indoor stones.
Apply thin coats and let each coat dry fully. This helps avoid sticky spots and keeps the shine smooth.
Sealers come in different finishes, such as matte or glossy. Matte gives a soft look, while glossy makes colors shine more.
This step may cost a little more, but it can save your art from fading. That makes it worth the small extra expense.
13. Make Stones for Gifts and Games
Top Make Stones For Gifts And Games Craft Tutorials
- 🗺️ How to Make Homemade Story Stones from happyhooligans.ca.
- 💅 Tic-tac-toe set made with smaller stones from facebook.com.
- 🖼️ Stone Craft Ideas from redtedart.com.
- 🍂 The Blarney Stone – Craft for Kids from somewhatsimple.com.
- 🧑🌾 Letter Stones- Reading Games from buggyandbuddy.com.
Painted stones are not just for display. They can also become gifts, story pieces, or game markers.
Make a set of stones with matching themes, like ocean animals or garden flowers. Sets feel special because they look connected and useful.
You can tuck a stone into a card, place one in a lunchbox, or give one to a friend who needs a smile. Handmade gifts often mean more than store-bought ones.
Stone sets for games are a fun trend for families and teachers. They are low-cost, reusable, and easy to carry.
Personalize them with initials, favorite colors, or tiny symbols. That makes each stone easy to tell apart.
14. Keep Practicing New Ideas
Top Keep Practicing New Ideas Craft Tutorials
- 🖼️ A reminder to keep practicing your craft and using … from facebook.com.
- 🧑🌾 14 Crafts for Teens and Tweens – ARTBAR from artbarblog.com.
- 👓 38 Creative and Simple Crafts for Kids to Keep Busy from freddythefrogcaster.com.
- 🍅 Crafting and Practice – Orillia from facebook.com.
- 🍂 Arts and crafts are hard, but oh, so worth it! Keep practicing … from instagram.com.
The best way to get better is to keep painting. Each stone teaches you something new about color, shape, and control.
Try different styles, from cute and simple to bold and detailed. The more you practice, the more your own style will show.
Keep a small box of finished stones so you can see your progress. Looking back can be motivating and can spark new ideas for the next project.
Use low-cost stones, leftover paint, and simple tools to keep practicing without worry. Small practice sessions can still lead to big improvement.
Today’s stone painting trends include bright rainbow designs, tiny positive messages, and nature themes. You can follow those ideas or mix them with your own favorite colors and shapes.