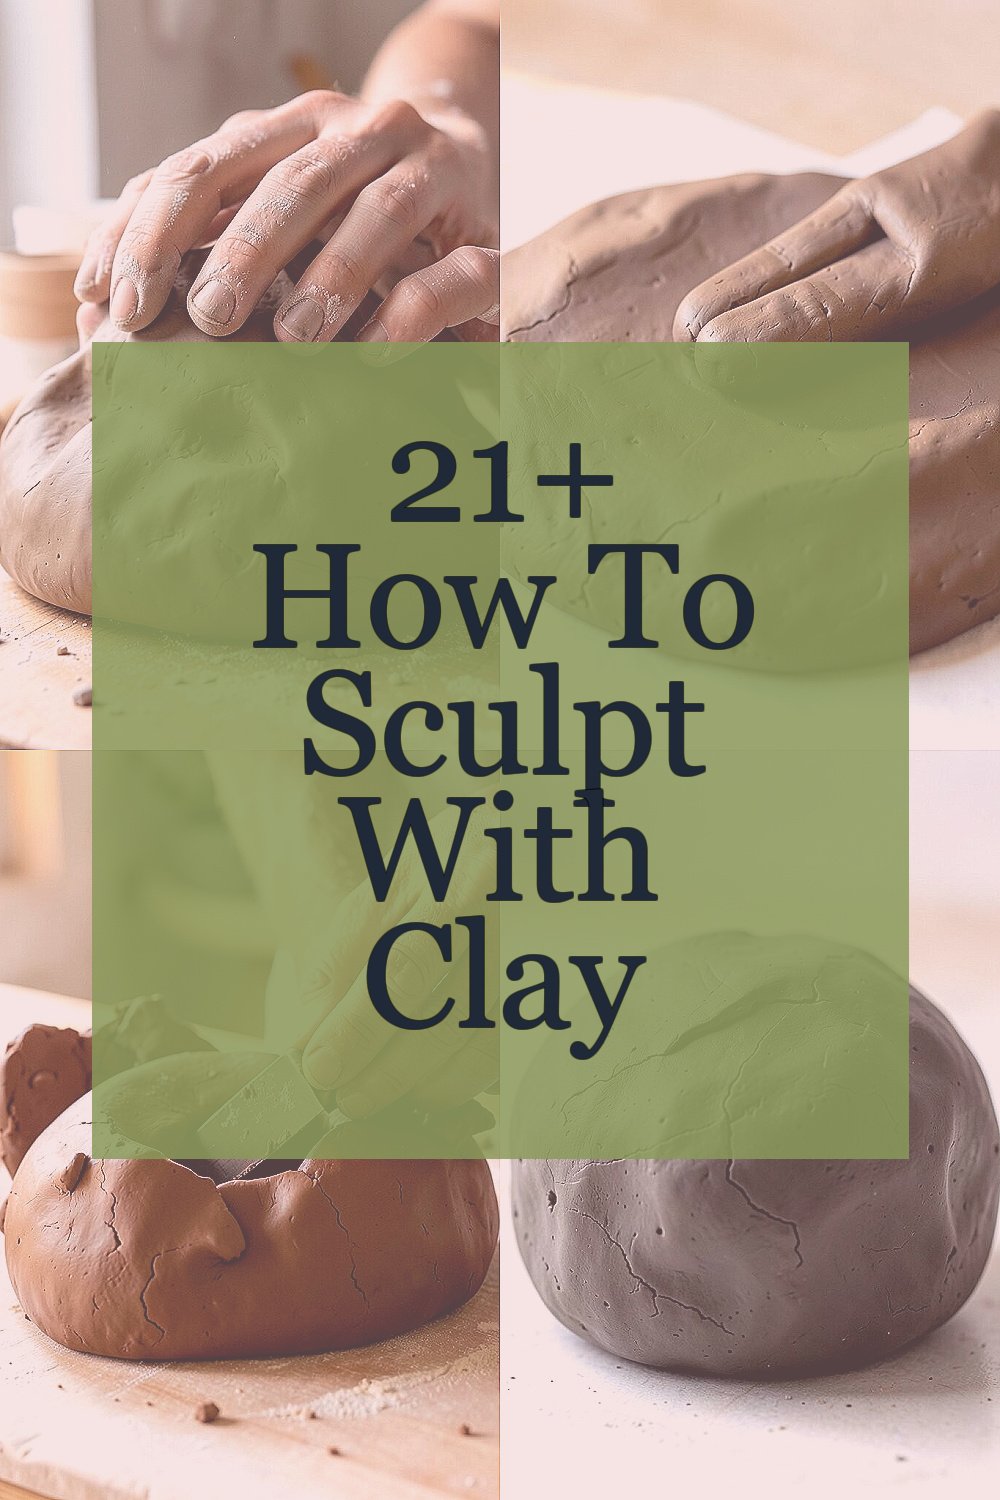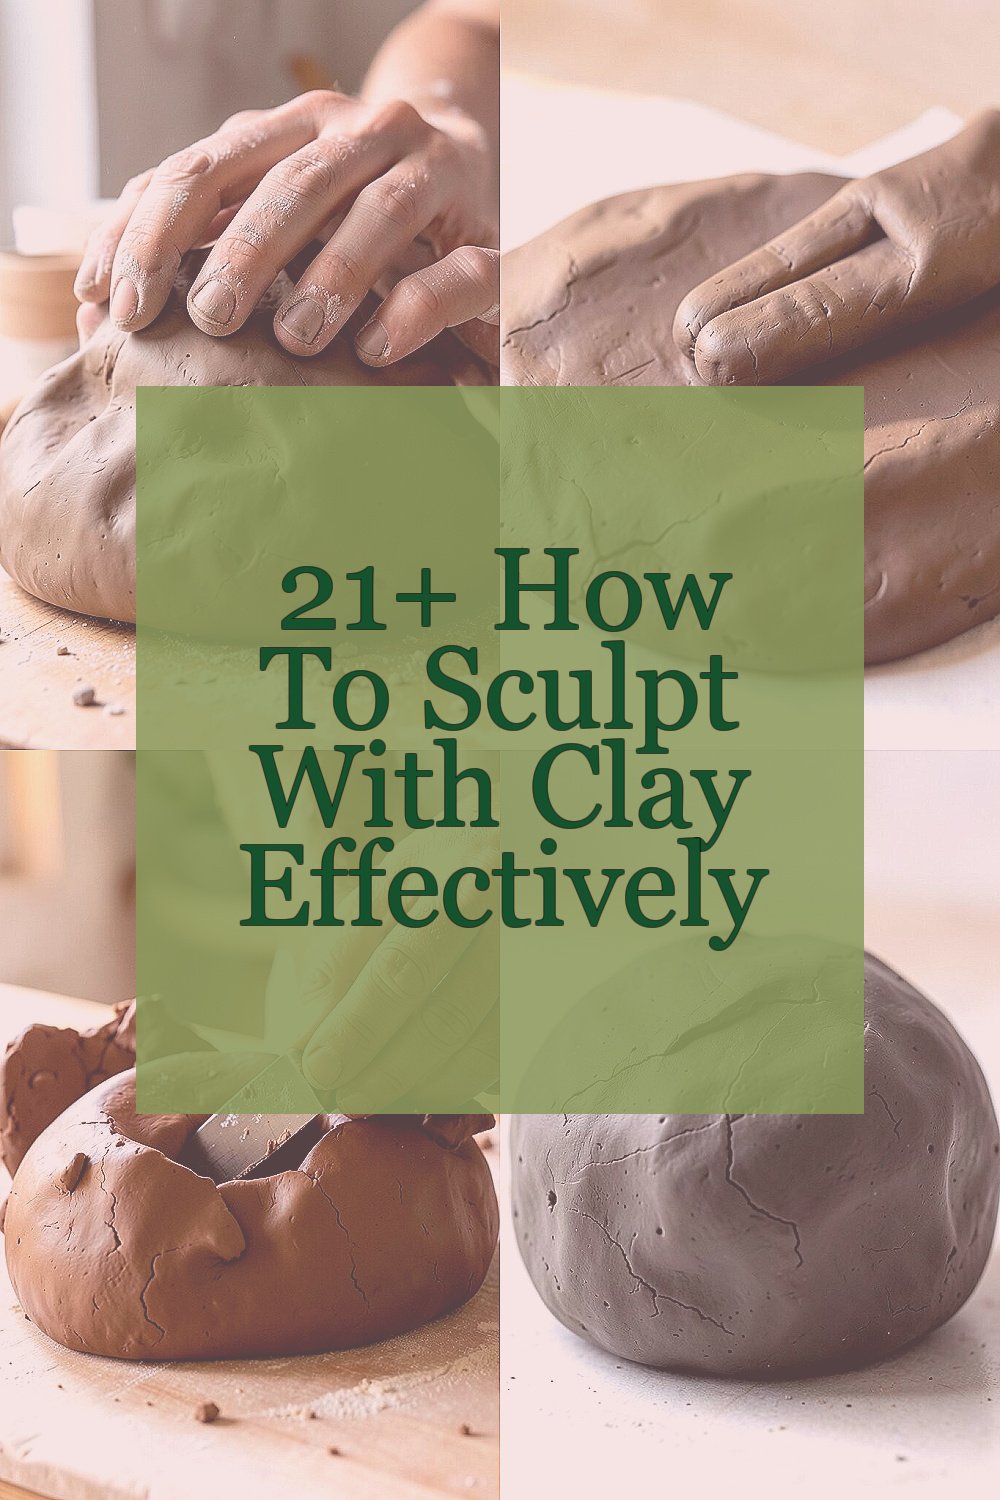
Clay feels simple at first, but it can surprise you fast. With the right habits, your hands can make something truly special.
1. Start With the Right Clay

Top Start With The Right Clay Craft Tutorials
- 🍁 8 Clay Craft Ideas: Fun and Easy Projects for Kids at Home from mothercould.com.
- 🎨 Slab pottery ideas for beginners – 25 easy clay projects from frombritainwithlove.com.
- 🗺️ 4 Air Dry Clay Projects for Beginners from skillshare.com.
- 🍅 Best Polymer Clay Crafts for Beginners from sculpey.com.
- 🍅 16 Fun Clay Crafts for Moms from momsandcrafters.com.
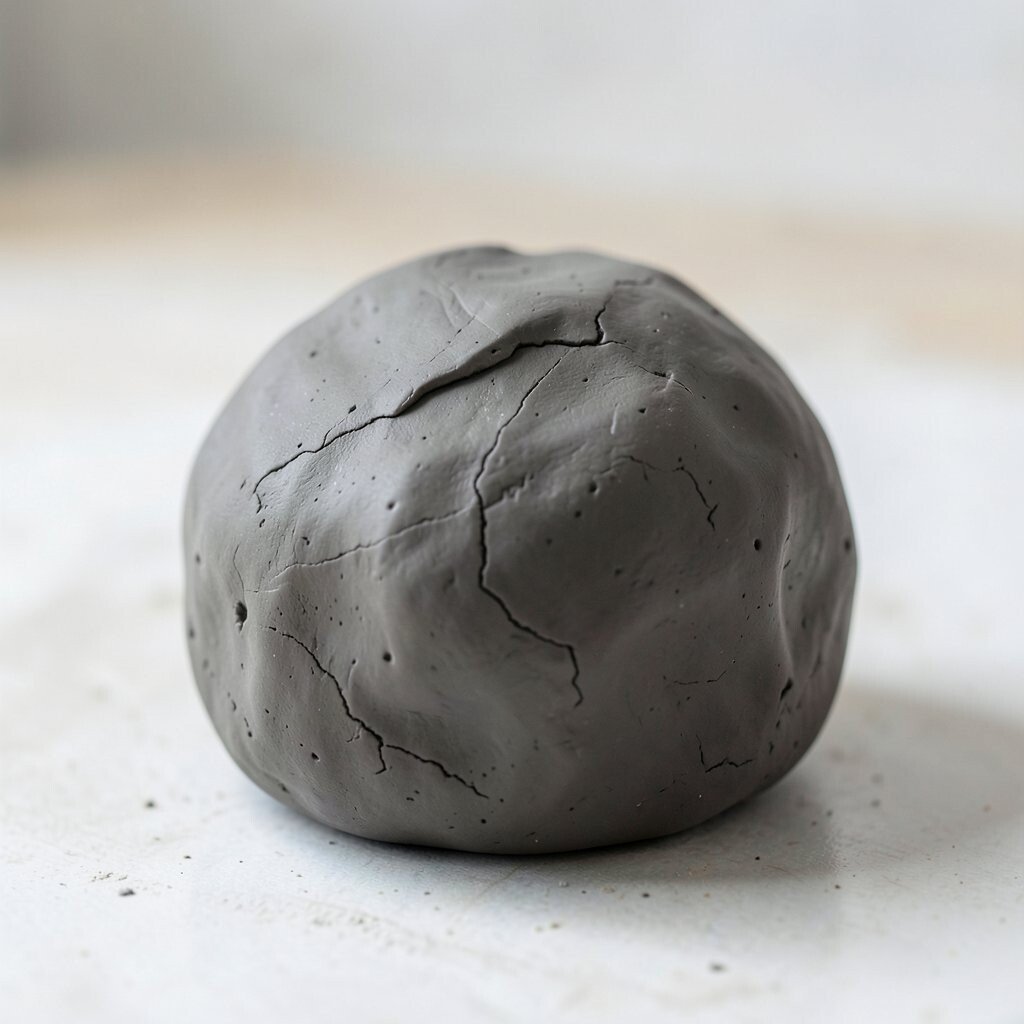
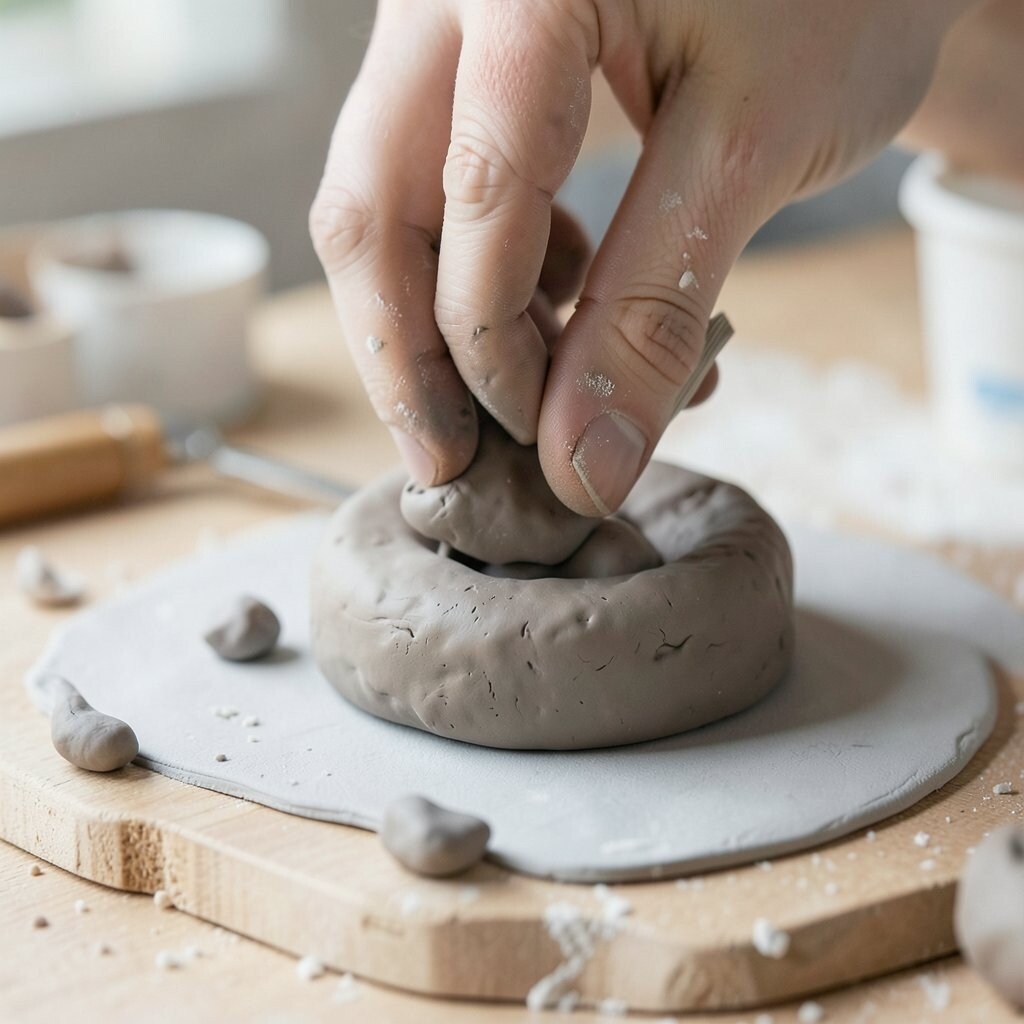
Choosing clay is the first big step, and it can shape your whole project. A soft, smooth block looks plain at first, but it becomes easier to form and much less stressful for a beginner.
Air-dry clay is great for low-cost practice because it does not need a kiln. Polymer clay works well for small, colorful pieces, while earthen clay gives a classic handmade feel. Pick one that fits your budget, your space, and the kind of art you want to make.
2. Keep Your Tools Simple

Top Keep Your Tools Simple Craft Tutorials
- 👓 Easy DIY Dollar Tree Craft Tool Organizer Tutorial from diyjoy.com.
- 🎨 I made this to keep my tools handy in my craft room. 2×4's … from facebook.com.
- 💅 Tool storage ideas for craft room? from facebook.com.
- 💅 Basic Paper Crafting Tools Every Crafter Should Have from altenew.com.
- 🎨 16 Must-Have Craft Tools from scrapbook.com.
You do not need a big art kit to begin. A wooden stick, a plastic knife, and a sponge can do a lot.
Simple tools help you focus on shape instead of gear. They also keep costs low, which is helpful when you are just testing ideas. Many beginners like to use kitchen items such as toothpicks or old spoons for texture, and that gives each piece a personal touch.
Right now, handmade tools are popular because they make clay work feel more unique. Try a few cheap tools first, then add more only when you truly need them. That way, your setup stays light, easy, and friendly to your wallet.
3. Warm the Clay Before You Shape It

Top Warm The Clay Before You Shape It Craft Tutorials
- 💅 Make your own clay creations with three ingredients … from mintmuseum.org.
- 🍅 No Bake Clay Recipe – The Crafty Tipster from thecraftytipster.com.
- 🖼️ 3 Ingredient Air Dry Clay from lovegrowswild.com.
- 🎨 Homemade clay recipe for prints and ornaments from facebook.com.
- 🗺️ Homemade Cold Porcelain Clay | Puffy Little Things from puffylittlethings.blogspot.com.
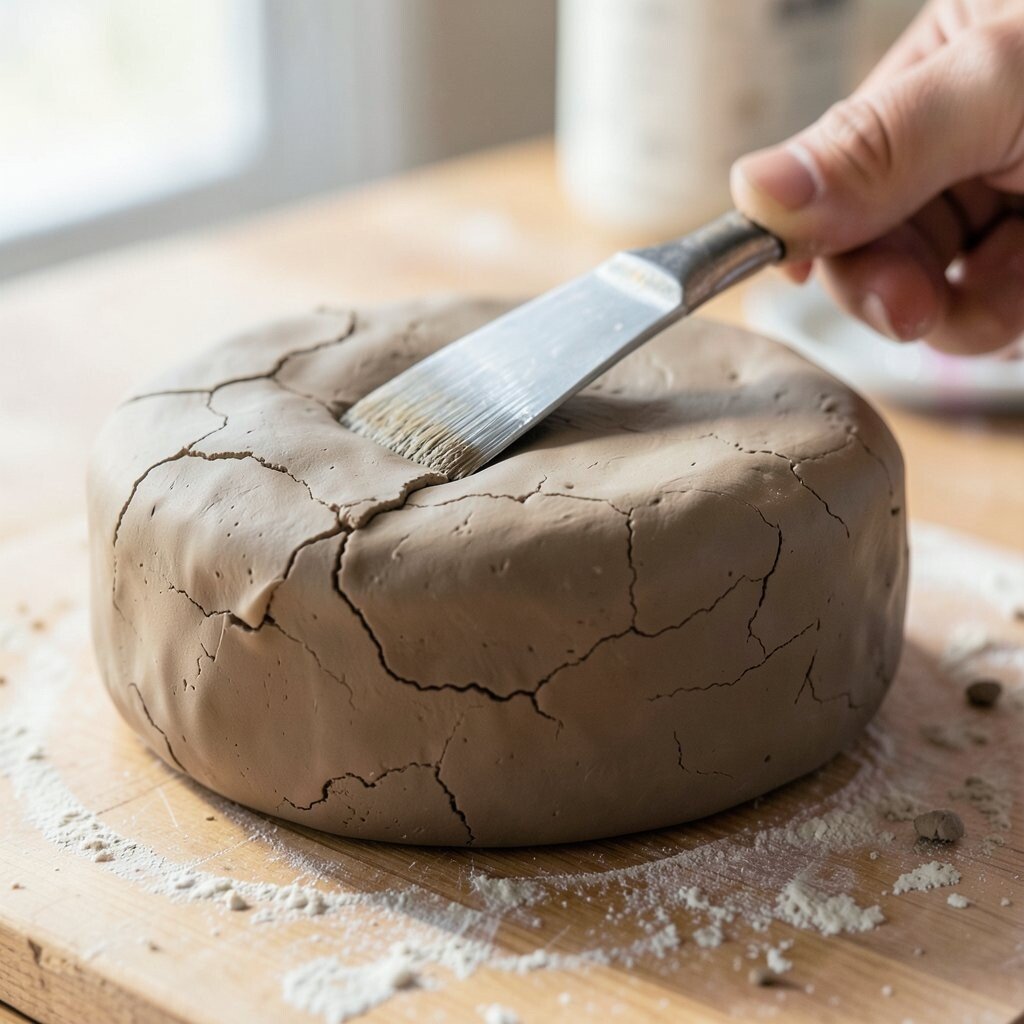
Cold clay can feel stiff and hard to handle. When you knead it in your hands, it gets softer and easier to move.
This simple step helps prevent cracks and rough spots. It also makes the surface look smoother, which gives your finished piece a cleaner look.
Try pressing and folding the clay for a short time before you begin. If it feels sticky, let it rest a bit or add a tiny amount of water. A warm, flexible lump is much easier to turn into a neat little figure, bowl, or shape.
4. Build From a Basic Shape
Top Build From A Basic Shape Craft Tutorials
- 🧑🌾 25+ Shape Activities and Crafts for Kids from toddlerapproved.com.
- 👓 2d Shapes Craft from teacherspayteachers.com.
- 🧑🌾 Fun With Shapes Artwork from inthebagkidscrafts.com.
- 🍂 10 Fun Learning Activities Using Paper Shapes from freshcutcrafts.com.
- 🍅 15 Shape Crafts For Kids from notimeforflashcards.com.
Every strong clay piece starts with a simple base. A ball, coil, or slab can become almost anything with a little patience.
This makes the process less scary because you are not trying to make the final piece all at once. It also helps your work stay balanced and less likely to fall apart.
Many beginners love starting with a round form because it is easy to see and hold. From there, you can pinch, stretch, or flatten it to fit your idea. The best part is that simple shapes leave room for your own style to show through.
5. Use Your Fingers as Your Main Tool
Top Use Your Fingers As Your Main Tool Craft Tutorials
- 🗺️ Practice Five-Finger Breathing and Mindfulness with This … from pbssocal.org.
- 👓 Did someone ask what we use for blending? I mostly … from facebook.com.
- 🎨 Overworked Hands? 5 Tips to Care for Your Hands as an … from ohow.com.
- 👓 Hand Strengthening Exercises for Kids from theottoolbox.com.
- 🎄 How many fingers are enough for human level tool use? from reddit.com.
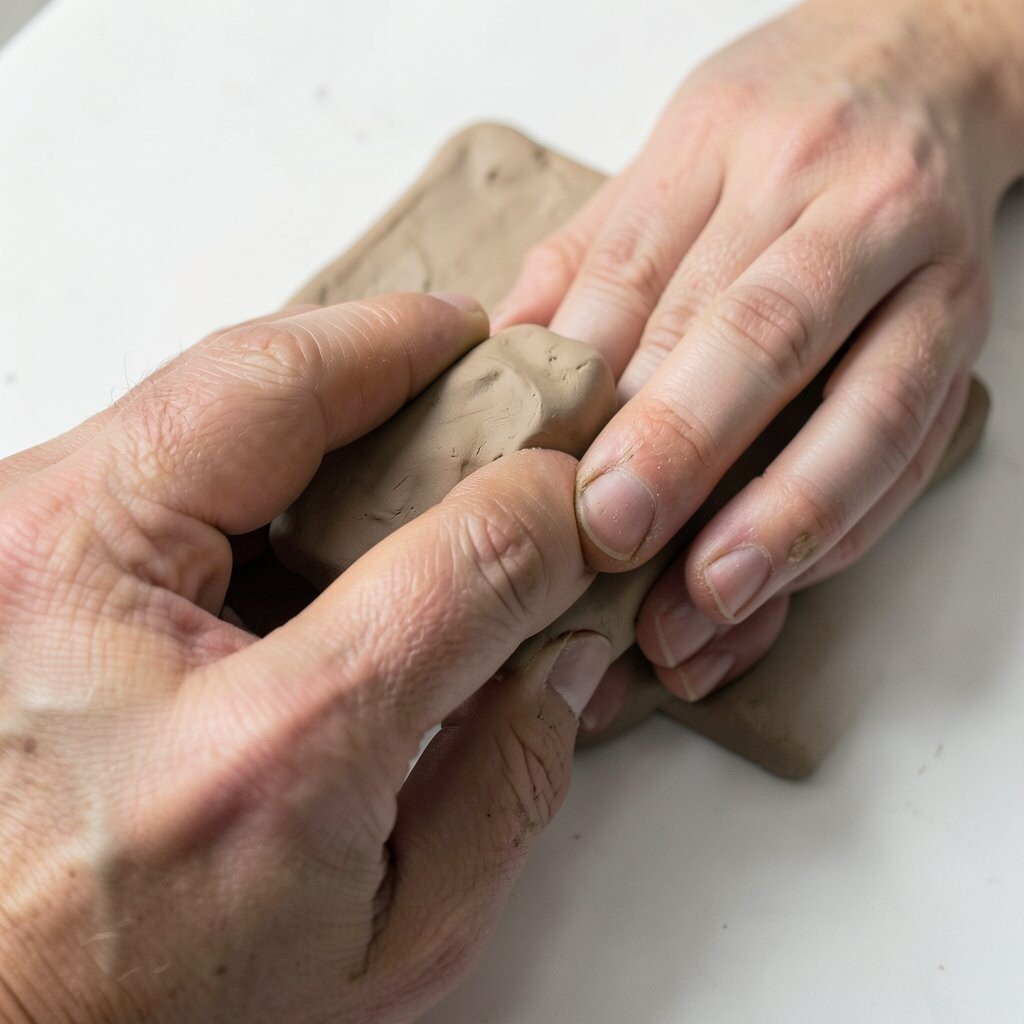
Your hands are often the best sculpting tools you have. Fingers can smooth, press, pinch, and blend in ways tools cannot.
This gives your work a natural, handmade look that feels full of life. It also helps you feel the clay better, which makes learning faster.
Try using your thumb to make dents and your fingertips to soften edges. If you want a more modern look, leave a few finger marks on purpose for texture. That small choice can make your piece feel fresh, personal, and very real.
6. Keep Water Nearby, But Use It Carefully

Top Keep Water Nearby, But Use It Carefully Craft Tutorials
- 🖼️ Kids science experiments using water from freetimewiththekids.com.
- 🗺️ Fun and Easy Water Play Ideas from picklebums.com.
- 🍁 22+ Easy Ways Kids Can Save Water (World Water Day … from backwoodsmama.com.
- 💅 Handprint Rain Clouds Craft Ingredients: – White cardstock … from facebook.com.
- 🖼️ How To Make a Water Clock from nestlepurelife.com.
A little water can help clay stay smooth and easy to join. Too much water, though, can turn it slippery and weak.
Use a damp sponge or a wet finger to soften rough spots. This is a cheap and easy habit that makes a big difference in the final look.
Water is especially useful when you are blending seams or shaping small details. If your clay starts to look muddy, pause and let it dry a little before continuing. Careful use of water keeps your sculpture neat and saves you from messy repairs.
7. Learn How to Join Pieces Well
Top How To Join Pieces Well Craft Tutorials
- 🍂 The Magic of Seven: At What Age Did You Learn to Craft? from pieceworkmagazine.com.
- 💅 Embroidery learning piece with busy design from facebook.com.
Many clay projects use more than one part. Arms, ears, handles, and little decorations all need to stick together firmly.
To join them well, scratch both surfaces lightly and add a bit of slip or water. Then press the pieces together and smooth the seam.
This simple trick helps your sculpture last longer and look cleaner. It is also useful for creative projects like animals, faces, and tiny fantasy figures. Strong joins let you make bolder shapes without fear of them breaking apart.
8. Work Slowly and Check the Shape Often

Top Work Slowly And Check The Shape Often Craft Tutorials
- 🍅 Building Week Part 2: Strong Shapes from allfortheboys.com.
- 🗺️ taking shape… slowly. : r/crafting from reddit.com.
- 🧑🌾 ☁️🌤 Sky Cloud Viewer ✨ A simple outdoor activity to slow … from facebook.com.
- 🍅 50 Easy DIY Arts and Crafts for Kids to Try at Home from goodhousekeeping.com.
Clay can change fast, so it helps to pause and look at your piece from all sides. A front view may look good while the back or side feels uneven.
Slow work gives you more control and fewer mistakes. It also helps you notice small issues before they become big ones.
Place your sculpture on a table and walk around it if you can. Turn it gently in your hands and compare each side. This habit is simple, free, and very useful for making balanced work that looks polished.
9. Keep Your Proportions Easy

Top Keep Your Proportions Easy Craft Tutorials
- 🎄 Drawing the Fashion Figure from craftsy.com.
- 🖼️ Any tips on drawing my proportions correctly? from facebook.com.
- 🍅 Doll Body Proportions. A simple Guide — fig & me from figandme.com.
- 🍅 Here's an easy way to practice drawing body proportions! … from facebook.com.
- 🍂 How to Teach Proportion | Snowman Project | Elements & … from deepspacesparkle.com.
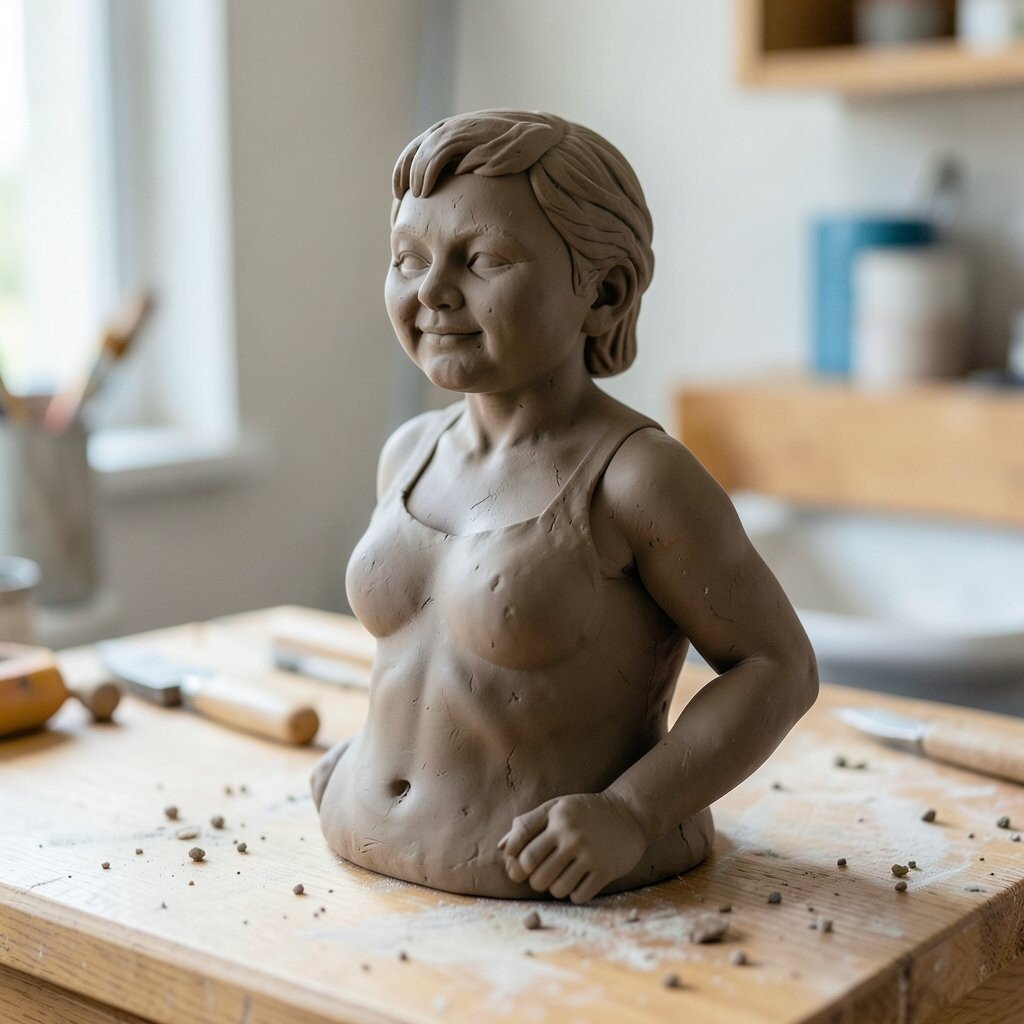
Beginners often make heads too big or legs too thin. That is normal, and it gets easier when you break the form into clear parts.
Think about the size of each section before you add detail. A calm, simple plan can help the whole piece look more natural.
Use your eyes, a ruler, or even your fingers to compare lengths. If you are making a person or animal, start with the biggest shape first and add smaller parts later. This makes the sculpture easier to control and gives it a more pleasing look.
10. Add Texture for More Life

Top Add Texture For More Life Craft Tutorials
- 💅 realistic texture pack – Minecraft Resource Packs from curseforge.com.
- 🍅 Minecraft DLC Marketplace: Texture Packs from minecraft.net.
- 👓 10 Best Minecraft Texture Packs for Bedrock (April 2026) from attackofthefanboy.com.
- 💅 Shaders Texture Packs for MCPE from play.google.com.
- 🍅 20 Texture techniques – Mont Marte Global from montmarte.com.
Texture can make plain clay feel exciting right away. A comb, fork, cloth, or toothpick can leave cool marks on the surface.
This gives your work a special look and helps it stand out. It is also a fun way to hide small flaws or fingerprints.
Right now, many makers enjoy mixing smooth areas with rough ones for contrast. You can press lace into clay for a soft pattern or tap it with a brush for a grainy effect. Personal touches like these make each piece feel one of a kind.
11. Keep Your Hands and Workspace Clean

Top Keep Your Hands And Workspace Clean Craft Tutorials
- 👓 Creating a clean workspace for crafting from facebook.com.
- 🍅 ✨3 ways to keep your workspace organized✨ 1. Clear out … from instagram.com.
- 🍅 Hobbies for keeping hands busy/watching tv? (Tw – r/crafts from reddit.com.
- 🖼️ Clear your Workspace – Craft Room Challenge 2018 from craftifymylove.com.
- 🗺️ 25 Low-Effort Ways To Keep Your Workspace Clean from buzzfeed.com.
Clay picks up dust, lint, and crumbs very easily. A clean table and clean hands help your sculpture look much better.
It also keeps colors from mixing by accident. That means less waste and fewer frustrating mistakes.
Set out a damp cloth, a dry towel, and a small trash bin before you start. Wipe your tools now and then so clay does not build up on them. This simple routine costs almost nothing and makes the whole process feel smoother.
12. Use Reference Photos or Real Objects
Top Use Reference Photos Or Real Objects Craft Tutorials
- 🖼️ What are some great sources/websites/blogs of photo … from reddit.com.
- 🍂 Importance of permission for reference photos from facebook.com.
- 🎄 Share your craft: Mine is pose reference modeling! – Imgur from imgur.com.
- 👓 What Can I Draw? – 100 Objects to Draw from theartyteacher.com.
- 🍅 100+ Things to Draw: Easy, Cool, Cute and Fun Ideas from skillshare.com.
Looking at a photo or a real object can make sculpting much easier. Your eyes get clear clues about shape, size, and detail.
This is helpful for beginners who are still learning how things look in three dimensions. It also keeps your art from feeling flat or guessy.
Try sculpting a fruit, a shell, or a small toy from real life. You can still add your own style by changing the face, pose, or surface pattern. Using references is a smart and low-cost way to improve fast while keeping your work original.
13. Practice Pinching for Small Forms

Top Practice Pinching For Small Forms Craft Tutorials
- 🖼️ 15 Hands-On Activities to Promote Pincer Grasp … from growinghandsonkids.com.
- 🎨 Types of pinch patterns AND exercise to build precision … from facebook.com.
- 🗺️ 35 Fine Motor Activities: Therapists' Ultimate List – NAPA Center from napacenter.org.
- 🎄 8 Crafts That Develop Fine Motor Skills from diamondartclub.com.
- 🎄 When clothespins meet craft sticks, you get fine motor … from instagram.com.
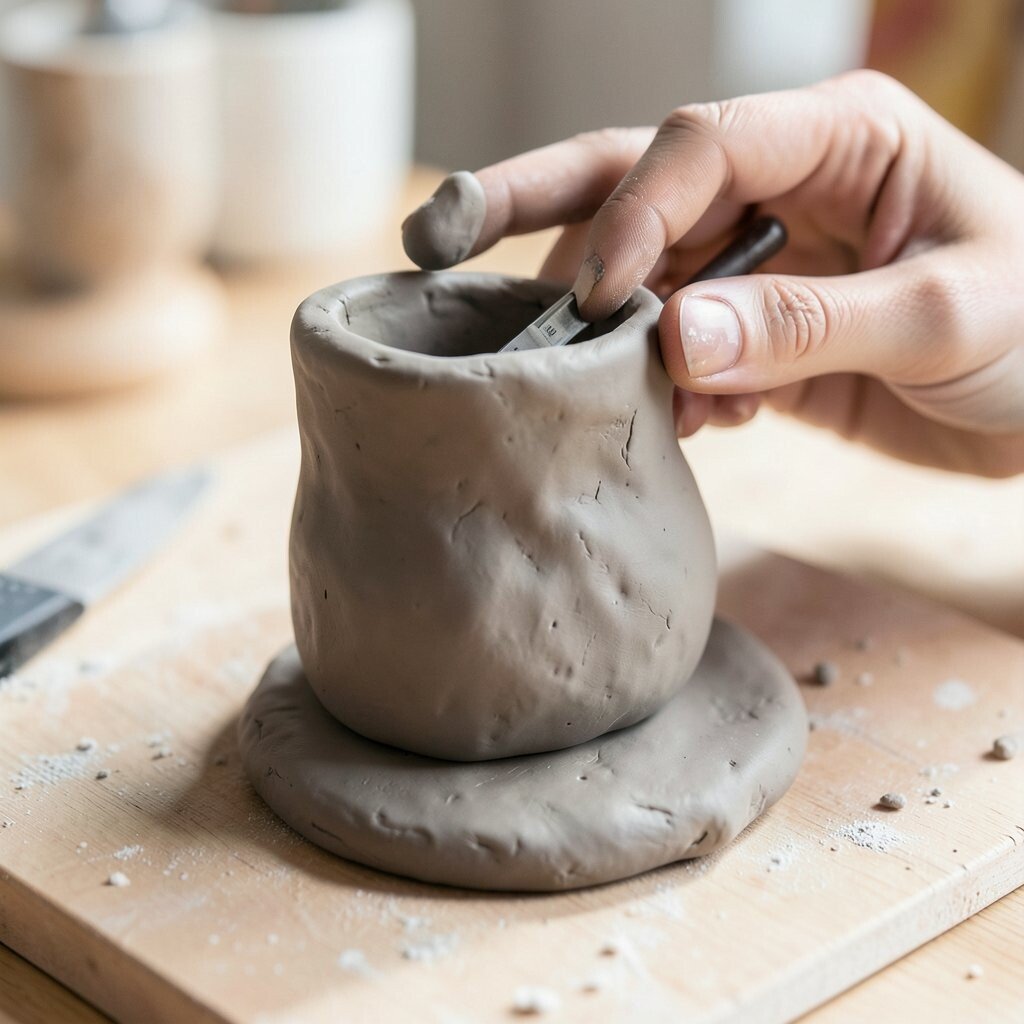
The pinch method is a classic clay skill that feels almost like magic. You start with a ball and gently press your thumb into the middle.
Then you pinch the sides to open and shape the form. This works well for little bowls, cups, and small decorative pieces.
It is a great beginner method because it teaches control and touch. You can make each piece unique by changing the rim, the curve, or the thickness. Many people like this trend because it feels handmade and simple at the same time.
14. Try Coil Building for Bigger Shapes

Top Try Coil Building For Bigger Shapes Craft Tutorials
- 👓 Coil construction methods for clay busts and figures from facebook.com.
- 🍁 🌟 COIL, CUT, CREATE: A Workshop with Candice Methe 🌟 … from instagram.com.
Coils are long ropes of clay that you stack and blend together. They can make vases, jars, and fun wavy forms.
This method is useful because it lets you build taller pieces without needing a mold. It also gives your sculpture a handmade pattern that can look very charming.
Roll the coils the same thickness so the walls stay even. Press each layer gently and smooth the inside and outside as you go. Coil building can be very budget-friendly, and it gives you lots of room to make your own style shine.
15. Make Slabs for Clean and Modern Shapes

Top Make Slabs For Clean And Modern Shapes Craft Tutorials
- 🎄 15 Romano – Premium Travertine Slabs for Modern Villas from alibaba.com.
- 🍂 15pcs Trapezoid Slab Beads – Ocean Sediment Stones … from he.aliexpress.com.
- 🎄 DIY Dried Flower Polymer Clay Slab Craft Ideas from lemon8-app.com.
- 🍂 Slab Pottery Ideas – 27 Amazing Projects to Try Out from thepotterywheel.com.
- 🍁 How to make slab bowls Credit: @studiostarke_ceramics from facebook.com.
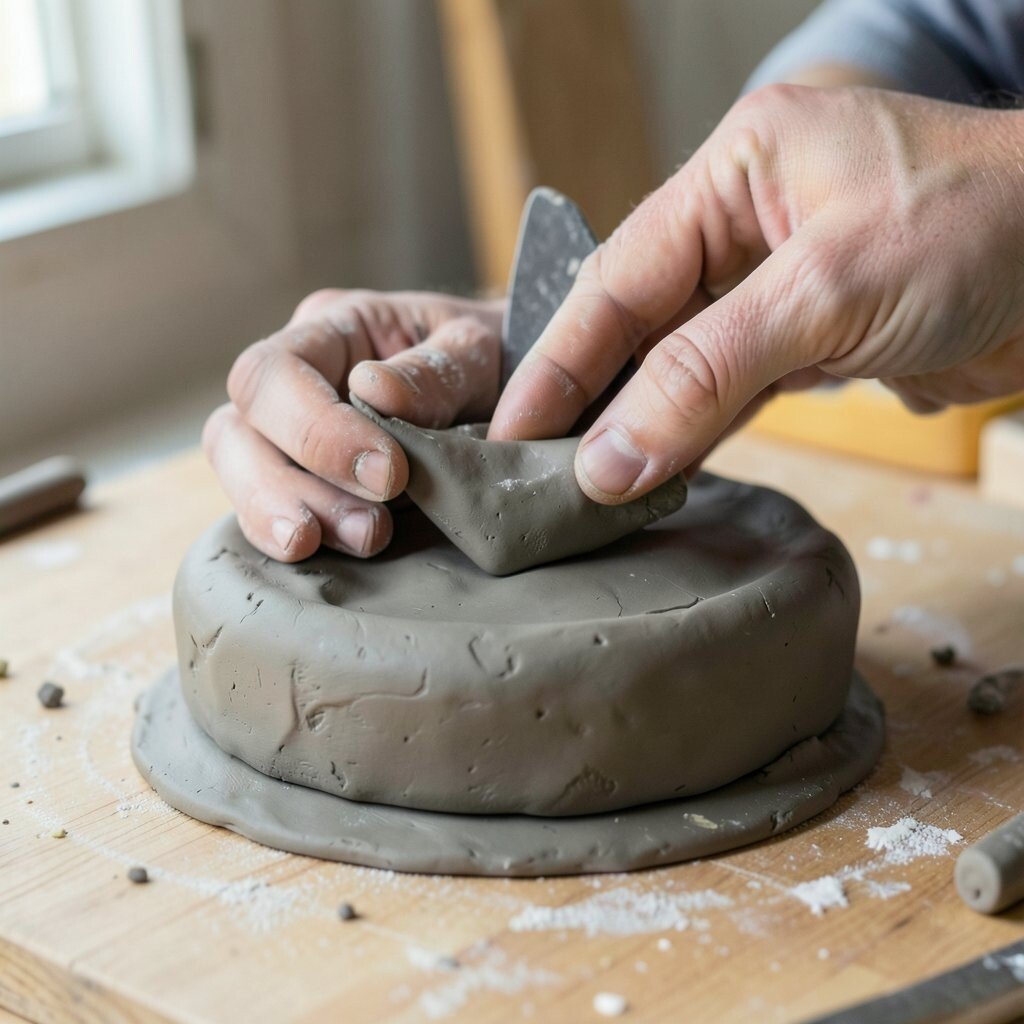
Slab work uses flat pieces of clay, almost like soft sheets. These can be cut and joined into boxes, tiles, or sharp-edged forms.
This method gives your art a neat, modern look that many people love right now. It also helps beginners make simple forms with straight sides and tidy corners.
Use a rolling pin or bottle to flatten the clay evenly. Then cut the pieces with a knife or card and join them with care. Slab work is a smart option if you want a clean style without spending much money on special tools.
16. Smooth Surfaces Before They Dry

Top Smooth Surfaces Before They Dry Craft Tutorials
- 💅 I tried 24 different ways to add texture to air dry clay … from facebook.com.
- 🎨 23 Air Dry Clay Tips and Tricks for Beginners from colorfulcraftcorner.com.
- 🗺️ Make Paper Mache Clay Smooth Without Sanding from ultimatepapermache.com.
- 🎄 What to use for a smooth surface? from facebook.com.
Once clay starts drying, it becomes harder to fix bumps and cracks. That is why smoothing early is such a helpful habit.
A damp sponge, soft brush, or wet finger can soften rough spots and make the piece look finished. This also helps light bounce across the surface in a nicer way.
Focus on places where your fingers left marks unless you want that texture on purpose. A smooth finish can make a sculpture feel calm and elegant, while a textured one can feel lively and bold. Choose the style that fits your idea best.
17. Let the Clay Rest at the Right Time
Top Let The Clay Rest At The Right Time Craft Tutorials
- 🗺️ The Overflow! The Potter and the Clay from aliciabruxvoort.net.
- 💅 What has clay taught about restraint? from facebook.com.
- 👓 The Utilitarian Clay Symposium is held every 4 years … from instagram.com.
- 🗺️ Homemade Cold Porcelain Clay | Puffy Little Things from puffylittlethings.blogspot.com.
Clay sometimes needs a short break before you keep shaping it. If it gets too soft, it may sag or lose its form.
Resting the piece can make it easier to handle and safer to add details later. It is a small step, but it can save a lot of trouble.
Put your work aside for a while if it starts feeling sticky or weak. Cover it lightly so dust does not land on it. This patient habit costs nothing and helps your sculpture stay strong and neat.
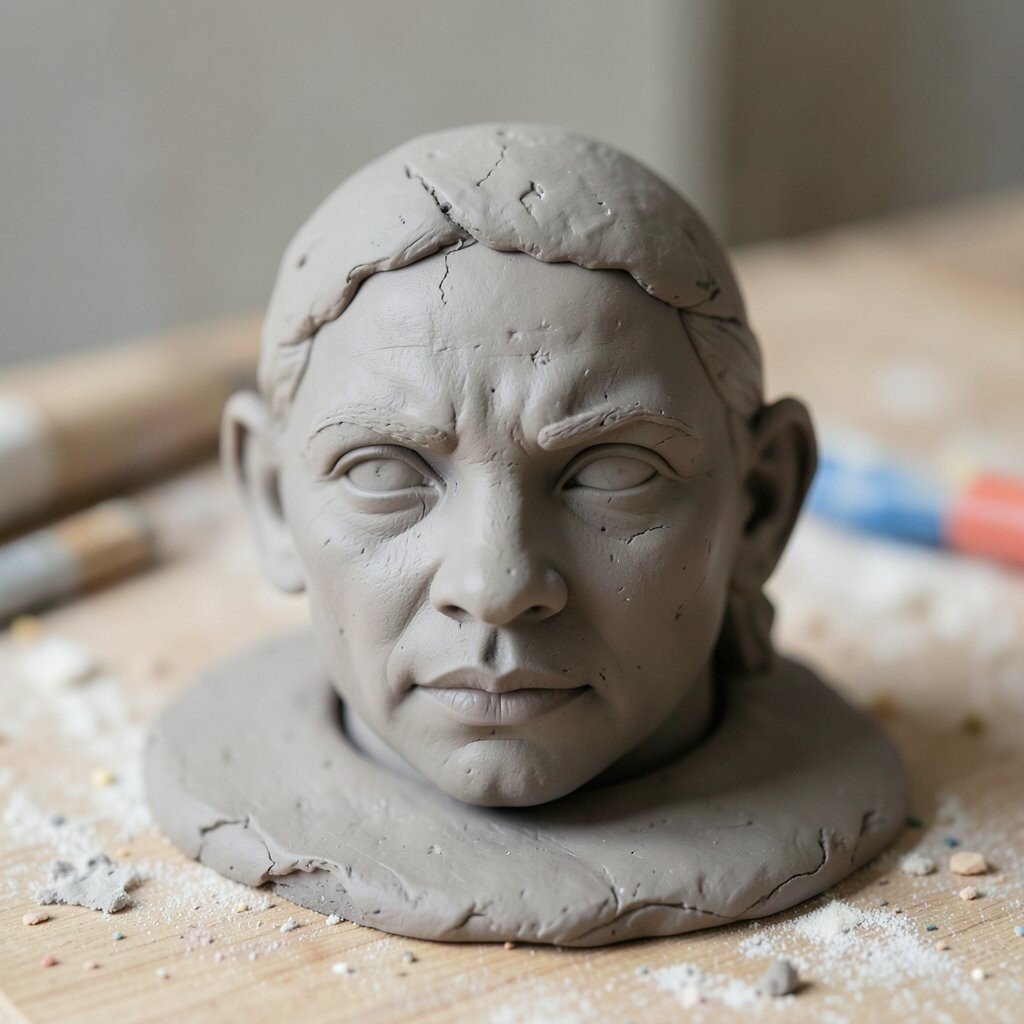
18. Add Details After the Main Shape Is Set
Top Add Details After The Main Shape Is Set Craft Tutorials
- 🍁 Sculpting With Polymer Clay : 8 Steps (with Pictures) from instructables.com.
- 🍁 A Beginner's Guide to Sculpting in Clay from sculpey.com.
- 🍅 Beginners guide to sculpting in clay from artistsandillustrators.co.uk.
- 👓 20 polymer clay tips and tricks for beginners from montmarte.com.
- 🗺️ The Secrets of Sculpting with Creative Paperclay I from susiebenes.com.
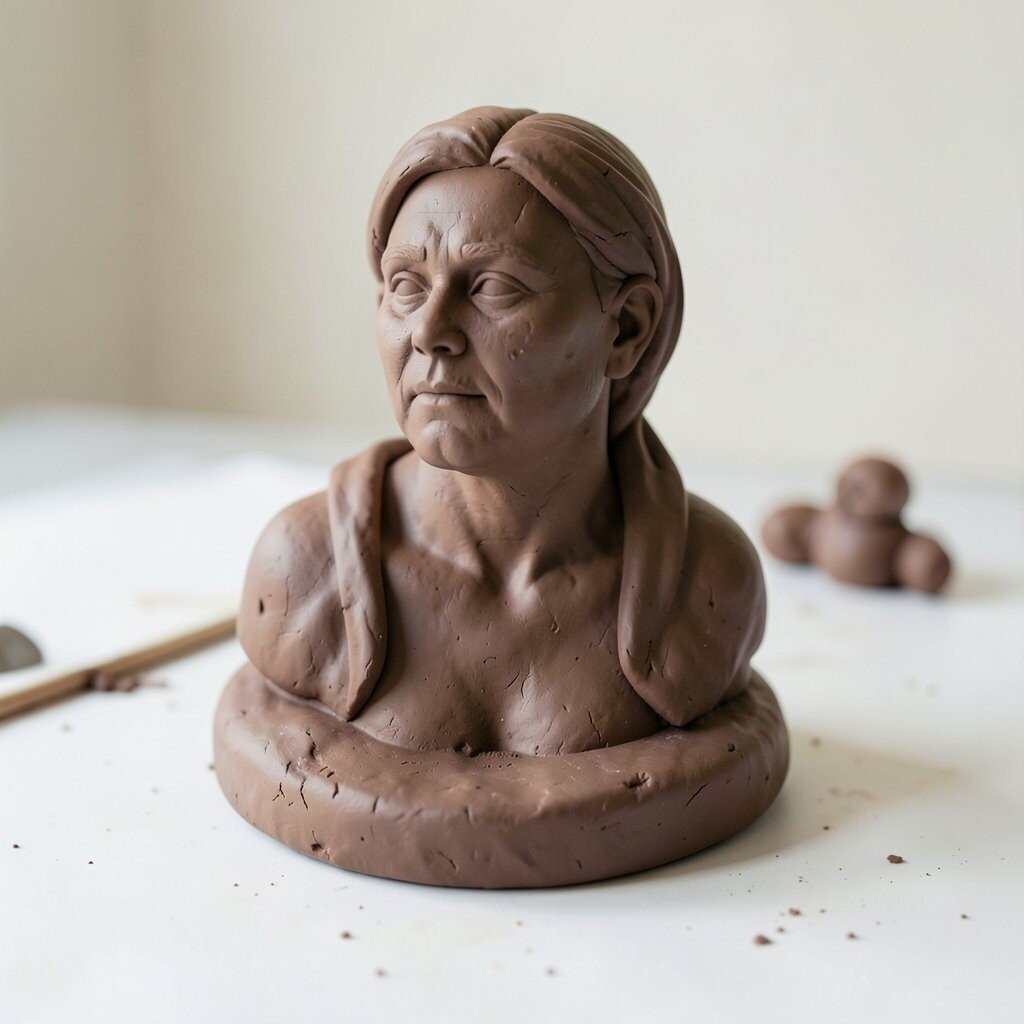
Big shapes should come first, and tiny details should come later. That keeps the piece from getting crowded or messy too early.
Eyes, buttons, fur lines, and leaf veins all work better when the base shape is steady. It also makes the sculpture easier to read from far away.
Use a small tool or the tip of a pencil for fine marks. You can make a face sweet, silly, serious, or dreamy with just a few tiny changes. This is where your personal style can really show.
19. Try Simple Color Choices
Top Try Simple Color Choices Craft Tutorials
- 🍂 Looking for some easy craft ideas I typically like to color or … from facebook.com.
- 👓 Rainbow Crafts Every Color Lover Should Try from modpodgerocksblog.com.
- 🍂 Simple Color Matching Craft 🌈 https://abcdeelearning.com/ … from facebook.com.
- 💅 There's something so cozy about fall crafts in the classroom … from instagram.com.
- 🍂 50 Easy DIY Arts and Crafts for Kids to Try at Home from goodhousekeeping.com.
Color can change the whole mood of a clay piece. Soft earth tones feel calm, while bright colors feel playful and bold.
Many beginners like to keep the palette small so the sculpture does not look too busy. Paint or colored clay can add life without making the project harder.
Current trends often favor natural shades, pastel looks, and tiny pops of color. You can match your piece to a room, a gift idea, or your favorite theme. Color choices are a fun way to make the work feel more like you.
20. Learn From Small Mistakes
Top From Small Mistakes Craft Tutorials
- 🍂 Learning from small mistakes in crafting from facebook.com.
- 💅 Learn from Craft Fails: Why Mistakes Are Good for Your … from ourdailycraft.com.
- 🍅 The craft isn't the point. Sure, they'll take home something … from instagram.com.
- 👓 Explore How Making Mistakes Changes an Art Project from pbs.org.
- 🍅 Using Art to Teach Growth Mindset in the First Weeks … from ssww.com.
Clay teaches through mistakes in a very honest way. A crack, dent, or wobble can show you what to change next time.
Instead of getting upset, treat each problem like a clue. That mindset helps you improve faster and feel more relaxed while making art.
You can patch small flaws, reshape soft clay, or turn a mistake into a design detail. A crooked line may become a branch, and a rough mark may become fur or bark. This kind of creative fix keeps costs low because you waste less material.
21. Make It Personal With Small Story Details
Top Make It Personal With Small Story Details Craft Tutorials
- 👓 Crafts to Inspire Storytelling (for Kids and Grown-ups too!) from sparklestories.com.
- 🗺️ Creating story bags for children with various items from facebook.com.
- 💅 Don't Forget About Craft! 2024 Classroom Slice of Life … from twowritingteachers.org.
- 🍂 Crafting Your Story from ecpcta.org.
- 👓 How To Craft a One-Page Synopsis Using Story Beats from ryanlanz.com.
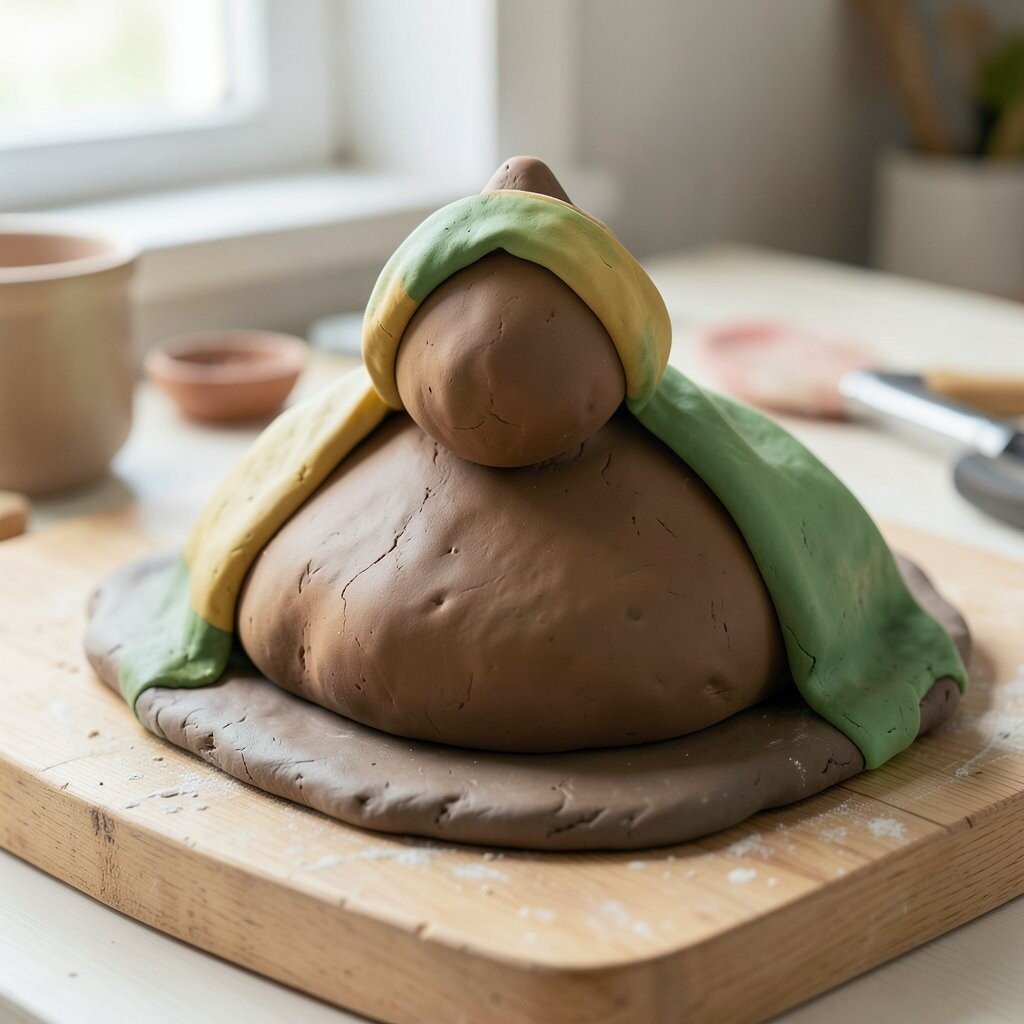
A sculpture feels stronger when it has a story behind it. A tiny hat, a favorite animal, or a special pattern can give it meaning.
This makes your work more memorable and more fun to make. It also helps you build a style that feels truly yours.
Try adding symbols that matter to you, like stars, flowers, or little initials. You can make a gift more thoughtful by shaping something linked to a hobby or memory. Personal details turn simple clay into something warm and special.
22. Practice Often and Keep Pieces Small
Top Practice Often And Keep Pieces Small Craft Tutorials
- 🗺️ What to do with craft practice pieces? from facebook.com.
- 🧑🌾 20 Small Woodworking Projects for Beginners or Experts from learn.kregtool.com.
- 🧑🌾 Woodworking and sign-making aren't just crafts—they're … from instagram.com.
- 🍂 30+ Easy Kids Crafts to Do at Home for Joyful Learning from speechblubs.com.
- 🎨 Seeking a new craft hobby, I've run out of ideas from reddit.com.
Short practice sessions help you improve without feeling overwhelmed. Small sculptures are easier to finish, cheaper to make, and less stressful to store.
They also let you test new ideas quickly. That means you can learn faster and build confidence one piece at a time.
Many current makers post tiny clay figures, charms, and mini home decor because they are cute and easy to share. Keep a few practice pieces on your shelf so you can see how far you have come. With steady practice, your hands will start to feel more sure, and your ideas will come to life more smoothly.