Imagine a world where colors blend like magic on paper, creating dreams with every brushstroke. The wet-on-wet gouache technique offers endless possibilities for those who dare to play with water and pigment. With techniques that promise joy and creativity, the journey into this vibrant realm is filled with surprises.
1. Rainbow Swirl

Top Rainbow Swirl Craft Tutorials
- 🍁 Make the perfect tie-dye rainbow swirl from craftychica.com.
- 🍁 Rainbow swirls and sparkles- May Designer Challenge from mymessycraftroom.me.
- 🍅 Rainbow Swirl Bouncy Ball Ingredients: 1 tablespoon … from facebook.com.
- 🍂 Rainbow Milk Art: Kitchen Fun Part 5 from sandytoesandpopsicles.com.
- 💅 Swirly rainbow toddler art – with Skittles and water from madeformums.com.
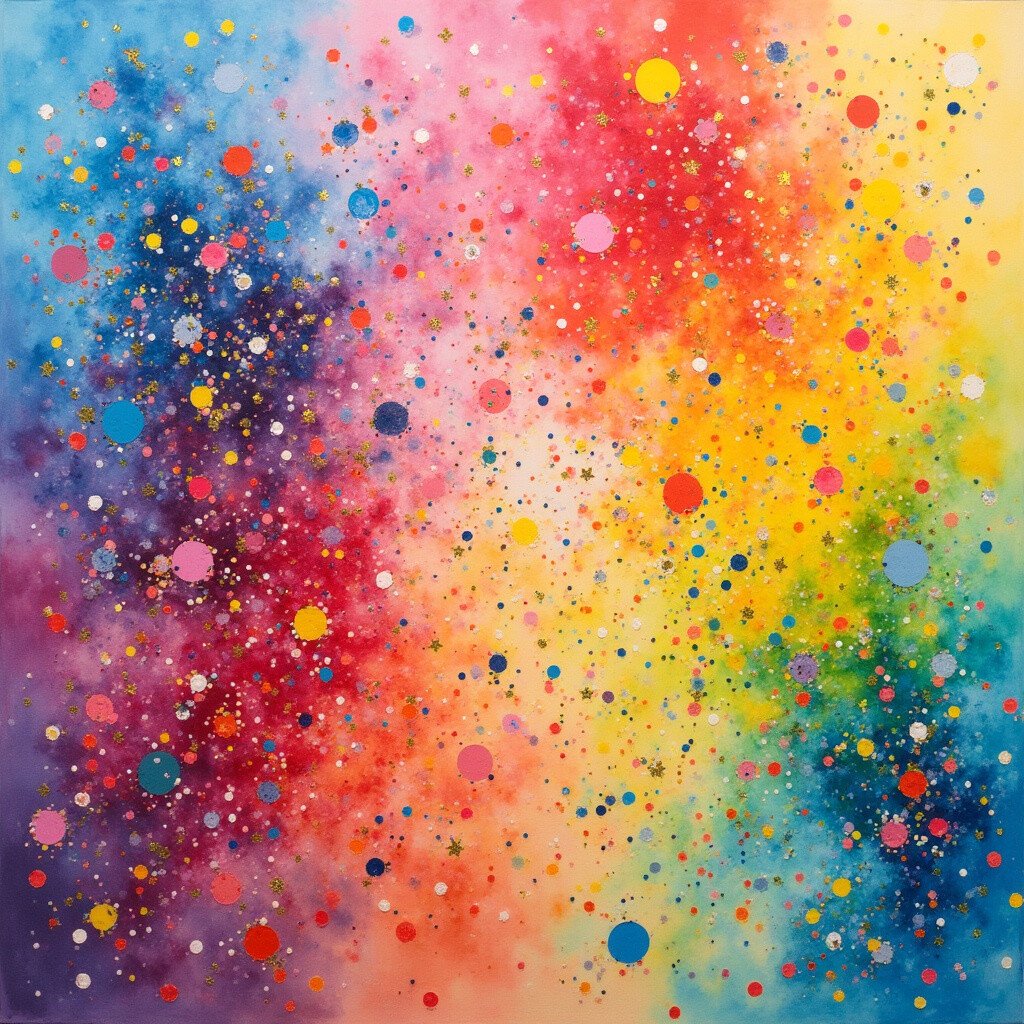
Picture a swirl of colors dancing together in harmony. The Rainbow Swirl technique is all about letting colors mingle freely on wet paper, creating unexpected patterns. It’s like having a rainbow at your fingertips!
This technique is unique because it celebrates spontaneity. Using a wide brush, apply a generous amount of water on your paper, and then drop different gouache colors. Watch as they blend and swirl into each other.
For a personal touch, consider using your favorite colors. It’s affordable too, as you only need basic gouache paints and brushes. This trend is perfect for creating backgrounds or abstract art, bringing a splash of joy to any project.
2. Ocean Waves

Top Ocean Waves Craft Tutorials
- 🗺️ 34 Easy Ocean Crafts and Learning Activities for Kids from weareteachers.com.
- 🍁 Ocean Crafts & Activities: 15 Fun & Colorful Ideas! from howweelearn.com.
- 🖼️ Ocean Waves In A Bottle from littlebinsforlittlehands.com.
- 🍂 Ocean waves in a jar craft for sensory play from facebook.com.
- 👓 Beach Craft: Ocean Wave Summer Writing & Coloring Pages from artfulclips.com.
Feel the cool breeze of the ocean with the Ocean Waves technique. This method captures the essence of the sea’s ebb and flow by blending shades of blue, green, and white.
The key here is to use wavy brush strokes on wet paper. The colors will bleed into each other, mimicking the natural movement of water. It’s an excellent way to create serene, calming art pieces.
Try adding a hint of gold for a sunlit effect. The cost is minimal, requiring only a few colors and brushes. It’s a soothing trend that transports you to the coast, perfect for sea lovers.
3. Floral Fantasy
Top Floral Fantasy Craft Tutorials
- 🎨 Floral Fantasy | Trove Wiki – Fandom from trove.fandom.com.
- 🍂 CraftHoop 3-Piece Floral Fantasy Embroidery Set from crafthoopshop.com.
- 🍂 Floral Fantasy DIY Beaded Jewelry Making Set from bead3.com.
- 🧑🌾 Floral Fantasy Silicone Mold Craft Mini Flower and Leaf … from clayzyfun.com.
- 🖼️ Floral fantasy print made with mixed painting techniques from facebook.com.
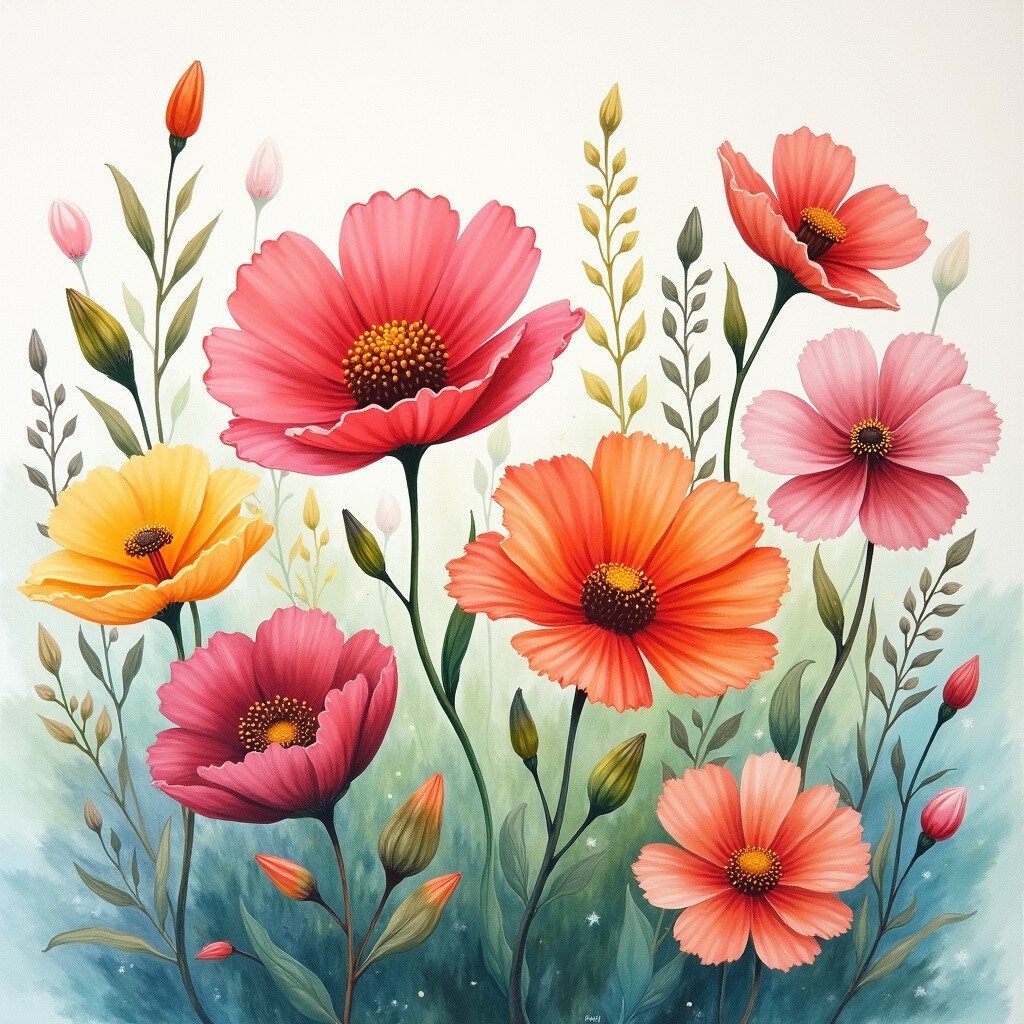
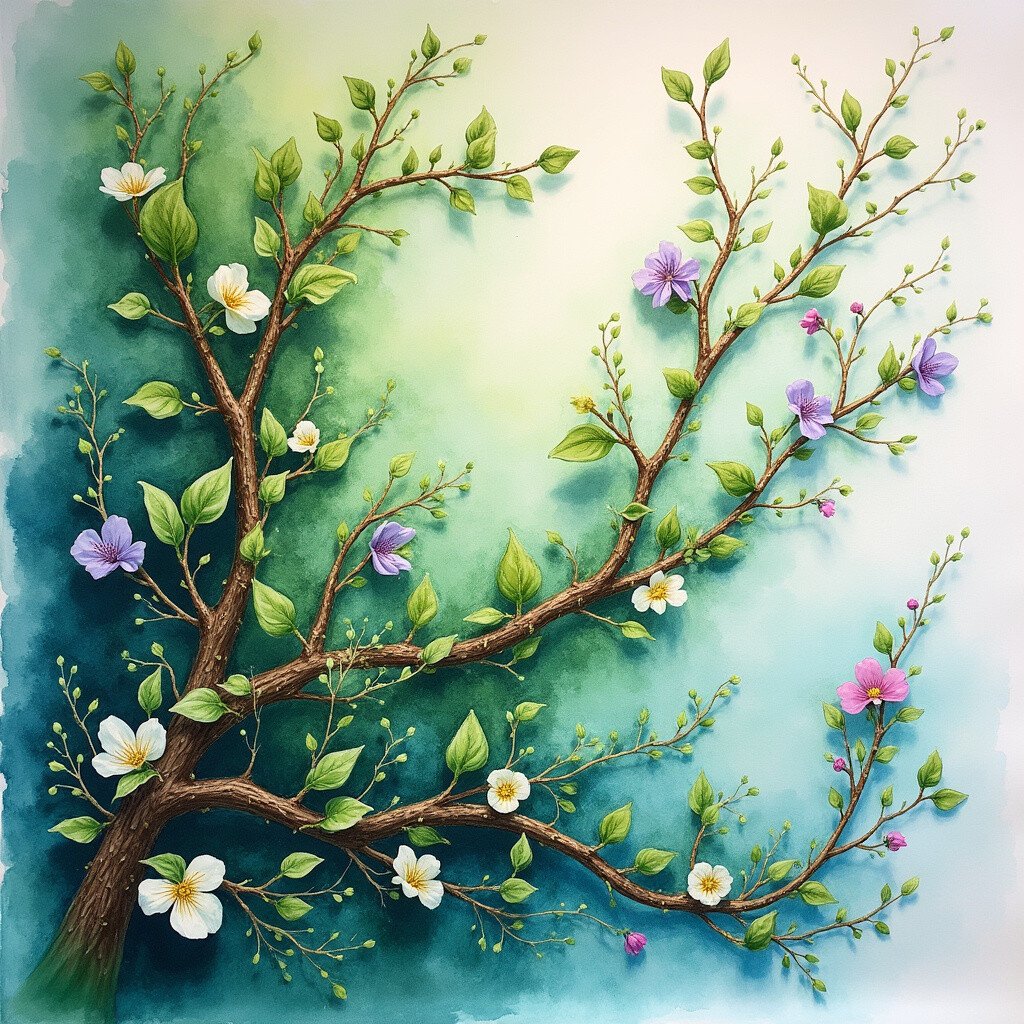
Unlock a garden of colors with the Floral Fantasy technique. Imagine flowers blooming with vibrant hues, each petal a masterpiece.
This approach involves painting flower shapes on wet paper, allowing colors to bleed slightly into each other. The result is a dreamy, soft-focus effect that’s both enchanting and whimsical.
Personalize it by choosing flowers from your own garden. This technique is cost-effective, needing just a few tubes of paint. It’s a delightful trend for creating cards or wall art that brings nature indoors.
4. Starry Night

Top Starry Night Craft Tutorials
- 🧑🌾 Starry Night Sky Art Project for Kids from buggyandbuddy.com.
- 🖼️ Van Gogh Starry Night Art Project and Elementary … from kidsartprojects101.com.
- 🎄 "The Starry Night" Simplified Art Lesson from kathy-angelnik.blogspot.com.
- 🍂 Starry Night STEAM Art Project for Kids from sugarspiceandglitter.com.
- 🖼️ Fine Art Series- Starry Night from petespapercrafts.com.
Bring the night sky into your home with the Starry Night technique. This method captures the magic of stars twinkling in a deep blue sky.
Use dark blues and blacks on wet paper, then sprinkle in white gouache for stars. The wet-on-wet method allows the stars to blur slightly, creating depth and mystery.
For a personalized touch, add constellations or shooting stars. The cost is low, as it requires just a few colors. It’s a popular trend for creating dreamy, nighttime scenes.
5. Autumn Leaves
Top Autumn Leaves Craft Tutorials
- 👓 10 Gorgeous Fall Leaf Crafts For Kids And Adults from ourdaysoutside.com.
- 🍂 Fall leaves crafts for children from realredridinghoods.com.
- 🗺️ Autumn leaf art and craft activities for kids from craftymessymom.com.
- 🎨 Fall leaves craft project with 5-year-old from facebook.com.
- 🍂 Five Golden Autumn Leaves Song and Printable Puppets from picklebums.com.
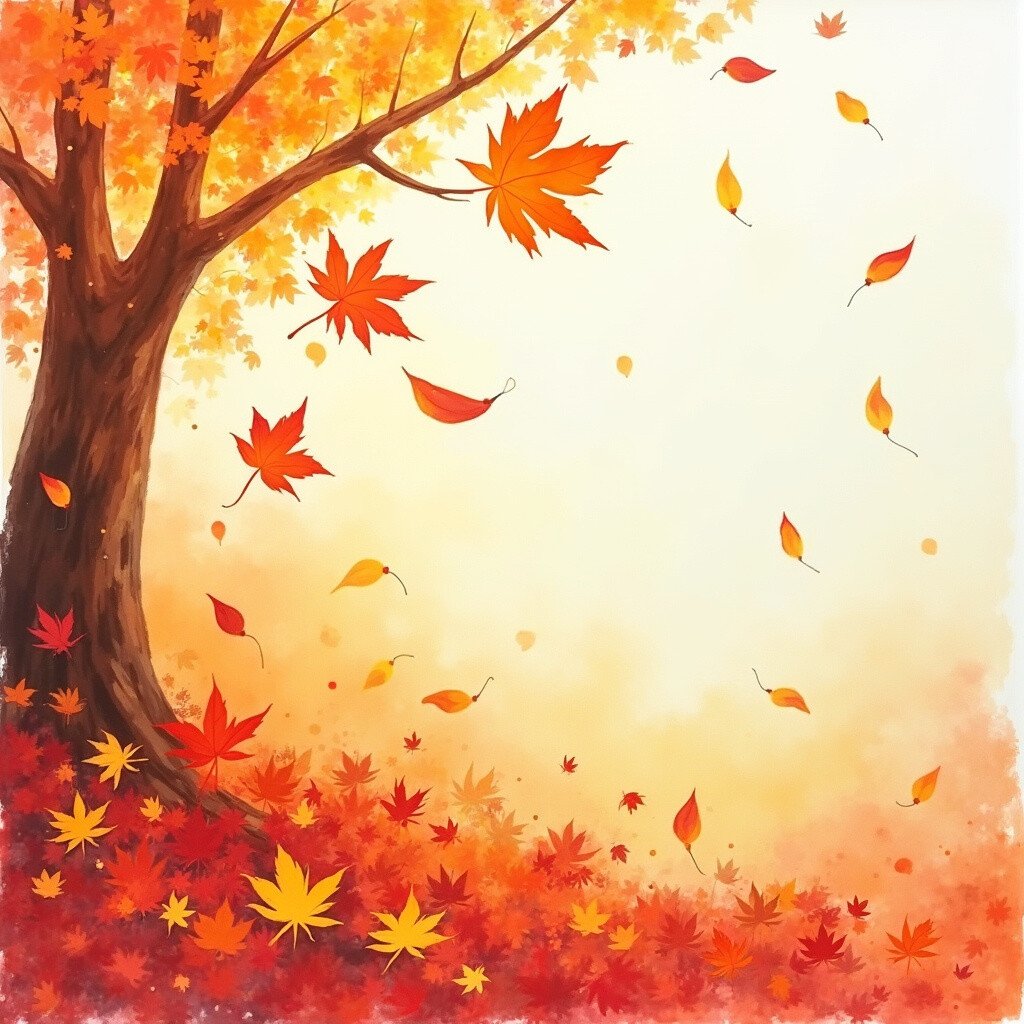
Experience the beauty of fall with the Autumn Leaves technique. This method captures the essence of leaves changing color, falling gracefully.
On wet paper, use warm shades like red, orange, and yellow. The colors blend softly, creating the illusion of a leaf pile.
Personalize by adding outlines once dry. This technique is affordable, using basic supplies. It’s a charming trend for seasonal decorations.
6. Misty Mountains
Top Misty Mountains Craft Tutorials
- 🍂 Sharon's Misty Mountains Card Request Tutorial – from papercraftsecrets.com.au.
- 🍂 Kaiser Craft 6 1/2" Paper Pad – Misty Mountain, NEW from ebay.com.
- 🧑🌾 In The Studio Misty Mountains Die Set from highlightcrafts.com.
- 🗺️ Small Matted, Misty Mountains – Alberta Craft Council from shopalbertacraft.com.
- 🍂 Misty Mountains | A Quilt Pattern from patchworkandpoodles.com.
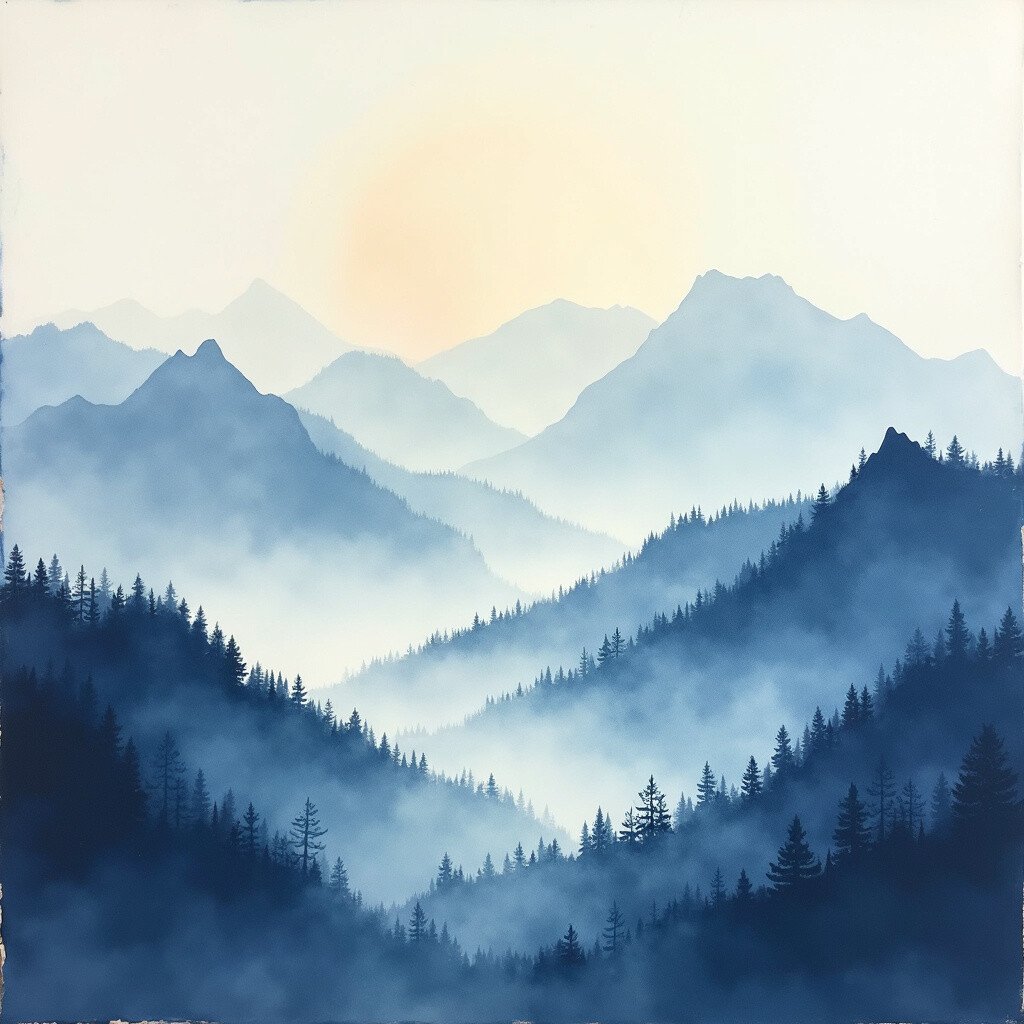
Step into a world of mystery with the Misty Mountains technique. It’s like wandering through fog-covered peaks where colors blend softly.
Apply layers of color on wet paper, letting them bleed to create depth. The result is a misty, atmospheric effect perfect for landscapes.
For a unique touch, add details with a fine brush once dry. The cost is minimal, needing only a few colors. This trend is ideal for creating tranquil, scenic views.
7. Sunset Glow
Top Sunset Glow Craft Tutorials
- 🎄 7 Sunset Glow Digital Paper Designs & Graphics from creativefabrica.com.
- 🧑🌾 Sunset glow step-by-step tutorial with cozy vibes from facebook.com.
- 👓 Sunset Glow String Art Kit – 30×30 cm Square Wooden … from ebay.com.
- 🍁 Sunset Glow Journal Kit from craftmaterialhub.com.
- 🗺️ "Sunset Glow" Warm Batik Fat Quarter Bundle from inspiredtosew.com.
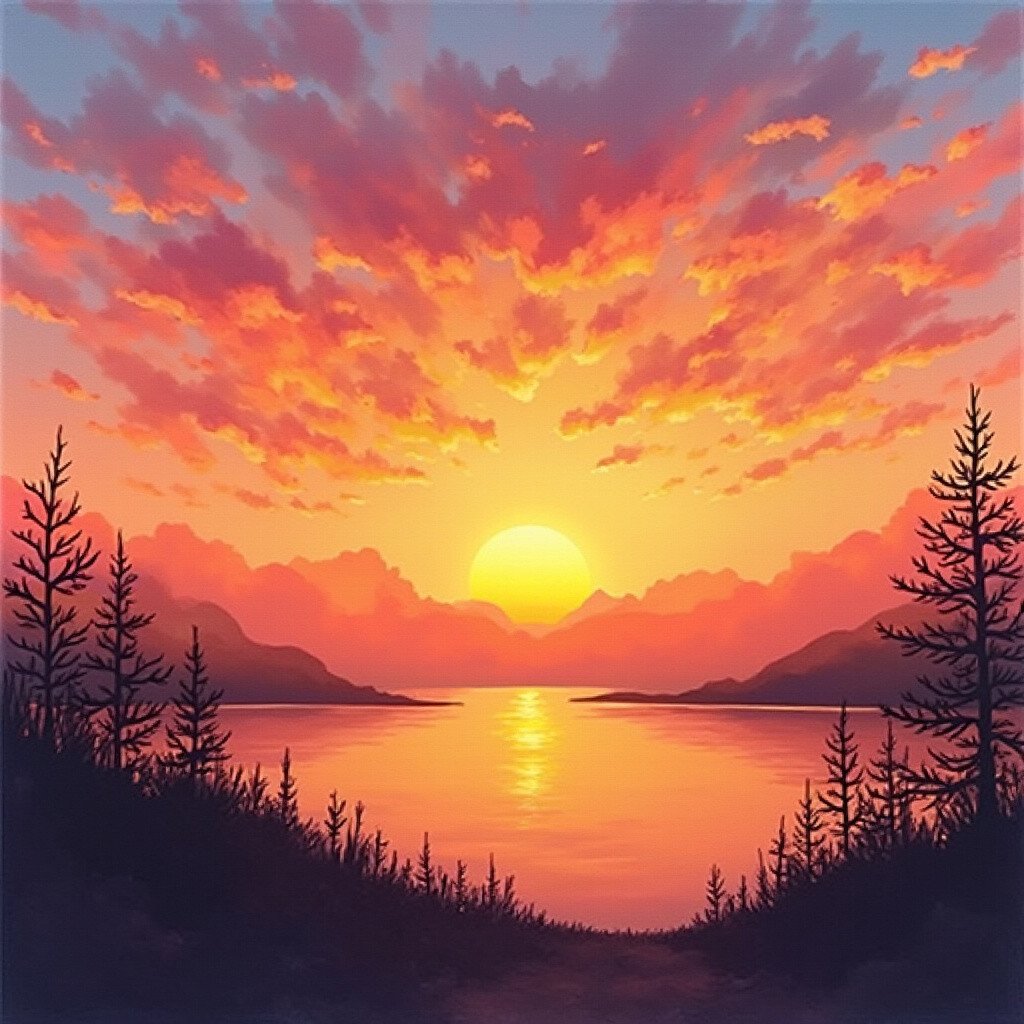
Capture the warmth of a sunset with the Sunset Glow technique. Imagine a sky ablaze with oranges, pinks, and purples, melting into each other.
Start with a wet page, then layer colors from dark to light. The wet-on-wet method ensures a seamless gradient.
Enhance with silhouettes for contrast. This technique is budget-friendly, requiring basic paints. It’s a vibrant trend for creating stunning, dramatic skies.
8. Dreamy Clouds
Top Dreamy Clouds Craft Tutorials
- 🍁 DIY Dreamy Clouds for Your Next Event from lemon8-app.com.
- 🍂 Dreaming on a Cloud from thebrilliantcraftytype.blogspot.com.
- 🍁 How To Paint Clouds Beginner Acrylic Tutorial from stepbysteppainting.net.
- 💅 Painting dreamy clouds with soft strokes from facebook.com.
- 🍅 Aesthetic Skies Scrapbook Paper: 8 X 8 Inch Dreamy … from amazon.com.au.
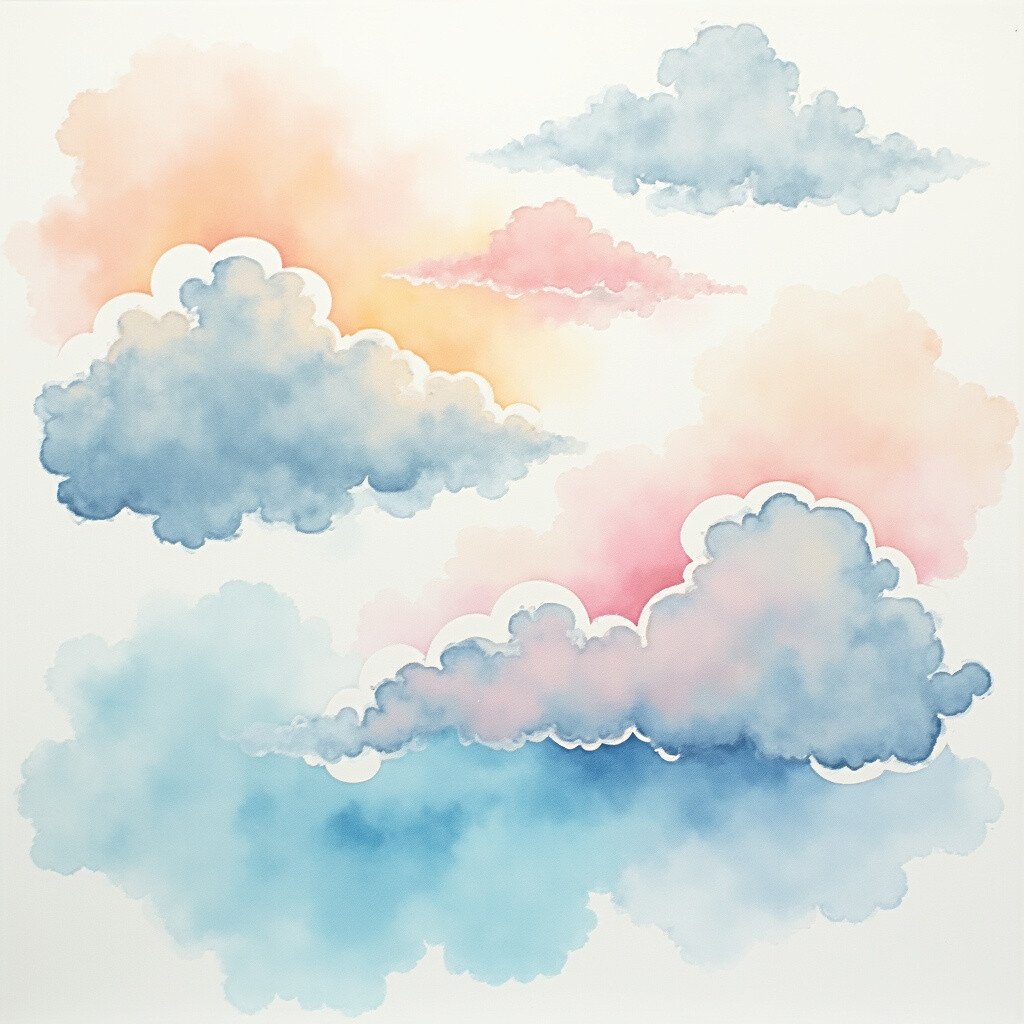
Float away on fluffy clouds with the Dreamy Clouds technique. It’s all about soft, billowy shapes that feel like a gentle hug.
On wet paper, use white gouache to create cloud shapes, letting them bleed slightly. The result is a soft, ethereal effect.
Personalize by adding pastel colors for a sunrise or sunset feel. It’s cost-effective and a serene trend for creating peaceful, sky-themed art.
9. Lush Forest
Top Lush Forest Craft Tutorials
- 🍂 Lush Caves – Minecraft Wiki – Fandom from minecraft.fandom.com.
- 🖼️ Lush Caves from minecraft.wiki.
- 🎄 Seed = -1396032013 Lush Jungle with massive lush cave … from reddit.com.
- 🍁 More Lush Stuff – Minecraft Mods from curseforge.com.
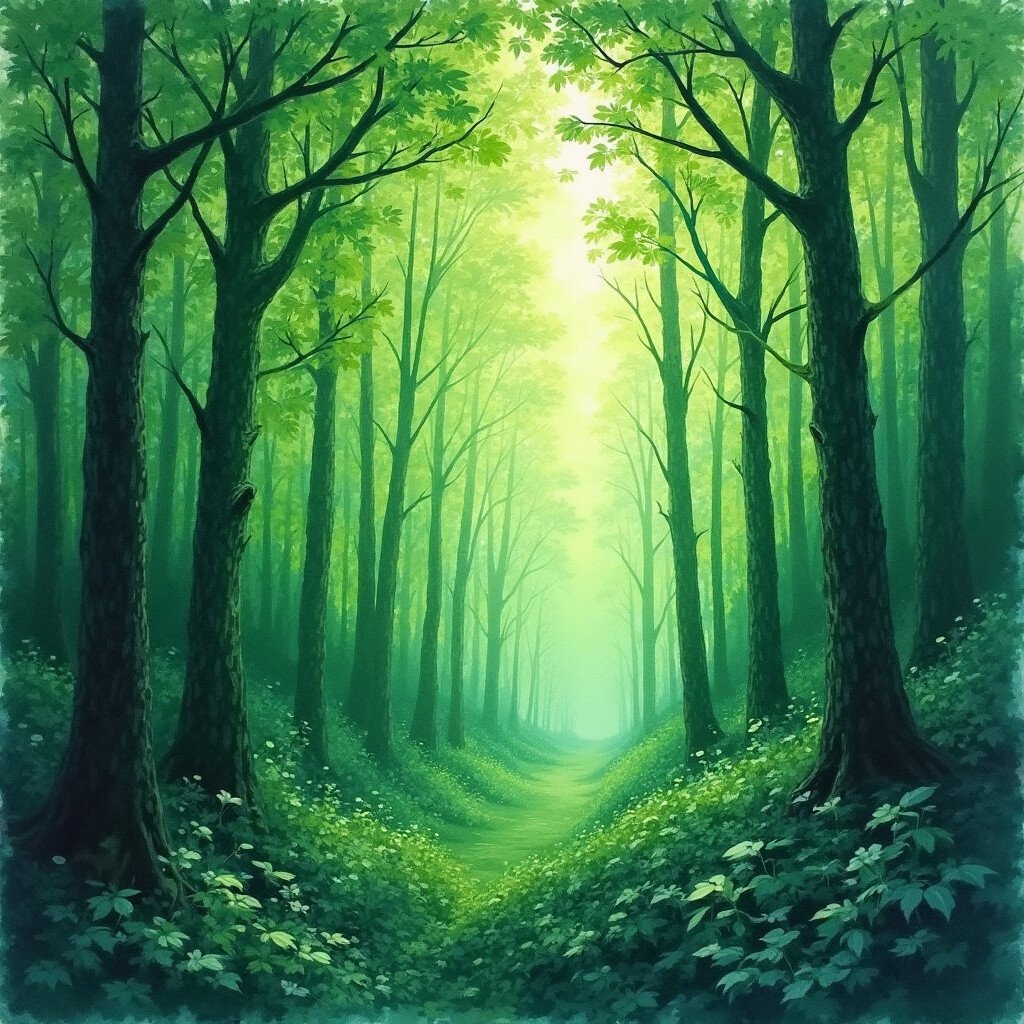
Explore the depths of a forest with the Lush Forest technique. Imagine layers of green, teeming with life and mystery.
Apply various shades of green on wet paper, letting them blend into each other. This creates a rich, textured look reminiscent of dense foliage.
Add details like tree trunks or leaves for depth. The technique is affordable, using a few green shades. It’s a popular trend for creating lively, nature-inspired art.
10. Fireworks Display
Top Fireworks Display Craft Tutorials
- 💅 Colorful Crafty Explosions: 15+ Fireworks Crafts for Kids from craftideasforkids.com.
- 🗺️ 20 Firework Crafts and Treats – Creative Ideas for … from muminthemadhouse.com.
- 🎄 10 Ways to Make Fireworks with Kids from readingconfetti.com.
- 🗺️ Super Firework Crafts for Kids of all ages from redtedart.com.
- 🎄 Fireworks craft activity for residents from facebook.com.
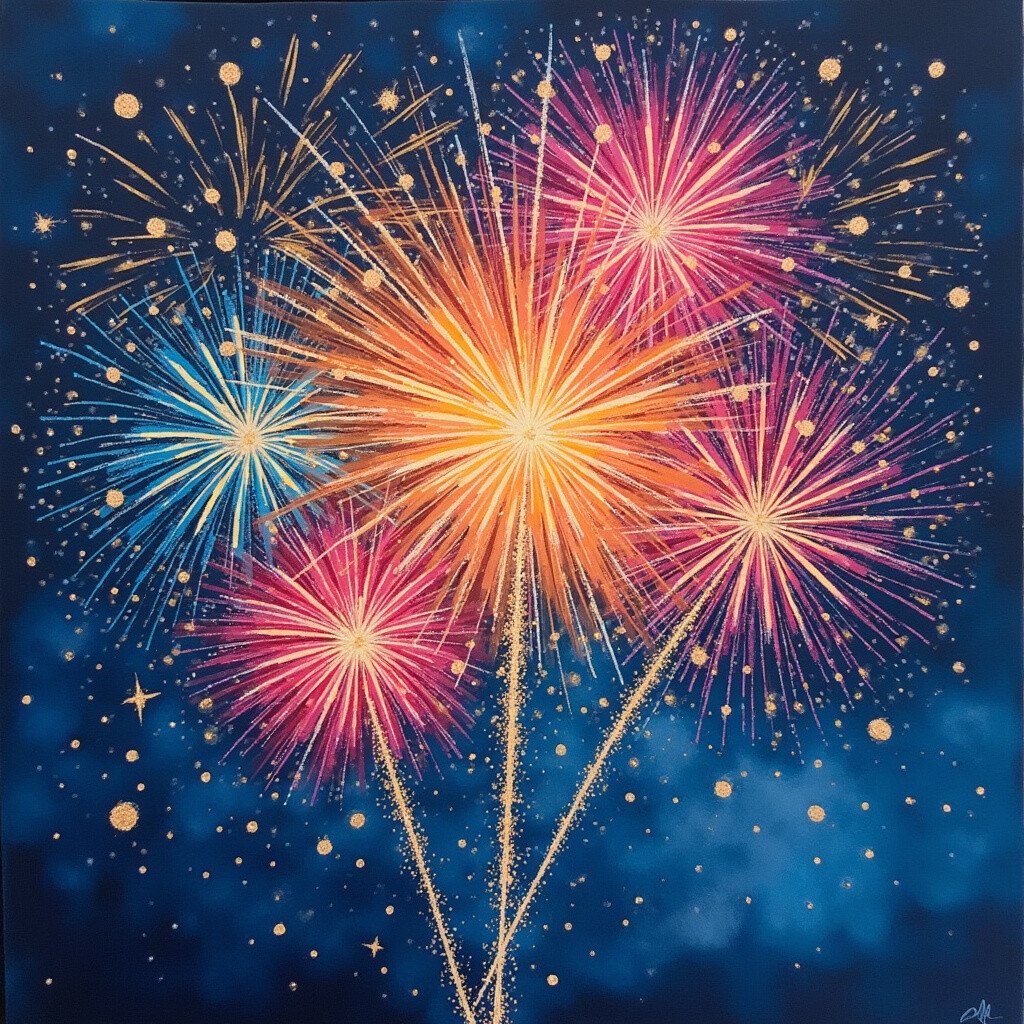
Experience the thrill of fireworks with the Fireworks Display technique. Picture bursts of color lighting up the night sky.
On wet paper, use bright colors and a flicking motion to create explosive patterns. The wet-on-wet method enhances the effect.
Enhance with metallic paint for sparkle. It’s a cost-effective way to capture the excitement of celebrations, perfect for festive art.
11. Cosmic Galaxy
Top Cosmic Galaxy Craft Tutorials
- 🎨 Cosmic Creations: Dazzling Galaxy Crafts for Kids from imthecheftoo.com.
- 🗺️ Arts And Crafts For Kids GirlZone Galaxy Glow Sand Art Kit from xjamiex.com.
- 🗺️ Craft Beyond the Stars: 10 Space Crafts for Kids from craftideasforkids.com.
- 🍅 Galaxy Jars Step-by-Step Tutorial from jugglingactmama.com.
- 🍅 Make a Galaxy Montage from spaceplace.nasa.gov.
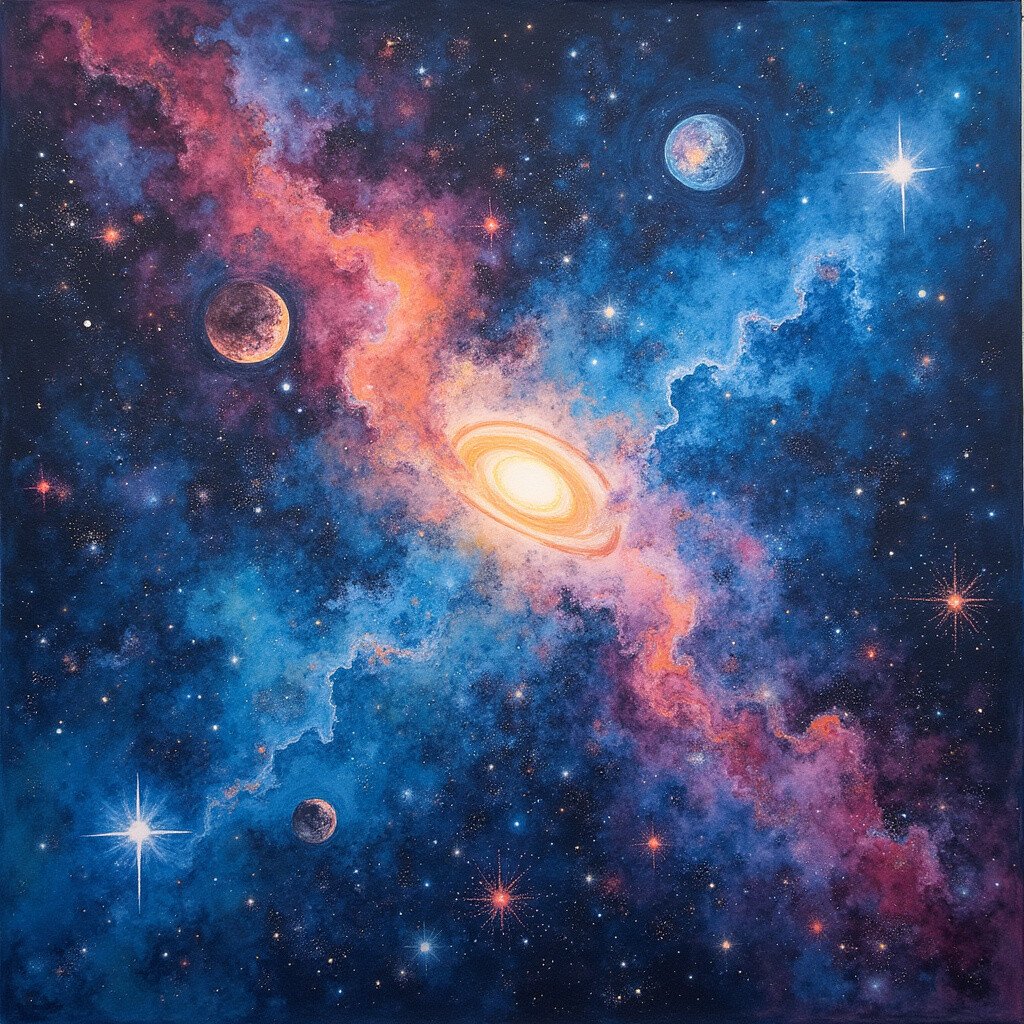
Travel to the stars with the Cosmic Galaxy technique. Imagine swirling galaxies and distant planets.
Start with dark colors on wet paper, then add lighter colors for stars and nebulae. The blending creates a cosmic look.
Add details like planets or comets for interest. It’s a low-cost technique, ideal for space enthusiasts looking to create otherworldly art.
12. Winter Wonderland
Top Winter Wonderland Craft Tutorials
- 👓 Winter Wonderland Arts + Crafts from capturingparenthood.com.
- 🎄 Kids can make a Winter Wonderland! Twigs, pine, cotton … from facebook.com.
- 🍅 Winter Wonderland Crafts for Kids from orientaltrading.com.
- 🍂 Winter wonderland craft for kids from facebook.com.
- 🍅 Winter Wonderland Art and Craft from teacherspayteachers.com.
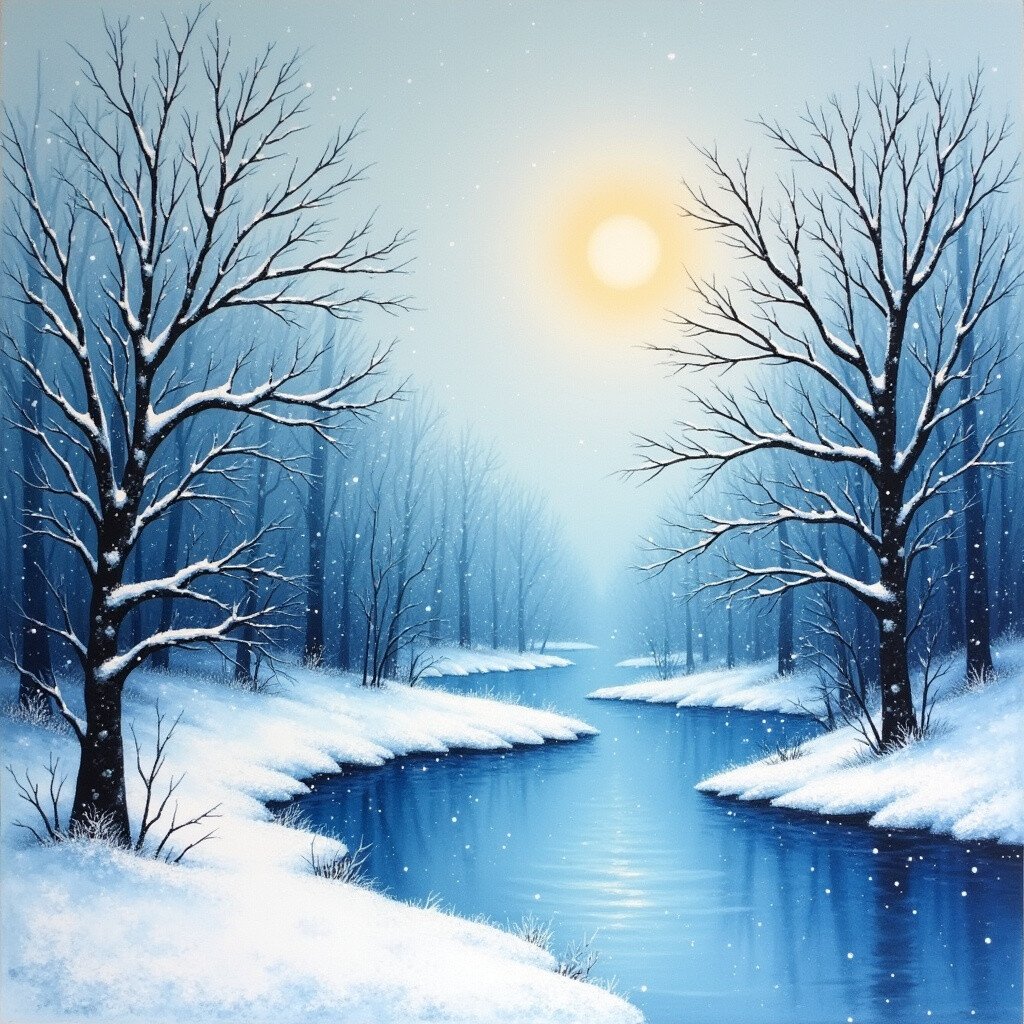
Enter a frosty landscape with the Winter Wonderland technique. Imagine snow-covered trees and icy lakes.
Use cool colors on wet paper to create a winter scene. The colors blend to form a chilly, serene atmosphere.
Personalize with snowflakes or icicles. It’s an affordable technique, perfect for seasonal art that captures the essence of winter.
13. Vibrant Vines
Top Vibrant Vines Craft Tutorials
- 🍂 800 PCS Pipe Cleaners Craft, Pipe Cleaners Flowers Kit … from villasandvines.com.
- 🍂 Bring Life to Your Walls with Vibrant Vine Flowers and … from ebay.com.
- 👓 Vibrant Vine Winery Kelowna dot mandala paintings for sale from facebook.com.
- 👓 The Vibrant Vine (2026) – All You Need to Know BEFORE … from tripadvisor.com.
- 🍅 The Vibrant Vine Winery Events from eventbrite.com.
Let nature take over with the Vibrant Vines technique. Picture vines creeping and intertwining with vibrant life.
Use a mix of greens and purples on wet paper, letting them blend for a lush effect. This creates a dynamic, lively look.
Enhance with gold for a touch of luxury. This technique is budget-friendly and ideal for creating lush, botanical art.
14. Carnival Burst
Top Carnival Burst Craft Tutorials
- 🍂 Carnival Cannon Confetti Popper Craft Tube Craft Kit from ebay.com.
- 🧑🌾 Accidental creepy craft for church carnival from facebook.com.
- 💅 Maroon Burst Craft Glitter Glossy (chunky flake): By The Jar from bulkglitters.com.
- 🖼️ DJECO Glitter Boards Carnival Craft Kit – Mess-Free … from werbekaiser.com.
- 👓 Crafts Carnival is back🎉 Step into a world of creativity and … from instagram.com.
Feel the joy of a carnival with the Carnival Burst technique. Imagine bright colors and lively patterns.
On wet paper, use contrasting colors to create vibrant bursts. The result is a playful, energetic piece.
Add glitter for extra sparkle. It’s an affordable technique, perfect for festive, joyful art that captures the spirit of celebration.
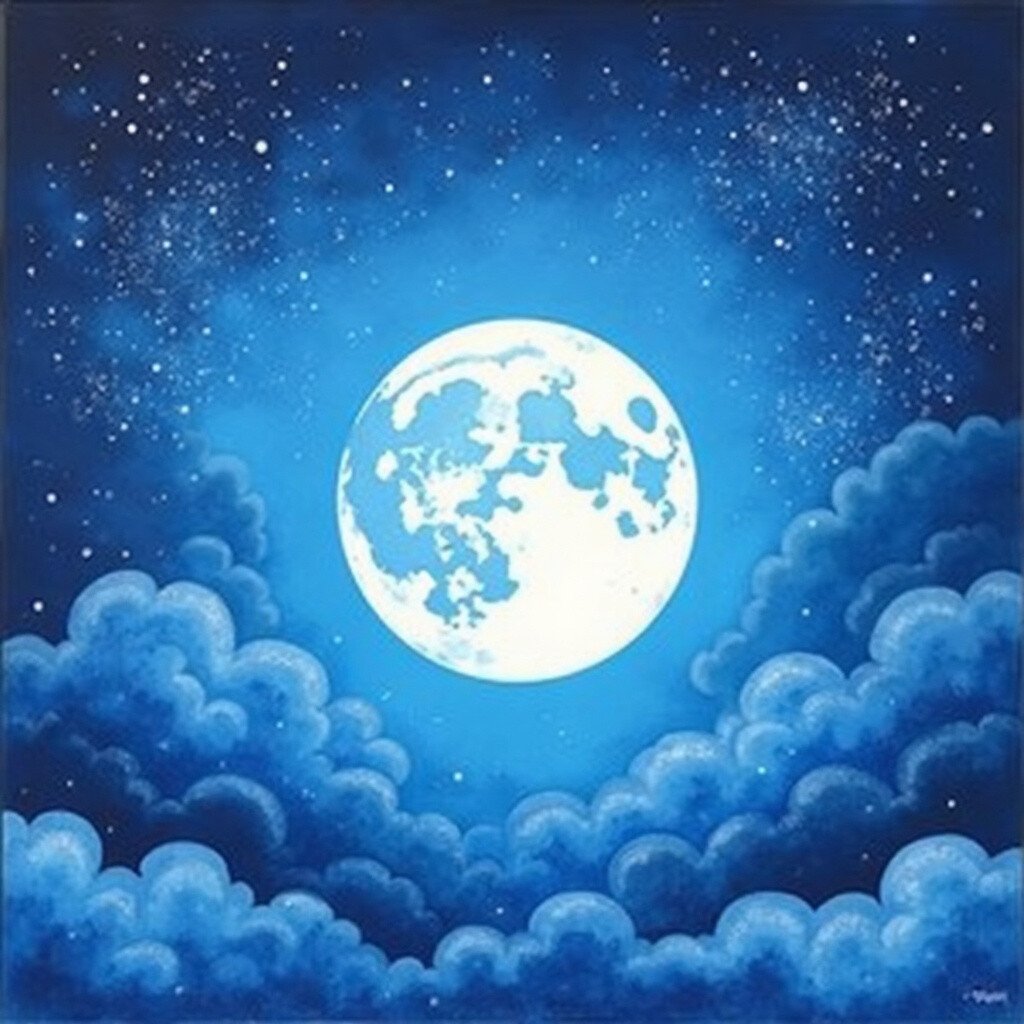
15. Mystic Moon
Top Mystic Moon Craft Tutorials
- 🍁 Mystic Moon Craft 🌙✨ (@mysticmooncrafts) from instagram.com.
- 👓 Mystic Moon Craftworks | Papillion NE from facebook.com.
- 🍅 Moon Craft Works: Home from mooncraftworks.com.
- 💅 Mystic Moon Craftworks (@mysticmooncraftwrks) from instagram.com.
- 🎄 The Mystic Moon Pagan & Witchcraft supplies & Gifts from themysticmoonshop.com.
Gaze at the moon with the Mystic Moon technique. Imagine a glowing moon in a starry sky.
Use blues and whites on wet paper to create a moonlit scene. The blending creates a mystical, calming effect.
Add details like craters or clouds. This technique is cost-effective, ideal for creating serene, nighttime art.
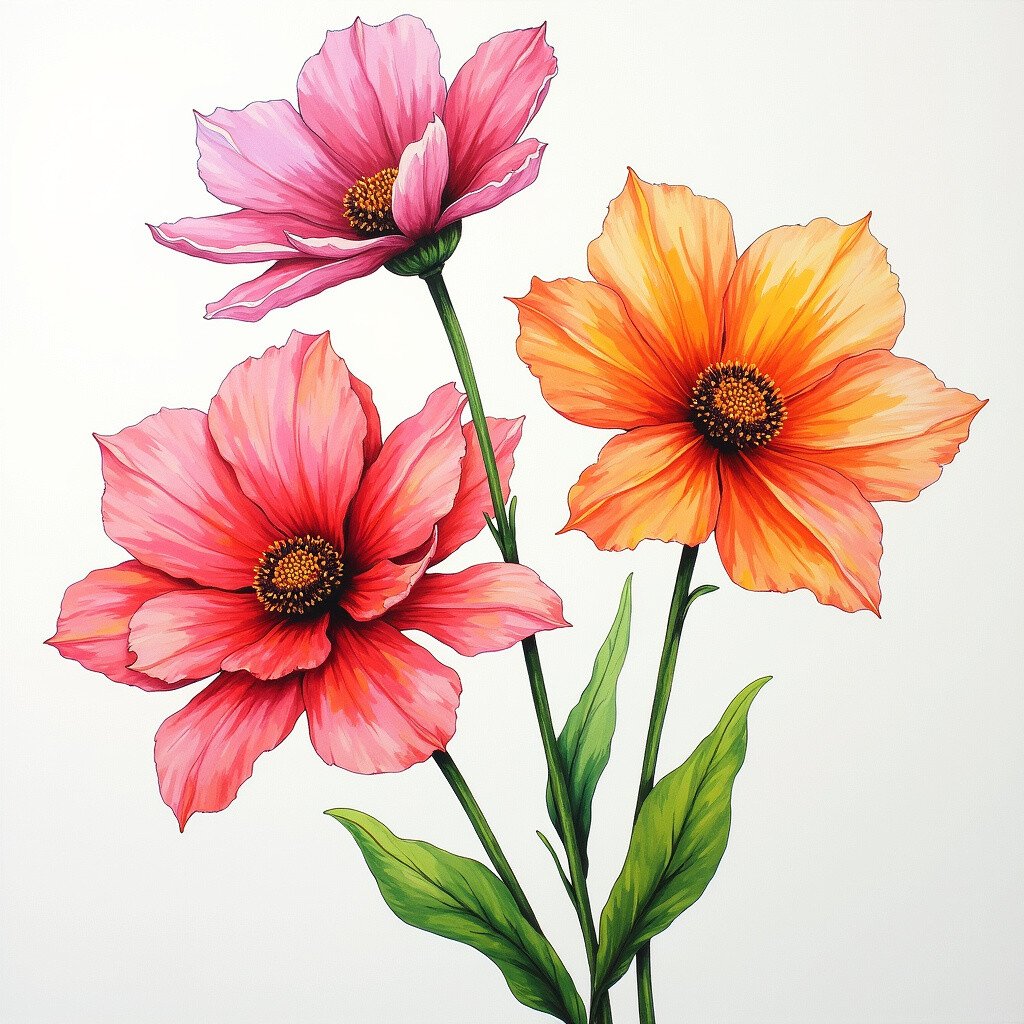
16. Floral Burst
Top Floral Burst Craft Tutorials
- 👓 Tuesday Tutorial – Floral Burst from flowersribbonsandpearls.blogspot.com.
- 🖼️ Paint By Numbers Kit for Adults Beginner – DIY Floral Burst … from walmart.com.
- 👓 Elizabeth Craft Designs Cutting Die Set Floral Burst Background … from ebay.com.
- 🎄 Floral Burst Cross Stitch Pattern Designed by Panda Quilt … from instagram.com.
- 👓 16G 1/4 Clear CZ Gem Floral Burst Cartilage Tragus Earring from craftwithmamibl.com.
Celebrate blooms with the Floral Burst technique. Picture flowers bursting with color and life.
On wet paper, use bright colors to create flower shapes, letting them bleed slightly. The result is a vibrant, lively piece.
Add details like leaves or stems. It’s an affordable technique, perfect for creating cheerful, nature-inspired art.
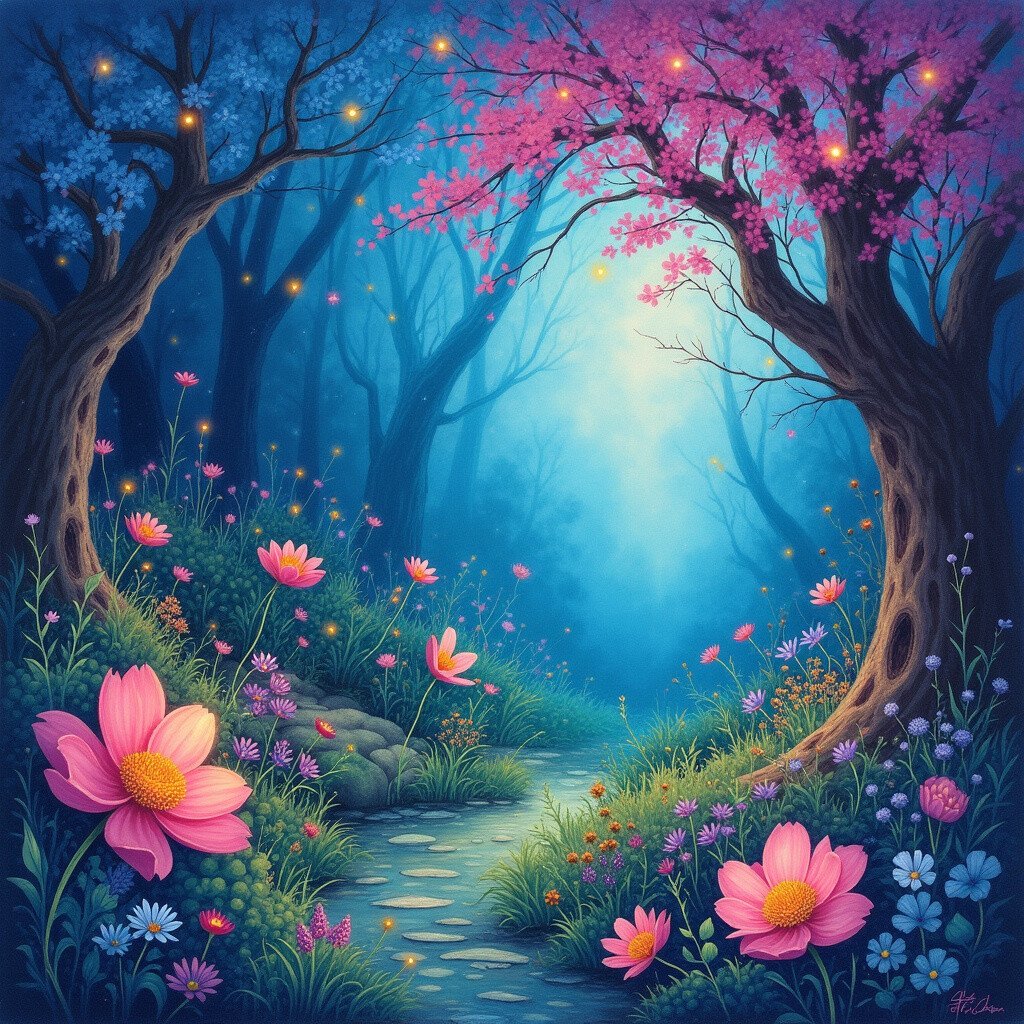
17. Enchanted Garden
Top Enchanted Garden Craft Tutorials
- 🎨 NEW IN BOX Craft-tastic Nature Enchanted Garden Kit, 17-Piece … from ebay.com.
- 🎨 Enchanted Garden | Potion Craft Wiki – Fandom from potion-craft.fandom.com.
- 💅 Craft-Tastic Nature Enchanted Garden Kit from walmart.com.
- 🍂 Potion Craft Enchanted Garden 2.0 is now available on … from reddit.com.
- 🧑🌾 Craft-Tastic Nature Enchanted Garden Kit from dickblick.com.
Step into magic with the Enchanted Garden technique. Imagine a garden filled with mythical creatures and glowing plants.
Use a mix of colors on wet paper to create an otherworldly scene. The blending creates a magical, inviting atmosphere.
Add details like fairies or glowing lights. This technique is budget-friendly, perfect for creating whimsical, fairy-tale art.