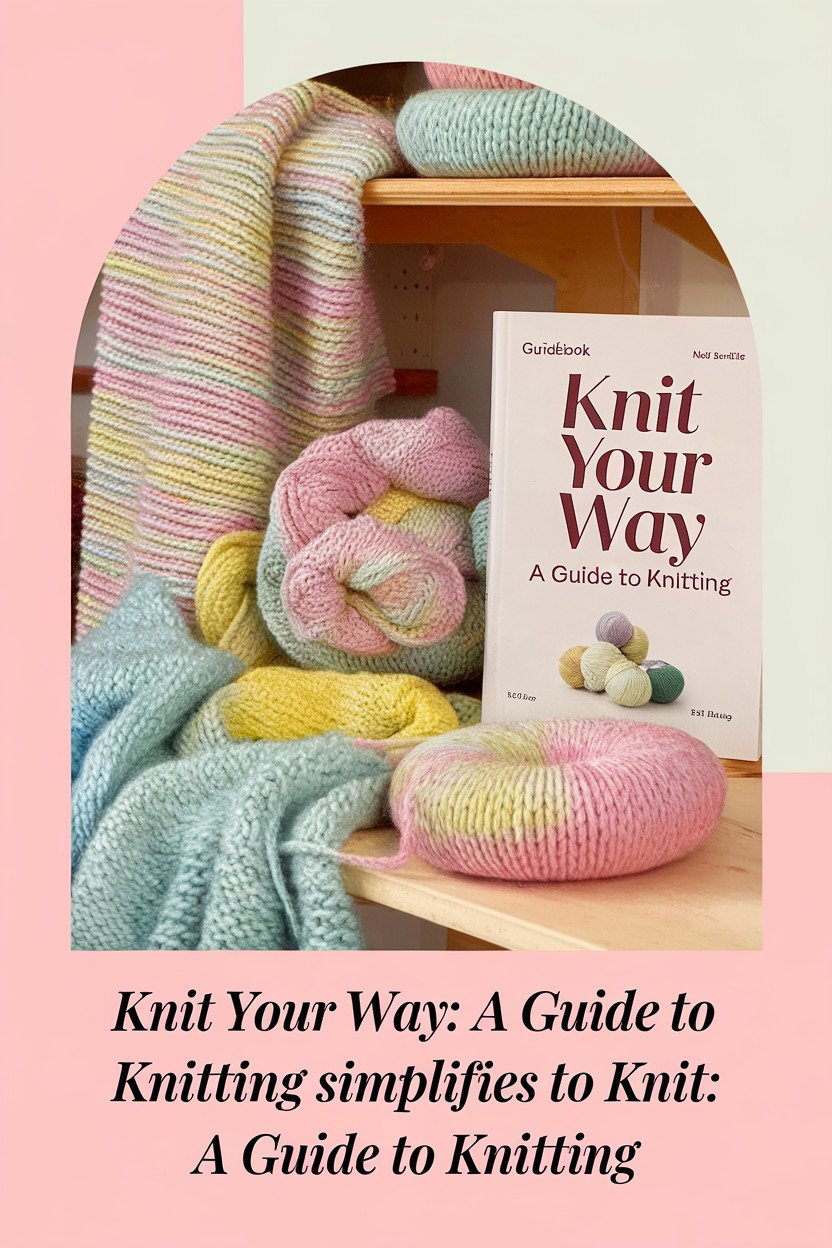
Knitting may seem daunting at first, but rest assured, it’s a craft that anyone can learn. With patience, practice, and a willingness to make mistakes, you’ll be creating beautiful knitted items in no time. So don’t be afraid to take the leap and try something new.
Key Takeaways:
- Knitting is a versatile and creative hobby that anyone can learn.
- In this comprehensive guide, we will provide step-by-step instructions and helpful tips for beginners.
- Essential knitting tools include knitting needles, yarn, scissors, and a tapestry needle.
- Choosing the right yarn and reading knitting patterns are important steps in any knitting project.
- As you progress, you can explore advanced techniques and join knitting communities for support and inspiration.
What is Knitting?
Welcome to the wonderful world of knitting! If you’re new to the craft, you may be wondering what exactly knitting is.
At its simplest, knitting is the process of creating fabric by interlocking loops of yarn using knitting needles. With just a few basic stitches, you can create beautiful and functional pieces such as scarves, hats, and sweaters.
Knitting is a timeless craft that has been enjoyed by people around the world for centuries. It’s not only a fun and creative hobby, but it can also be a soothing and meditative activity that promotes relaxation and mindfulness.
Knitting Basics
Before diving into the world of knitting, it’s important to understand some basic terminology:
- Yarn: The material used to make knitted items. Yarn comes in a wide range of colors, textures, and fibers.
- Knitting needles: Long, slender tools used to create the loops that make up your knitting project.
- Stitch: A loop of yarn that is held on the knitting needle.
- Row: A set of stitches that are worked from one end of the knitting needle to the other.
These are just a few of the basic terms you’ll encounter as you start your knitting journey. But don’t worry – as you begin to knit, everything will start to make more sense!
As you learn more about knitting, you’ll discover that there are countless techniques, stitches, and patterns to explore. But to get started, all you need are a few essential tools and some basic knowledge of the knitting process.
Essential Knitting Tools
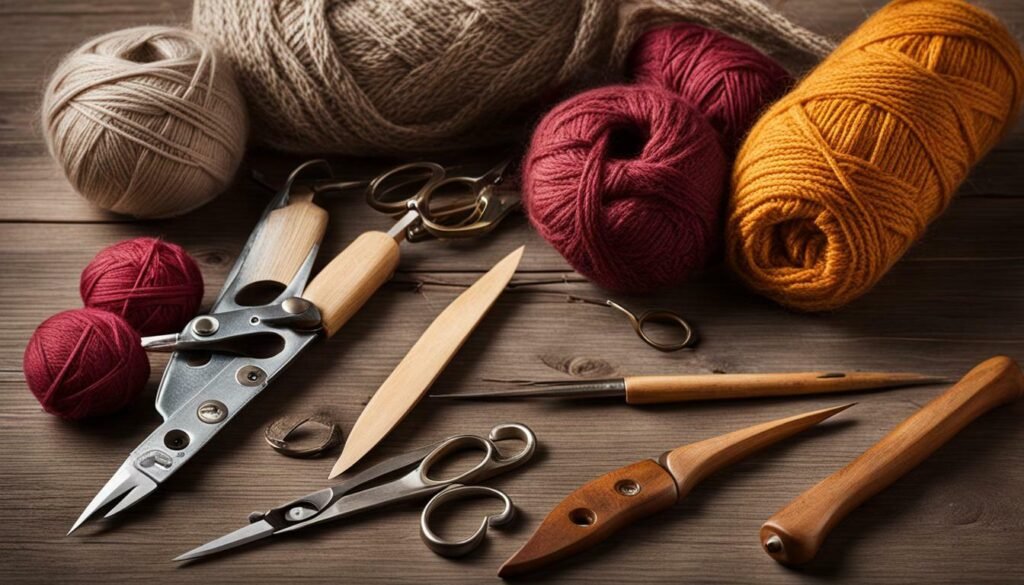
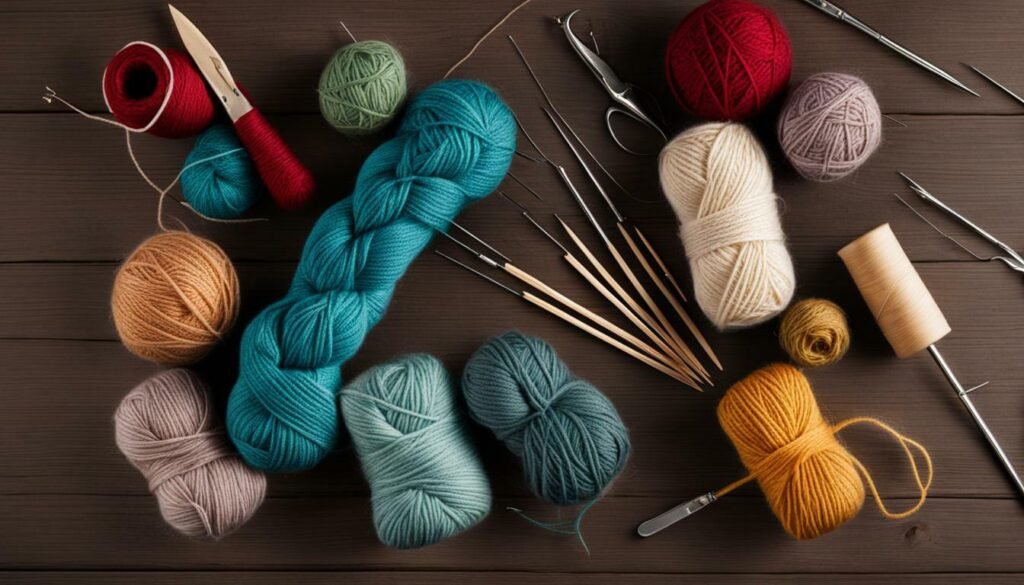
Are you ready to start knitting? Before you dive in, you’ll need to gather a few essential knitting tools. Here’s what you’ll need to get started:
- Knitting needles: The size will depend on your yarn and your project. For beginners, we recommend starting with a medium-sized needle, such as a US size 8 (5 mm).
- Yarn: Choose a yarn that is easy to work with and appropriate for your skill level. For beginners, we recommend a light-colored worsted weight yarn made of acrylic or a wool blend.
- Scissors: You’ll need a pair of scissors to cut the yarn. Any household scissors will do.
- Tapestry needle: This needle is used for weaving in ends and seaming your projects. It has a large eye and a blunt tip, making it easy to work with.
You can find these tools at your local craft store or online. As a beginner, it’s best to start with just the basics and add to your collection as you gain more experience.
Once you have your essential knitting tools, you’re ready to start your first project!
Choosing the Right Yarn
When starting knitting, choosing the right yarn is crucial. The texture and weight of the yarn affect the final outcome of your project. Here are some tips to help you get started:
- Consider the fiber content: Yarns come in many fibers, including wool, acrylic, cotton, and silk. Consider the type of project you’re making and choose a fiber that suits it. For example, wool is warm and stretchy, making it ideal for cozy items like hats and sweaters.
- Look at the weight: Yarns come in different weights, ranging from lace to super bulky. The weight determines how thick the yarn is and how many stitches you’ll need per inch. Check the yarn label for recommended needle sizes and stitch gauges.
- Choose the color: Yarns come in different colors, shades, and variegations. Choose a color that complements your project and suits your personal style.
When buying yarn, it’s a good idea to purchase a little extra to ensure you have enough for your project. If you run out of yarn mid-project, it can be challenging to find the exact dye lot again.

Keep in mind that the more luxurious or high-quality the yarn, the higher the price will be. While it may be tempting to splurge on expensive yarn, it’s best to start with more affordable options when you’re starting out. As you become more experienced and comfortable with knitting, you can start to experiment with different fibers and blends.
With these tips, you’ll be able to choose the right yarn for your knitting project and get started on creating beautiful items.
Getting Started: Casting On
Before you can start knitting, you need to cast on, which is the process of creating the initial row of stitches on your needle. There are several ways to cast on, but the most common method for beginners is the long-tail cast on.
Follow these simple steps to get started:
- Hold your knitting needle in your right hand and make a slipknot with your yarn.
- Place the slipknot over the knitting needle and hold it with your left thumb and index finger.
- Hold the tail of the yarn in your left hand and drape it over your left thumb.
- With your right hand, bring the needle under the yarn on your left thumb, and then over the yarn on your index finger.
- Bring the needle back under your left thumb and pick up the yarn on your index finger with the needle.
- Drop the loop on your left thumb and tighten the stitch on your needle.
- Repeat these steps until you have the desired number of stitches on your needle.
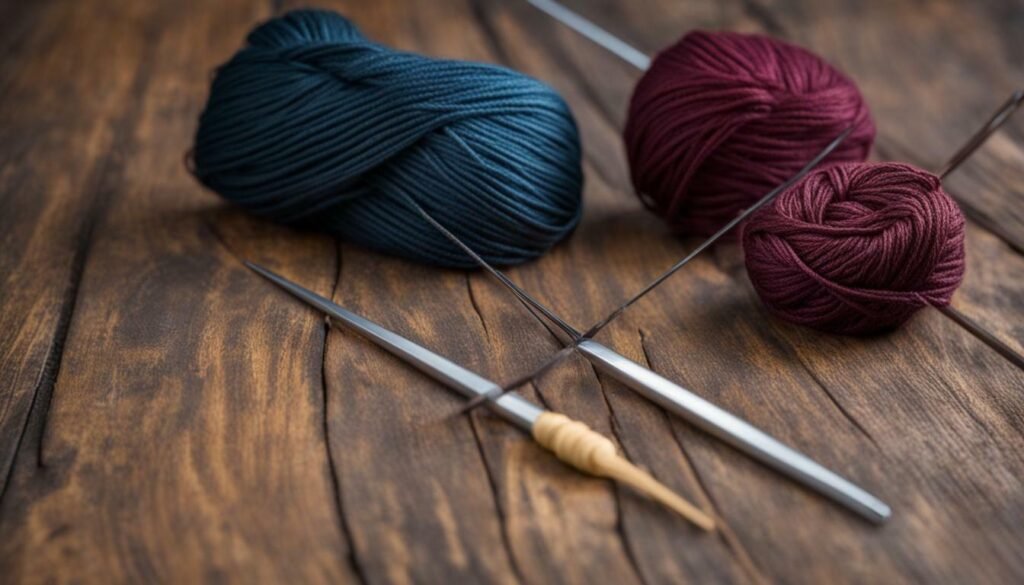
With casting on complete, you are now ready to start knitting. But before we dive into the basic stitches, let’s take a closer look at the essential knitting tools you’ll need to get started.
Basic Knitting Stitches
Learning the basic knitting stitches is essential for any beginner. These stitches include:
- The knit stitch: the most basic and commonly used stitch in knitting.
- The purl stitch: the second most basic stitch, used to create a different texture than the knit stitch.
Mastering these stitches will open up a world of possibilities for your knitting projects. Here’s how to do them:
The Knit Stitch
To knit a stitch:
- Hold the knitting needle with the cast-on stitches in your left hand and the empty needle in your right hand.
- Insert the right-hand needle into the first stitch on the left-hand needle, from left to right.
- Wrap the yarn counterclockwise around the right-hand needle, bringing it between the needles and back to the front.
- Slide the right-hand needle down and through the stitch on the left-hand needle, bringing the new stitch onto the right-hand needle.
- Drop the old stitch off the left-hand needle.
- Repeat steps 2-5 until all stitches have been knit.
The Purl Stitch
To purl a stitch:
- Hold the knitting needle with the cast-on stitches in your left hand and the empty needle in your right hand.
- Insert the right-hand needle into the first stitch on the left-hand needle, from right to left.
- Wrap the yarn counterclockwise around the right-hand needle, bringing it to the back of the work.
- Slide the right-hand needle down and through the stitch on the left-hand needle, bringing the new stitch onto the right-hand needle.
- Drop the old stitch off the left-hand needle.
- Repeat steps 2-5 until all stitches have been purled.
Practice these stitches until you feel comfortable with them, and then try combining them to create different patterns in your knitting projects.
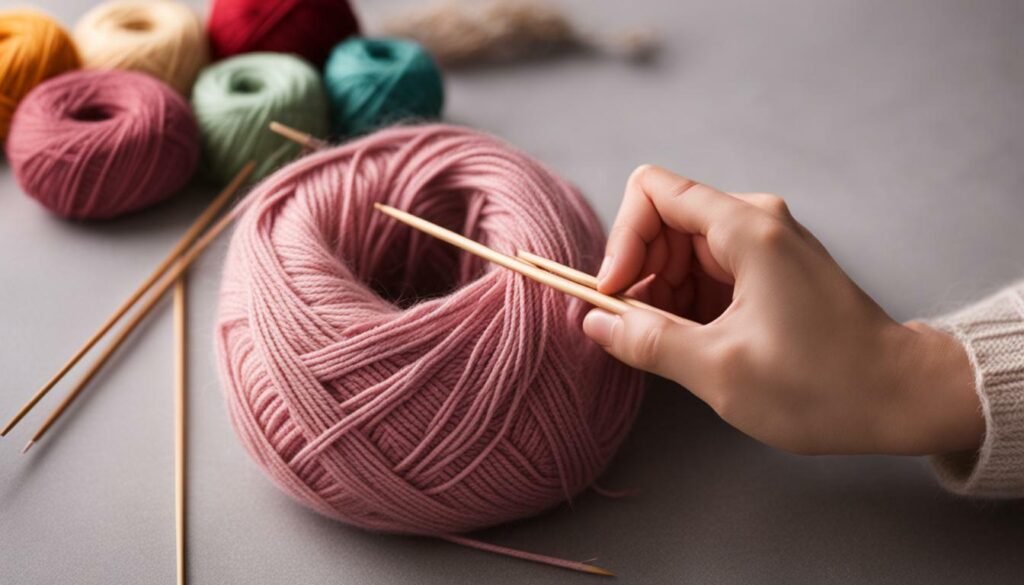
Knitting patterns may seem daunting at first, but once you learn how to read them, you’ll be able to create a wide variety of knitted items. Here are some tips to help you get started:
- Read the pattern carefully and thoroughly before beginning your project.
- Identify any abbreviations used in the pattern and make sure you know what they mean. Many knitting patterns use standard abbreviations, such as k for knit and p for purl.
- Pay attention to the gauge listed in the pattern. Gauge is the number of stitches and rows per inch that you need to achieve in order for the pattern to fit properly.
- Take note of the required yarn weight and amount needed for the project. Make sure you choose a yarn that matches the weight specified in the pattern.
When you’re ready to start knitting, follow the pattern instructions step by step. Some patterns may include charts or diagrams to help you visualize the finished product.
As a beginner, it’s best to start with simple patterns that use basic stitches and techniques. Look for patterns labeled “easy” or “beginner” to get started. Dishcloths, scarves, and hats are great beginner projects that will help you practice your knitting skills.

Remember, knitting is a skill that takes practice and patience to master. If you’re struggling with a pattern, don’t be afraid to ask for help from more experienced knitters. Joining a knitting community or taking a class can be a great way to connect with others and learn new skills.
Conclusion:
Learning how to read knitting patterns is an essential skill for any knitter. With practice and patience, you’ll be able to create beautiful knitted items that you can be proud of. So grab your knitting needles and get started on your next project!
Knitting in the Round
Knitting in the round is a technique that enables you to knit seamless projects such as hats, socks, and mittens. Here are some essential tips to get you started:
- Choose the Right Needles: You can knit in the round using circular needles or double-pointed needles, depending on the circumference of your project. Circular needles are perfect for larger projects, while double-pointed needles work best for smaller ones.
- Cast On: Unlike flat knitting, you will need to join your stitches in the round before you start knitting. Leave a tail of yarn, cast on your stitches onto your circular or double-pointed needles, and join the ends together.
- Mark Your Place: Place a stitch marker at the beginning of your round to keep track of where it begins. This is especially useful when working on projects with multiple rounds.
- Work Your Stitches: Knit or purl your stitches as you would in flat knitting. However, be careful not to twist your stitches when you join them in the round.
- Finishing: Once you have completed your project, you will need to bind off. Cut your yarn, leaving a tail, and use a tapestry needle to weave the tail through your remaining stitches.
Knitting in the round may seem daunting at first, but it’s a skill that you can easily master with practice and patience. Once you get the hang of it, you’ll be able to create beautiful, seamless projects that will wow your friends and family.

Knowing how to increase and decrease stitches is essential for shaping your knitting project. Here are some techniques to help you get started:
- Knit Two Together (K2Tog): This is a common and simple decrease technique. Insert the right-hand needle into the next two stitches as if you were knitting them together and knit them as one stitch.
- Purl Two Together (P2Tog): This is the purl equivalent of K2Tog. Insert the right-hand needle into the next two stitches as if you were purling them together and purl them as one stitch.
- Increase One (M1): Make a new stitch by picking up the bar in between two stitches with the left-hand needle from front to back. Knit or purl this stitch, depending on the pattern.
- Knit Front and Back (KFB): This is a simple increase technique. Knit into the first stitch as usual, but before slipping it off the left-hand needle, knit into the back of the same stitch. You’ve just made two stitches from one!
- Make One Left (M1L) and Make One Right (M1R): These are two similar but opposite increase techniques. M1L is used for left-leaning increases, and M1R is used for right-leaning increases. Here’s how to do them:
| Make One Left (M1L) | Make One Right (M1R) |
|---|---|
| 1. Using the left-hand needle, pick up the horizontal strand of yarn between the last stitch you knitted and the next stitch on the left-hand needle, from front to back. 2. Knit into the back of this stitch. | 1. Using the left-hand needle, pick up the horizontal strand of yarn between the last stitch you knitted and the next stitch on the left-hand needle, from back to front. 2. Knit into the front of this stitch. |
Increasing and decreasing stitches can create new shapes and textures in your knitting projects. Practice these techniques to add more variety to your designs!
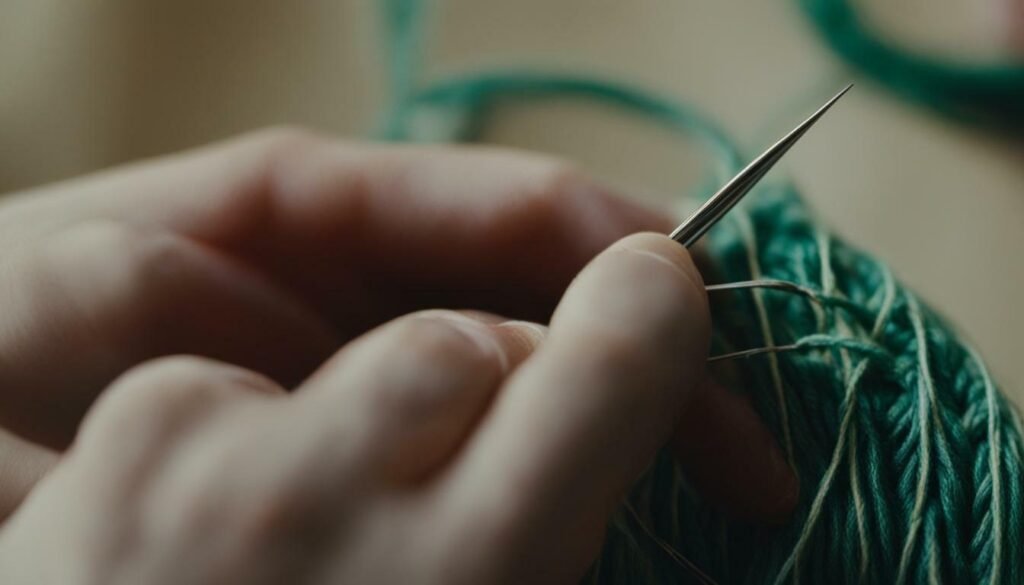
After completing your knitting project, it’s time to bind off and secure the last row of stitches. Here are some essential tips you need to know:
- The most common method for binding off is the Basic Bind Off. To do this, knit the first two stitches, then insert your left needle into the first stitch you knitted and pull it over the second stitch and off the needle. Repeat this process until you have one stitch left, then cut the yarn and pull it through the last stitch.
- For a more decorative bind off, try the Picot Bind Off. This creates a scalloped edge and involves alternating between knitting two stitches together and creating a small loop.
- Another option is the Stretchy Bind Off. This is ideal for projects like hats or socks, where you want the edge to be elastic. It involves knitting the first two stitches, then inserting your left needle into the first stitch and pulling it over the second stitch and off the needle. Then, insert your left needle into the new first stitch and repeat the process until you have one stitch left.
Remember to keep the tension loose as you bind off to avoid a tight edge that will be difficult to block.
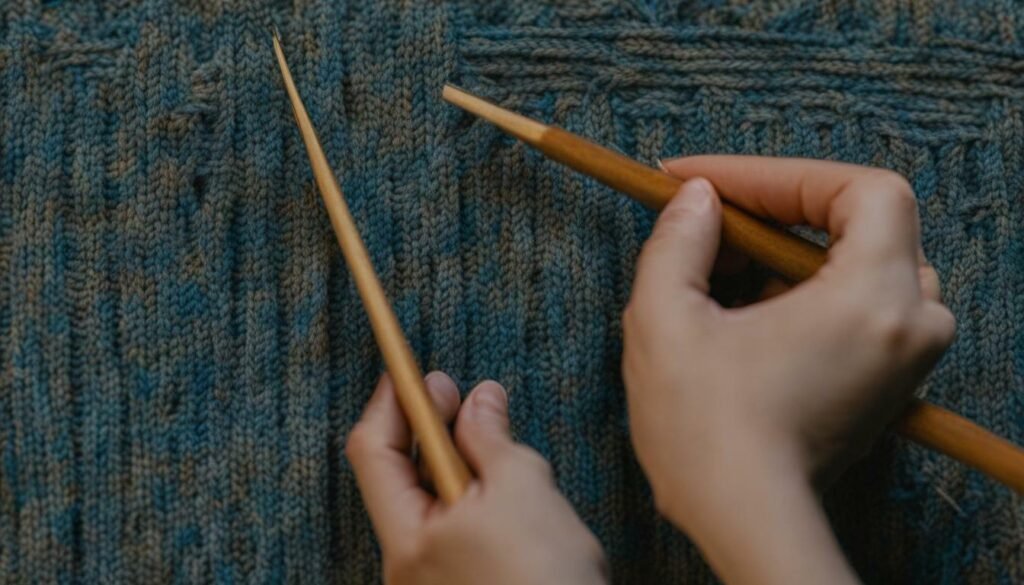
Blocking your finished project can also help to even out the stitches and create a more polished look. To block, wet your project and lay it flat on a towel, stretching and shaping it as needed. Let it dry completely before handling it.
With these binding off techniques, you can finish your knitting project with a professional touch that will make it look even more impressive!
Fixing Common Knitting Mistakes
As a beginner, it’s common to make mistakes while learning to knit. Don’t worry; even experienced knitters make mistakes! The good news is that most mistakes can be fixed without unraveling your entire project. Here are some common knitting mistakes and how to fix them:
- Dropped stitches: Use a crochet hook or a knitting needle to pick up the dropped stitch and insert it back into the appropriate place in the row.
- Twisted stitches: If you notice a twisted stitch in a row below, drop down to the row with the mistake and use a crochet hook to fix the stitch.
- Uneven edges: If your edges are uneven, you may need to loosen or tighten your tension or try a different cast-on method.
- Wrong stitch: If you accidentally knit or purl in the wrong stitch, carefully unravel the stitch to the mistake and rework it correctly.
The key to fixing mistakes is to take your time, stay calm, and not panic. With practice, you’ll become more confident in your ability to fix mistakes.
One way to prevent mistakes is to use stitch markers. Stitch markers are used to mark the beginning of a round or a specific section of your knitting project. This can help you keep track of where you are in the pattern and reduce the likelihood of mistakes.
Another tip is to keep a lifeline in your knitting. A lifeline is a thin piece of yarn that is threaded through the stitches on your needle. If you make a mistake, you can unravel your knitting back to the lifeline and start again without losing your progress.
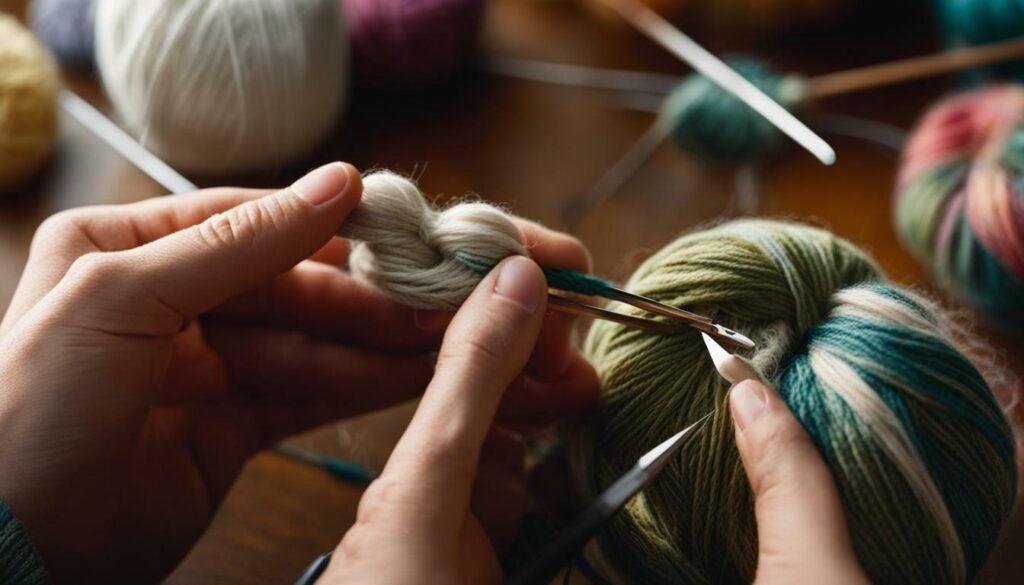
Remember, making mistakes is a natural part of learning to knit. Don’t let them discourage you or stop you from enjoying this rewarding hobby. With patience and practice, you’ll become a skilled knitter in no time!
Knitting Tips and Tricks
As a beginner in the world of knitting, learning the basic techniques is just the first step. To help you become a more skilled knitter, here are some tips and tricks to keep in mind:
- Practice makes perfect – the more you knit, the better you will get.
- Keep your yarn tension consistent – this ensures that your stitches are even.
- Use stitch markers – these handy tools can help you keep track of where you are in your knitting project.
- Invest in good quality tools – this will make your knitting experience more enjoyable and efficient.
- Take breaks – knitting can be a repetitive activity, so be sure to take breaks and stretch your hands and fingers.
Another important tip is to not be afraid to make mistakes. Knitting is a forgiving craft, and many mistakes can be easily fixed. Embrace the learning process and don’t be discouraged if your first projects don’t turn out exactly as planned.
Finally, seek inspiration and guidance from other knitters. Join knitting communities, attend knitting workshops, and follow knitting blogs and social media accounts. These resources can provide valuable insights and support, as well as help you stay up-to-date on the latest knitting trends and techniques.
Knitting Tip Spotlight
“When knitting with two or more colors, twist the yarns together at the beginning of each row to avoid holes in your work.”
Keep these tips in mind as you continue your knitting journey. Happy knitting!
Starter Knitting Projects
Now that you have learned the basics of knitting, it’s time to put your skills to use with some easy and fun projects. Here are a few ideas to get you started:
- A simple dishcloth is a great first project as it only requires basic knitting stitches. Plus, it’s a practical item that you can use every day in your kitchen.
- A scarf is another easy project that will help you practice your knitting skills. Choose a soft and chunky yarn to make your scarf cozy and warm.
- If you want to make something for a friend or family member, a headband is a great option. It’s a quick project that can be completed in an evening and is perfect for keeping your ears warm in the winter.
No matter which project you choose, remember to take your time and enjoy the process. Knitting is a relaxing and meditative activity that can help reduce stress and anxiety.
Don’t worry if your first project doesn’t turn out perfectly. The more you practice, the better you will become. And, as you become more confident in your knitting skills, you can start experimenting with different yarns, patterns, and techniques.
So, grab your needles and yarn, and start knitting! Who knows, you may discover a new hobby that will bring you joy for years to come.
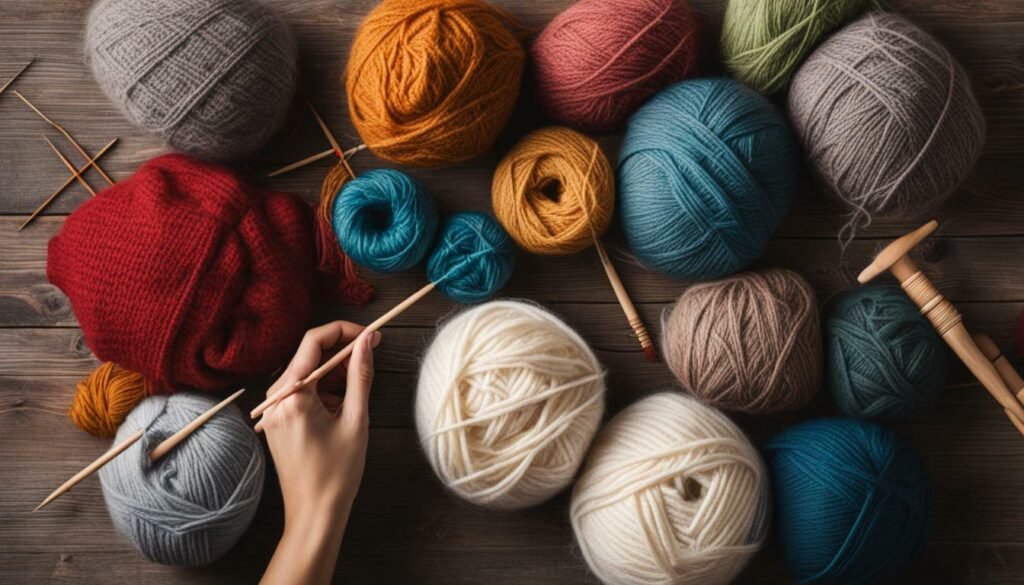
Now that you have mastered the basics of knitting, it’s time to explore more advanced techniques. These techniques will allow you to create more intricate and complex patterns while honing your skills as a knitter.
Lace Knitting
Lace knitting involves creating patterns with holes and spaces in your knitting. It can add a delicate touch to shawls, scarves, and even sweaters. To get started, you’ll need to master yarn-overs, decreases, and increases. Once you’ve got the hang of these techniques, you can start experimenting with lace patterns.
Colorwork
Colorwork is the art of knitting with multiple colors of yarn to create stunning patterns. Fair Isle and Intarsia are two common types of colorwork. Fair Isle involves knitting with two colors in the same row, whereas Intarsia involves using separate bobbins of yarn to create distinct blocks of color. This technique requires some practice, but the results can be breathtaking.
Cable Knitting
Cable knitting creates a twisted rope-like pattern in your knitting. It can add texture and interest to sweaters, hats, and scarves. Basic cables involve crossing stitches over one another, but more complex cables can involve multiple crosses. This technique requires some concentration but is well worth the effort.
Resource for Further Learning
- Check out knitting books from your local library or bookstore.
- Join online knitting communities to learn from experienced knitters.
- Take classes at your local yarn store or community center.
- Attend knitting workshops or retreats to immerse yourself in the craft.

Exploring advanced knitting techniques can be challenging, but it’s also a lot of fun. Don’t be afraid to experiment and try new things. With practice, you’ll soon be creating intricate and beautiful projects that will amaze and inspire others.
Joining Knitting Communities
If you’re new to knitting, joining a knitting community can be a great way to learn new skills, get inspiration, and connect with fellow knitters. Whether you prefer in-person groups or online communities, there are plenty of options to choose from.
Here are some ideas to get you started:
- Check with your local yarn shop to see if they offer knitting classes or have a knitting group that meets regularly.
- Search online for knitting groups or forums that focus on your particular interests or skill level.
- Join social media groups dedicated to knitting.
- Participate in virtual knitting events or workshops.
Being part of a knitting community can also help you stay motivated and accountable. You can share your progress, ask for help, and celebrate your successes with others who share your passion.
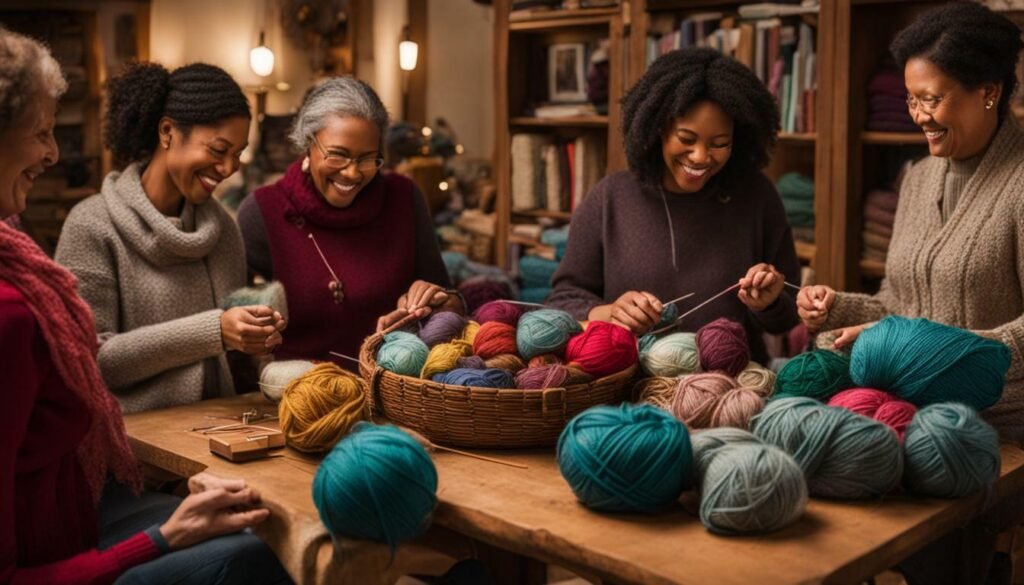
Plus, you’ll have the chance to make new friends who share your love of knitting. You might even find inspiration for your next project from someone in your knitting community!
So don’t be shy – reach out and join a knitting community today. You’ll be glad you did!
Conclusion: Start Knitting Today!
Congratulations on taking the first step towards learning how to knit! With this comprehensive guide, you have all the information you need to get started on your knitting journey.
Remember, as a beginner, it’s important to start small and work your way up to more advanced projects. Don’t be afraid to make mistakes, as they are a natural part of the learning process.
Here are some tips to keep in mind as you begin your knitting adventure:
- Practice makes perfect – the more you knit, the more comfortable you will become with the techniques and stitches.
- Start with simple projects to build your confidence and hone your skills.
- Invest in quality tools and materials, as they will make a big difference in the quality of your finished projects.
- Join a knitting community or club to learn from experienced knitters and connect with others who share your passion.
There are also many resources available online, including knitting tutorials, patterns, and videos, that can help you continue to improve and learn new techniques.
So go ahead and grab your knitting needles and yarn. With patience and practice, you’ll be creating beautiful knitted items in no time!
FAQ
Q: What is knitting?
A: Knitting is a craft that involves creating fabric by interlocking loops of yarn using knitting needles. It is a versatile and creative hobby that allows you to make various items such as scarves, hats, and blankets.
Q: What are the essential knitting tools?
A: To get started, you will need a few essential knitting tools, including knitting needles, yarn, scissors, and a tapestry needle. These tools are readily available at craft stores and online.
Q: How do I choose the right yarn?
A: Yarn comes in different colors, weights, and fibers. We will help you navigate the options and guide you in choosing the right yarn for your knitting project.
Q: How do I cast on?
A: Casting on is the first step in knitting. We will teach you various casting on methods and provide detailed instructions to help you get started with your knitting project.
Q: What are the basic knitting stitches?
A: Learn the basic knitting stitches, including the knit stitch and the purl stitch. We will explain the differences between these stitches and show you how to create various patterns using them.
Q: How do I read knitting patterns?
A: Knitting patterns are like roadmaps for your knitting project. We will demystify knitting patterns and guide you on how to read and understand them to create beautiful finished items.
Q: How do I knit in the round?
A: Knitting in the round opens up a whole new world of possibilities. Learn how to knit in the round using circular needles or double-pointed needles and create seamless projects like hats and socks.
Q: How do I increase and decrease stitches?
A: Increase and decrease stitches are essential for shaping your knitting project. We will teach you different methods to increase and decrease stitches and provide examples of how to use them.
Q: How do I bind off?
A: Binding off is the final step in completing your knitting project. We will show you different binding off methods to ensure a neat and secure edge.
Q: How do I fix common knitting mistakes?
A: Mistakes happen, even to experienced knitters. We will help you identify and fix common knitting mistakes, such as dropped stitches and twisted stitches, so you can keep knitting with confidence.
Q: Do you have any knitting tips and tricks?
A: Discover useful tips and tricks that will enhance your knitting experience. From managing yarn tension to avoiding common pitfalls, these tips will help you become a more skilled knitter.
Q: What are some starter knitting projects?
A: Put your newfound skills to use with these beginner-friendly knitting projects. We will provide a list of easy projects to start with, including dishcloths, scarves, and headbands.
Q: Can I learn advanced knitting techniques?
A: Once you’ve mastered the basics, you can explore more advanced knitting techniques, such as lace knitting, colorwork, and cable knitting. We will introduce these techniques and provide resources for further learning.
Q: How can I join knitting communities?
A: Connect with fellow knitters by joining knitting communities, whether online or in-person. These communities offer support, inspiration, and opportunities to learn from experienced knitters.
Q: How do I start knitting today?
A: Congratulations on embarking on your knitting journey! With the knowledge and guidance provided in this beginner’s guide, you are now equipped to start knitting and explore the endless possibilities this craft has to offer. So grab your knitting needles and yarn, and let your creativity soar!
