
Ready to step into a world where colors play and dance together, creating magical effects? Imagine the joy of transforming everyday items into works of art with just a few brush strokes. These layered paint ideas will spark your creativity and bring a splash of color into every corner of your life!
1. Rainbow Dresser Delight
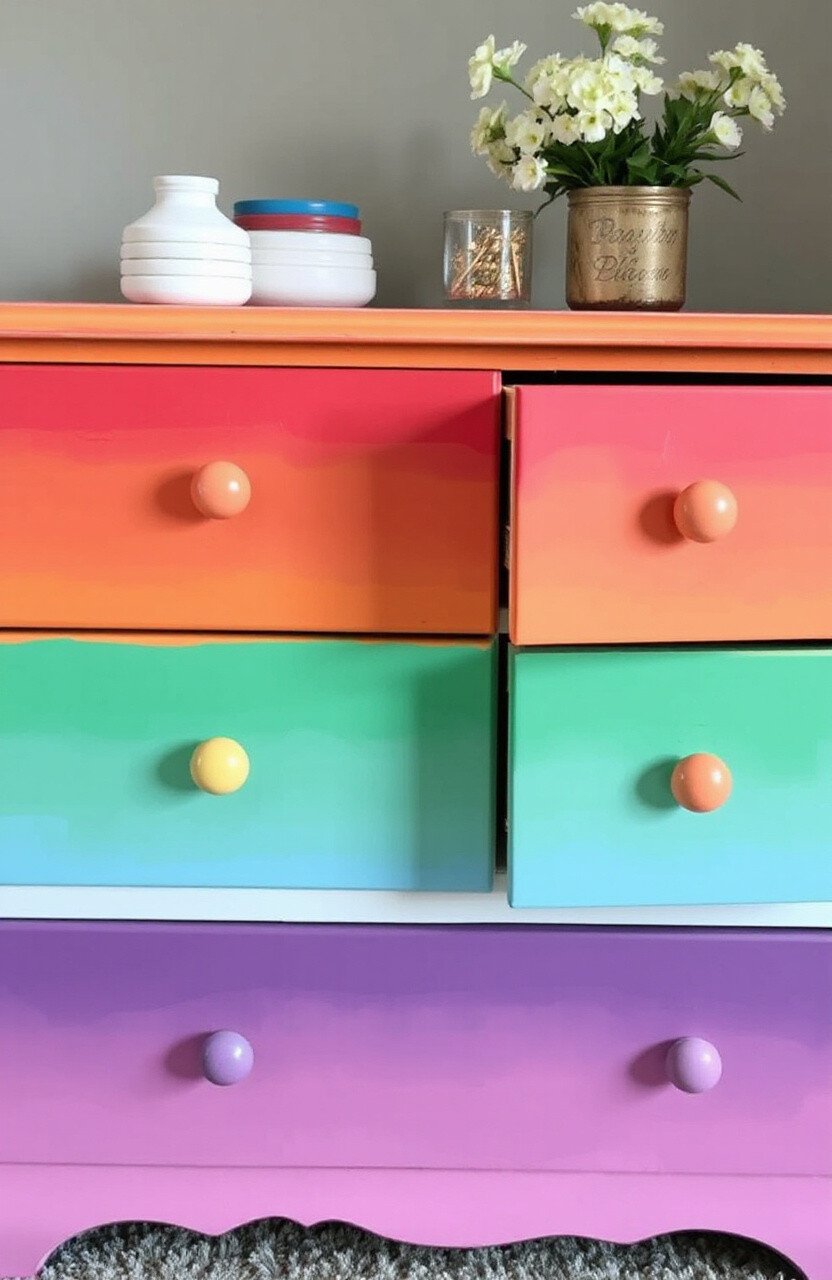
Why settle for a plain dresser when you can have a rainbow one? Layer different colors on each drawer to create a piece that shines. It’s like having a piece of the sky right in your bedroom.
This project is not just colorful but also uplifting. It brings a smile every time you reach for a pair of socks. Try using pastel shades for a softer look or go bold with primary colors.
2. Color Burst Canvas
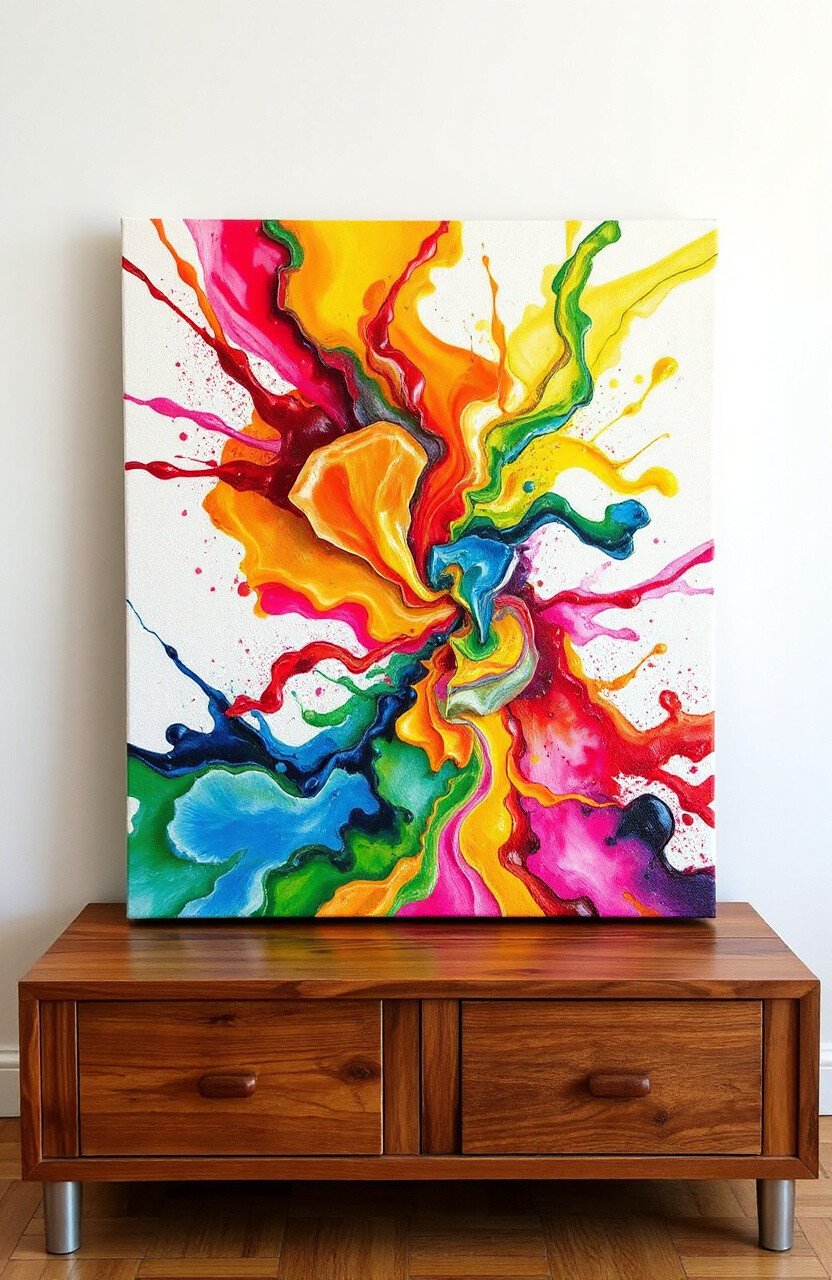
Turn a blank canvas into a masterpiece with layers of vibrant paint. This is a fantastic way to express your inner artist. Start with one color and add layers until you have a swirling, colorful explosion.
The beauty of this project is its uniqueness. No two canvases will ever look the same. Hang your creation in your living room to impress guests.
3. Ombre Wall Wonder
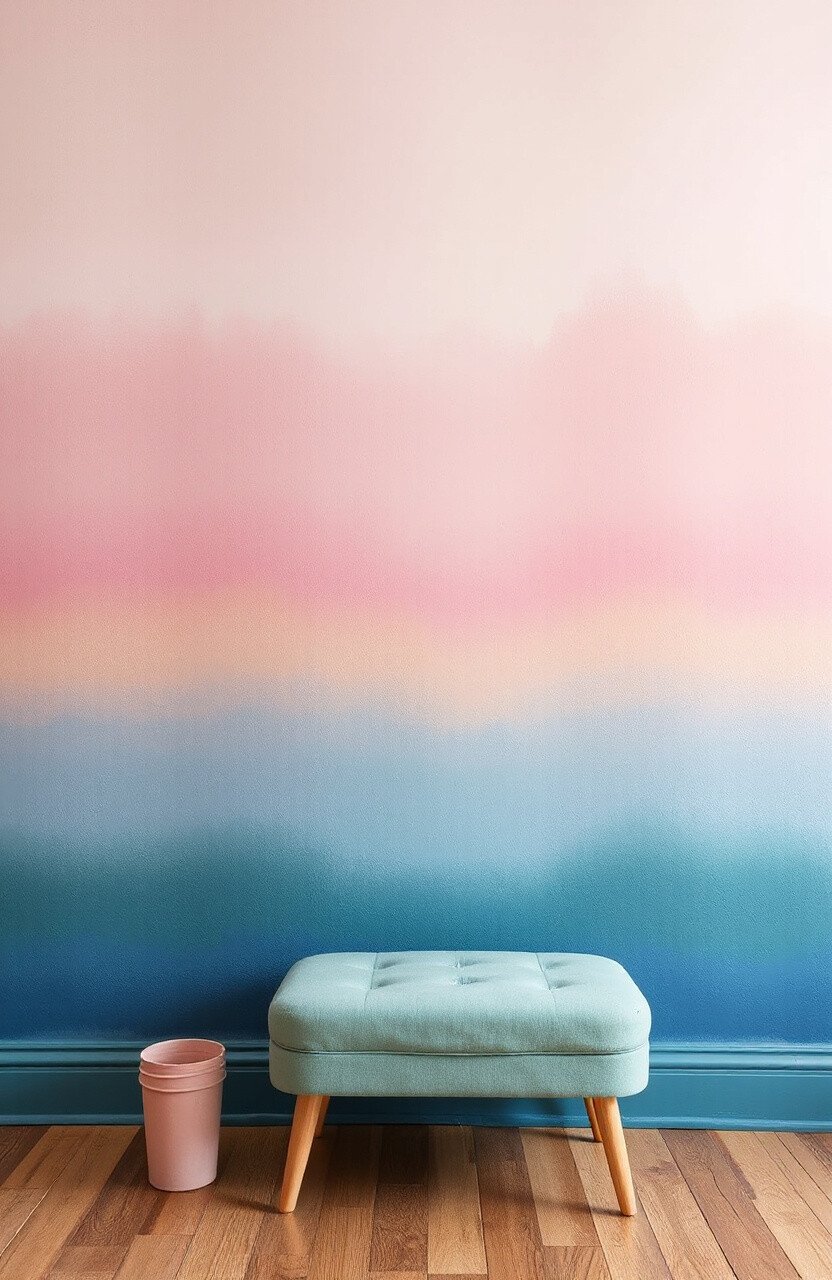
Create a stunning ombre effect on your walls. Choose colors that blend together beautifully, like blues into greens or pinks into purples. This layered effect turns a plain wall into a dramatic backdrop.
It’s an affordable way to add interest to any room. Pick a feature wall and watch it transform the space. Use a sponge for a soft, seamless blend.
4. Textured Tabletop Treasure
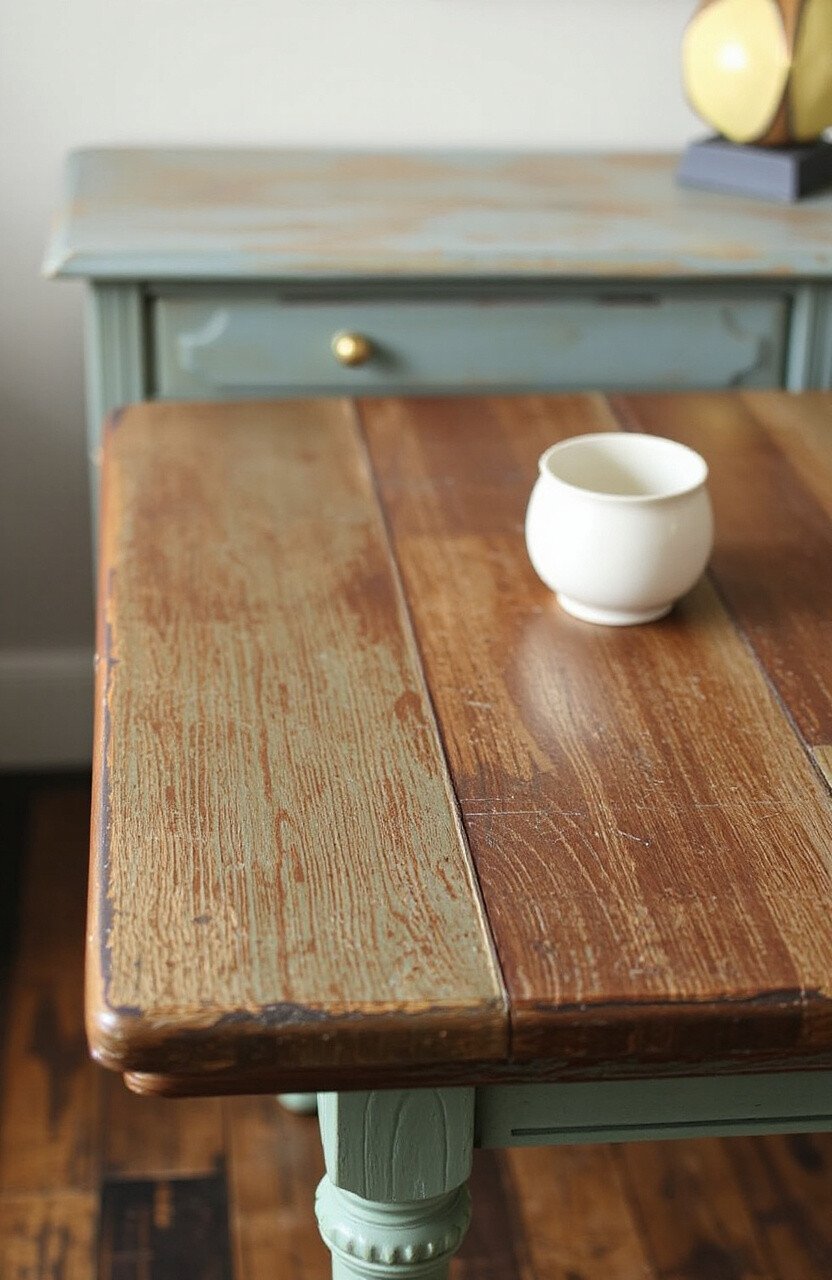
Add layers of paint and texture to an old table. Use tools like sponges or combs to create patterns. This gives an old piece of furniture a new lease on life.
This project is great for hiding imperfections while adding character. Experiment with metallic paints for an elegant twist.
5. Galaxy Nightstand
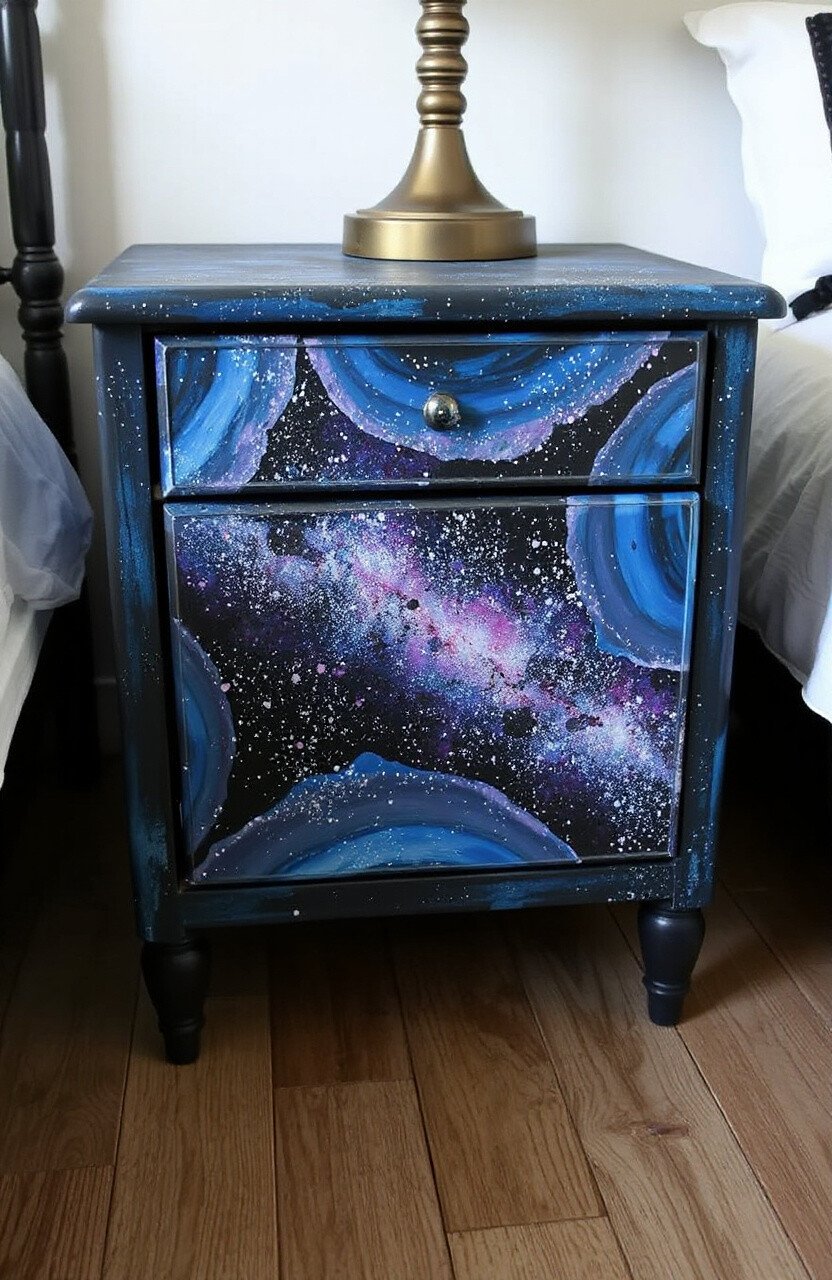
Bring the cosmos into your bedroom with a galaxy nightstand. Layer blues, purples, and blacks, then add specks of white for stars. It’s like having a piece of the universe by your bed.
The mesmerizing effect is perfect for dreamers. Personalize it with glitter for extra sparkle. It’s a budget-friendly way to revamp an old nightstand.
6. Layered Lampshade Luster
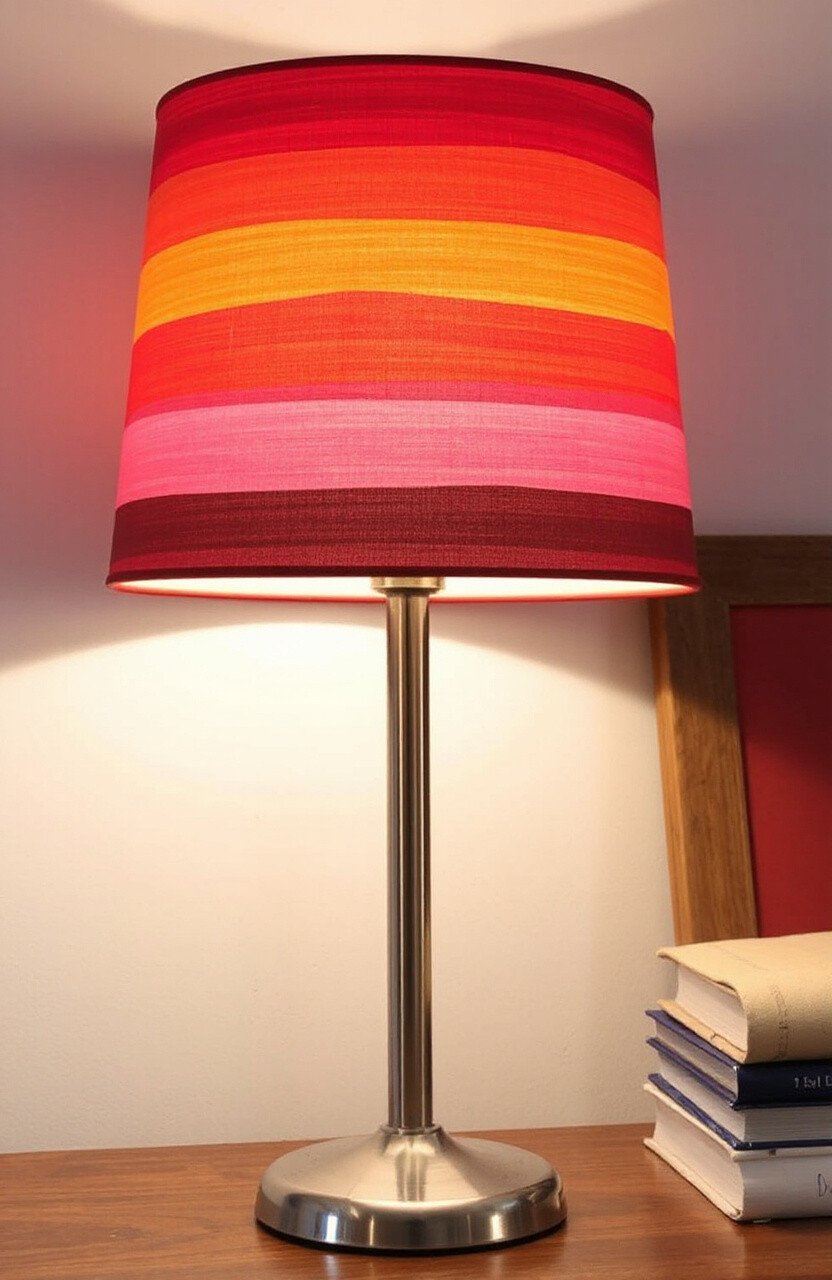
Transform a plain lampshade with layers of color. Start with a base color, then add stripes or patterns. When the light shines through, it creates a warm, colorful glow.
This project adds personality to your lighting. Try using contrasting colors for a bold effect. It’s an easy way to update your décor without spending much.
7. Patchwork Paint Pot
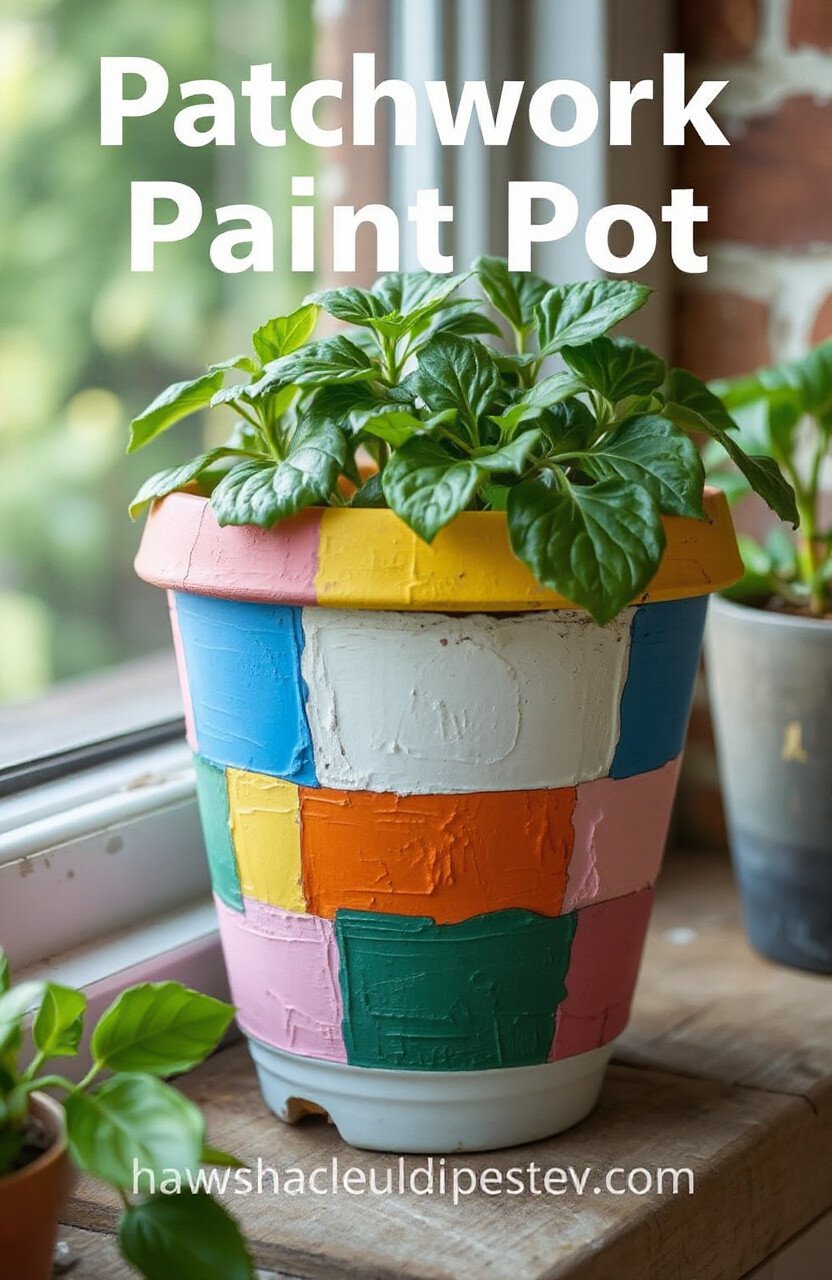
Give your plant pots a colorful makeover. Layer different colors in blocks or patches. This patchwork style adds whimsy and cheer to your garden or windowsill.
It’s a fun way to use leftover paint. Each pot becomes a unique piece of art. Perfect for brightening up small spaces.
8. Striped Staircase Sensation
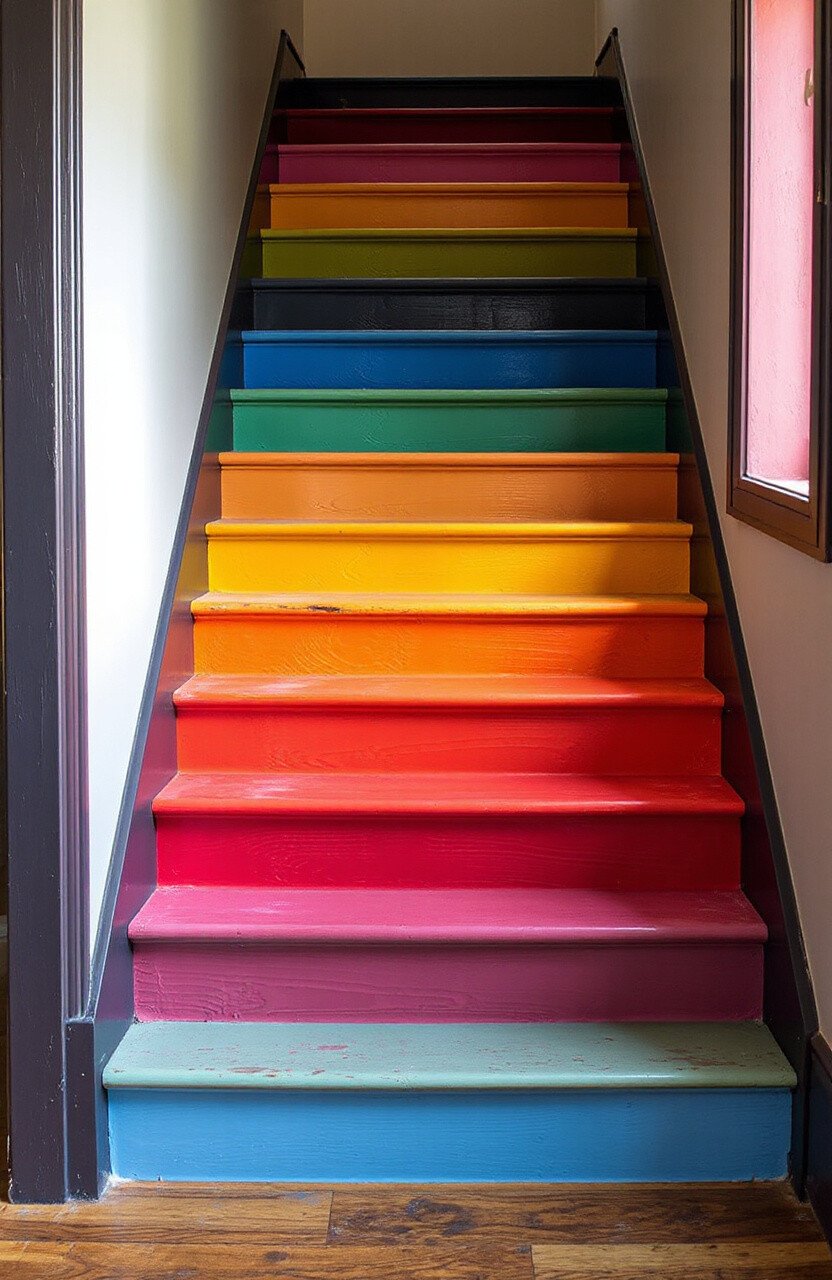
Make your staircase a standout feature with layered stripes. Use a variety of colors for each step. It’s like walking on a rainbow every day.
This idea brings color to an often-overlooked part of the home. Choose colors that complement your décor. It’s a delightful surprise for guests.
9. Layered Leather Jacket
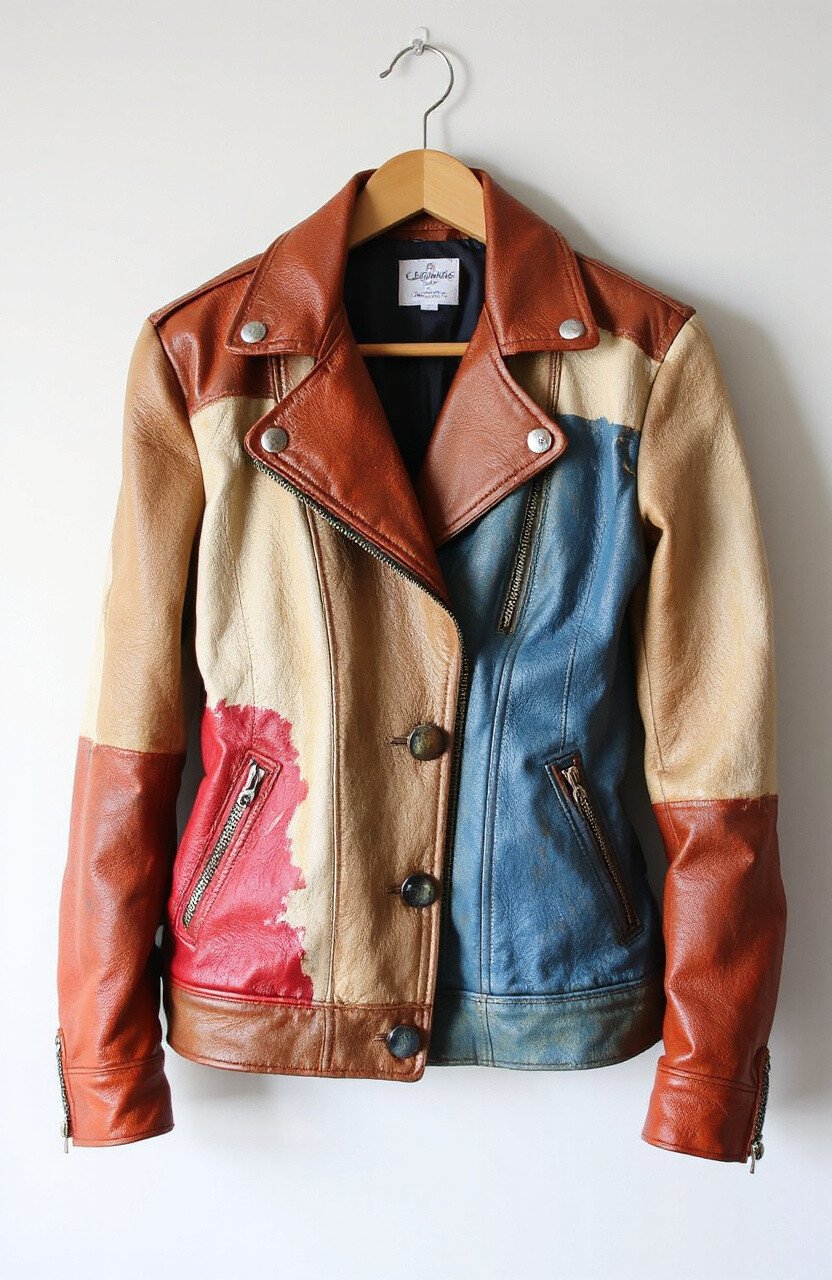
Revamp an old leather jacket with layers of paint. Use a sponge to dab on colors for a mottled effect. It turns an ordinary jacket into a fashion statement.
This project gives a new lease of life to tired clothing. Go bold with metallic paints for a rocker vibe. Customize it with your favorite colors.
10. Multicolor Mirror Frame
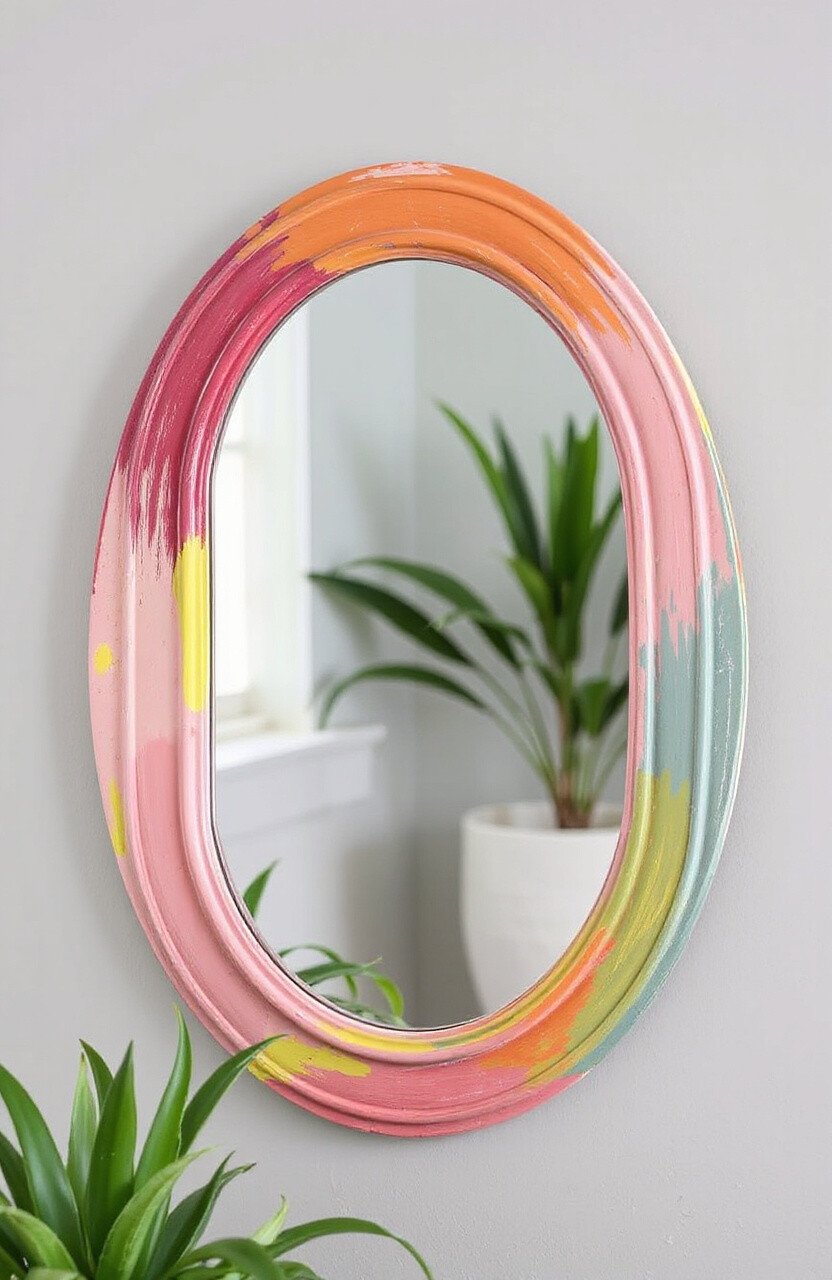
Turn a plain mirror frame into a colorful masterpiece. Layer different shades and watch it pop. It adds a touch of personality to any room.
This project is ideal for adding color to neutral spaces. Try a gradient effect for a modern look. It’s a quick, cost-effective update.
11. Layered Lace Lamp
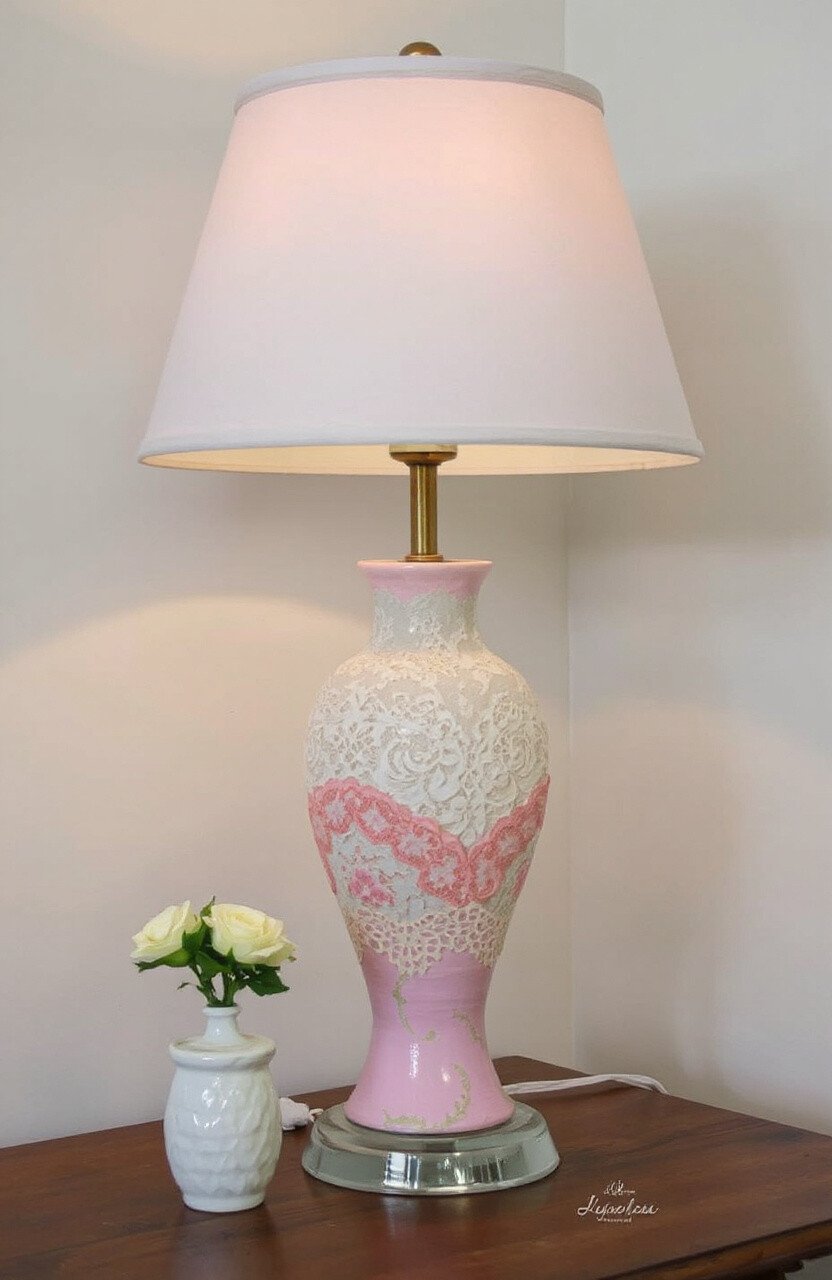
Add layers of lace and paint to a lamp base for a vintage feel. The combination of textures and colors creates a charming, cozy atmosphere.
This project is perfect for creating a romantic setting. Use soft pastels or vibrant hues to match your style. It’s a beautiful way to repurpose a thrift store find.
12. Funky Flower Pots
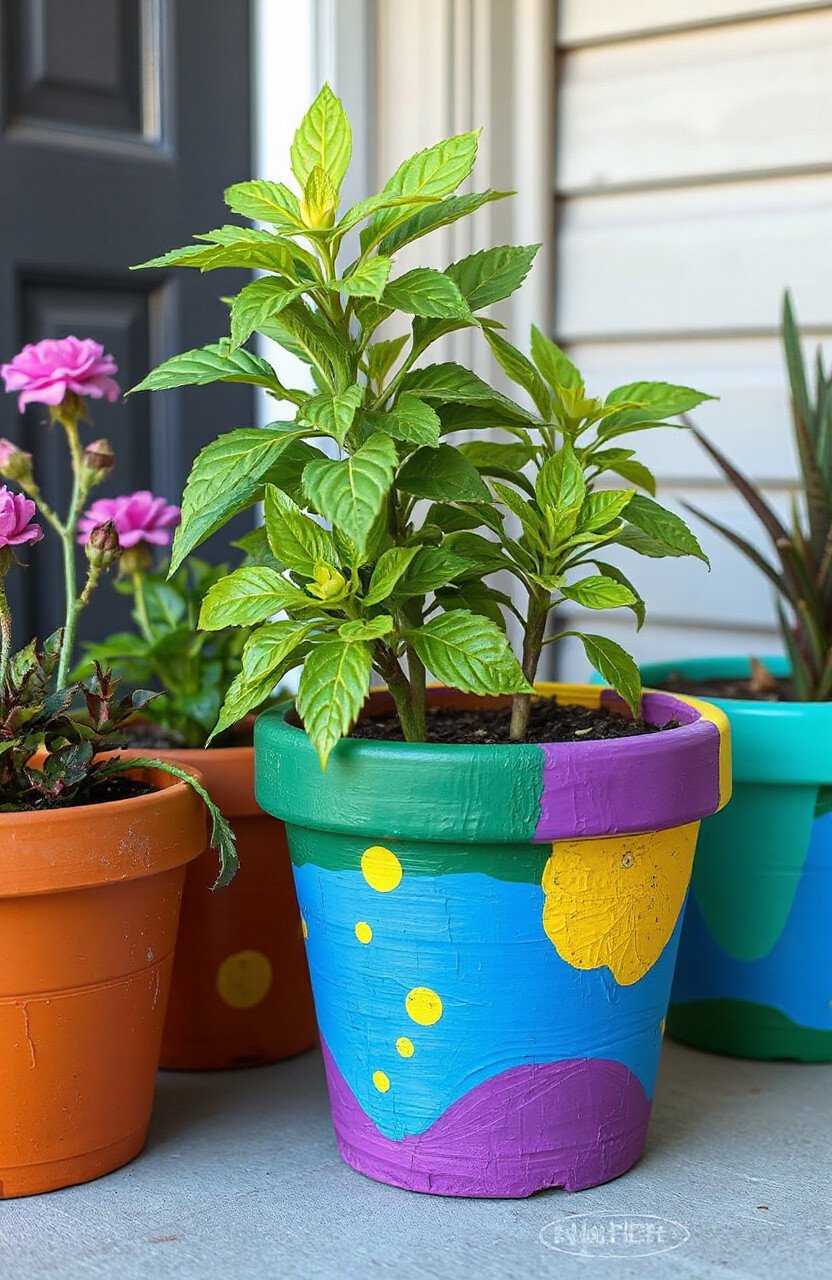
Paint layers of bright colors on terracotta pots. Add funky patterns or shapes. It’s a fun project that adds character to your plants.
These pots stand out in any garden. Mix and match colors for a playful look. It’s an inexpensive way to refresh your outdoor space.
13. Shimmering Shelves
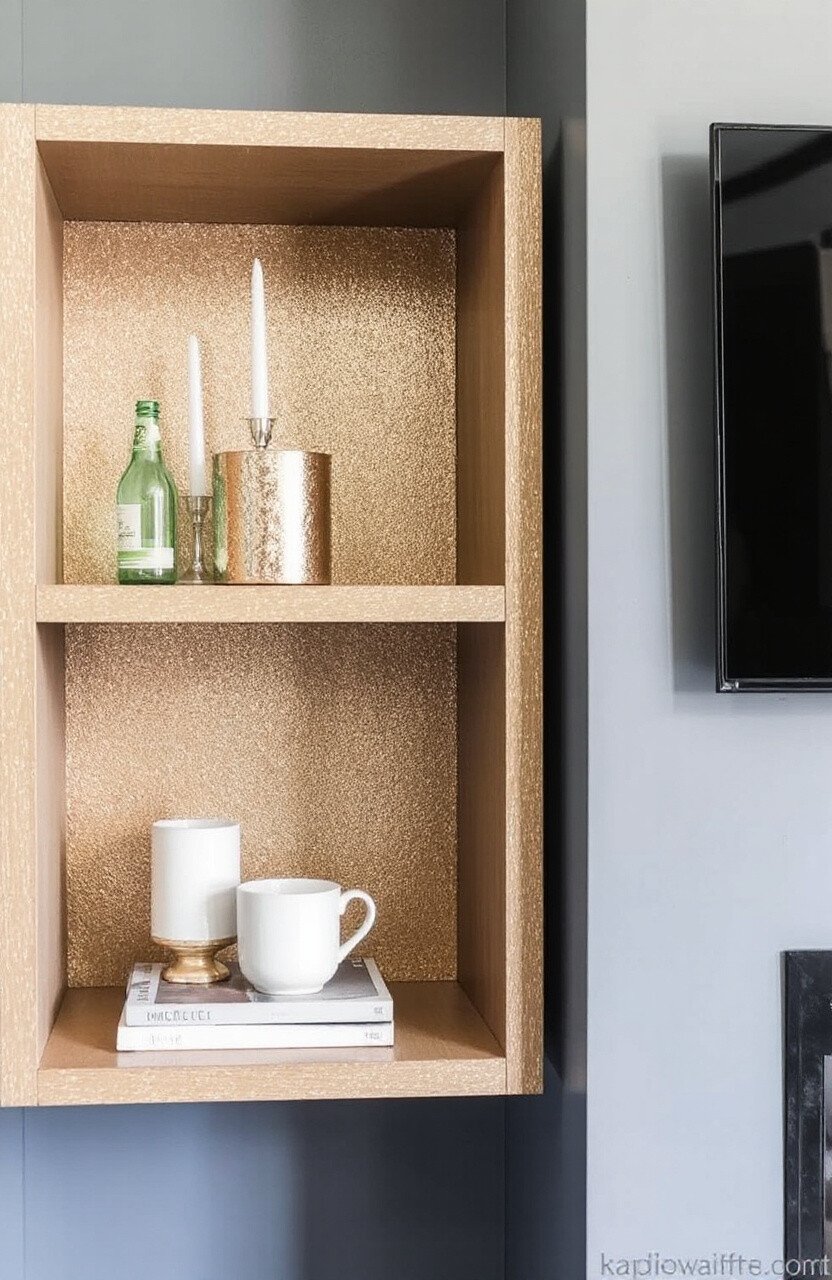
Add layers of shimmering paint to your shelves. It creates a glittering effect that catches the light. Perfect for displaying your favorite items.
This project adds a touch of glamour to your home. Use gold or silver for a sophisticated touch. It’s an easy way to elevate your décor.
14. Layered Denim Delight
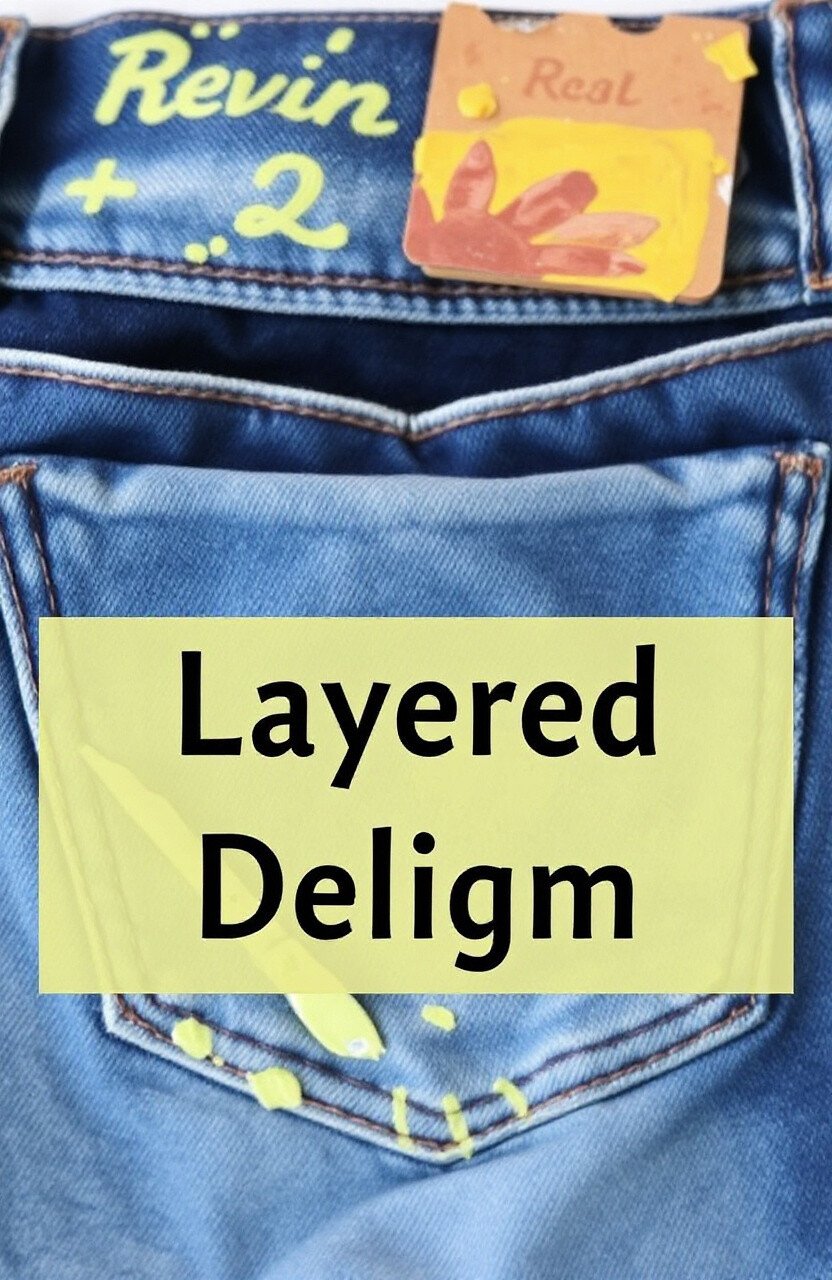
Give old jeans a new look with layers of paint. Use a brush or sponge to create interesting patterns. It’s a unique way to customize your wardrobe.
This project is great for fashion lovers. Add stencils for a personal touch. It’s an affordable way to update your clothing.
15. Painted Pallet Art
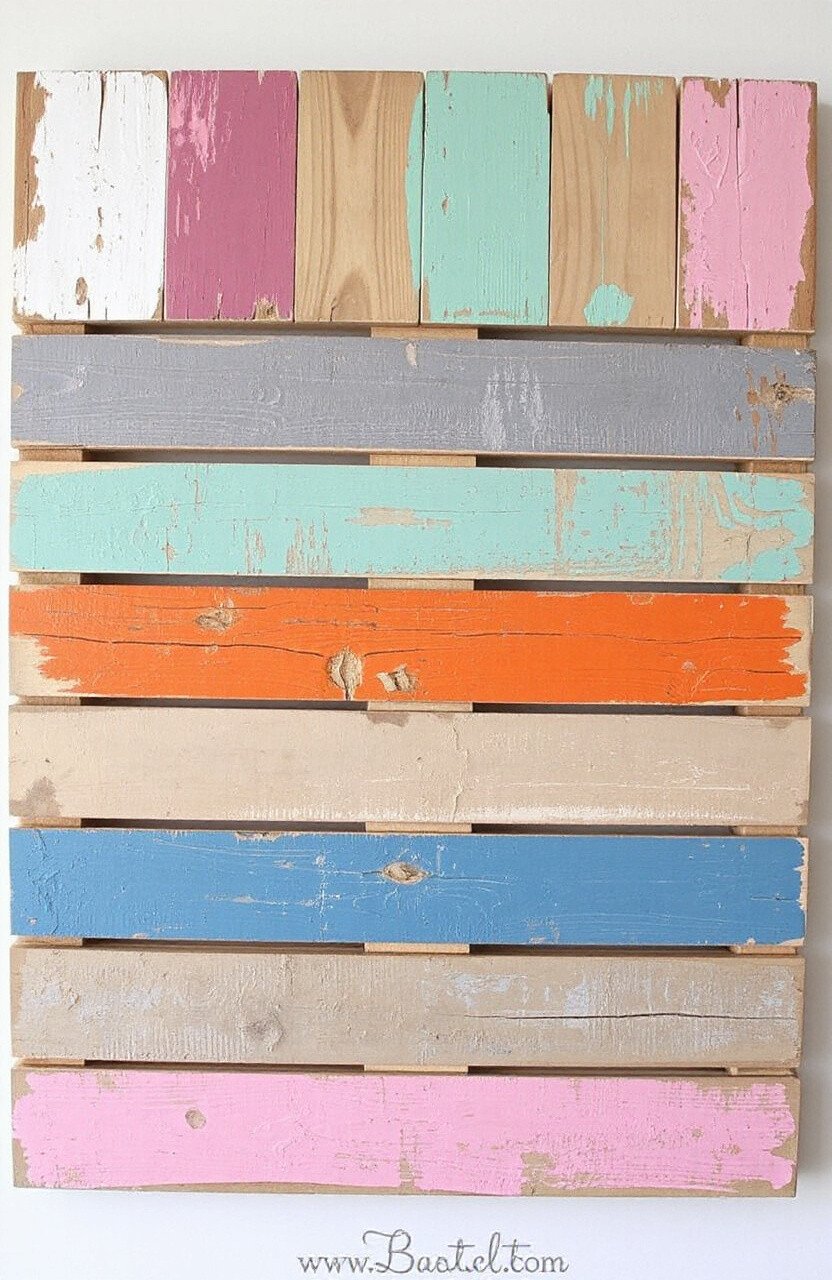
Transform a wooden pallet into a work of art. Layer paint in different colors and patterns. It’s a rustic addition to any home.
This project is perfect for upcycling materials. Hang it on a wall for a statement piece. It’s a creative way to decorate on a budget.
16. Layered Glass Vase
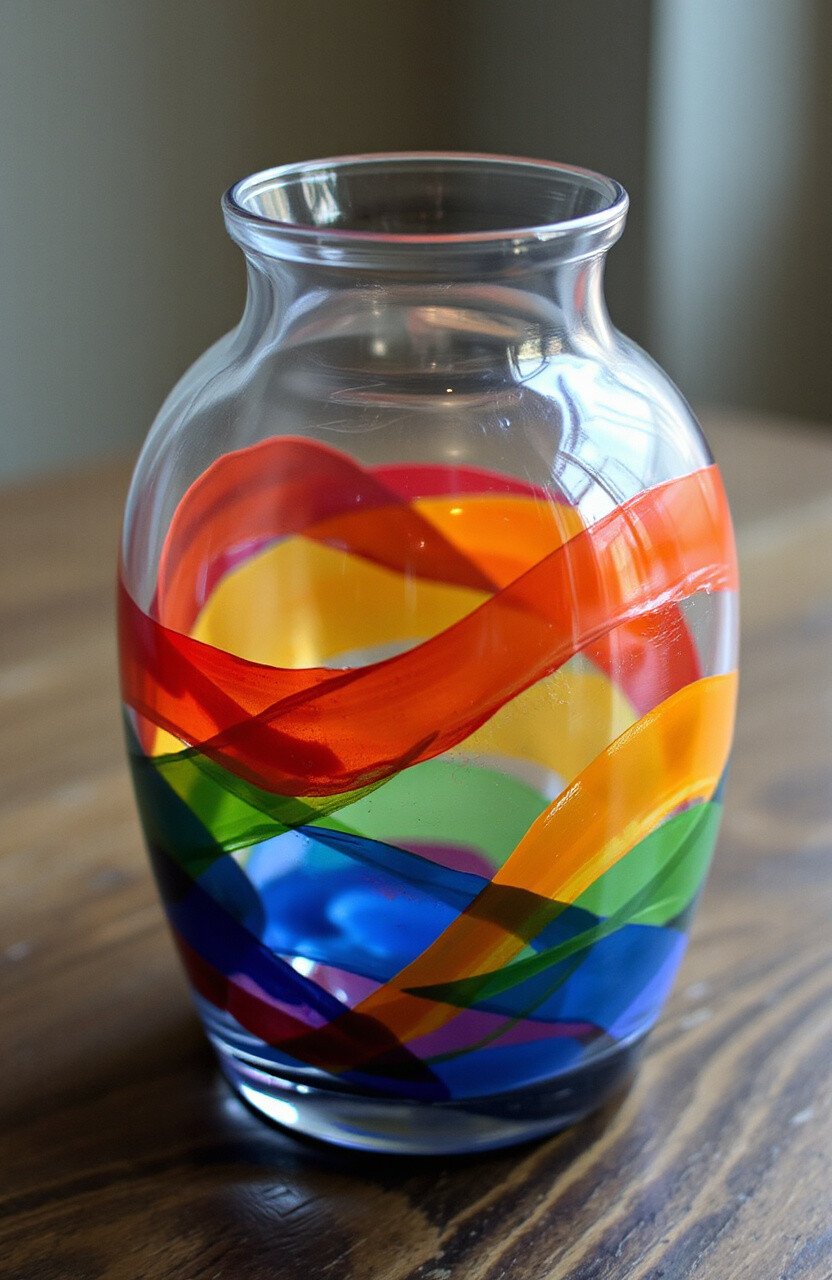
Layer paint on the inside of a glass vase. The light shines through, creating beautiful effects. It’s a stunning centerpiece for any table.
This project is great for adding color to your dining room. Use translucent paints for a subtle look. It’s a simple but effective update.
17. Whimsical Window Frames

Add layers of paint to old window frames. Use bright colors for a cheerful effect. It’s a quirky addition to any space.
This project adds charm to your home. Hang them on a wall for a fun display. It’s an easy way to personalize your décor.
18. Colorful Candle Holders
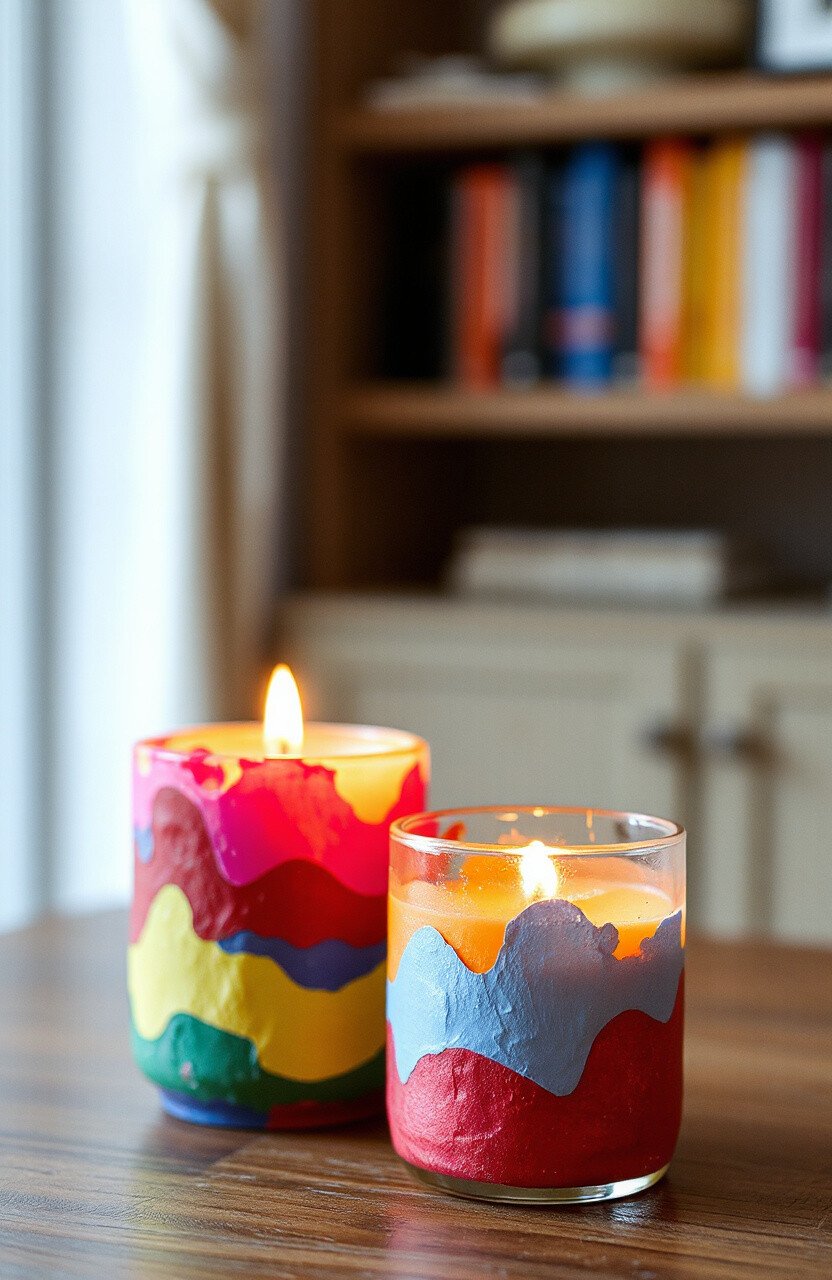
Layer paint on candle holders for a burst of color. The flickering light adds to the effect. Perfect for creating a cozy atmosphere.
This project is ideal for adding warmth to your home. Use metallic paints for a touch of glamour. It’s a quick and easy update.
19. Bohemian Bookshelf
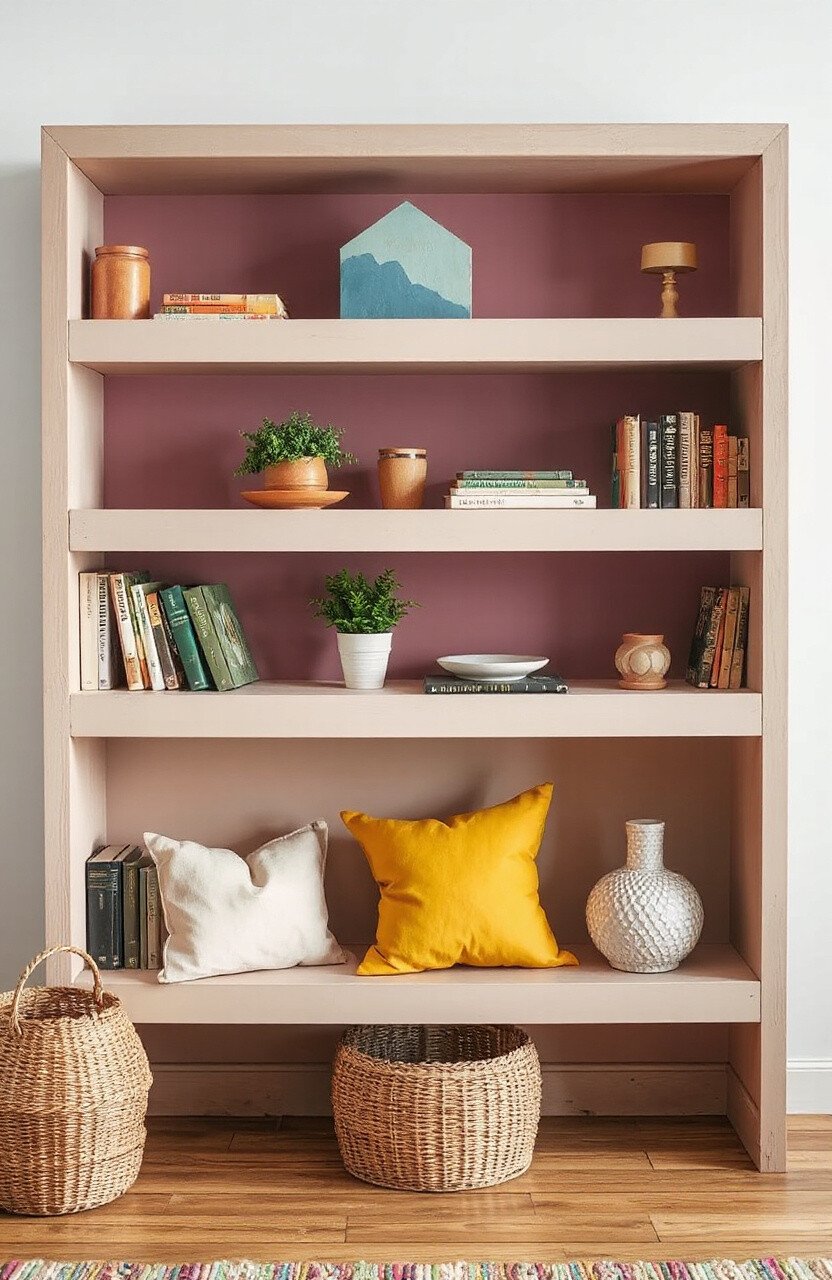
Add layers of paint in different colors to your bookshelf. The bohemian style adds a relaxed, artistic vibe. Perfect for book lovers.
This project is great for expressing your personality. Use a mix of bright and muted colors. It’s an affordable way to revamp your space.
20. Layered Fabric Art
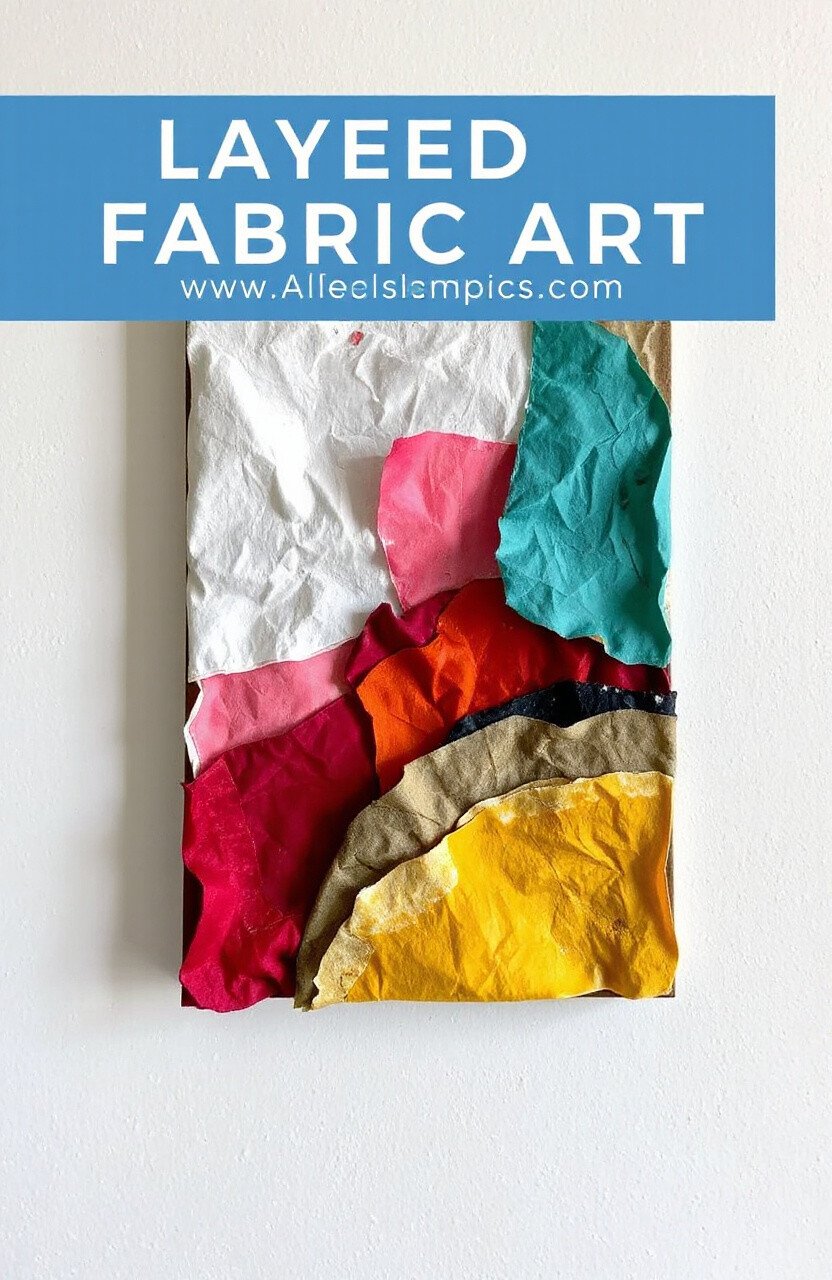
Create a piece of art by layering painted fabric. Frame it for a unique wall hanging. It’s a creative way to use fabric scraps.
This project is perfect for sewing enthusiasts. Mix and match colors and patterns. It’s a personalized addition to any room.
21. Painted Picture Frames
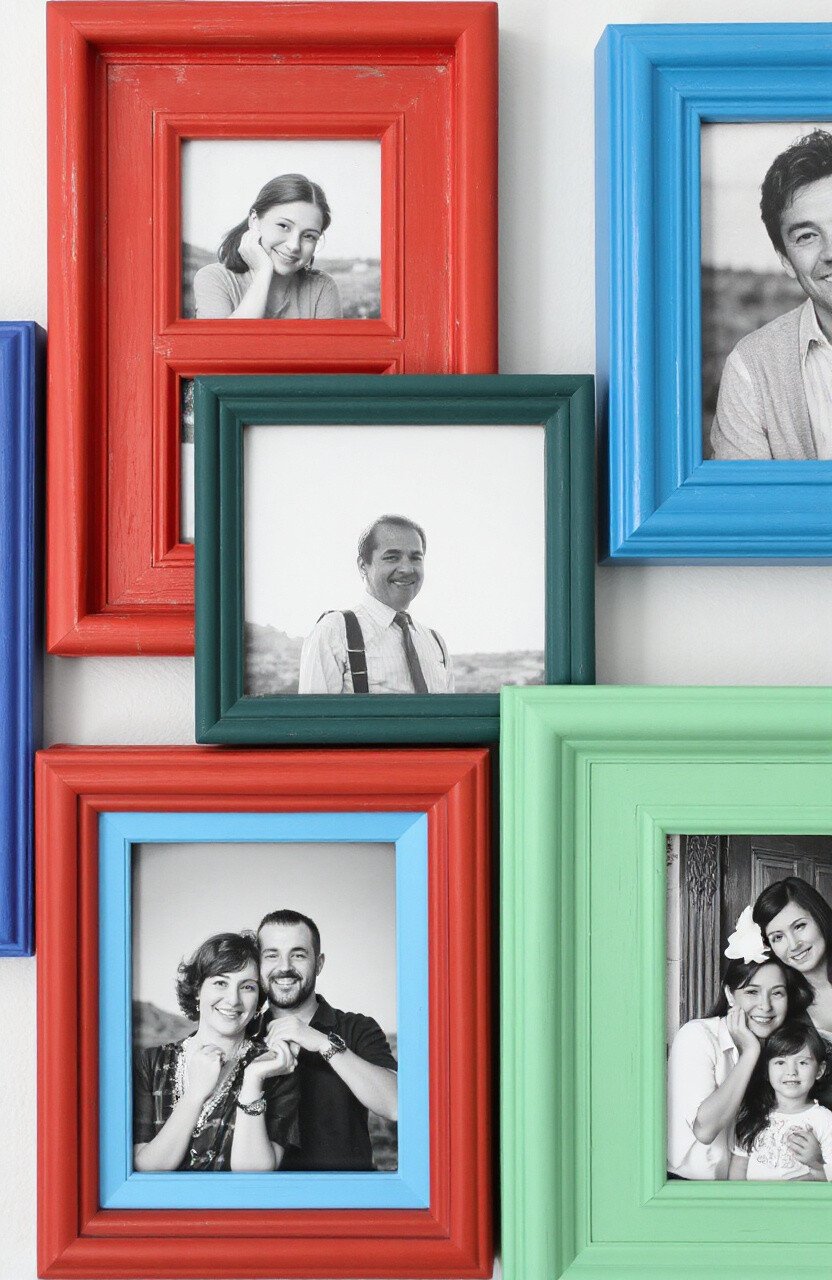
Layer paint on picture frames for a pop of color. It highlights your favorite photos with style. Perfect for creating a gallery wall.
This project is great for updating old frames. Use complementary colors for a cohesive look. It’s a simple way to refresh your décor.
22. Layered Coasters
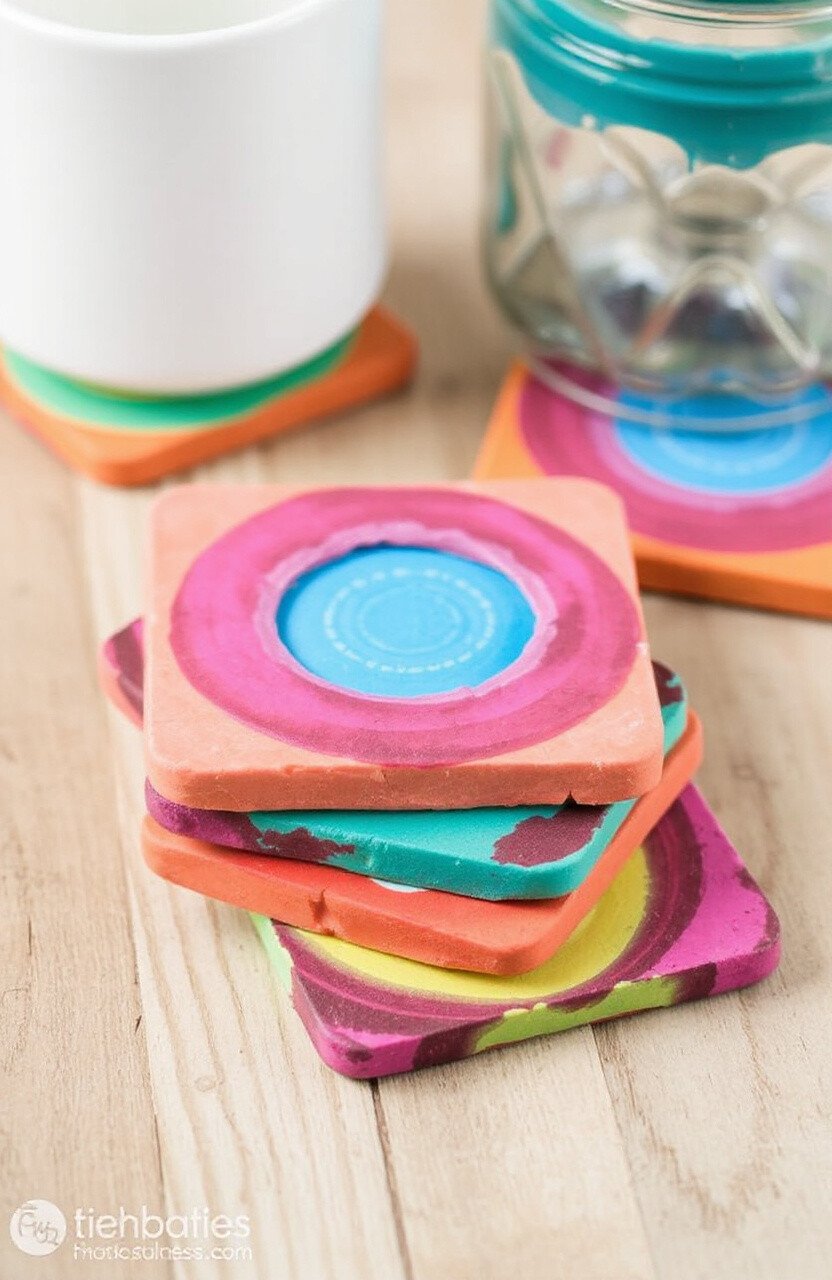
Paint layers of color on coasters. The result is a set of vibrant, unique pieces. It’s a fun project for entertaining guests.
This project is great for using up leftover paint. Mix and match colors for an eclectic set. It’s an inexpensive way to add personality to your table.
23. Colorful Clock Face
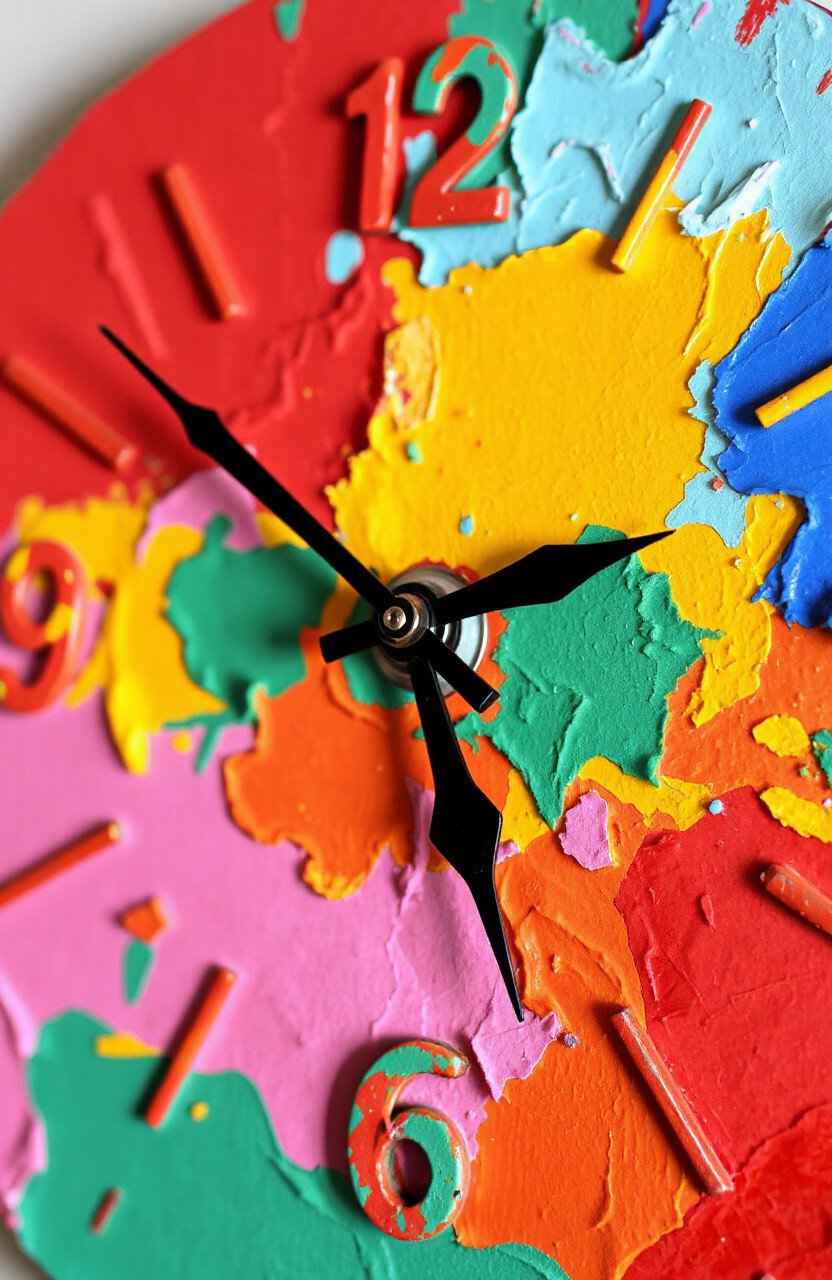
Add layers of paint to a clock face. It turns a functional item into a piece of art. Perfect for adding interest to a plain wall.
This project is ideal for making a statement. Use bold colors for a modern look. It’s a creative way to personalize your space.
24. Layered Jewelry Box
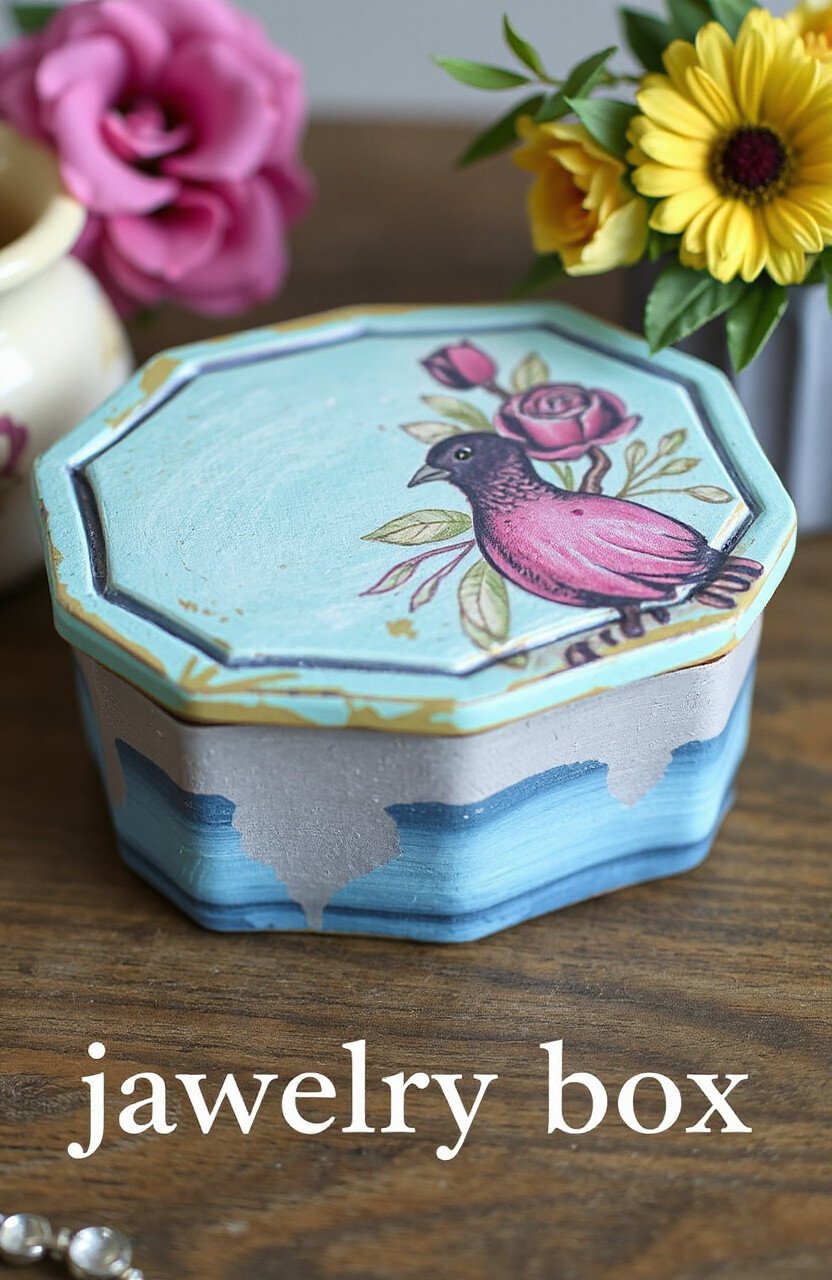
Transform a plain jewelry box with layers of paint. It adds a touch of color and charm. Perfect for storing your treasures.
This project is great for adding personality to your accessories. Use stencils for intricate designs. It’s a delightful way to update a simple item.
25. Vibrant Vase Collection
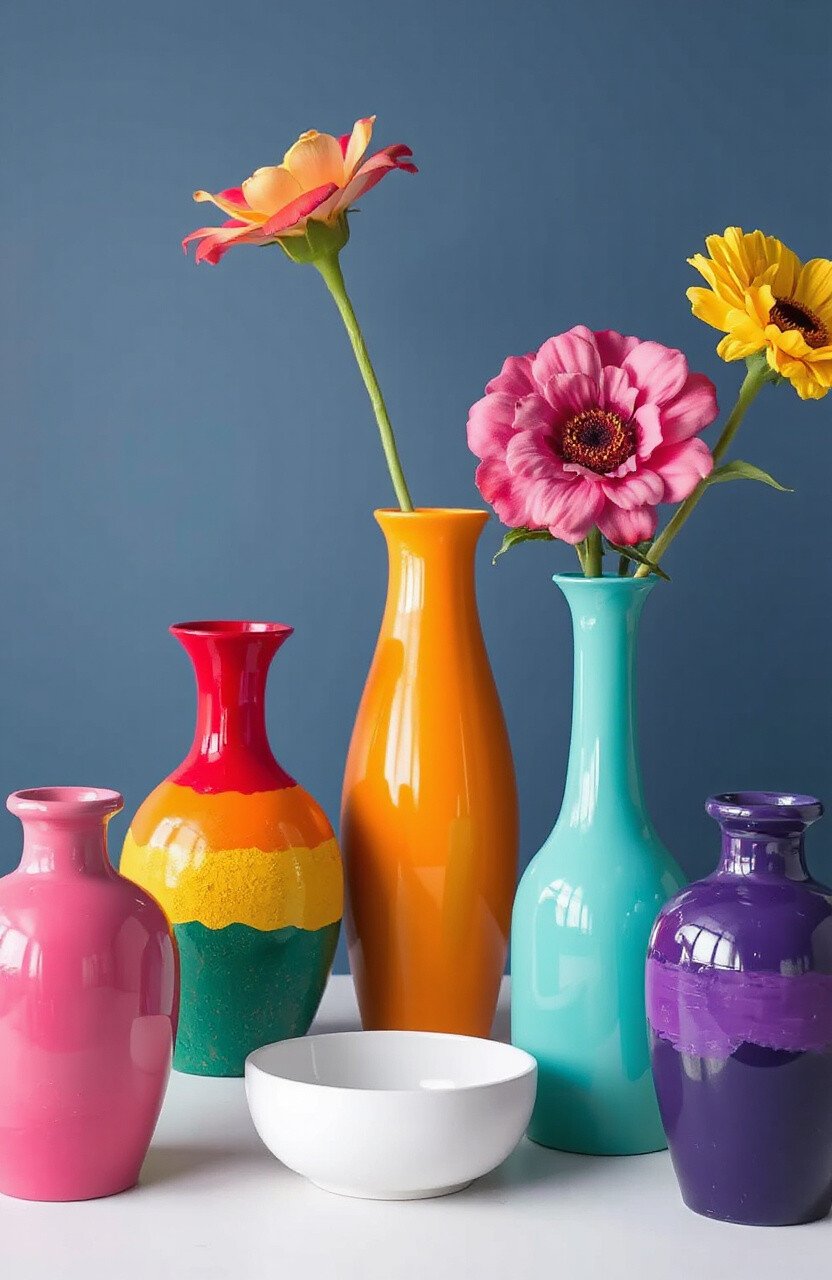
Layer paint on a collection of vases. The result is a stunning display of colors. Perfect for brightening up a mantelpiece.
This project is great for creating a cohesive look. Use a color palette that complements your décor. It’s an easy way to add flair to your home.
26. Layered Tote Bag
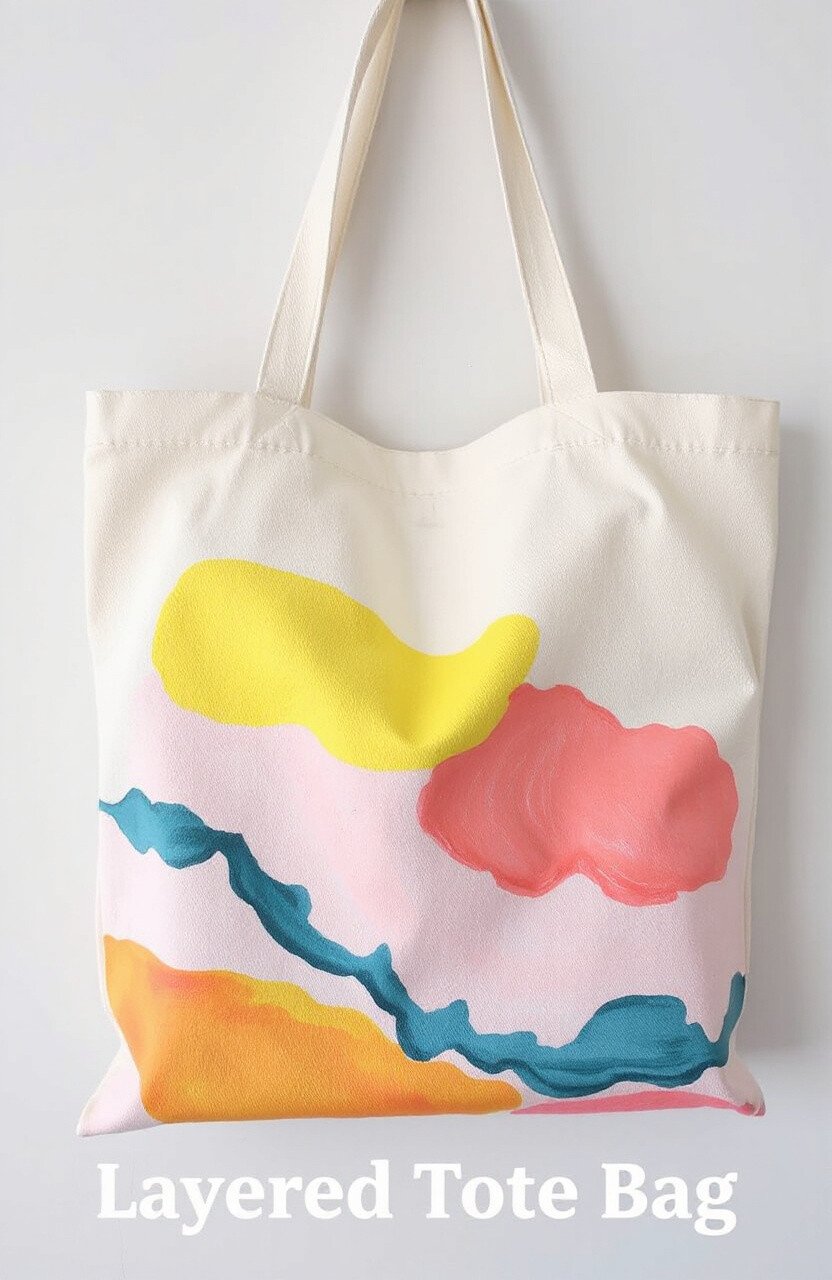
Add layers of paint to a plain tote bag. It creates a unique, personalized accessory. Perfect for shopping or the beach.
This project is great for fashion lovers. Use fabric paint for durability. It’s an affordable way to express your style.
27. Painted Plant Stand
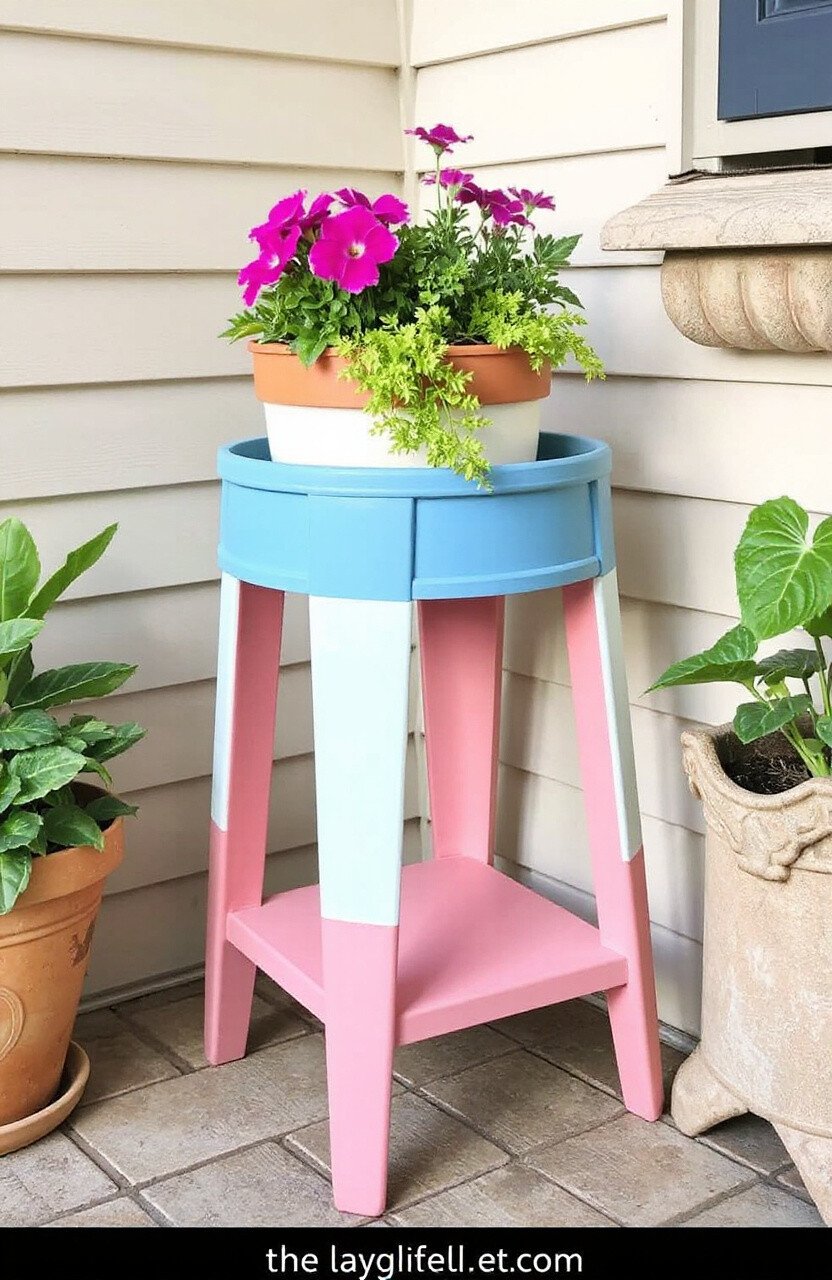
Layer paint on a plant stand for a burst of color. It highlights your plants with style. Perfect for adding interest to a corner.
This project is ideal for garden enthusiasts. Use bright colors for a cheerful effect. It’s a fun way to update your outdoor space.
28. Layered Light Switch Covers
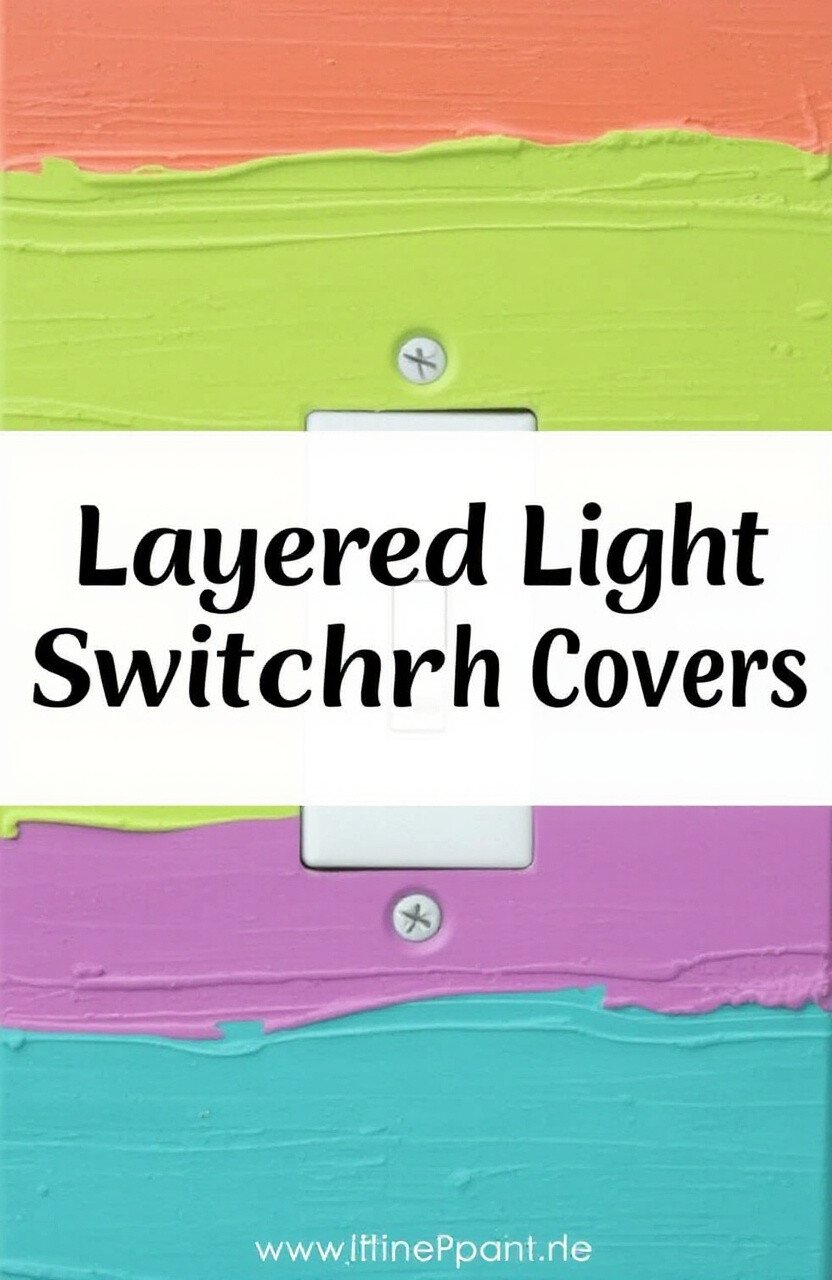
Transform light switch covers with layers of paint. It adds a pop of color to your walls. Perfect for adding personality to any room.
This project is great for small spaces. Use a mix of colors for a playful look. It’s a quick and easy update.
29. Colorful Cupboard Doors
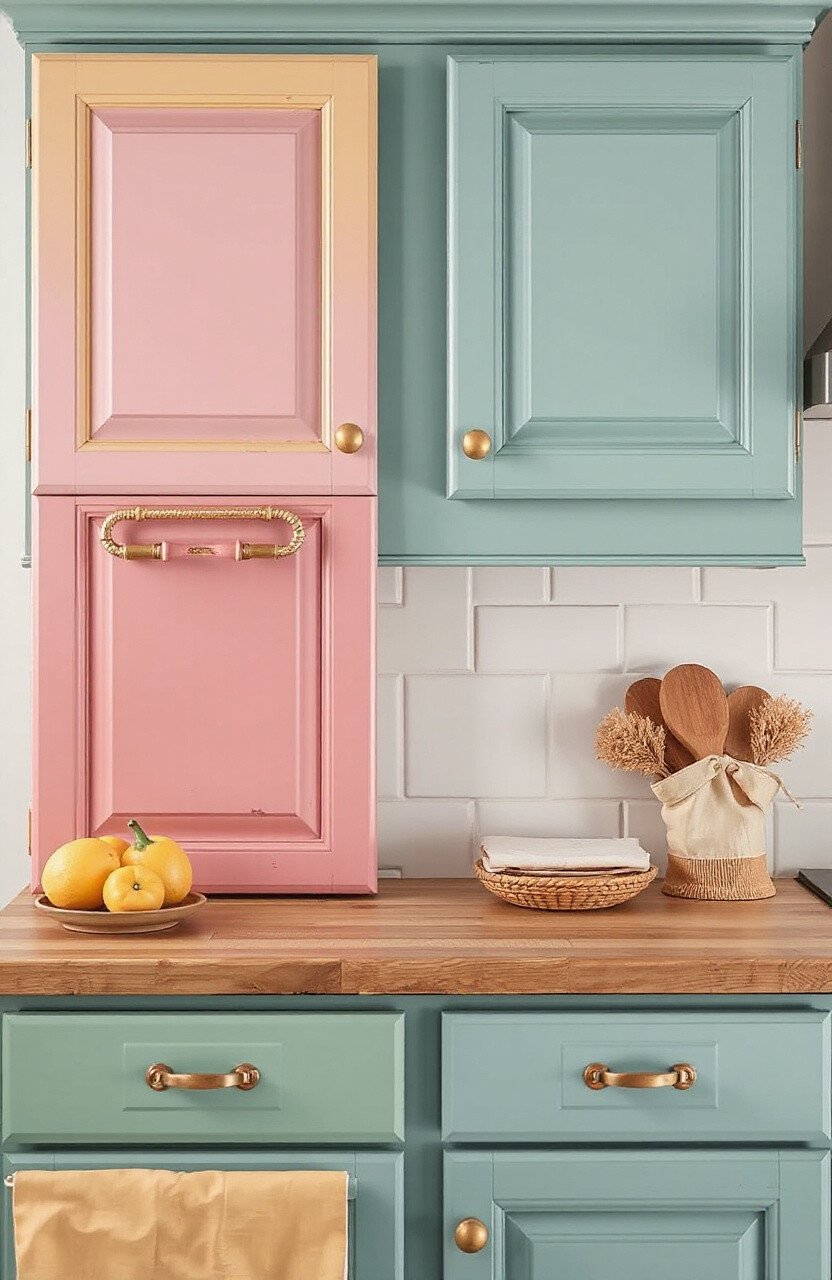
Add layers of paint to cupboard doors. It turns a functional item into a feature. Perfect for adding interest to your kitchen.
This project is ideal for updating a tired space. Use complementary colors for a cohesive look. It’s a creative way to personalize your home.
30. Layered Art Journal
Create layered pages in an art journal. It’s a creative outlet for self-expression. Perfect for artists of all ages.
This project is great for improving your art skills. Use a mix of paints and materials. It’s a personal, evolving piece of art.