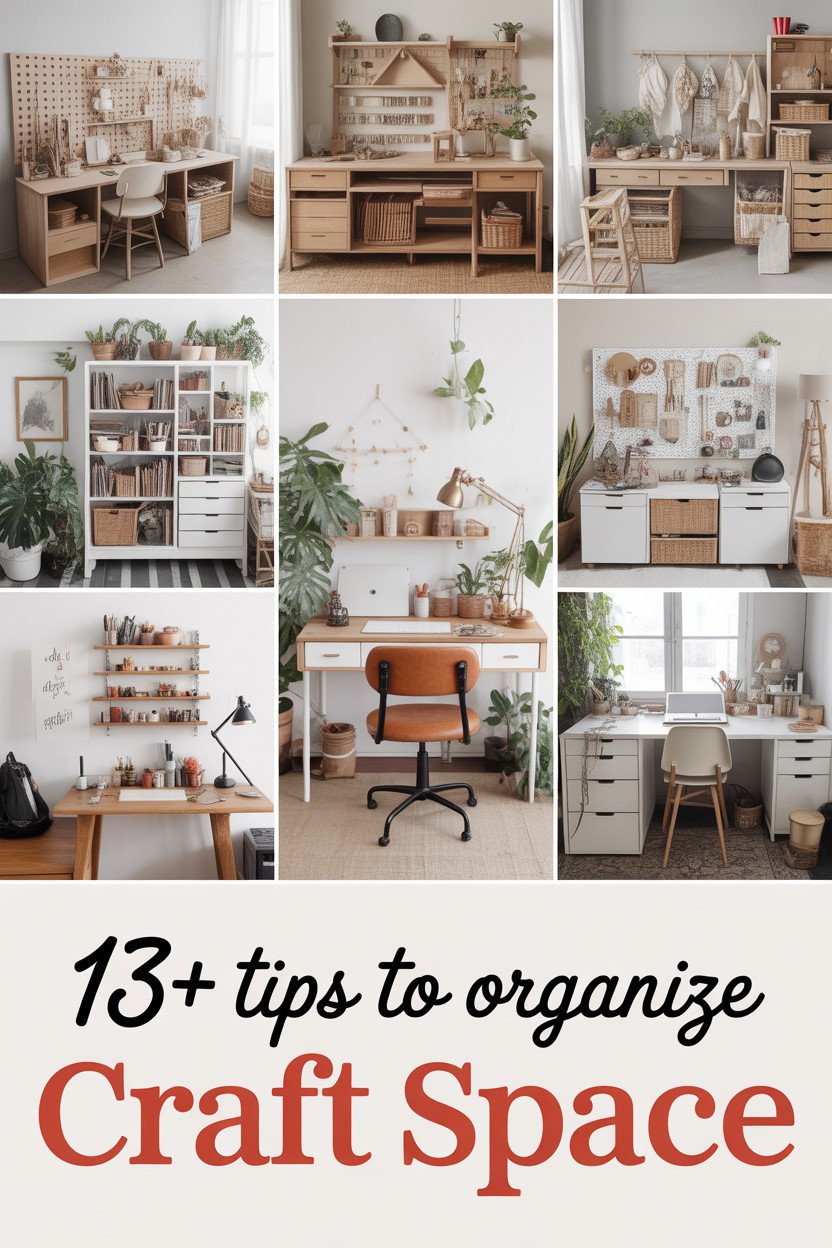
Imagine a space where creativity flows as smoothly as the organized tools around you. Picture the joy of finding every crafty item exactly when you need it. Your craft space can become this dreamland with just a few simple tweaks and ideas.
1. Shelving Heaven
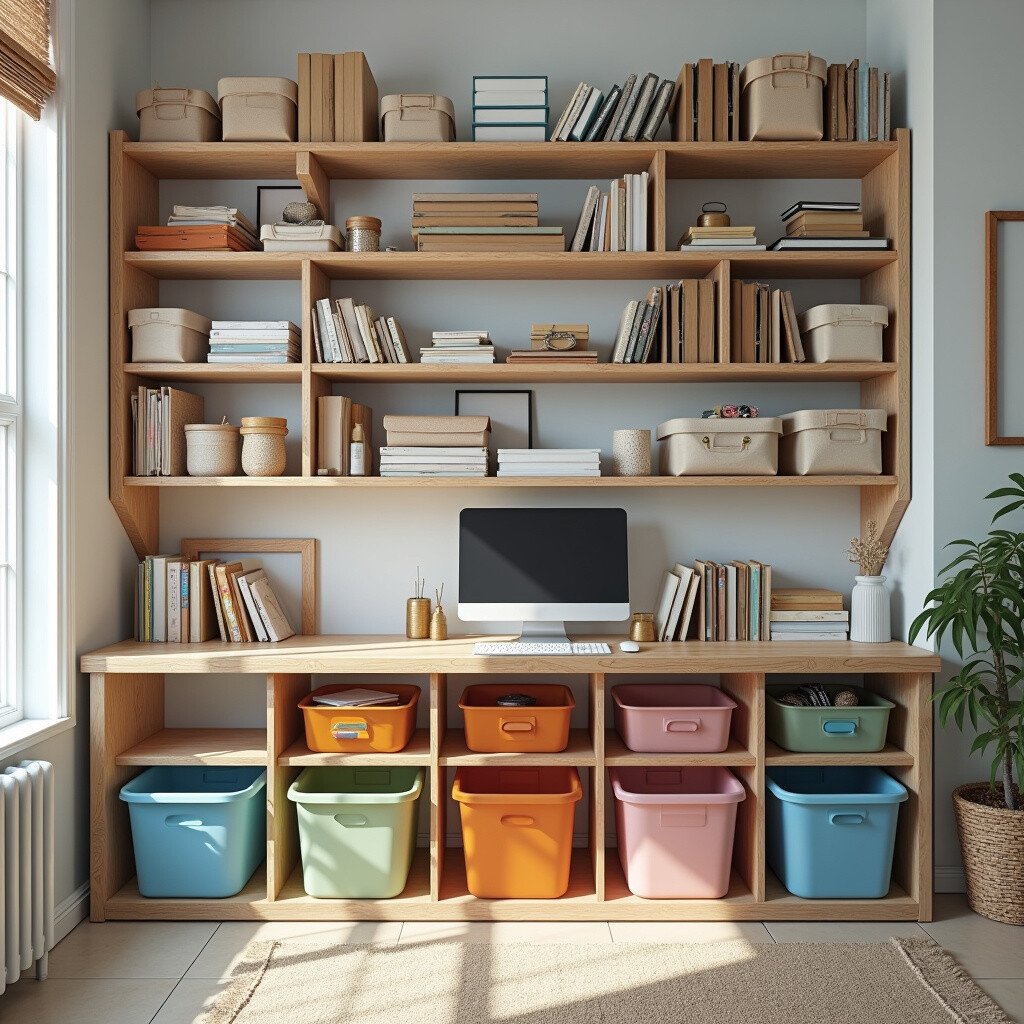
Stack your supplies up high with clever shelving. Use adjustable shelves to cater to your ever-changing inventory of materials. It’s like building a tower of creativity where everything has its place.
The real magic lies in the ability to see everything at a glance. No more digging through boxes! Plus, shelves can be a beautiful backdrop for your craft room, especially when you add a splash of paint. Consider using colorful bins to add a pop of color and personality.
2. Rolling Craft Carts
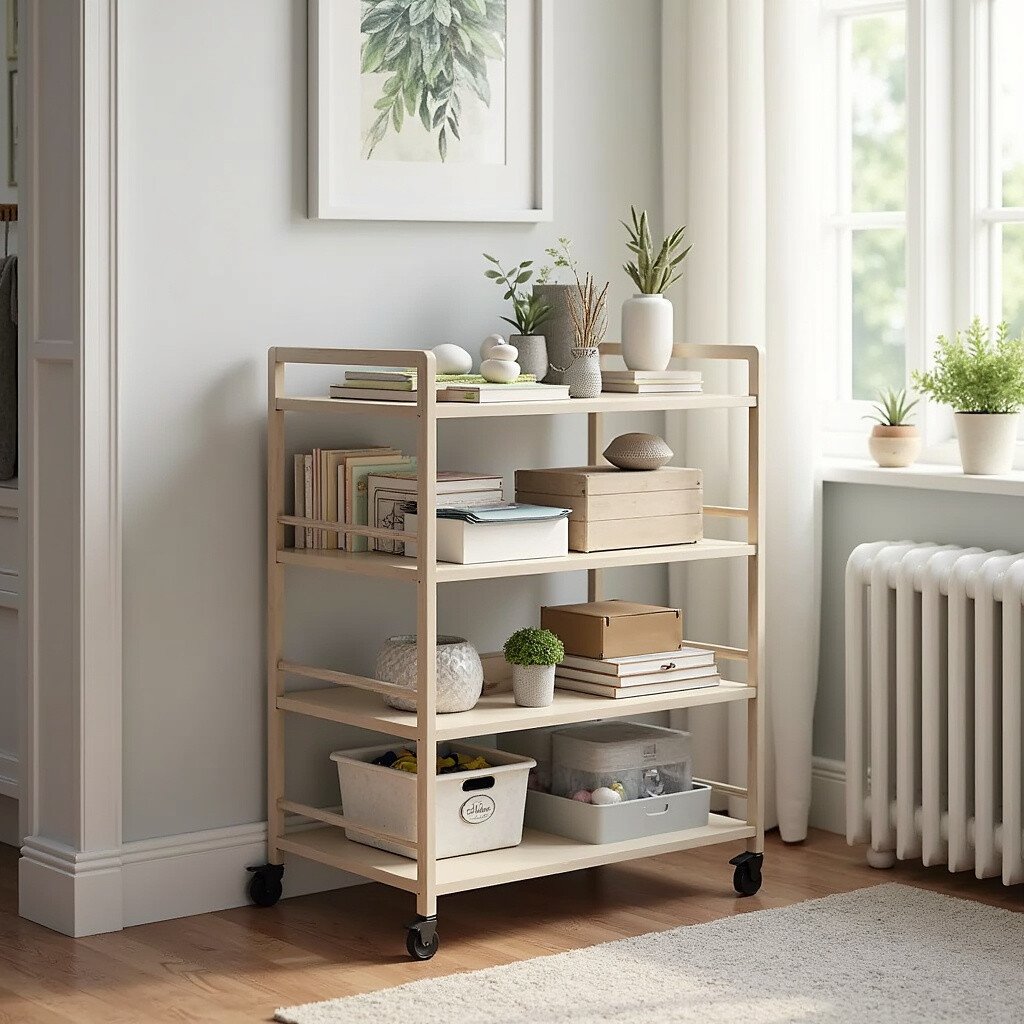
Meet the little carts that could! Rolling craft carts are the definition of flexibility, allowing you to move your supplies wherever your creative heart desires. Imagine having all your essentials right by your side, no matter where you are in the room.
Opt for a cart with multiple tiers to maximize your storage potential. Each tier can be dedicated to a different category, like paints, papers, or tools. The best part? They come in so many styles and colors, you can easily find one that matches your room decor.
3. Mason Jar Magic
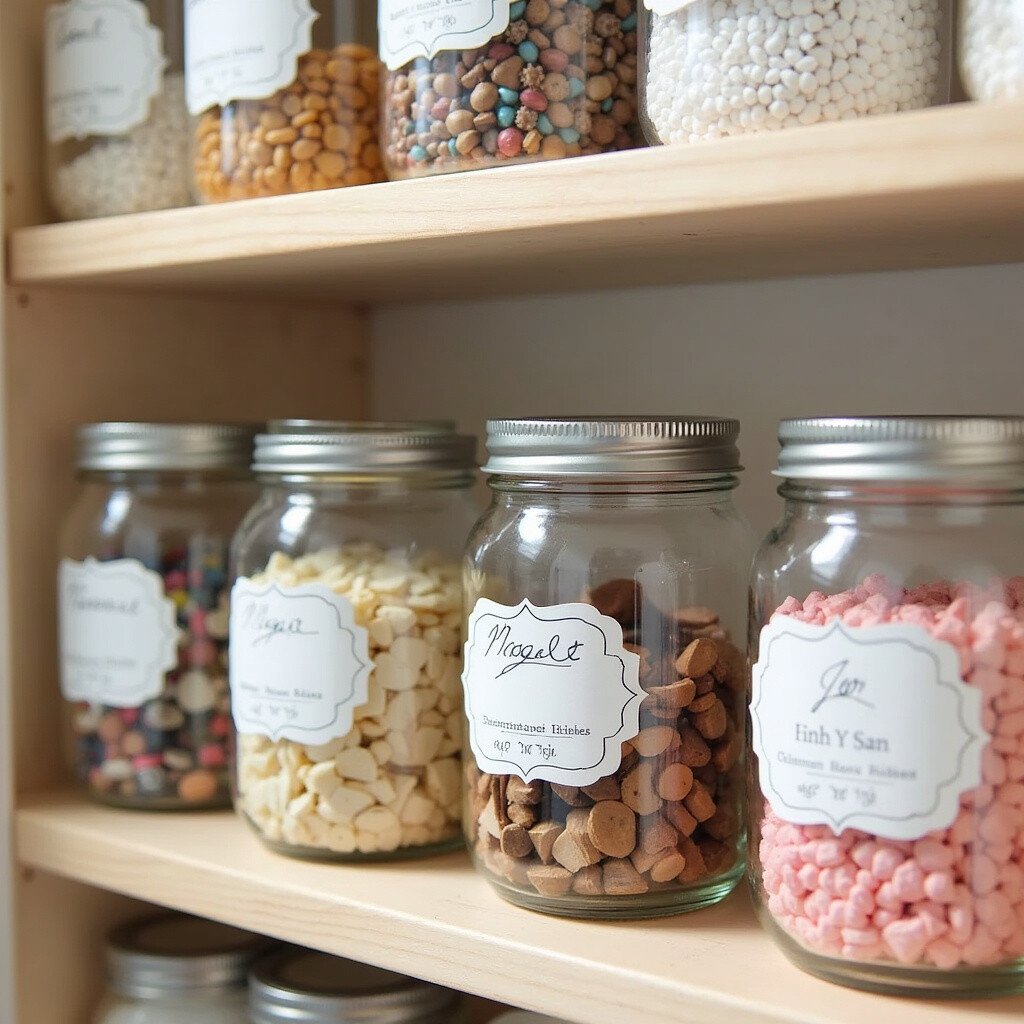
Mason jars aren’t just for pickles! They’re a fantastic way to store and display smaller items like buttons, beads, or even washi tapes. Clear jars let you see exactly what you have, and they’re easy to label.
Line them up on a shelf for a lovely aesthetic or hang them under a shelf using screw-on lids for extra space-saving magic. This method is super affordable and adds a touch of rustic charm to any room.
4. Pegboard Perfection
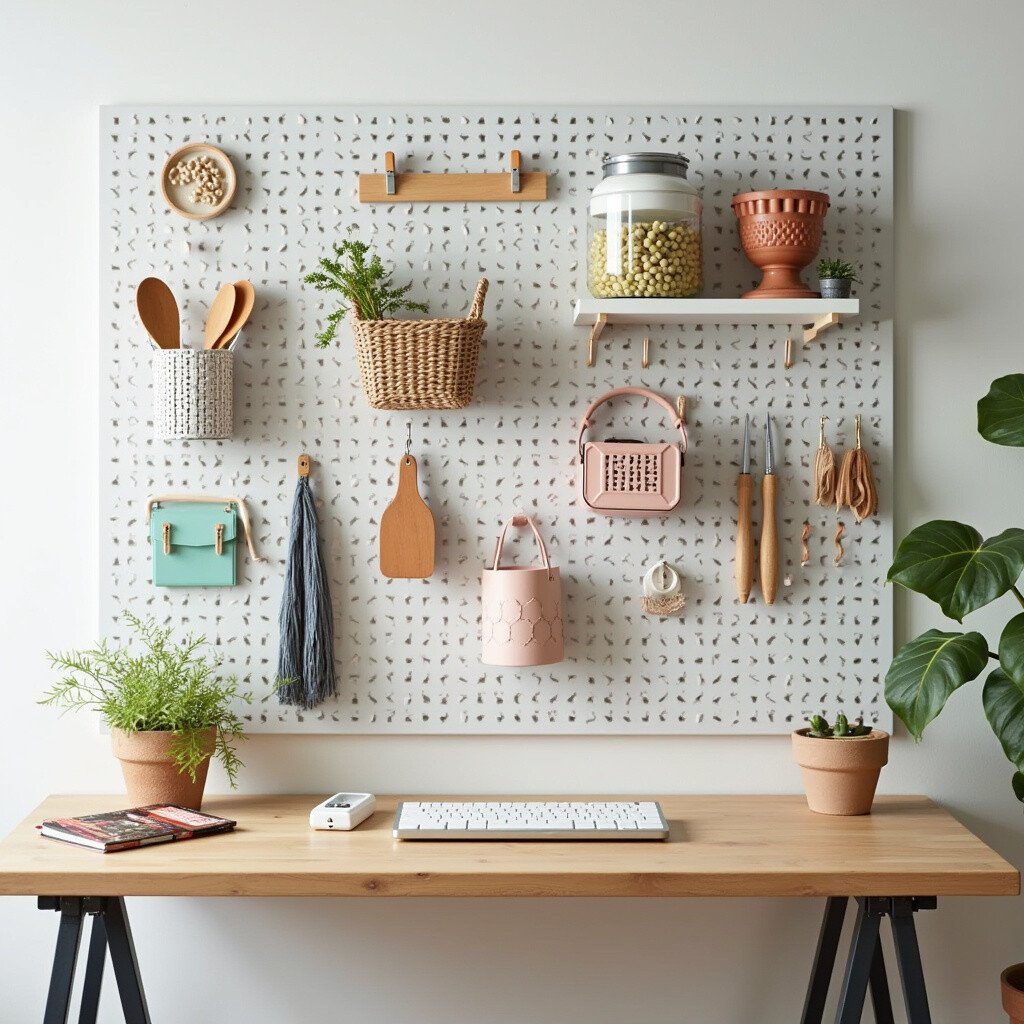
Pegboards are a craft room staple for good reason. They turn your walls into useful storage, freeing up precious desk space. Pegboards are like blank canvases themselves, ready to be customized with hooks, shelves, and baskets.
Arrange your tools and materials in a way that’s both functional and visually appealing. Paint the board a fun color to brighten up your space. It’s a great way to keep everything off your workspace and still within arm’s reach.
5. Drawer Dividers
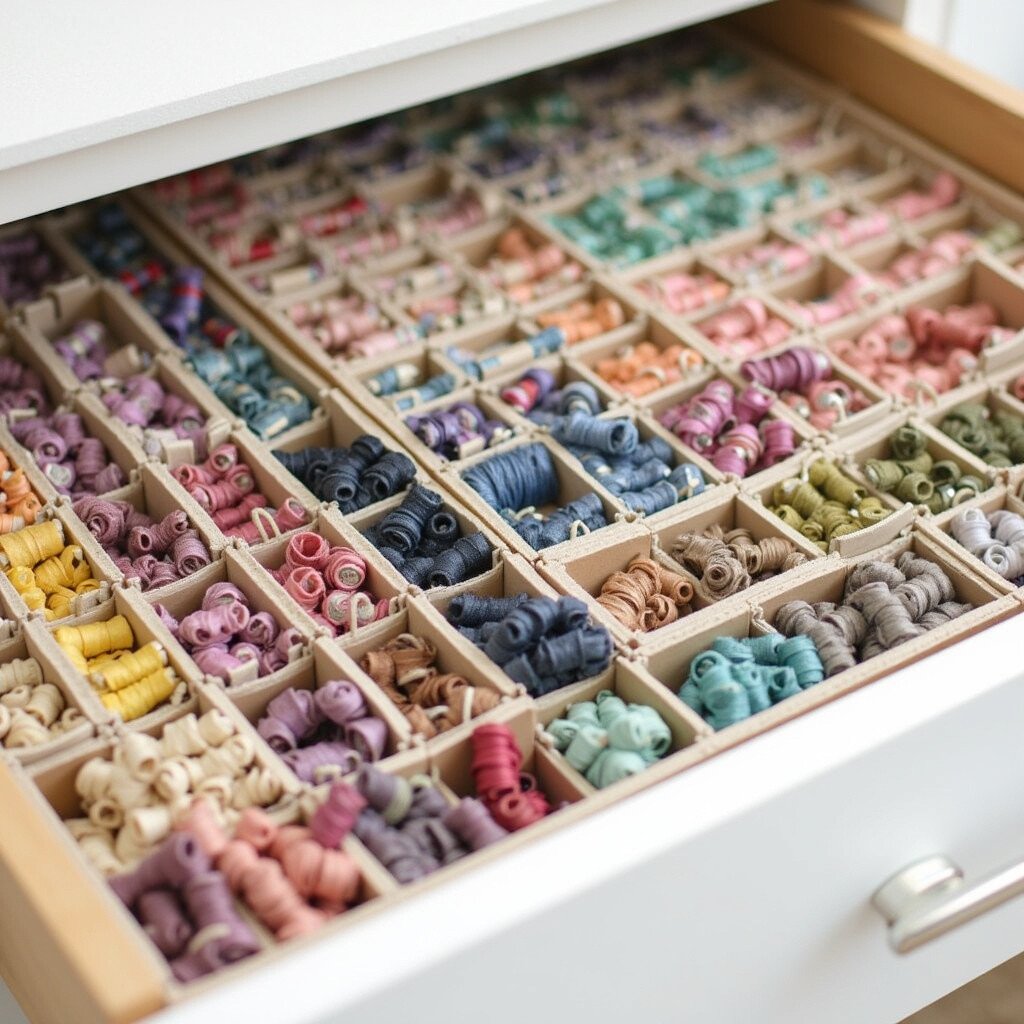
Transform chaos into calm with drawer dividers. These simple additions can change the way you store your supplies. Imagine opening a drawer and finding everything in its own little space, like magic.
Use them to separate threads, ribbons, or markers. The organization becomes effortless, and you’ll spend less time searching and more time creating. Plus, you can make your own dividers from recycled materials like cereal boxes for a budget-friendly option.
6. Label Love
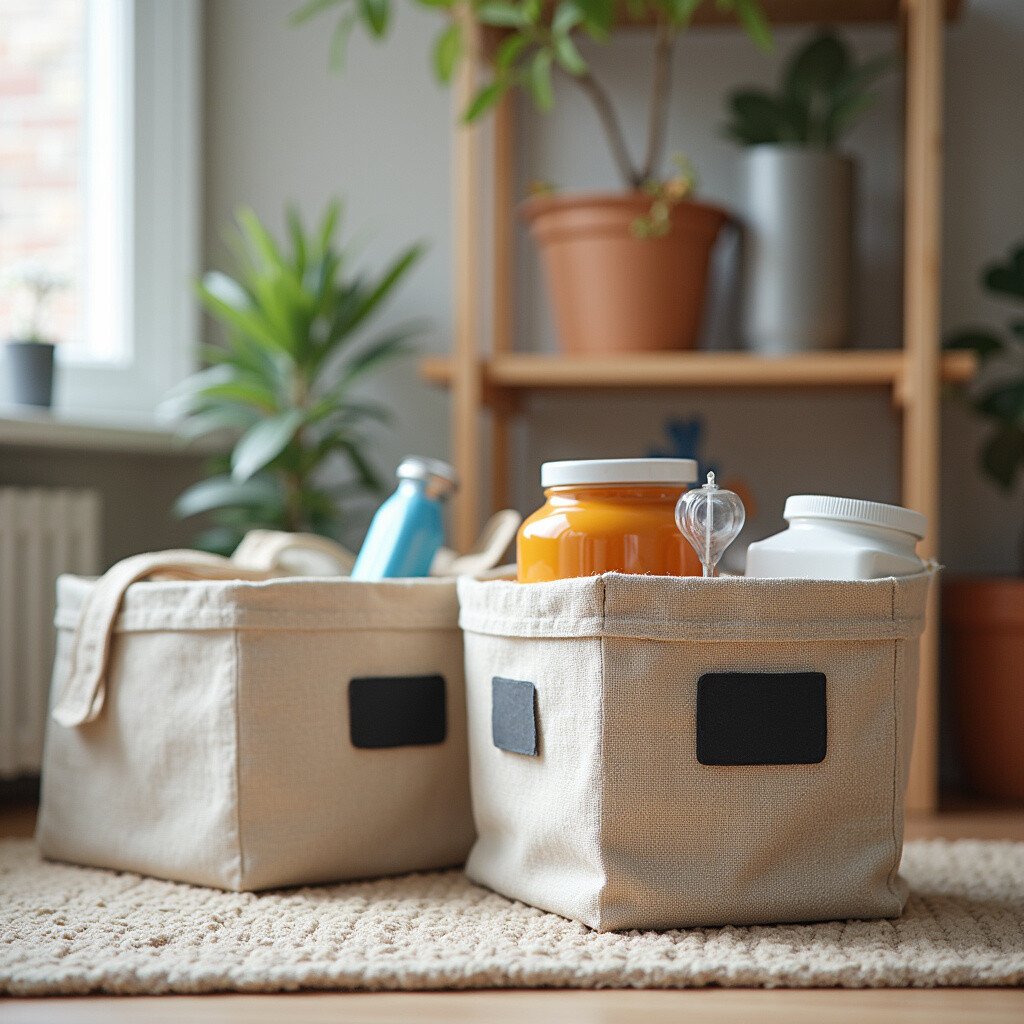
Labels are your best friend when it comes to organization. They turn clutter into neat, easy-to-find treasures. Labeling bins, boxes, and jars ensures you always know exactly where everything is.
Get creative with your labels—try using chalkboard labels for a changeable option or colorful sticker labels to categorize by color. This tiny touch can make a huge difference in how your space feels and functions.
7. Wall-Mounted Basket Bliss
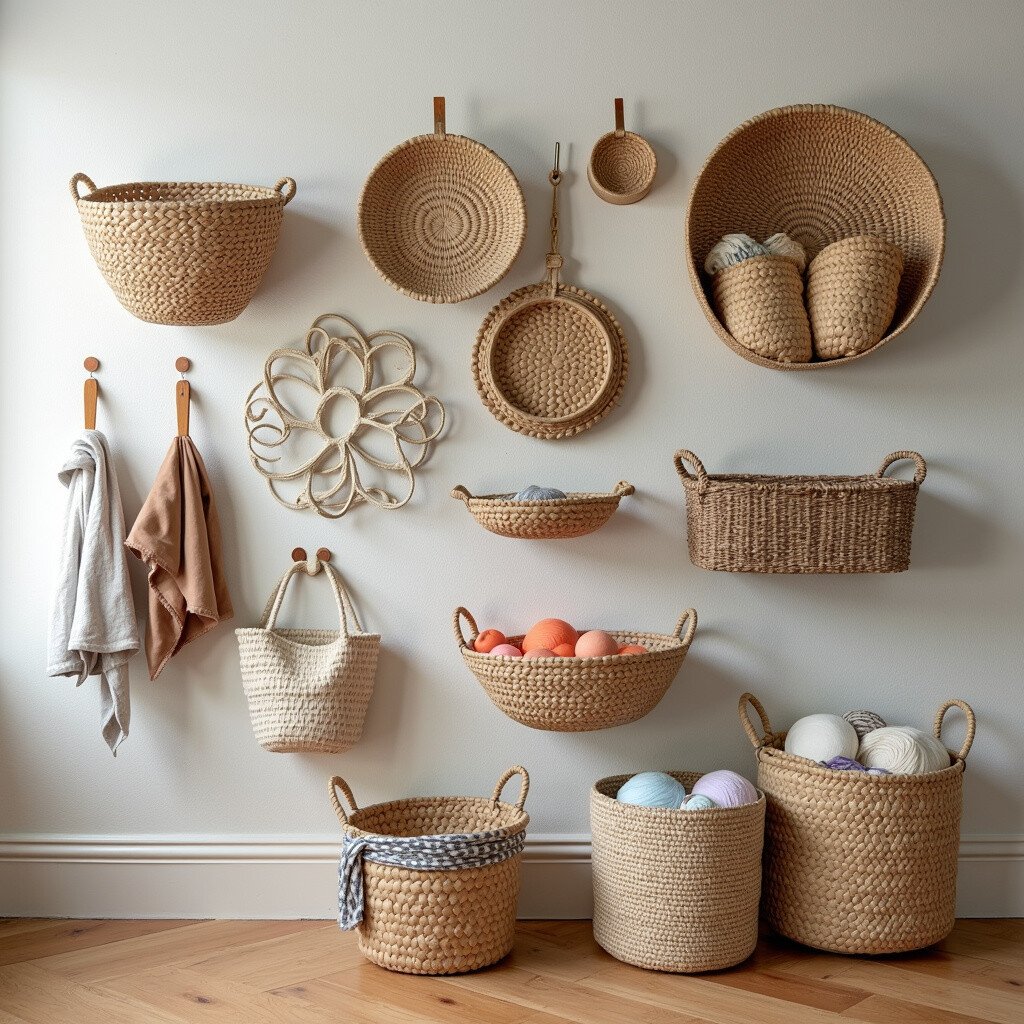
If floor space is at a premium, look to your walls! Wall-mounted baskets offer a stylish and practical solution for storing bulkier items. They’re perfect for yarn, fabric, or even tools you use frequently.
Choose baskets in different sizes and materials to add texture and interest to your walls. This method keeps items visible and accessible, and it can turn your supplies into a decorative feature.
8. Fold-Out Tables
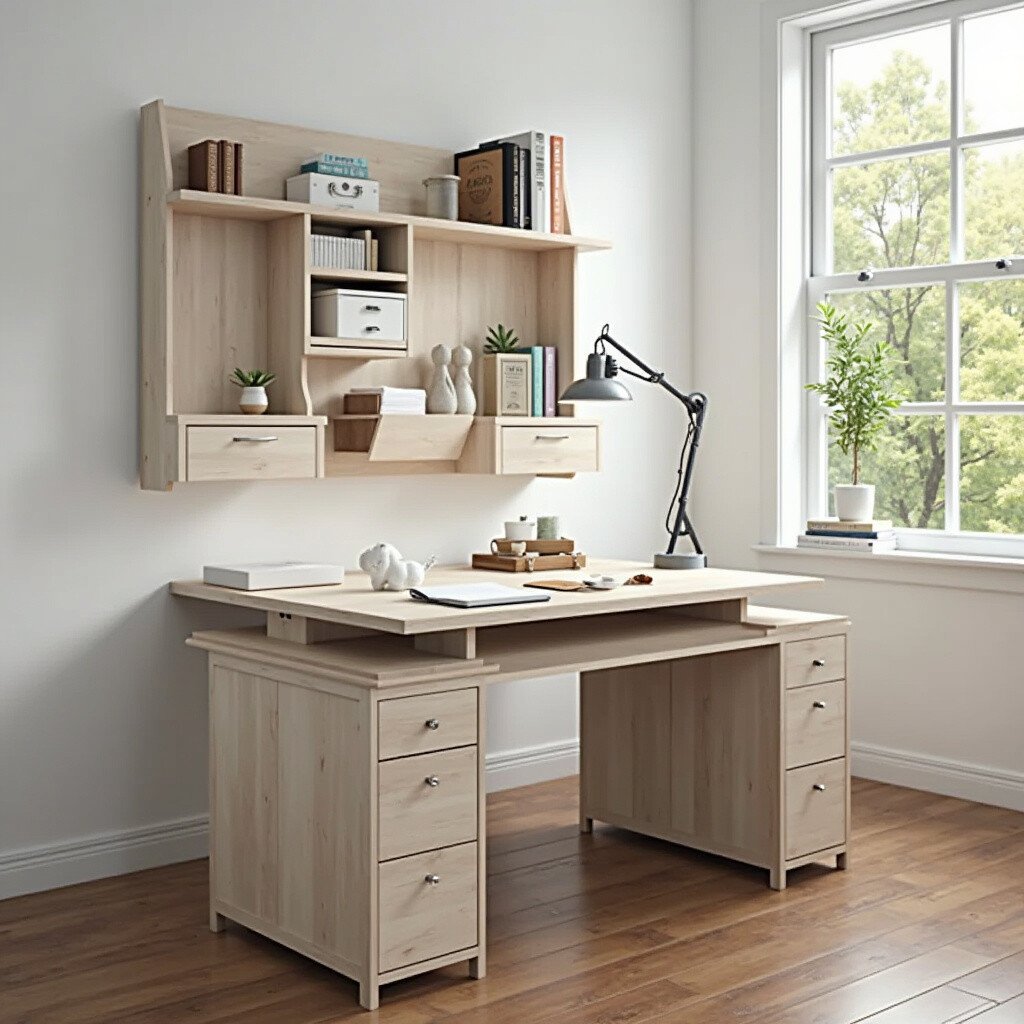
For those who need space to spread out but don’t have it to spare, fold-out tables are a lifesaver. They offer ample workspace when you need it and disappear when you don’t.
These tables are perfect for small spaces and can be mounted on walls or tucked into a corner. They’re also great for multi-purpose rooms where space must be shared. Look for tables with built-in storage for an added bonus.
9. Color Coordination
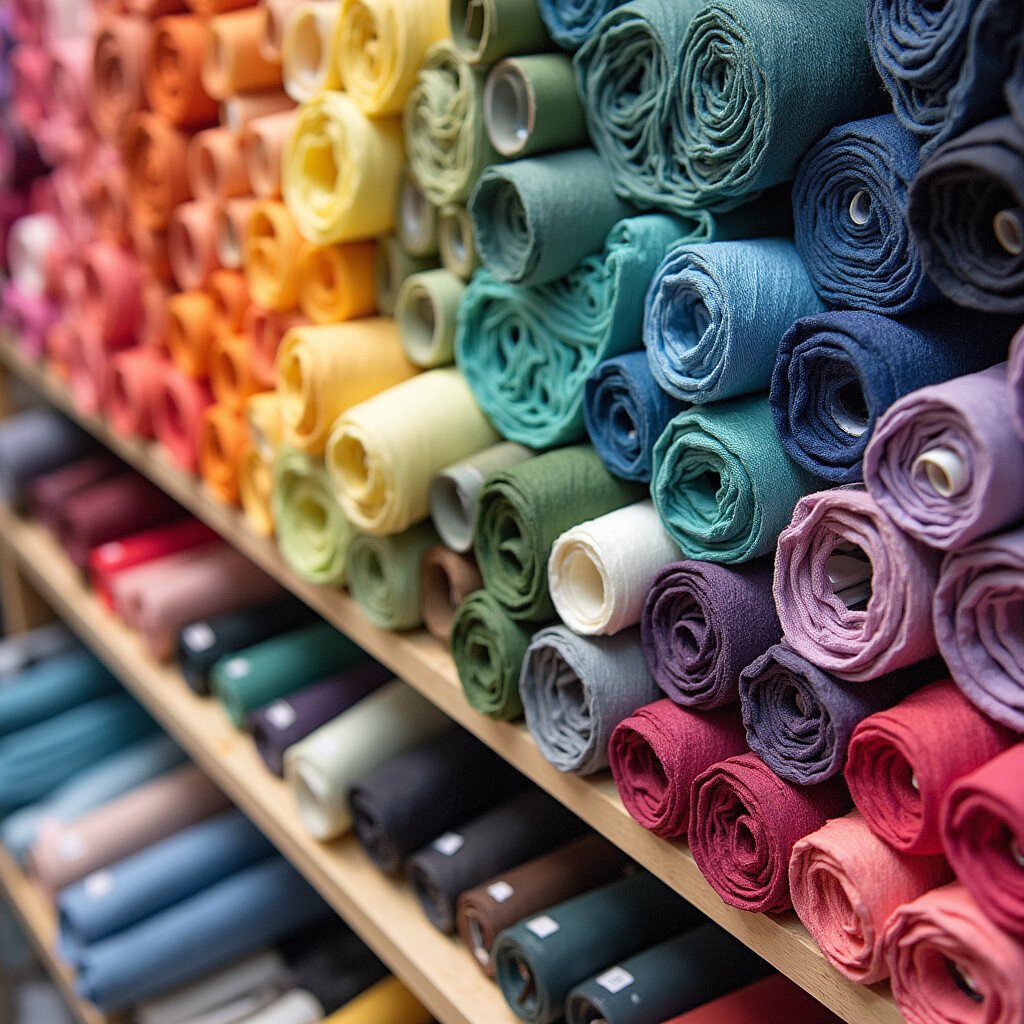
Organizing by color is not only visually appealing but also incredibly practical. Grouping items by color can help you find what you need faster and inspires creativity.
Try arranging your fabric, thread, or paper in rainbow order for a stunning effect. It feels like having a little piece of an art gallery right in your craft room. Plus, it’s a fun and easy way to personalize your space.
10. Magnetic Magic
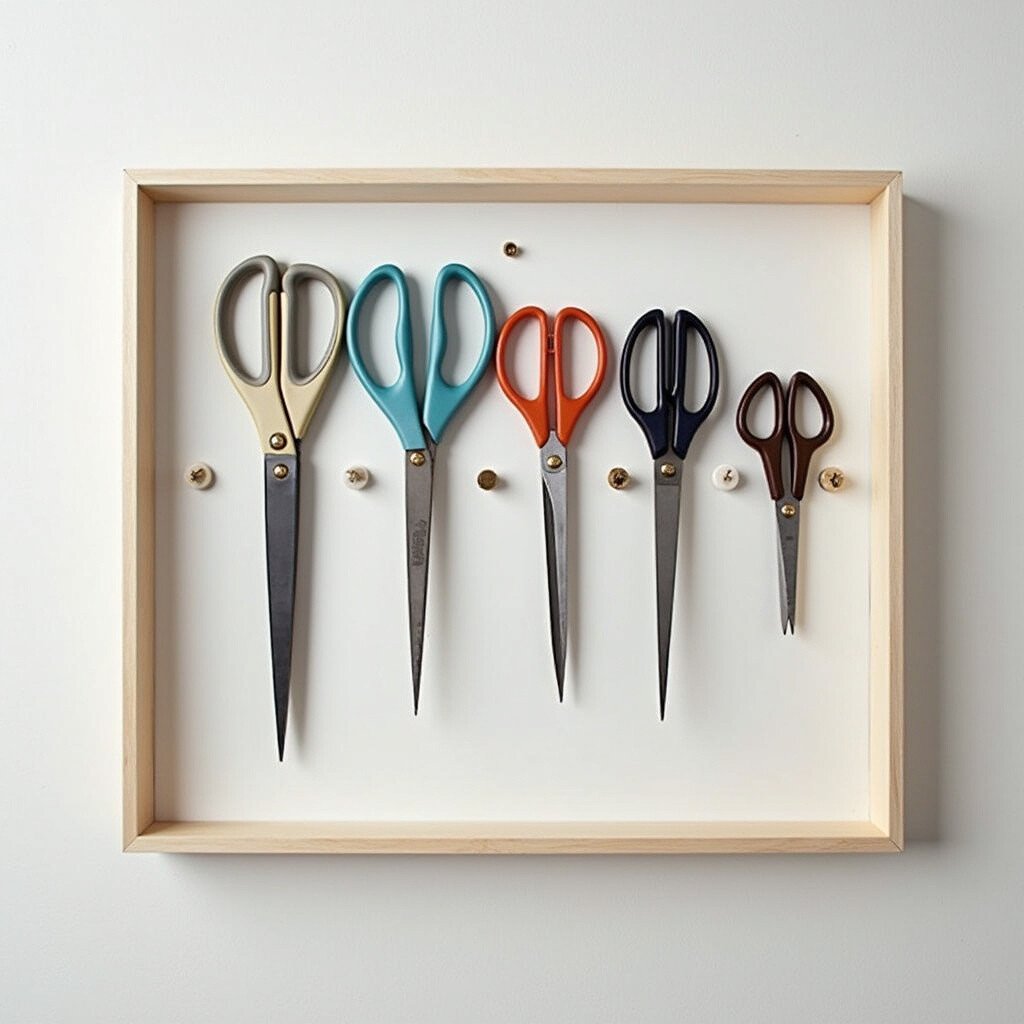
Put some magnetism into your organization with magnetic strips or boards. These are perfect for storing metal tools like scissors or pins, keeping them easily accessible yet out of the way.
Magnetic solutions are sleek and modern, adding a touch of techy charm to your craft area. They’re affordable and can be installed almost anywhere, making them a versatile choice for any space.
11. Clear Storage Containers
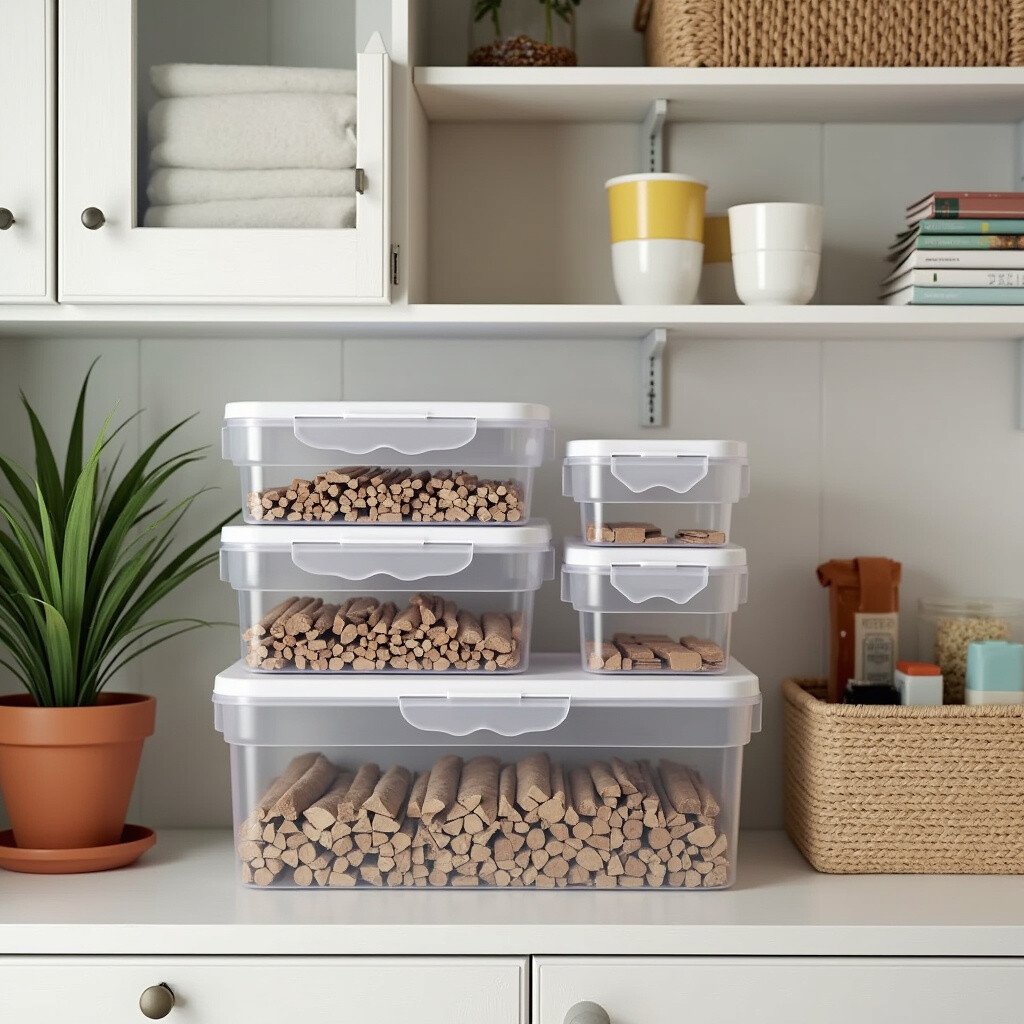
When it comes to finding what you need quickly, clear storage containers are a game changer. They allow you to see your supplies without opening every box, saving you time and effort.
Choose stackable containers to maximize vertical space. They come in various sizes to fit any shelf or corner, and they’re perfect for everything from fabric scraps to small embellishments.
12. Hooks and Hangers
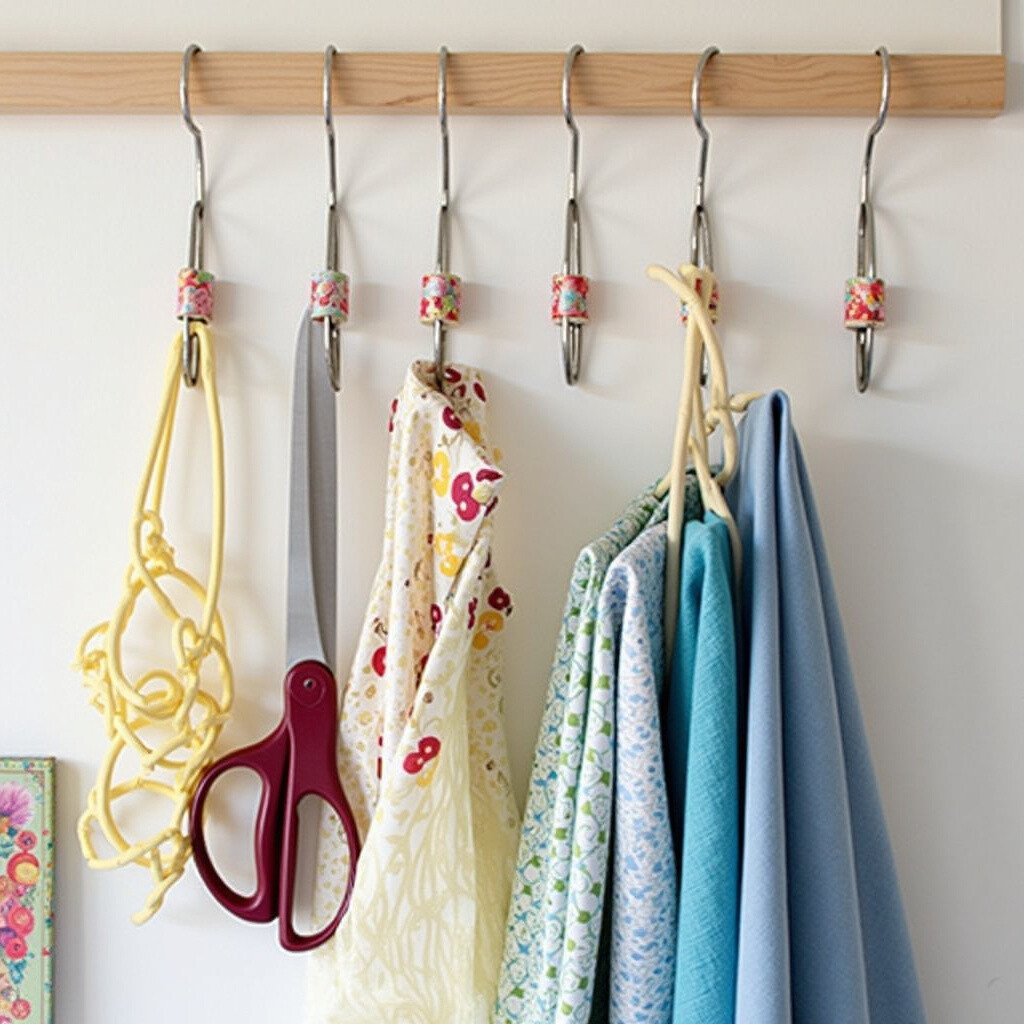
Don’t underestimate the power of a good hook or hanger! These little tools can make a big difference in keeping your craft space tidy. Use hooks to hang scissors, rulers, or even small baskets for extra storage.
Hangers can store fabric or ribbon, keeping them wrinkle-free and easy to access. This method is budget-friendly and can be tailored to fit any space or style.
13. DIY Bulletin Board
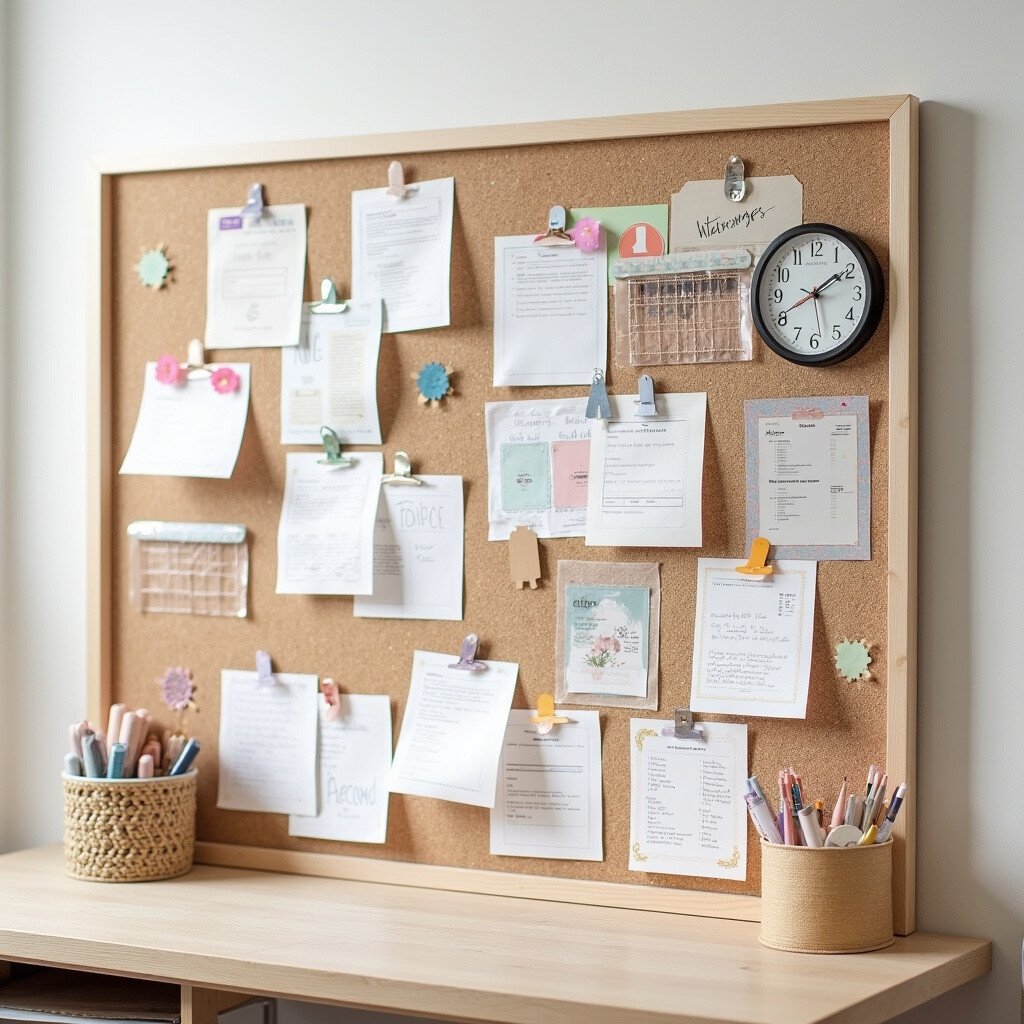
Create a command center with a DIY bulletin board. It’s a great way to keep track of projects, ideas, and inspiration all in one place. Use cork, fabric, or even metal as your base to pin everything you need.
This board can be as simple or elaborate as you like. Decorate it with washi tape or paint to match your decor, making it a functional and beautiful addition to your craft room.
14. Personalized Workstations
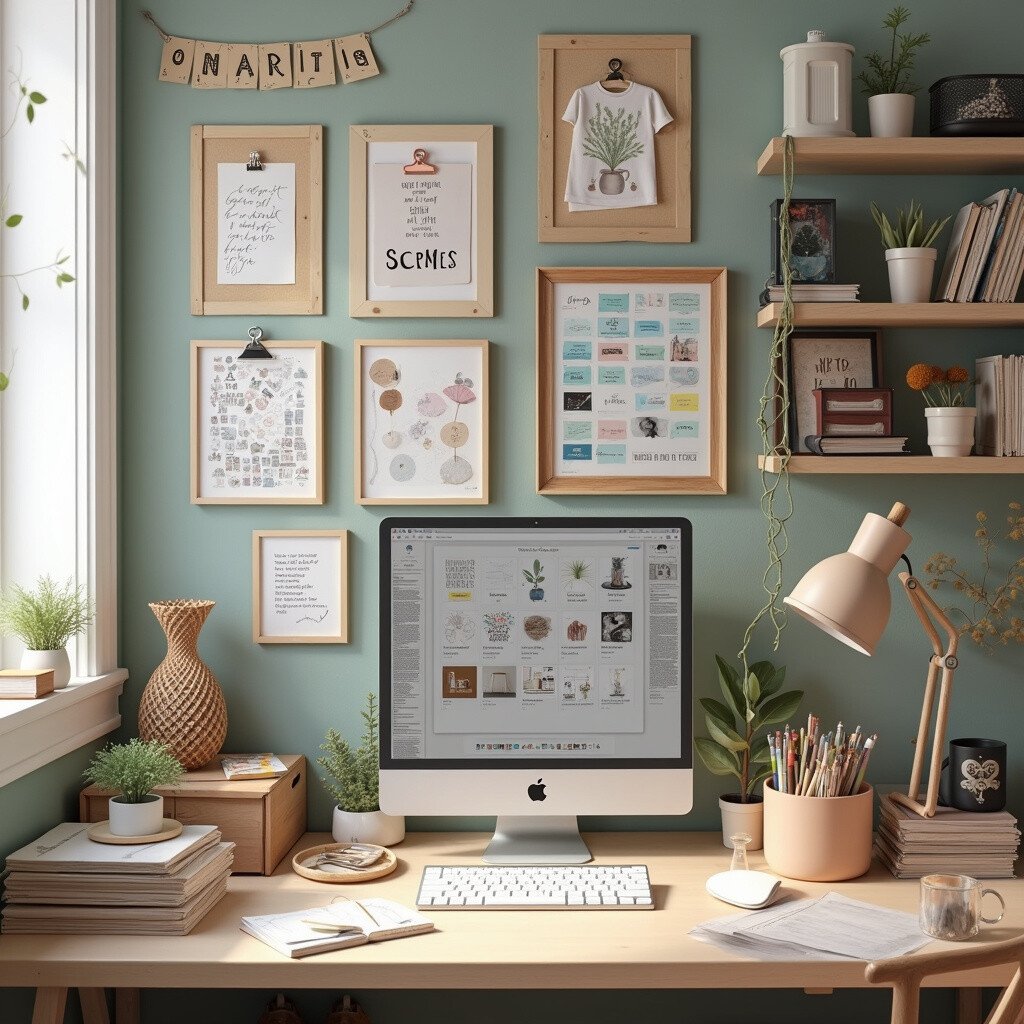
Crafting is personal, and your workspace should be too! Create a workstation that suits your unique needs and style. Consider what tools and materials you use most and make them the focus of your setup.
Add personal touches like photos, art, or your favorite quotes to inspire you. This is your space to express yourself, so make it a reflection of who you are. Personalization doesn’t have to be expensive; it’s all about what makes you feel at home.