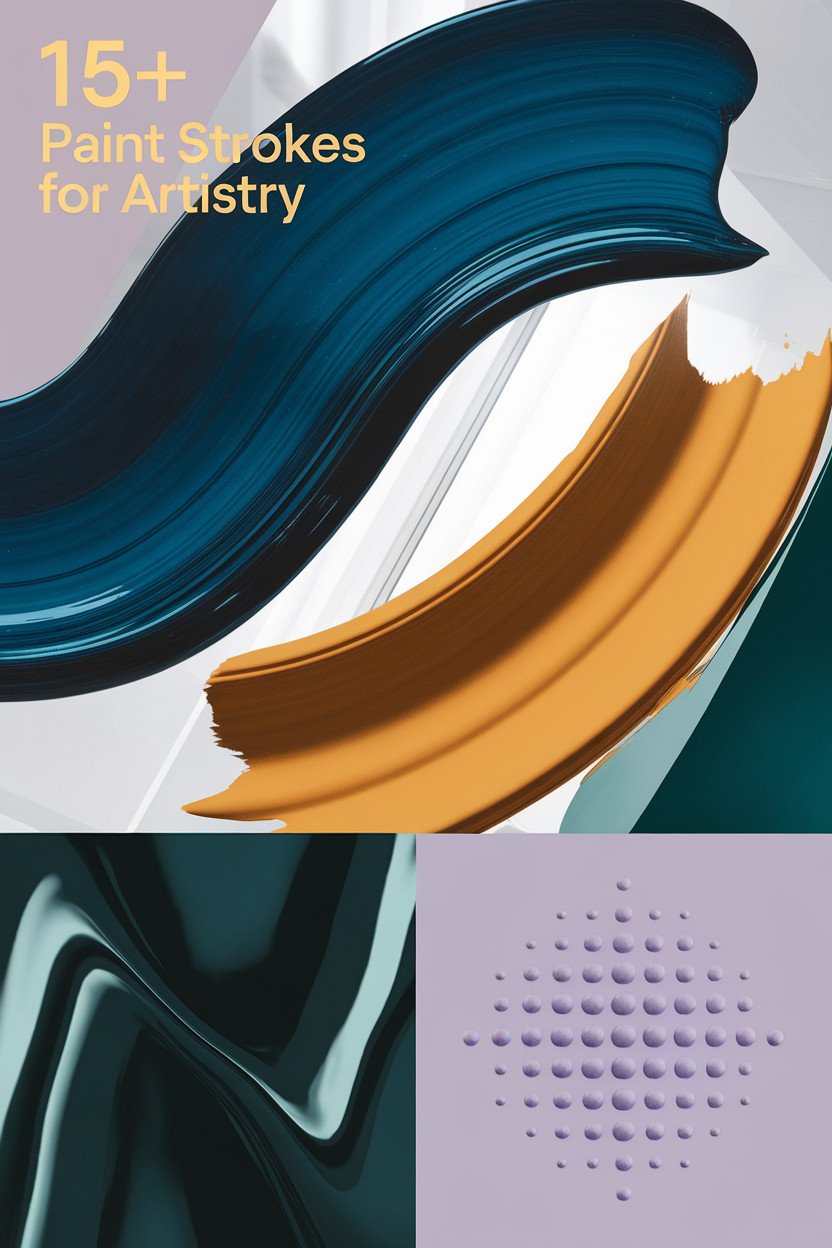
Art is a magical journey filled with colors, textures, and imagination. Whether you’re painting a masterpiece or just adding flair to your projects, the right techniques can make all the difference. Here are some vibrant paint strokes to spark your creativity and elevate your artistry.
1. Bold Brush Swipes
Top Bold Brush Swipes Craft Tutorials
- 👓 How to create bold brush strokes? : r/acrylicpainting from reddit.com.
- 🗺️ BIG BRUSH STROKES, Bold Botanical Art 🌿 from facebook.com.
- 🍁 Using the Bright Brush for Bold Strokes: Techniques … from urartstudio.com.
- 🧑🌾 bold brush strokes from arrachmeart.com.
- 👓 How to Paint Looser: Mastering Brushwork Techniques for … from willkempartschool.com.
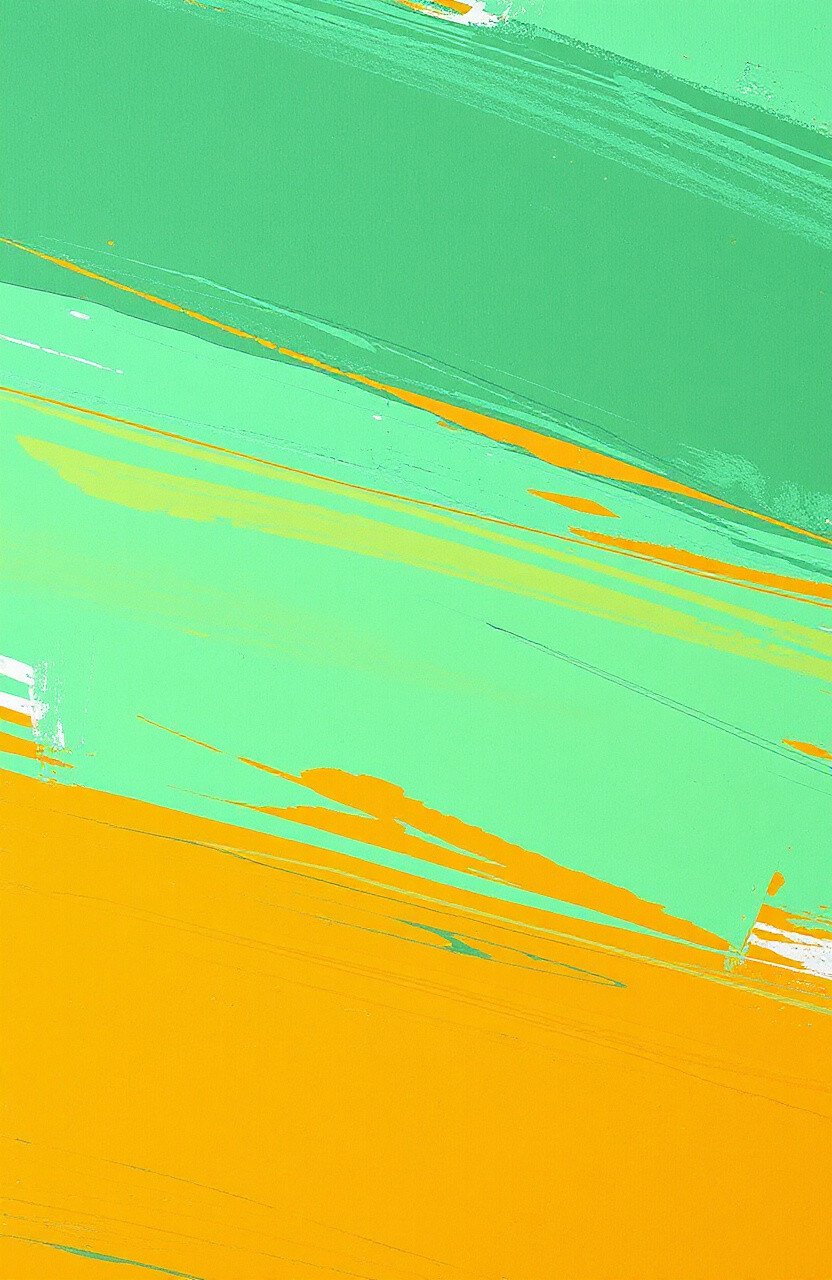
Imagine a single, confident stroke across the canvas. Bold brush swipes are all about making a statement. This technique uses wide, sweeping motions to create a strong presence.
Perfect for backgrounds or focal points, these strokes can fill large spaces quickly. They bring an element of drama and movement to your artwork. Try using a large flat brush and load it with paint, then sweep across your canvas with confidence.
With bold swipes, you can capture the viewer’s attention instantly. It’s a great way to express emotion or highlight a central theme. Plus, it’s cost-effective since you use less paint for maximum impact.
2. Soft Feathering
Top Soft Feathering Craft Tutorials
- 🗺️ Feather – Minecraft Wiki – Fandom from minecraft.fandom.com.
- 🍂 Feather Craft for Kids: How to Make Fancy Feathers from babbledabbledo.com.
- 🗺️ Feather Soft Mini Craft Feathers – Yellow (Single Pack) from inkarto.com.
- 🍂 Feathers for Crafting, 100PCS Craft Feathers Colourful … from amazon.ca.
- 🖼️ 2m Feather Boas Fluffy Craft | Turkey … from aliexpress.com.
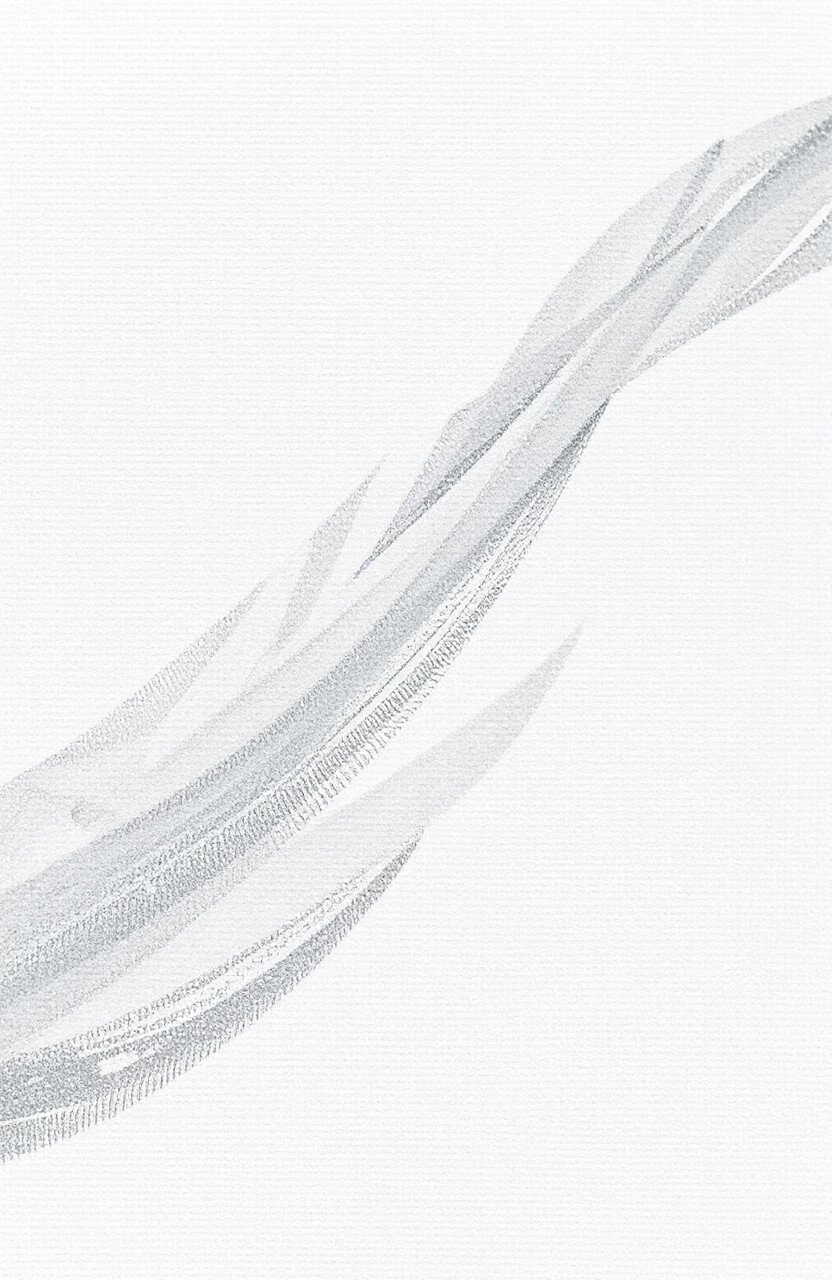
Soft feathering is like a gentle whisper on your canvas. This stroke creates a delicate, airy effect that feels almost ethereal. It’s like painting with a breeze.
Use a fan brush or a soft-bristled brush to create this effect. Lightly dab and drag the brush to form soft, overlapping strokes. It’s perfect for creating soft clouds or blending colors seamlessly.
Feathering adds a touch of elegance and subtlety to your work. It’s a favorite among artists who love to create dreamy landscapes or portraits. Plus, it’s budget-friendly and easy to master with a little practice.
3. Stippled Dots
Top Stippled Dots Craft Tutorials
- 🧑🌾 How To Create A Brush Stroke Painting from smilingcolors.com.
- 🍅 DIY brush stroke art from cuckoo4design.com.
- 🎄 Tips for new painters? Just using primer and brushing … from reddit.com.
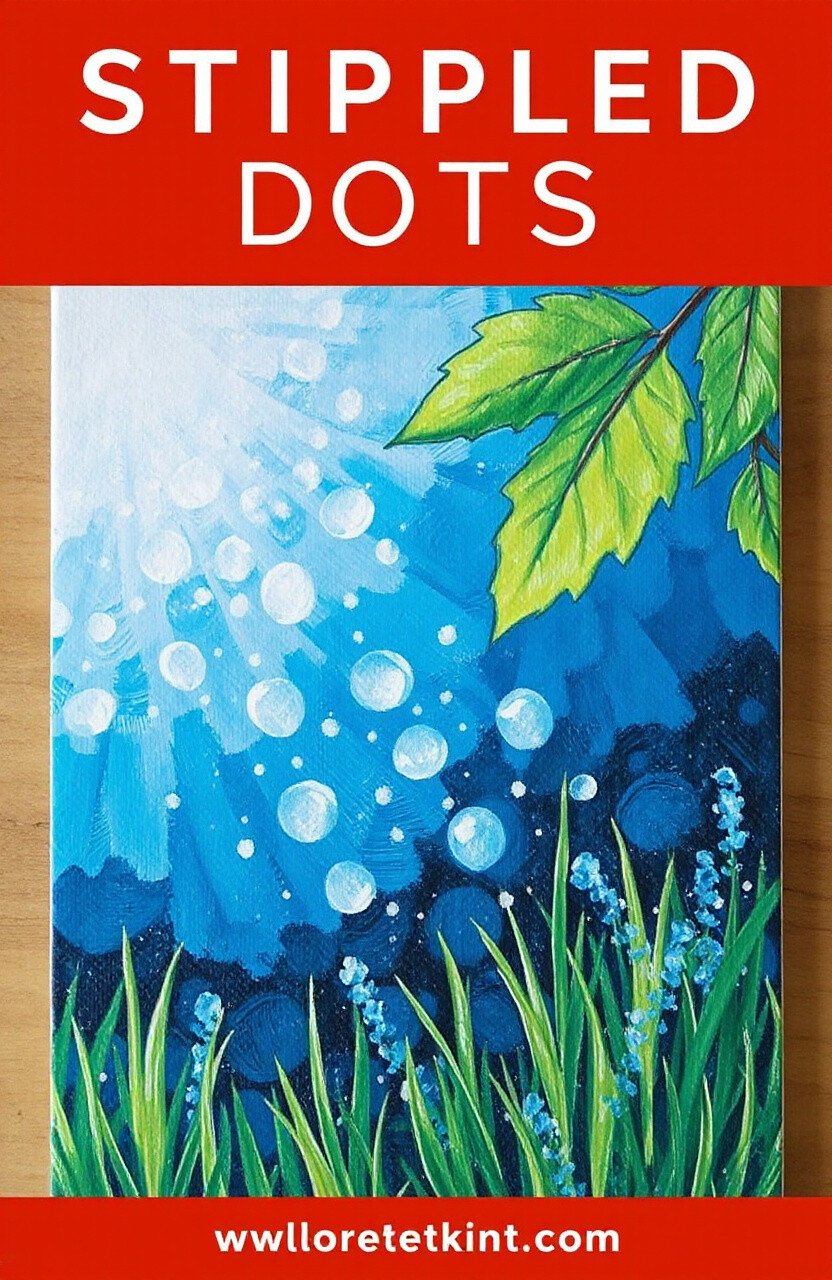
Stippling is like creating a world of tiny stars on your canvas. Each dot adds texture and depth, turning simple scenes into intricate wonders.
Use a small round brush or even a toothbrush to apply the paint in small dots. This technique is great for creating texture in nature scenes, like leaves or grass.
Every dot builds up the detail and brings vibrancy to your work. Stippling is a fun, meditative process that requires patience but yields stunning results. Plus, it’s an inexpensive way to add texture without extra materials.
4. Dynamic Dry Brushing
Dry brushing is all about texture and excitement. With minimal paint and a dry brush, you can create a rugged, textured look that feels dynamic.
Perfect for adding highlights or creating a weathered effect, dry brushing brings a tactile quality to your art. Use it for creating the look of bark on trees or the texture of rough stone.
This technique is budget-friendly, as it uses less paint. It’s a great way to add depth and interest without overwhelming your canvas.
5. Graceful Glazing
Top Graceful Glazing Craft Tutorials
- 🧑🌾 How To Create A Brush Stroke Painting from smilingcolors.com.
- 🖼️ DIY brush stroke art from cuckoo4design.com.
- 🧑🌾 Painting Brushstrokes for Beginners | Kids – Nature of Art from ecokidsart.com.
- 🍅 Tips for new painters? Just using primer and brushing … from reddit.com.
Glazing is like adding layers of magic to your art. It involves applying thin, translucent layers of paint over dried layers to create depth and richness.
Use a soft brush and a glaze medium to mix with your paint. Apply thin layers and let each one dry before adding the next. This technique is perfect for creating luminous skin tones or enhancing colors in landscapes.
Glazing adds a sophisticated touch to your art and allows for endless customization. Though it requires patience, the results are worth it, and it’s cost-effective since you use very little paint.
6. Captivating Crosshatching
Top Captivating Crosshatching Craft Tutorials
- 🧑🌾 Learn to Use Cross-Hatching to Create Texture and Depth … from blog.youtalent.com.
- 🗺️ 14 Drawing Techniques Every Artist Should Know from discountartncraftwarehouse.com.au.
- 🖼️ Exploring Cross Hatching Techniques in Drawing from lemon8-app.com.
- 🗺️ What is hatching & cross-hatching in art? from facebook.com.
- 🖼️ Cross-hatching Mania this week back in the studio, with a … from instagram.com.
Crosshatching involves overlapping lines to create shading and texture. It’s like weaving a tapestry with your brush.
Use a fine brush or pen to draw lines in one direction, then cross them with lines in another direction. This technique is great for adding dimension and detail to any part of your artwork.
Crosshatching is a classic technique that artists love for its versatility and effectiveness. It adds a sense of realism and can be done with minimal materials, making it both easy and affordable.
7. Energetic Splattering
Top Energetic Splattering Craft Tutorials
- 🗺️ Splatter Brushes: Creating Dynamic Effects for Energetic … from urartstudio.com.
- 🎄 Easy Rubber Band Splatter Painting to Make with Your … from handsonaswegrow.com.
- 🖼️ Captivating Splatter Painting in the Woods from lemon8-app.com.
- 👓 Rcraft™ Paint Splatter Craft Vinyl – Lovers Spat from rvinyl.com.
- 🎄 Diamond Art Kit for Adults, Colorful Energetic Dog Splatter … from walmart.com.
Splattering is all about controlled chaos and adding energy to your art. It’s like a burst of fireworks on your canvas.
Use a brush or toothbrush to flick paint onto your canvas. Protect areas you want to keep clean, and let your creativity fly. It’s perfect for creating stars in a night sky or adding a splash of color to a background.
This technique is spontaneous and fun, adding a sense of movement and excitement. It’s also very budget-friendly, using small amounts of paint for big effects.
8. Elegant Edge Blending
Top Elegant Edge Blending Craft Tutorials
- 🧑🌾 Elegant Edge Tag Topper Punch: 2 Exciting & Clever Card … from simplysimplestamping.com.
- 🧑🌾 Blending Craft With Modern Glam: 3 Homes That Honour … from designpataki.com.
- 🍅 Elegant Edge Catering Co. (@elegantedgecateringcompany) from instagram.com.
- 👓 What paint to use to blend edges of paper? from facebook.com.
Edge blending is a gentle way to transition between colors. It’s like a soft embrace, melding hues seamlessly together.
Use a clean, damp brush to softly blend the edges of two colors. This technique is ideal for creating smooth gradients, such as in skies or waterscapes.
Blending adds a professional touch to your work and enhances its realism. It requires minimal materials and a bit of practice, making it a cost-effective way to improve your skills.
9. Intricate Impasto
Top Intricate Impasto Craft Tutorials
- 🎄 How To Create A Brush Stroke Painting from smilingcolors.com.
- 🗺️ DIY brush stroke art from cuckoo4design.com.
- 🗺️ Annet LovART ONE STROKE PAINTING from youtube.com.
Impasto is all about texture and boldness. It’s like sculpting with paint, creating a three-dimensional effect on your canvas.
Use a palette knife or a thick brush to apply paint in layers. This technique is perfect for adding texture to flowers or creating dramatic, expressive pieces.
Impasto adds depth and interest, inviting viewers to experience your art in a tactile way. It may require more paint, but the impact is often worth the investment.
10. Mesmerizing Marbleizing
Top Mesmerizing Marbleizing Craft Tutorials
- 🎨 Glow in The Dark Marble Paint Kit for … from walmart.com.
- 💅 Creative Marbling Techniques: Fun Projects for Kids from eurokidsindia.com.
- 🖼️ The Best Marbling Kits for Creating Mesmerizing Patterns from artnews.com.
- 👓 Joyfy Marbling Paint for Kids, Paint Art Kit with Glitter Paint … from target.com.
Marbleizing creates a swirling, fluid effect, like looking into a pool of colors. It’s a dance of pigments that captivates the eye.
Use a comb or stick to swirl colors together on a wet surface. This technique is great for creating abstract backgrounds or adding a touch of fantasy to your work.
This method is trendy and versatile, allowing for endless color combinations. It’s a fun way to experiment and create unique pieces on a budget.
11. Delicate Dabbing
Top Delicate Dabbing Craft Tutorials
- 🗺️ Painting Brushstrokes for Beginners | Kids – Nature of Art from ecokidsart.com.
- 🖼️ How To Create A Brush Stroke Painting from smilingcolors.com.
- 🧑🌾 How to Paint Looser: Mastering Brushwork Techniques for … from willkempartschool.com.
- 🍅 How to Paint Expressive Brush Strokes from kelliedayart.com.
- 🗺️ How to Loosen Up With Bold Brushstrokes from milanartinstitute.com.
Dabbing is like painting with a sponge, adding texture and depth with each tap. It’s perfect for creating natural textures.
Use a sponge or a brush to dab paint onto your canvas, creating layers of texture. This technique is wonderful for foliage or rough surfaces.
Dabbing adds dimension and interest, making your art come alive. It’s a simple and affordable technique that can transform any piece.
12. Playful Pointillism
Top Playful Pointillism Craft Tutorials
- 🖼️ How To Create A Brush Stroke Painting from smilingcolors.com.
- 🗺️ DIY brush stroke art from cuckoo4design.com.
- 🧑🌾 Painting Brushstrokes for Beginners | Kids – Nature of Art from ecokidsart.com.
- 🍁 Tips for new painters? Just using primer and brushing … from reddit.com.
Pointillism is like painting with tiny dots, creating vibrant images from a distance. It’s a dance of colors that merge in the viewer’s eye.
Use a fine brush or pen to apply tiny, distinct dots of color. This technique is excellent for creating detailed images with a unique style.
Pointillism is engaging and rewarding, allowing for creative expression and precision. It’s a low-cost technique that relies on patience and a steady hand.
13. Radiant Ragging
Top Radiant Ragging Craft Tutorials
- 🖼️ How To Create A Brush Stroke Painting from smilingcolors.com.
- 🎄 How to Paint Looser: Mastering Brushwork Techniques for … from willkempartschool.com.
- 🖼️ DIY brush stroke art from cuckoo4design.com.
- 🎄 How to Paint Expressive Brush Strokes from kelliedayart.com.
- 💅 GET THE LOOK – PAINT STROKE NAIL ART from twentypro.co.uk.
Ragging involves using a cloth to apply or remove paint, creating subtle textures and patterns. It’s like crafting with fabric on your canvas.
Use a rag dipped in paint or a clean one to lift paint off, creating interesting patterns and textures. This technique is great for creating clouds or soft backgrounds.
Ragging adds a unique, handcrafted touch to your art. It’s a creative and inexpensive way to add depth and interest to any piece.
14. Whimsical Wet-on-Wet
Top Whimsical Wet-on-Wet Craft Tutorials
- 🧑🌾 This is a whimsical piece that I love as my favorite. from facebook.com.
- 🎄 Three More Wet-in-Wet Birds from dianeantone.com.
- 🎨 How to Paint Whimsical Watercolor Leaves from thecozyartteacher.com.
- 👓 Atmospheric painting style with whimsical elements from facebook.com.
Wet-on-wet is a fluid, expressive technique where colors blend and flow together. It’s like painting with watercolors, even with oils or acrylics.
Apply wet paint to a wet surface and watch colors merge and mix. This technique is ideal for creating soft backgrounds or expressive landscapes.
Wet-on-wet is liberating and spontaneous, encouraging creativity and experimentation. It’s a cost-effective way to create beautiful, blended effects.
15. Textured Tapping
Top Textured Tapping Craft Tutorials
- 🍁 creste DIY Texture Art Kit for Kids and Adults | Canvas … from amazon.in.
- 🍁 Textured Globe Craft from craftsbyamanda.com.
- 🍂 Magic Puffy Paint, DCTIWES 41Pcs Magic Foam Texture … from amazon.ca.
- 🍂 fine art from clickbackdrops.co.uk.
- 🧑🌾 fine art Archives from clickbackdrops.co.uk.
Tapping is about adding texture with lively, rhythmic movements. It’s like drumming on your canvas, each tap adding personality.
Use a stiff brush or sponge to tap paint onto your surface, creating lively, textured patterns. It’s perfect for adding details to landscapes or abstract pieces.
This technique is fun and energetic, bringing vibrancy and texture to your work. It’s an affordable way to add depth and character.
16. Expressive Edge Lining
Top Expressive Edge Lining Craft Tutorials
- 💅 Painting Brushstrokes for Beginners | Kids – Nature of Art from ecokidsart.com.
- 🍁 10 paint brush techniques from montmarte.com.
- 🎄 Donna Dewberry from youtube.com.
- 🗺️ All About Brushes, Knives and Other Paint Tools from craft-e-corner.com.
- 💅 Learn to Paint FolkArt One Stroke from plaidonline.com.
Edge lining is about defining and enhancing shapes with clean, deliberate lines. It’s like outlining your thoughts on canvas.
Use a fine brush or pen to create sharp, clean lines around shapes or forms. This technique is great for highlighting focal points or adding contrast.
Edge lining adds clarity and focus to your art, making it stand out. It’s a simple, cost-effective way to enhance and personalize your pieces.