Imagine the world of crafting where simple paper strips turn into stunning art. The possibilities are endless, with every twist and twirl bringing new life to your creations. Get ready to embark on a creative journey that will spark your imagination and brighten your world.
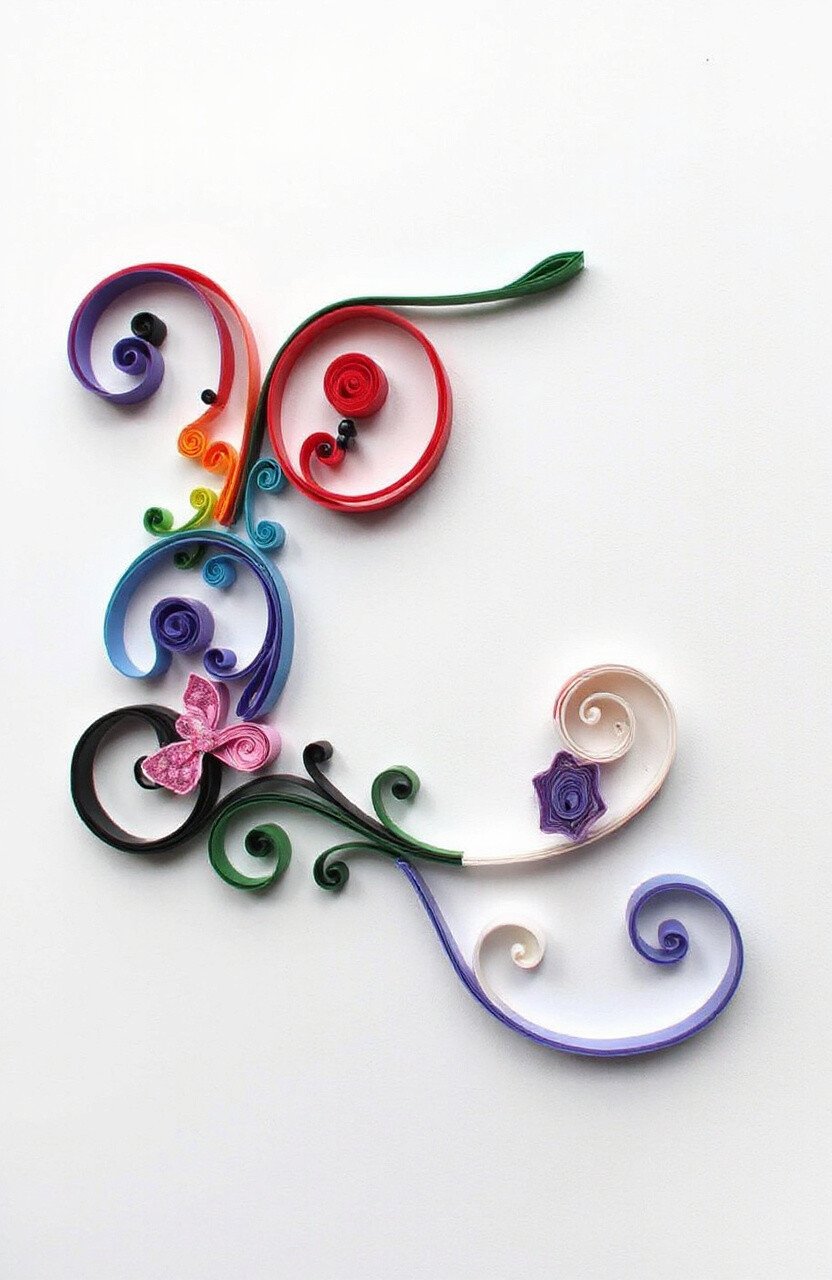
1. Elegant Swirls
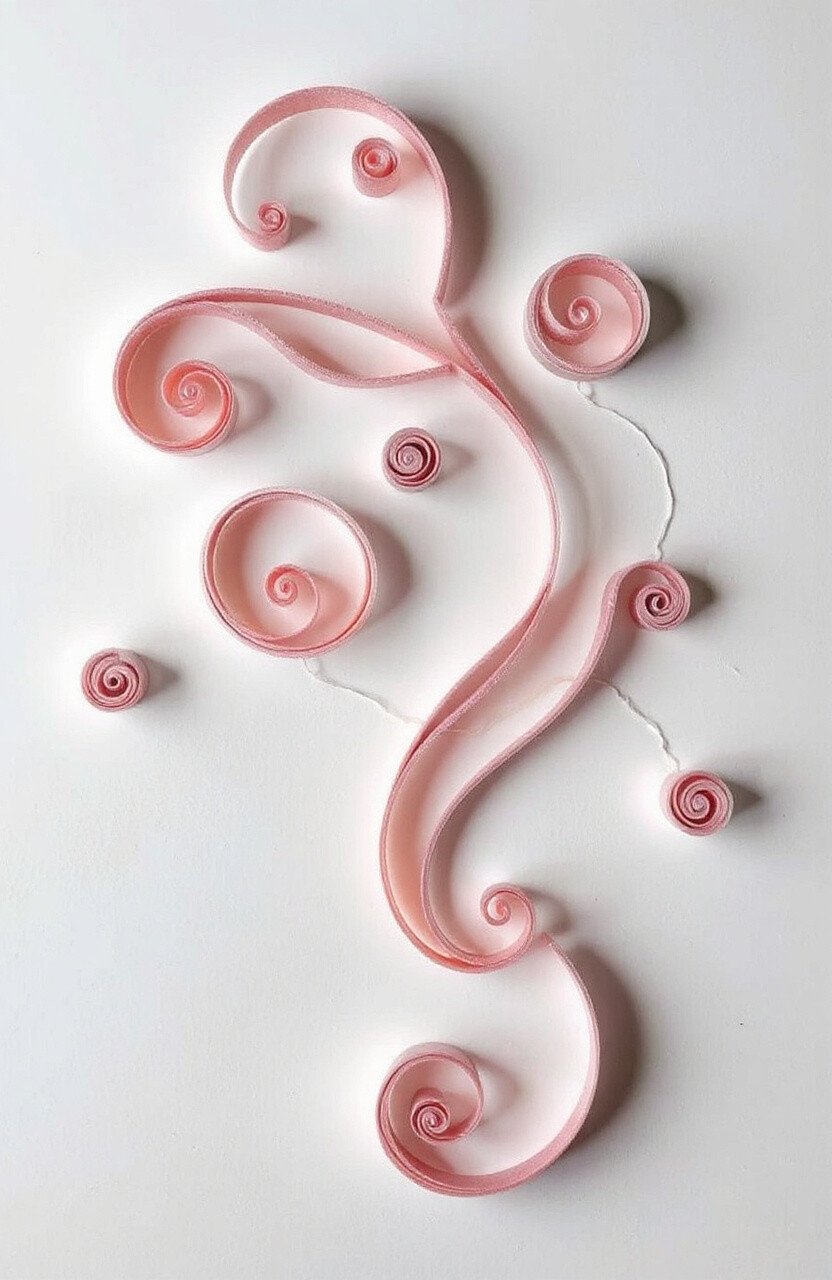
Swirls are the heart of paper quilling, offering a touch of elegance and complexity. Crafting these delicate loops can be both relaxing and satisfying. Plus, they’re perfect for decorating cards or frames.
Try using metallic or glittery paper to make your swirls pop. The shimmer will catch the light and add a dazzling effect. Swirls are a timeless trend, and they never go out of style.
Cost-wise, a beginner’s quilling kit is very affordable. You’ll find it a worthwhile investment as your swirl collection grows.
2. Vibrant Flowers
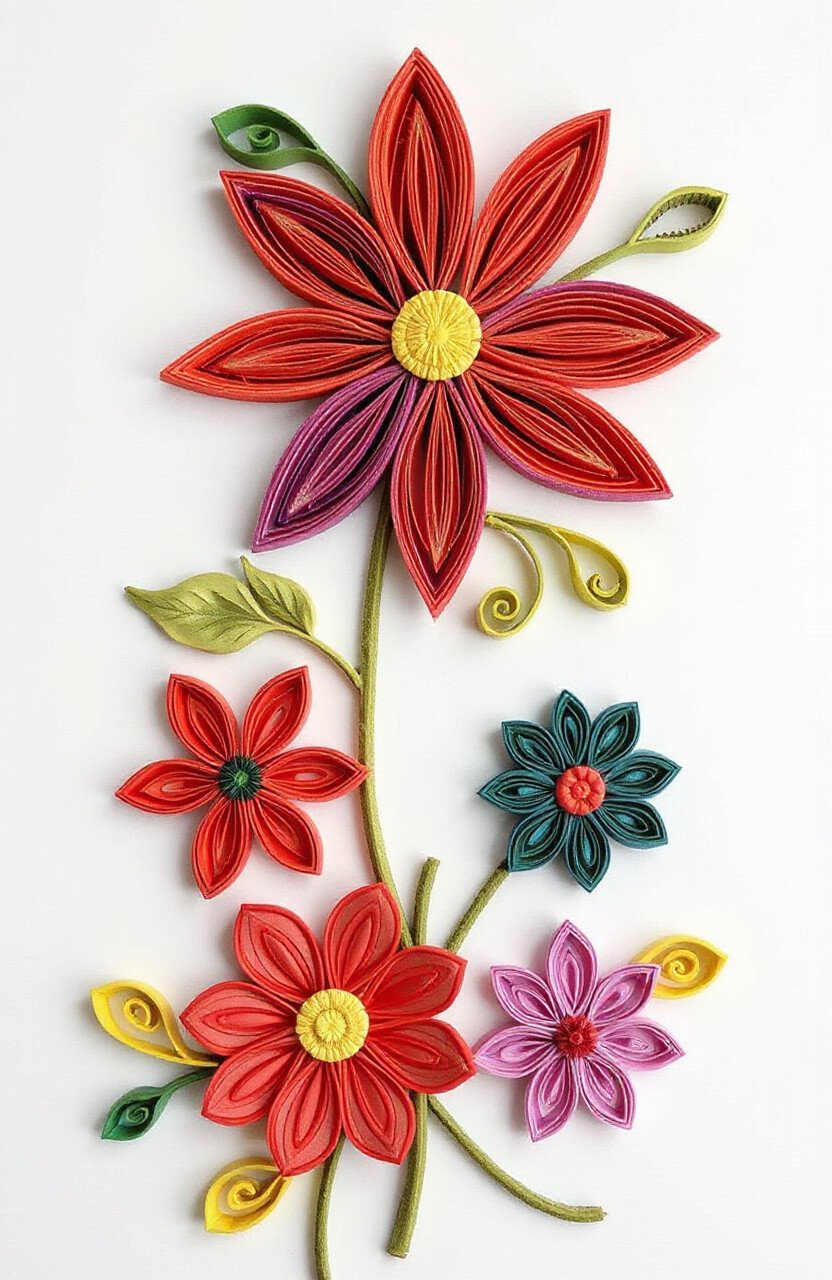
Flowers bring joy and beauty to any project. With quilling, you can create blooms in every color of the rainbow. They add a cheerful touch to wall art or gift tags.
Experiment with different petal shapes and sizes for a unique look. Layering petals can give your flowers a 3D effect, making them stand out even more.
Personalize your flowers by using colors that match your home décor or the recipient’s favorite hues. It’s a thoughtful way to show you care.
3. Quirky Animals
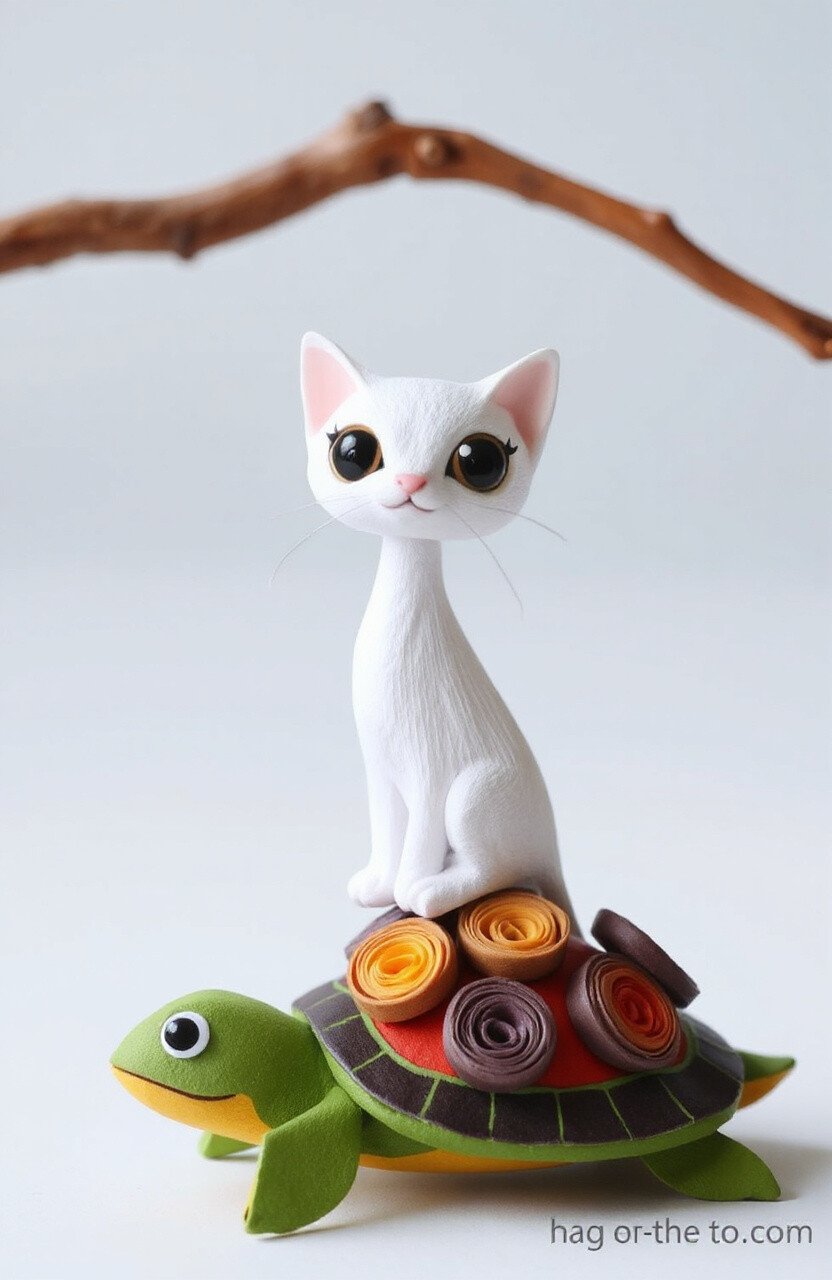
How about making adorable animals from paper? From cute kittens to tiny turtles, the possibilities are endless. These little critters can brighten up any space.
Animals are a fun project for kids and adults alike. Encourage your kids to create their favorite animals for a delightful crafting session.
Use colorful paper to make your animals more vibrant. Quirky animals are sure to bring a smile to anyone’s face.
4. Intricate Mandalas
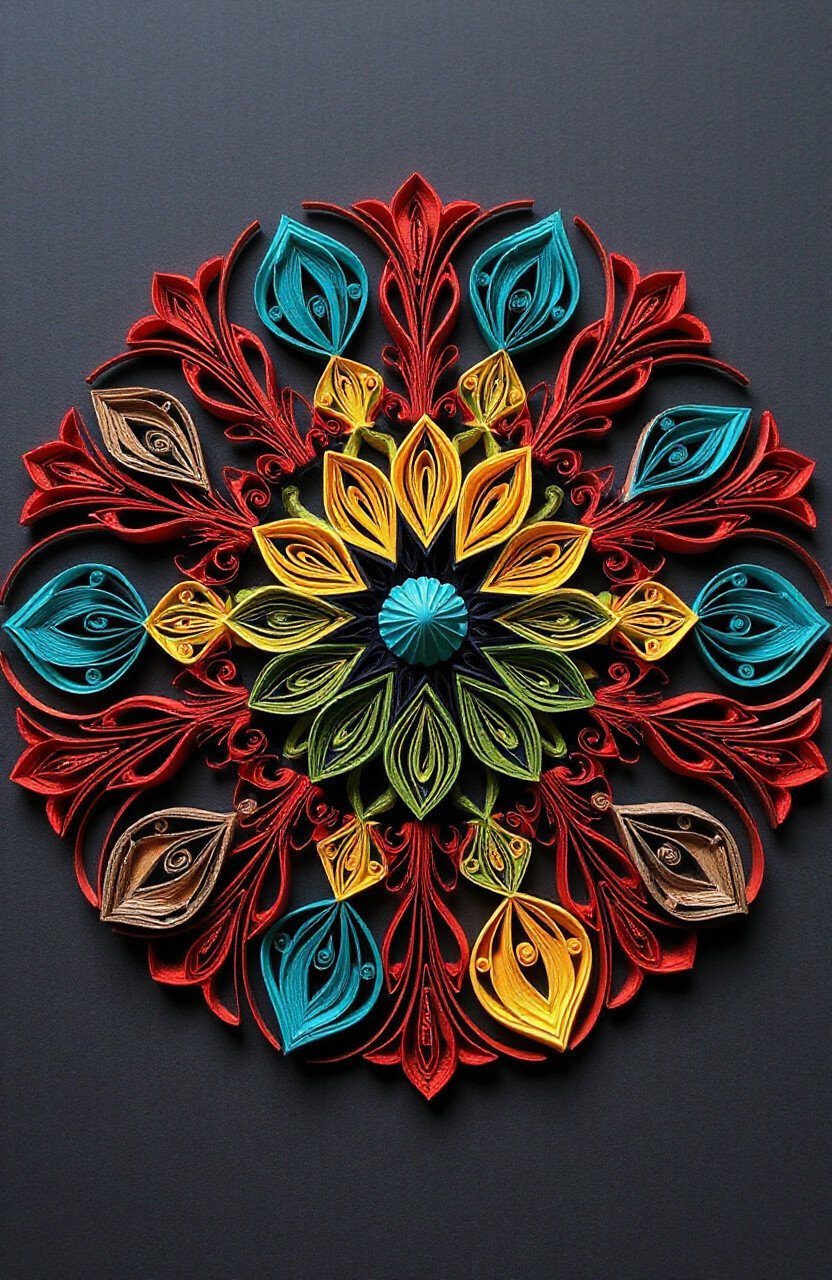
Mandalas are all about symmetry and beauty. Creating them with quilling can be a meditative experience. The intricate patterns captivate the eye and soothe the mind.
Use a mix of colors to make your mandala pop. You can even frame it to create stunning wall art.
They make unique gifts that showcase your creativity and attention to detail. Plus, they’re surprisingly easy to make once you get the hang of it.
5. Whimsical Butterflies
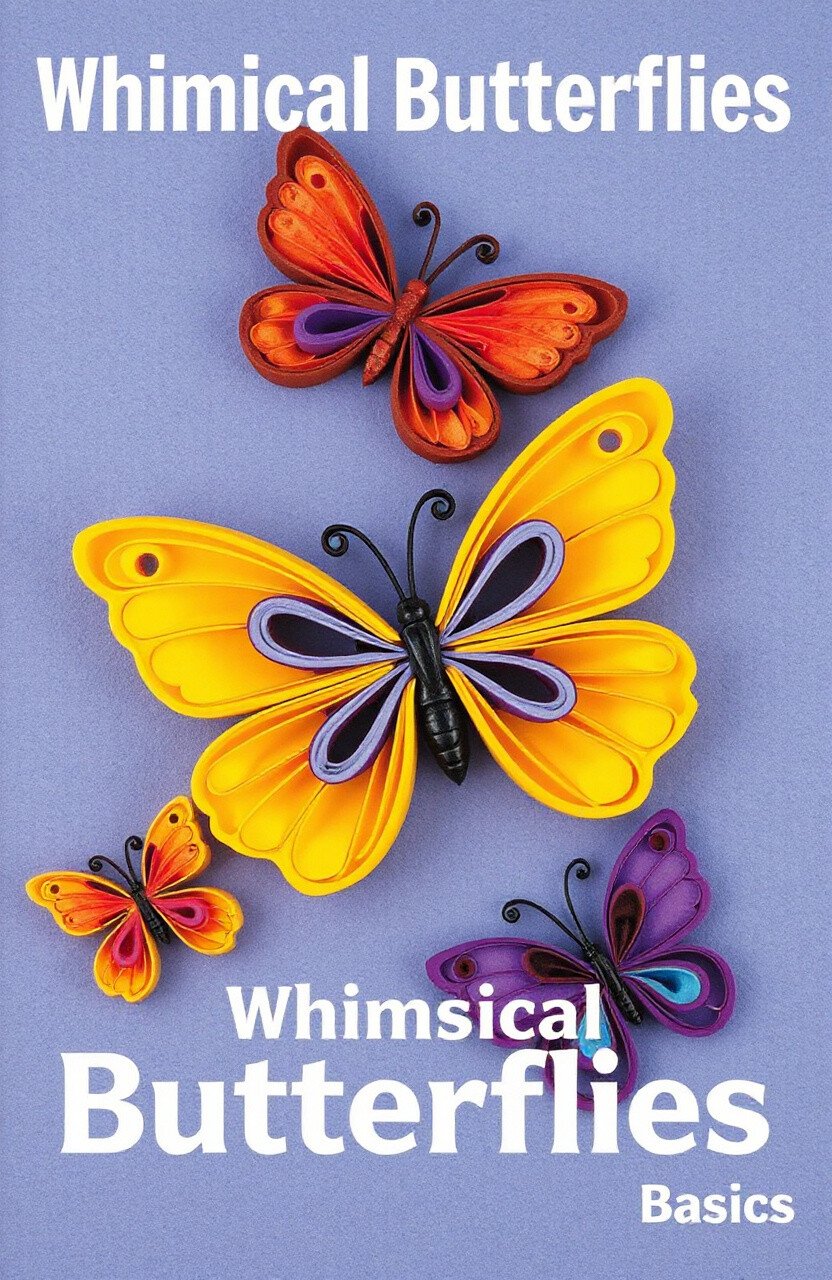
Butterflies symbolize transformation and grace. Making them with quilling brings these qualities into your art. They are perfect for embellishing scrapbooks or greeting cards.
Play with different wing shapes to create your own butterfly species. Add glitter for a magical touch.
These whimsical creatures are a lovely addition to any project, adding a sense of whimsy and wonder.
6. Festive Holiday Ornaments
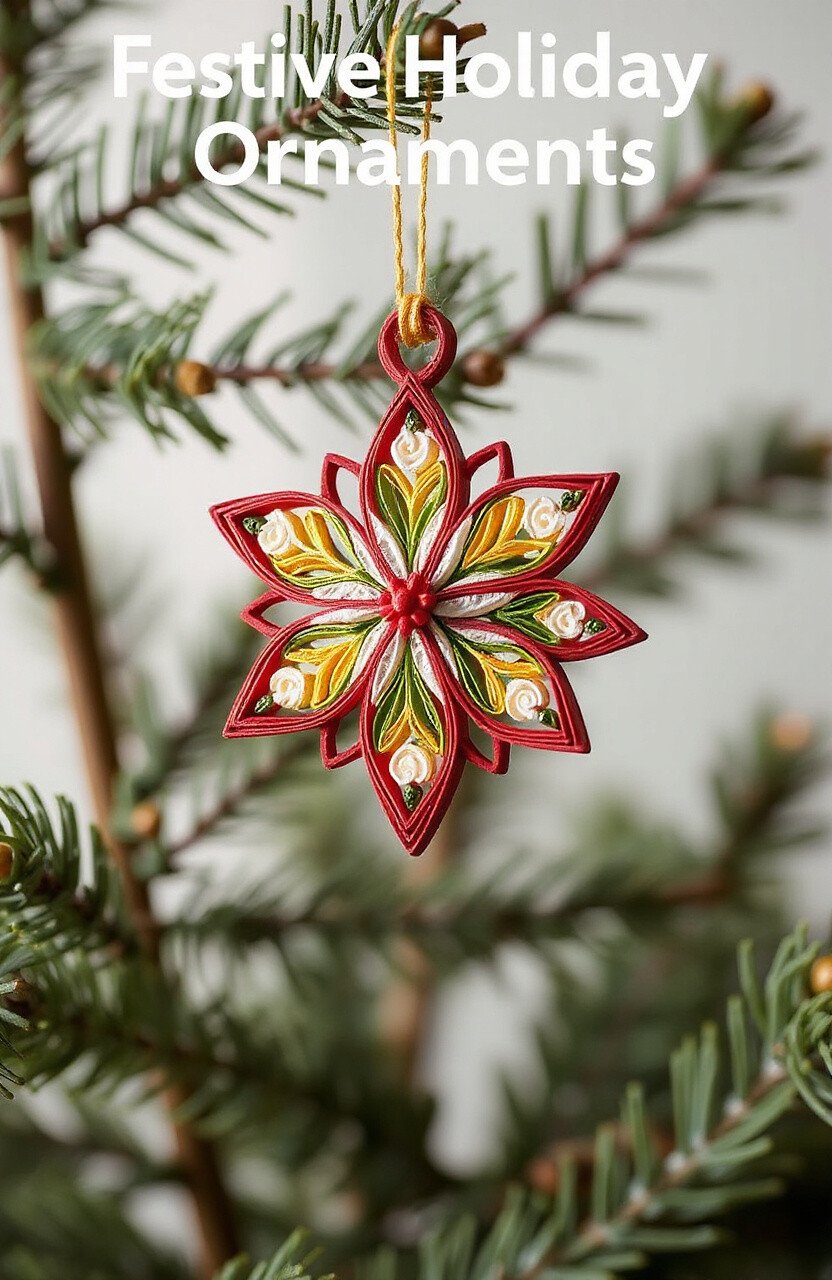
Add a handmade touch to your holiday decorations with quilled ornaments. They can be as simple or as detailed as you like. Snowflakes, stars, and bells are popular choices.
Use festive colors like red, green, and gold to make your ornaments stand out on the tree. These can also be used as unique gift tags.
The best part? They’re lightweight, making them easy to hang without weighing down the branches.
7. Artistic Lettering
Add a personal touch to your projects with quilled lettering. Whether it’s a name, phrase, or monogram, this art form turns words into works of art.
Mix and match colors for a playful effect, or go for a classic monochrome look. The choice is yours!
Quilled letters are perfect for personalized gifts or custom home décor. They show thoughtfulness and creativity.
8. Ocean Waves
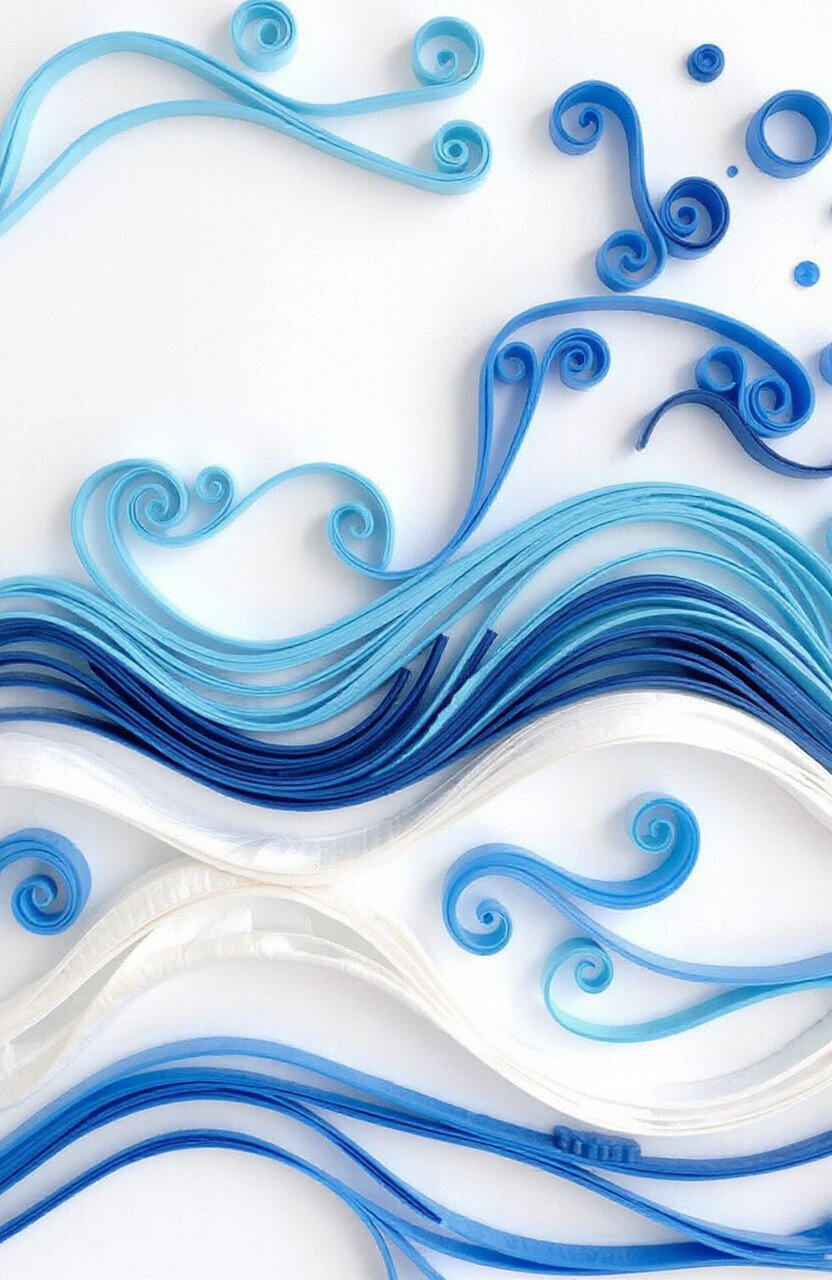
Capture the calming essence of the sea with quilled ocean waves. The gentle curves and blues bring a sense of tranquility to your art.
Great for beach-themed projects or anyone who loves the ocean. Use different shades of blue to mimic the natural beauty of water.
Waves can be a soothing project that offers relaxation and a sense of peace. Plus, they’re a fantastic way to practice your quilling skills.
9. Playful Balloons
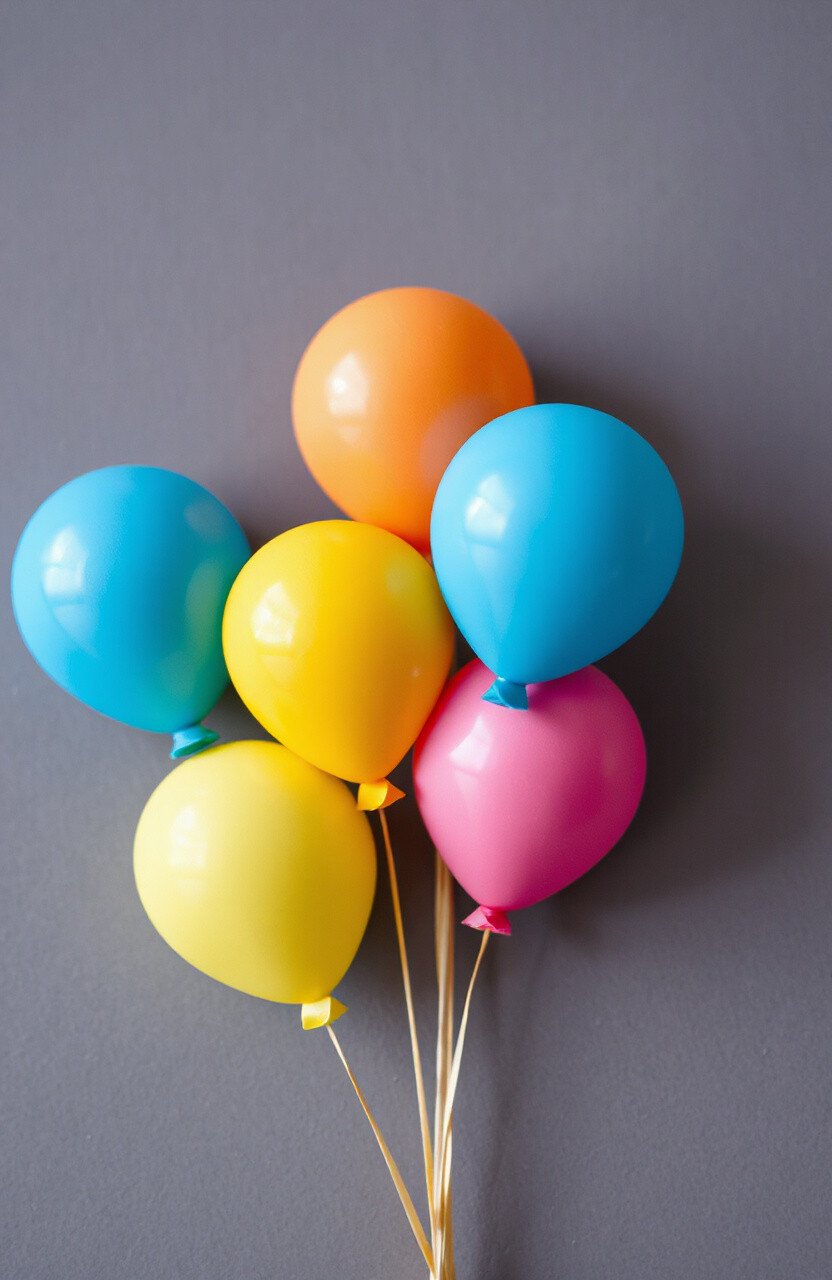
Balloons are synonymous with celebration and joy. Quilling allows you to create balloons in every color imaginable.
Perfect for birthday cards, party invitations, or decorations. They add a cheerful touch that lifts the spirit.
Use shiny paper or add small embellishments to make your balloons shimmer like the real thing.
10. Delicate Snowflakes
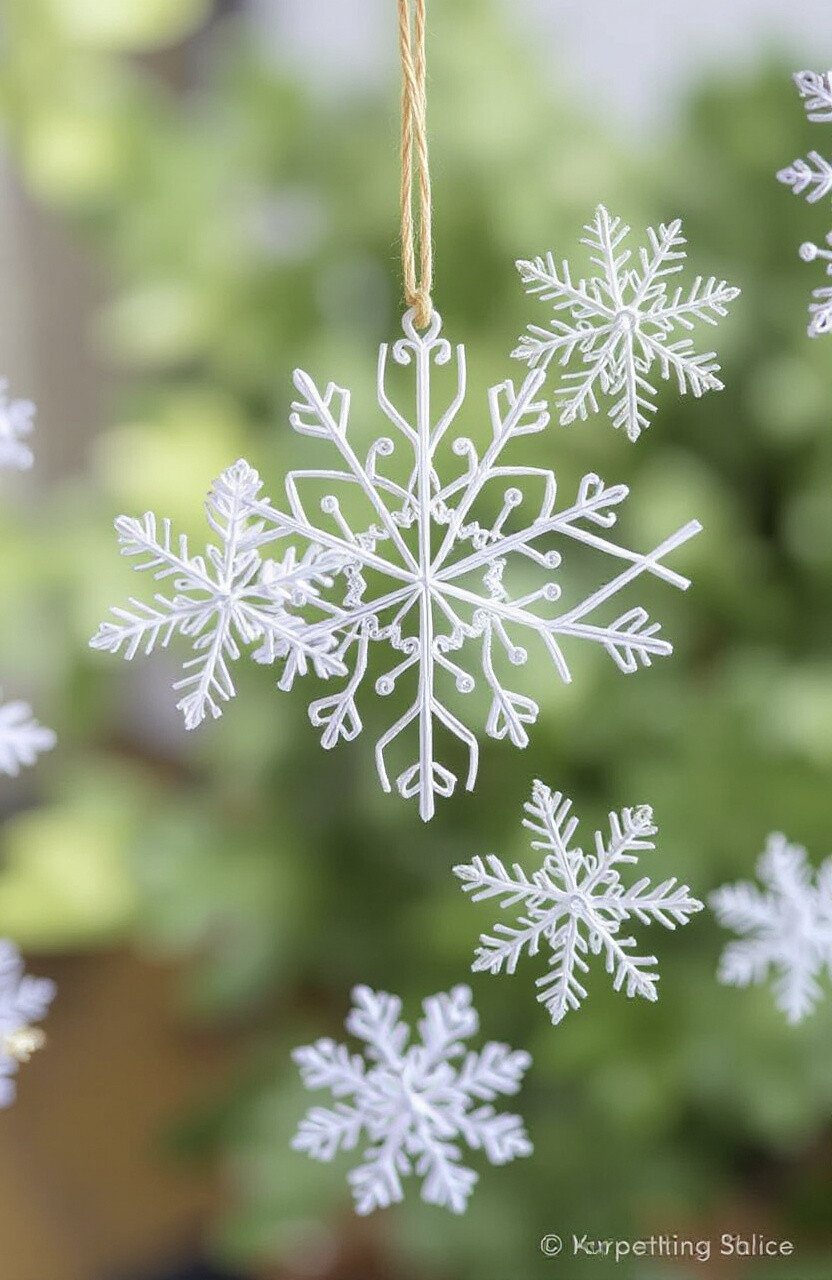
There’s something magical about snowflakes, each one unique in its design. Quilling lets you capture this magic in paper form.
Snowflakes are ideal for winter-themed projects. Hang them from the windows for a festive look.
They also make lovely gifts, showing the recipient your appreciation for nature’s beauty.
11. Geometric Patterns
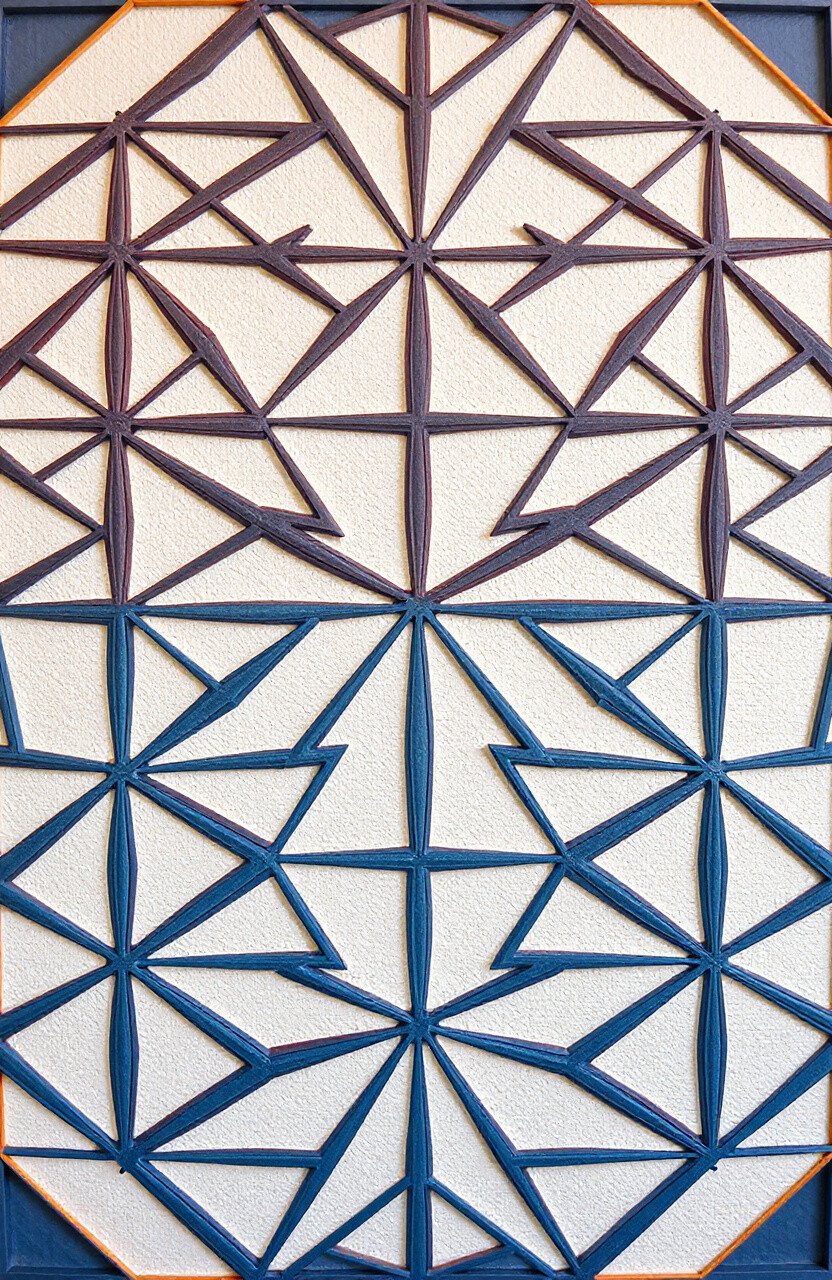
For those who love structure, geometric patterns offer a modern touch. They can be as complex or as simple as you want.
These designs are great for contemporary home décor. Use bold colors for a striking effect.
Perfect for creating minimalist art pieces that make a big impact. Geometric patterns are always on-trend.
12. Cheerful Sunflowers
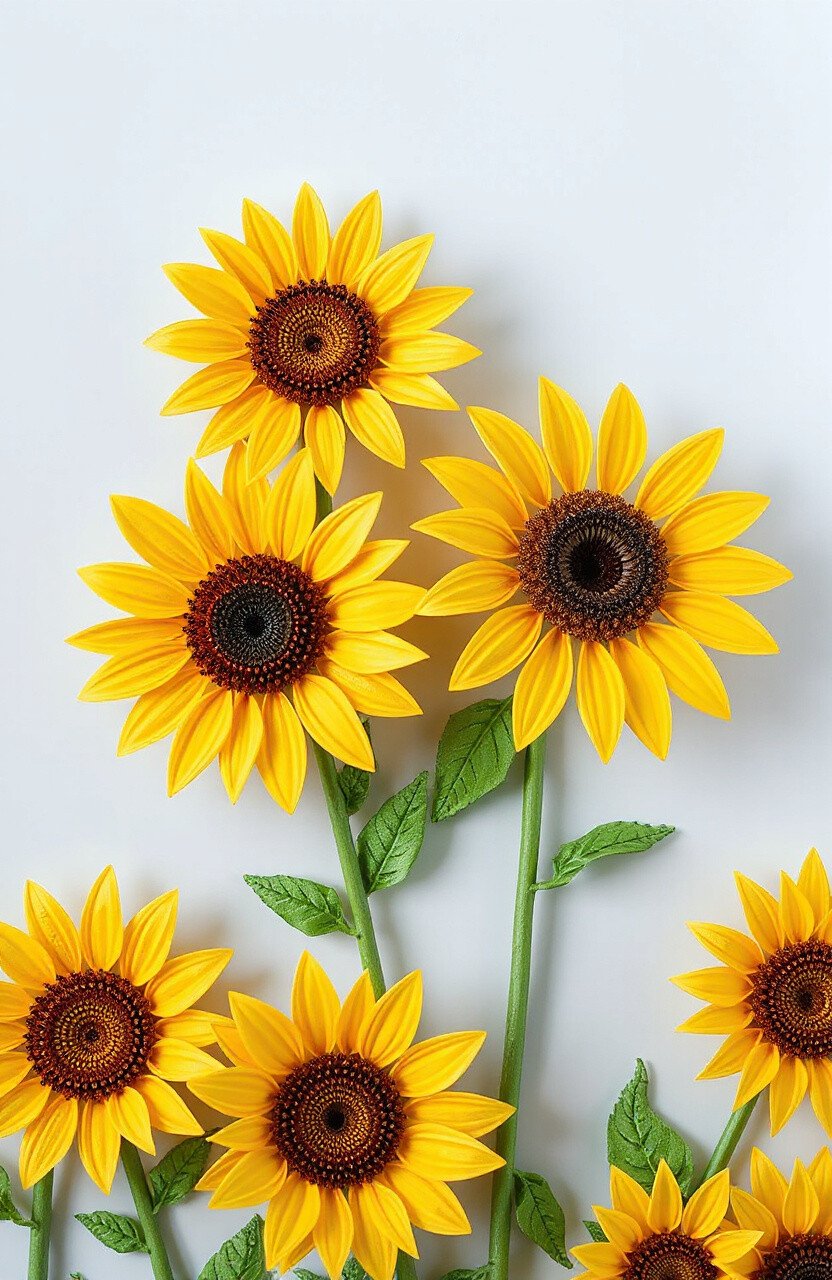
Sunflowers symbolize happiness and warmth. Quilling them brings these feelings into your life.
Perfect for brightening up a room or creating a cheerful greeting card. Use yellow and brown paper for an authentic look.
These flowers are a reminder of sunny days and can lift anyone’s mood.
13. Enchanting Fairies
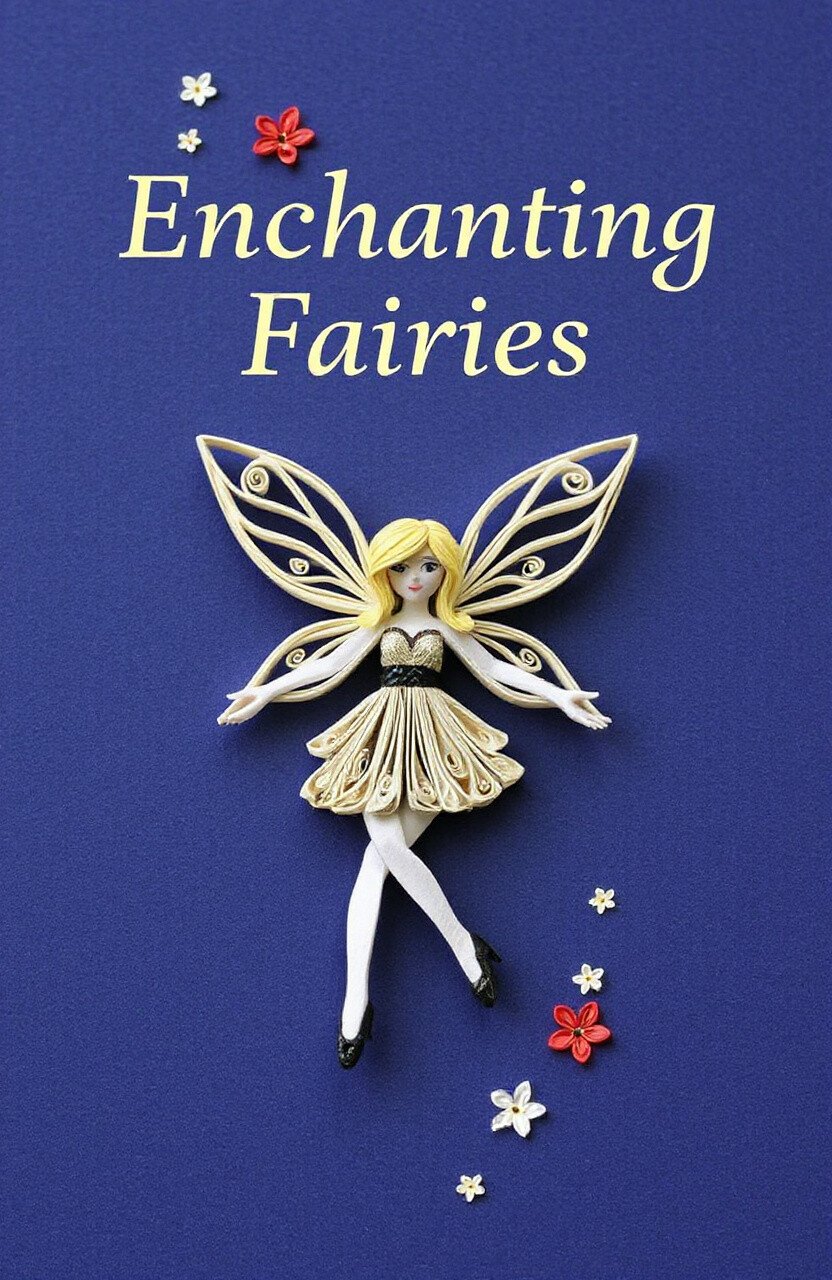
Fairies bring a touch of magic to any creation. Use quilling to craft these whimsical beings with delicate wings and charming poses.
Perfect for a child’s room or as part of a fairy-tale-themed project. Add sparkle to their wings for an enchanting effect.
Fairies inspire imagination and wonder, making them a delightful addition to your art.
14. Refreshing Fruits
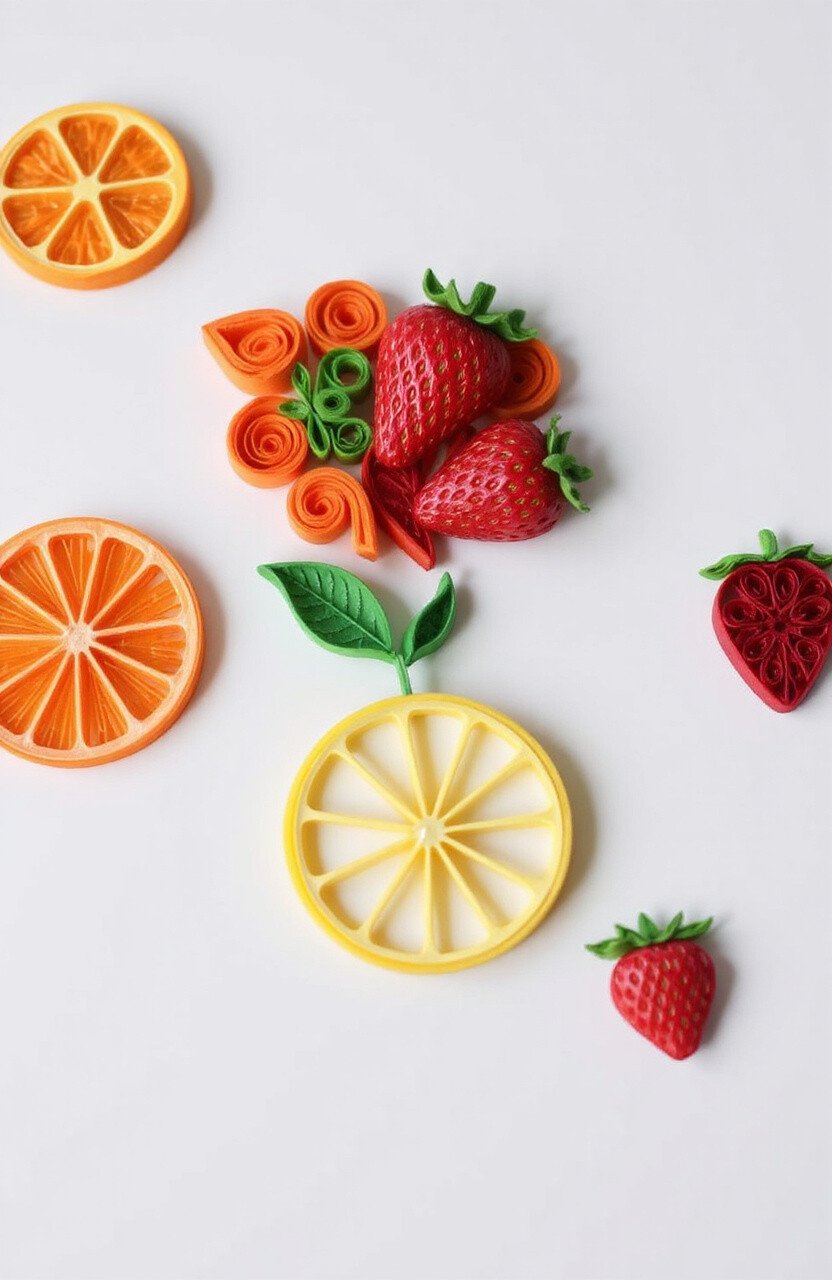
Fruits are a fun and colorful quilling project. From juicy oranges to ripe strawberries, they add a fresh touch to any design.
Perfect for kitchen art or as a playful addition to a summer-themed card. Use vibrant colors to make your fruits look delicious.
These cheerful creations are sure to bring a smile to anyone’s face.
15. Simple Hearts
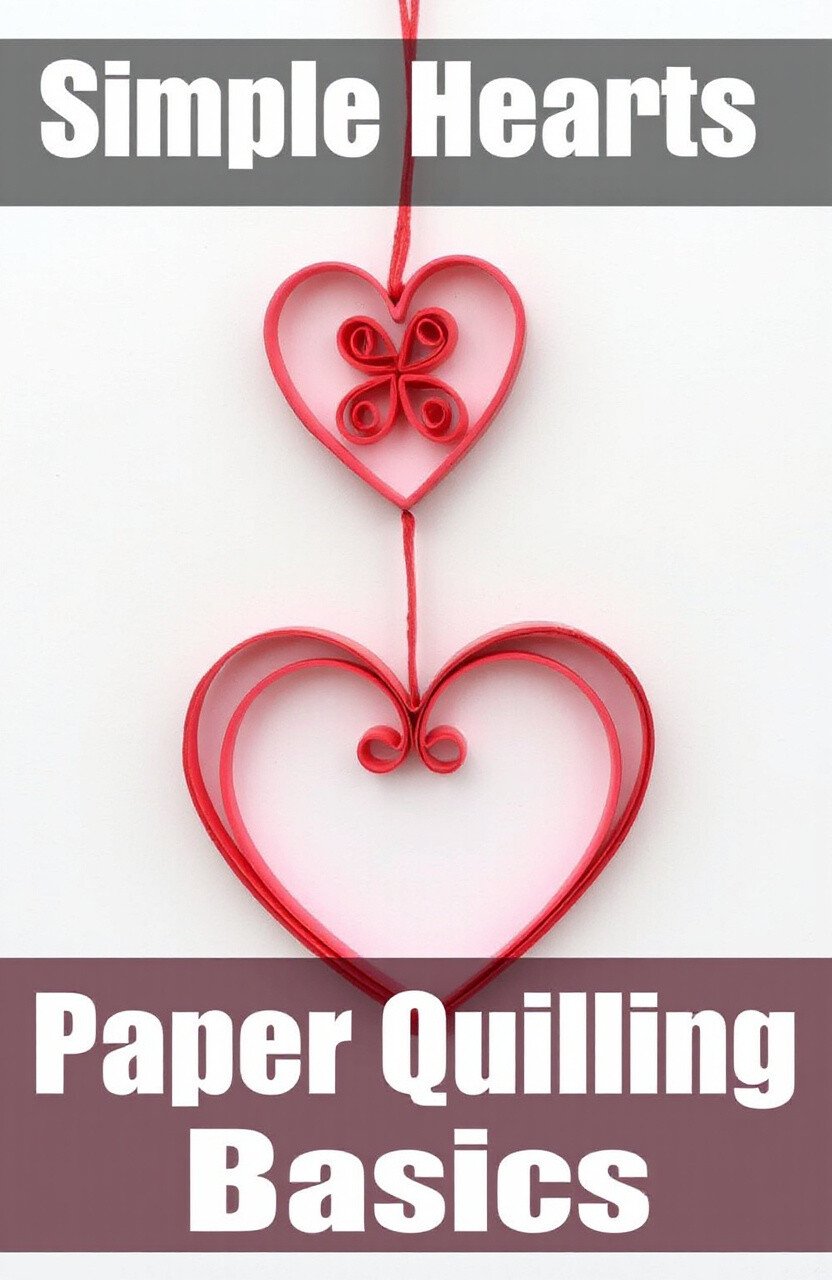
Hearts are a universal symbol of love and affection. Quilled hearts can be used for any occasion where you want to show you care.
Great for Valentine’s Day, anniversaries, or just because. Use red and pink paper for a classic look.
Hearts are a timeless choice that always conveys a heartfelt message.
16. Enchanting Dragons
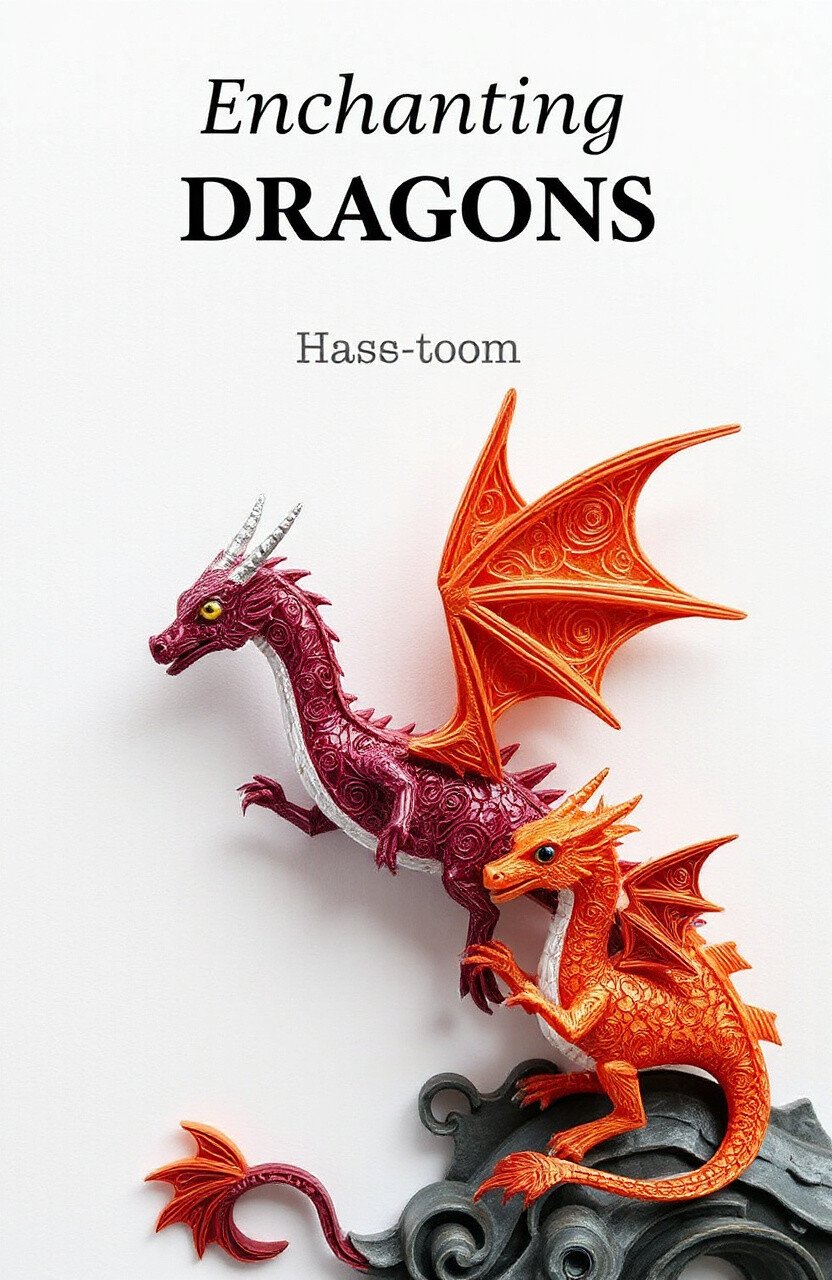
Unleash your imagination by creating mythical dragons. These creatures add a sense of adventure and fantasy to your projects.
Perfect for fantasy-themed art or for someone who loves dragons. Use metallic paper for a shimmering effect.
These enchanting beings bring a touch of magic and excitement to your quilling.
17. Dynamic Spirals
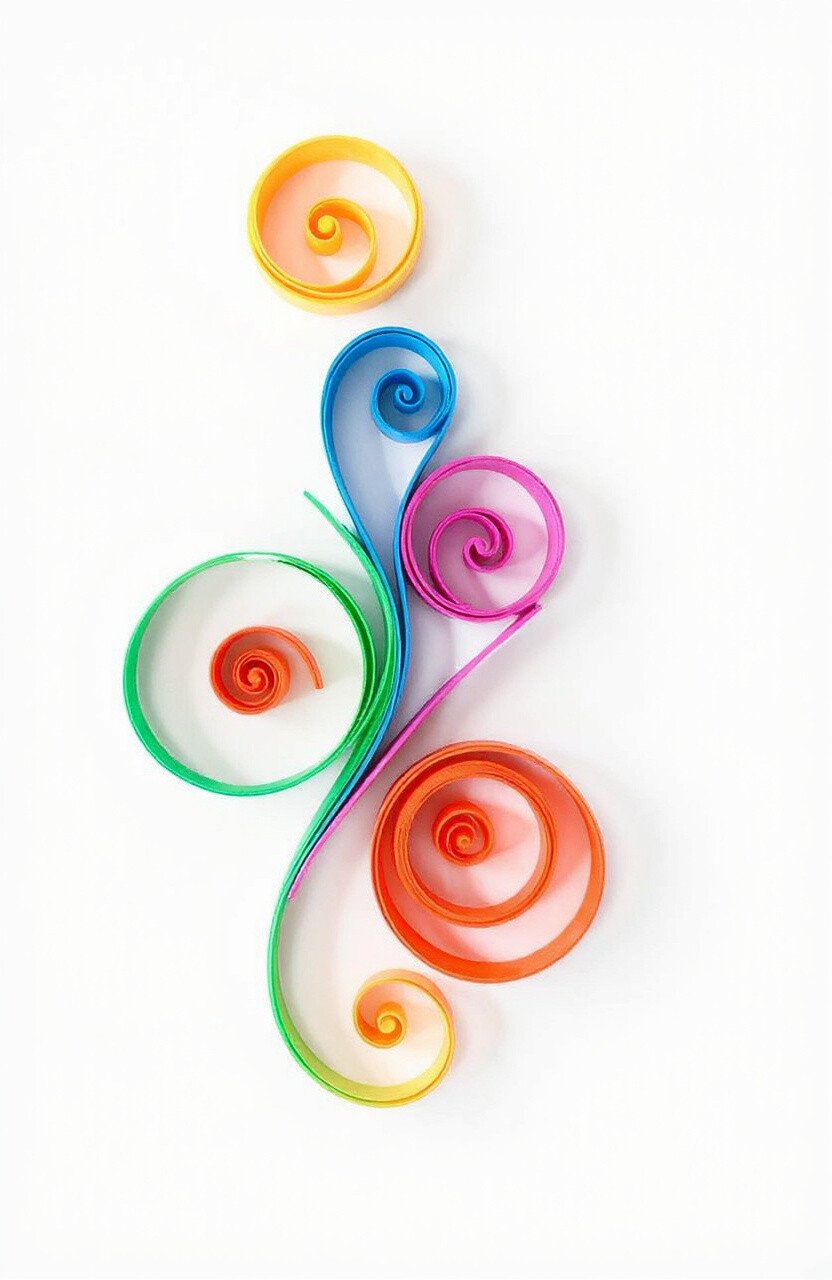
Spirals are simple yet striking. They bring movement and energy to any piece of art.
Great for modern designs or as an abstract element. Use a mix of colors for a dynamic look.
Spirals are versatile and can be used in countless ways to enhance your creations.
18. Soothing Leaves
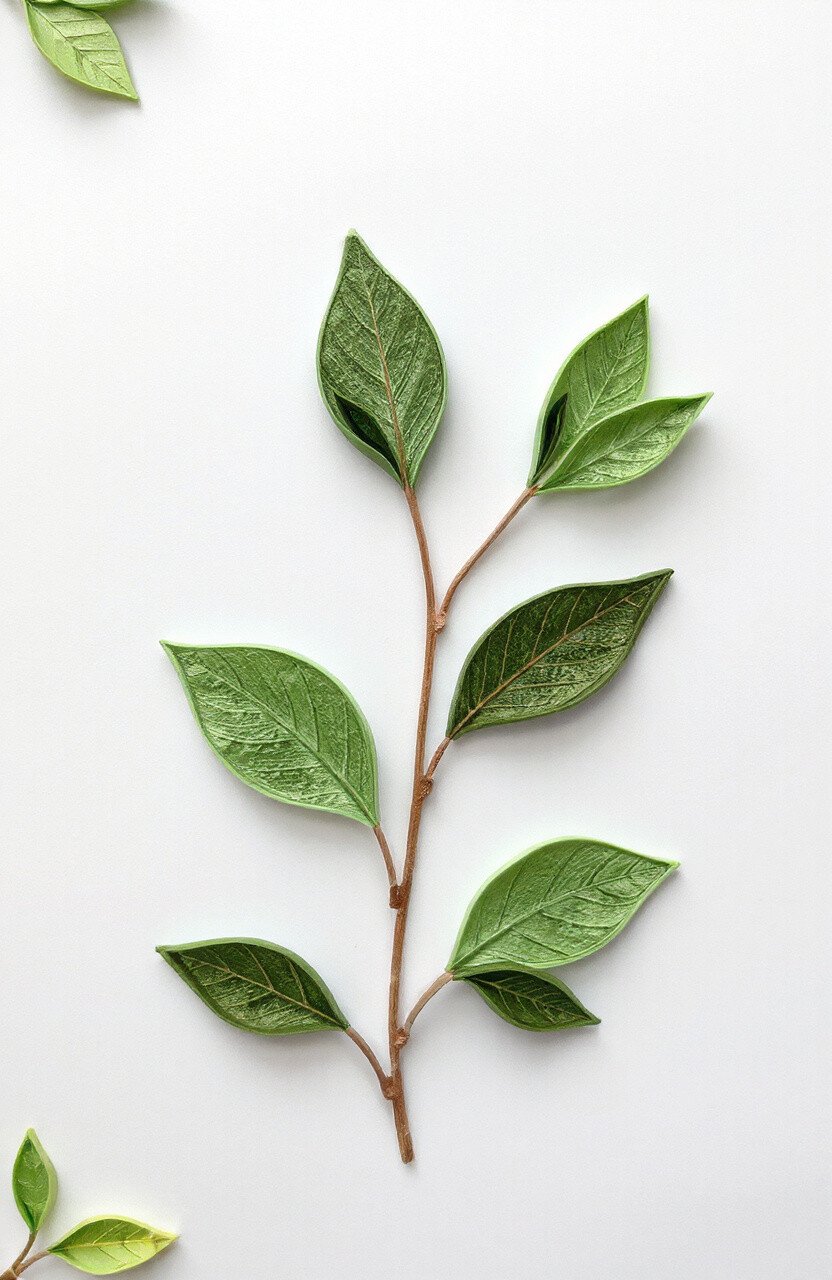
Leaves offer a way to bring nature into your art. Their calming green tones and delicate shapes are soothing to the eye.
Perfect for nature-themed projects or as an accent to floral designs. Use different shades of green for a realistic look.
Leaves are a gentle reminder of the beauty and peace found in nature.
19. Cute Baby Animals
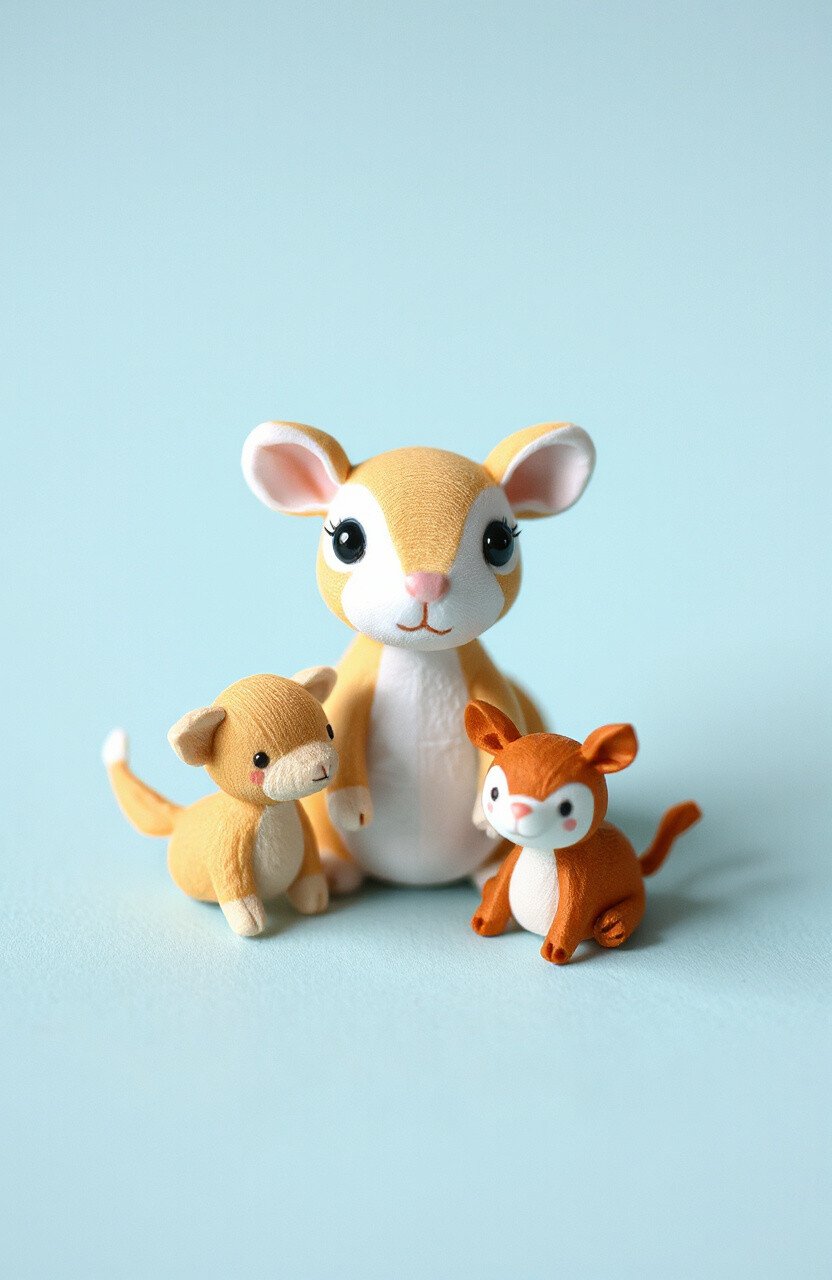
Baby animals are adorable and irresistible. Use quilling to create tiny versions of your favorite animals.
Ideal for baby shower cards or nursery decorations. Use pastel colors for a soft, gentle appearance.
These little creations are sure to melt hearts and bring joy.
20. Vintage Cameos
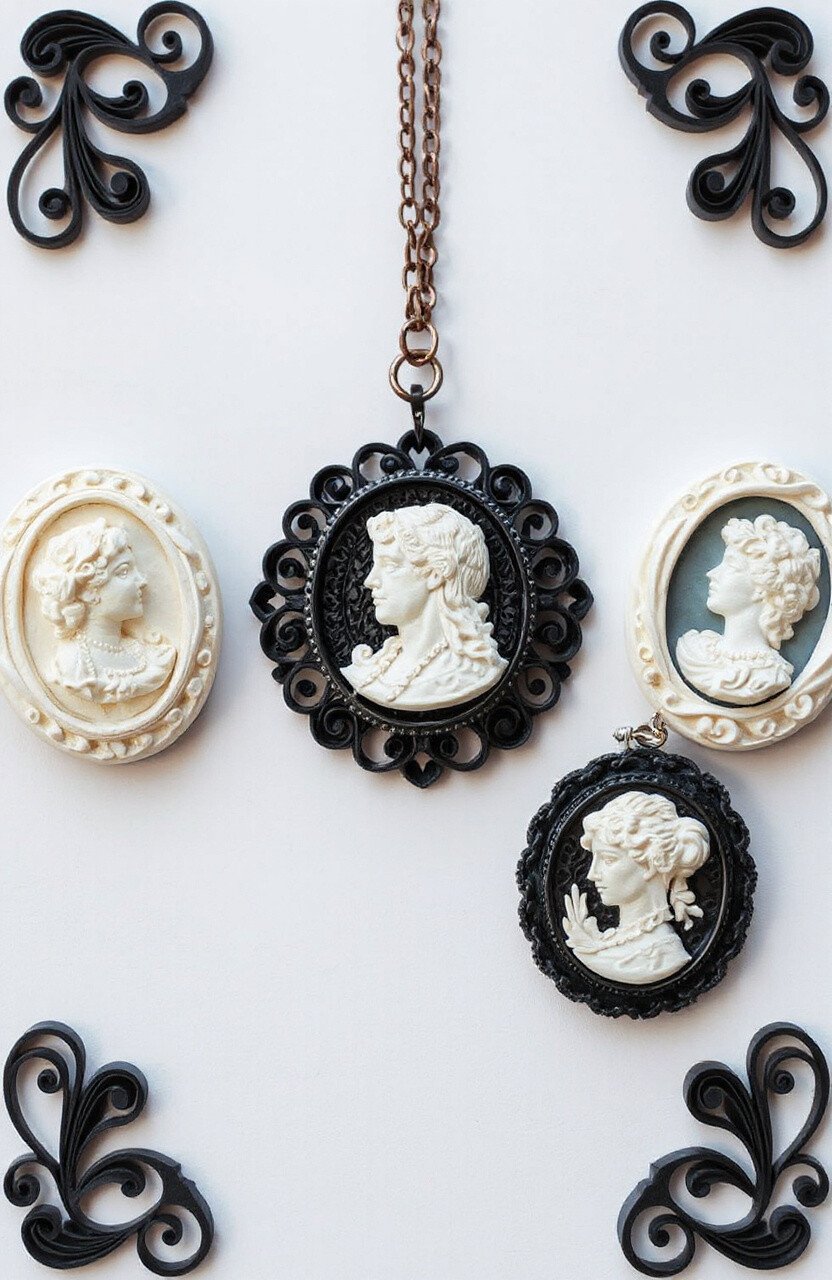
Cameos offer a touch of vintage elegance. Craft them with quilling to create unique pieces of art.
Perfect for jewelry or as an accent in a vintage-themed project. Use classic colors like black and white for an authentic look.
Cameos are a nod to the past, bringing timeless beauty to your creations.
21. Mystical Unicorns
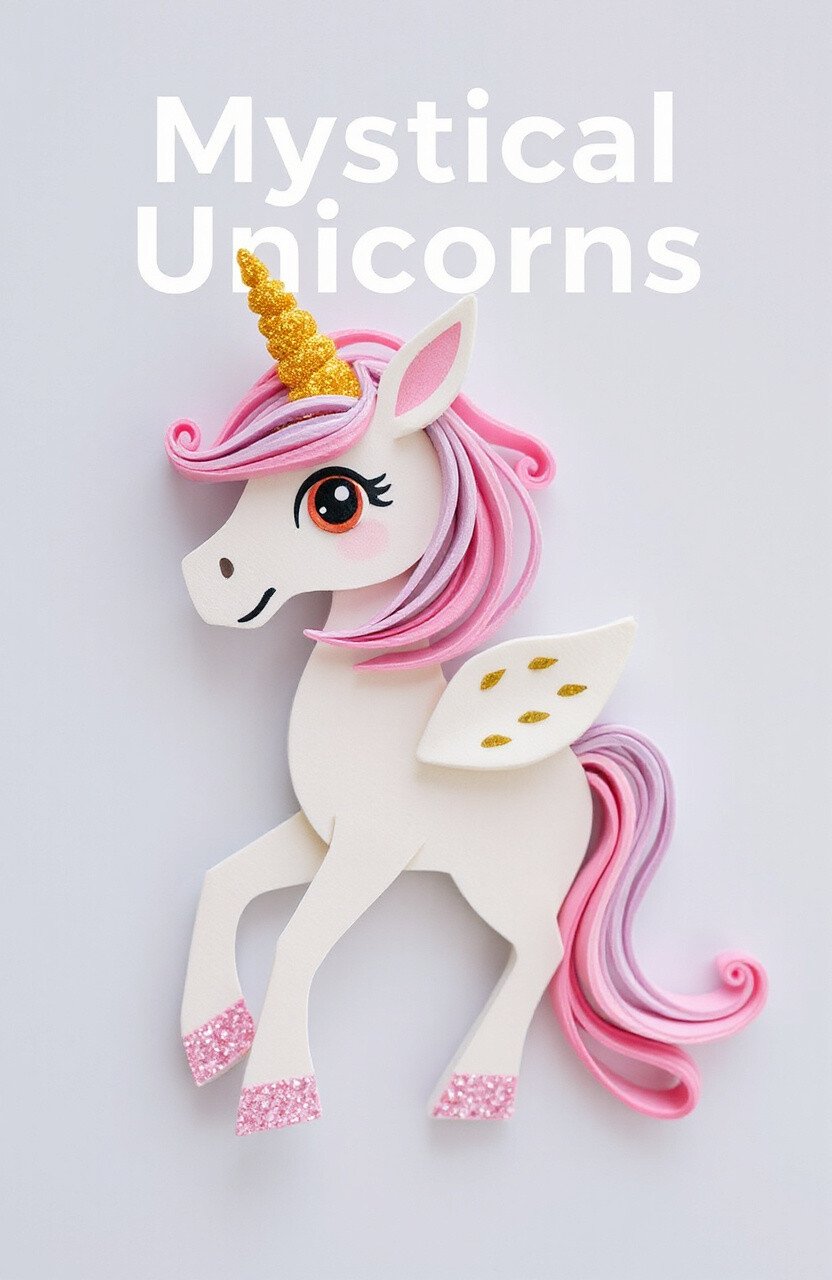
Unicorns are magical and enchanting beings. Use quilling to craft these mystical creatures with flowing manes and a touch of sparkle.
Perfect for fantasy-themed cards or decorations. Use pastel colors and glitter for a dreamy effect.
Unicorns inspire wonder and imagination, making them a favorite among all ages.
22. Majestic Peacocks
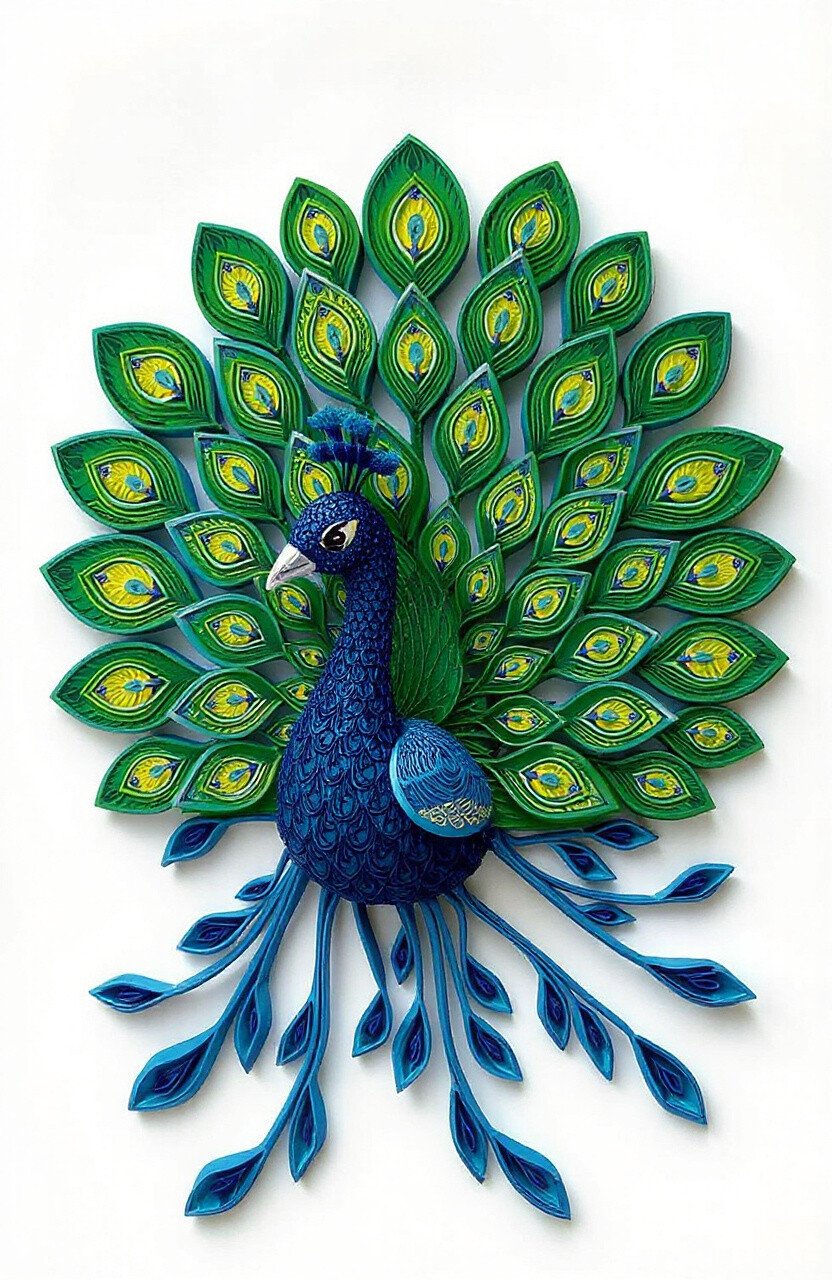
Peacocks are known for their stunning beauty and vibrant colors. Capture this elegance with quilling.
Perfect for creating art that is both bold and graceful. Use rich colors like blue and green for an authentic appearance.
These creations are sure to impress, adding a touch of majesty to any project.
23. Cozy Owls
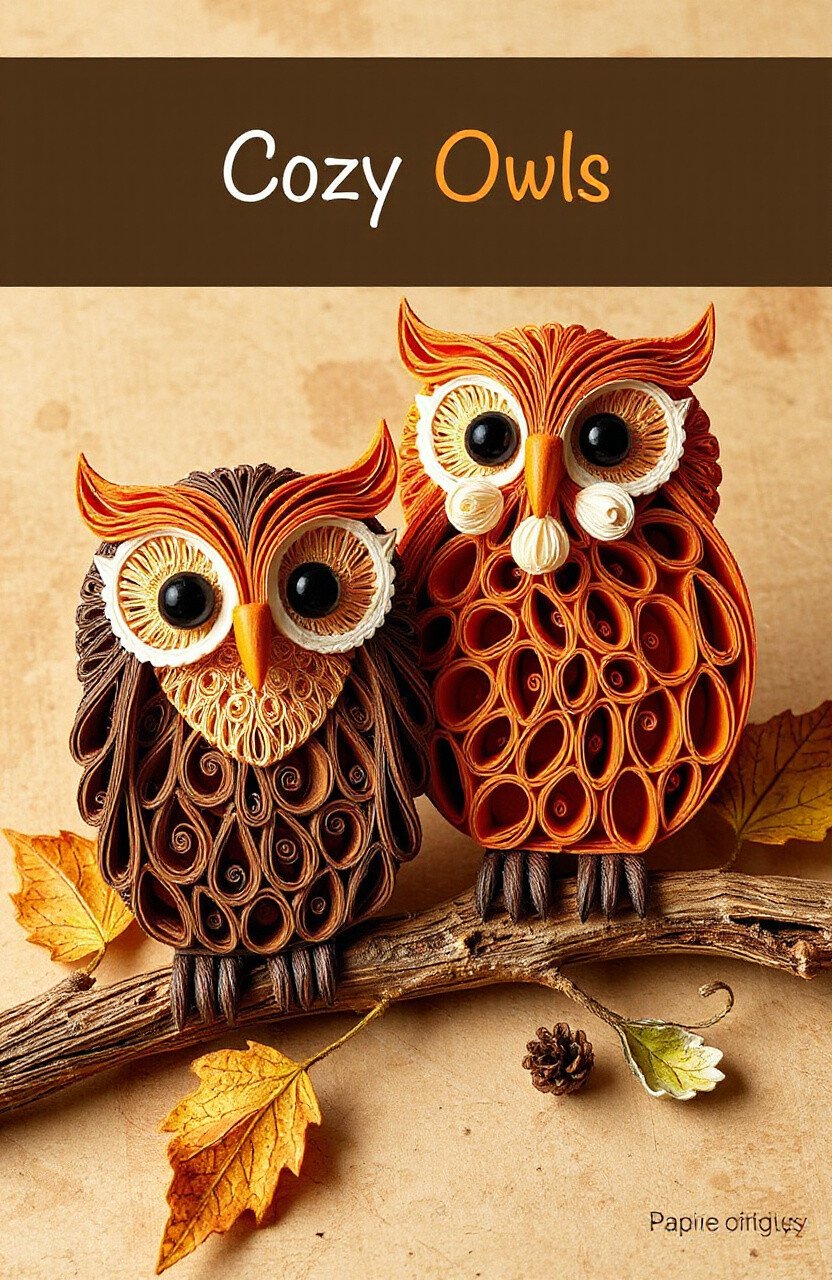
Owls are often associated with wisdom and mystery. Quilled owls bring a cozy, charming vibe to your art.
Perfect for autumn-themed projects or as a whimsical touch to any room. Use warm colors like brown and orange for a snug feel.
These creatures are both adorable and wise, making them a delightful addition to your collection.