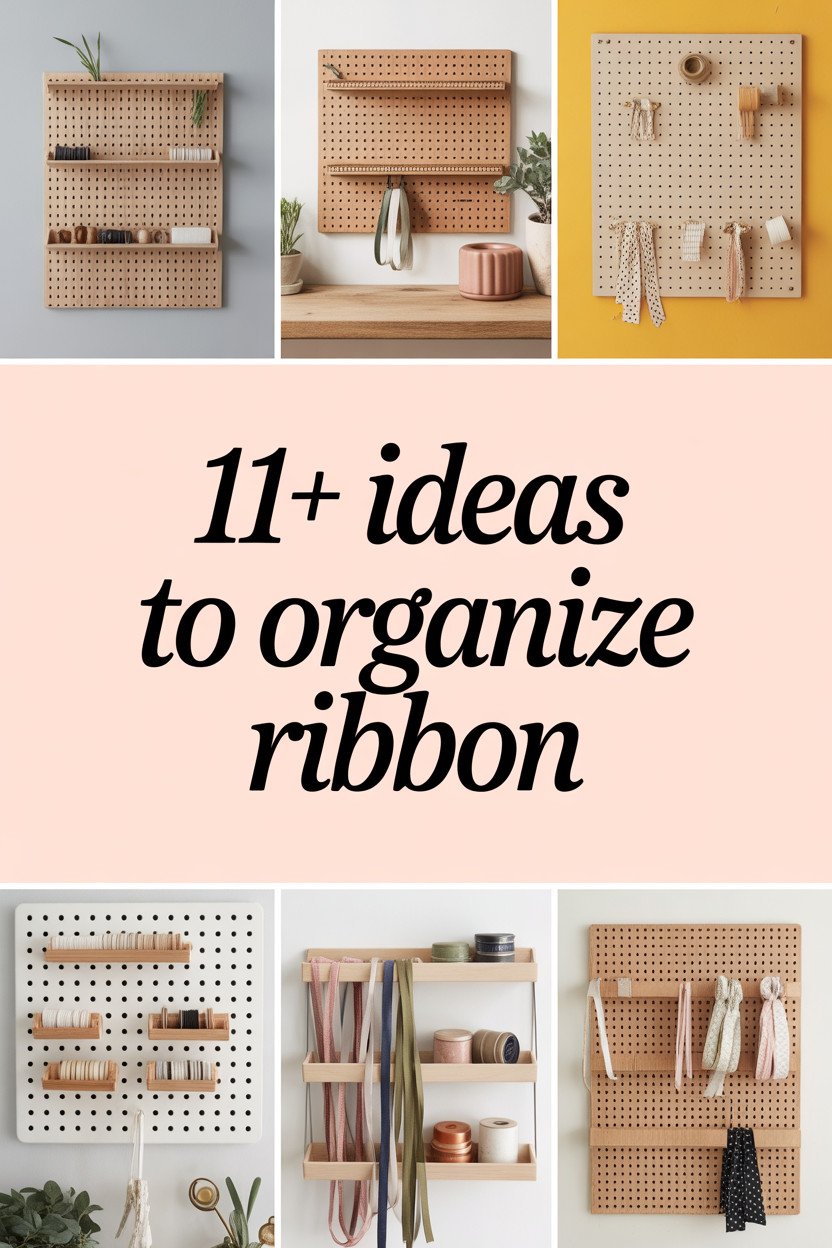
Imagine the joy of finding the perfect ribbon without searching through tangled strands. Think of a place where your ribbons are not just stored, but celebrated. Your craft space can become a vibrant, organized haven with a few creative touches.
1. Color-Coded Ribbon Heaven
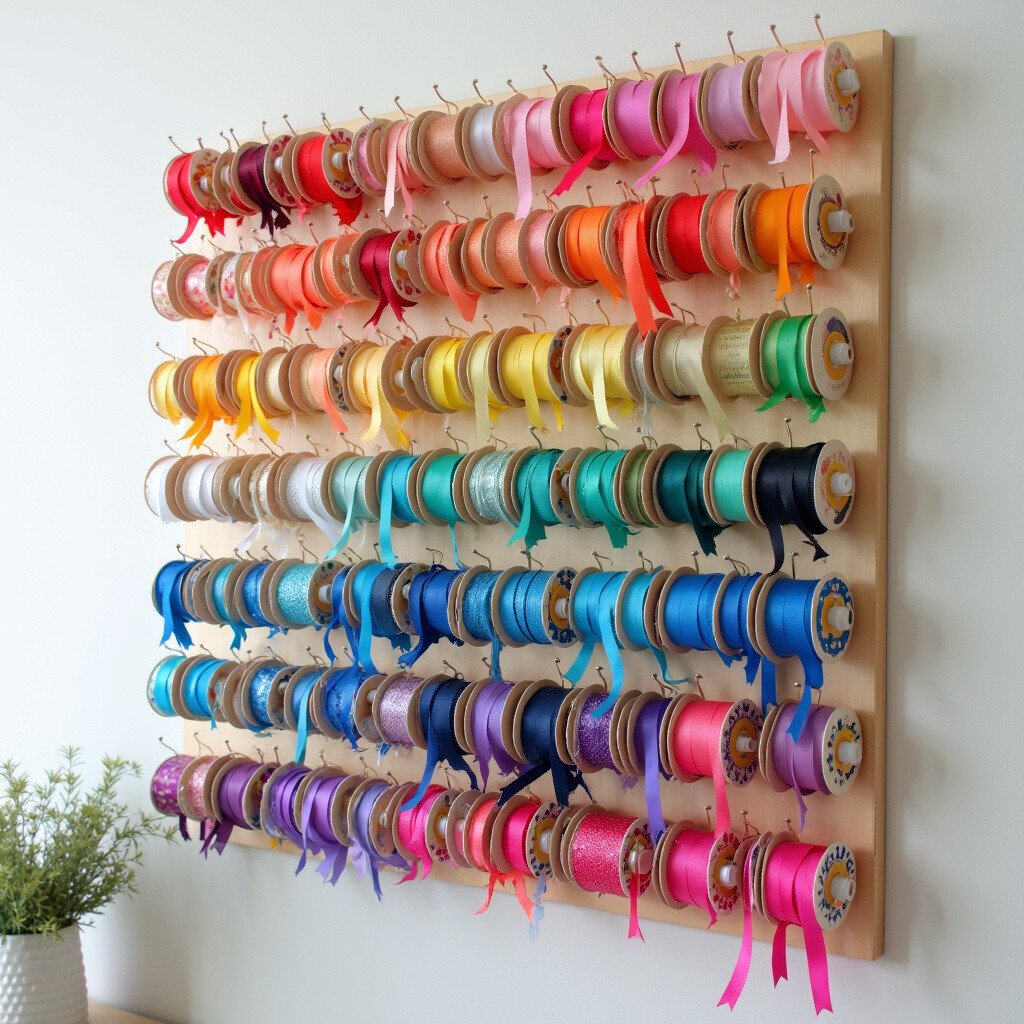
Organize your ribbons by color for a visually stunning display. Use small hooks and pegs to hang each spool in a rainbow order. This setup not only looks beautiful but also makes finding the right hue quick and easy.
Color-coding is a trendy way to add flair to your craft room. It’s like creating a piece of wall art that changes as your ribbon collection grows. Plus, it helps keep track of which colors you need to restock.
Try mixing in a few patterned ribbons between solid colors for a pop of excitement. This method is cost-effective, using simple hooks you might already have. Add a personal touch with custom labels on each row.
2. Tiered Pegboard Delight
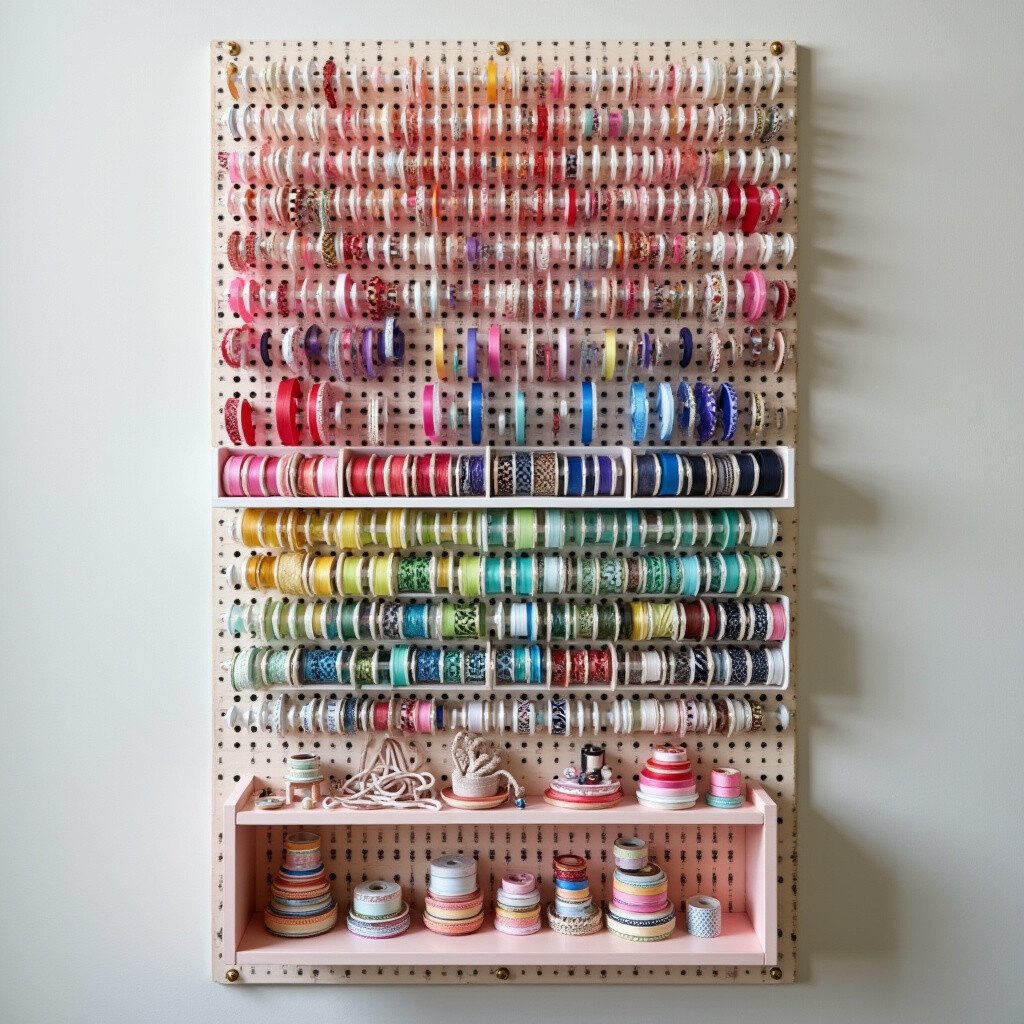
Create depth by setting up tiered rows on your pegboard. Use longer pegs on the bottom row and shorter pegs on the top for a cascading effect. This layered look not only adds dimension but maximizes your storage space.
This design is unique because it resembles a multilevel display at a craft show. It’s perfect for those who love a chic and organized appearance. Tiering is a clever way to ensure that every ribbon spool is visible at a glance.
Consider using shelves or small trays on the lower tiers for larger spools. This idea is budget-friendly, as it mainly requires varying peg sizes. Personalize it with decorative dividers between tiers for an upscale vibe.
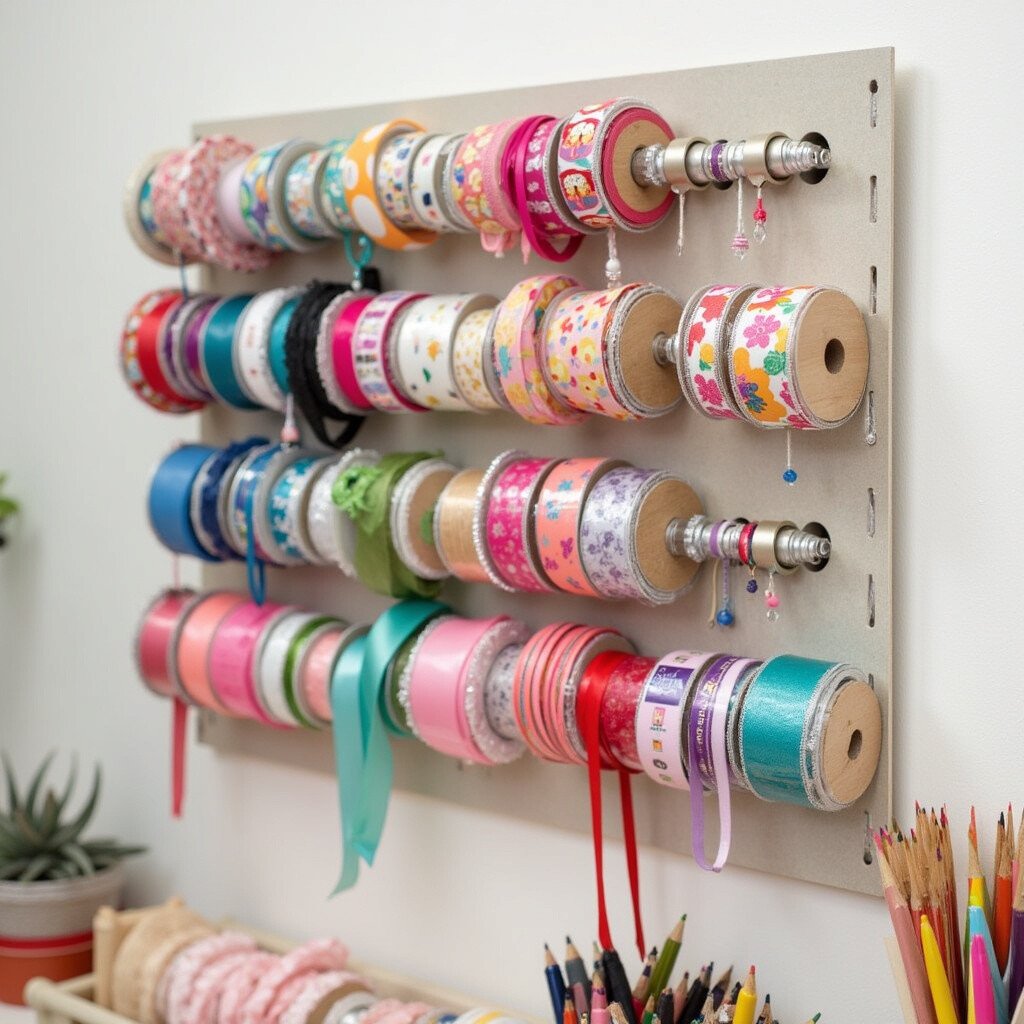
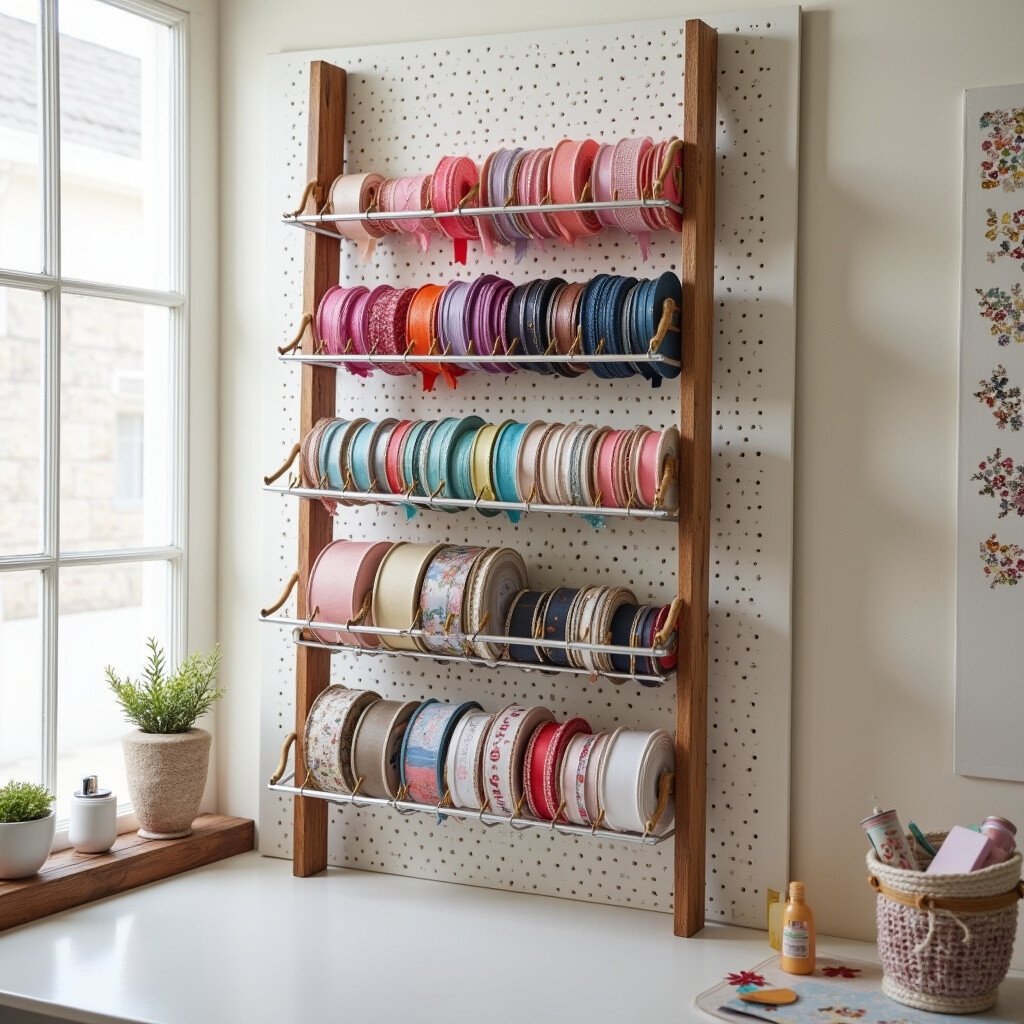
3. Ribbon Rod Extravaganza
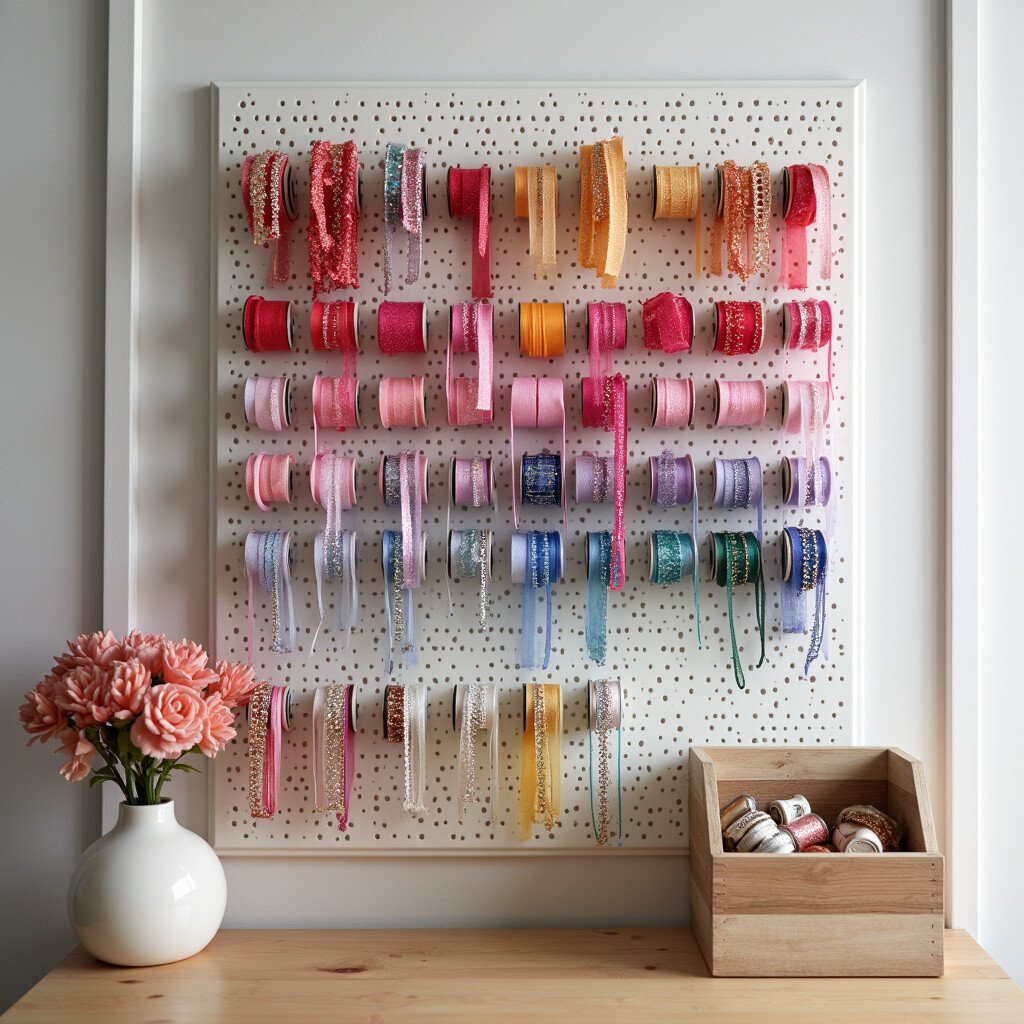
Install rods horizontally across your pegboard to hang ribbons like a curtain. Slide the spools onto the rods, making it effortless to pull and cut ribbons without removing them. This method keeps your ribbons tangle-free and ready to use.
Rods offer a sleek and modern storage solution, often seen in high-end craft stores. It’s a great way to showcase your collection while keeping it functional. The rods can be easily adjusted to accommodate different spool sizes.
Look for adjustable rods that can be expanded as your collection grows. This setup is affordable, with simple curtain rods doing the trick. Add a touch of elegance by choosing rods in metallic finishes.
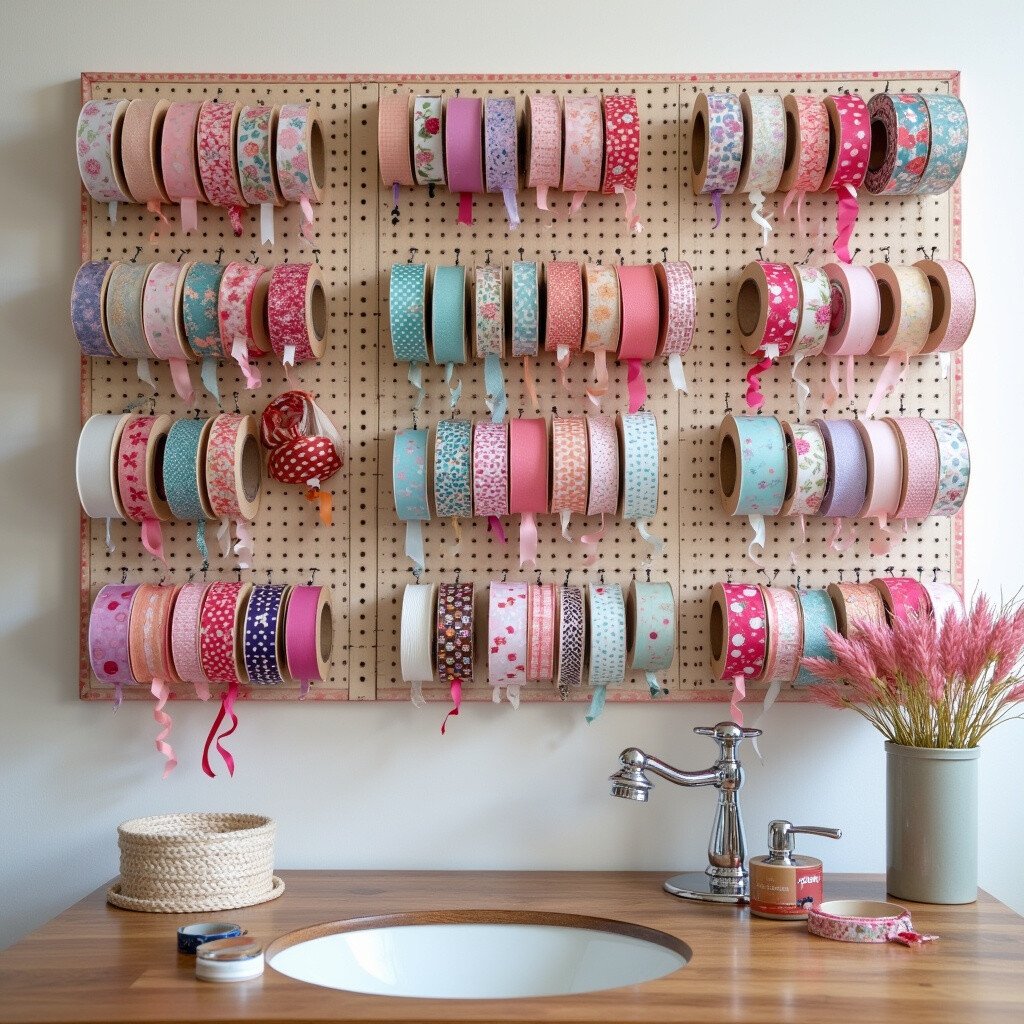
4. Pegboard Ribbon Cubbyholes
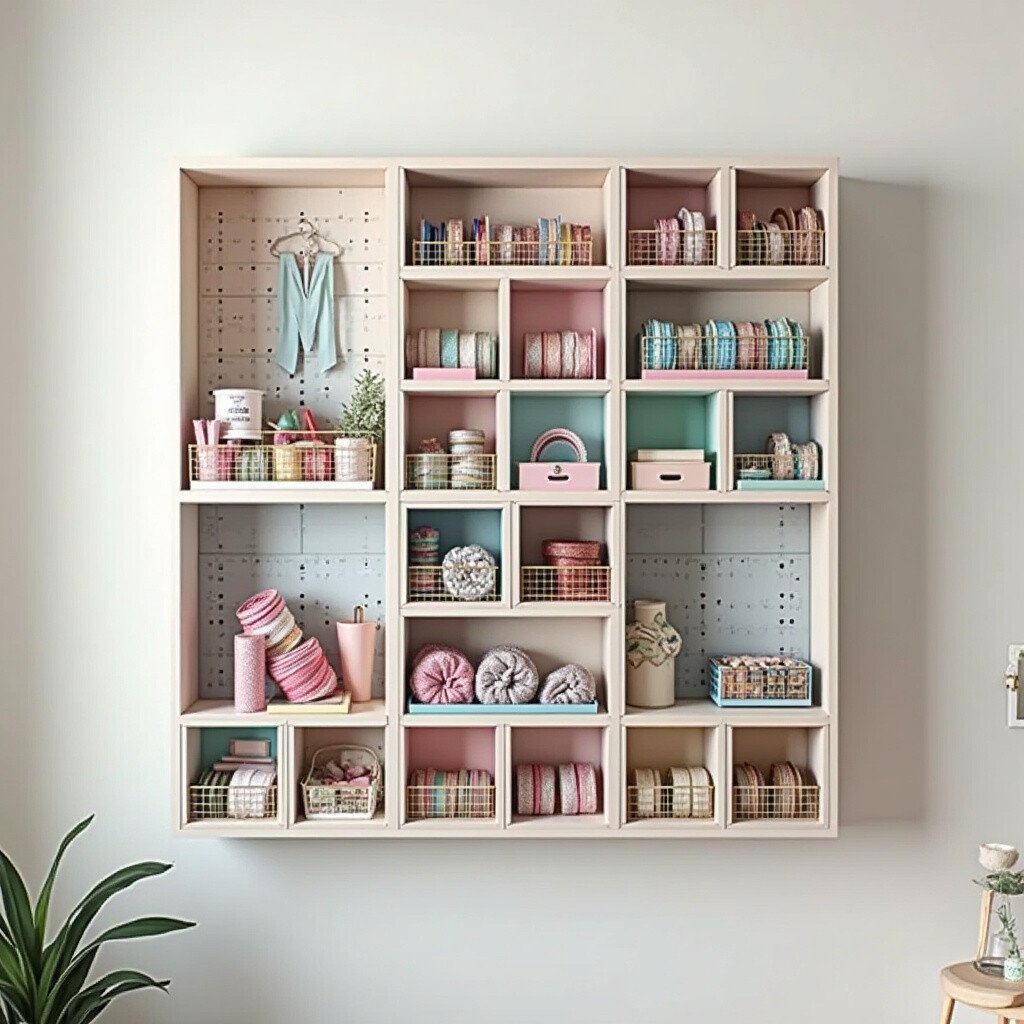
Transform sections of your pegboard into cubbyholes with small boxes or baskets. Neatly stack ribbon spools inside, creating a tidy and accessible storage area. This method allows you to separate ribbons by type or theme.
Cubbyholes add a structured and organized look to your craft room. It’s like having miniature shelves dedicated to your ribbon collection. This idea is perfect for those who prefer a compartmentalized storage system.
Decorate the boxes with washi tape or paint to match your room decor. This approach is inexpensive, using items you might already have at home. Personalize each cubby with labels for easy identification.
5. Pegboard Ribbon Wreath
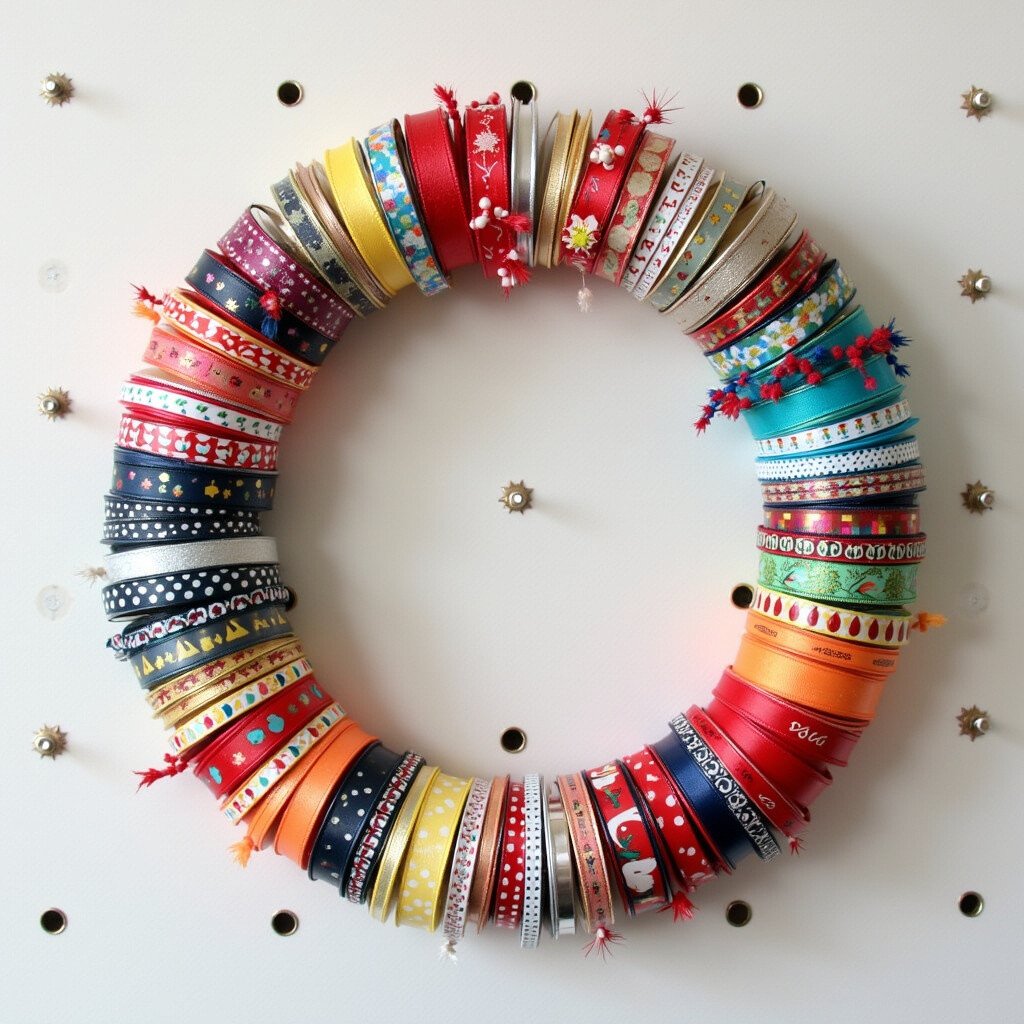
Create a circular arrangement of ribbons on your pegboard to mimic a wreath. Use pegs to hold the ends of the ribbons in place, forming a colorful circle of creativity. This design is both festive and functional, great for seasonal ribbons.
The wreath shape brings a unique charm to your storage solution, turning ribbons into a decorative feature. It’s perfect for adding a touch of whimsy to your craft area. The circular design makes it easy to pull out and replace ribbons.
Choose ribbons with complementary colors for a harmonious look. This setup is low-cost, requiring only a few pegs and your existing ribbon collection. Personalize it with a decorative bow or seasonal embellishments.
6. Vertical Ribbon Rail
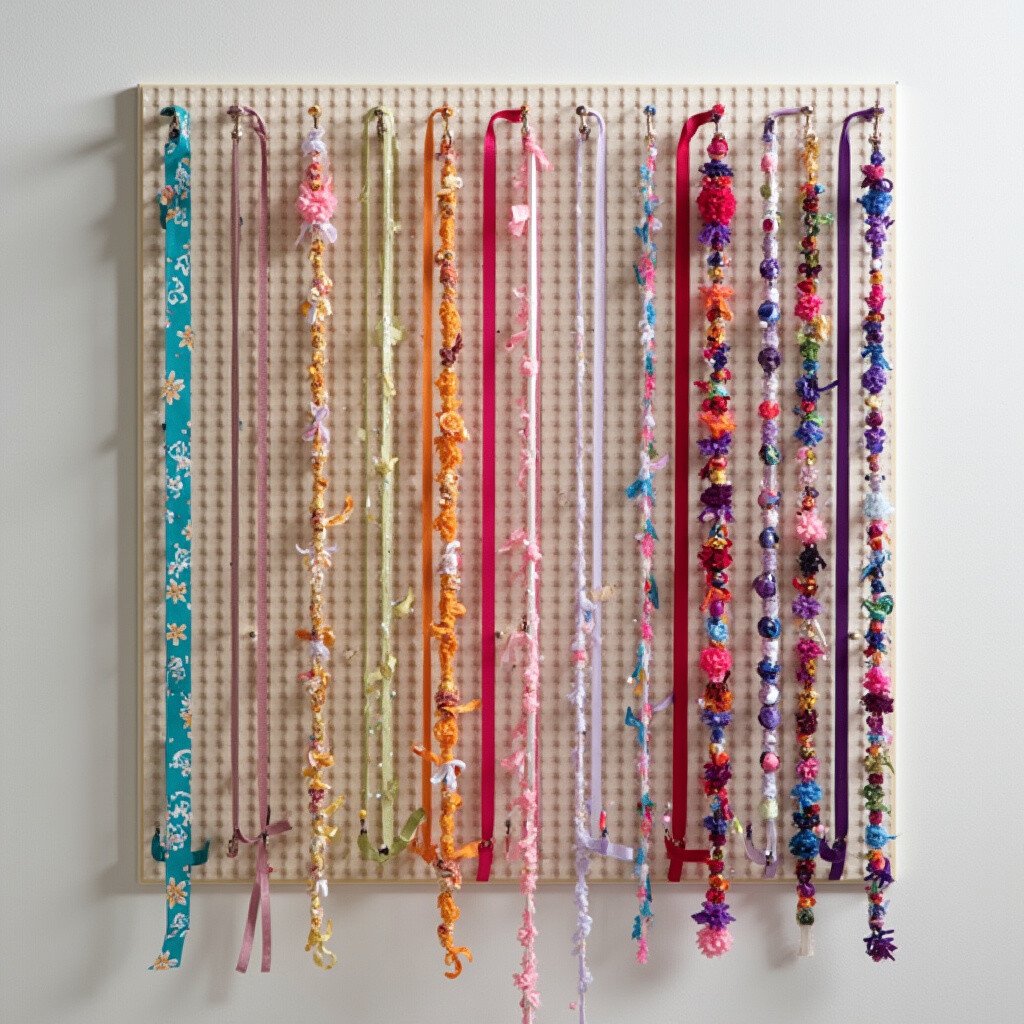
Use vertical rails on your pegboard to hang ribbons in neat, vertical columns. This setup is ideal for narrow spaces or if you have a large variety of ribbons. The vertical arrangement keeps your collection organized and easy to access.
Vertical rails offer a sophisticated and streamlined look, much like a boutique display. It’s a brilliant way to show off your ribbons without taking up too much space. This method allows you to quickly see and choose your desired ribbon.
Consider using decorative rails to add a bit of flair. This idea is cost-effective, as simple rails can be found at hardware stores. Personalize it by painting the rails to match your color scheme.
7. Pegboard Ribbon Carousel
Install a rotating carousel on your pegboard to hold ribbons. With a gentle spin, you can view your entire ribbon collection at once. This interactive display is both fun and functional, perfect for those who love dynamic storage solutions.
The carousel design makes it easy to access ribbons without having to reach or bend. It’s a playful addition to your craft room that adds movement and interest. This method is great for keeping your ribbons organized and tangle-free.
Look for a carousel that can hold different sizes of spools. This setup may be a bit pricier, but it’s a worthwhile investment for avid crafters. Personalize it with decorative elements like beads or charms.
8. Enchanting Ribbon Arch
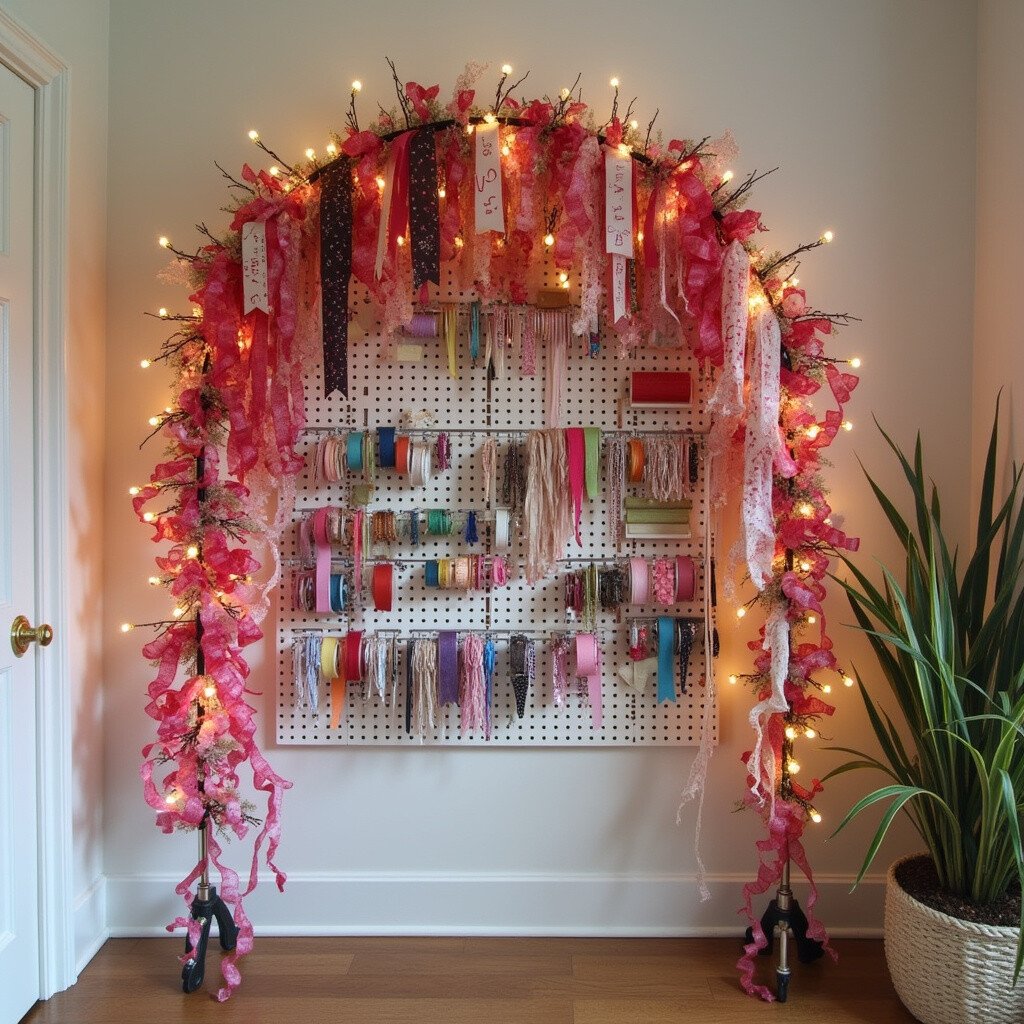
Create an archway of ribbons over your pegboard by using flexible rods. Arrange the ribbons in a cascading arc, adding a whimsical touch to your space. This design is perfect for showcasing a special selection of ribbons.
The ribbon arch brings a fairytale-like quality to your storage area, inviting creativity and inspiration. It’s a unique way to display ribbons, making them the centerpiece of your craft room. This setup allows easy access to each ribbon.
Choose ribbons in similar textures for a cohesive look. This method is affordable, using flexible rods and existing ribbons. Personalize the arch with fairy lights for a magical glow.
9. Pegboard Ribbon Ladder
Use ladder-like structures on your pegboard to hang ribbons. This vertical storage system is perfect for maximizing small spaces, allowing ribbons to be displayed in an orderly manner. The ladder design keeps everything within easy reach.
The ladder setup adds a rustic and charming vibe to your craft area. It’s a smart way to store ribbons, keeping them tangle-free and organized. This method is excellent for those who appreciate a minimalist yet functional design.
Consider using wooden ladders for a natural look. This approach is budget-friendly, with DIY ladders being an easy project. Personalize it with paint or stain to match your room’s theme.
10. Ribbon Pegboard Gallery
Turn your pegboard into a gallery wall of ribbons by framing sections with decorative borders. Arrange ribbons in artistic patterns, creating a visual masterpiece. This design is perfect for those who love to make a statement.
The gallery wall transforms ribbons into art, making them a focal point in your craft room. It’s a creative way to display your collection while keeping it organized. This method allows for easy access and adds a touch of elegance.
Use washi tape or decorative trim to frame sections. This setup is cost-effective, using materials you likely have on hand. Personalize it by incorporating small art pieces or photos between ribbons.
11. Ribbon Pegboard Mosaic
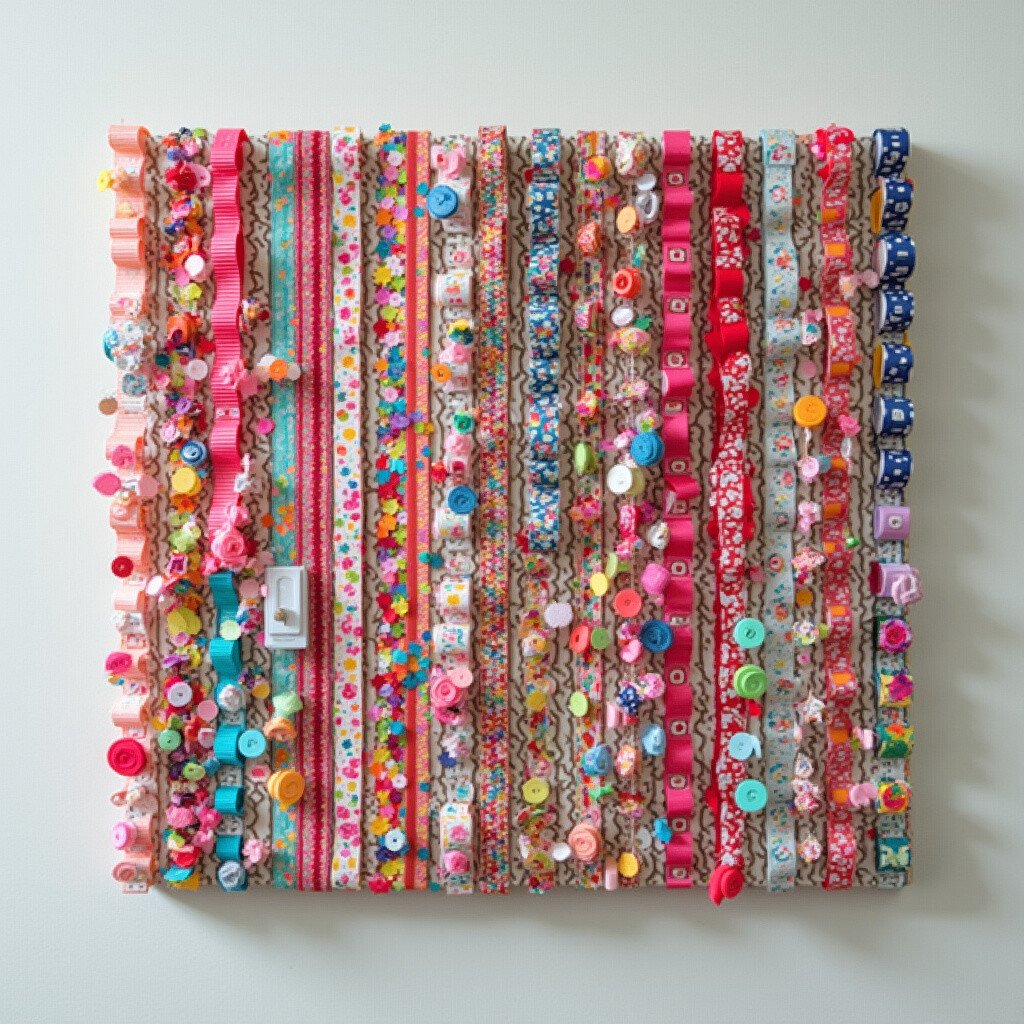
Create a mosaic pattern with ribbons on your pegboard by interweaving different colors and textures. This intricate design turns your storage solution into a work of art. It’s ideal for those who enjoy a vibrant and lively craft space.
The mosaic pattern adds a touch of sophistication and creativity, making it a standout feature in your room. It’s a playful way to organize ribbons, ensuring each one is easily accessible. This method is perfect for showcasing a diverse collection.
Experiment with different patterns and shapes to keep the design fresh. This idea is affordable, using existing ribbons and pegs. Personalize it by incorporating small decorative elements like buttons or charms.
12. Ribbon Pegboard Tree
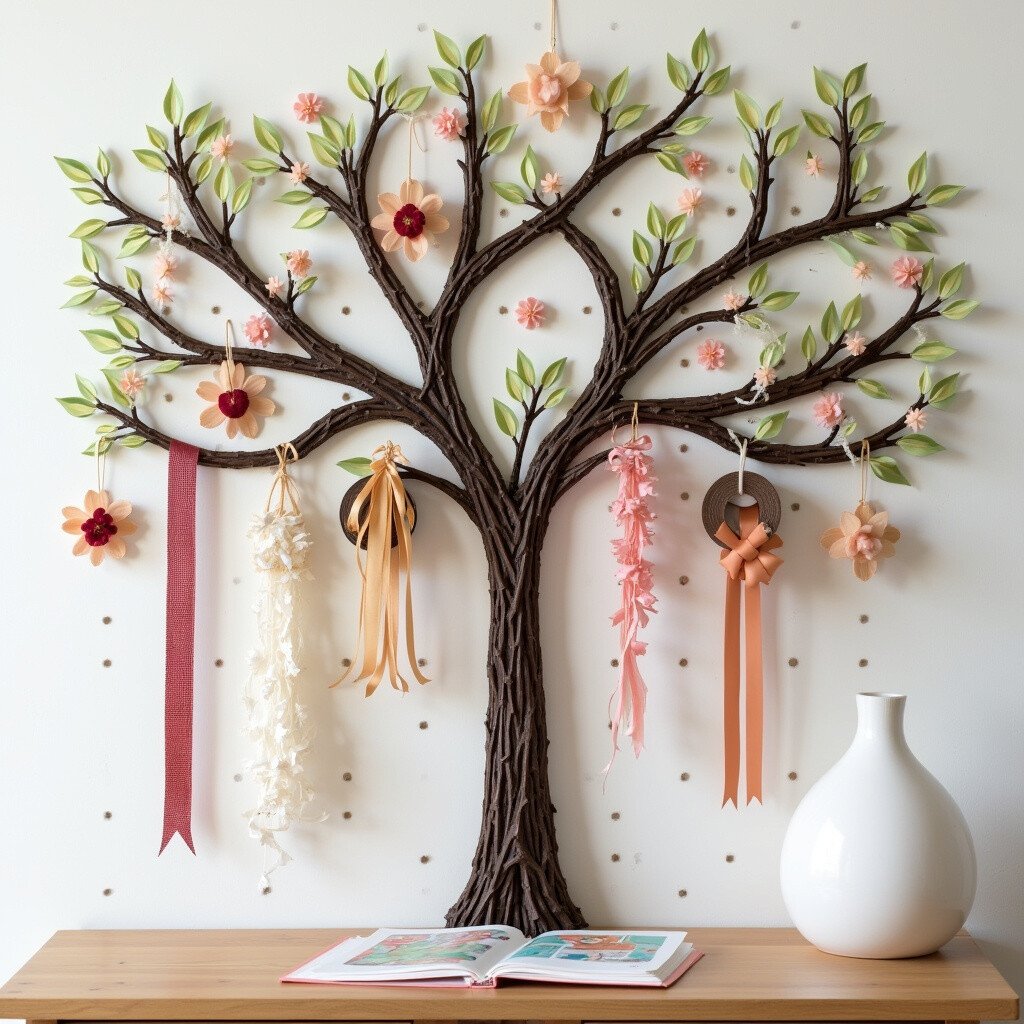
Design a tree-like structure on your pegboard to hang ribbons from branches. Use pegs to hold ribbons in place, creating a nature-inspired display. This setup is perfect for adding a whimsical touch to your craft room.
The tree design brings a sense of tranquility and beauty, turning ribbons into a natural feature. It’s a unique way to store ribbons, making them easy to view and access. This method is great for those who love a themed storage solution.
Choose ribbons in earthy tones for a harmonious look. This setup is cost-effective, requiring only pegs and existing ribbons. Personalize it with faux leaves or flowers for added charm.