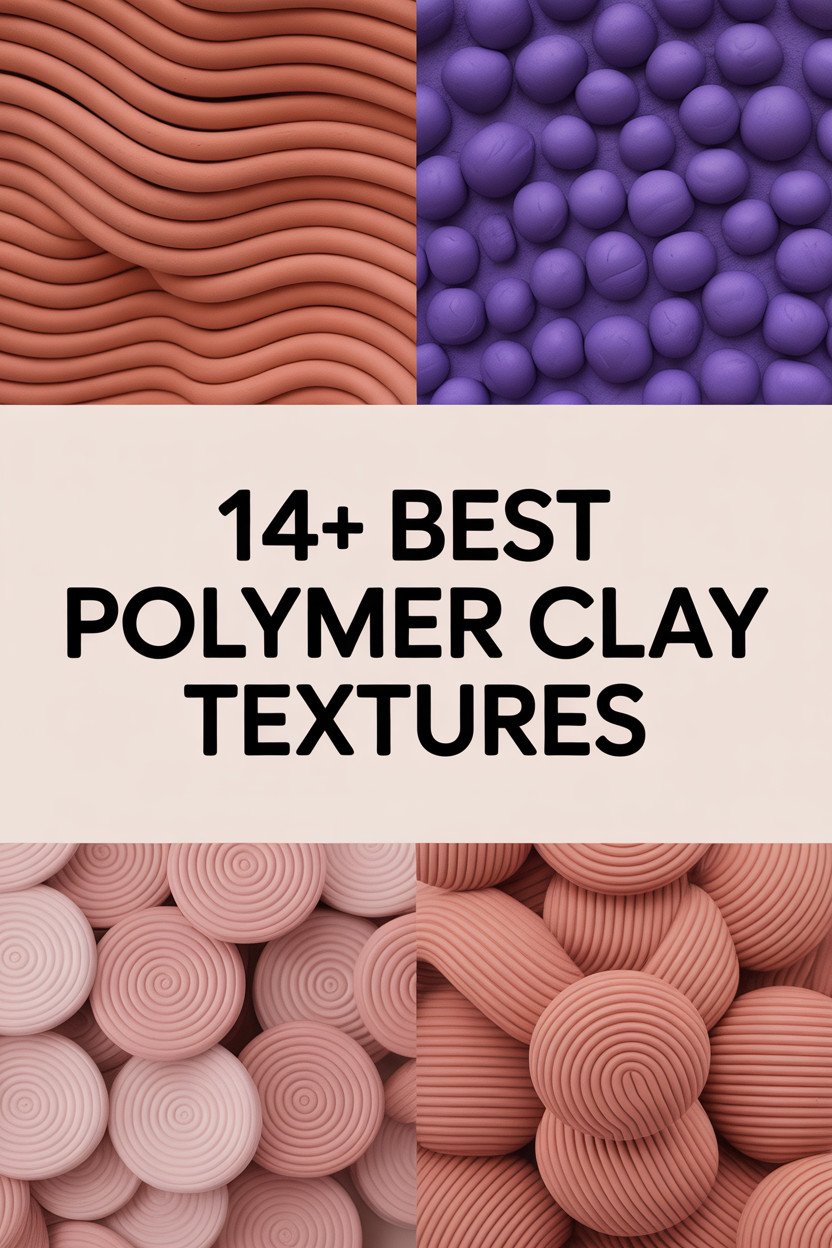
Imagine holding a piece of art that feels as stunning as it looks. The magic of polymer clay lies in its ability to capture textures that enchant both the eyes and the fingers. Unearth the tactile wonders that can transform your creations into something truly special.
1. Velvet Touch
Top Velvet Touch Craft Tutorials
- 🎨 Velvet Touch | Dixie Belle Paint from dixiebellepaint.com.
- 🍂 c. Chartpak Velvet Touch Lettering 1 Sheet Wide Variety … from ebay.com.
- 🗺️ Velvet Touch from maxtimelesstreasures.com.
- 🍂 How to Use Velvet Touch for a Smooth, Velvety Finish from blog.dixiebellepaint.com.
- 🍂 Velvet Touch – The Vintage Hen & Chick from thevintagehenandchick.com.
Picture a texture so smooth, it’s like running your fingers over a kitten’s fur. Velvet touch gives your polymer clay an elegant, soft finish. It adds a luxurious feel to jewelry and small sculptures.
This texture is perfect for creating pieces that need a little sophistication. It’s simple to achieve by gently sanding with fine-grit paper. The best part? It’s super affordable and makes your creations look high-end!
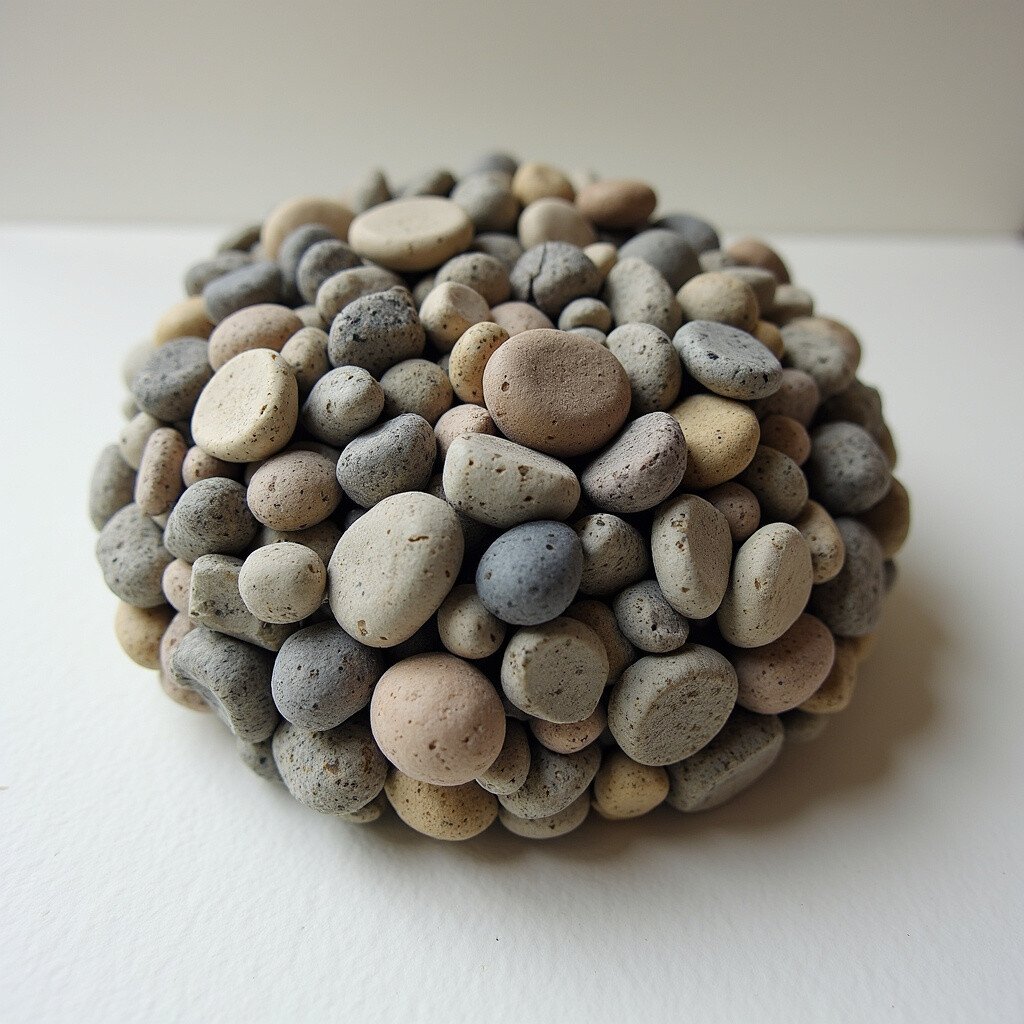
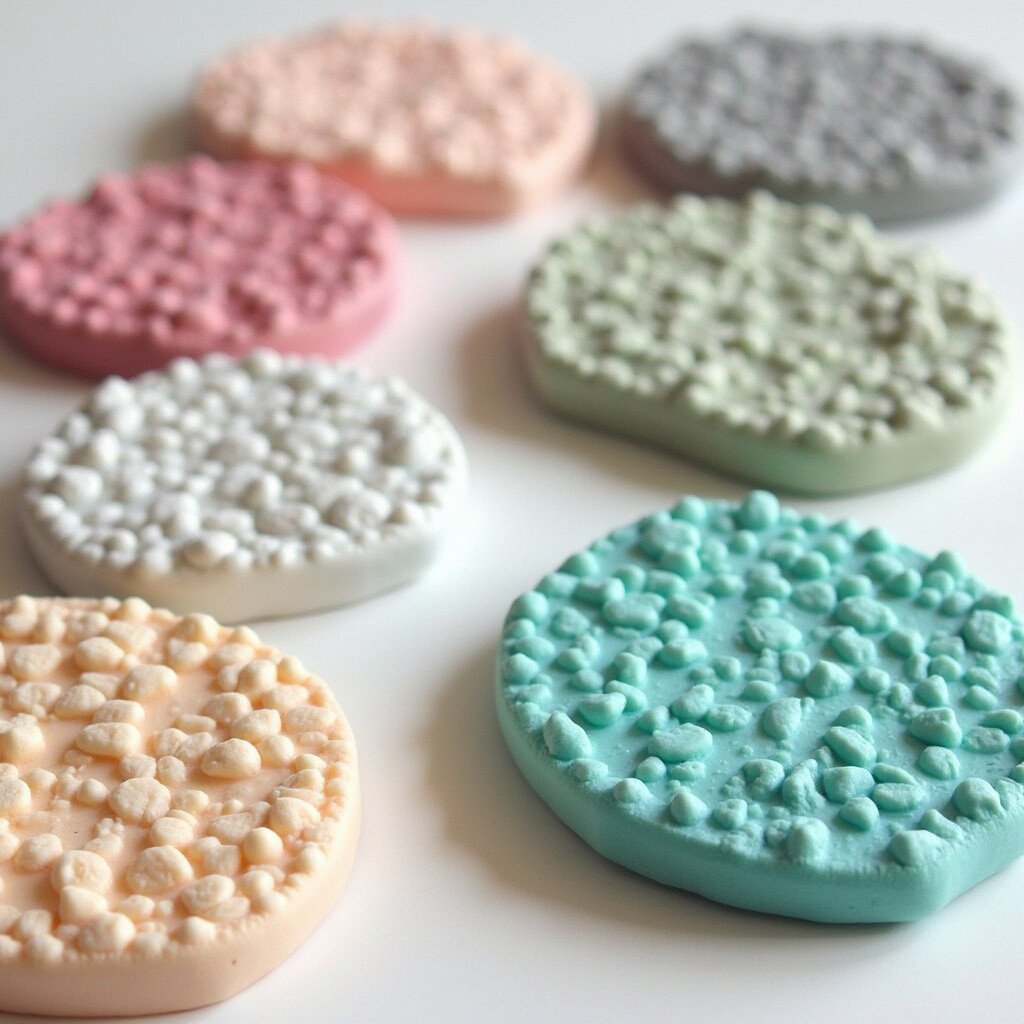
2. Stone Granules
Top Stone Granules Craft Tutorials
- 🗺️ Stone Granules By Ashland™, Color: Tan from michaels.com.
- 💅 12 Pack: White Stone Granules by Ashland from walmart.com.
- 🖼️ Ashland Decorative Filler & Coarse Stone Granules (X2) LOT from ebay.com.
- 👓 Stone Granules/Pieces for Resin Art, Nail Art, Body … from beadsandcraft.com.
- 🎨 Michaels Ashland Stone Granules Same-Day Delivery from instacart.com.
Stone granules make your clay look like a mini rock formation. It’s unique and adds a natural, earthy feel. You can make your own by mixing tiny pebbles or grains into the clay.
This texture is great for garden decorations or rustic-themed jewelry. It’s a fantastic way to bring nature indoors. Plus, it gives a rugged look without the weight of real stones.
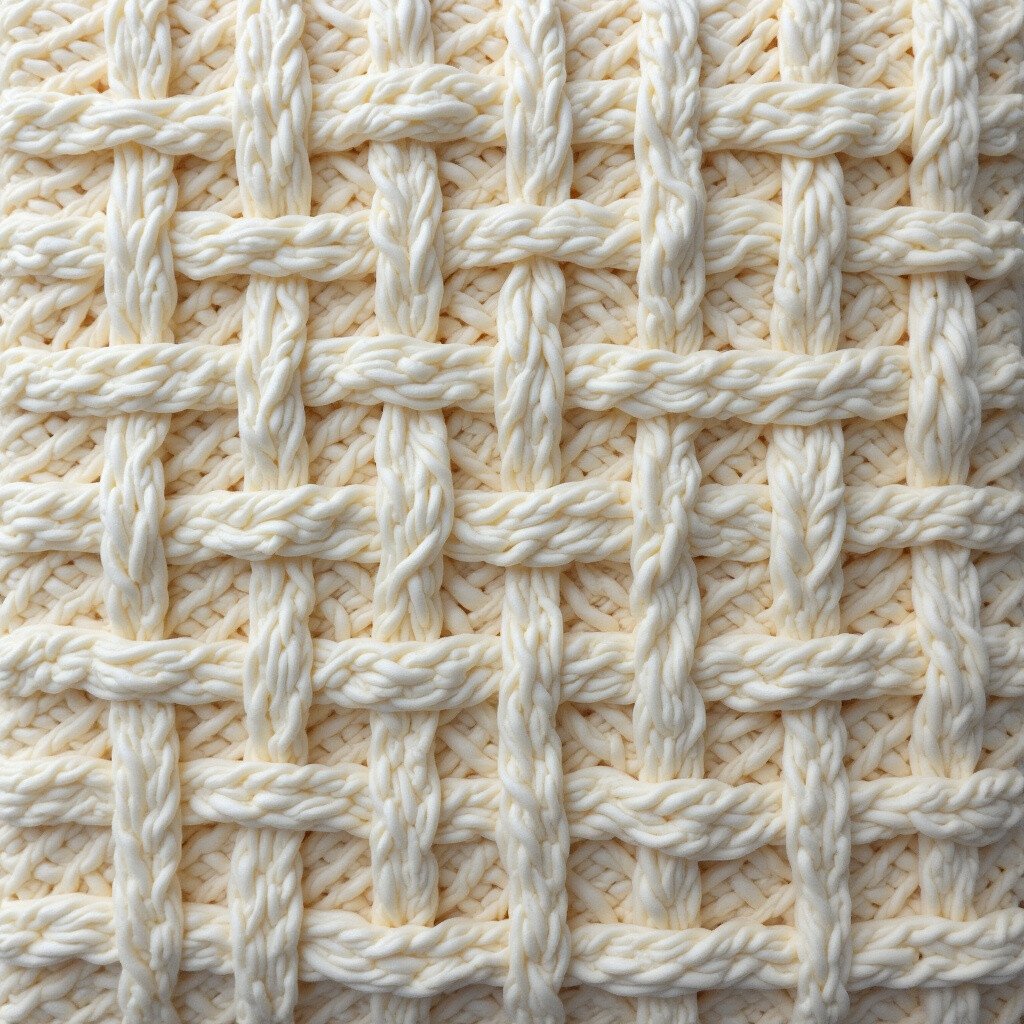
3. Linen Weave
Top Linen Weave Craft Tutorials
- 👓 Weaving with Linen – 3 ways to Succeed! from fiberrhythm.com.
- 💅 Callie Linen Coasters Kit from flaxandtwine.com.
- 👓 Lovely, Lucious, Linen from plainweave.net.
- 👓 fabric, craft from shop-foglinen.com.
- 🎨 Heavy Linen Thread, 3-Cord, Unwaxed from crazycrow.com.
Think of the comforting crisscross of a favorite linen shirt. Linen weave texture mimics this look, giving your clay a cozy, fabric-like appearance. It’s perfect for adding a touch of warmth to your art.
Use a fabric scrap to press into the clay before baking. It’s an inexpensive way to add charm. This texture works wonders on home decor pieces like coasters or keychains.
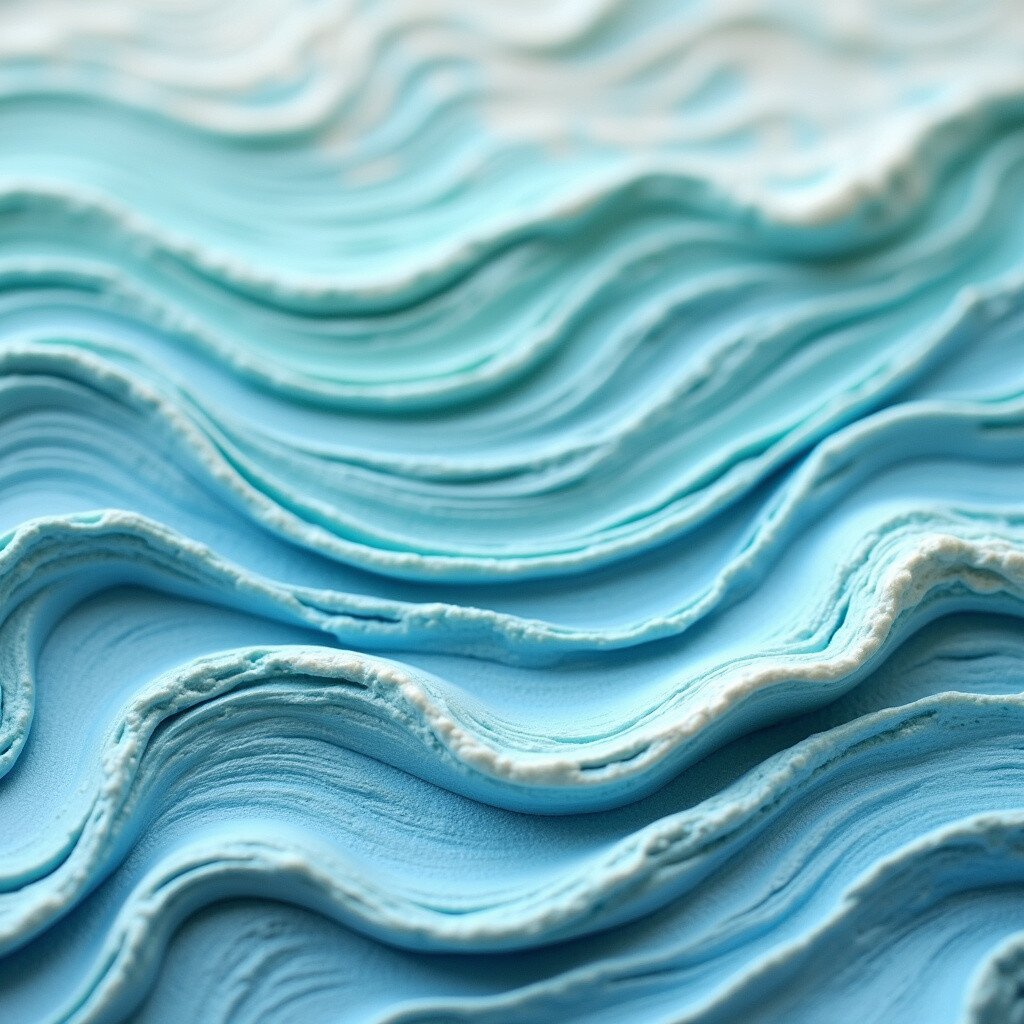
4. Ocean Waves
Top Ocean Waves Craft Tutorials
- 🧑🌾 OLYCRAFT 74pcs(4 Sheets) 4 Style Ocean Waves Resin … from beebeecraft.com.
- 🍁 Ocean waves in a jar craft for sensory play from facebook.com.
- 🗺️ Ocean Waves In A Bottle from littlebinsforlittlehands.com.
- 🖼️ Make an Ocean in a Bottle from munchkinfunathome.com.
- 🍂 How to Create Ocean Waves with Resin from happilyeverafteretc.com.
Ocean waves bring the sea to your fingertips. The rolling, flowing pattern is calming and mesmerizing. It’s ideal for pieces that need a touch of tranquility.
To create this texture, use a toothpick to swirl the clay surface gently. It’s soothing to make and even more soothing to look at. The result is a serene masterpiece, perfect for beach lovers.
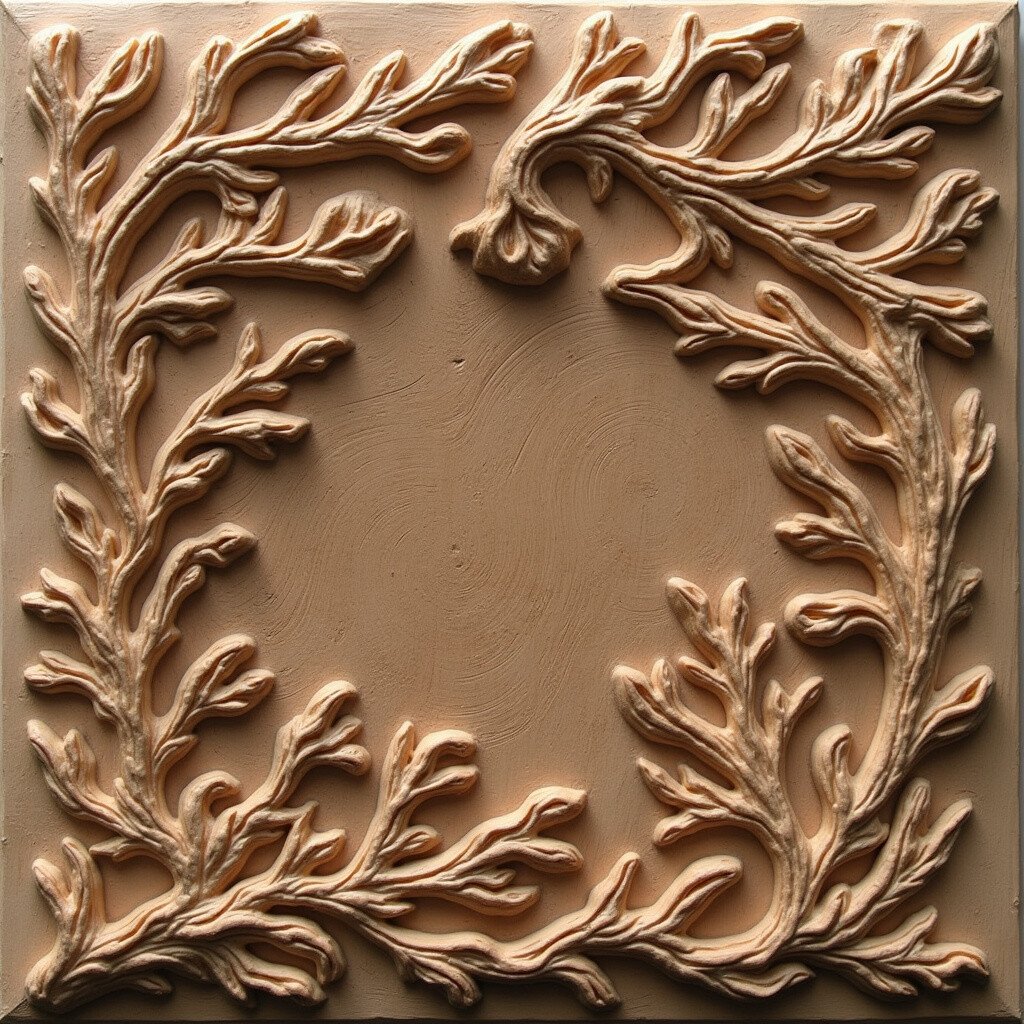
5. Wood Grain
Top Wood Grain Craft Tutorials
- 🎄 Wood Grain Craft Vinyl for Silhouette, Cricut and More from rvinyl.com.
- 🍂 Wood Grain Crafts: Home from woodgraincrafts.com.
- 🖼️ 10.2×7.5 Inch Wood Grain Craft Hoops Oval Cross Stitch … from cohosmarket.com.
- 🍅 Flexi Hoop New 5” Wood Grain Pattern Needlework Craft Frame … from ebay.com.
- 🗺️ Fabric in Wood Grain 5 large from spoonflower.com.
Wood grain texture gives the illusion of carved wood. It’s a great choice for creating rustic or vintage-style pieces. This texture is versatile and can be used in a variety of projects.
Use a comb or a fork to drag across the clay for a realistic effect. It’s a quick and easy way to add character. Your pieces will look like they came straight from a fairy tale forest.
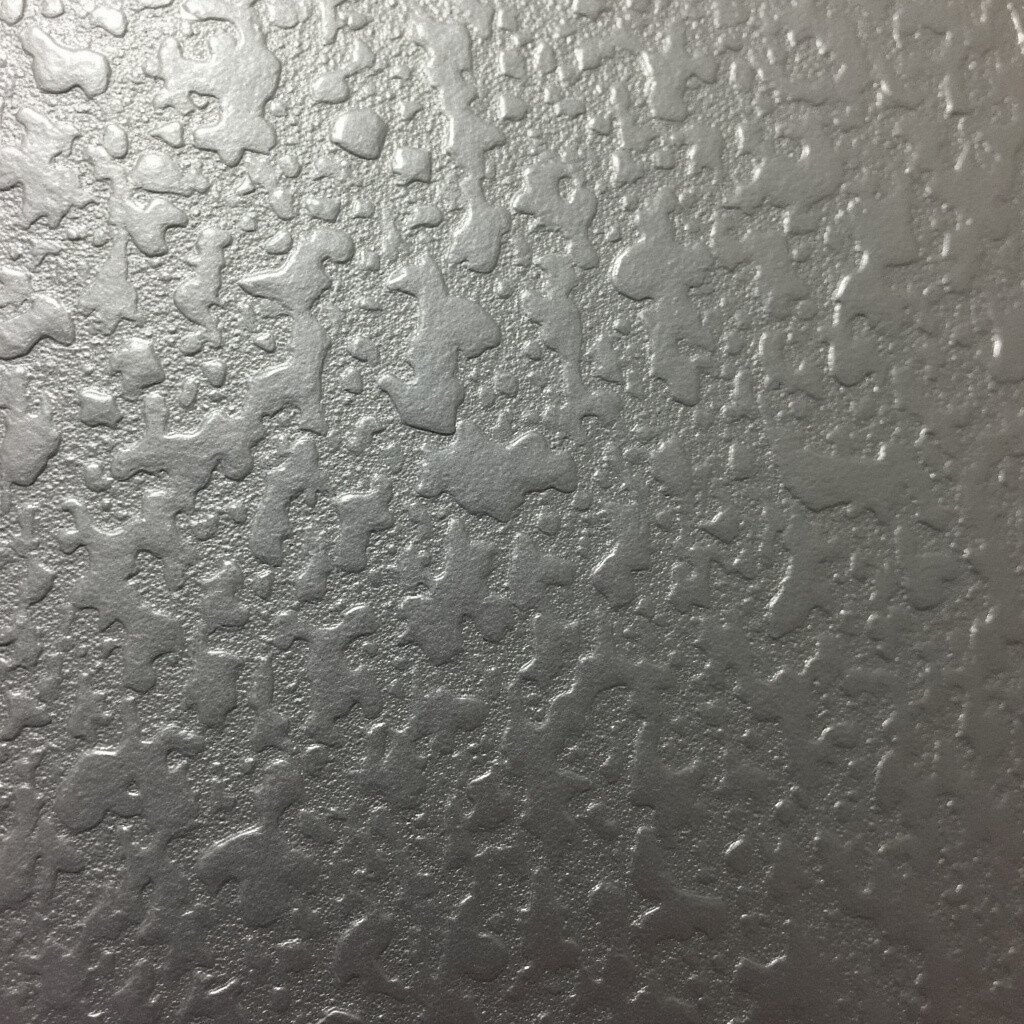
6. Metallic Pewter
Top Metallic Pewter Craft Tutorials
- 🍅 MODERN MASTERS Metallic Paint Collection Craft … from ebay.com.
- 🧑🌾 ME209 6 oz. Pewter Metallic Paint from walmart.com.
- 🧑🌾 Pewter Sheet – Lead Free, Medium (36 gauge) 6 inches x 6 … from esmericart.com.
- 💅 Step-by-step pewter art technique tutorials for beginners from youtube.com.
- 🗺️ Modern Masters Metallic Paint Pewter – Paint Garden from paintgarden.com.
Metallic pewter texture adds a sleek, shiny finish to your clay. It’s perfect for modern, industrial-style creations. This texture reflects light beautifully, making your pieces sparkle.
Achieve this look with metallic powders or foils. It’s a bit pricier than other textures, but the stunning result is worth it. Your creations will look like they’re made of precious metal.
7. Bubble Wrap Magic
Top Bubble Wrap Magic Craft Tutorials
- 🎨 Cut bubble wrap into heart shapes, dip it in paint, then … from facebook.com.
- 💅 EASY BUTTERFLY CRAFT FOR KIDS! | Crazee Kids Art from crazeekidsart.com.
- 🧑🌾 10 Hilarious, and Sometimes Very Messy, Bubble Wrap … from mommypoppins.com.
- 🖼️ Bubble wrap + paint = a fun-filled sensory masterpiece! 🎨👣✨ from facebook.com.
Bubble wrap isn’t just for packing. Use it to create fun, bubbly textures on your clay! It’s an easy, playful way to add dimension to your pieces.
Simply press the bubble wrap onto your clay before baking. This texture is perfect for quirky, whimsical pieces. The best part? It’s practically free!
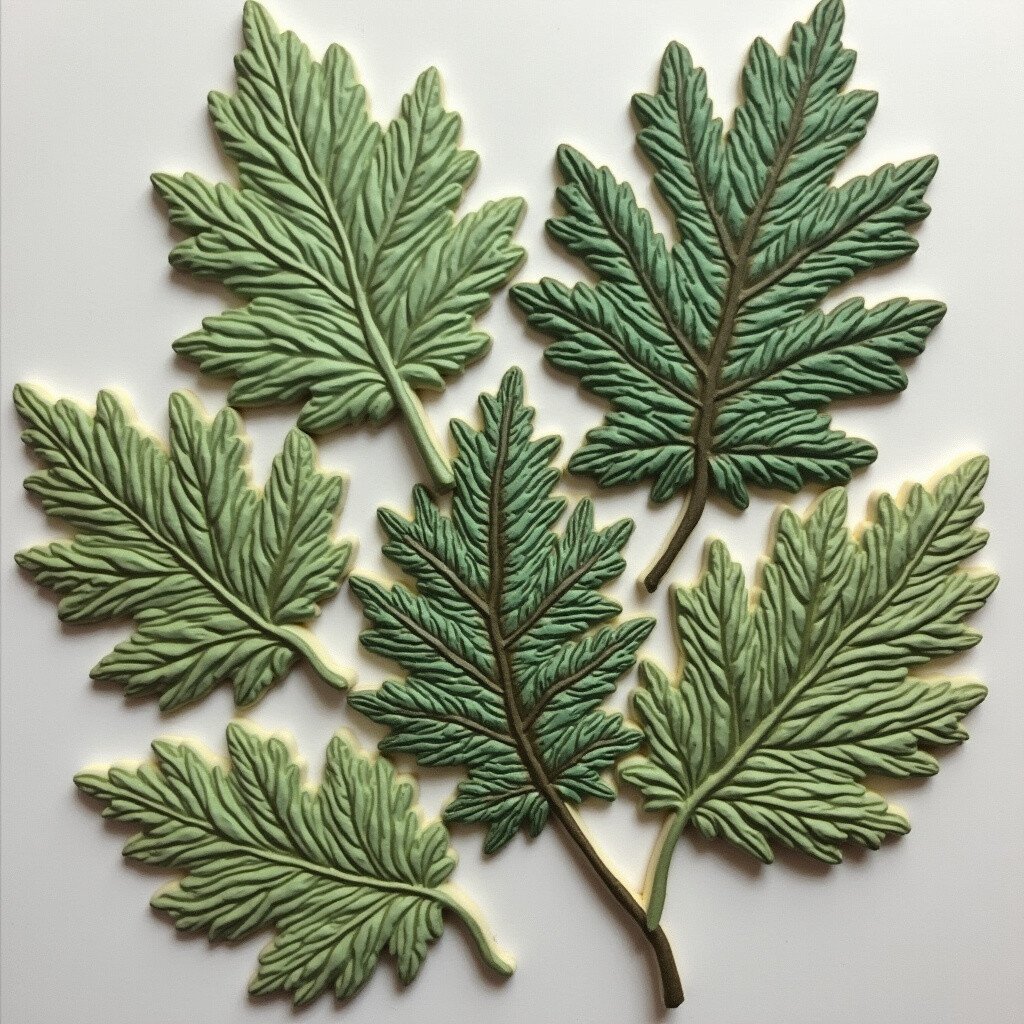
8. Leaf Imprint
Top Leaf Imprint Craft Tutorials
- 🍂 Creating Leaf Prints: A Nature Activity For Kids from naturestudyhomeschool.com.
- 🧑🌾 Leaf Imprint Wall Decor 42 Best Fall Leaf Craft Ideas from masteringmetrics.com.
- 🍂 Make Leaf-Imprinted Ornaments | Crafts for Kids from pbs.org.
- 🍅 Instructions for making leaf impressions and painting from facebook.com.
- 💅 How to Make DIY Fall Leaf Prints with Kids from meaningfulmama.com.
Leaf imprint brings the beauty of nature into your art. It’s a delicate, intricate texture that captures every vein. Perfect for nature-themed jewelry or decor.
Collect leaves from your backyard and press them into the clay. It’s a wonderful way to personalize your art. Each piece will be as unique as the leaves you find.
9. Quilt Squares
Top Quilt Squares Craft Tutorials
- 🖼️ Nine-Patch Quilt Tutorial from farmandfolk.com.
- 🗺️ Exploring Quilting Basics: the Disappearing 9 Patch Block from katecollerandesigns.com.
- 🖼️ 9" Quilt Block Themes from jdneedleart.com.
- 🗺️ A Super-Sized Nine-Patch Quilt Pattern – FREE! from craftsy.com.
- 🍂 Nine Patch Squared Quilt Pattern – Anna Maria from annamariaparry.com.
Quilt square texture adds a warm, cozy feel to your pieces. It looks like a patchwork quilt, full of charm and comfort. Ideal for homey, inviting creations.
Use a ruler and a needle tool to create a grid pattern. It’s a bit more time-consuming, but the result is a beautiful, tactile piece. Your creations will feel like a hug!
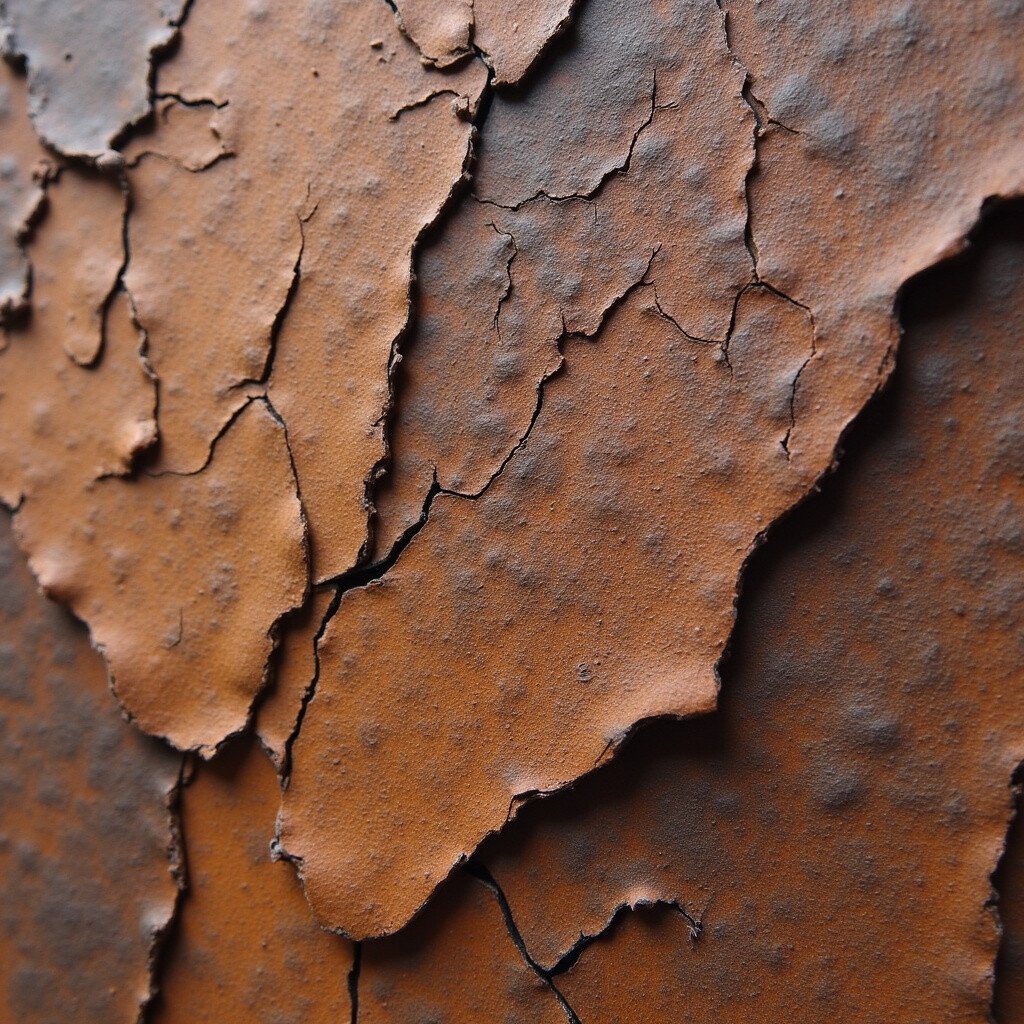
10. Leather Look
Top Leather Look Craft Tutorials
- 🖼️ The 10 Prettiest Leather DIY Projects from annabode.com.
- 👓 20 Top Leather Projects That Sell from xtool.com.
- 🗺️ Tried n True Leather Sheets for Crafts from theleatherguy.org.
- 👓 What are some creative ways to use faux leather? from facebook.com.
- 🍁 Essential Tools for Beginner Leathercrafters: Top 10 Must- … from tandyleather.com.
Leather look texture gives your clay the rich, rugged appearance of genuine leather. It’s perfect for accessories like bracelets or phone cases.
Use a crumpled piece of paper to press into the clay for a leathery effect. It’s a chic, affordable way to add style. Your pieces will look like they belong in a high-end boutique.
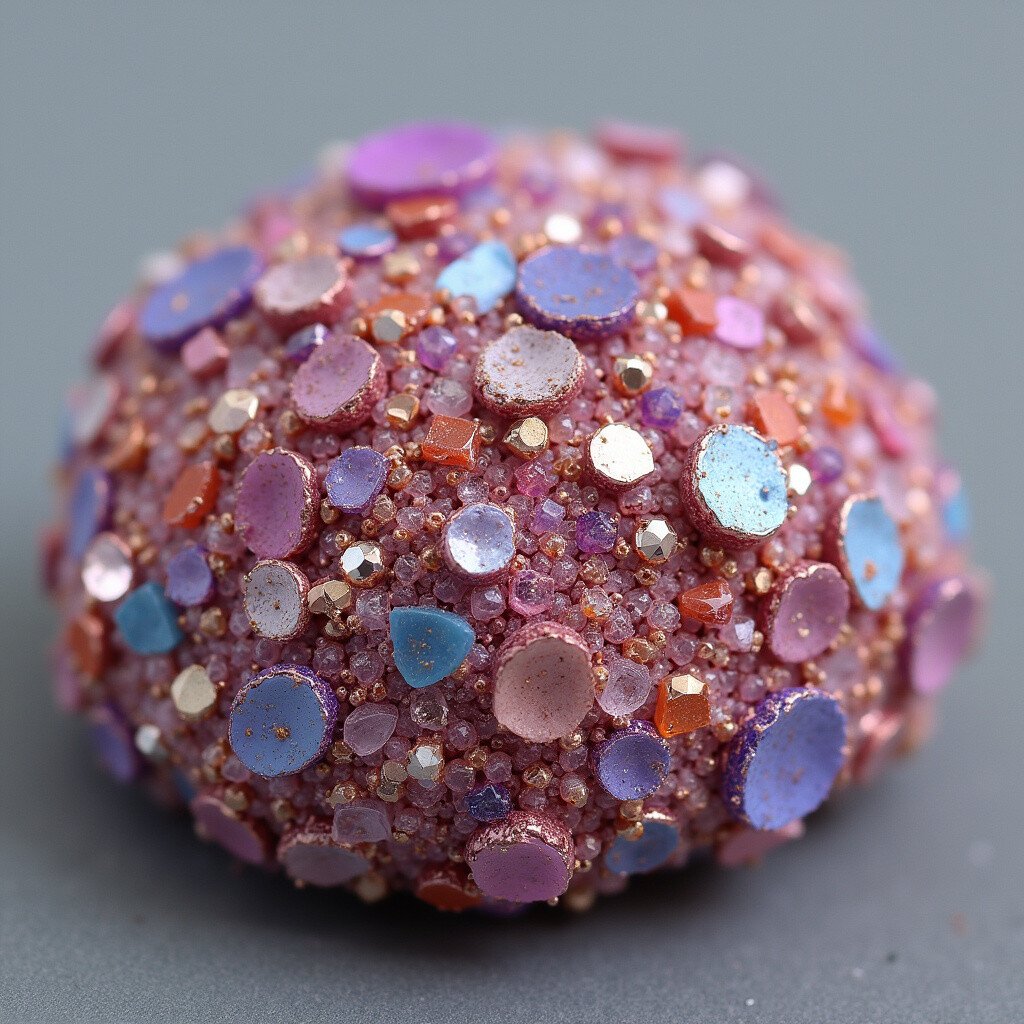
11. Crystal Shards
Top Crystal Shards Craft Tutorials
- 🧑🌾 All Crystal Shard Locations | Hytale from game8.co.
- 💅 Crystal shard from oldschool.runescape.wiki.
- 🎨 Question On How To Craft Crystal Shards : r/fo76 from reddit.com.
- 🍂 Items – A few new uses for Crystal Shards -Sprites- from forums.terraria.org.
- 🎨 What its mean ? Where can i get the crystal shard is ? from facebook.com.
Crystal shard texture makes your clay sparkle like a treasure. It’s a captivating, dazzling effect that catches the light beautifully.
Use chunky glitter or crushed glass to achieve this look. It’s a bit more costly, but your creations will shine like jewels. Perfect for statement pieces that really stand out.
12. Rope Twist

Top Rope Twist Craft Tutorials
- 🎄 12 Roll 10M Paper Rope DIY Colorful Twisted Craft String … from ebay.com.
- 🍅 12 Colors Stripes Paper String for DIY Making Twisted … from walmart.com.
- 🎄 CRAYZA Twisted Manila Rope 12 in x 100 ft Jute … from sears.com.
- 👓 Paper rope is so dated, what should I do with it? : r/crafts from reddit.com.
- 🎄 12/14/16/20mm Natural Jute Rope Twine Rolls … from aliexpress.com.
Rope twist texture adds a nautical touch to your pieces. It looks like intricate, twisted rope, bringing a bit of the sea into your art.
Twist two clay strands together before baking. It’s a simple technique with stunning results. Ideal for beach-themed or maritime decorations.
13. Cobblestone Path
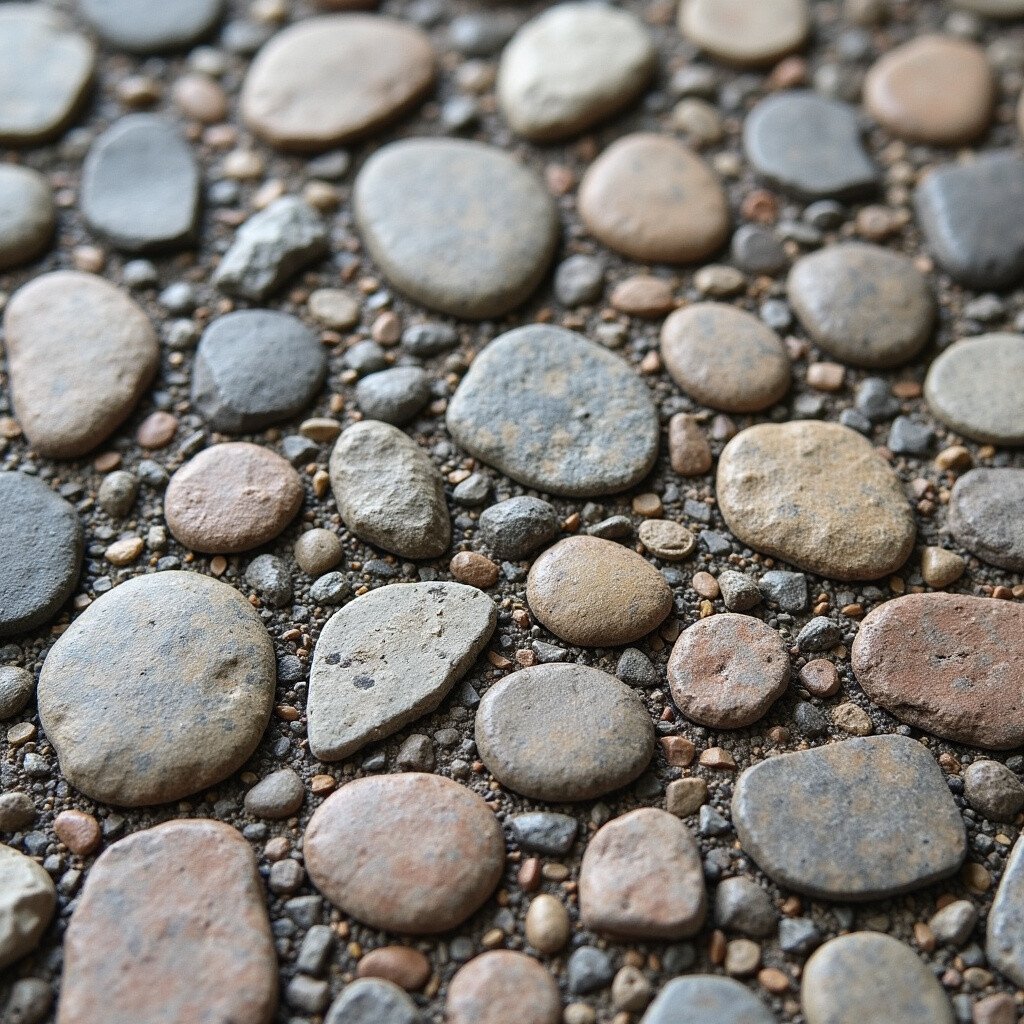
Top Cobblestone Path Craft Tutorials
- 🍁 Can't unlock the Alpine Cobblestone Path/Road from reddit.com.
- 👓 I keep seeing like a cobblestone like path in people's … from facebook.com.
- 🎄 A Cobblestone finish-OMG from knitbug2.blogspot.com.
Cobblestone path texture is reminiscent of charming old streets. It adds a quaint, timeless feel to your creations. Perfect for vintage or fairy-tale pieces.
Use small stones or a textured roller to create this effect. It’s easy and budget-friendly. Your pieces will transport anyone to a magical place.
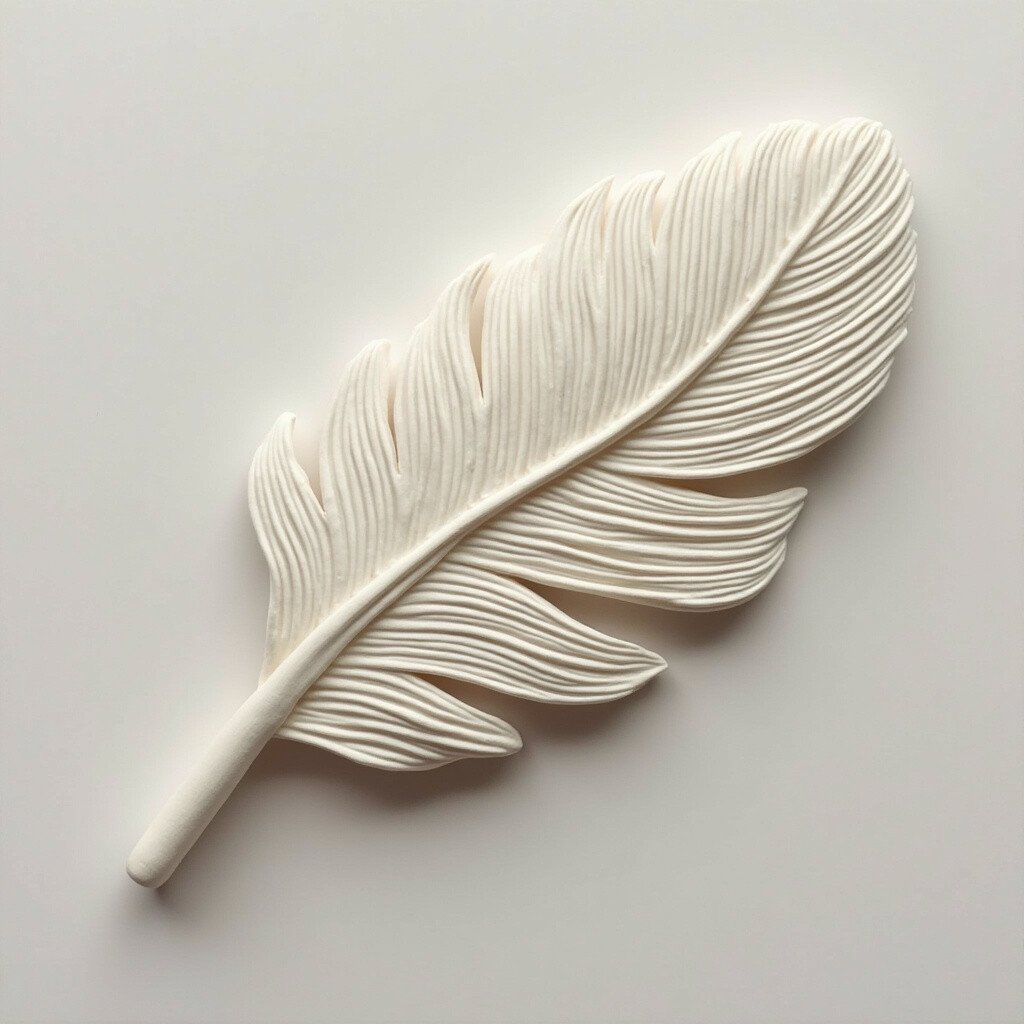
14. Feathered Elegance
Top Feathered Elegance Craft Tutorials
- 🧑🌾 12 Pack 12-14 Inch Feathers For Decor & Centerpieces from mocfv.org.
- 👓 Feather Elegance Crafting Set: Enhance Weddings … from treselite.com.
- 🎄 Pheasant Craft Feathers from zuckerfeather.com.
- 💅 Uxcell 14-16 Inch Rooster Feathers, 20 Pack Bulk Natural … from walmart.com.
- 👓 Uxcell 14-16 Inch Rooster Feathers, 20 Pack Bulk Natural … from foxhillvet.com.
Feathered elegance texture brings a soft, delicate look to your clay. It mimics the lightness and beauty of a feather. Ideal for feminine, graceful pieces.
Use a toothbrush to lightly brush the clay surface. It’s an inexpensive way to add sophistication. Your creations will look like they could fly away at any moment.
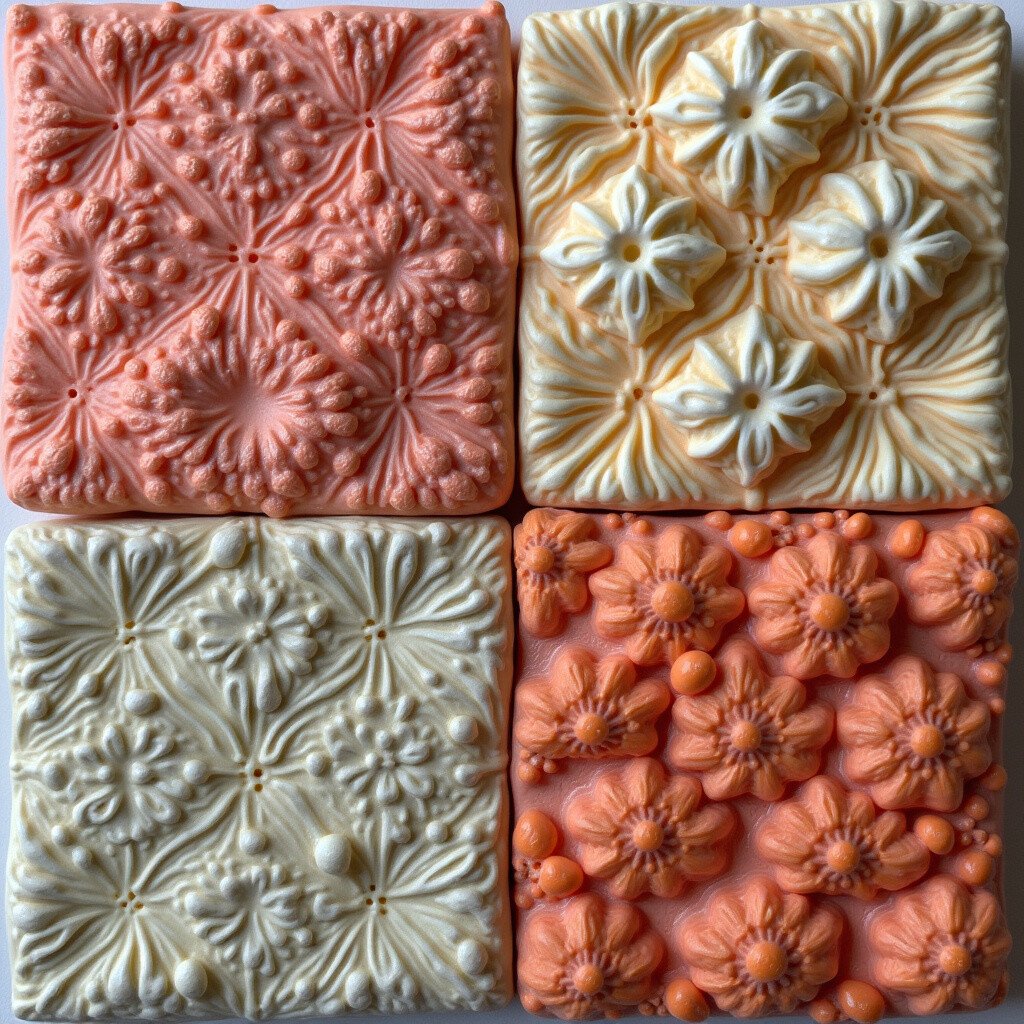
15. Mosaic Tiles
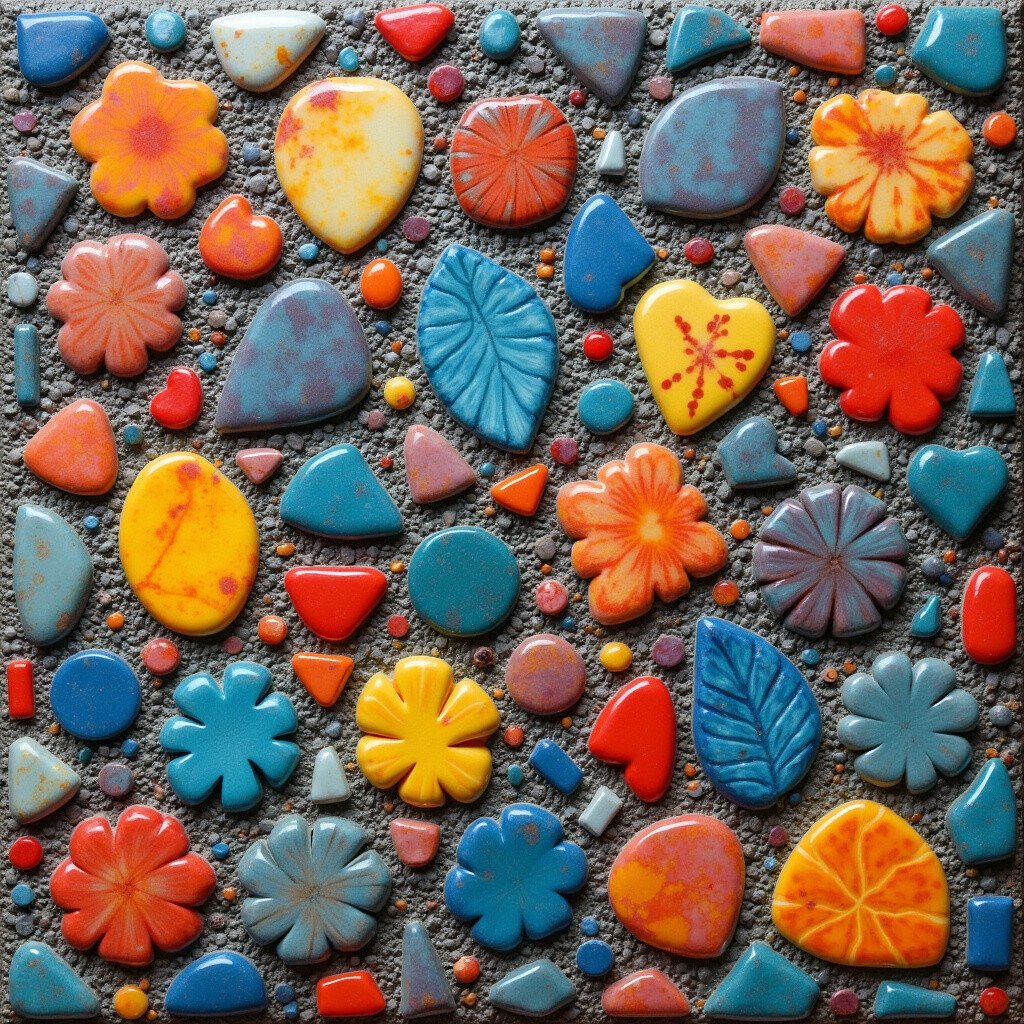
Top Mosaic Tiles Craft Tutorials
- 🍁 Kismet 15mm Square – Glass Tile from witsendmosaic.com.
- 🎨 Polished Porcelain Mosaic Tile 15mm from mosaicartsupply.com.
- 🖼️ 200g 15MM Shine Crystal Bulk Mosaic Tiles Square … from ebay.com.
- 🍅 15mm 100pc Bulk Pack For DIY Wall Decor & Crafts from dmc-nordic.com.
- 🍅 Mosaic Tile Mania from mosaictilemania.com.
Mosaic tile texture offers a colorful, artistic finish. It’s inspired by classic mosaic art, full of vibrant patterns.
Use tiny clay pieces or glass shards to create this look. It’s a bit more labor-intensive, but the result is a stunning work of art. Perfect for eye-catching, decorative pieces.