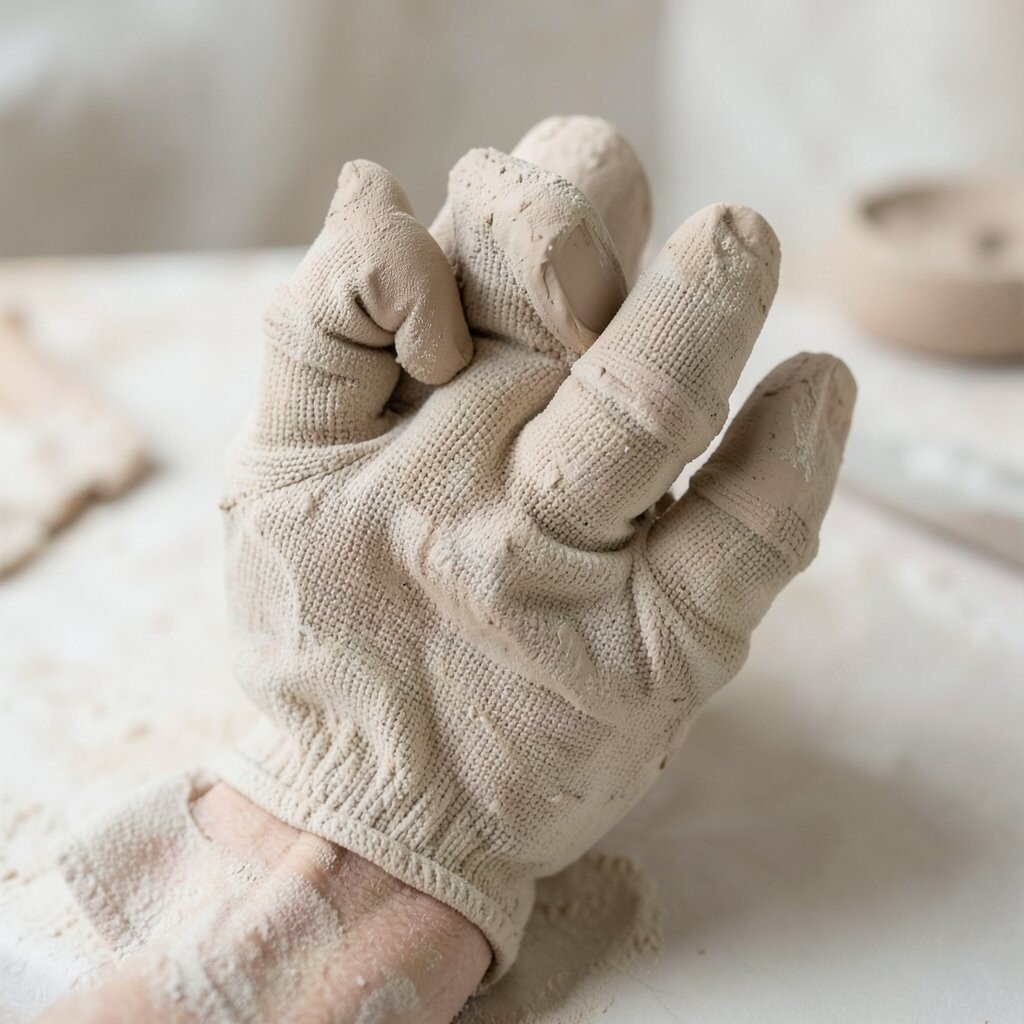
Clay can feel calm and messy at the same time. The right gloves make the whole studio feel safer and easier.
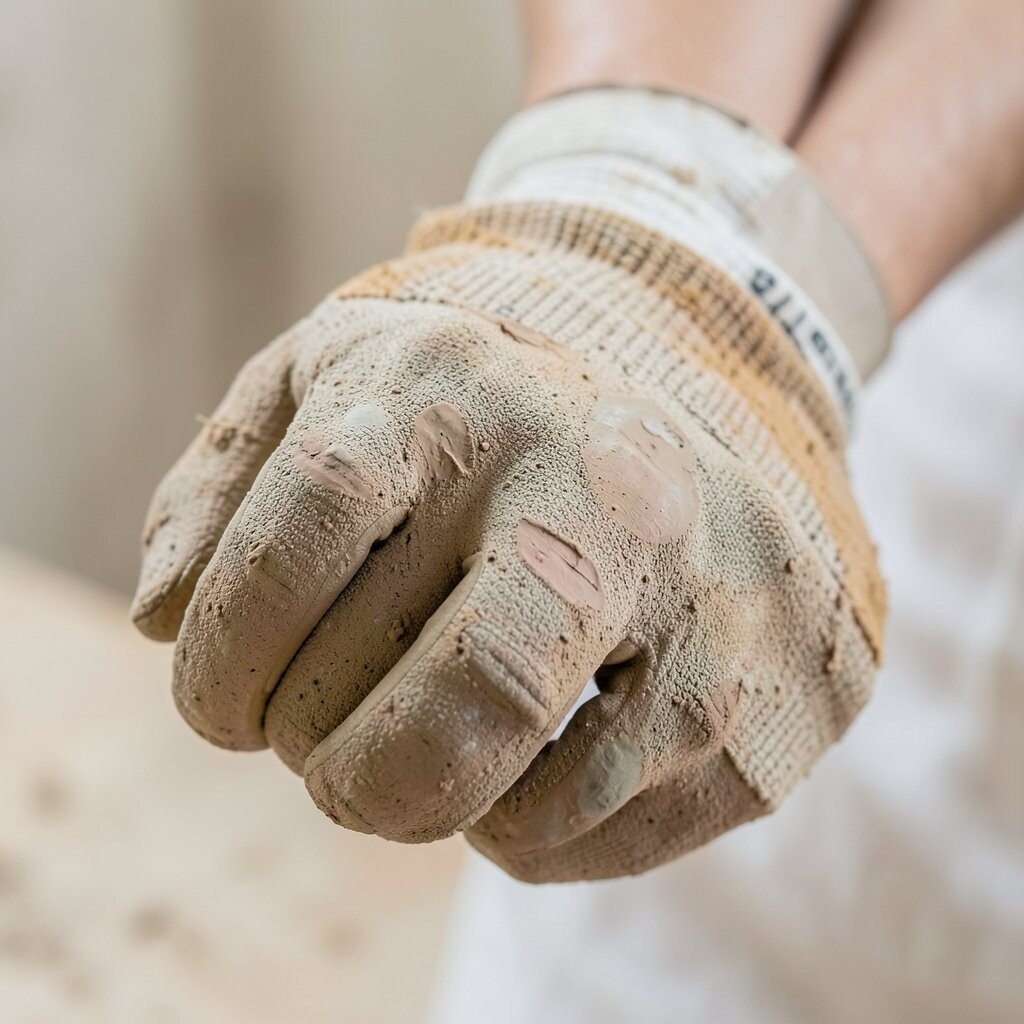
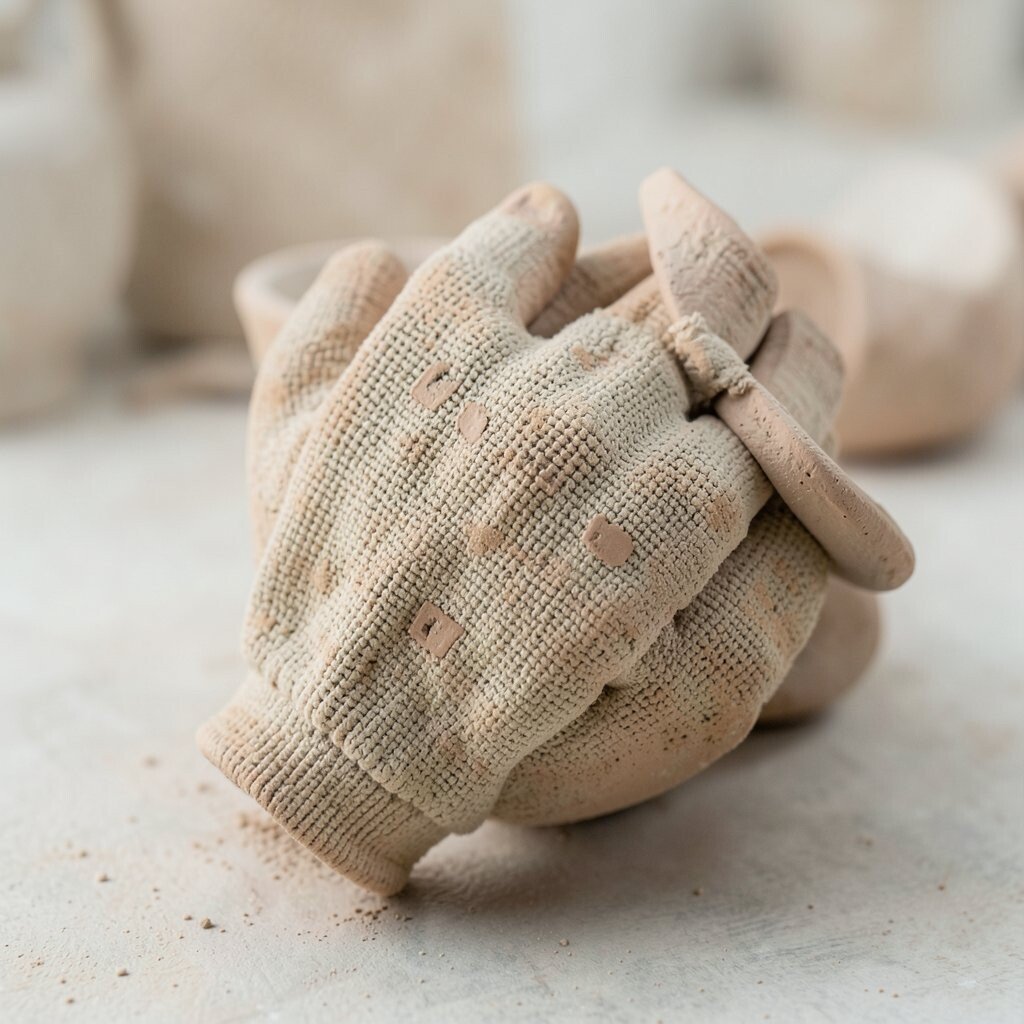
1. Pick gloves that fit your hands well
Top Pick Gloves That Fit Your Hands Well Craft Tutorials
- 👓 2 Pairs Craft Gloves Knitting Gloves for Quilting Hands … from ebay.com.
- 🖼️ Custom fit gloves for a large hand from facebook.com.
- 🎨 7 Best Work Gloves for Women & Small Hands (Try-On) from uglyducklinghouse.com.
- 🎨 Harbor Freight Gloves: How To Choose The Right Pair For … from shopping.yahoo.com.
- 🎨 Best Bushcraft Gloves? from reddit.com.
Gloves that fit snugly help you hold tools and clay without slipping. A good fit also makes your hands look neat and ready for careful work.
Try on a few pairs before you buy, since loose fingers can get in the way fast. A close fit can cost a little more, but it often lasts longer and feels better during long sessions. If you like a personal touch, choose a color or style that matches your apron and studio mood.
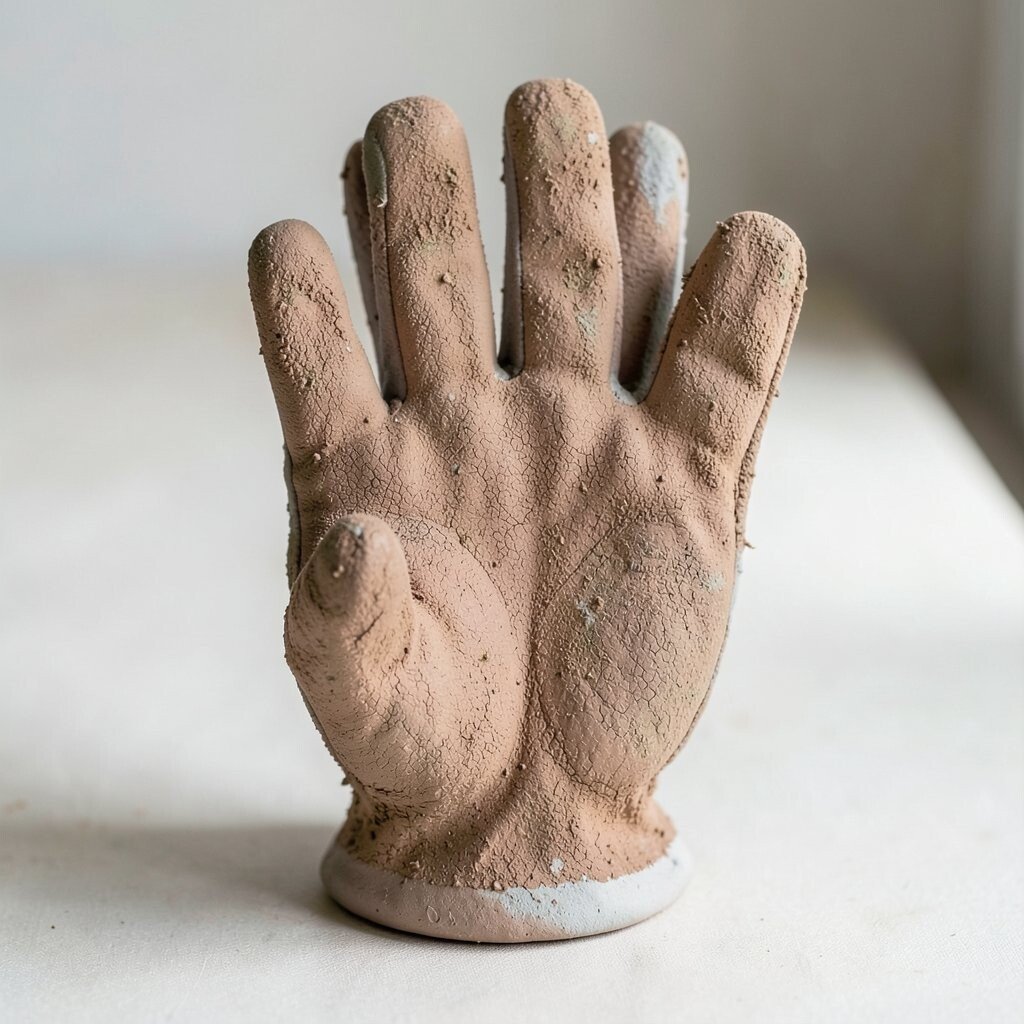
2. Choose the right material for the job
Top Choose The Right Material For The Job Craft Tutorials
- 🗺️ How to Choose the Right Fabric for Your Craft Project from libertylondon.com.
- 🗺️ Craft materials — choosing the right brands and saving … from manningkrull.com.
- 🗺️ What's your go-to tool or material for your craft projects? from facebook.com.
- 🍁 What is a good DIY arts and crafts project? What raw … from quora.com.
- 🧑🌾 Craft Supplies Guide: Choose Right For DIY Projects from alibaba.com.
Different glove materials work better for different pottery tasks. Thin rubber, latex-free blends, and coated fabric each give a different feel in your hands.
For wet clay, a grippy coating can help you keep control. For kiln work or hot tools, heat-safe gloves are the smart pick. Many potters today like mixed-material gloves because they balance comfort, grip, and price in one pair.
Think about what you do most in the studio before you shop. That simple choice can save money and keep your hands happier. It also helps your gloves match your own way of working.
3. Keep a dry pair close by
Top Keep A Dry Pair Close By Craft Tutorials
- 🗺️ Found a great way to keep acrylic paint palette from drying … from reddit.com.
- 🖼️ Get Creative on Date Night with These Fun Crafts for Couples from theknot.com.
- 🍁 Craft ideas for 2-year-old to make for grandparents from facebook.com.
Wet gloves can feel heavy and cold, and they can make clay slip around. A dry backup pair is a small studio hero.
Store one pair in a clean drawer or box near your wheel. If your hands sweat, switch pairs before the grip gets weak. This small habit can make your work safer and your tools easier to control.
Some potters use a bright bag or hook so the spare pair is easy to spot. That little bit of style can make your setup feel more personal. It also keeps you from wasting time looking around when your hands need a quick change.
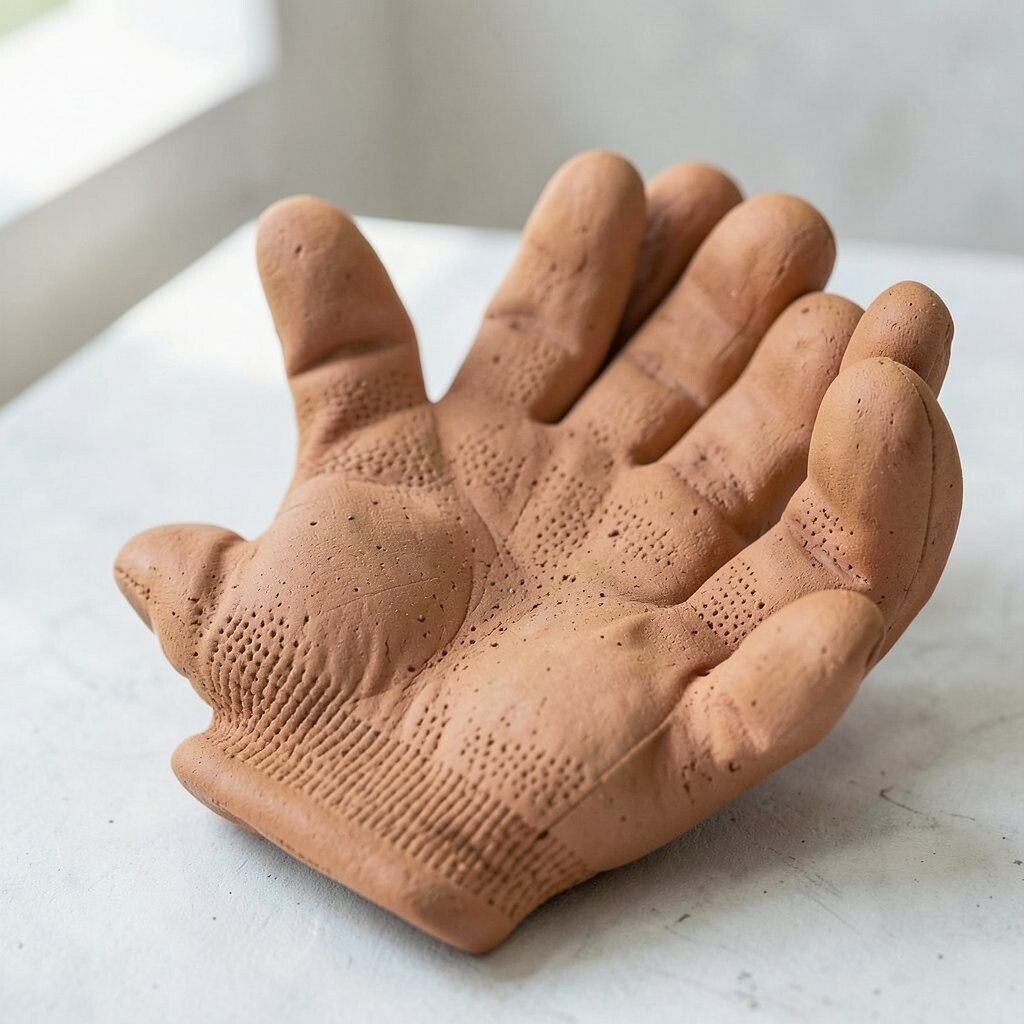
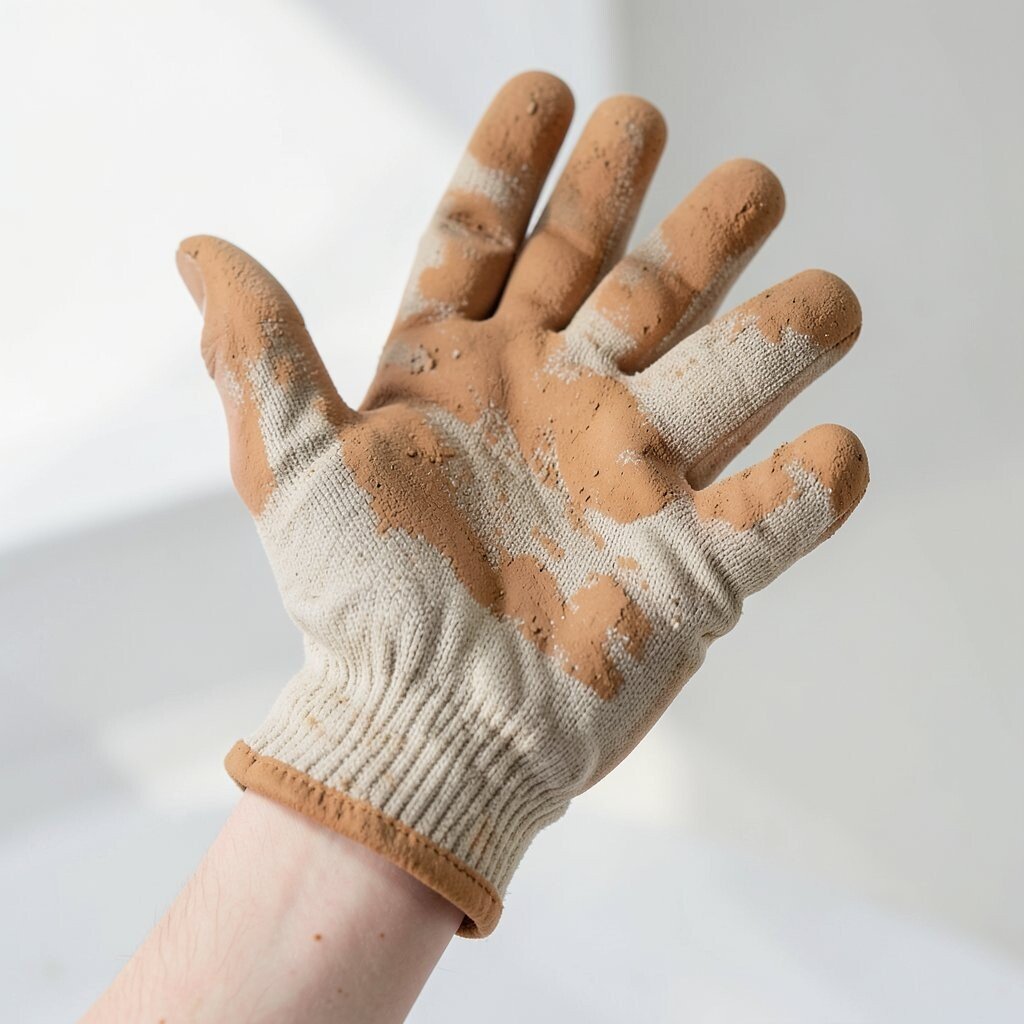
4. Check for grip before you start
Top Check For Grip Before You Start Craft Tutorials
- 👓 Pencil Grasp Activities with Fine Motor Play from theottoolbox.com.
- 👓 Stages of a developing pencil grip | Learning To Write from mylittlelearner.co.uk.
- 🎄 To pencil grip, or not to pencil grip? – Advice from OT Kim … from griffinot.com.
- 🖼️ To build pencil grip you need… 4 foundational elements … from facebook.com.
- 🎨 Try these tips to develop fine motor skills and pencil grip … from facebook.com.
A glove should help you hold a bowl, a sponge, or a trimming tool with confidence. Smooth gloves may look clean, but they can be slippery in a wet studio.
Test the grip by holding a damp mug or a small clay ball. If it slides too much, try a textured palm or fingertip coating. Good grip can lower the chance of drops, which saves both money and frustration.
Many newer glove styles follow the trend of extra grip zones in the palm and fingers. These touches can make the gloves look modern and work better too. If you like a custom feel, choose a pair with grip only where you need it most.
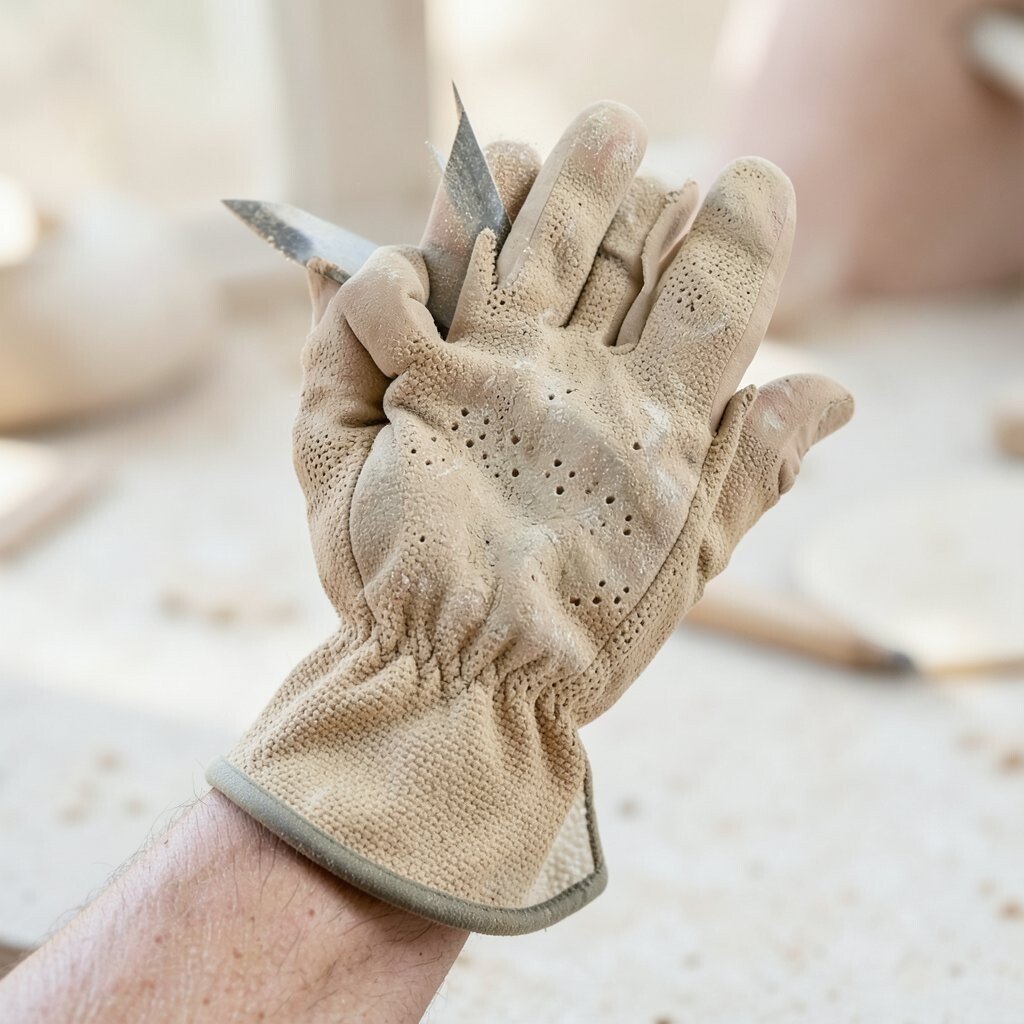
5. Use cut-resistant gloves for sharp tools
Top Use Cut-resistant Gloves For Sharp Tools Craft Tutorials
- 💅 Best Cut-Resistant Gloves for Wood Carving from beavercrafttools.com.
- 🍂 EvridWear Cut Resistant Gloves, Food Grade, Level 5 … from walmart.com.
- 🎄 What are the best cut proof gloves for protection? from facebook.com.
- 🖼️ Behind the Design: How Do Cut Resistant Gloves Work from sullivanglove.com.
- 🗺️ Anyone have recommendations for brands of cut resistant … from reddit.com.
Sharp ribs, trimming tools, and wire cutters can nick skin fast. Cut-resistant gloves add a useful layer of safety without making your hands feel bulky.
They are especially helpful when you are cleaning tools or changing blades. Some styles are light enough for careful work, while others feel thicker and more protective. The price can be higher, but it may be worth it if you use sharp tools often.
Look for a pair that still lets your fingers bend well. A glove that feels stiff can slow you down and make details harder. Pick a style that fits your hand shape so the safety feels natural.
6. Keep gloves clean after each session
Top Keep Gloves Clean After Each Session Craft Tutorials
- 🍁 Keep them dry and smelling, well…. Great hack on storing … from facebook.com.
- 🖼️ 3 Pack Kids Craft Gloves, Nitrile Disposable Gloves for Arts … from walmart.com.
- 🍁 How to Clean and Deodorize Your Gloves Without Damaging … from fairtexstore.com.
- 🎨 The Complete Guide to Color Guard Glove Care from concertattire.com.
- 💅 Do you use one pair of gloves per print? If so, how long … from reddit.com.
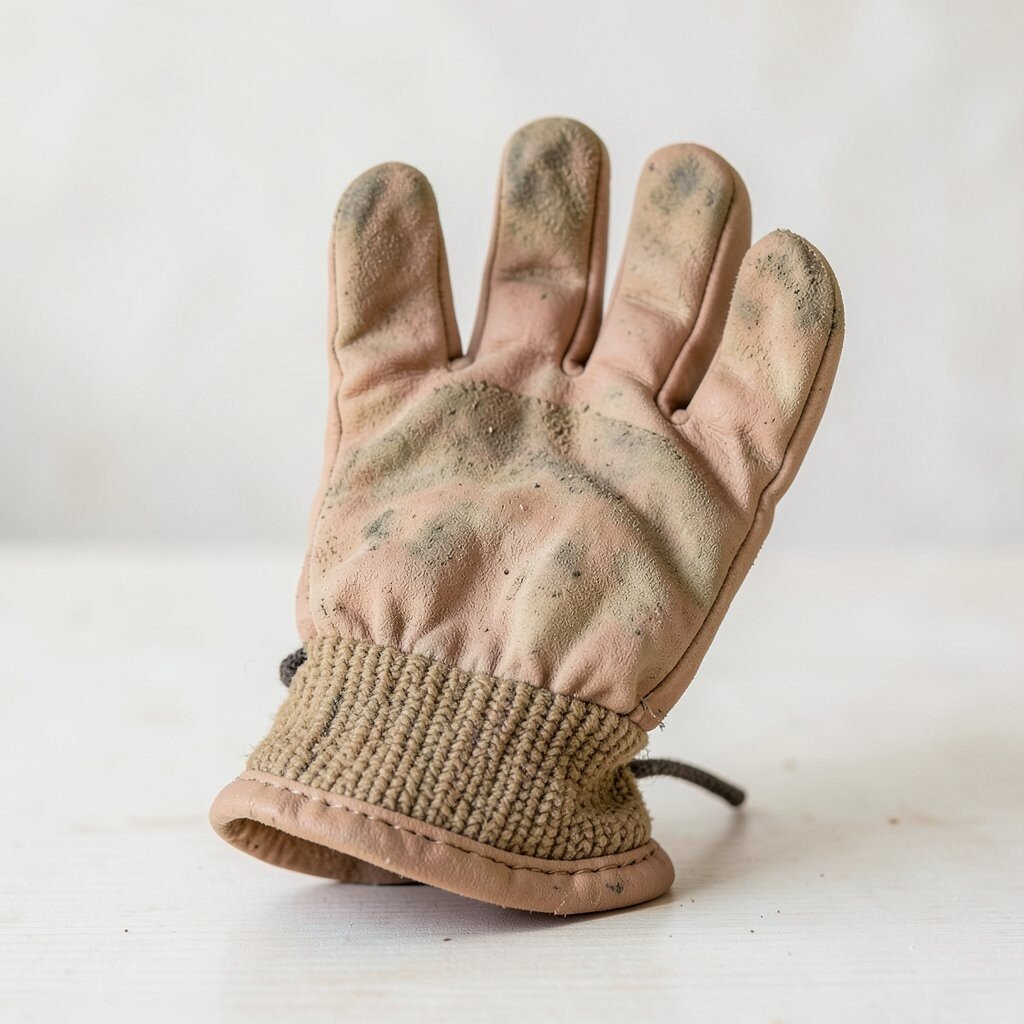
Clay dust, glaze, and slip can build up on glove surfaces. Clean gloves look brighter and feel nicer to wear.
Wipe them with a damp cloth if the care label allows it. If they are washable, let them dry fully before the next use. Clean gloves often last longer, which helps your budget stay under control.
Some potters keep separate pairs for clay work and glaze work. That easy system can fit a tidy, modern studio style. It also gives each pair a clear job, which makes your routine simpler.
7. Match glove thickness to your task
Top Match Glove Thickness To Your Task Craft Tutorials
- 🎨 Work Gloves from superiorglove.com.
- 🎄 How to Measure Glove Size: The Ultimate Disposable from cetrixstore.com.
- 🎄 Harbor Freight Gloves: How To Choose The Right Pair For … from shopping.yahoo.com.
- 👓 What Are the Best Types of Disposable Work Gloves? from buydirect.missionlinen.com.
- 🎨 What gloves do you use? If nitrile what color and thickness? from facebook.com.
Thin gloves are great for detail work because they let you feel the clay better. Thick gloves can protect more, but they may reduce touch and control.
Use thinner gloves for shaping and thicker ones for cleanup or hot items. This swap can make your work safer and more comfortable. If you only buy one pair first, choose the thickness that fits your most common task.
Some makers keep a small glove set with different thicknesses for different jobs. That setup may cost more at first, but it gives you more options. It also lets you choose the right look and feel for each project.
8. Watch for seams that rub
Top Watch For Seams That Rub Craft Tutorials
- 🍁 Perfect 1/4 inch seams with Sew Easy attachment? from facebook.com.
- 💅 Quick seam ironing trick ⚡🧵 from facebook.com.
- 🍅 There's a craft behind every fit. Millimetric seams. Precise … from instagram.com.
- 🗺️ Hobbies for keeping hands busy/watching tv? (Tw – r/crafts from reddit.com.
- 🎨 Slow stitching ideas! from craftschooloz.com.
Rough seams can press into your fingers and cause sore spots. Smooth seams make the gloves feel softer and easier to wear.
Turn the glove inside out if needed and check where the stitching sits. If a seam lands right on a knuckle, it may bother you during long throwing sessions. A smoother pair can make a big difference in comfort.
Comfort matters because tired hands make mistakes more likely. A glove that feels good can help you stay focused on the pot, not on the pinch. Many potters now look for seamless or low-seam designs for that reason.
9. Choose gloves that breathe
Top Choose Gloves That Breathe Craft Tutorials
- 🎄 Dritz® Creative Comfort™ Crafter's Comfort Gloves, Size from michaels.com.
- 💅 This little bunny made from a glove turned into such a fun … from facebook.com.
- 🍁 What gloves are good for crafting with wire? from facebook.com.
- 🖼️ Best Cut-Resistant Gloves for Wood Carving from beavercrafttools.com.
- 🧑🌾 Looking for gloves that can be worn in most situations from reddit.com.
Hands can get sweaty in a warm studio, especially near wheels and kilns. Breathable gloves help air move so your skin feels less sticky.
Mesh backs or light fabric panels can make a big difference. They also help reduce that clammy feeling that can make you want to take the gloves off too soon. Better airflow can keep you working longer and more comfortably.
If you like colorful gear, breathable gloves often come in fun patterns and bright trims. That can make your studio tools feel more like your own. It is a small style choice that also supports safety and comfort.
10. Keep a glove set for glaze work only
Top Keep A Glove Set For Glaze Work Only Craft Tutorials
- 🧑🌾 Discover the Must-Have Safety Gear for Ceramic Artists from mannsupply.com.
- 💅 What are the best gloves for handling hot pots from a kiln? from facebook.com.
- 💅 High Temp Gloves from paragonkilns.com.
- 💅 Glaze glaze glaze!!! This one will be at the craft fair Mia and … from instagram.com.
- 👓 Don't Skimp on Safety in the Glaze Lab from suemcleodceramics.com.
Glaze can stain gloves and leave them stiff or crusty. A special pair for glaze work keeps your main gloves in better shape.
This also helps you avoid mixing clay dust with glaze materials. Clean separation is useful for safety and for keeping your studio organized. It can even save money because your everyday gloves may last much longer.
Label the pair with tape or a tag so you do not mix them up. A simple color code can make the system easy to remember. Many potters like this kind of personal studio routine because it feels neat and smart.
11. Check glove cuffs before handling wet clay
Top Check Glove Cuffs Before Handling Wet Clay Craft Tutorials
- 🖼️ Discover the Must-Have Safety Gear for Ceramic Artists from mannsupply.com.
- 👓 Safety Guide for Art Studios from conncoll.edu.
- 🍂 Does anyone use gloves when making clay things?? from facebook.com.
- 🎄 STUDIO ART Safety, Rules, & Information Manual from sdstate.edu.
- 🎨 ART SAFETY GUIDE from ehs.sonoma.edu.
Short cuffs can let water and slip sneak inside. Longer cuffs help protect your wrists and lower arms from mess.
When clay gets into the glove, it can feel squishy and cold. That can make your grip weaker and your hands less comfortable. A longer cuff is often a small upgrade that adds real value.
Some cuff styles even fold over neatly for a cleaner look. That little detail can make your studio outfit feel more polished. If you make a lot of splashy messes, this is a smart place to spend a bit more.
12. Try finger-friendly gloves for detailed shaping
Top Try Finger-friendly Gloves For Detailed Shaping Craft Tutorials
- 🎄 Disposable gloves for long, thin hands? : r/crafts from reddit.com.
- 🍁 Gloves for wrapping recommendations? from facebook.com.
- 💅 Reusable Rubber Finger Gloves™ Needle Arts Testimonials from fingergloves.com.
- 🍂 Back to Thimbles and… uh…. Finger Gloves from needlenthread.com.
- 👓 Knitted these funky fingerless gloves in worsted weight … from instagram.com.
Some gloves are made to bend easily with each finger. These are handy when you need to pinch, smooth, or carve small parts.
They help you keep more feeling in your hands than bulky gloves do. That can be a big benefit when you work on tiny handles or delicate rims. A finger-friendly pair can feel almost like a second skin.
Look for styles made for craft work rather than heavy yard jobs. The right design can save you from fighting your gloves while you work. If you like a custom fit, choose a pair with adjustable wrists or stretchy panels.
13. Keep extra gloves in your travel kit
Top Keep Extra Gloves In Your Travel Kit Craft Tutorials
- 🧑🌾 Making and donating 13 more pairs of gloves from facebook.com.
- 🍅 One Bag Friendly Crafts : r/HerOneBag from reddit.com.
- 🍅 17 Things a Mom Needs in Her Glove Box, Besides Gloves! from tipsfromatypicalmomblog.com.
- 🎨 How to Make a Travel First Aid Kit from tanglewoodmoms.com.
- 🍁 Just In Case Travel Kit List (19 Essentials) from writingfromnowhere.com.
Pottery classes, workshops, and studio visits can get messy fast. Extra gloves in a travel bag make you ready for almost anything.
A small pouch with one clean pair can save the day when your main gloves are wet or forgotten. This is a simple habit that feels very practical and calm. It also keeps you from buying emergency replacements at a higher price later.
Many makers now carry compact kits with gloves, a towel, and a small notebook. That trend works well for people who like to stay organized on the go. You can even pick a pouch color that matches your tools for a more personal touch.
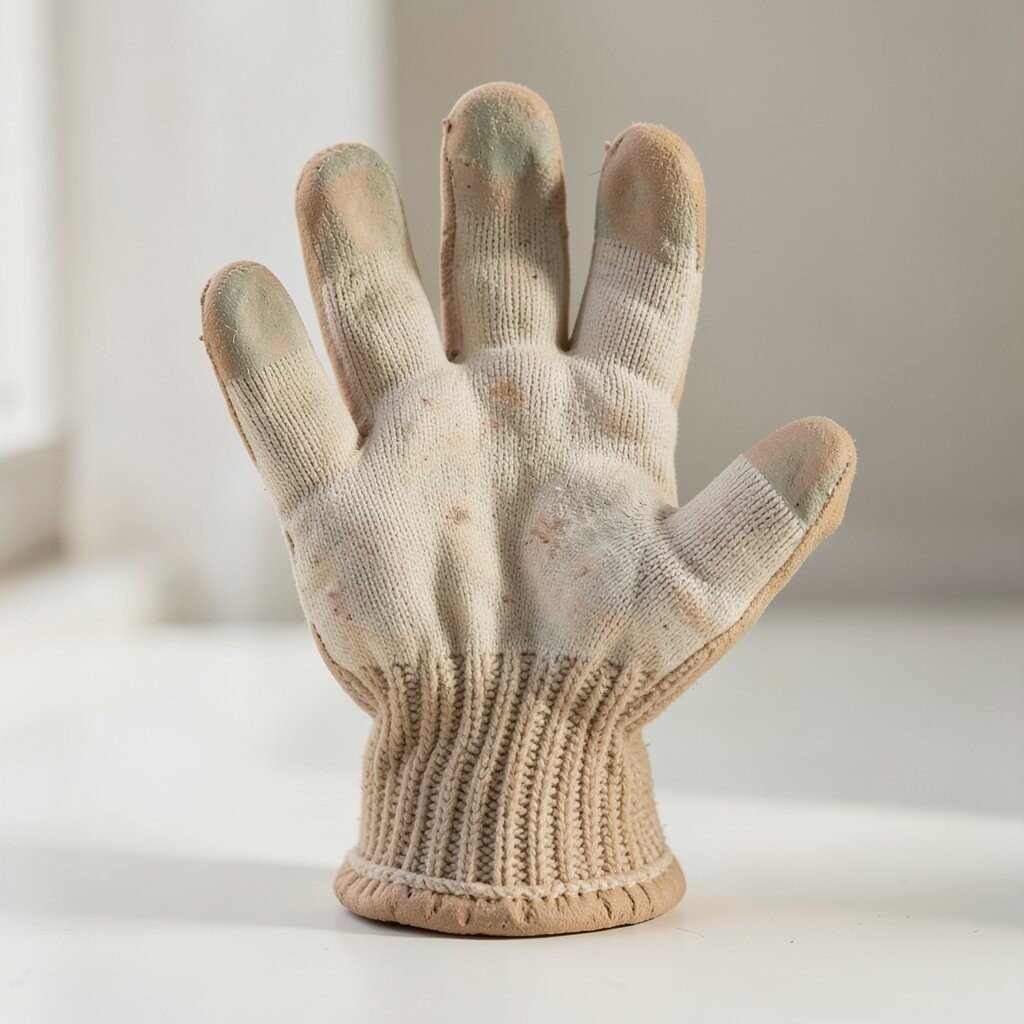
14. Replace worn gloves before they fail
Top Replace Worn Gloves Before They Fail Craft Tutorials
- 🧑🌾 How to craft gloves like this? New to crafting from reddit.com.
- 🗺️ Temporary fix for worn sparring glove repair from facebook.com.
- 🍅 Gloves of silence from oldschool.runescape.wiki.
- 💅 Gloves in the blacksmith shop: personal protection or … from facebook.com.
- 🗺️ Art and Craft Safety Guide from cpsc.gov.
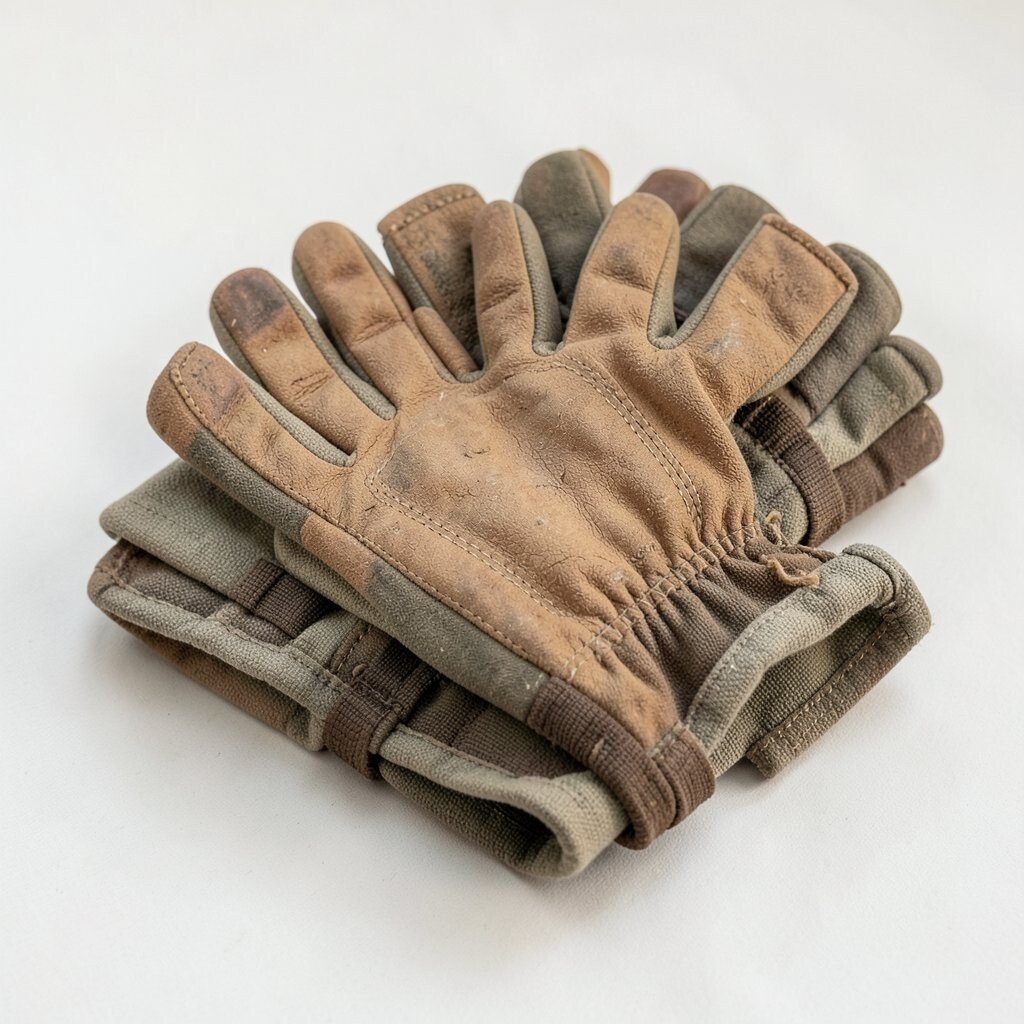
Thin spots, loose threads, and cracked coating are signs that a glove is getting tired. Old gloves may still look fine, but they can stop protecting your hands well.
Check the fingertips and palms often because those areas wear out first. If the grip feels patchy, it may be time for a new pair. Replacing gloves early can protect your hands and help avoid bigger costs from accidents.
Some potters keep a small note of when they bought each pair. That easy habit helps you spot which brands last best. It also makes shopping simpler the next time you need a replacement.
15. Use gloves that match your climate
Top Use Gloves That Match Your Climate Craft Tutorials
- 🍅 BBQ gloves that fit like real gloves from facebook.com.
- 🍅 factory assembled custom air handling units – iom from files.climatecraft.com.
- 🍅 Running gloves for VERY cold days? : r/runningfashion from reddit.com.
- 🍂 The Best Touchscreen Winter Gloves from nytimes.com.
- 🗺️ Discover the Must-Have Safety Gear for Ceramic Artists from mannsupply.com.
Hot studios, cold garages, and damp basements all ask for different glove choices. The best pair for your space should feel comfortable in the weather around you.
Light gloves work well in warm rooms because they do not trap too much heat. Thicker gloves may be better when the air feels chilly and your fingers get stiff. Matching the glove to the room can make your work smoother and safer.
If your studio changes with the seasons, keep more than one style on hand. That may cost more at first, but it can make a big difference in comfort. You can also choose colors by season for a fun, personal studio look.
16. Pay attention to glove smell and moisture
Top Pay Attention To Glove Smell And Moisture Craft Tutorials
- 🖼️ Remembering to Wear Gloves While Woodworking from facebook.com.
- 🎄 Boxing Glove Cleaner & Maintenance Products for Sports … from walmart.com.
- 🧑🌾 rubber gloves – Ali Does It Herself from alidoesit.wordpress.com.
- 🖼️ How to Clean Boxing Gloves? Guide to Remove Odor & … from blogs.rdxsports.com.
- 🍅 Sanabul Boxing Glove Deodorizer Inserts | Charcoal Odor … from objetivaprojetos.com.
Gloves that stay damp can start to smell bad and feel unpleasant. Moisture can also make materials break down faster.
After each use, let gloves air out in a place with good airflow. Do not stuff them into a closed bag right away. Dry gloves are more pleasant to wear and usually last longer too.
Some potters hang them on small clips or hooks near the sink. That simple setup looks tidy and keeps the gloves easy to grab. It is a neat trend for studios that like clean lines and smart storage.
17. Try gloves with touch-friendly fingertips
Top Try Gloves With Touch-friendly Fingertips Craft Tutorials
- 🍁 Glove Fingers for a Genius Life Hack from facebook.com.
- 🗺️ Touch screen palmless glove suggestions for crochet from facebook.com.
- 🎄 Need a quick & cozy crochet project? These Texting … from facebook.com.
- 🍅 How cute are these fingerless gloves? They are useful … from facebook.com.
Touch-friendly fingertips can help you hold tools, tap screens, or check notes without pulling gloves off. That makes studio work feel smoother and faster.
This is handy when you follow online glaze charts or use a timer. It also cuts down on hand washing and glove swapping. A pair like this can be a smart buy if you like using digital tools in the studio.
Some designs only add touch material on the thumb and index finger. That keeps the glove lighter and often lowers the cost a bit. You can choose a pair that fits your work style instead of using one-size-fits-all gear.
18. Store gloves away from direct heat
Top Store Gloves Away From Direct Heat Craft Tutorials
- 🎨 Heat resistant gloves for handling hot cast iron pans from facebook.com.
- 🧑🌾 Grill Gloves – BBQ Gloves Heat Resistant Waterproof from alibaba.com.
- 🍅 Henckels BBQ Heat Resistant Grill Gloves from target.com.
- 🎨 7 Best Work Gloves for Women & Small Hands (Try-On) from uglyducklinghouse.com.
- 💅 Mens Gloves in Mens Hats, Gloves & Scarves from walmart.com.
Heat can weaken glove material and cause cracks or stiffness. A shelf away from the kiln is a safer home for your gear.
Keep them in a cool, dry spot where they will not get baked by sunlight or hot air. This simple step helps the gloves keep their shape and feel. Good storage can stretch the life of a pair and protect your budget.
Some crafters use labeled bins so each glove type has its own place. That system looks neat and makes it easy to grab the right pair fast. It also adds a nice personal touch to a studio that feels well cared for.
19. Pick gloves that suit your hand size and shape

Top Pick Gloves That Suit Your Hand Size And Shape Craft Tutorials
- 🗺️ Easy DIY gloves with free pattern and tutorial from facebook.com.
- 🍂 Exploring How to Make Gloves from Scratch from theshapesoffabric.com.
- 🖼️ Gorgeous Glove Pattern – Threads Magazine from threadsmagazine.com.
- 🖼️ 7 Best Work Gloves for Women & Small Hands (Try-On) from uglyducklinghouse.com.
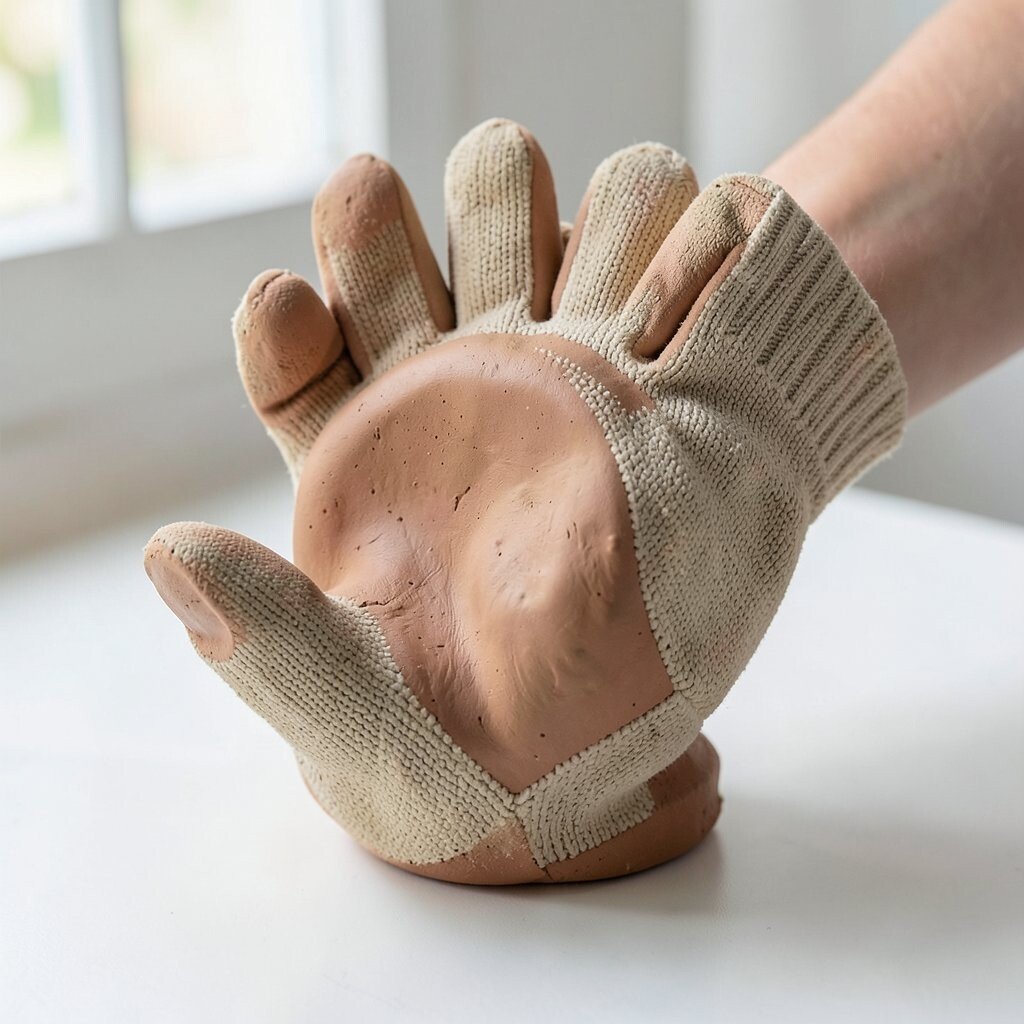
Hands come in all shapes, and gloves should respect that. A glove that fits your hand well can make every move feel easier.
Wide palms, long fingers, and small wrists all need different fits. If one area feels tight, the glove may pull or twist while you work. A better fit gives you more control and usually feels safer too.
Some brands now offer more size choices because makers want better comfort. That trend is helpful for potters who need a more personal fit. Spending a little extra on the right size can be worth it every time you sit at the wheel.
20. Make glove choice part of your studio style
Top Make Glove Choice Part Of Your Studio Style Craft Tutorials
- 👓 After making a new glove design for 150 weeks in a row, I … from instagram.com.
- 🍂 Had some creative freedom with this glove, colors definitely … from facebook.com.
- 🍂 Gears | Sol's RNG Wiki – Fandom from sol-rng.fandom.com.
- 🧑🌾 How to Make Your Own Gloves (It's Easy, I Promise!) from iamsewcrazy.com.
Safety gear can still look fun and creative. A glove that fits your style may make you more excited to wear it.
Try colors, textures, or simple patterns that match your apron, shelves, or clay tools. When your gear feels like it belongs in your space, you may use it more often. That can help build a safer habit without making the studio feel stiff.
Many potters like gear that feels modern, neat, and a little personal all at once. You can choose a practical pair that also shows your taste. When safety looks good, it becomes much easier to keep it close at hand.