Welcome to the fascinating world of Printmaking Basics, where you will discover a variety of techniques, tools, and supplies needed to create stunning prints.
From relief printing to intaglio printing, lithography to screen printing, and monoprinting to linocut, you will learn everything you need to know about the world of printmaking.
- Printmaking Basics encompass various techniques, including relief printing, intaglio printing, lithography, screen printing, monoprinting, and linocut.
- Each printmaking technique requires different tools and supplies.
- Relief printing involves carving a design onto a block of material and transferring it onto paper.
- Intaglio printing involves etching or incising a design onto a plate and then transferring it onto paper.
- Lithography involves creating an image on a flat surface using oil-based inks.
- Screen printing allows for the creation of bold and colorful prints.
- Monoprinting allows for unique and one-of-a-kind prints.
- Linocut involves carving a design onto a linoleum block and transferring it onto paper.
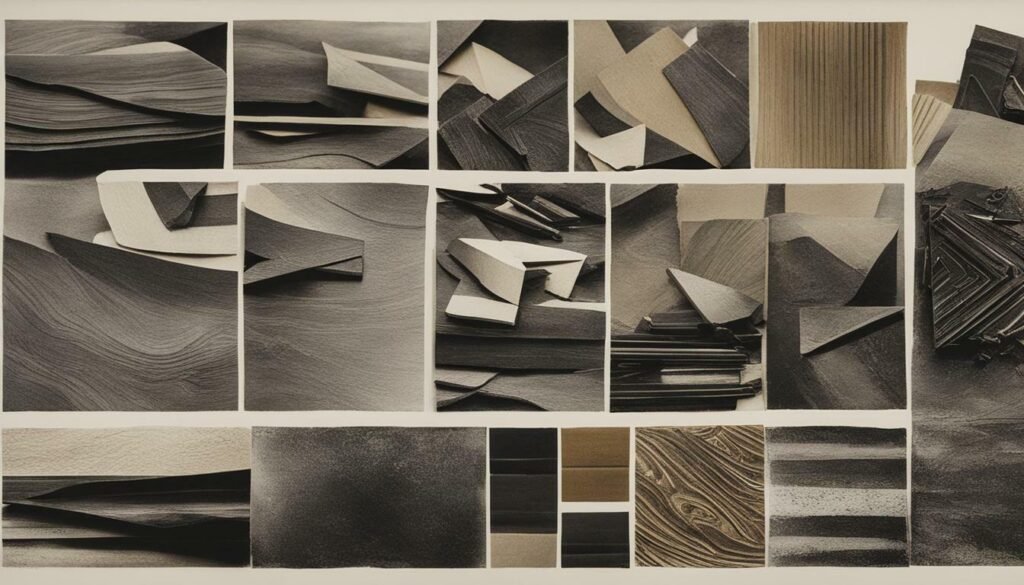
Understanding Printmaking: A Brief Introduction
Welcome to the fascinating world of Printmaking Basics, an art form that has been around for centuries. Whether you’re a novice or an experienced artist, there’s always room to explore the unique techniques of printmaking.
Printmaking involves the creation of images, designs, or patterns on a surface, which is then transferred onto paper or another material. The art of printmaking encompasses varied techniques, each with its unique characteristics.
The most common printmaking techniques include:
- Relief Printing
- Intaglio Printing
- Lithography
- Screen Printing
- Monoprinting
- Linocut
Printmaking is an art form that involves creating a matrix or plate of a design and then transferring that design onto paper or another material using pressure. Each print created is an original, even if several images are printed from the same plate or matrix.
Unlike other art forms, printmaking allows artists to create multiple copies of their work, which is why it has been used for centuries in the production of books, newspapers, and other printed materials.
Printmaking can be done using a wide range of techniques, materials, and tools. This guide will equip you with the knowledge and skills needed to create your own prints.
Relief Printing: Creating Texture and Depth
Relief printing is a fascinating printmaking technique that involves carving a design onto a block of material, such as wood or linoleum, and then transferring that design onto paper.
- Carving tools – such as gouges and chisels – to carve the design onto the block
- A brayer to apply ink to the block
- Printing paper
- A printing press or a wooden spoon to transfer the design onto the paper
To create texture and depth in your relief prints, you can use various techniques, such as:
- Leaving the carved areas of the block raised to create a textured effect
- Carving at different depths to varying the tones in the print
- Using different carving tools to create different effects, such as gouges for sharp lines or V-shaped tools for wider lines
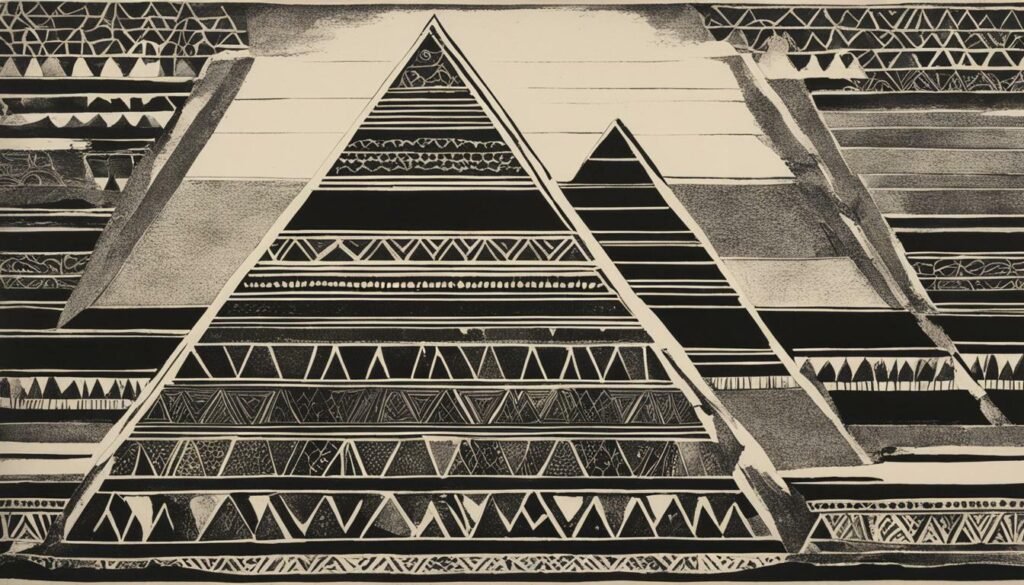
Unlike relief printing, where the raised surface is inked and transferred onto paper, intaglio printing relies on ink being applied to the recessed areas of the plate and then being transferred onto paper through the use of a printing press.
If you’re looking to create prints with intricate detail and tonal variation, intaglio printing is an ideal technique to explore.
To get started with intaglio printing, you’ll need:
- A metal plate (copper, zinc or steel)
- Etching needles and/or an etching tool
- An etching ground (a waxy substance that prevents acid from eating away at the plate)
- Aquaforte acid and printmaking tools to apply the acid
- Printing press and paper
The basic process for creating an intaglio print involves:
- Covering the plate with a layer of etching ground
- Using the etching needles and tools to create the design by scratching away the ground and exposing the metal plate
- Applying acid to the exposed plate to etch the design
- Cleaning and drying the plate
- Inking the plate and wiping it to remove excess ink
- Placing the paper over the inked plate and running it through a printing press to transfer the ink onto the paper
Lithography is a fascinating printmaking technique that allows you to create images on a flat surface, such as stone or metal plate, using oil-based inks.
Here are some key points to keep in mind when exploring lithography:
- Lithography uses oil-based inks and a chemical process to create an image on a flat surface.
- Stone or metal plates are typically used for lithography.
- The process of creating a lithograph involves drawing directly onto the plate with a greasy medium, such as a crayon or tusche.
- After applying the greasy medium, the plate is treated with a chemical solution that fixes the image onto the surface.
- The plate is then inked and printed onto paper using a lithography press.
- Lithography offers a wide range of creative possibilities, from achieving fine details and tonal values to creating textured effects.
Before you get started with screen printing, you’ll need to gather some essential materials, including a screen, squeegee, ink, and printing surface. Here’s what you’ll need:
- A screen: Choose a screen with the mesh count that suits your design.
- A squeegee: Use a squeegee with a suitable width according to the size of your screen and ink.
- Ink: Choose ink based on the printing surface, and select colors that suit your design.
- Printing surface: Select a printing surface that suits your project, such as paper or fabric.
Once you have your materials, it’s time to get started with the screen printing process. Here’s a step-by-step guide:
- Create your design: Start by creating your design on a computer or by hand.
- Transfer your design onto the screen: Print your design onto transparency paper, and then expose it onto the screen.
- Prepare your printing surface: Place your printing surface under the screen, and secure it in place.
- Add ink to the screen: Pour ink onto the screen, and use the squeegee to spread it evenly across the stencil.
- Print the design: Press the squeegee down and pull it across the screen, transferring the ink onto the printing surface.
- Clean the screen: Clean the screen thoroughly to remove any leftover ink.
If you’re looking to create one-of-a-kind prints, monoprinting is the perfect technique to embrace spontaneity and variation. With each print being unique, you’ll have endless opportunities to experiment and create something truly special.
Here are some tips to get you started:
- Gather your materials: You’ll need ink, a brayer, a printing plate (such as plexiglass or a gel plate), and paper.
- Create texture: Use various materials, such as stencils, fabrics, or leaves, to create interesting textures on your printing plate.
- Experiment with color: You can use a single color or layer multiple colors to create depth and interest.
- Add detail: Use a paintbrush, Q-tip, or other tool to add details and highlights to your print.
- Try different techniques: You can create monoprints using a variety of techniques, such as ghost printing, layering, or subtractive methods.
When it comes to printmaking, having the right tools and supplies is crucial. Here are some tips to help you select the best items:
- Invest in high-quality carving tools that are comfortable to hold and allow for precise cuts.
- Choose inks that are appropriate for the specific printmaking technique you plan to use.
- Consider the weight and texture of the paper you will be printing on, as well as its compatibility with your chosen ink.
- If you plan to use a printing press, research different options to find one that suits your needs and budget.
- Don’t forget about cleaning and maintenance supplies, such as solvents and rags.
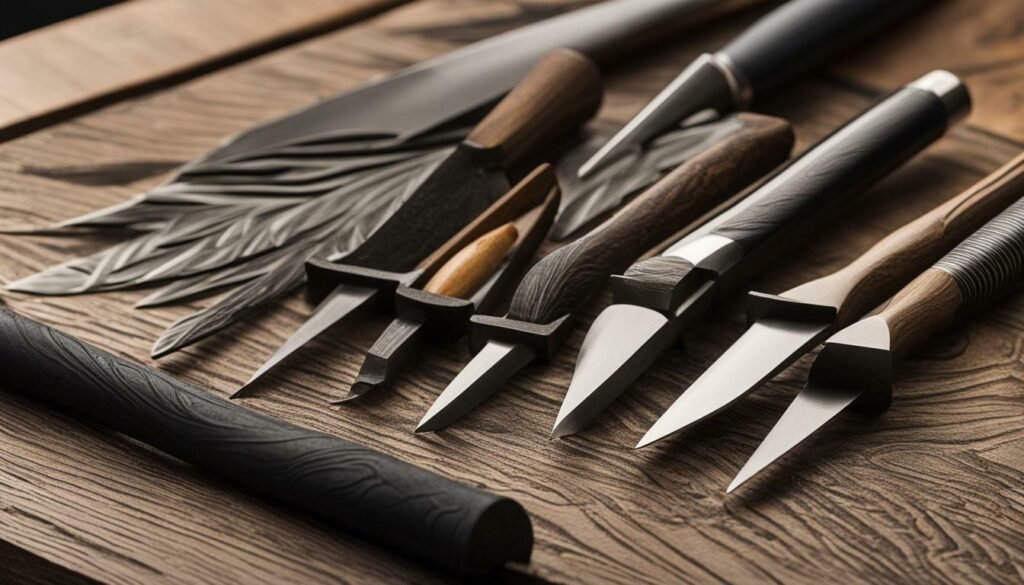
Choosing the Right Printmaking Tools and Supplies
Printmaking requires specific tools and supplies to create stunning prints. Here are some tips for selecting the right tools and supplies:
- Consider the printmaking technique you will be using to determine the appropriate tools and supplies.
- Carving tools: There are various types of carving tools, such as gouges and knives, used in relief printing and linocut. Choose the ones that fit comfortably in your hand and are suitable for the design you want to create.
- Inks: Different inks are used for various printmaking techniques. Relief printing requires a denser ink, while lithography requires a more fluid ink. Consider the consistency, color, and drying time of the ink when making your selection.
- Paper: The type of paper used can affect the outcome of your print. Consider the texture, weight, and absorbency of the paper to achieve the desired effect.
- Printing press: If you plan to create large editions or prints with a lot of detail, investing in a printing press can save time and give consistent results.
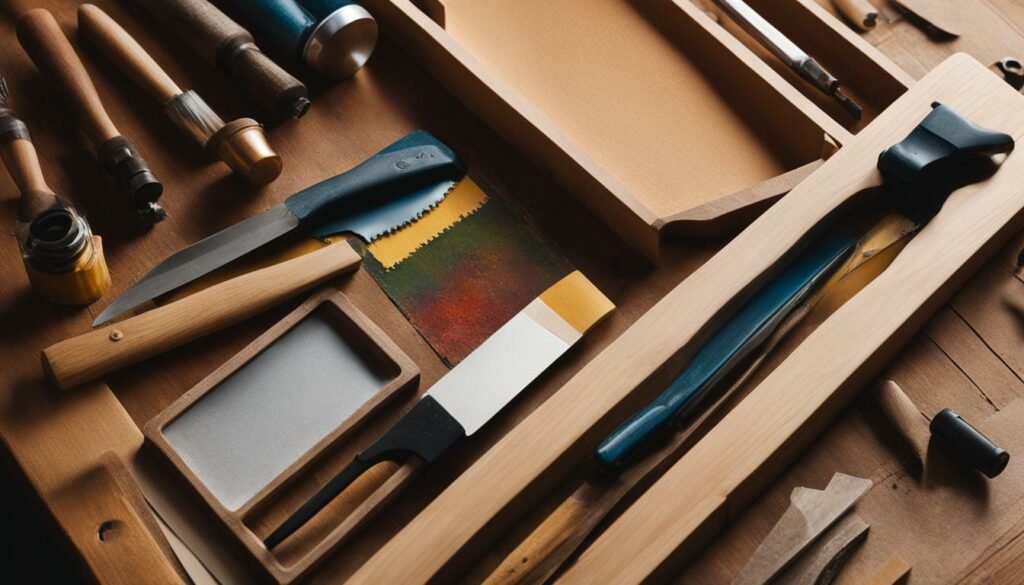
Setting Up Your Printmaking Studio
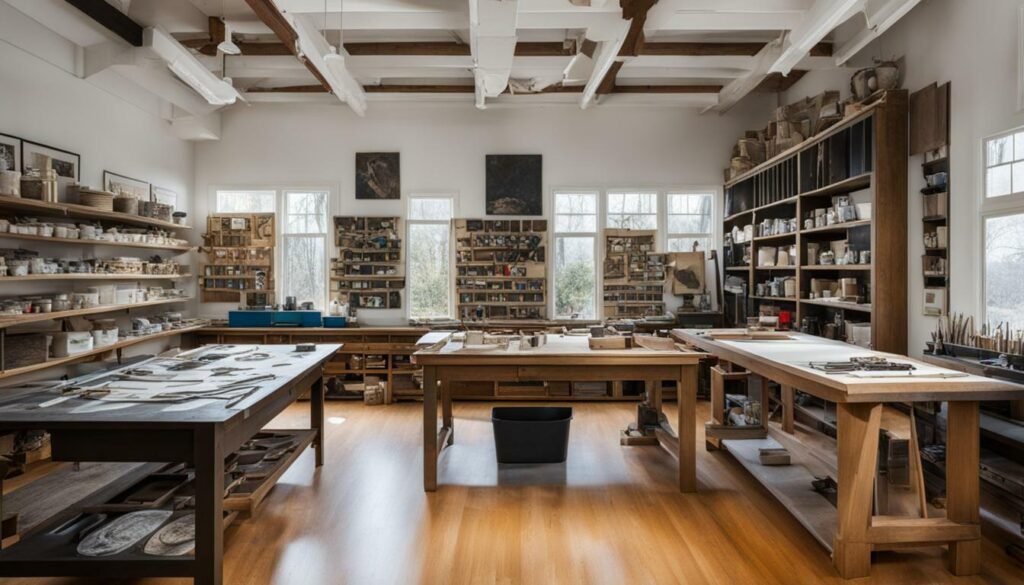
Creating a dedicated space for your printmaking is crucial for an effective and fulfilling artistic experience. Here are some essential tips to help you set up your printmaking studio:
- Choose a well-ventilated space with ample natural light and adequate electrical outlets.
- Invest in a sturdy printing table or workbench that can accommodate your printing press and other equipment.
- Organize your materials and supplies in a way that makes sense to you, whether by type of tool or printmaking technique.
- Consider investing in a proper ventilation system to ensure that you are working in a safe and healthy environment.
- Make sure to have a storage area for finished prints so that they do not get damaged or take up valuable workspace.
Your printmaking studio should be a space that inspires creativity and allows you to work effectively. Take the time to design a space that meets your needs and helps you achieve your artistic goals.
Despite your best efforts, printmaking can often present challenges that can negatively impact the quality of your prints. Don’t fret, as many of these problems have straightforward solutions.
Here are some common printmaking challenges and how to troubleshoot them:
- Ink inconsistencies: If your ink is too thick or too thin, your prints may lack detail or appear blurry. To fix this, adjust the viscosity of your ink by adding ink or solvent as needed.
- Plate preparation issues: If your plate is not properly cleaned or prepared, it may affect the quality of your prints. Ensure your plate is thoroughly cleaned and degreased before use.
- Printing pressure problems: Inconsistent pressure can lead to uneven ink coverage or blurred lines. Ensure your printing press is set up correctly and that it is applying even pressure throughout the print.
- Registration issues: Poor registration can lead to prints that are off-center or misaligned. Take extra care in aligning your paper and plate before printing.
- Paper selection: Using low-quality paper can lead to prints that lack crisp lines or appear faded. Invest in high-quality paper that is specifically designed for printmaking.
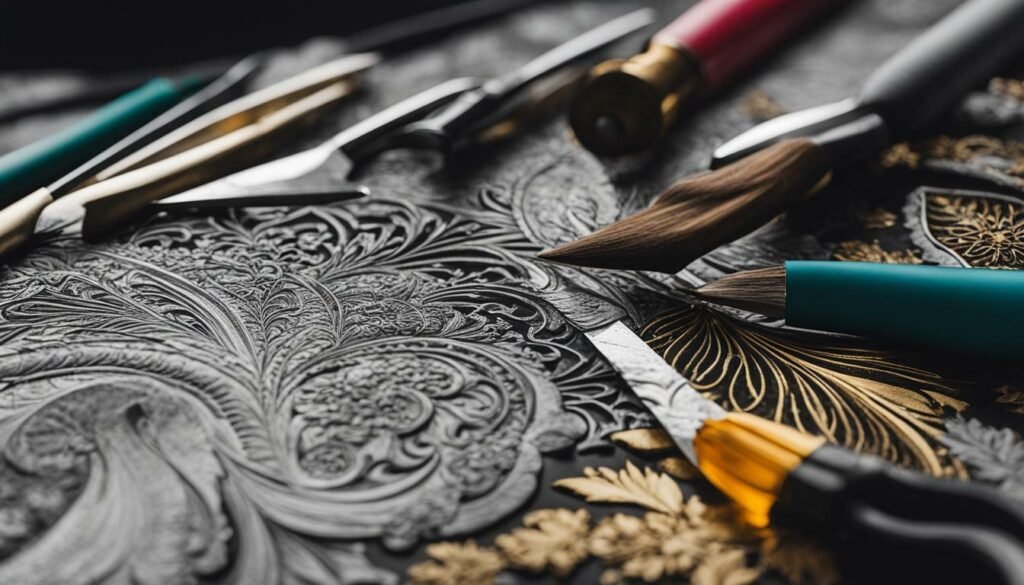
Now that you have a solid foundation in Printmaking Basics, it’s time to let your creativity shine and experiment with new techniques and approaches! Here are some tips to help guide you:
- Try combining techniques to create unique prints.
- Experiment with different materials and tools to achieve new effects.
- Push the boundaries of traditional printmaking by exploring digital and mixed media approaches.
- Find inspiration in other art forms and incorporate those elements into your prints.
- Challenge yourself to try something new with each print and embrace the learning process.
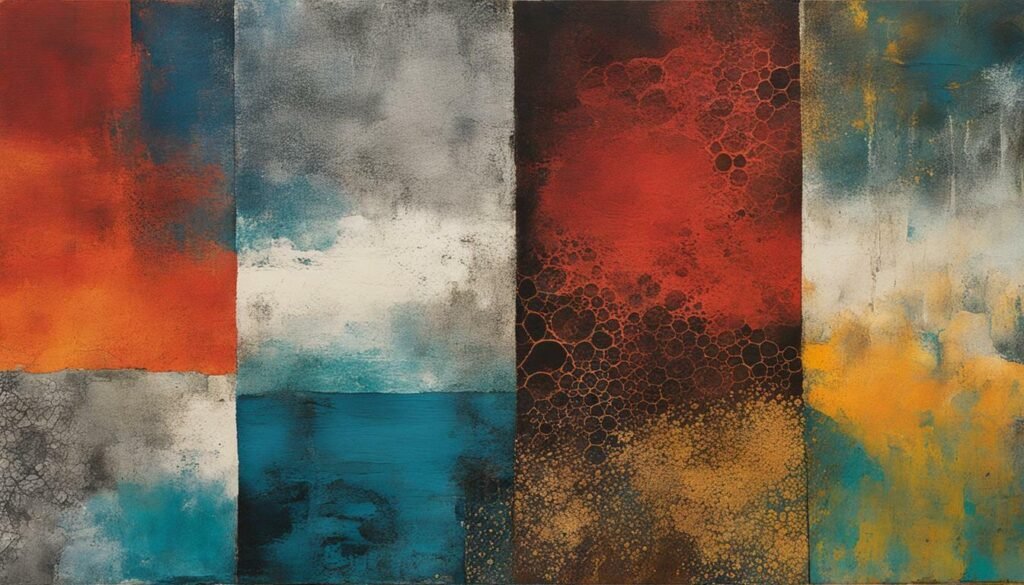
Congratulations! You’ve put in the hard work and dedication to create beautiful prints. Now it’s time to share your masterpieces with the world.
Here are some tips on how to showcase and sell your prints:
- Research various online platforms and marketplaces, such as Etsy, Fine Art America, and Saatchi Art, to list your prints for sale.
- Participate in local art festivals and exhibitions to display and sell your prints in person.
- Create a website or social media account dedicated to your printmaking art. Use high-quality images and engaging descriptions to attract potential buyers.
- Consider framing your prints to enhance their presentation and increase their perceived value.
- Collaborate with local businesses or galleries to display your prints in their space.
FAQ
What are the printmaking techniques covered in this guide?
The printmaking techniques covered in this guide include relief printing, intaglio printing, lithography, screen printing, monoprinting, and linocut.
What is relief printing?
Relief printing is a technique that involves carving a design onto a block of material, such as wood or linoleum, and then transferring that design onto paper.
What is intaglio printing?
Intaglio printing is a technique that involves etching or incising a design onto a plate and then transferring ink into the incised lines to create a print.
What is lithography?
Lithography is a printmaking technique that involves creating an image on a flat surface, usually a stone or metal plate, using oil-based inks.
What is screen printing?
Screen printing is a versatile technique that allows you to create bold and colorful prints by passing ink through a mesh screen onto your desired surface.
What is monoprinting?
Monoprinting is a printmaking technique that allows for spontaneity and variation, as each print is unique and cannot be precisely replicated.
What is linocut?
Linocut is a relief printing technique that involves carving a design onto a linoleum block and then transferring the design onto paper.
What tools and supplies do I need for printmaking?
The tools and supplies needed for printmaking may vary depending on the technique, but they can include carving tools, inks, printing presses, and various types of paper.
How do I set up a printmaking studio?
Setting up a printmaking studio involves organizing your tools and supplies, creating an ergonomic workspace, and ensuring proper ventilation for safety.
What are some common challenges in printmaking and how can I troubleshoot them?
Common challenges in printmaking can include issues with ink consistency, plate preparation, printing pressure, and registration. Troubleshooting techniques can involve adjusting ink viscosity, properly prepping plates, adjusting pressure settings, and double-checking alignment.
How can I showcase and share my printmaking artwork?
You can showcase and share your printmaking artwork through various avenues, such as exhibiting at galleries or art fairs, selling online, or sharing on social media platforms. It’s also important to photograph and present your prints in a professional and appealing manner.
How can I continue to experiment and push boundaries in printmaking?
To continue experimenting and pushing boundaries in printmaking, you can explore new techniques, concepts, and styles. Don’t be afraid to try new things and embrace the freedom to express your creativity.
