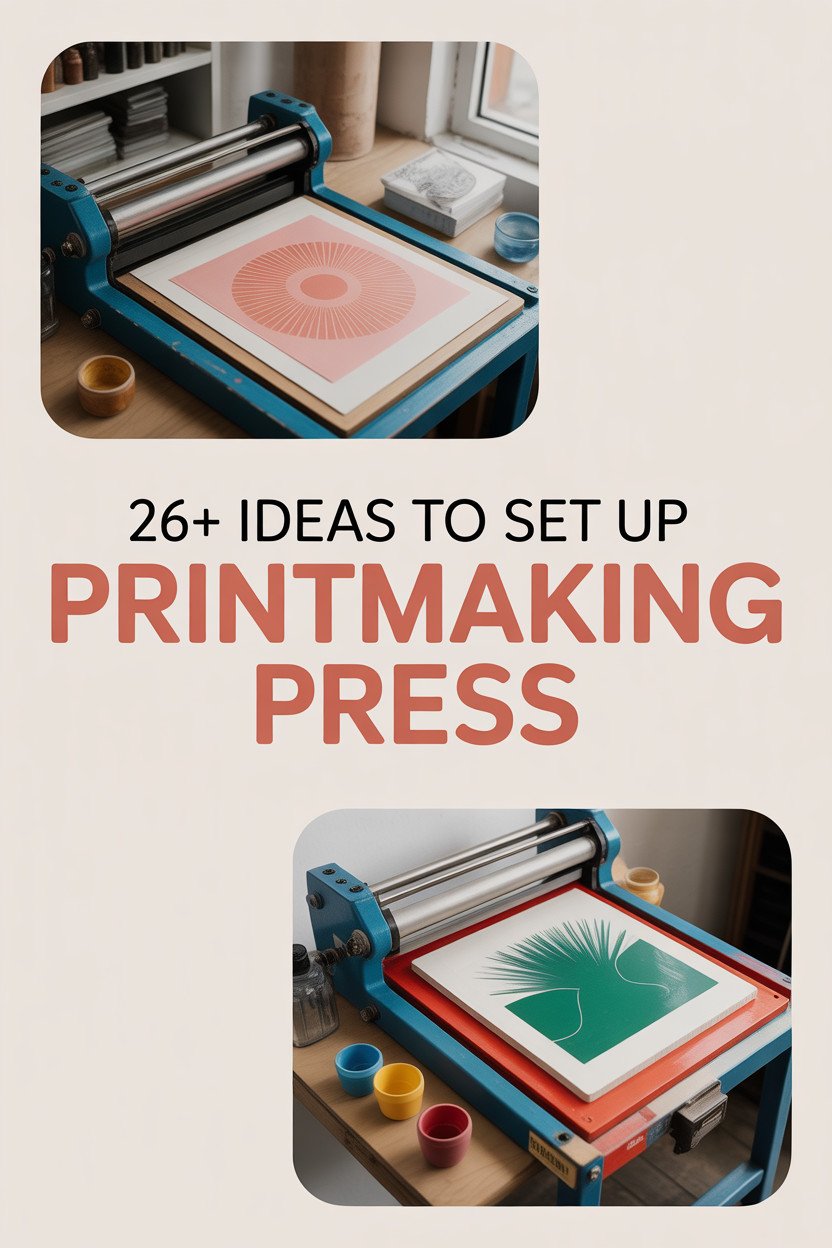
Imagine a world where creativity spills from your fingertips onto paper, where colors and patterns dance in harmony. Setting up your printmaking press is like unlocking a treasure chest of endless possibilities. Each idea shared here is a key to that treasure, waiting for you to turn it and unveil something magical.
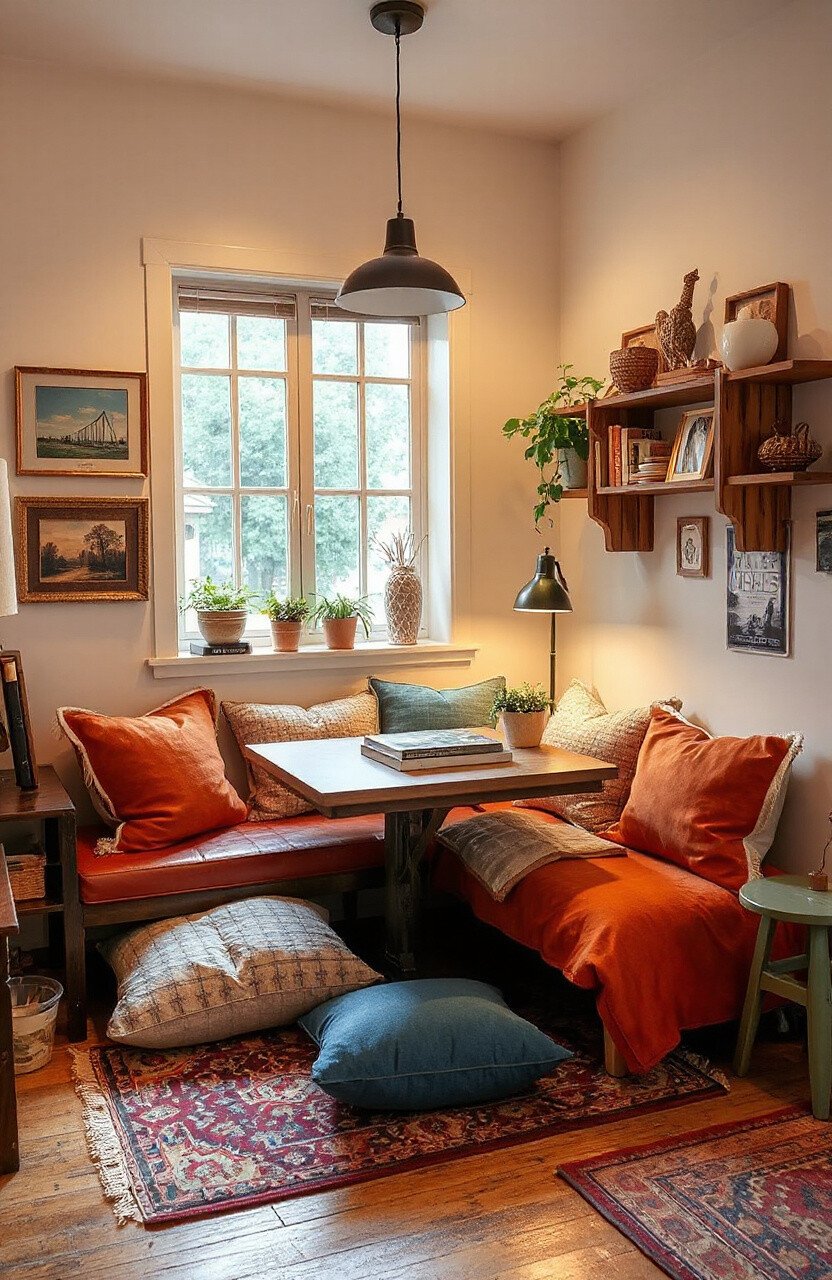
1. Build a Cozy Corner
Top Build A Cozy Corner Craft Tutorials
- 🖼️ How To Create “Cozy Corners” and More from countrycraft.me.
- 👓 Creating Your Cozy Craft Corner: Tips for Crafters from lemon8-app.com.
- 🖼️ 11 Cozy and Functional Craft Room Ideas from meissnersewing.com.
- 🎄 Creating a cozy corner with toddler from facebook.com.
- 🎄 My cozy craft corner is finally assembled! This is a lifelong … from reddit.com.
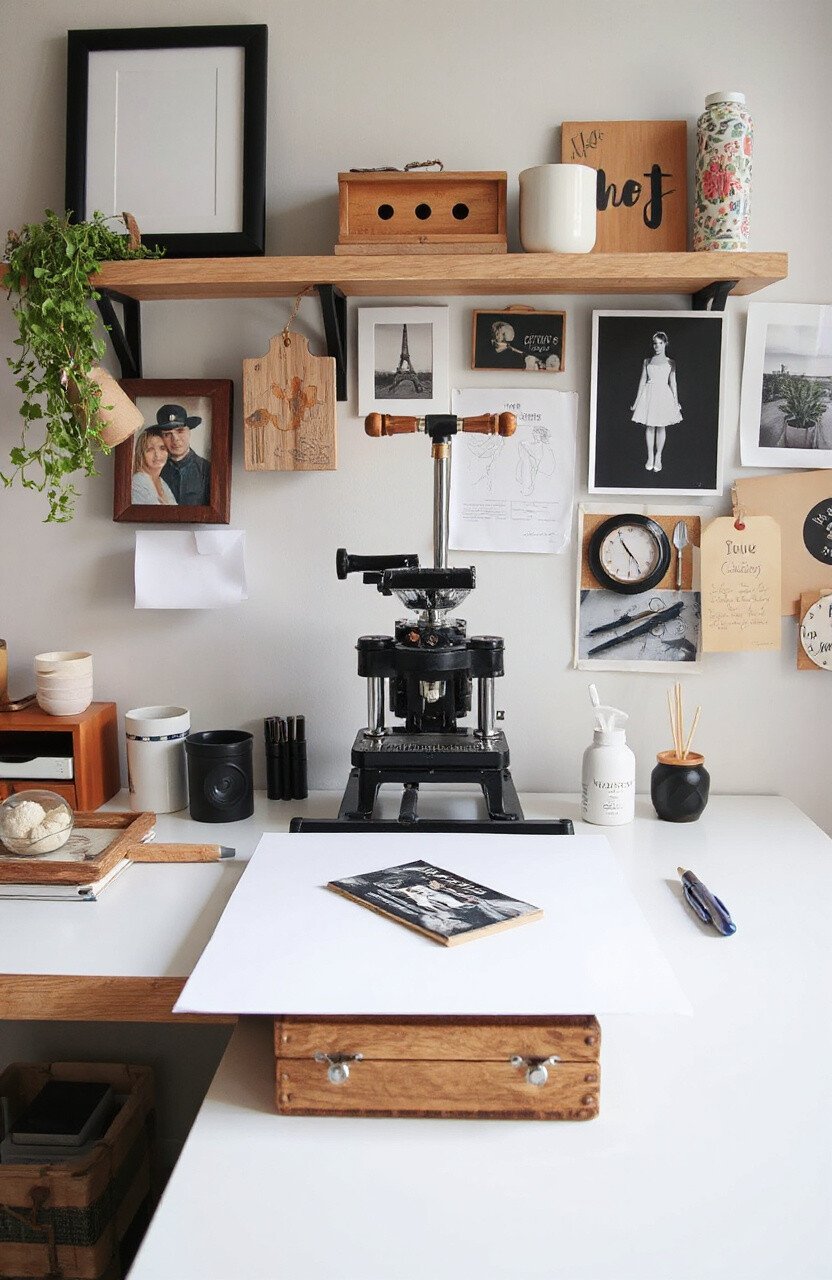
Create a special nook for your press, surrounded by comfy pillows and warm lighting. This space can be your own little haven where creativity flows freely. With a cozy corner, you’ll find inspiration in comfort, making your printmaking process more enjoyable.
Consider adding a small rug and a plant to bring life to the area. Use colors that soothe and inspire you, and let your corner reflect your personality.
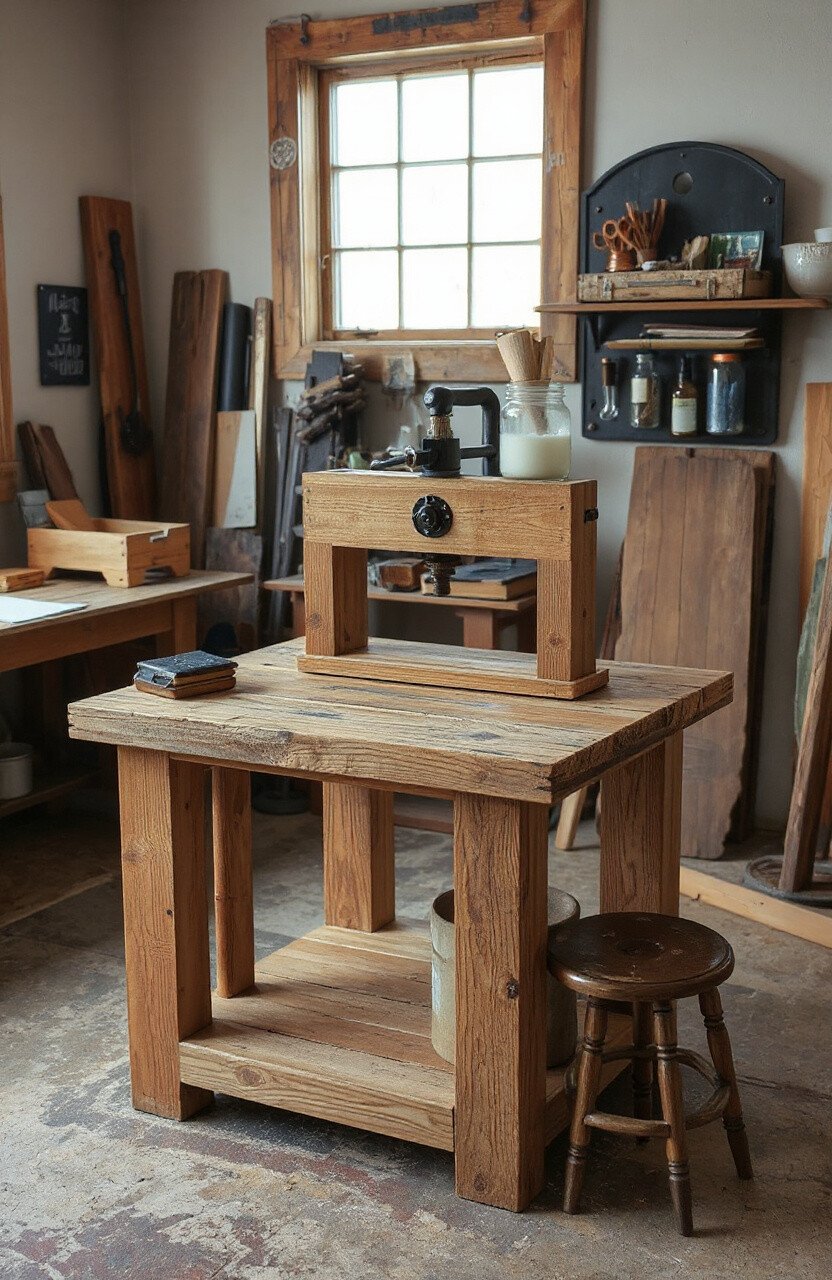
2. Use Reclaimed Wood
Top Use Reclaimed Wood Craft Tutorials
- 🎄 Reclaimed Wood Projects & Ideas for Every Skill Level from woodcraft.com.
- 🎨 15 Projects to Make with Reclaimed Wood from rockinwoodusa.com.
- 🍅 9 Reclaimed Wood Projects to DIY at Home from reclaimedbarn.com.
- 🎄 2 projects done with only reclaimed wood from facebook.com.
- 💅 Reclaimed Wood Projects for Home and Garden from jacksbackyard.com.
Reclaimed wood adds a rustic charm and is eco-friendly. Building your printmaking table from old wood gives it character and a story. It’s not just a table; it’s a conversation starter.
Plus, using reclaimed materials often costs less than buying new. You can find wood at salvage yards or even in your backyard!
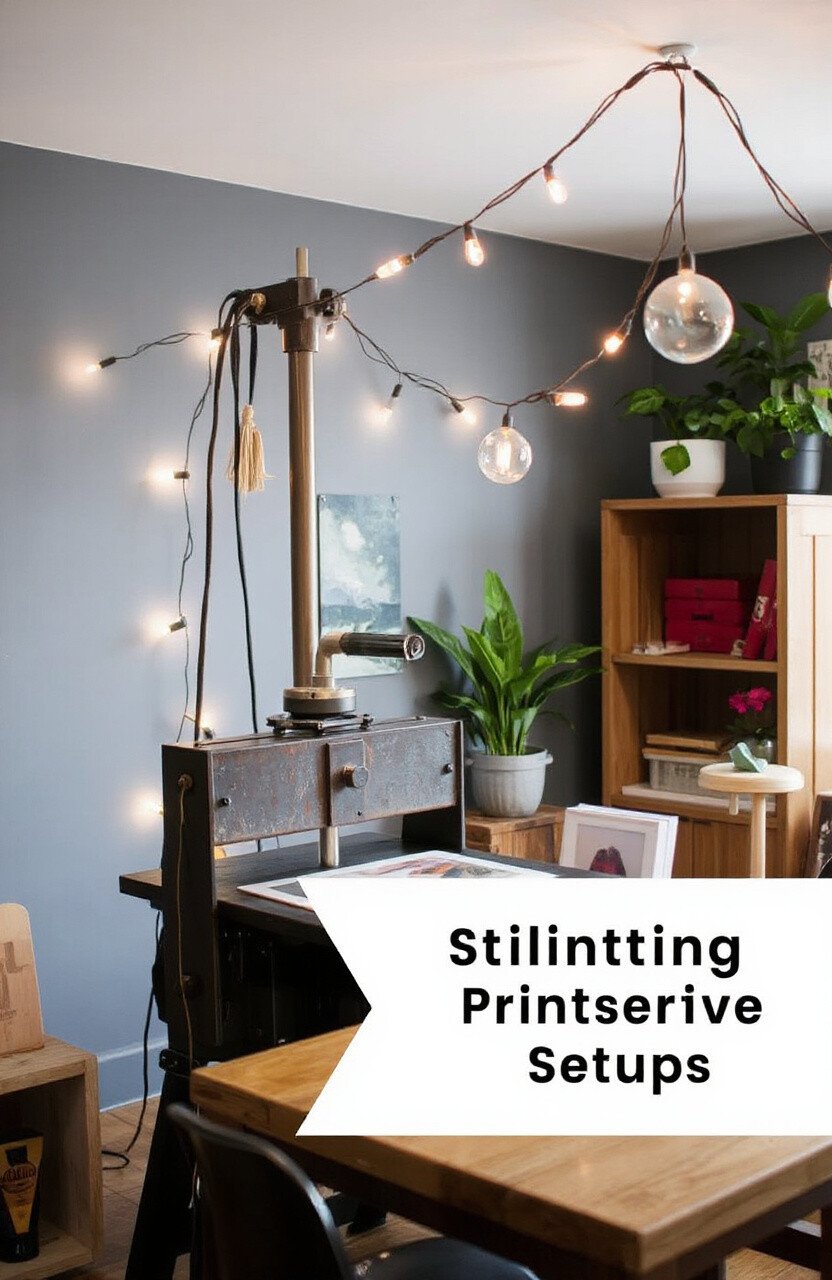
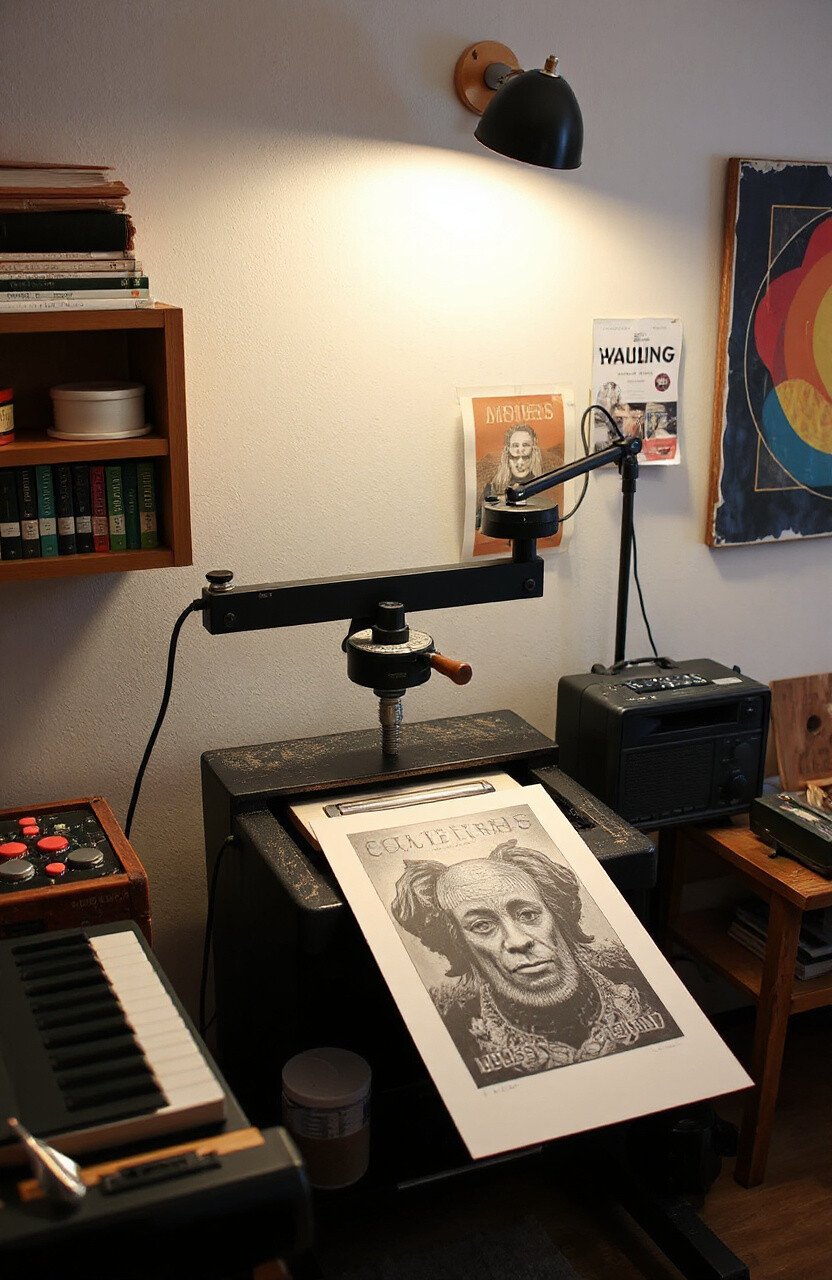
3. Install String Lights
Top Install String Lights Craft Tutorials
- 💅 3D String Light Craft Kit For Kids – 3 Projects With LED … from dmc-nordic.com.
- 🗺️ Easy DIY string lights with decorative wood balls from facebook.com.
- 🍅 5 Tips for Installing String Lights from national-hardware.com.
- 🖼️ String lights for craft but without the bulbs?? : r/cricut from reddit.com.
- 🖼️ How to Hang String Lights DIY from ashleybrooke.com.
String lights can turn any dull room into a magical space. They provide soft lighting that won’t distract from your work. Hang them around your press to create a warm, inviting atmosphere.
Experiment with different colors and shapes to find what sparks joy. Plus, they’re inexpensive and easy to set up!
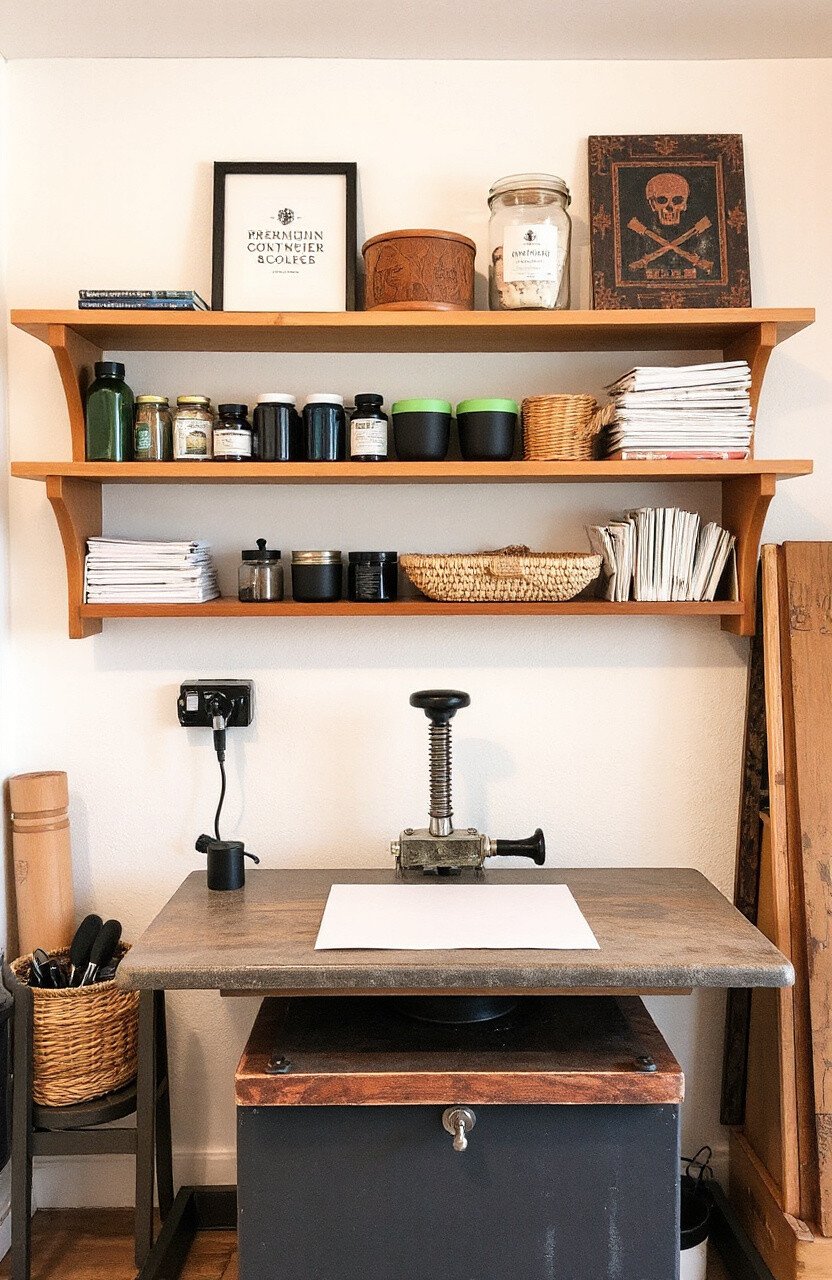
4. Add Shelves for Organization
Top Add Shelves For Organization Craft Tutorials
- 🍅 Craft Room Organization: Shelves Pt 1 from lauraevangeline.com.
- 🎨 what are creative ideas for affordable wall shelves in a craft … from facebook.com.
- 🗺️ Inexpensive Craft Room Shelving – from classyclutter.net.
- 🧑🌾 30 Essential Craft Room Organization Ideas from firstdayofhome.com.
- 🍅 Need tips for craft space organization for kids. Shelves are … from reddit.com.
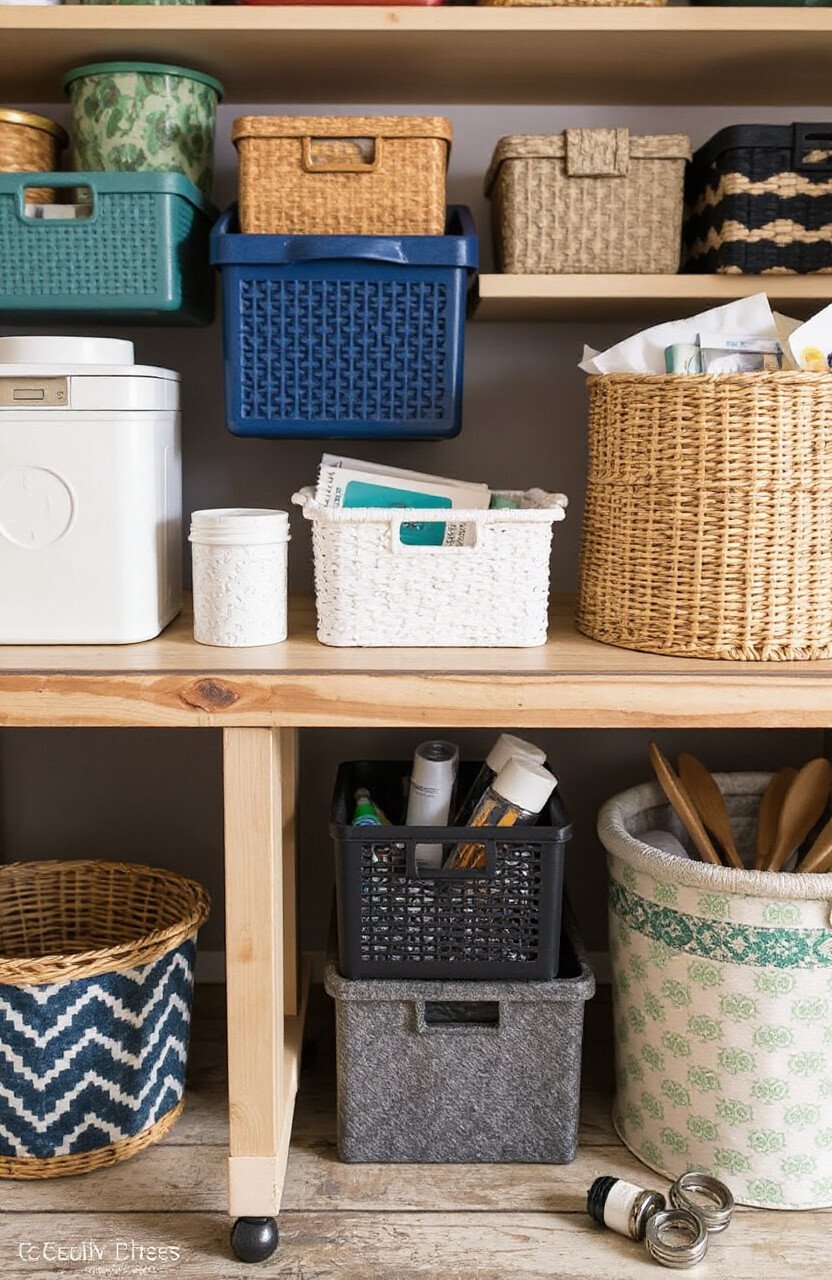
Shelves help keep your supplies neat and within reach. Install a few above your press to hold inks, rollers, and papers. This keeps your workspace clear and your tools organized.
Use baskets or jars to add a touch of style while keeping everything tidy. It’s functional and fashionable!
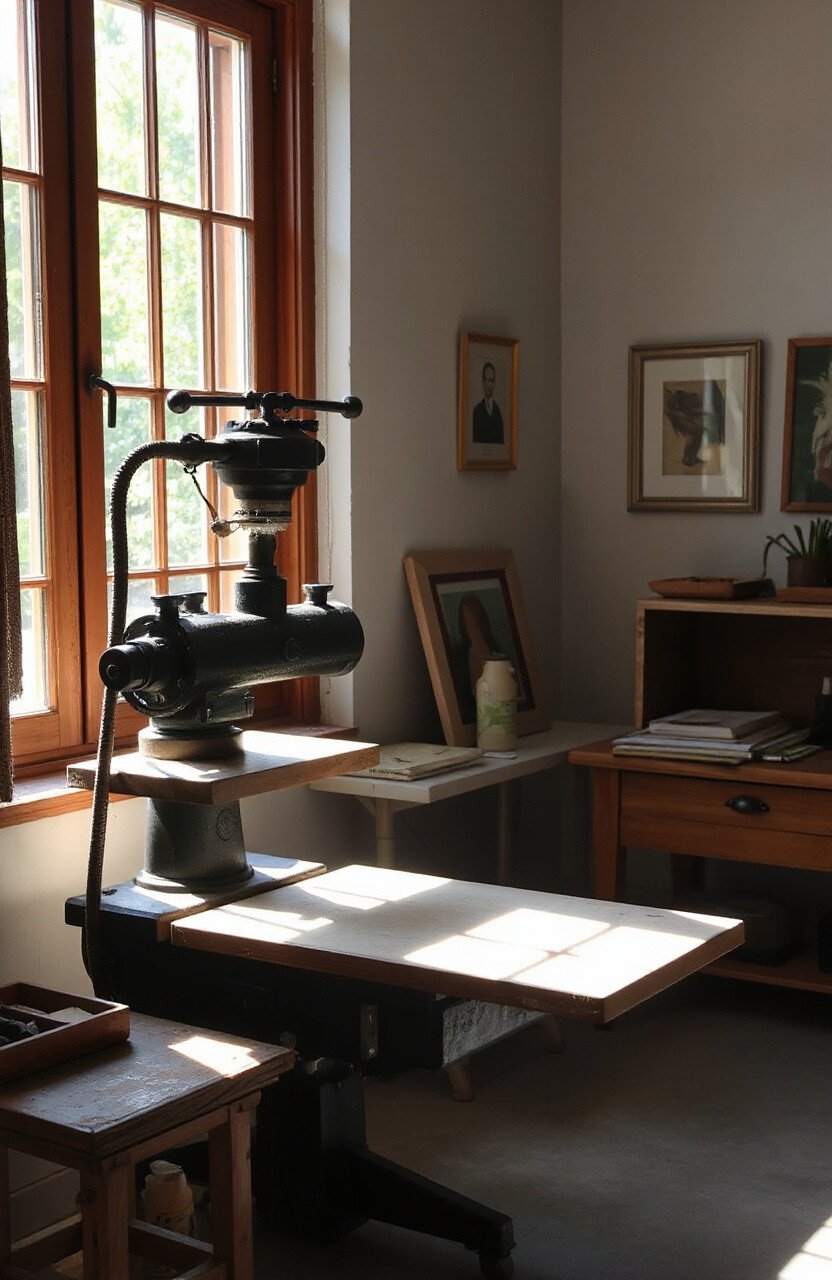
5. Incorporate Natural Light
Top Incorporate Natural Light Craft Tutorials
- 💅 5 Biophilic Design Hacks to Transform Ordinary Spaces into … from jdaarch.com.
- 🧑🌾 Designing with Nature: How to Incorporate Natural Materials in … from lanemcnab.com.
- 🍁 6 Ways To Incorporate Natural Elements In Interior Design from sugarhousefurniture.com.
- 🍅 The Ultimate Guide To Incorporating Nature Into Home … from clairecrowecollection.com.
- 🍁 Best Natural Daylight Floor Lamps for Artists & Crafters 2025 from honeywellsmartlighting.com.
Natural light enhances your workspace and brightens your mood. Set up your press near a window to soak up the sun’s rays. This not only helps with visibility but also keeps your spirit lifted.
If a window isn’t an option, consider skylights or mirrors to reflect light. It’s a simple way to make a big impact!
6. Paint the Walls
Top Paint The Walls Craft Tutorials
- 🎄 Simple DIY ways to paint your walls. 😜 from facebook.com.
- 🍁 Wall Decor – 6 Inch Dot Painting | Crafts to the Rescue from craftstotherescue.com.
- 🎨 16 Pcs Stencils For Painting Reusable 6 X 6 Inch Texture … from trilliumdance.com.
- 🍂 Large Mandala Stencils Set – 12" & 6" Reusable Painting … from dmc-nordic.com.
- 👓 Galaxy walls : r/crafts from reddit.com.
A fresh coat of paint can transform your space. Choose colors that inspire creativity, like a soft blue or vibrant yellow. This simple change can make your workspace feel brand new.
Consider adding a mural or pattern for a unique touch. It’s your space, so make it reflect your style!
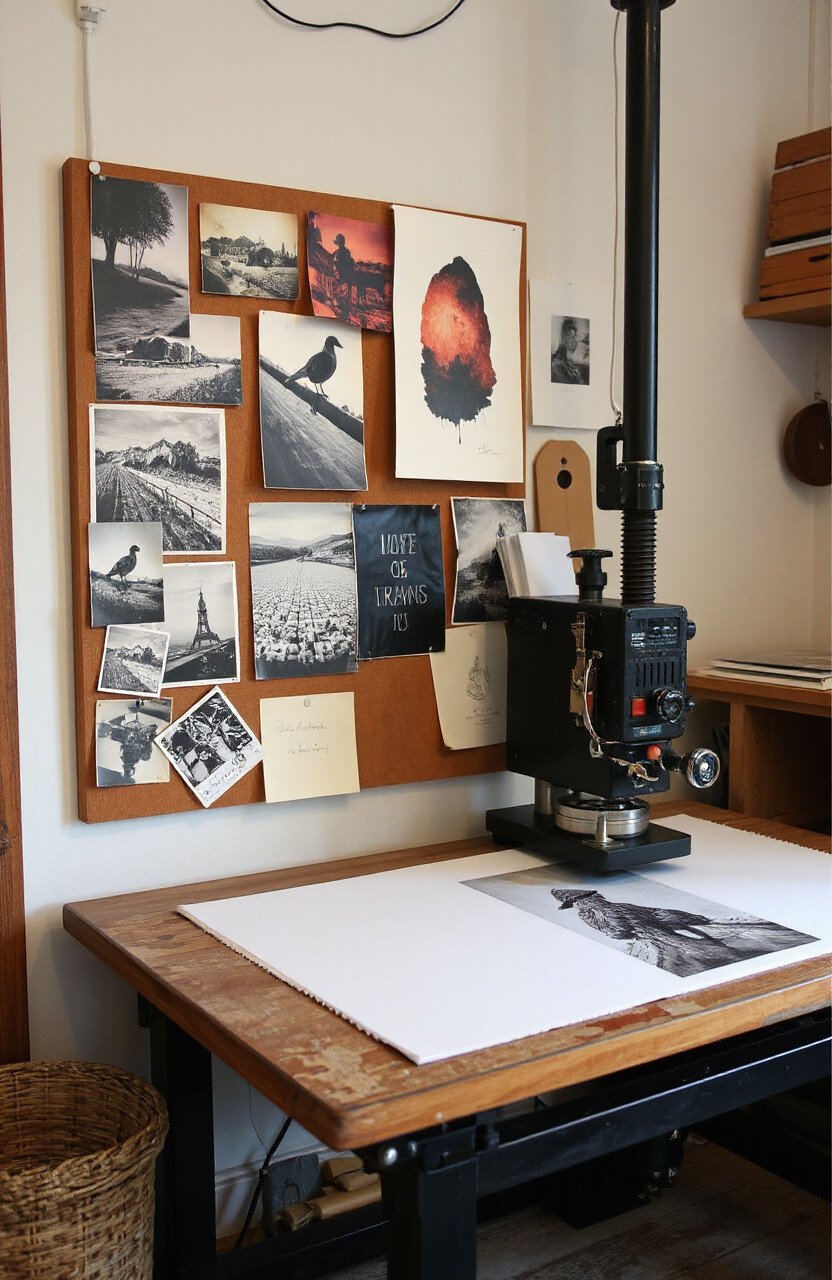
7. Set Up a Mood Board
Top Set Up A Mood Board Craft Tutorials
- 🖼️ 7 Steps to Creating the Perfect Mood Board from somethingturquoise.com.
- 🖼️ 7 Interior Design Mood Board Ideas: Luxury Concepts & … from rockymountainhardware.com.
- 🗺️ 7 Steps On How To Create a Mood Board for Interior Designers from jdinstitute.edu.in.
- 🍂 7 tools interior designers use to create mood boards from woodworkingnetwork.com.
- 🖼️ Design Mood. 7 Motives to Create Mood Boards – Tubik Blog from blog.tubikstudio.com.
A mood board is a collection of images and materials that inspire you. Hang one near your press to keep your creative juices flowing. It’s like having a personal gallery that evolves with you.
Pin up colors, textures, and prints that you love. It’s a visual reminder of what excites you!
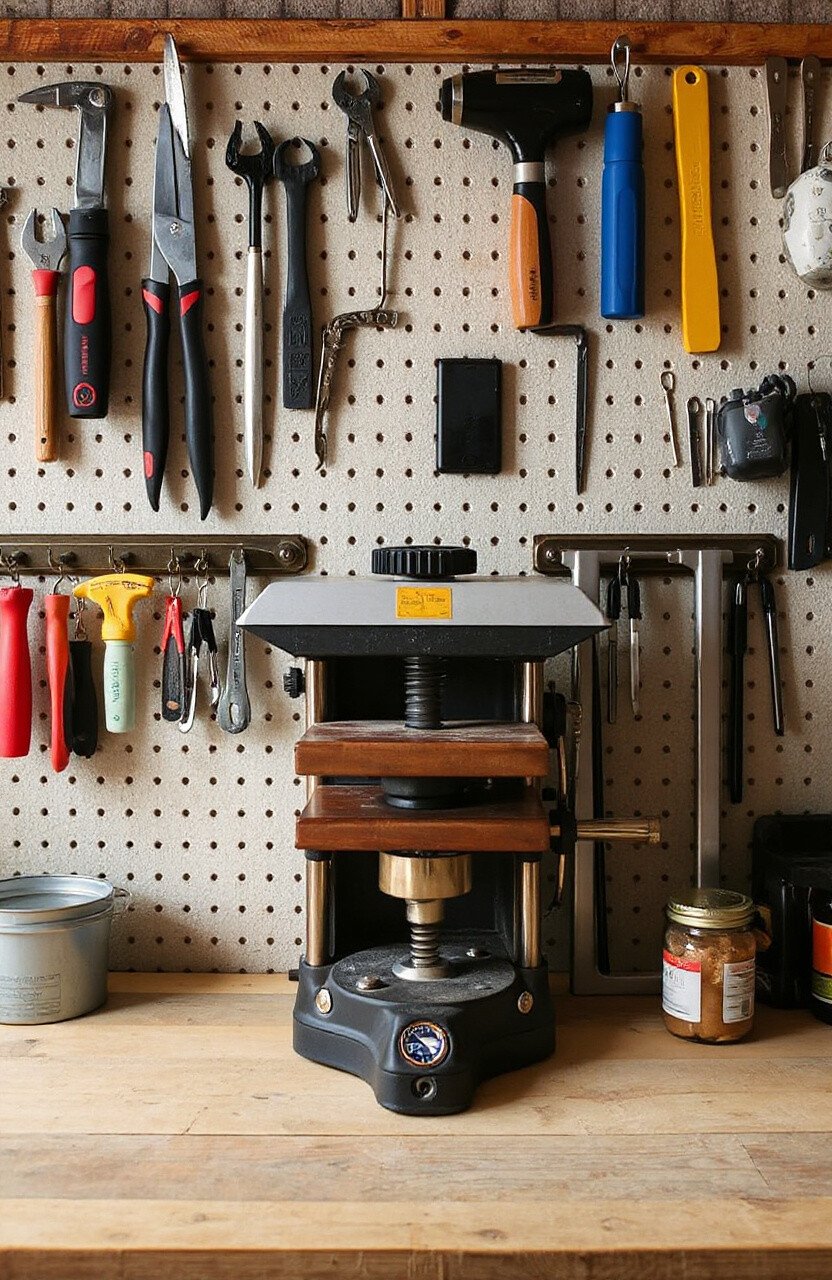
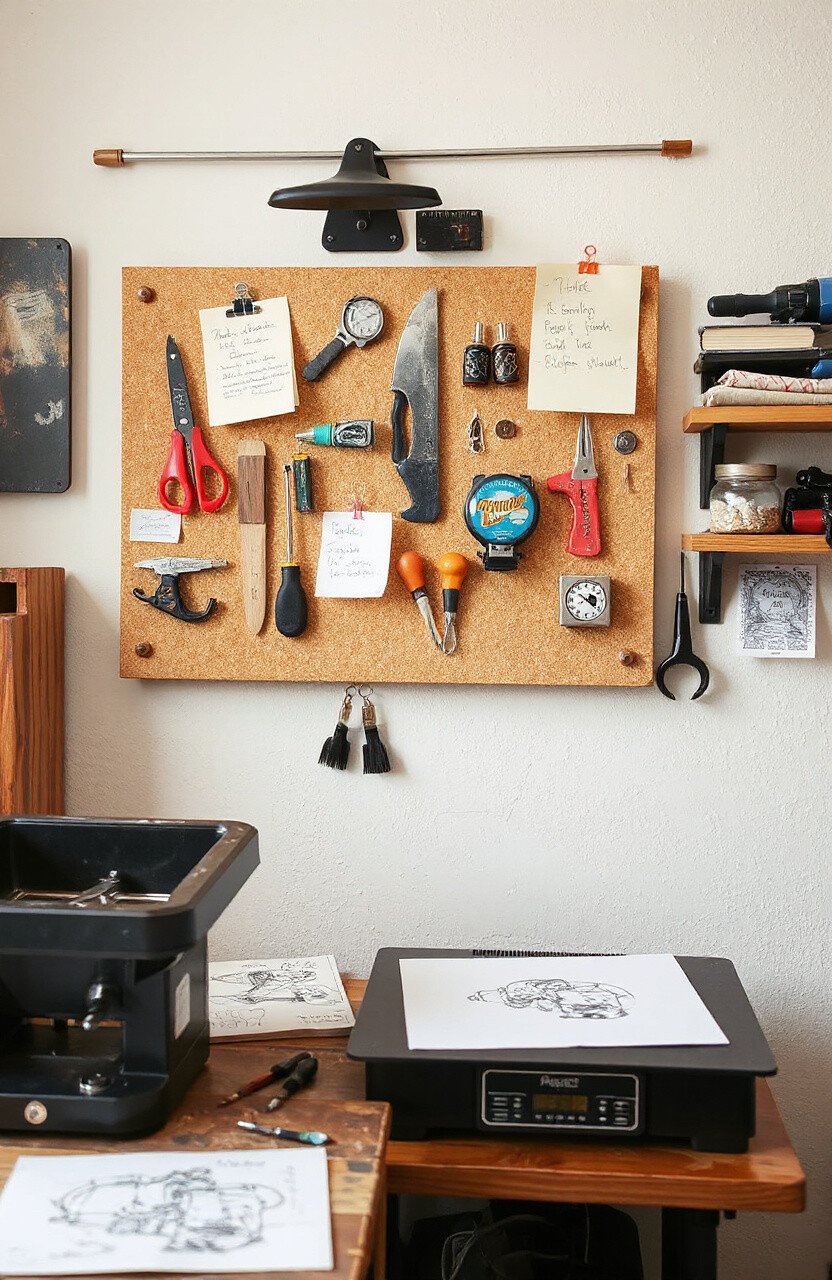
8. Create a Tool Wall
Top Create A Tool Wall Craft Tutorials
- 🎨 Tool Storage Wall from woodcraft.com.
- 🧑🌾 French Cleat Tool Storage Wall and Clamp Rack from instructables.com.
- 💅 Show me your tool wall! Looking for some ideas to mine from reddit.com.
- 🍂 How to DIY a tool silhouette storage board for your shed from cassiefairy.com.
- 👓 Wall-Mounted Tool Rack | Woodworking Project from woodsmithplans.com.
A tool wall keeps your equipment organized and easy to find. Use pegboards or hooks to hang your tools. This way, everything is visible and at your fingertips.
Personalize it with labels or colors to make it uniquely yours. It’s a practical solution that adds a touch of flair!
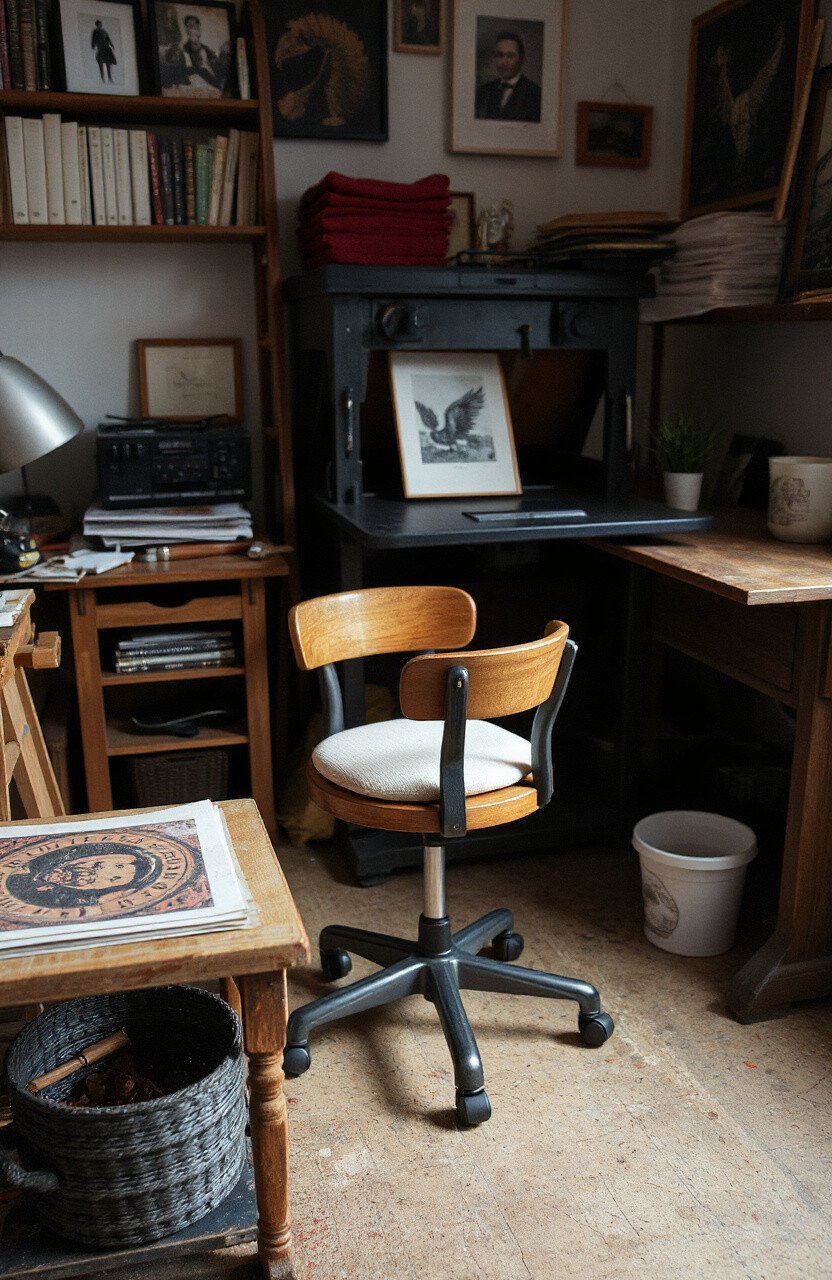
9. Invest in a Comfortable Chair
Top Invest In A Comfortable Chair Craft Tutorials
- 🖼️ Favorite comfortable craft chairs for group seating from facebook.com.
- 🖼️ Craft Room : Office Chairs & Desk Chairs from target.com.
- 💅 The Absolute Best Sewing Chair for Quilters and Sewists from stitchobsessed.com.
- 🍂 Quilting Chair With Storage Adjustable Sewing Chair from treefruitresearch.org.
- 🖼️ Build a Chair from Bulls%$t from lostartpress.com.
Comfort is key when you spend hours at your press. A good chair supports your back and helps you focus on your art. Look for one that’s adjustable and fits your style.
Consider adding a cushion for extra comfort. It’s an investment in your health and happiness!
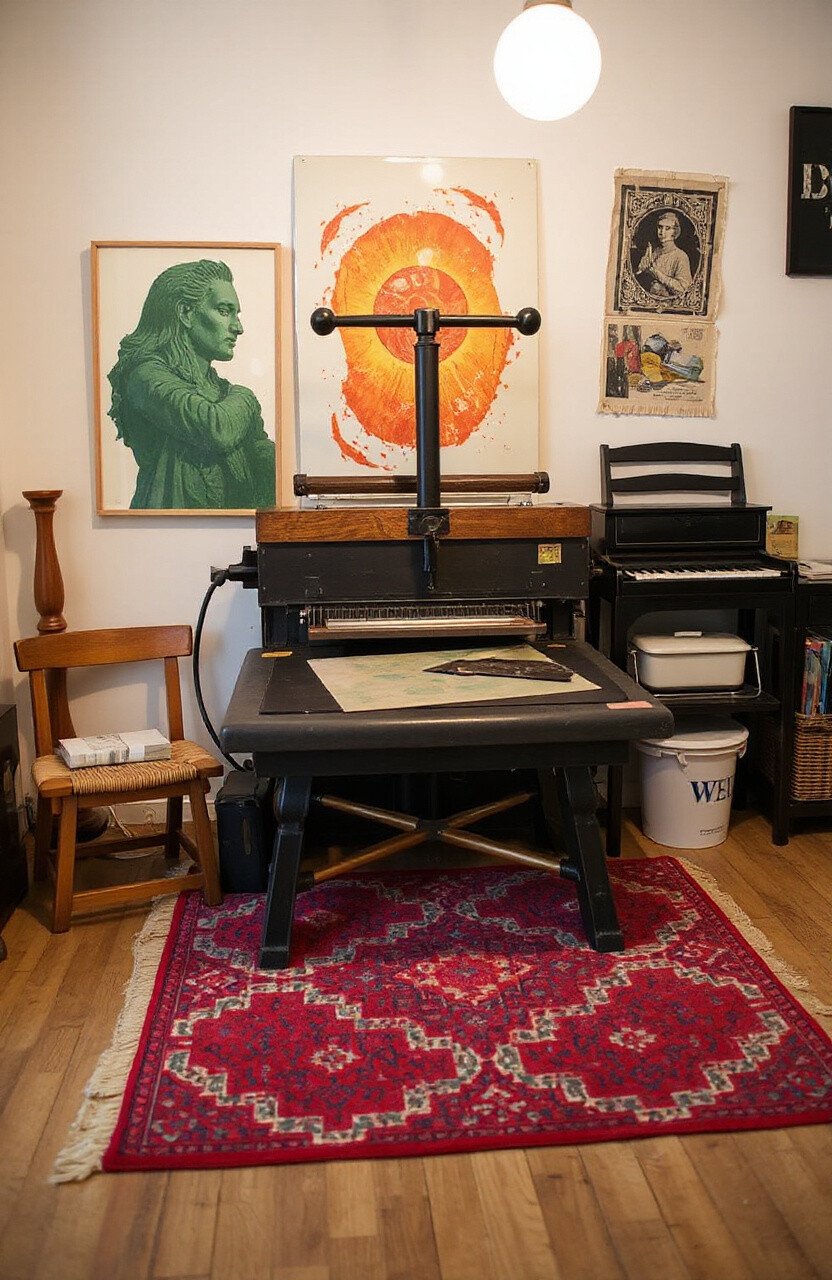
10. Use a Colorful Rug
Top Use A Colorful Rug Craft Tutorials
- 🧑🌾 Top 10 Tufting Rug Ideas 2025: Creative DIY Designs from zuozuostudio.ca.
- 🎄 Black spray painted rug with colorful designs from facebook.com.
- 👓 10 Easy Rag Rug Projects for Beginners from raggedlifeblog.com.
- 🖼️ 6 of the Best Video Tutorials for Making a DIY Rag Rug from luxeweavers.com.
- 🖼️ How to Dye and Personalize a Rug – Simple DIY Rug Craft from hometalk.com.
A vibrant rug can tie your space together and add a pop of color. Place one under your press to define the area and make it cozy. It’s an easy way to add personality without a big commitment.
Choose a pattern that makes you smile every time you see it. It’s the little details that make a big difference!
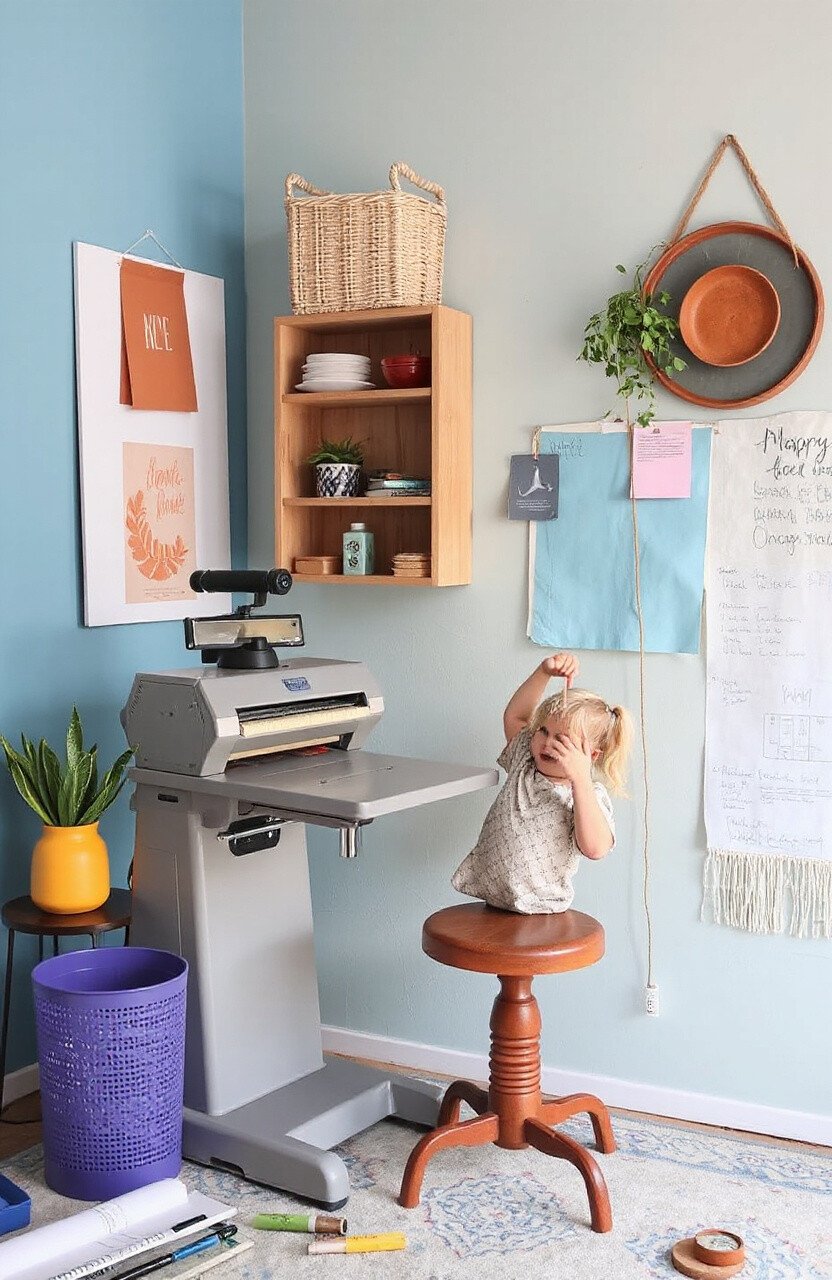
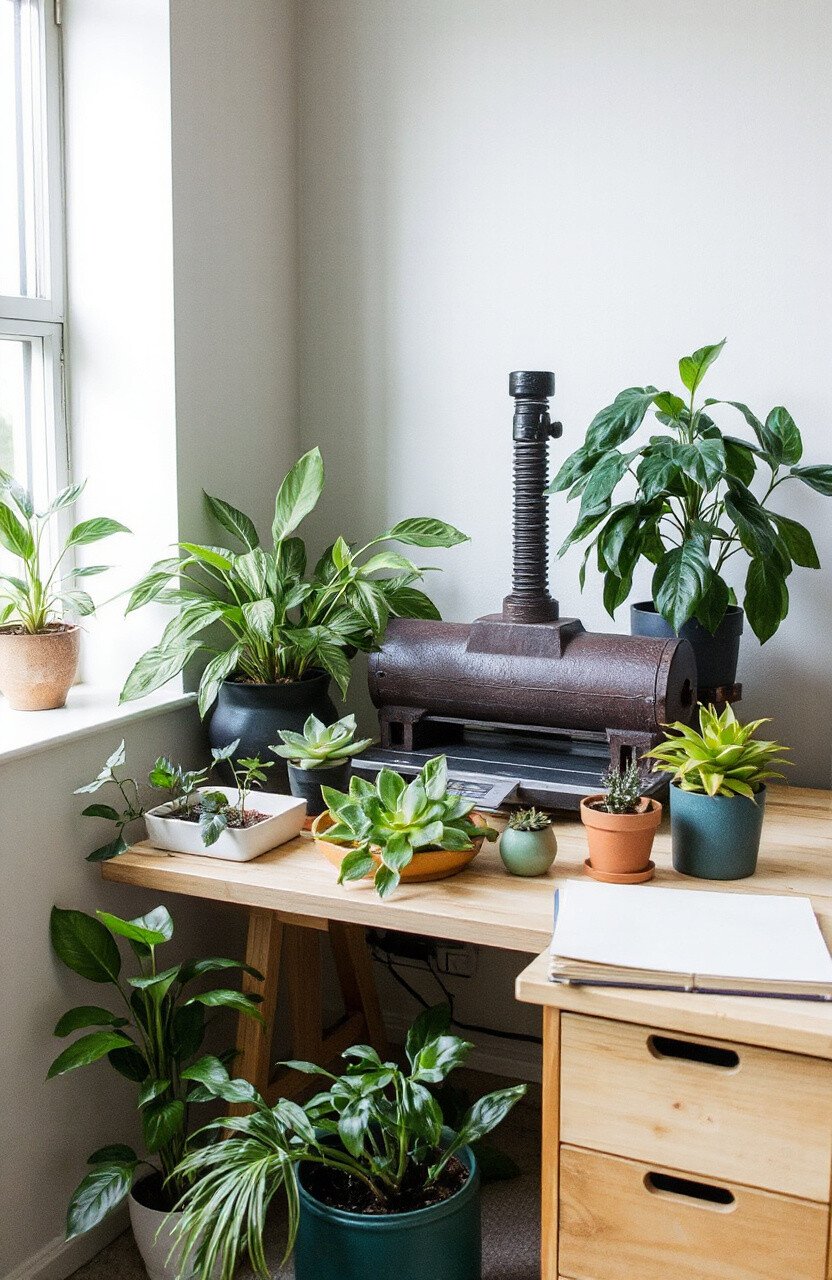
11. Incorporate Plants
Top Incorporate Plants Craft Tutorials
- 🍅 Free Plant Crafts from teacherspayteachers.com.
- 🗺️ Botanical Crafts: 27 Stunning Projects for Plant Lovers from pictureboxblue.com.
- 🖼️ Miniature hanging plant DIY project ideas from facebook.com.
- 🖼️ 33 Free Plant Life Cycle Activities from weareteachers.com.
- 🖼️ 2012 Plant Talk 10 Craft Plants from botanyeveryday.com.
Plants bring life and freshness to any room. Place a few around your press to create a calming atmosphere. They’re not just beautiful; they also improve air quality!
Choose low-maintenance plants like succulents if you’re not a green thumb. They add a touch of nature without the fuss!
12. Hang Inspirational Quotes
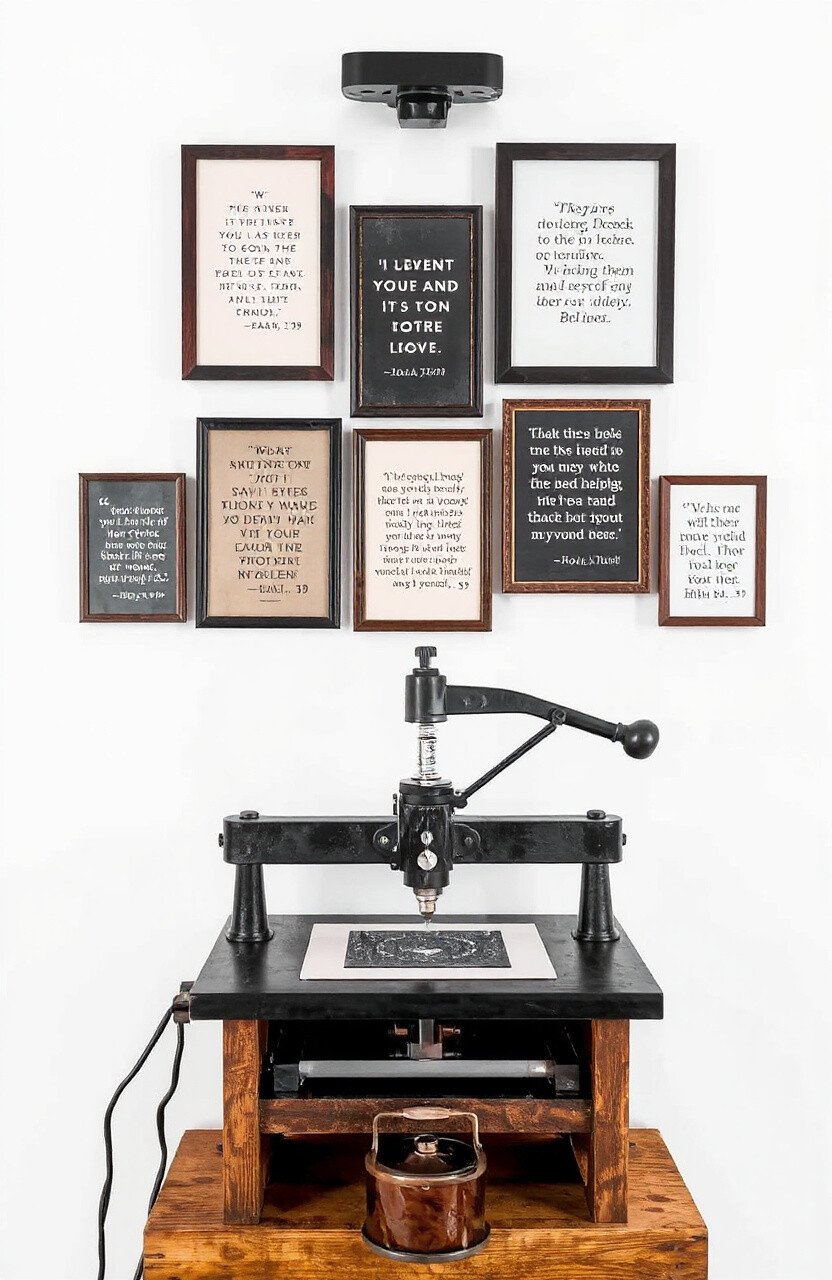
Top Hang Inspirational Quotes Craft Tutorials
- 💅 12 Modern Wall Art DIYs from lemonthistle.com.
- 🖼️ 12" x 24" Life Quote Canvas Wall Hanging from ebay.com.
- 💅 Handcrafted motivational quotes wall hanging from facebook.com.
- 🍂 Inspirational Quote Wood Sign Hanging Art Wall Decor … from mapparte.com.
- 🍂 How to Make Inspirational Quote Card DIY Bunting from avisualmerriment.com.
Words have power, and a well-placed quote can inspire you daily. Frame a few of your favorites and hang them near your press. They’ll lift your spirits and keep you motivated.
Swap them out as your tastes change. It’s a simple way to keep your space dynamic!
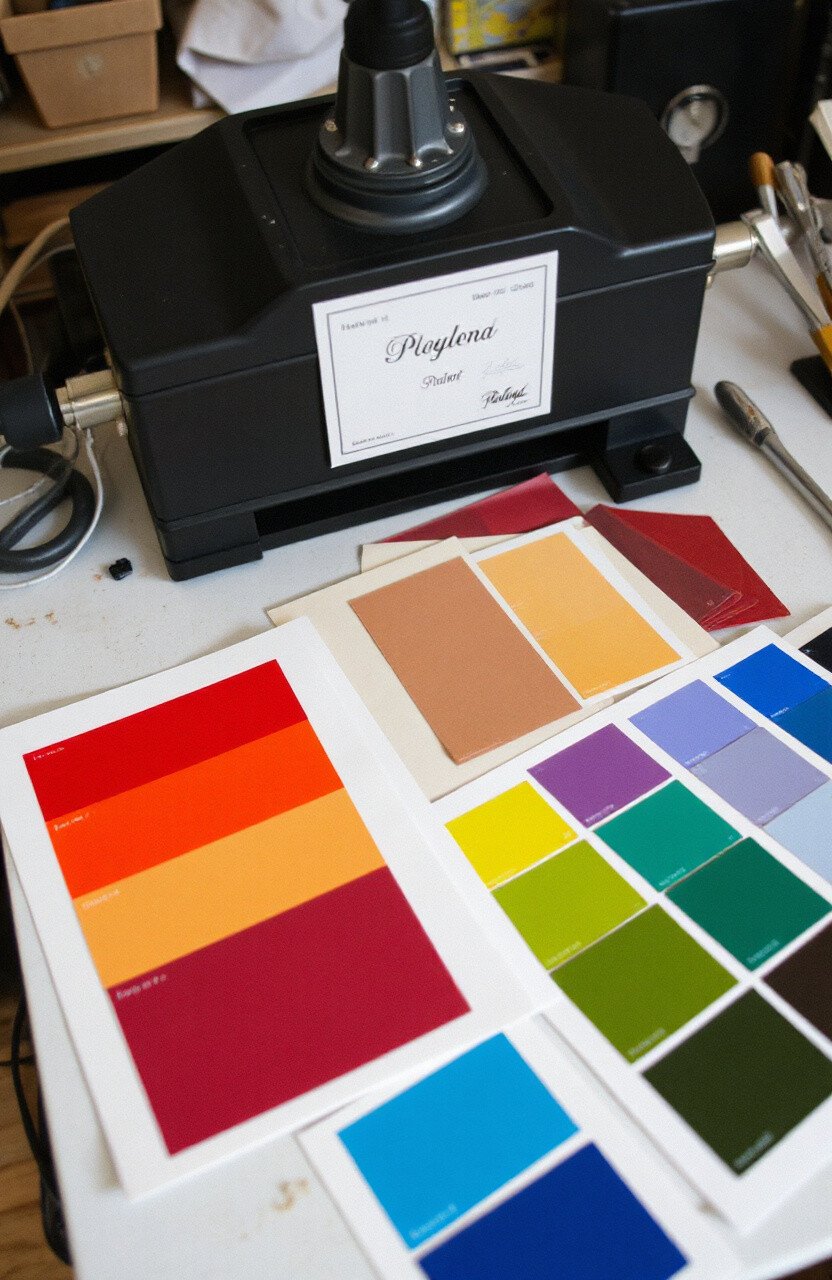
13. Create a Color Palette
Top Create A Color Palette Craft Tutorials
- 🍂 [Newbie] How do you make a color palette? : r/PixelArt from reddit.com.
- 🎨 Exploring color schemes for crafts from facebook.com.
- 🍂 Easy Paint Palette Watercolor Craft Projects for Summer from ssww.com.
- 🍂 Crafting Distinctive Color Palettes for GIMP Enthusiasts from discuss.pixls.us.
- 🎨 Create Your Own Color Palette from diy.org.
A color palette helps you stay focused on your artistic vision. Arrange swatches or samples near your press to guide your projects. It’s like having a mini gallery of your favorite hues.
Update it seasonally or as your tastes evolve. It’s a fun way to keep your creativity fresh!
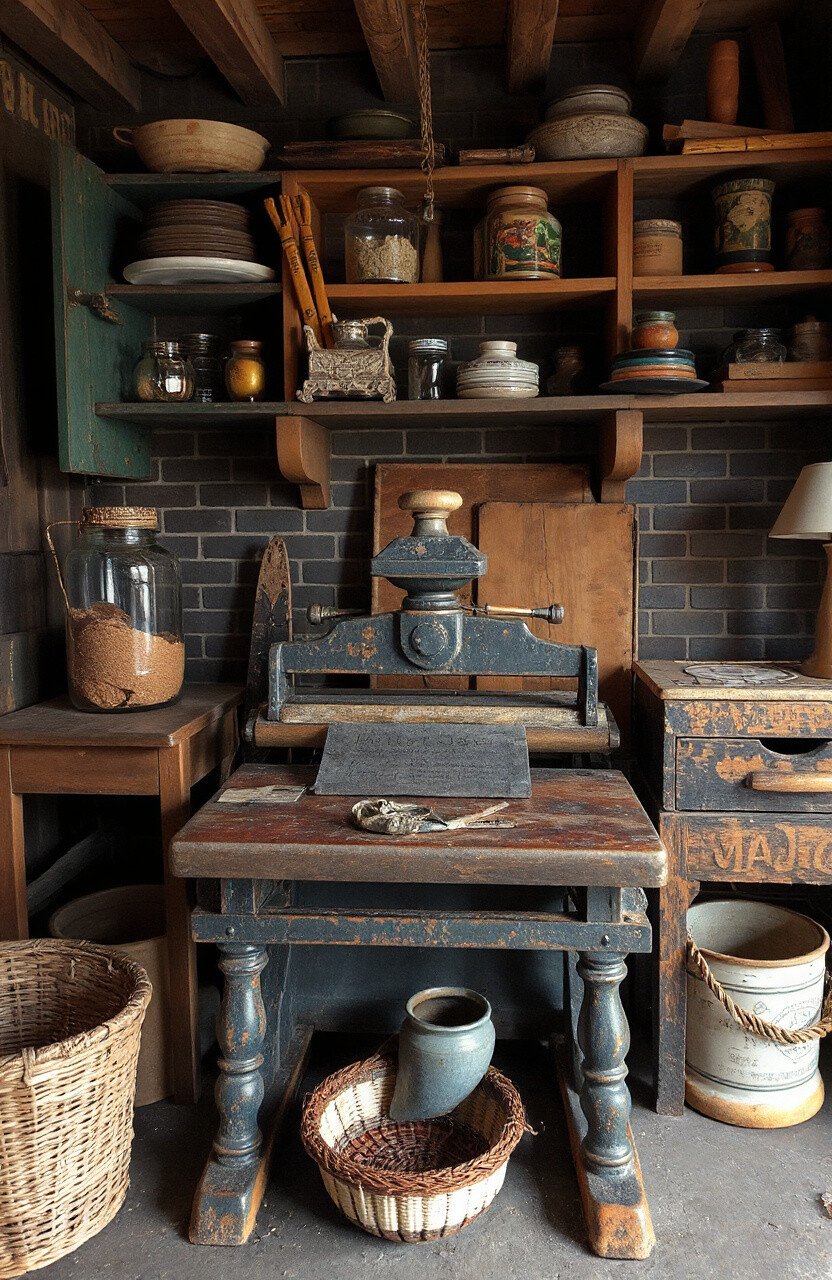
14. Use Vintage Finds
Top Use Vintage Finds Craft Tutorials
- 🍂 These 14 Vintage Pieces INSTANTLY Make Your Home … from housebeautiful.com.
- 🗺️ 10 Vintage Crafts to Make and Sell from craftidly.com.
- 🍂 10 Ways To Organize With Vintage Decor from thistlewoodfarms.com.
- 🧑🌾 Valentine's crafts using DT and vintage items from facebook.com.
- 🍁 20+ Creative Ways to Organize with Vintage Finds from postcardsfromtheridge.com.
Vintage items add charm and a sense of history to your space. Incorporate old jars, frames, or tools into your setup. They have a unique character that new items often lack.
Hunt for treasures at flea markets or thrift stores. It’s an eco-friendly way to add personality!
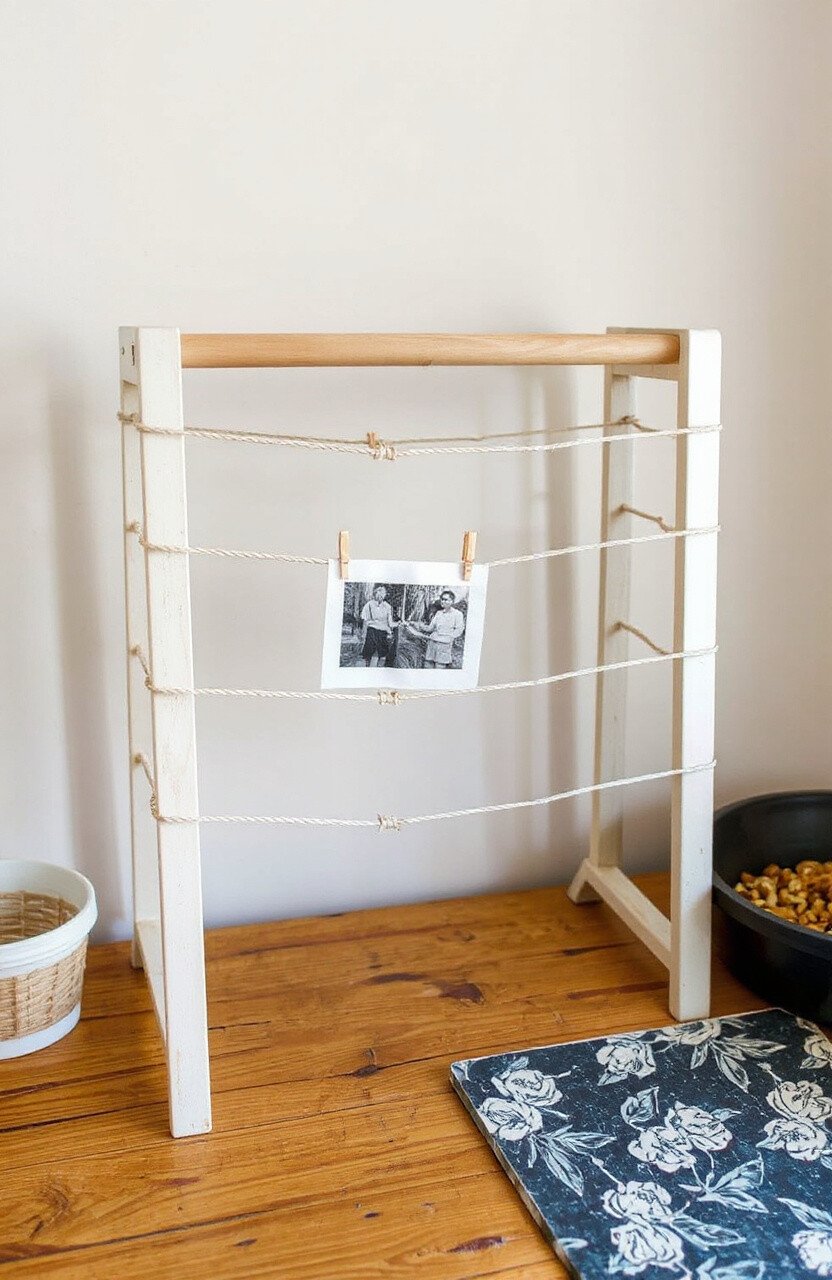
15. Set Up a Drying Rack
Top Set Up A Drying Rack Craft Tutorials
- 🍅 Fuerza Table Top or Wall Mount 15-Shelf Art Drying Rack … from schooloutlet.com.
- 🎄 DIY Drying Rack – The Frugal Crafter Blog from thefrugalcrafter.wordpress.com.
- 🎨 Repurposing a Clothes Drying Rack for Craft Show Displays from facebook.com.
- 🧑🌾 DIY Drying Rack- Under $10 can handle 400 prints from reddit.com.
- 🎄 Drying and Storage Racks – Kurtz Bros from kurtzbros.com.
A drying rack is essential for your prints to properly dry. Create a simple one using string and clothespins or invest in a foldable rack. It keeps your work safe and organized.
Personalize it with paint or decorations. It’s practical but can still be pretty!
16. Use Magnetic Boards
Top Use Magnetic Boards Craft Tutorials
- 💅 Magnetic Glass Craft Mat from glassboardstudio.com.
- 🧑🌾 Magnetic fridge board craft project from facebook.com.
- 🧑🌾 Familia Spanish Steel Magnet Board – 16 Wall Decor from thecraftartshop.com.
- 🗺️ DIY Magnetic tins for organizing spices, office supplies, … from reddit.com.
- 🎄 QUEENLINK Magnetic Dry Erase Board, 16'' X 12' … from nicolasperruche.com.
Magnetic boards keep small tools and notes within reach. Hang one near your press to hold sketches, ideas, or even tools. It’s a functional addition that’s easy to customize.
Use fun magnets or create your own. It’s a playful way to stay organized!
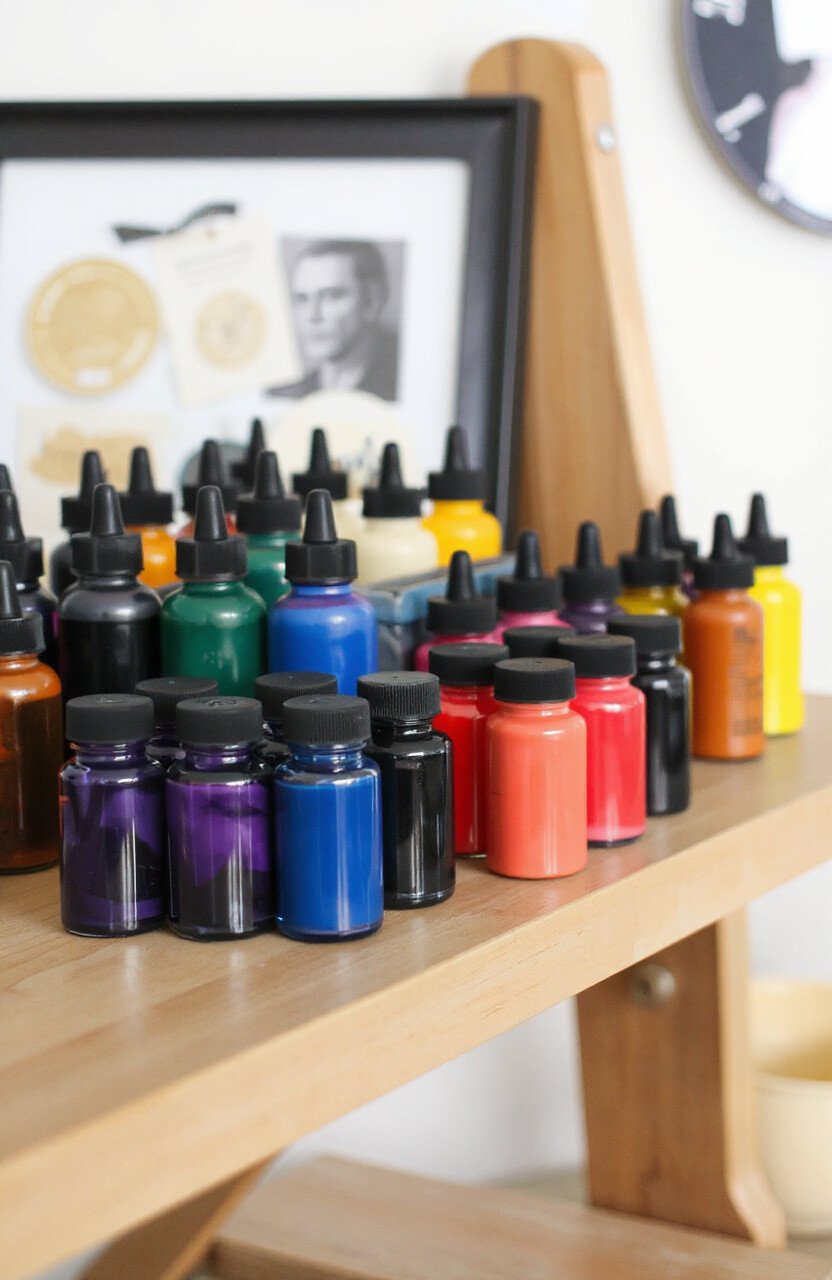
17. Add a Splash of Color with Ink Bottles
Top Add A Splash Of Color With Ink Bottles Craft Tutorials
- 🎨 Colorful bottle lights diy project from facebook.com.
- 🎨 Splash Ink: New Product – QuinnCreative – WordPress.com from quinncreative.wordpress.com.
- 🍁 Colorations® Decorate Your Own Stainless Steel Water … from discountschoolsupply.com.
- 🧑🌾 DIY Painted Wine Bottle for Holiday Decor 🎄 from lemon8-app.com.
- 🎨 Making homemade color sprays with food coloring from facebook.com.
Ink bottles aren’t just for printing; they can be decor too! Display them on a shelf to add color and interest. They’re like little art pieces themselves.
Arrange them by color for a rainbow effect. It’s a beautiful way to showcase your supplies!
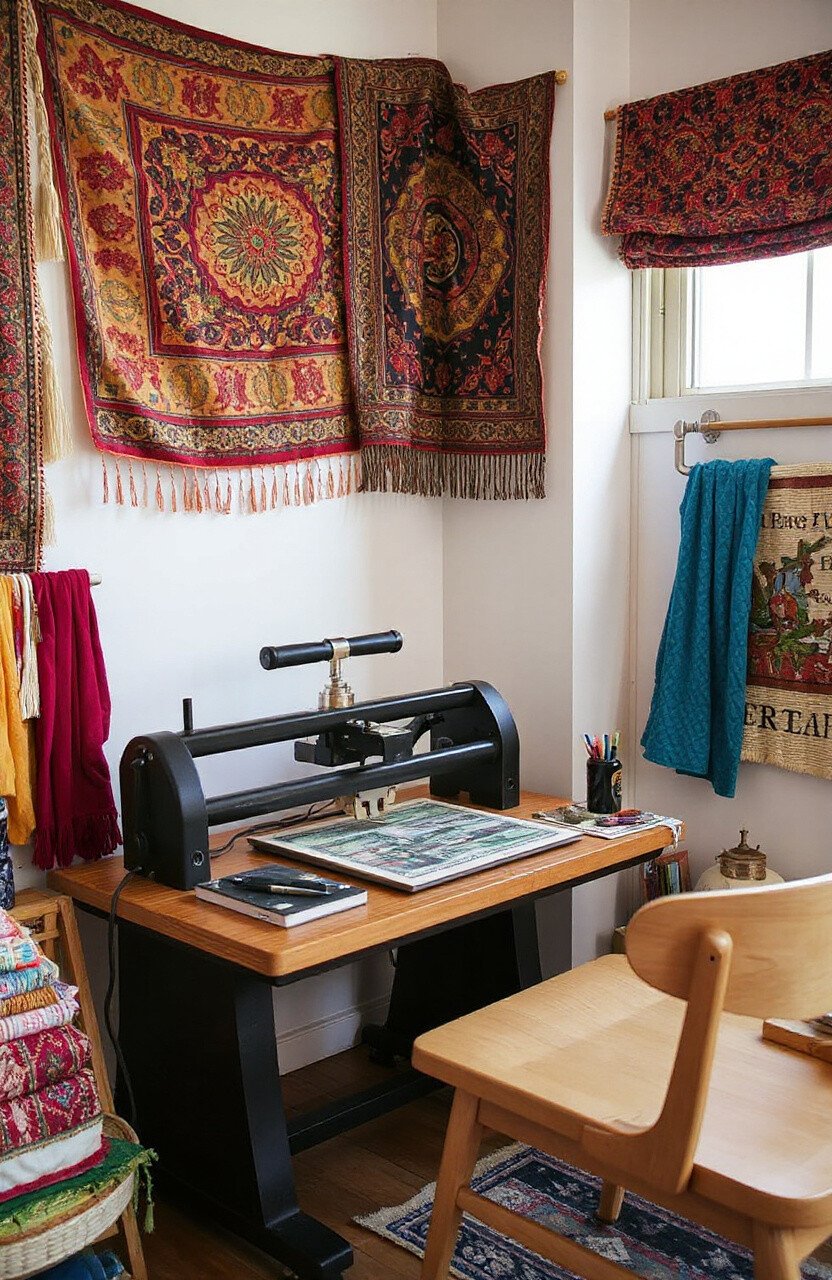
18. Incorporate Textiles
Top Incorporate Textiles Craft Tutorials
- 🍂 Textile Art Movement Overview | TheArtStory from theartstory.org.
- 🖼️ The Art World Is All Wrapped Up in Textiles Right Now from dwell.com.
- 🎨 Textile Artists Bring New Life to an 18th-Century Building from nytimes.com.
- 🎄 Traditional Textile Craft – an Intangible Cultural Heritage? from ctr.hum.ku.dk.
- 🗺️ Textile Materials and Techniques in Contemporary Art – Journals from journals.psu.edu.
Textiles add warmth and texture to your space. Use fabric swatches, tapestries, or curtains to soften the room. They can make your workspace feel cozy and inviting.
Choose patterns and colors that inspire you. It’s an easy way to refresh your space without a lot of work!
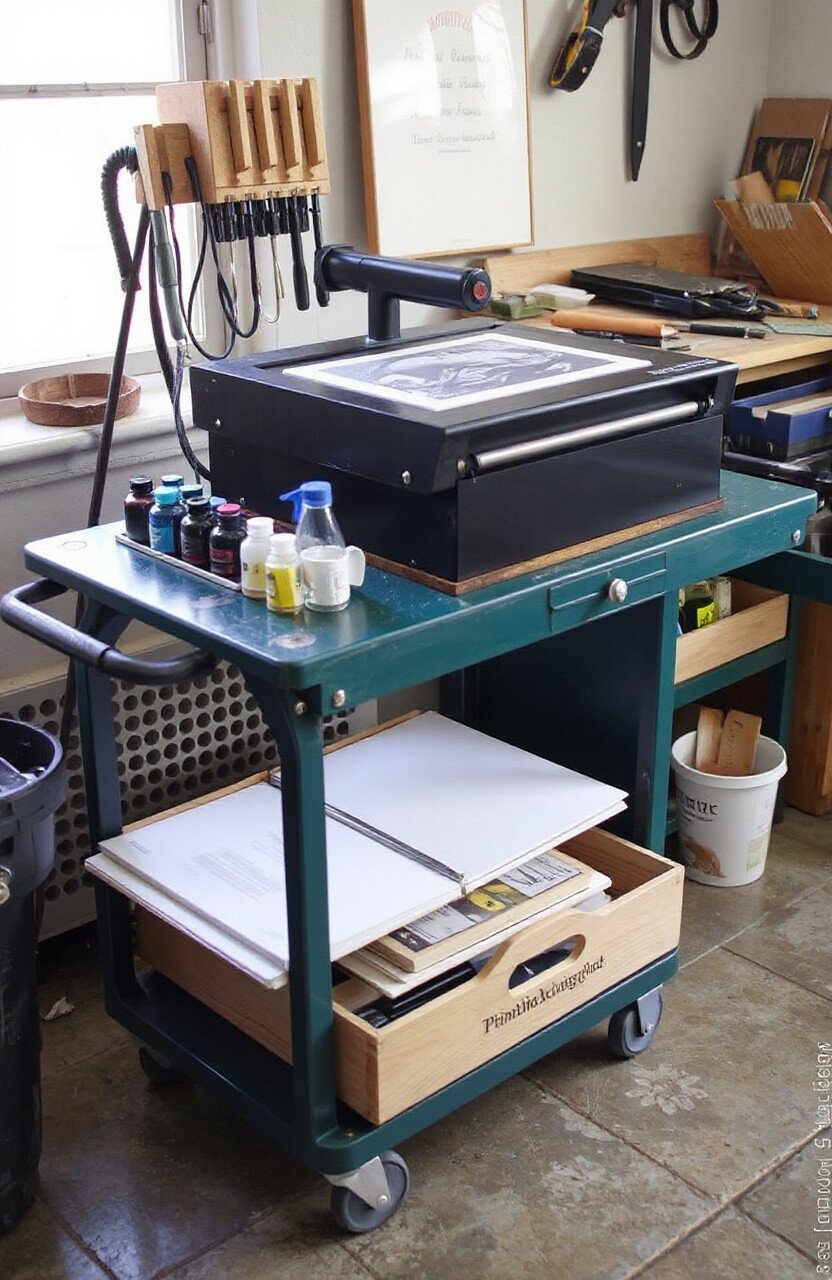
19. Use a Cart for Mobility
Top Use A Cart For Mobility Craft Tutorials
- 🍁 Upgraded rolling cart for easy crafting mobility from facebook.com.
- 👓 Craft Carts from wayfair.com.
- 🎨 Classroom & School Carts from schoolspecialty.com.
- 🧑🌾 DIY Cart Makeover Ideas for a Functional Upgrade from lemon8-app.com.
- 💅 Improvements Craft Storage Cart from hsn.com.
A rolling cart keeps your tools mobile and accessible. Load it with inks, papers, and tools for easy access. It’s perfect if you like to move around or work in different areas.
Choose a cart with personality, like a bright color or unique design. It’s a practical solution that’s also stylish!
20. Set Up a Music Station
Top Set Up A Music Station Craft Tutorials
- 🍁 1940s Cardboard Radio craft activity guide from bakerross.co.uk.
- 🖼️ Box Radio Craft for Kids | from celebratepicturebooks.com.
- 🍅 How to create a VBS schedule with 20 minutes for craft, rec … from facebook.com.
- 🗺️ How to Start a Radio Station from Home from radio.co.
- 🗺️ 20+ Musical Instrument DIYs & Sound Experiments To Try … from kiwico.com.
Music sets the mood and keeps you inspired. Set up a small speaker or radio near your press. Create playlists that match your creative flow.
Music can boost your mood and motivation. It’s a simple addition that makes a big difference!
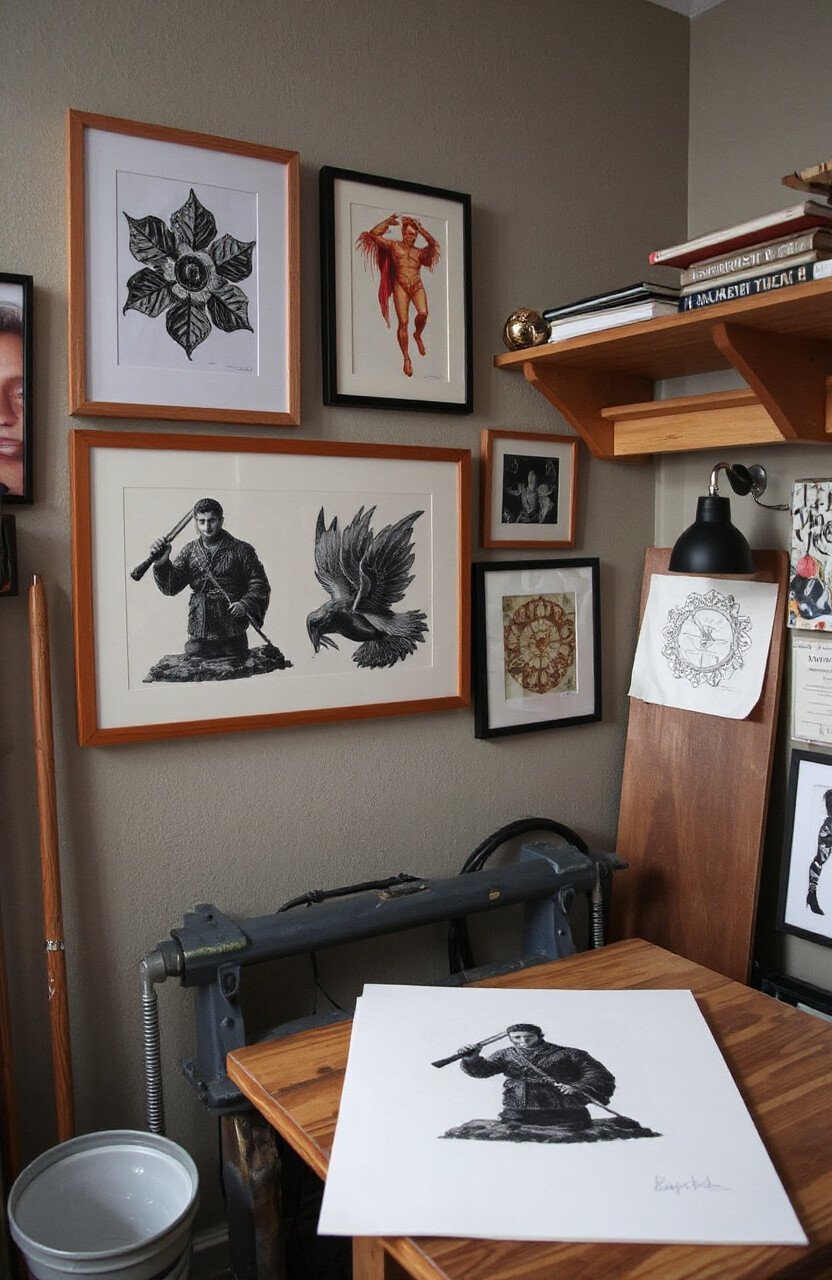
21. Display Your Work
Top Display Your Work Craft Tutorials
- 🎨 55 Simple yet Sophisticated Adult Craft Ideas from goodhousekeeping.com.
- 💅 Craft Show Must Haves for Successful Vendor Setup from facebook.com.
- 🖼️ Crafts for work : r/crafts from reddit.com.
- 🧑🌾 How we tested and evaluated AI-generated dance videos from themarkup.org.
- 🖼️ Easy Crafts for Adults: 50 Great Ideas to Try! from modpodgerocksblog.com.
Your prints are masterpieces, so show them off! Frame a few favorites and hang them around your press. It’s a reminder of your progress and creativity.
Update them as you create new pieces. It’s an evolving gallery of your talent!
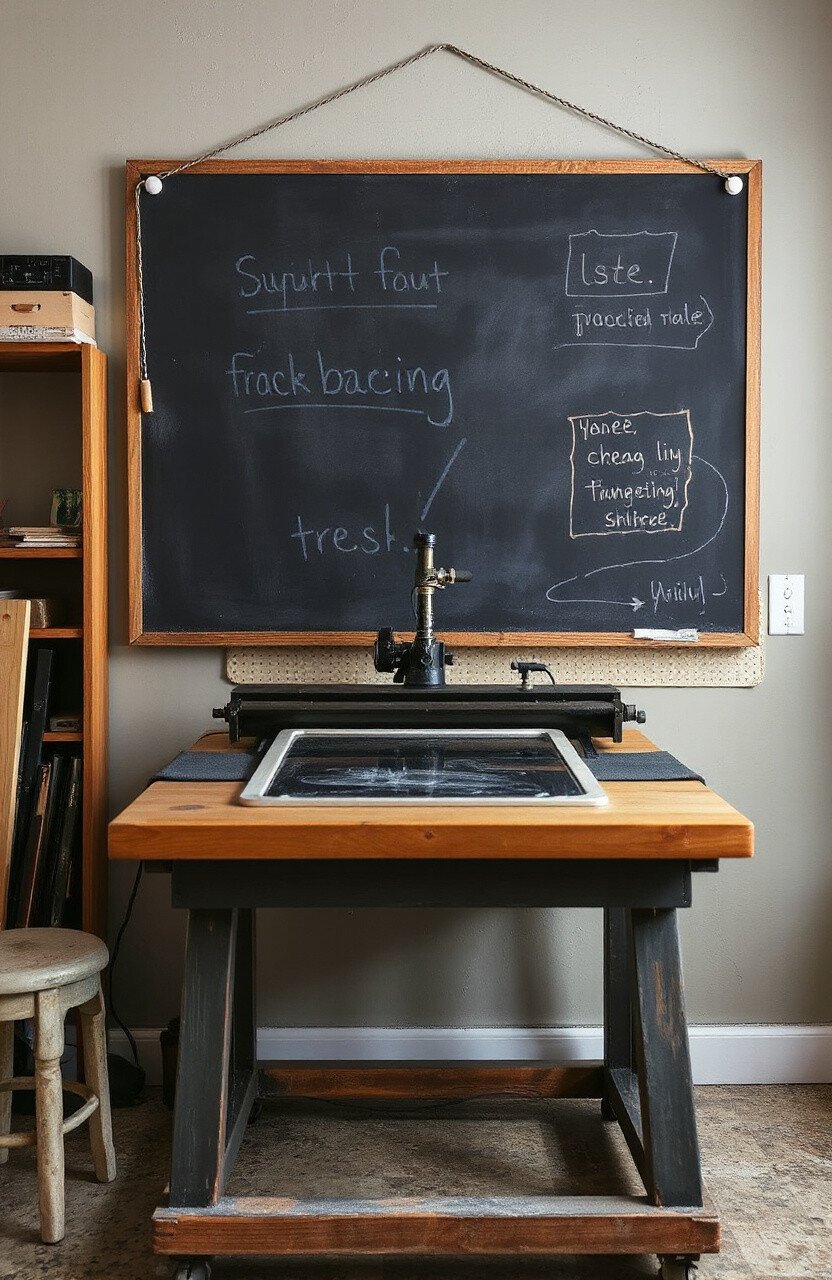
22. Use Chalkboard Paint
Top Use Chalkboard Paint Craft Tutorials
- 🍁 45 Fabulous "How To Use Chalk Paint" Projects from michellejdesigns.com.
- 🧑🌾 30+ Creative Projects using Chalkboard Paint from prettyhandygirl.com.
- 💅 Chalk It Up! Creative Uses for Chalkboard Paint from facebook.com.
- 🗺️ Top Ten Chalkboard Paint Projects from remodelaholic.com.
- 🍁 Anyone using chalkboard paint for their DIY items? from reddit.com.
Chalkboard paint turns any surface into an instant canvas. Paint a section of wall or a board near your press. Use it for notes, sketches, or doodles.
It’s a playful way to stay organized. Plus, it’s easy to change whenever you like!
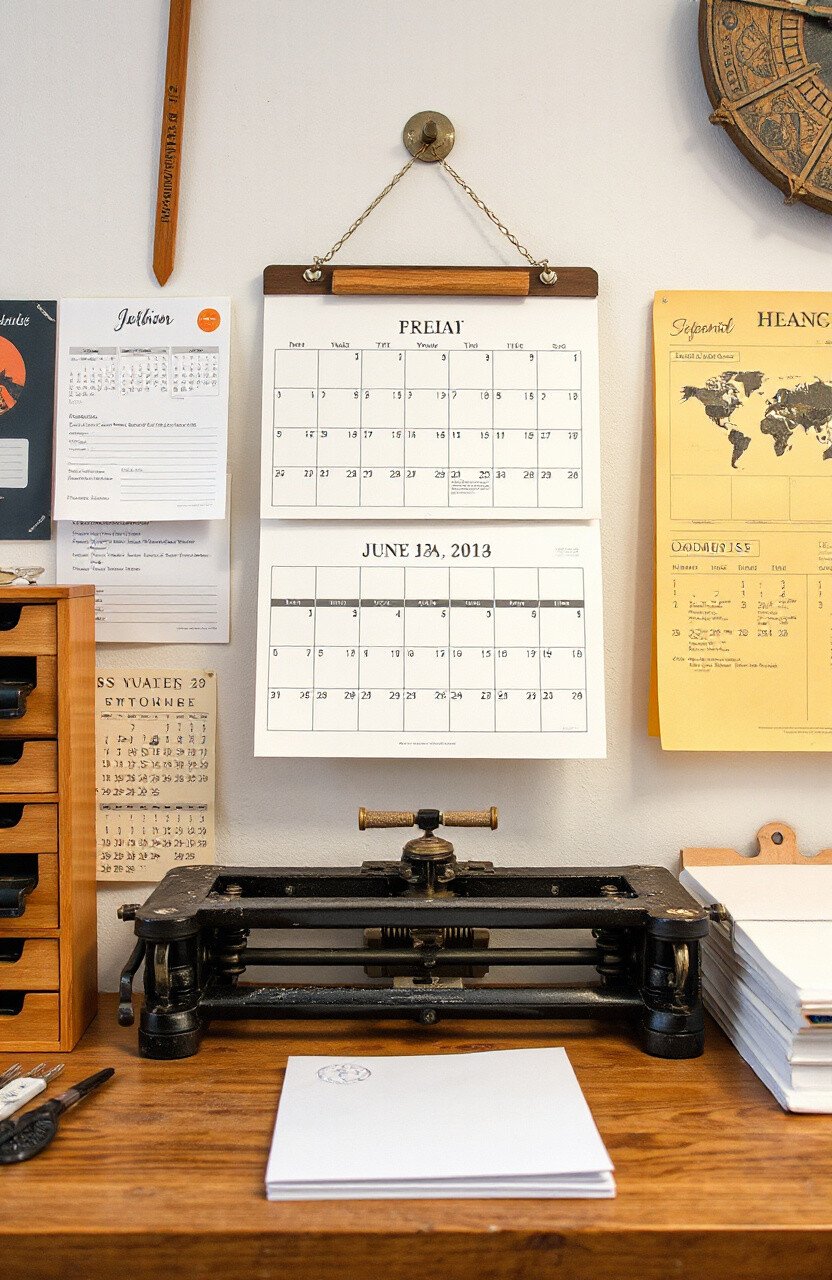
23. Incorporate a Calendar
Top Incorporate A Calendar Craft Tutorials
- 🎄 Festive Fun: Engaging Advent Calendar Crafts for Kids from imthecheftoo.com.
- 🧑🌾 Creative Advent Calendar for Kids – Fun DIY Holiday Craft from jampaper.com.
- 🎨 13 DIY Advent Calendar Ideas for the Countdown to Christmas from marthastewart.com.
- 🗺️ 5 homemade advent calendars from woodlandtrust.org.uk.
- 🍂 Crafts made with picture pages on calendars from facebook.com.
A calendar keeps you on track and organized. Hang one near your press to plan projects and deadlines. It’s a simple way to stay focused and motivated.
Choose a calendar that fits your style, whether it’s colorful or minimalist. It’s a functional tool that adds flair!
24. Add Personal Touches
Top Add Personal Touches Craft Tutorials
- 🍁 Gift Giving With A Personal Touch from homemadebycarmona.com.
- 🎄 Creating a craft area with personal touches from facebook.com.
- 🧑🌾 How to Create Beautiful Home Decor: Easy Craft Ideas for … from kennarealestate.com.
- 🍁 25 DIY Ideas to Make Your Wedding Extra Special Using a … from craft-e-corner.com.
- 🗺️ How did you or how are you planning to add personalized … from reddit.com.
Your workspace should reflect you. Add personal items like photos, trinkets, or souvenirs. These little touches make your space feel yours.
Change them as your interests evolve. It’s your space, so fill it with what makes you happy!
25. Use Decorative Storage
Top Use Decorative Storage Craft Tutorials
- 🍁 25 Arts & Craft Storage Ideas for a Clean Craft Room from lovetoknow.com.
- 🎄 27 Clever Craft Storage Ideas for All Your Creative Supplies from bhg.com.
- 🍅 12 Amazing Craft Room Organization Ideas from hgtv.com.
- 🧑🌾 How to organize seasonal crafting supplies? from facebook.com.
- 🗺️ What are your craft room must haves? Or what do you hate … from reddit.com.
Storage doesn’t have to be boring. Use decorative boxes, baskets, or bins to keep supplies tidy. They add style while keeping things organized.
Choose designs that complement your space. It’s a practical and pretty solution!
26. Incorporate Mirrors
Top Incorporate Mirrors Craft Tutorials
- 🗺️ DIY Mirror Crafts: 26 Fun Ideas for Artsy Walls from artsykarma.com.
- 🎄 How to incorporate a silver board with mirrors into a blue … from facebook.com.
- 🎨 Creative DIY Mirror Ideas to Inspire Your Next Project from lemon8-app.com.
- 🍅 Wood Craft Idea: DIY Beaded Mirror from aleenes.com.
- 🧑🌾 Crafting Your Own DIY Pocket Mirrors: Easy Steps & Ideas from lemon8-app.com.
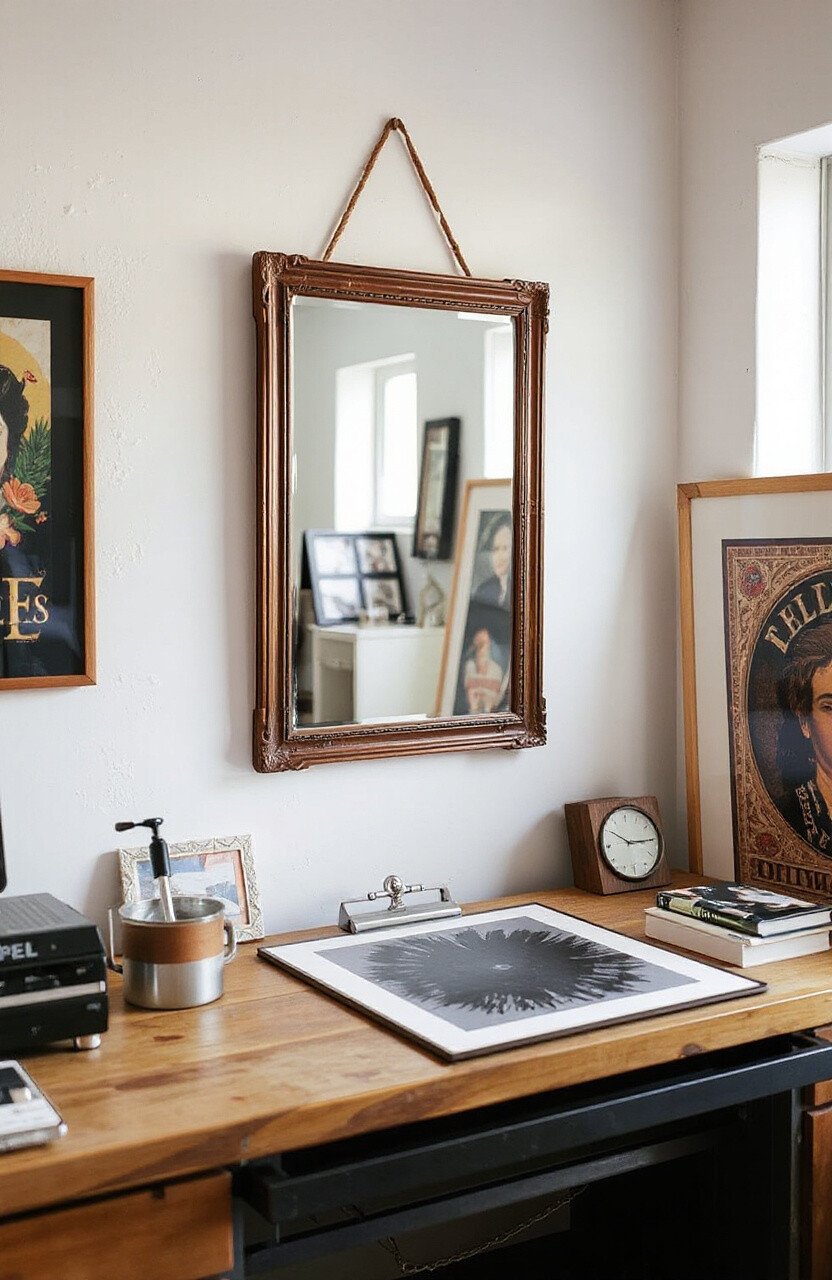
Mirrors reflect light and make spaces feel larger. Hang one near your press to brighten the room. It’s an easy way to enhance your workspace.
Choose a mirror with a unique frame for added interest. It’s functional and fabulous!
27. Create a Relaxation Zone
Top Create A Relaxation Zone Craft Tutorials
- 🍅 Setting Up a Craft Space for Creativity and Relaxation from facebook.com.
- 🎄 How to Create a Beautiful, Cozy and Relaxing Reading … from makingitinthemountains.com.
- 💅 How to Create A Relaxation Zone Outdoors from tiktok.com.
- 👓 How to Create a Cozy Corner for Relaxation from lemon8-app.com.
- 👓 Create your ultimate relaxation zone! This tranquil space … from instagram.com.
Even artists need a break! Set up a chair or small sofa near your press for a quick rest. It’s a place to recharge your creativity.
Include a small table for coffee or tea. It’s a comfortable nook that enhances your creative process!