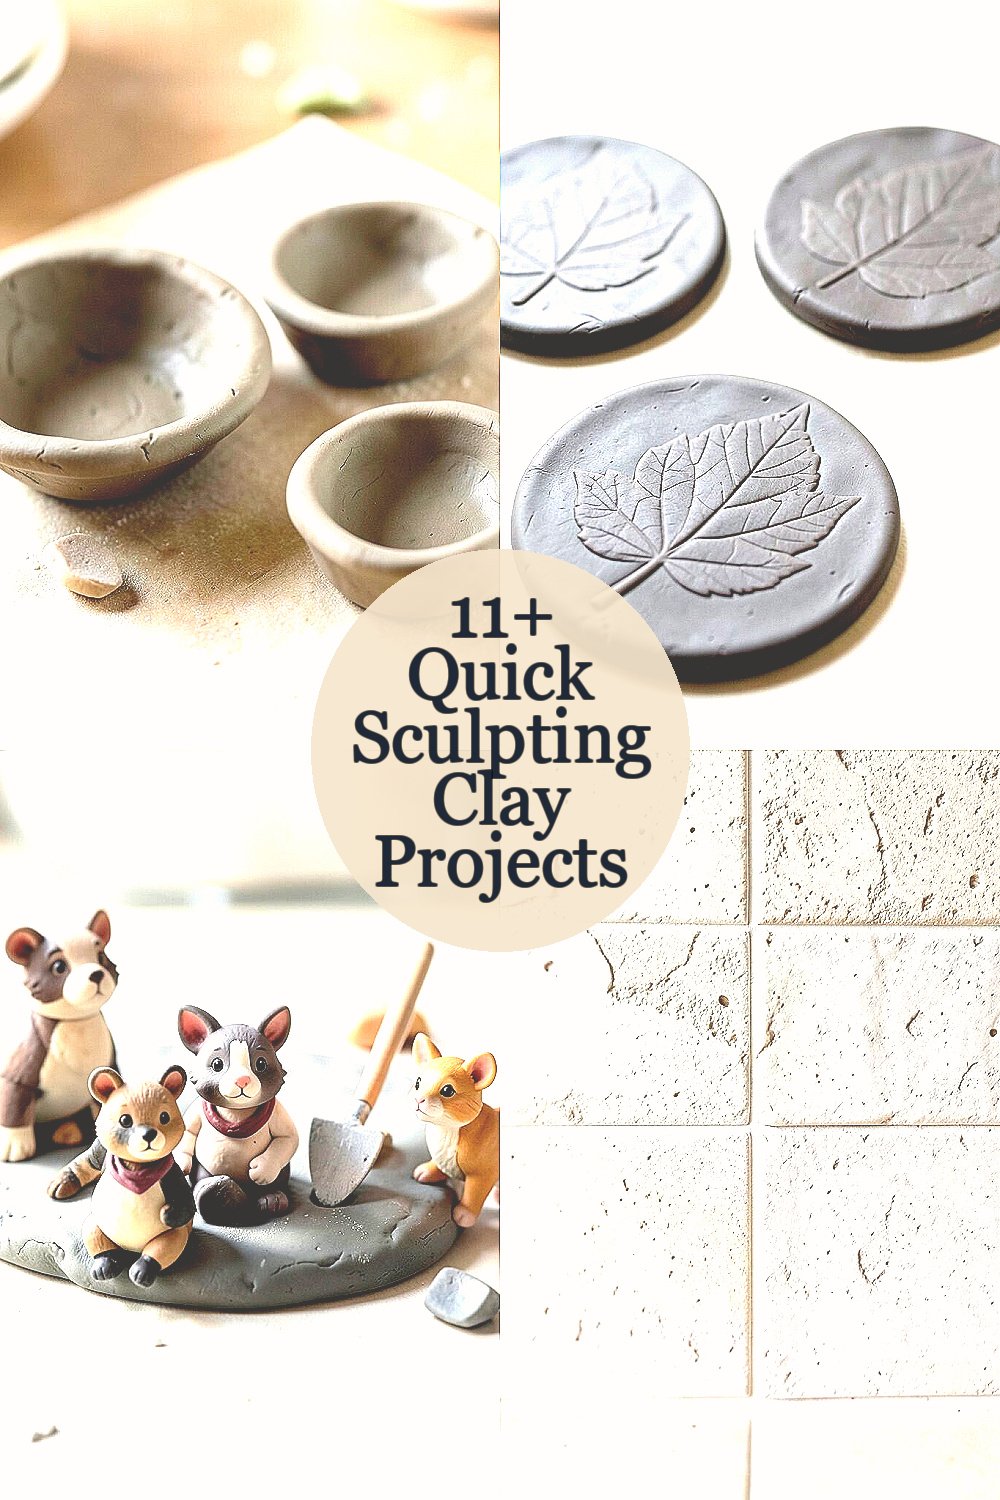
Clay can turn a quiet table into a tiny studio. A simple lump of material can become something charming, useful, and completely yours.
1. Tiny Pinch-Pot Trinket Dishes

Top Tiny Pinch-Pot Trinket Dishes Craft Tutorials
- 🖼️ Clay Trinket Dish from littlepinelearners.com.
- 🍂 🌊These little trinket dishes are sooo simple! Make a pinch pot, … from instagram.com.
- 🖼️ This might be my favorite project yet!! … from facebook.com.
- 🍂 Pinch pots made from air drying clay from incredibusy.com.
- 🍁 Learning to make trinket dish with craft clay from facebook.com.
Pinch pots are a sweet way to start because they feel easy right away. Their soft round shape looks cozy on a shelf or desk.
Use air-dry clay for a low-cost project that does not need a kiln. Add thumbprints, little ridges, or a wavy rim to make each dish feel special. These tiny bowls are great for rings, paper clips, and other small bits that get lost fast.
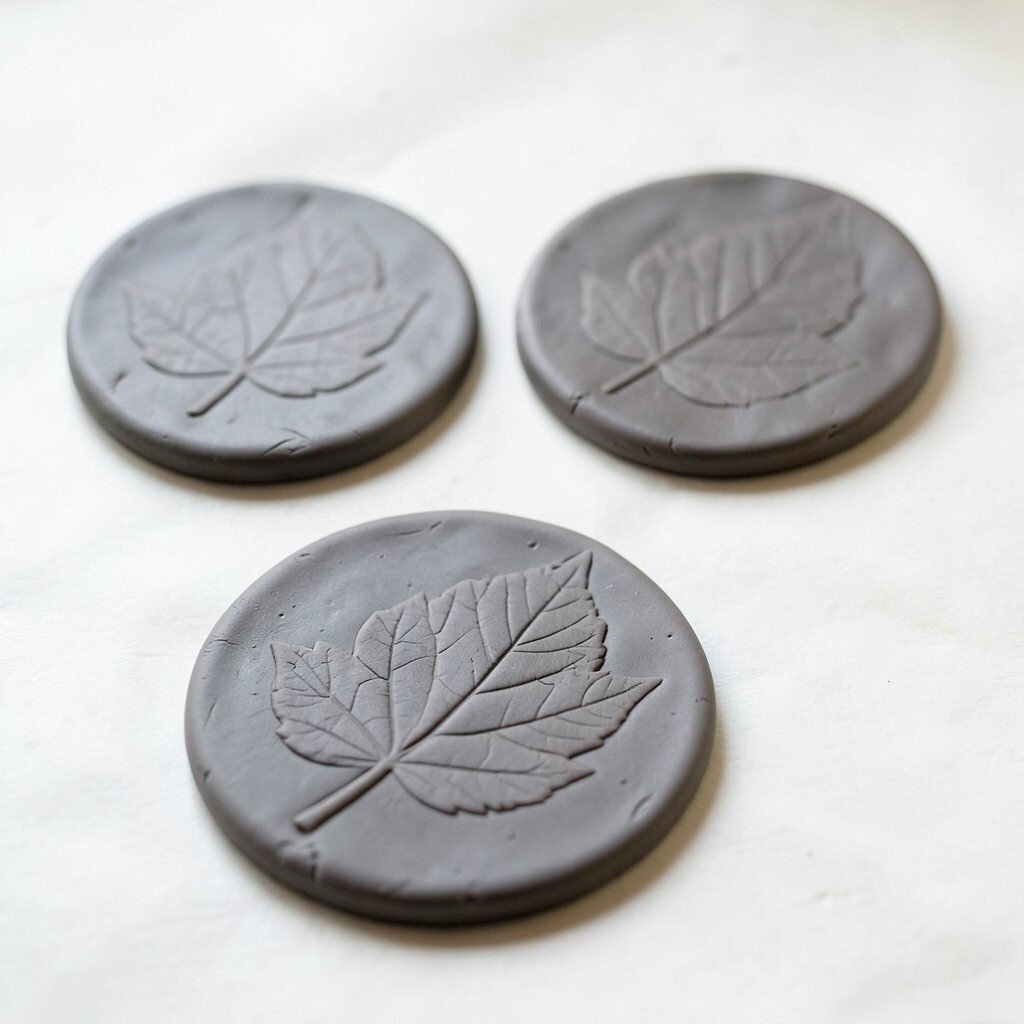
2. Leaf-Imprint Clay Coasters
Top Leaf-Imprint Clay Coasters Craft Tutorials
- 🧑🌾 How to Make Botanical-Inspired Air-Dry Clay Coasters from eytozee.com.
- 🎄 Air Dry Clay Leaf Coasters and Dish from mysweetsavannah.com.
- 🎄 DIY Clay Coasters: A Beginner's Tutorial from thepaintedhinge.com.
- 🍂 Pressed Leaf Clay Coasters DIY Tutorial from liagriffith.com.
- 🎄 Air-dry clay A leaf or textured plant clipping Rolling pin … from facebook.com.
Leaf coasters bring a calm, natural look to a table. The vein pattern makes each piece look like it came from a garden.
Press a real leaf into rolled clay, then trim the shape with a cup or knife. You can keep the clay plain for a clean style or paint it in soft green, gold, or earthy brown. This project is budget friendly and fits the current love for nature-inspired home decor.
Try using different leaf sizes so each coaster has its own personality. A little sealant can help protect the surface from spills and make the set last longer. They also make thoughtful gifts because they feel handmade without being hard to make.
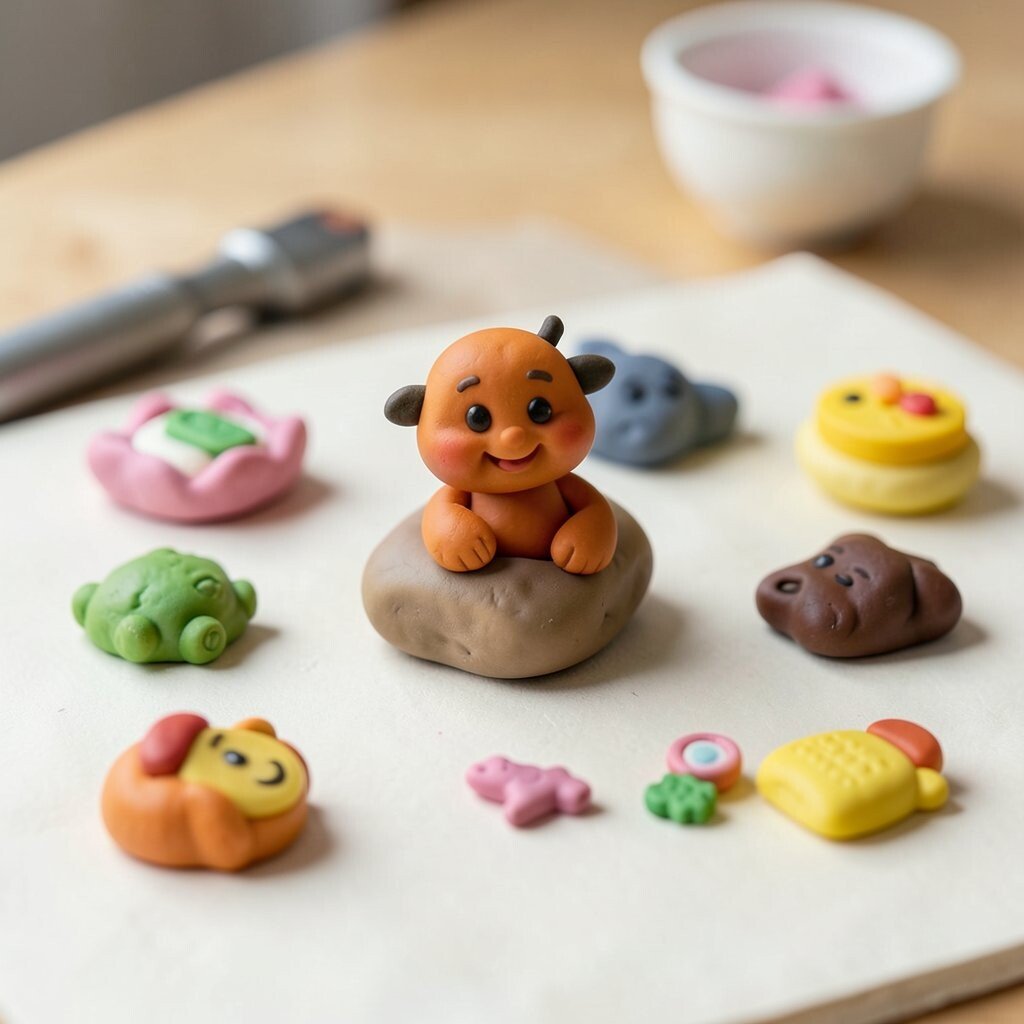
3. Mini Animal Figurines

Top Mini Animal Figurines Craft Tutorials
- 👓 Cute crafts to make with small animal figurines from facebook.com.
- 🍂 Animal Miniatures – Doll Supplies from factorydirectcraft.com.
- 🎨 Mini Animal – Treehouse Toys from treehousetoys.us.
- 🍅 animal figures for dioramas, model making, DIY deco – 3drifter from 3drifter-miniatures.com.
- 🧑🌾 13 Ways To Use Animals Figurines for Learning from notimeforflashcards.com.
Small animal figures are fun because they can be cute, silly, or very realistic. Their tiny faces and rounded bodies make them easy to love.
Start with simple shapes like a ball for the head and a teardrop for the body. Add ears, tails, and little feet with a toothpick or clay tool. These figures are a nice way to practice shaping skills, and they can become toys, desk buddies, or shelf decorations.
For a low-cost version, use leftover clay scraps and keep the colors simple. If you want a trendy look, try soft pastel animals or tiny woodland creatures. Personal touches like freckles, stripes, or a tiny scarf can make each one feel one of a kind.
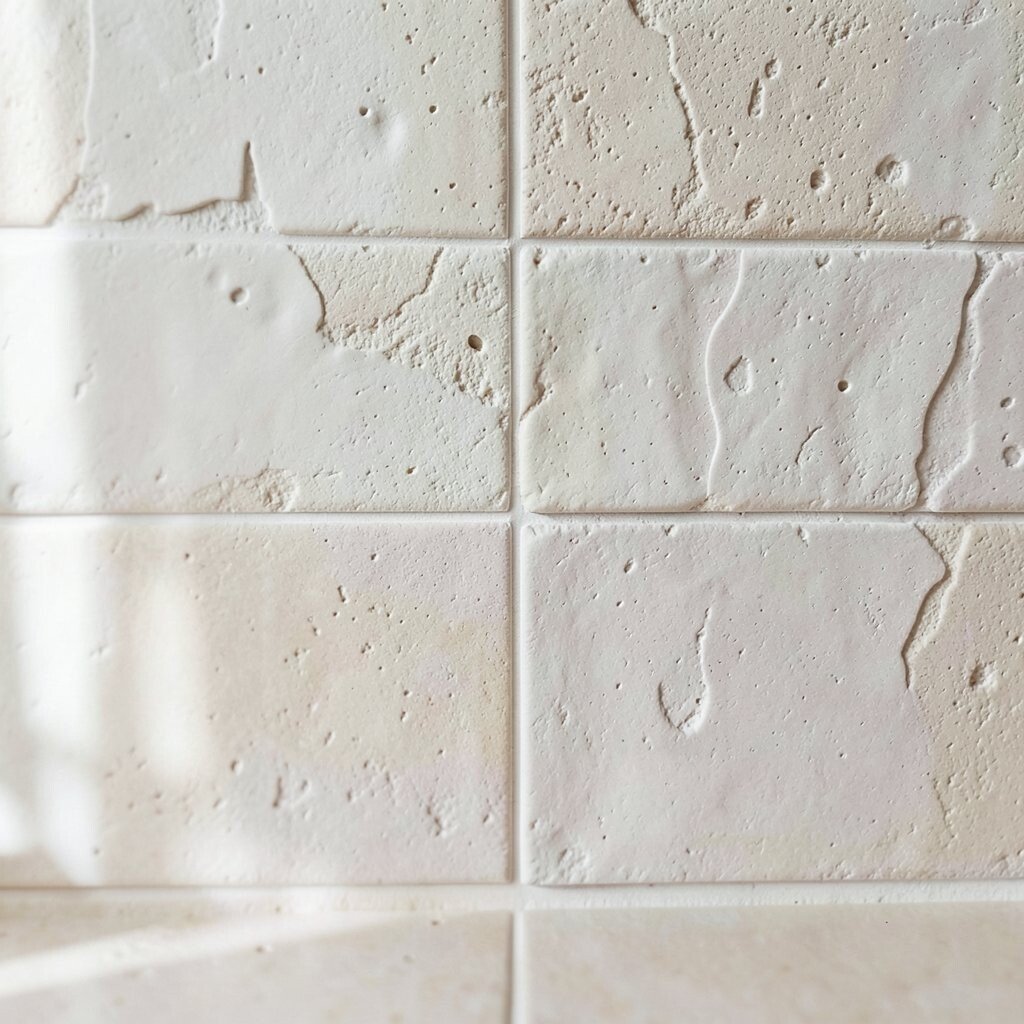
4. Textured Wall Tiles
Top Textured Wall Tiles Craft Tutorials
- 🎄 CRAFT from decortilesusa.com.
- 🖼️ DEC-CRAFT from crossvillestudios.com.
- 🍂 Daltile LuxeCraft White 4 in. x 16 in. Glazed Ceramic … from homedepot.com.
- 🧑🌾 Artcrafted from daltile.com.
- 💅 Daltile Artcrafted Coconut 4" x 4" Ceramic Wall Tile from arkoflooring.com.
Textured tiles can make a plain wall feel more artistic. They look bold when grouped together in a small set.
Roll clay flat and press in lace, mesh, shells, or the end of a spoon to create pattern. You can hang the tiles with twine, place them on a shelf, or use them as art on a desk. This project gives a strong design result without needing a big amount of clay.
5. Clay Plant Markers

Top Clay Plant Markers Craft Tutorials
- 🗺️ DIY Clay Plant Markers: Easy, Custom & Charming Garden … from cottageonbunkerhill.com.
- 🖼️ Clay DIY plant markers for garden beds from sugarmaplefarmhouse.com.
- 🎨 DIY Stamped Clay Garden Markers from rubberstamps.com.
- 👓 Keep track of what and where your plants are with this cute … from facebook.com.
- 🎨 DIY Clay Vegetable Garden Markers from homemadeheather.com.
Plant markers are practical and cheerful at the same time. They bring a handmade touch to herbs, flowers, and veggie pots.
Shape the clay into sticks or small tags, then write the plant name with a pointed tool before it dries. Bright paint can make them easy to read, while earthy colors blend in with the garden. They are cheap to make and perfect for kids, beginners, or anyone who likes neat garden spaces.
Try matching the marker style to the plant, like a leaf shape for basil or a tiny carrot for a kitchen garden. A waterproof finish can help them hold up better outdoors. This is a great project if you want something useful as well as pretty.
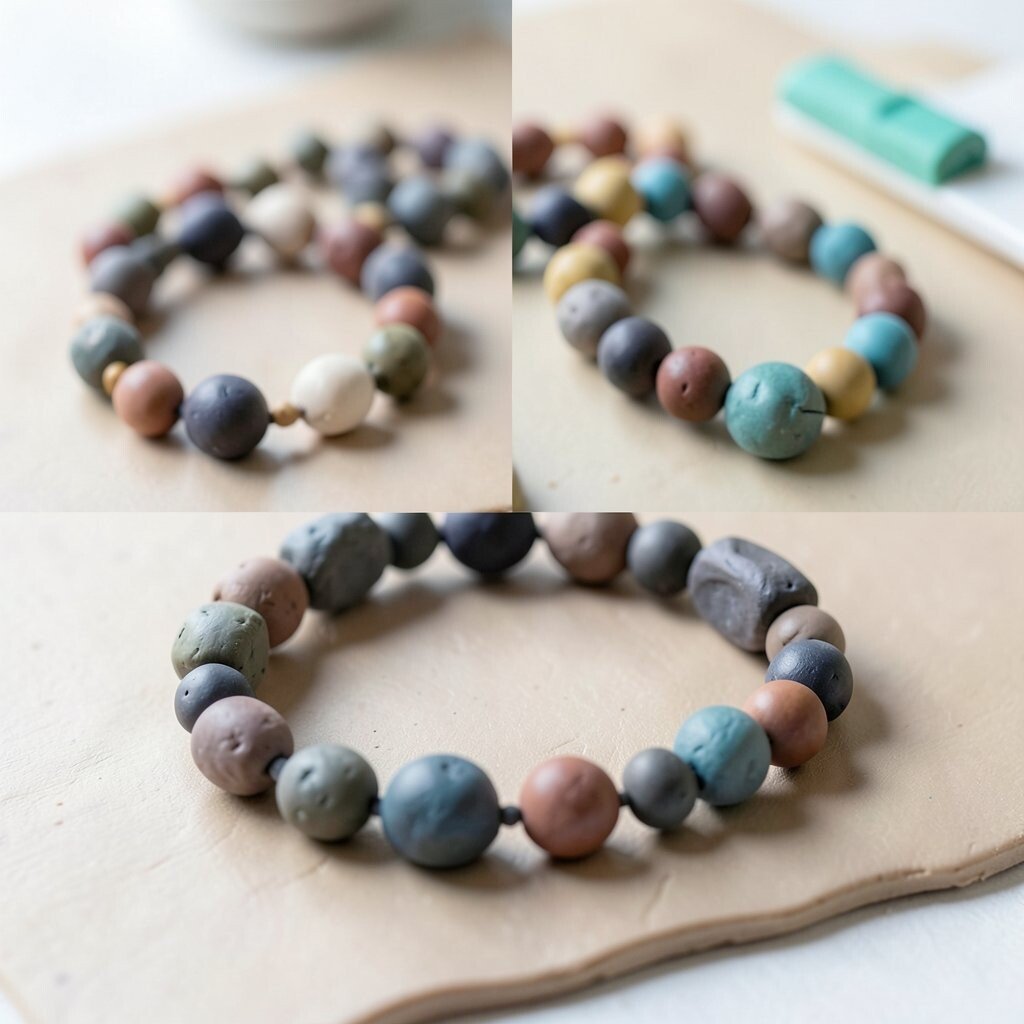
6. Handmade Beaded Bracelets
Top Handmade Beaded Bracelets Craft Tutorials
- 🎨 15 Most Popular Bead Bracelet Projects from goldenagebeads.com.
- 🖼️ 10 Stunning Bead Bracelet Design Ideas to Try with Your … from jewelrymadebyme.com.
- 💅 How To Make Beaded Bracelets In Under 2 Minutes from savvyhomemade.com.
- 🍁 Kids DIY Bracelet Kit, Make 6+ Bracelets from shopwomanshopsworld.com.
- 🎨 How to Make a Beaded Bracelet 3 Different Ways from wikihow.com.
Clay beads can turn into bright bracelets with a playful look. The round shapes and painted patterns make them feel fresh and modern.
Roll small beads by hand, poke holes through the center, and let them dry fully before stringing. You can keep the colors simple for a clean style or make bold mix-and-match sets that feel trendy. This is a low-cost project because a little clay goes a long way.
Personalize the beads with dots, stripes, initials, or tiny smiley faces. The bracelet can match school colors, favorite outfits, or a special holiday theme. It is also a nice way to use leftover clay pieces from other projects.
7. Mini Food Charms
Top Mini Food Charms Craft Tutorials
- 🧑🌾 Mini Food Charms – A New Hobby and Maybe … from bigbearswife.com.
- 🍂 Here are some miniature breakfast charms I sculpted out of … from reddit.com.
- 🍁 SUNNYCLUE 1 Box 14Pcs 7 Styles Fruit Charms Colorful … from amazon.ae.
- 🍅 Charms – Foods & Drinks – MiniatureSweet from miniaturesweethk.com.
- 🧑🌾 Here's how we made our most popular charm – Avocado!!! … from instagram.com.
Mini food charms are tiny, bright, and full of personality. They look especially fun when made into keychains, zipper pulls, or necklace pendants.
Think of simple treats like strawberries, donuts, sushi, or cupcakes. Keep the shapes small and the details easy so the project stays quick and fun. These charms are popular in craft trends because they feel cute, playful, and perfect for sharing online.
Paint adds a lot here, so even plain clay can become eye-catching with a few color spots. Use a clear coat to give the pieces a shiny finish that looks like real frosting or glaze. They make great gifts for friends who enjoy fun accessories.
8. Decorative Candle Holders

Top Decorative Candle Holders Craft Tutorials
- 🎄 8 Pcs Decorative Candle Holders with Spike Candles for Craft … from ebay.com.
- 🎄 DIY: Easy Candle Holders for Your Table from decor8blog.com.
- 🎨 Decorate Candle Holders with These Genius Ideas from modpodgerocksblog.com.
- 💅 These DIY candle holders are one of my favorite … from facebook.com.
- 🍂 Make some Candle Holders from homebuiltworkshop.com.
A clay candle holder can look calm and stylish on a table. The smooth surface and simple shape make a warm little display.
Form a small base with a center space for a tea light or taper candle. You can press in lines, dots, or tiny stamped shapes to give it character. This project feels a bit more grown-up, but it still stays easy enough for a quick afternoon craft.
Choose neutral colors for a modern look, or use soft metallic paint for a trendy finish. Keep safety in mind and make sure the candle fits well before use. If you want a gift that feels thoughtful without costing much, this is a strong choice.
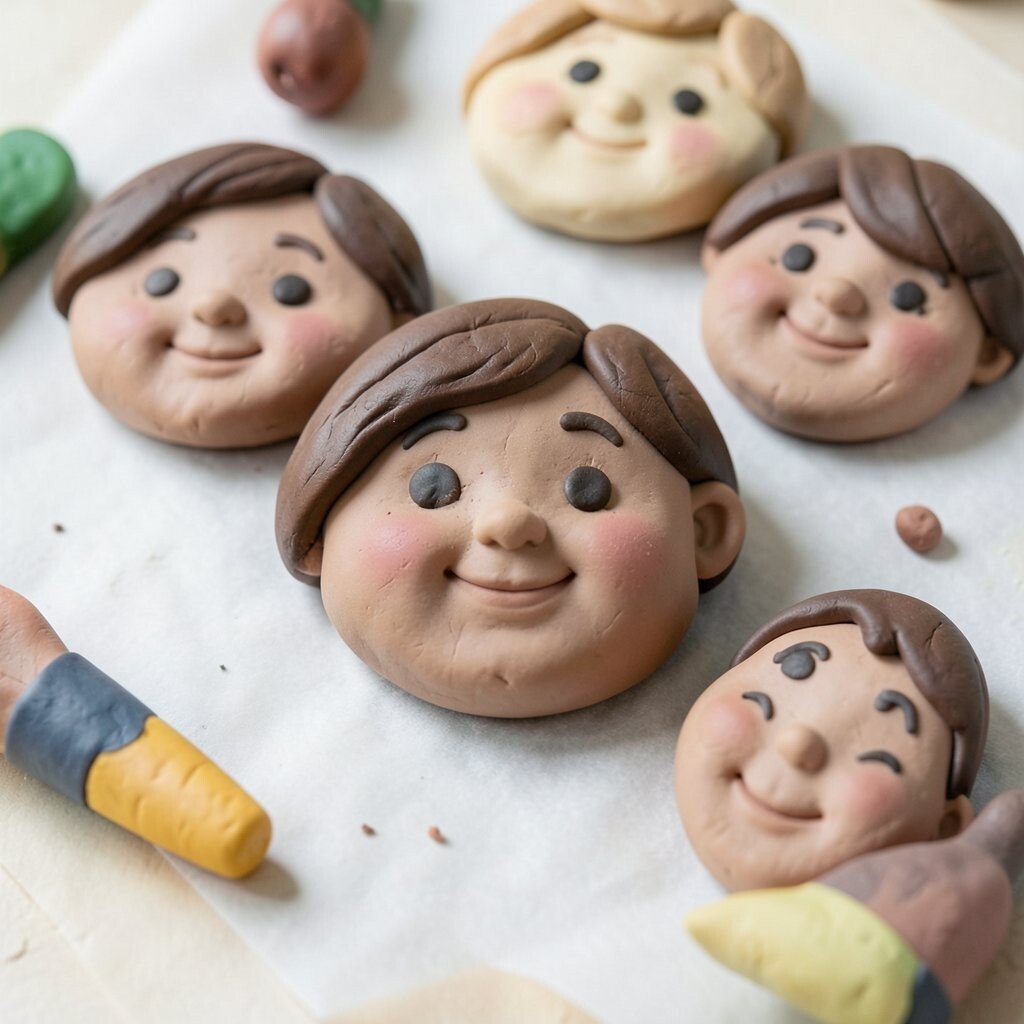
9. Storybook Character Faces
Top Storybook Character Faces Craft Tutorials
- 🍁 Story Character Masks from teacherspayteachers.com.
- 👓 Storybook Character Paper Bag Mask from wheatonarts.org.
- 🍁 Dress as favorite book character week mask from facebook.com.
- 🧑🌾 Book Character Crafts from teacherspayteachers.com.
- 👓 Book Day craft ideas | Craft guides & templates from bakerross.co.uk.
Character faces made from clay can look whimsical and full of charm. They often have big eyes, round cheeks, and a storybook feel.
Start with a flat oval and build up the nose, eyebrows, and hair with small bits of clay. You can make a fairy, a wizard, a sleepy moon face, or a funny monster. This project helps with sculpting practice because it teaches shape, expression, and detail.
Try using paint pens for tiny features after the clay dries. A little blush on the cheeks can make the face feel alive and sweet. These pieces can become ornaments, magnets, or wall art, which gives them lots of uses.
10. Clay Spoons and Mini Scoops

Top Clay Spoons And Mini Scoops Craft Tutorials
- 🖼️ Clay to kitchen: Barro rojo DIY ceramic spoons from craftychica.com.
- 🧑🌾 How to Make A Clay Spoon for Scooping Beads from tiktok.com.
- 🍂 popular jewelry casting tools a set 10 mini powder from temu.com.
- 🖼️ Ceramic spoons as decorative art pieces from facebook.com.
Small clay spoons look lovely in jars or bowls. Their simple shape has a handmade charm that feels both useful and pretty.
Make the bowl of the spoon shallow and the handle slim, then smooth the edges with a damp finger. These are great for salt, sugar, spices, or bath salts, though food use depends on the clay and finish you choose. The project is easy on the budget and works well when you want something neat and practical.
Personalize the handle with carved lines, dots, or a tiny heart at the end. Matte finishes feel modern, while glossy finishes give a polished look. If you like current home styling trends, these little spoons fit right in with simple kitchen decor.
11. Abstract Desk Sculptures

Top Abstract Desk Sculptures Craft Tutorials
- 🎨 Monster Sculpture Craft Desk Accessories Abstract … from aliexpress.com.
- 💅 Abstract Statue Craft Art Figurine Ornament Sculpture for Cafe … from amazon.ca.
- 🍂 Desktop Portrait Chessboard Resin Decorative Figurine Abstract … from instagram.com.
- 🍅 Abstract Figurines from walmart.com.
- 🖼️ Abstract Figure Sculpture Decorative Figurine Art Crafts … from ebay.com.
Abstract sculptures give you room to play without worrying about perfect shapes. They can look bold, twisty, smooth, or stacked.
Use coils, blobs, arches, and curves to build a piece that feels balanced in your hands. Since there is no strict pattern, this project is great for relaxing and trying new ideas. It can also be made from small scraps, which keeps the cost very low.
Choose one color for a calm modern look or mix two tones for more energy. A tall shape can look striking on a desk, while a wide shape feels steady and grounded. This is a good place to follow your own taste and make something that feels truly personal.
12. Personalized Name Tags

Top Personalized Name Tags Craft Tutorials
- 🍅 27" Camp Name Tag Charm Necklace Foam Craft Kits from orientaltrading.com.
- 🗺️ Camp Name Tag Necklace 12 – Craft Kits – 12 Pieces from walmart.com.
- 🍂 Camp Name Tag Necklace Craft Kit (12 pack) from econocrafts.com.
- 🖼️ Custom Name Keychain Glitter – Personalized Backpack Tag from honeycraftstudios.com.
- 🍁 Name Tag Ideas: 29 Free Designs to Boost Your Next Event from avery.com.
Name tags made from clay can be cute for backpacks, gift bags, or bedroom doors. They have a clean look and stand out right away.
Shape each tag into a circle, star, heart, or rectangle, then press or carve the name before drying. You can add tiny stars, flowers, or borders to make the piece feel extra special. This project is useful, low cost, and easy to finish in one sitting.
Try bold paint for a playful style or soft colors for a calm one. The current handmade trend loves custom pieces, and these tags fit that mood very well. They also make nice keepsakes because they carry a name, a place, or a memory in a simple little form.