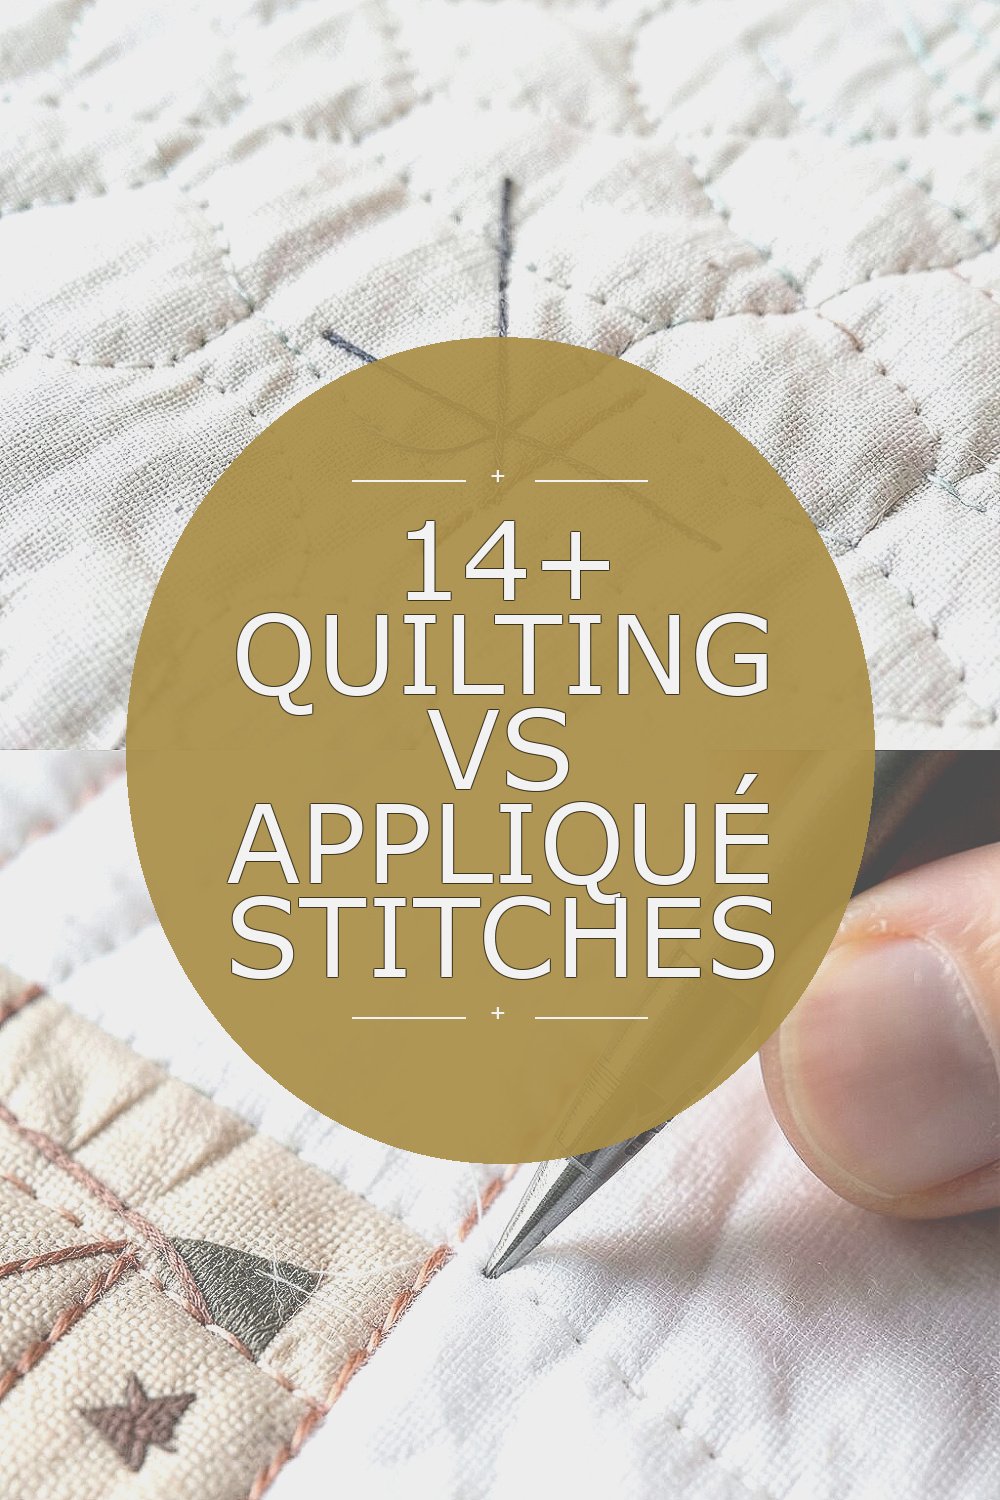
Two stitches can change the whole look of a handmade quilt. Their tiny marks can make a project feel soft, bold, neat, or playful.
New makers often mix them up at first. That is okay, because each one has its own charm and job.
1. Learn the Main Job of Each Stitch
Top The Main Job Of Each Stitch Craft Tutorials
- 🧑🌾 Guide to 30 Hand Embroidery Stitches from cutesycrafts.com.
- 🗺️ How to Read a Crochet Pattern from craftyarncouncil.com.
- 🗺️ 10 basic stitches for hand embroidery from stitchfloral.blogspot.com.
- 👓 Embroidery 101: How to Embroider : 11 Steps (with Pictures) from instructables.com.
- 🧑🌾 What Are the Basic Hand Embroidery Stitches That Every … from paraffle.com.
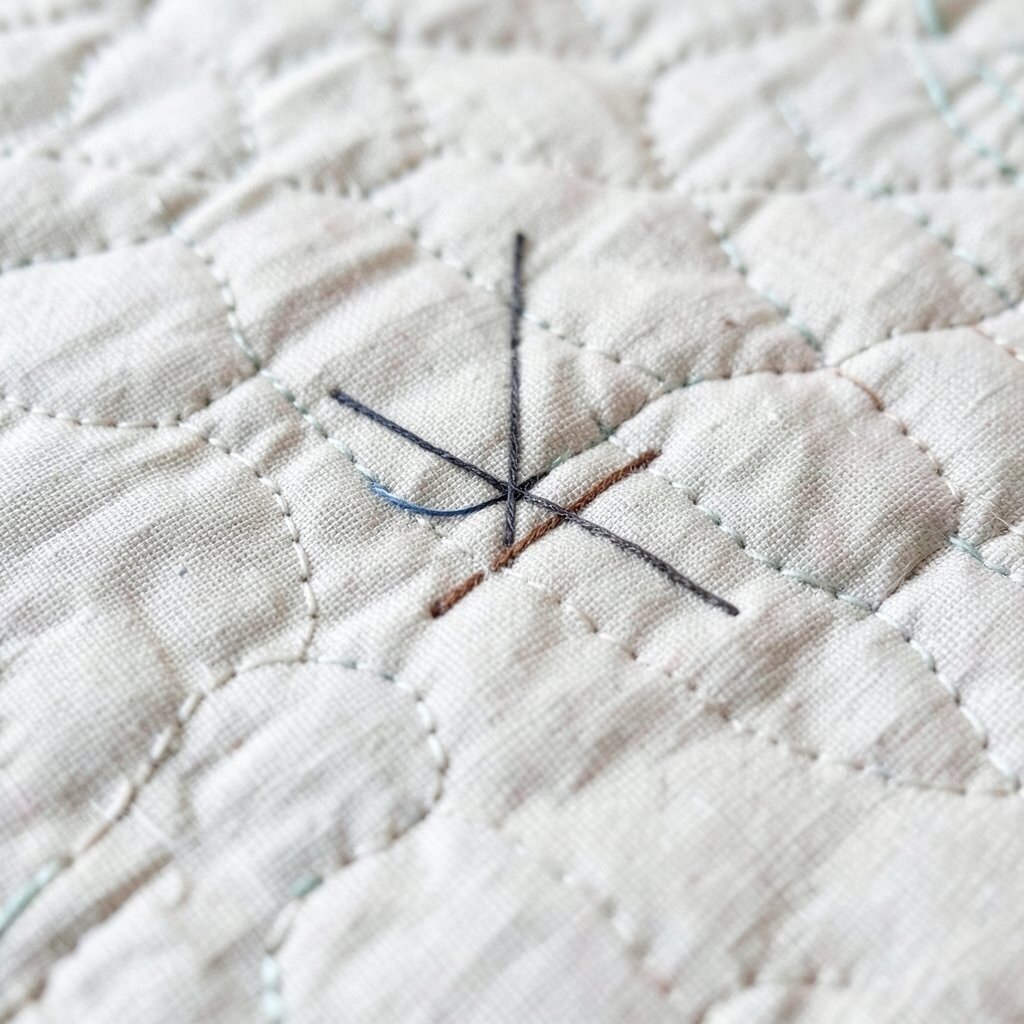
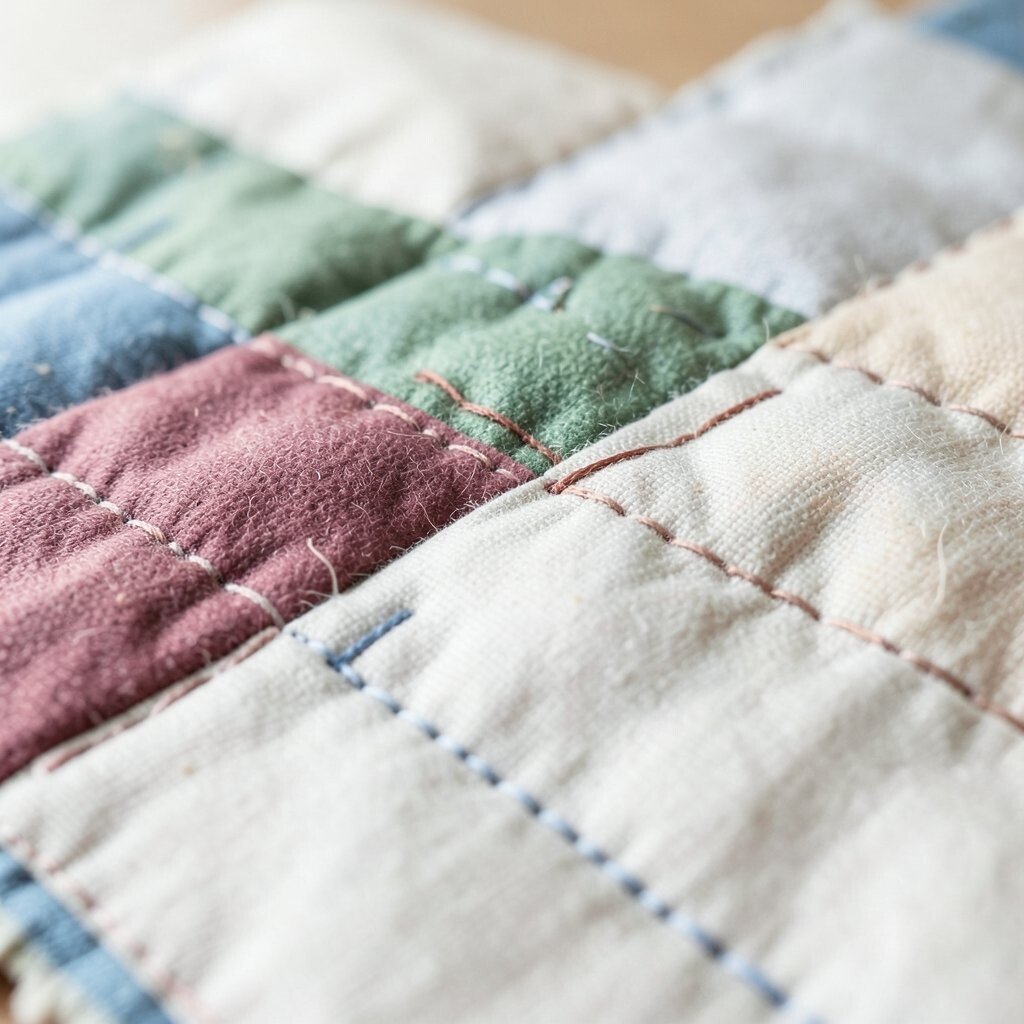
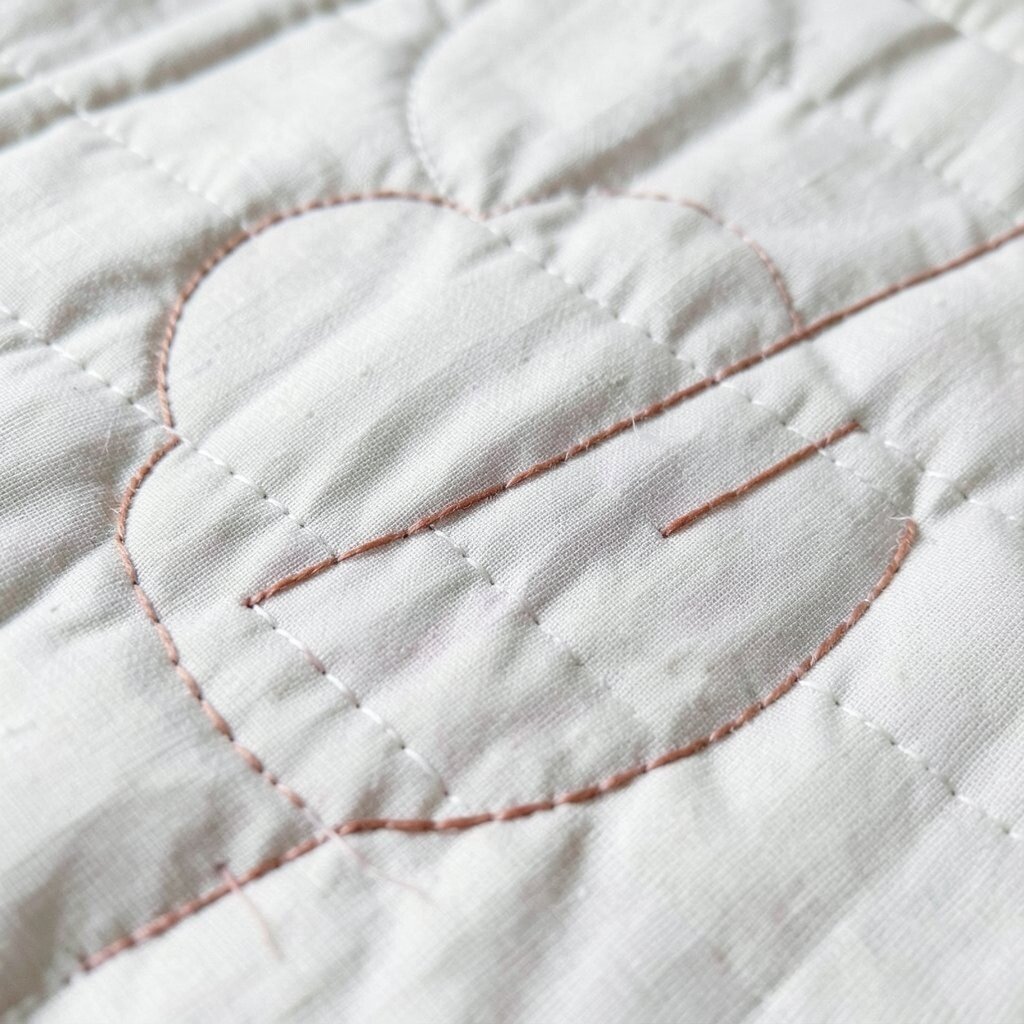
Quilting stitch and appliqué stitch may look close from far away, but they do very different work. Quilting stitch helps hold fabric layers together, while appliqué stitch helps fasten one shape on top of another.
That difference matters because it changes how your project feels in your hands and looks on the wall or bed. Quilting lines often show as long, calm paths, while appliqué stitches can hide near the edge or stand out like tiny beads. If you want a soft, classic look, quilting stitch is a smart start; if you want a cute patch or flower shape, appliqué stitch can give it a sweet finish.
2. Pick the Right Needle for a Cleaner Look
Top Pick The Right Needle For A Cleaner Look Craft Tutorials
- 🍁 How to Choose the Right Sewing Needle for Every Fabric from willowfabrics.com.
- 🖼️ Needle Guide – Sewing Stitch Guide from anniesattic.com.
- 🧑🌾 12 Types Of Hand Sewing Needles & Their Uses from rockymountainsewing.com.
- 🍅 Ultimate Guide to Sewing Needle Types – MaggieFrames from maggieframes.com.
- 🎨 Sewing Machine Needles: Why Choosing the Right One … from youmakeitsimple.com.
The needle you choose can make sewing easier and more pleasant. A small, sharp needle often works well for appliqué, while a stronger needle can help with thicker quilting layers.
Try a few kinds before buying a big pack, since needle prices can add up fast. Many beginners like to keep one favorite needle type for each task so the stitches stay neat and the fabric does not snag. When the needle glides well, your stitches look smoother and your hands feel less tired.
Needles also affect style, which is part of the fun. A finer needle can make tiny, tidy stitches that look delicate, while a sturdier one can make bold lines that stand out more on modern quilts.
3. Practice Stitch Length on Scrap Fabric
Top Practice Stitch Length On Scrap Fabric Craft Tutorials
- 🍁 Testing stitches on scrap fabric before sewing from facebook.com.
- 🍅 10 Different Types of Stitches You Should Know from meissnersewing.com.
- 🖼️ What is slow stitching & how to do it from petalplum.com.au.
- 🍁 Stitch perfect! Time-saving sewing tips and tricks! from facebook.com.
- 🍅 It is best to practice on scrap fabric before your actual project! from instagram.com.
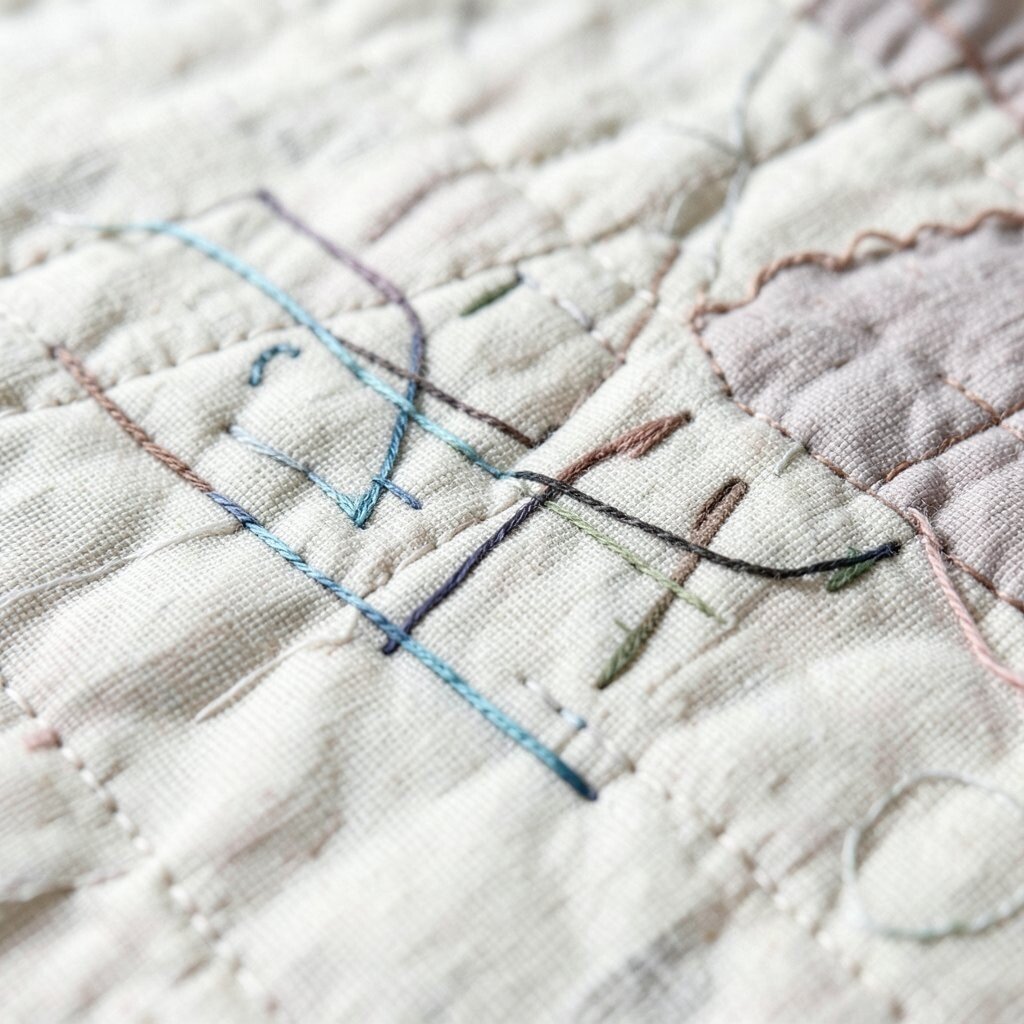
Stitch length changes the whole mood of your work. Short stitches can look crisp and careful, while longer stitches can feel relaxed and rustic.
Scrap fabric is perfect for practice because it costs almost nothing and takes away pressure. Try a few rows of quilting stitch and a few rows of appliqué stitch so you can see which one feels best in your hand. You may notice that a tiny change in length makes the line look more polished or more playful.
This kind of practice also helps you build your own style. Some makers love neat, tiny stitches for a classic finish, while others like a bold hand-sewn look that feels warm and homey.
4. Keep Thread Color as a Design Choice
Top Keep Thread Color As A Design Choice Craft Tutorials
- 🍅 Mastering Colored Thread: Essential Selection and … from maggieframestore.com.
- 🍂 Best Threads for String Art: What Actually Works from goodstringsshop.com.
- 🍁 Using random embroidery thread colors intentionally from facebook.com.
- 🧑🌾 All About Real Thread Color Cards from needlenthread.com.
- 🗺️ Your Guide to Embroidery Thread Color Charts from bsewinn.com.
Thread does more than join fabric pieces. It can blend in quietly or shine like part of the design.
For quilting, a matching thread can give a soft, smooth look, while a bright thread can turn the stitch line into a feature. For appliqué, thread can disappear near the edge or frame the shape with a clear outline. Thread packs can be budget-friendly if you buy only a few key colors first and build your stash slowly.
Many modern quilts use thread on purpose to add energy and style. A bold thread choice can make simple shapes feel fresh, while a soft thread can keep a busy print from looking too loud.
5. Use Fabric Shapes to Tell a Story
Top Use Fabric Shapes To Tell A Story Craft Tutorials
- 🎨 Fun No Sew Fabric Crafts: Easy Kids' DIY Adventures from imthecheftoo.com.
- 💅 dayDream Lane – fabric craft no sewing required from pattybasemi.com.
- 🍂 Storytelling craft ideas | Craft guides & templates from bakerross.co.uk.
- 🍂 Awesome Scrap Fabric Projects You Can Make Today from christines-crafts.com.
- 👓 What to make with small woven fabric pieces? from facebook.com.
Appliqué is a great way to add hearts, stars, leaves, or letters to a quilt. These shapes can make a project feel personal and full of meaning.
Quilting stitch can then tie the whole piece together with lines that guide the eye. If you want a baby quilt, you might add clouds and moons; for a kitchen wall hanging, fruit and flowers can feel cheerful. Simple shape templates are often cheap or free, so beginners can make charming projects without spending much.
Personal touches make handmade work feel extra special. You can use favorite colors, a child’s name, or a shape that reminds you of home to give the quilt its own voice.
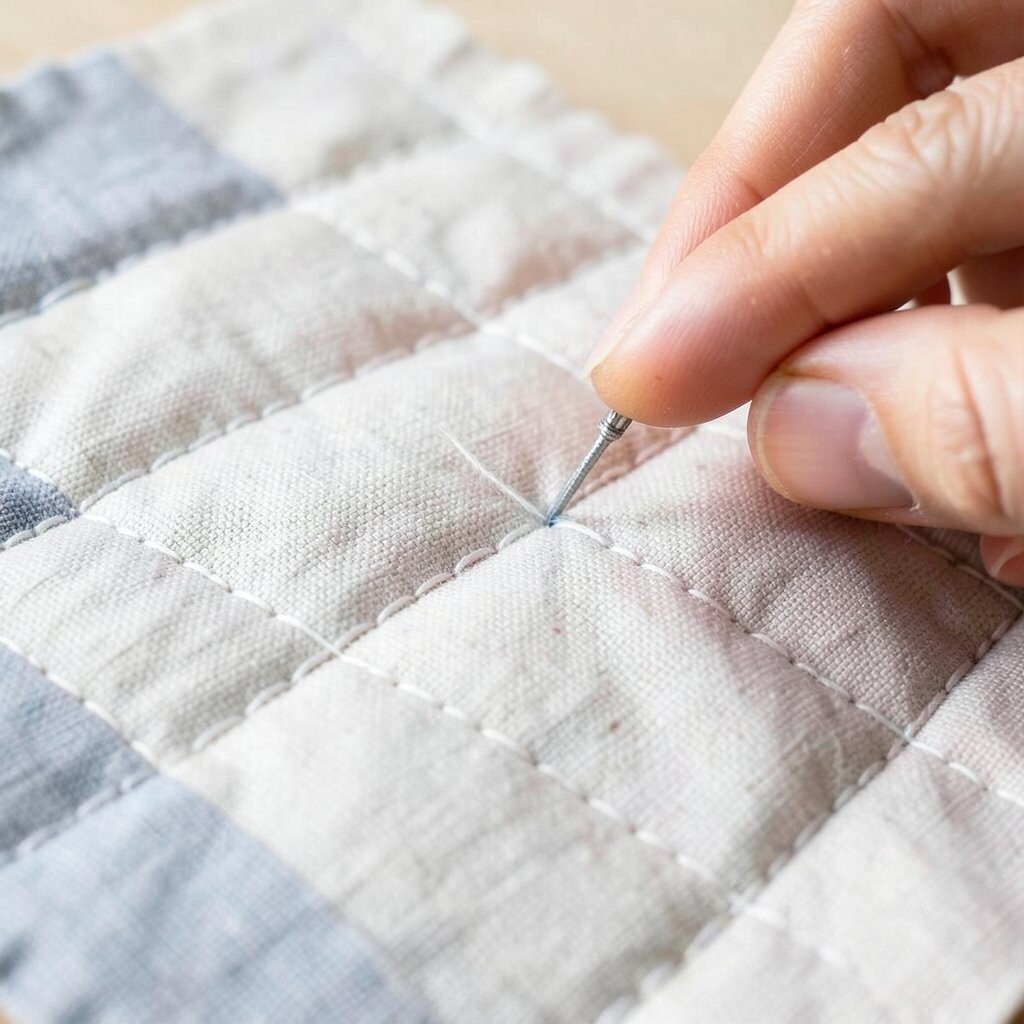
6. Mark Lines Before You Sew
Top Mark Lines Before You Sew Craft Tutorials
- 🍂 How do you mark your stitch line? : r/HandSew from reddit.com.
- 🎨 How I Mark Sewing Points on Fabric from ikatbag.com.
- 🎄 What to use to mark sewing lines on material? from facebook.com.
- 💅 How to Sew the Ladder Stitch – Hand Sewing Tutorial from whatthecraft.com.
- 👓 Top 9 Tools to Sew Straight Lines from madamsew.com.
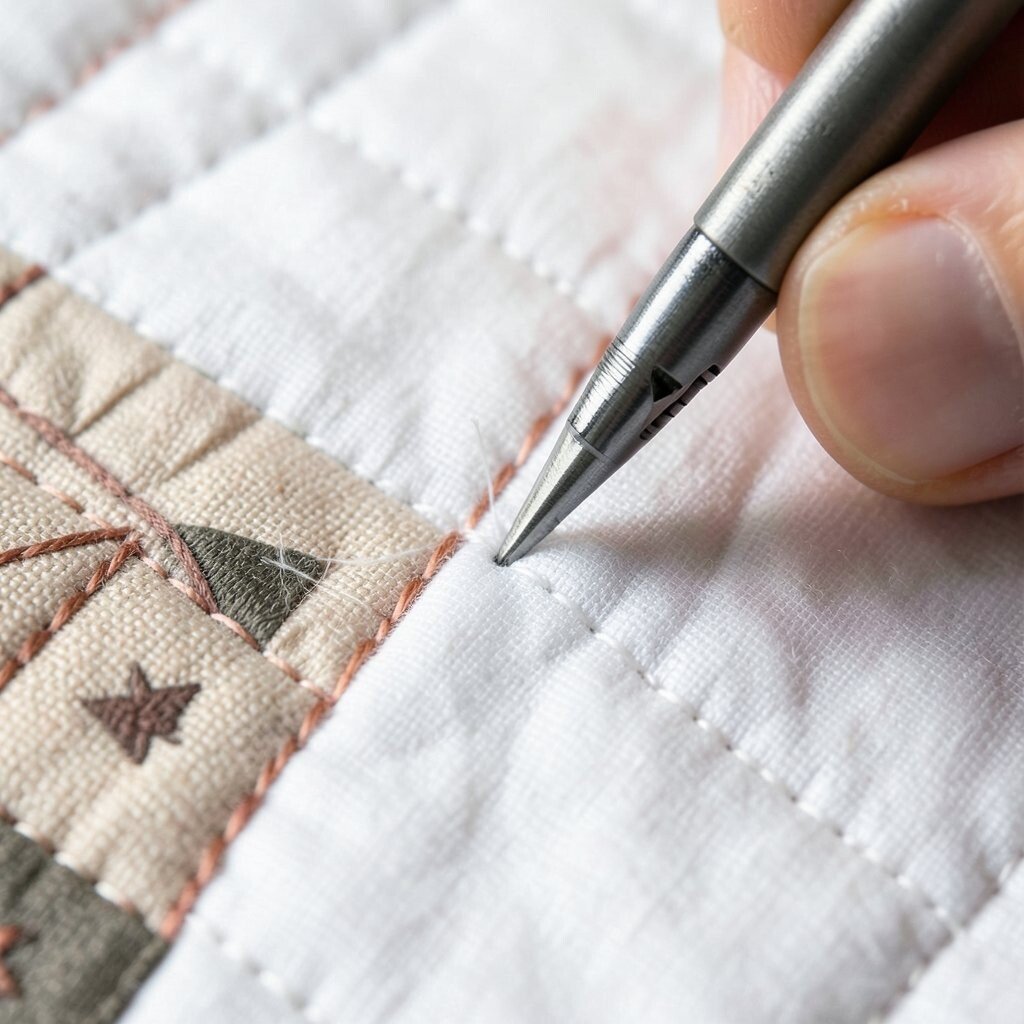
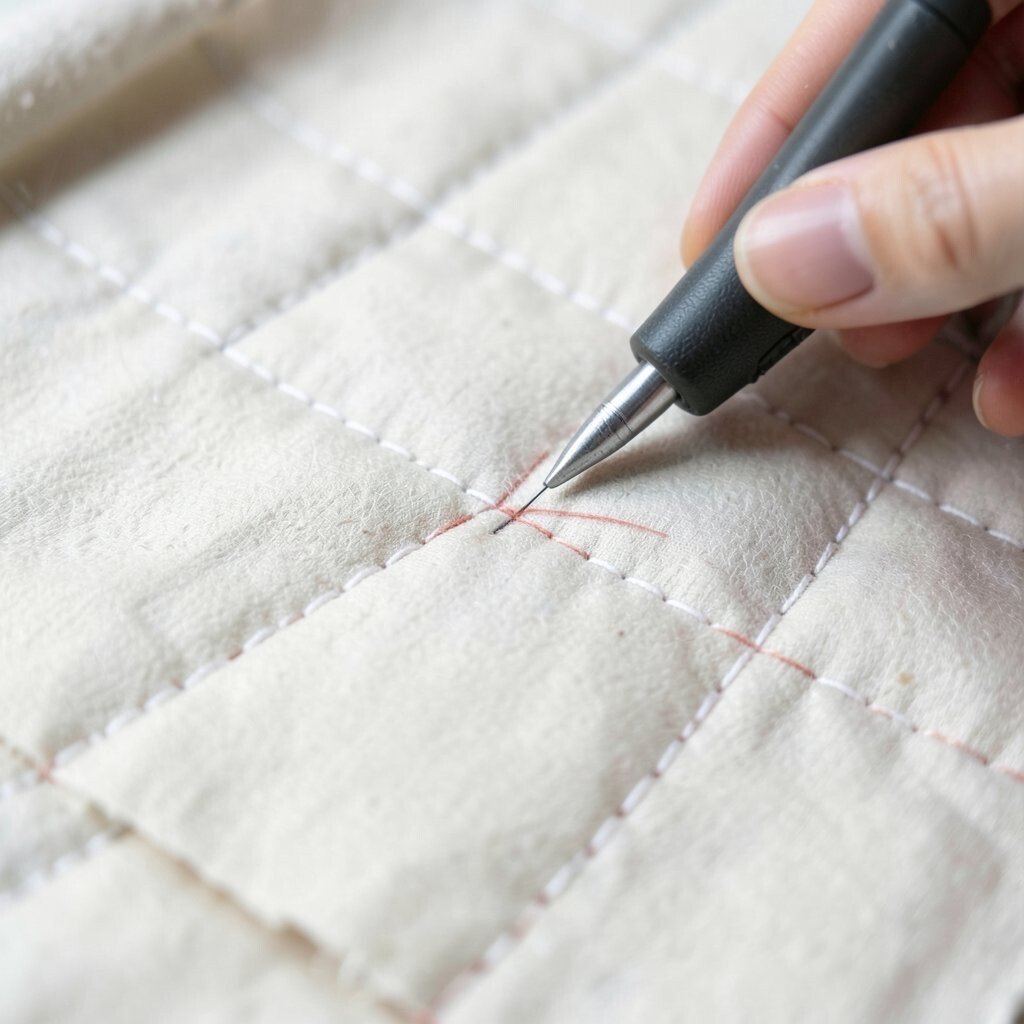
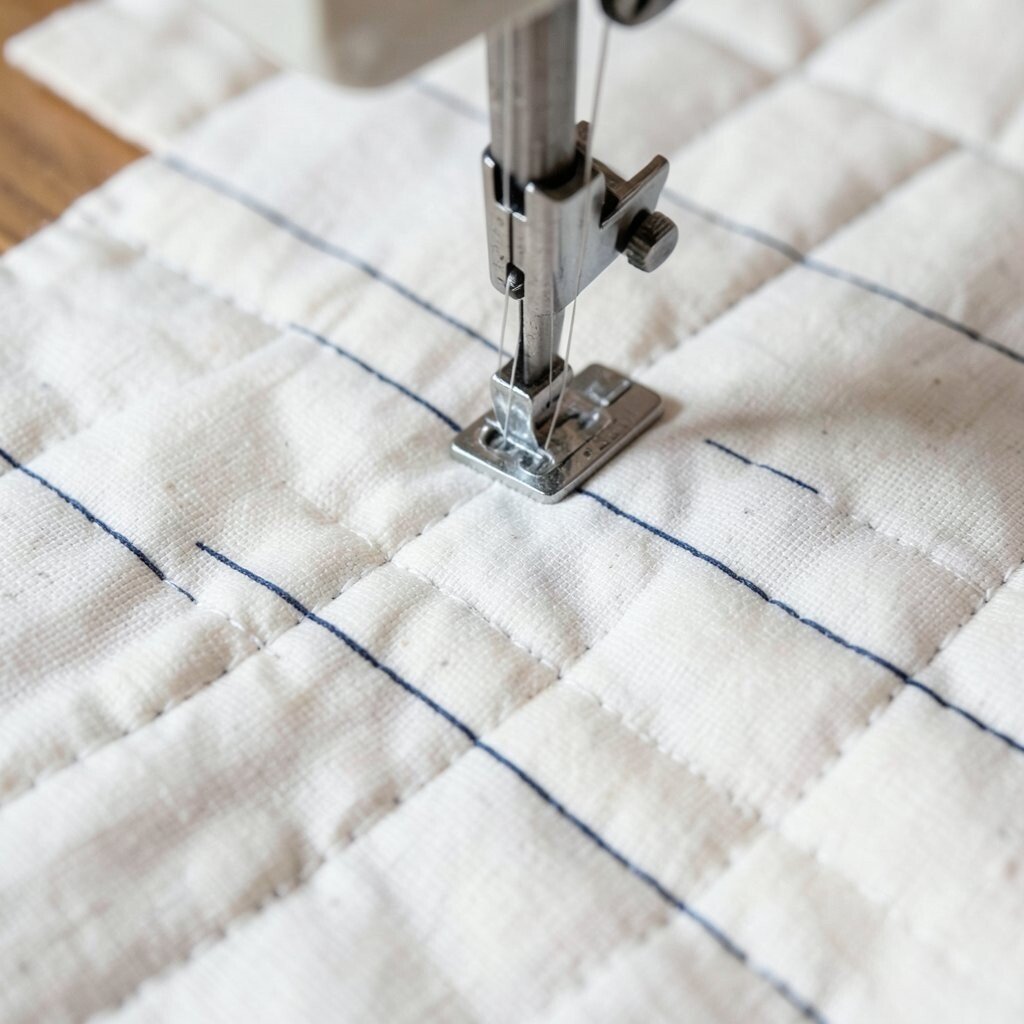
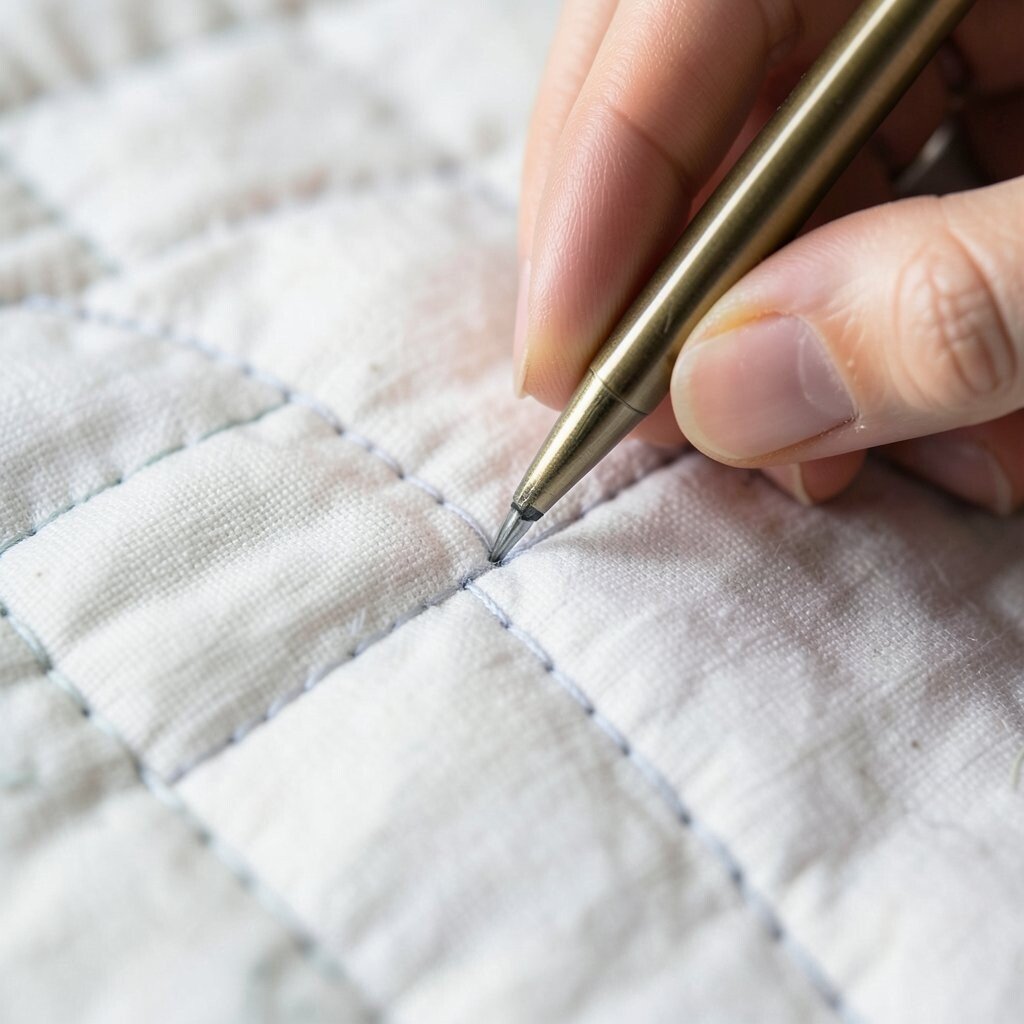
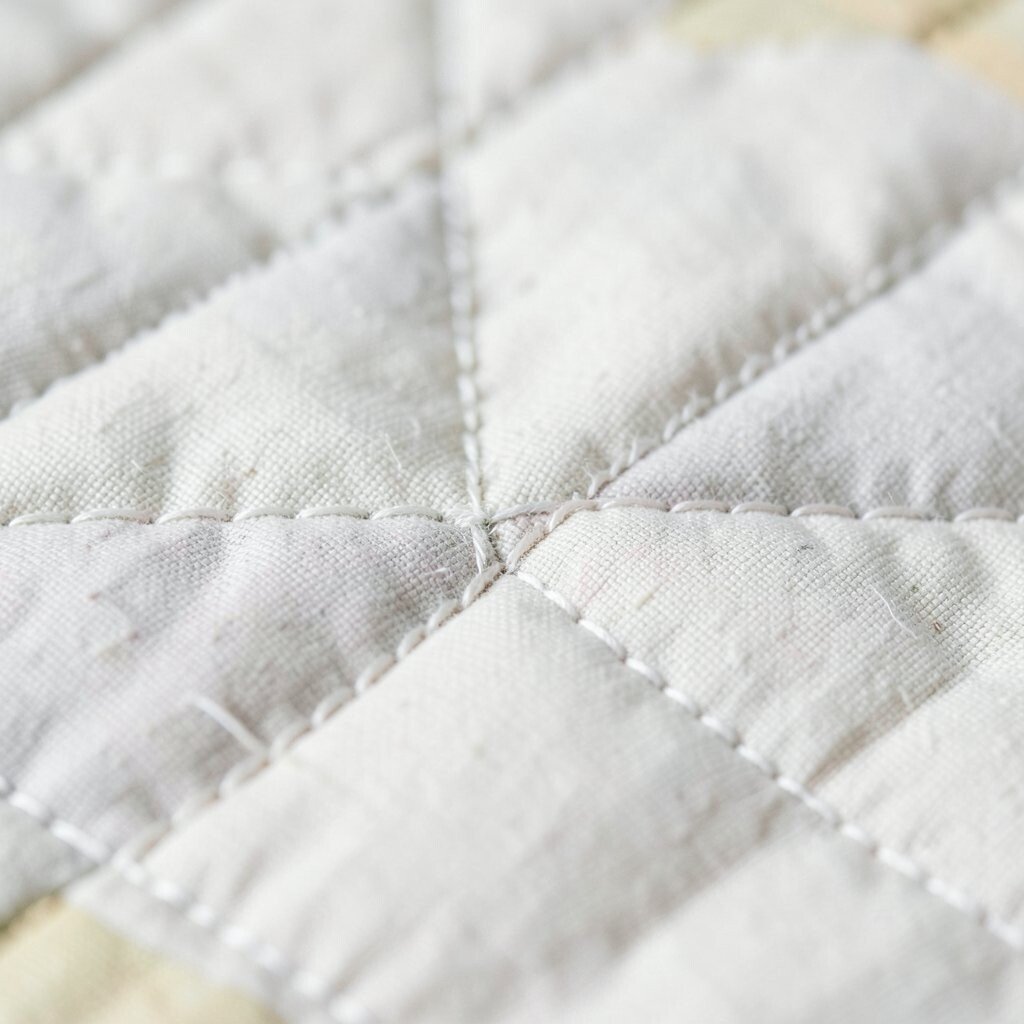
Clear guide lines can save a lot of guesswork. They help your stitches stay even and keep your shapes from drifting.
Use a fabric pen, chalk, or a light pencil line made for sewing. For quilting stitch, lines can show where the seam should travel; for appliqué stitch, lines can help you keep close to the edge of the shape. Many marking tools are low-cost, and one good marker can last through many projects.
Marked lines are also helpful if you like a neat, modern style. They can make a beginner’s work look more planned and polished without adding much extra effort.
7. Try Hand Stitching for a Gentle Start
Top Try Hand Stitching For A Gentle Start Craft Tutorials
- 🍅 Basic Hand Stitches for Beginners – Red Ted Art – Kids Crafts from redtedart.com.
- 🎨 25 Easy & Free Beginner Sewing Projects from crazylittleprojects.com.
- 🎨 How to Sew. : 7 Steps (with Pictures) from instructables.com.
- 🎄 Creative Hand Sewing Projects for Kids to Try from imthecheftoo.com.
- 🎨 Teaching Kids to Sew, Part 1: Intro to Hand Sewing from makeit-loveit.com.
Hand stitching can feel slow, but it gives you more control. That control is useful when you are learning how quilting stitch and appliqué stitch behave on different fabrics.
Small hand stitches often look soft and sweet, which suits folk-style quilts and cozy home decor. You do not need fancy tools to begin, and that keeps costs low while you build skill. If your hands like quiet work, hand stitching can become a relaxing part of your day.
Many beginners enjoy the calm rhythm of hand sewing. It can also be a nice way to personalize a quilt, since each tiny stitch carries your own touch.
Machine stitching is still helpful later, but hand work teaches patience. That patience often leads to cleaner edges and more confident sewing.
8. Learn When to Hide the Stitch
Top When To Hide The Stitch Craft Tutorials
- 🍅 How to Sew the Ladder Stitch – Hand Sewing Tutorial from whatthecraft.com.
- 🖼️ How to Do an Invisible Stitch (aka the Ladder Stitch) from theruffledpurse.com.
- 🎨 How to Blind Stitch: 8 Steps from wikihow.com.
- 🍅 Invisible seam tutorial: learn to hide your stitches from stitchfloral.blogspot.com.
- 🍁 How to Sew an Invisible Stitch This is a needed tutorial if … from facebook.com.
Some stitches are meant to blend into the fabric. Others are meant to be seen and admired.
In appliqué, a hidden stitch can make the shape look smooth and neat, almost like it grew right out of the cloth. In quilting, a hidden stitch can keep the focus on the fabric print or the shape of the block. This choice does not cost extra, but it does change the whole mood of the finished piece.
Hidden stitches work well for soft, elegant projects. Visible stitches can feel cheerful and handmade, which is a big trend in many current quilts.
9. Keep Tension Soft and Steady
Top Keep Tension Soft And Steady Craft Tutorials
- 🖼️ Maintaining steady tension with extended knitting needles from facebook.com.
- 🧑🌾 🪡 A small Sashiko tip that makes a big … – Instagram from instagram.com.
- 🎨 5 Secrets to Machine Quilting with 12 wt. Thread from suzyquilts.com.
- 💅 Tension settings for Soft and Stable by Annie's from facebook.com.
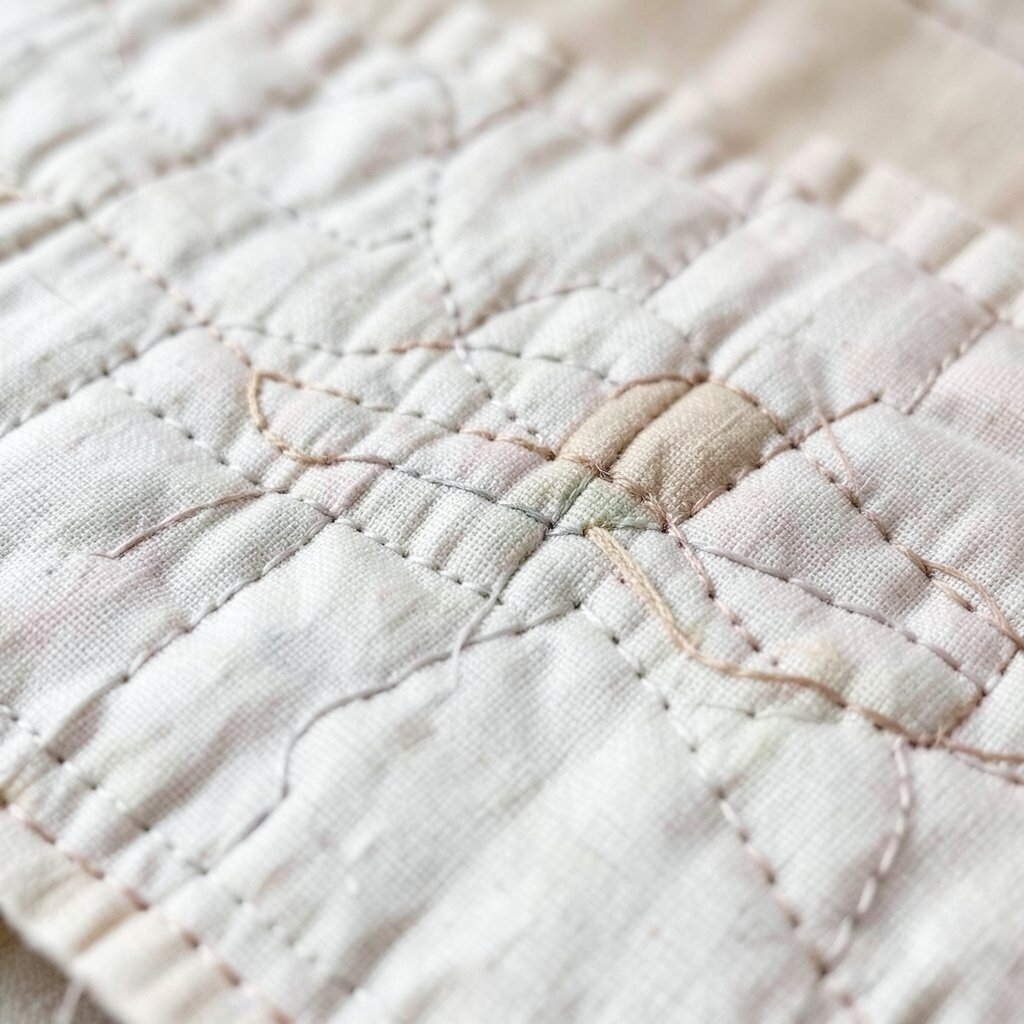
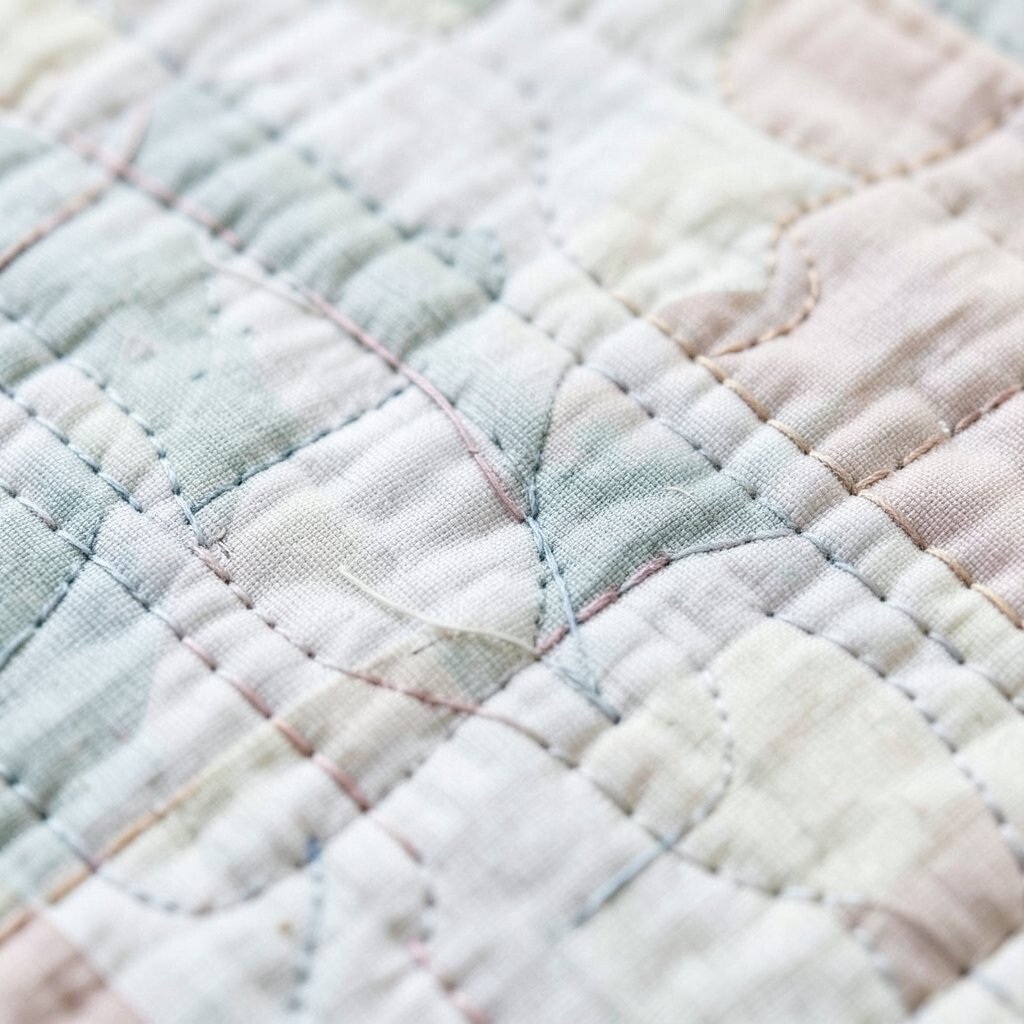
Thread tension can make a stitch look calm or messy. If it is too tight, the fabric may pucker; if it is too loose, the line may wobble.
Gentle tension helps both quilting stitch and appliqué stitch sit nicely on the cloth. That means your quilt top can lay flatter and your shapes can keep their edges. A little practice saves money too, because it means less wasted thread and fewer do-overs.
Watch the back of your fabric as well as the front. A smooth back often means your stitches are balanced and your work will last longer.
10. Choose Fabric That Matches Your Skill
Top Choose Fabric That Matches Your Skill Craft Tutorials
- 🎄 Choosing Fabric for Custom Projects: Guide to the Best … from mypacklove.com.
- 💅 Types Of Fabric from missouriquiltco.com.
- 🎨 How to Choose the Right Fabric for Your Craft Project from libertylondon.com.
- 🧑🌾 Guide to Choosing the Right Fabric for Your Sewing Projects from sahnifabrics.com.
- 👓 How to Choose the Right Fabric for Your Next Craft Project from mfabrics.in.
Some fabrics are easier for beginners than others. Cotton is often a friendly choice because it holds shape well and shows stitches clearly.
Slick or stretchy fabric can be harder to manage, especially when you are trying to learn neat edges. For appliqué, a firm fabric shape can help the piece sit flat; for quilting, stable fabric can keep the layers from shifting too much. Basic cotton is usually affordable, so it is a smart pick for practice and early projects.
Fabric choice can also change the style of your work. Bright prints make a quilt feel lively, while solids can make your stitches stand out in a clean, modern way.
If you want a custom look, mix one bold print with calmer background cloth. That balance can make both stitch types easier to see and more fun to use.
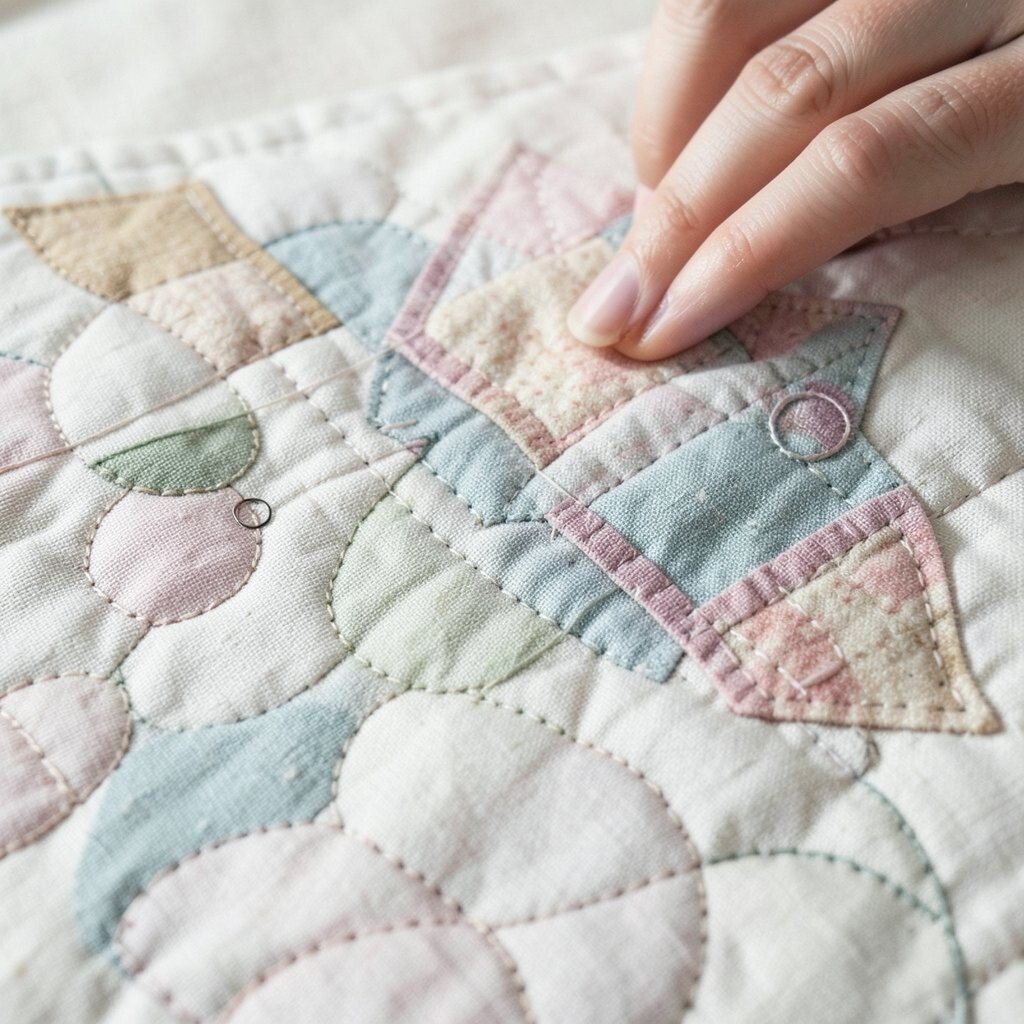
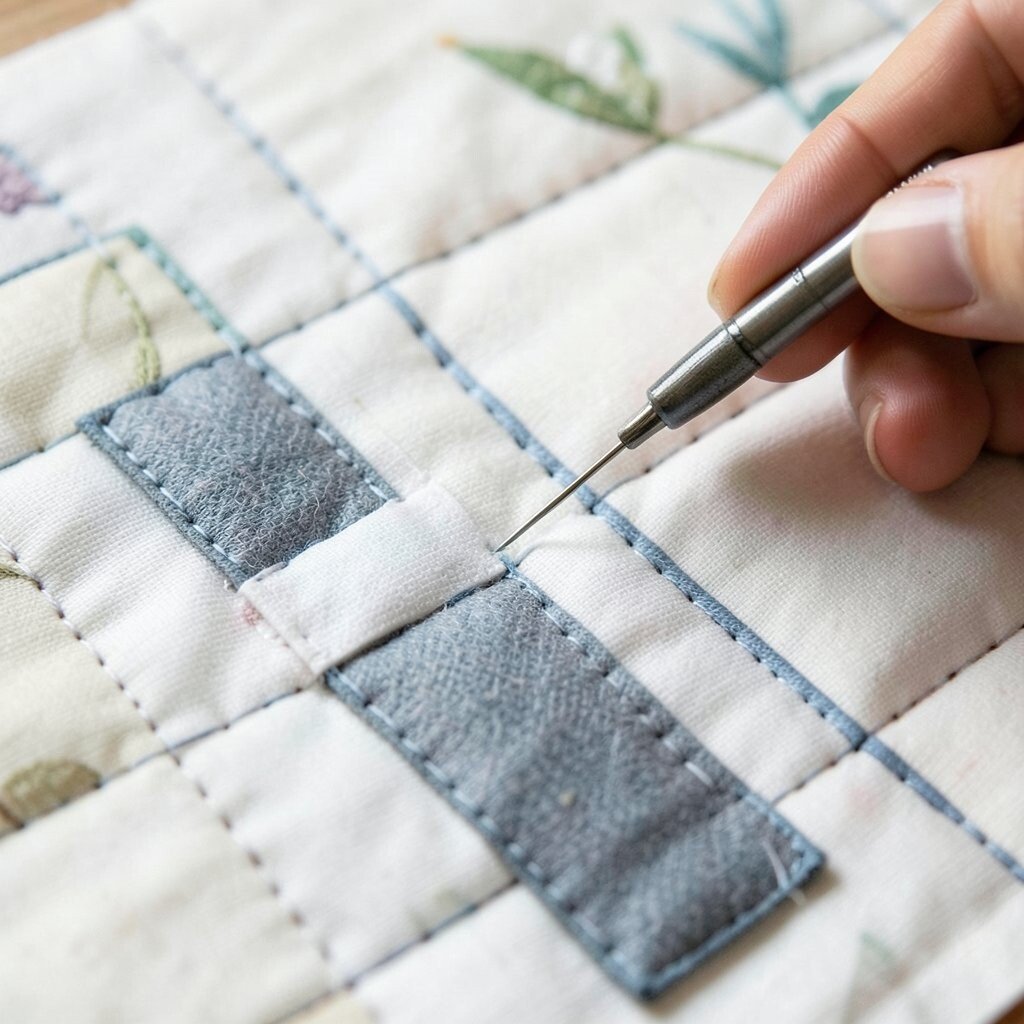
11. Use Pins or Glue for Neat Appliqué Edges
Top Use Pins Or Glue For Neat Appliqué Edges Craft Tutorials
- 🍅 How to Hand Appliqué: A Tutorial from craftsy.com.
- 🍂 Appliqué All Day! Raw Edge Appliqué Tutorial from suzyquilts.com.
- 🖼️ Applique Quilting Tutorial for Beginners from bryanhousequilts.com.
- 🧑🌾 Step-by-Step Guide: Create Stunning Raw Edge Appliqué … from exshawquilts.com.
- 🧑🌾 What is Appliqué? from thesprout.co.uk.
Appliqué pieces need to stay in place while you sew. Pins can help, and so can a little fabric glue made for sewing.
Both tools can save time and keep edges from curling. That means your stitch line stays close to the border and your shape looks tidy. Glue can cost a bit more at first, but a small bottle often lasts through many small projects.
Many makers like glue for tiny shapes because it feels quick and clean. Others prefer pins because they can move pieces around more easily before sewing.
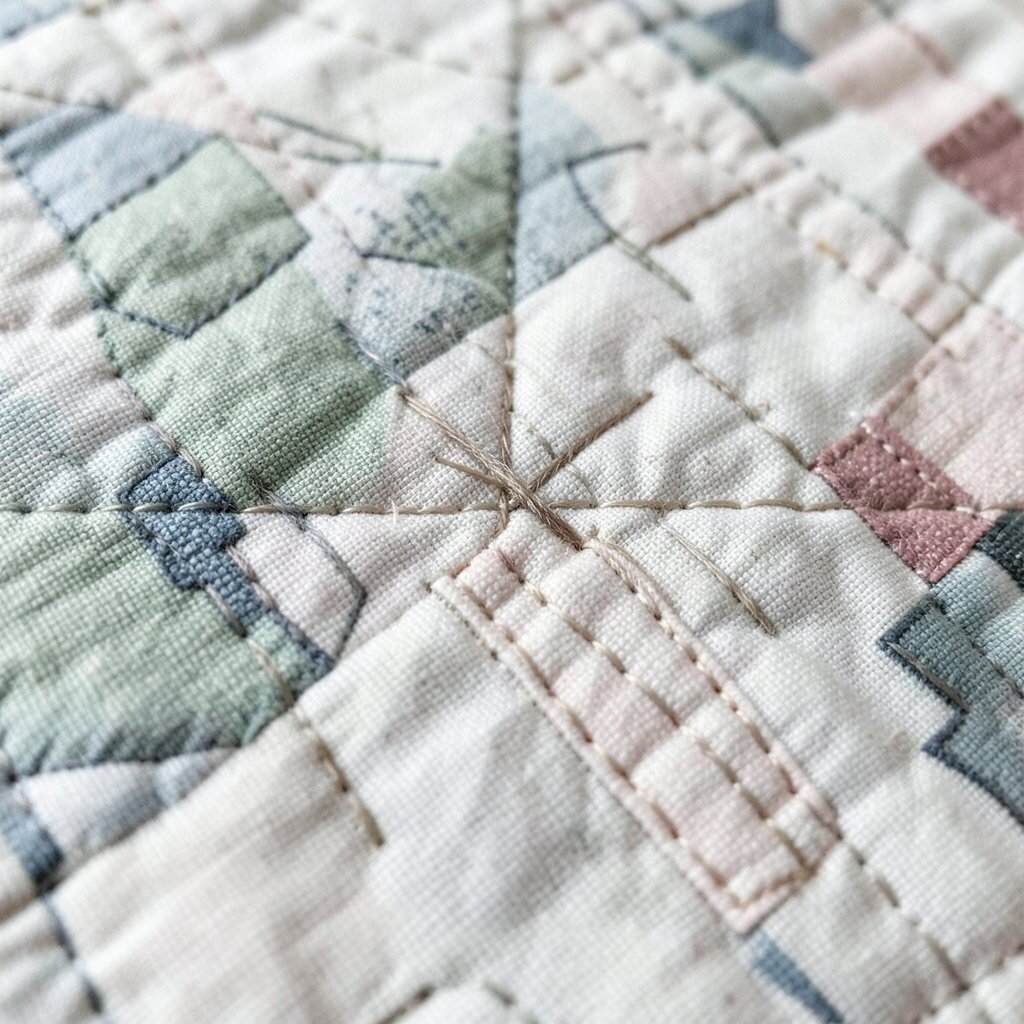
12. Try Quilting Lines That Follow the Shape
Top Try Quilting Lines That Follow The Shape Craft Tutorials
- 🎨 Simple quilting patterns for 12" block quilt from facebook.com.
- 💅 5 Secrets to Machine Quilting with 12 wt. Thread from suzyquilts.com.
- 👓 A Guide to Straight Line Quilting Designs from polkadotchair.com.
- 🗺️ Inspiration for straight line quilting from thecraftyquilter.com.
Quilting does not always need straight rows. Curved lines, loops, and echo shapes can make a quilt feel lively and full of motion.
When quilting lines follow the appliqué shape, the whole piece can look connected and thoughtful. This style works well on flower petals, animal shapes, and heart blocks. You may spend a little more time planning, but the finished look can feel richer without needing expensive materials.
Current quilting trends often favor flowing lines and bold texture. These designs can make a simple project feel fresh and stylish while still being easy enough for a beginner to try.
13. Keep Stitches Small Around Curves
Top Keep Stitches Small Around Curves Craft Tutorials
- 🍅 What is the best stitch size for outline stitch? from facebook.com.
- 🍂 Here's some tips for stitching curves on letters! … from facebook.com.
- 🍁 3 tips for sewing circles ⬇️ 1. Shorten seam length … from facebook.com.
- 🧑🌾 The Secret Crochet Circle Formula (and how to tweak it) from shelleyhusbandcrochet.com.
Curves can be tricky, but small stitches help a lot. Tiny steps around a bend usually look smoother than long jumps.
This tip is especially useful for appliqué around circles, petals, and soft corners. It also helps quilting stitch follow wavy lines without sharp bumps. A bit of patience here can make your work look much more polished, and it does not require special tools.
If you like a neat, delicate style, small curve stitches can become part of your signature. They can make even a simple shape look careful and sweet.
14. Build a Personal Stitch Style
Top Build A Personal Stitch Style Craft Tutorials
- 🖼️ Embroidery Stitches, Patterns & How-Tos from thesprucecrafts.com.
- 🗺️ Free Cross-Stitch Patterns to Download & Stitch Today | DMC from dmc.com.
Your stitches do not need to look like anyone else’s. Some people sew tiny and tidy, while others make longer marks that feel bold and lively.
Both quilting stitch and appliqué stitch can carry your own style if you pay attention to your favorite look. You might like soft hidden stitches on a baby quilt, but bright visible stitches on a wall hanging. That personal choice costs nothing, yet it gives your work a strong handmade feel.
Try keeping a small notebook of stitch ideas, thread colors, and fabric pairings. Over time, that notebook can help you make projects that feel more like you.
15. Start Small and Finish What You Begin
Top Start Small And Finish What You Begin Craft Tutorials
- 🖼️ 14 Crafts for Teens and Tweens – ARTBAR from artbarblog.com.
- 👓 50+ Easy Crafts to Do at Home for Instant Fun from modpodgerocksblog.com.
- 🎄 I've found that some of my favorite craft ideas start when I'm … from facebook.com.
- 🗺️ 31 Arts and Crafts for Kids to Make at Home from parents.highlights.com.
- 🍅 15 Very Simple Science Experiments (Using What You … from noguiltmom.com.
Small projects are a kind way to learn. A pouch, coaster, mini wall quilt, or pillow top gives you room to practice without feeling overwhelmed.
Finishing a small piece teaches more than starting a big one and leaving it in a box. You get to see how quilting stitch and appliqué stitch look when the whole project is done, which helps you plan the next one better. Small projects are also kinder to your budget, since they use less fabric, less thread, and fewer supplies.
There is something very satisfying about holding a finished piece in your hands. That finished feeling can keep you excited to sew more and try new styles with confidence.