Imagine dipping your brush into the magical world of resin art, where every swirl is a potential masterpiece. The allure of resin is irresistible, and each piece tells its own vibrant story. Here are some creative ideas to spark your next resin art project.
1. Ocean Waves Resin Art
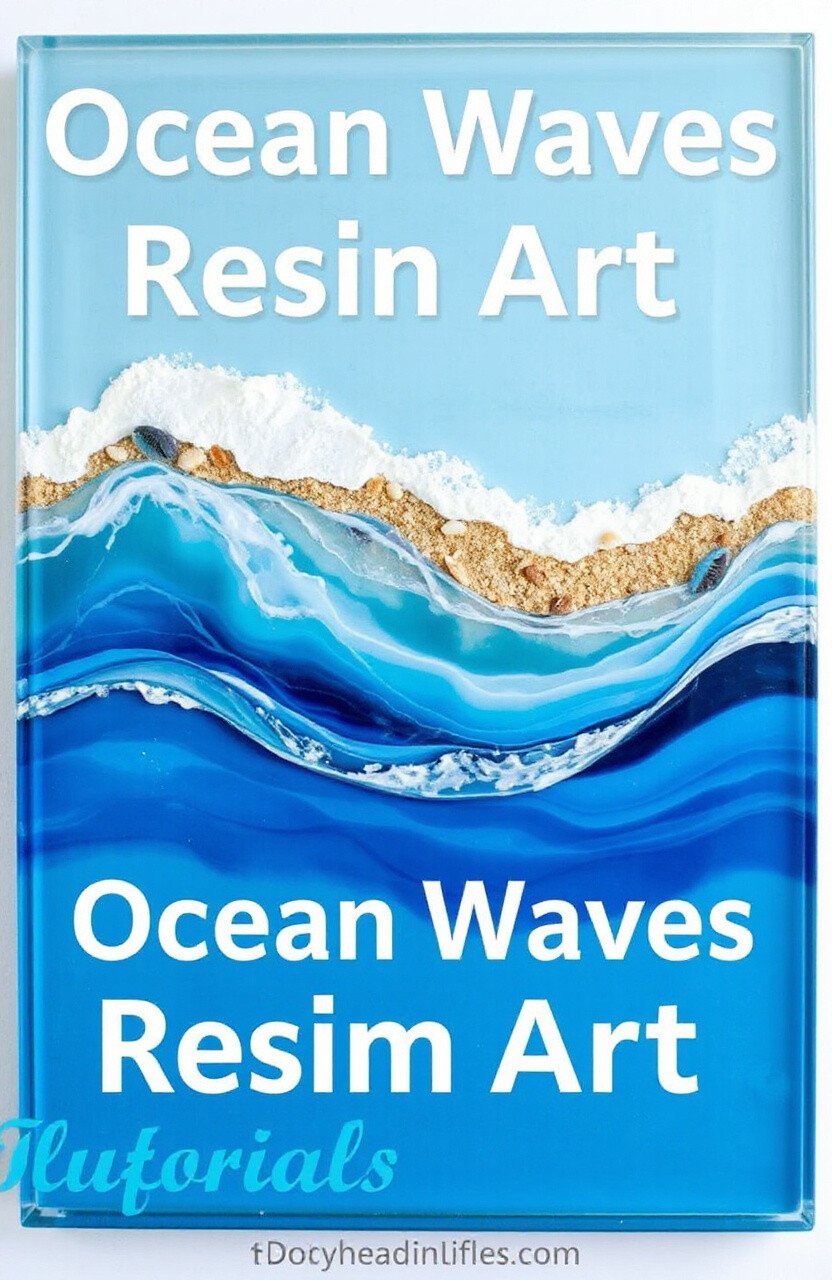
Capture the serene beauty of the ocean with resin art that mimics the look of waves crashing on a beach. Use shades of blue, white, and a hint of sandy beige to create layers that reflect the sea. This idea not only brings tranquility to any space but also offers a sense of calmness.
Creating ocean waves is a soothing experience, allowing you to personalize the depth and texture of your ‘waves’. It’s a fantastic way to bring coastal vibes into your home without the hefty price of beachside property. Add some seashells or sand for extra flair!
2. Galaxy Resin Coasters
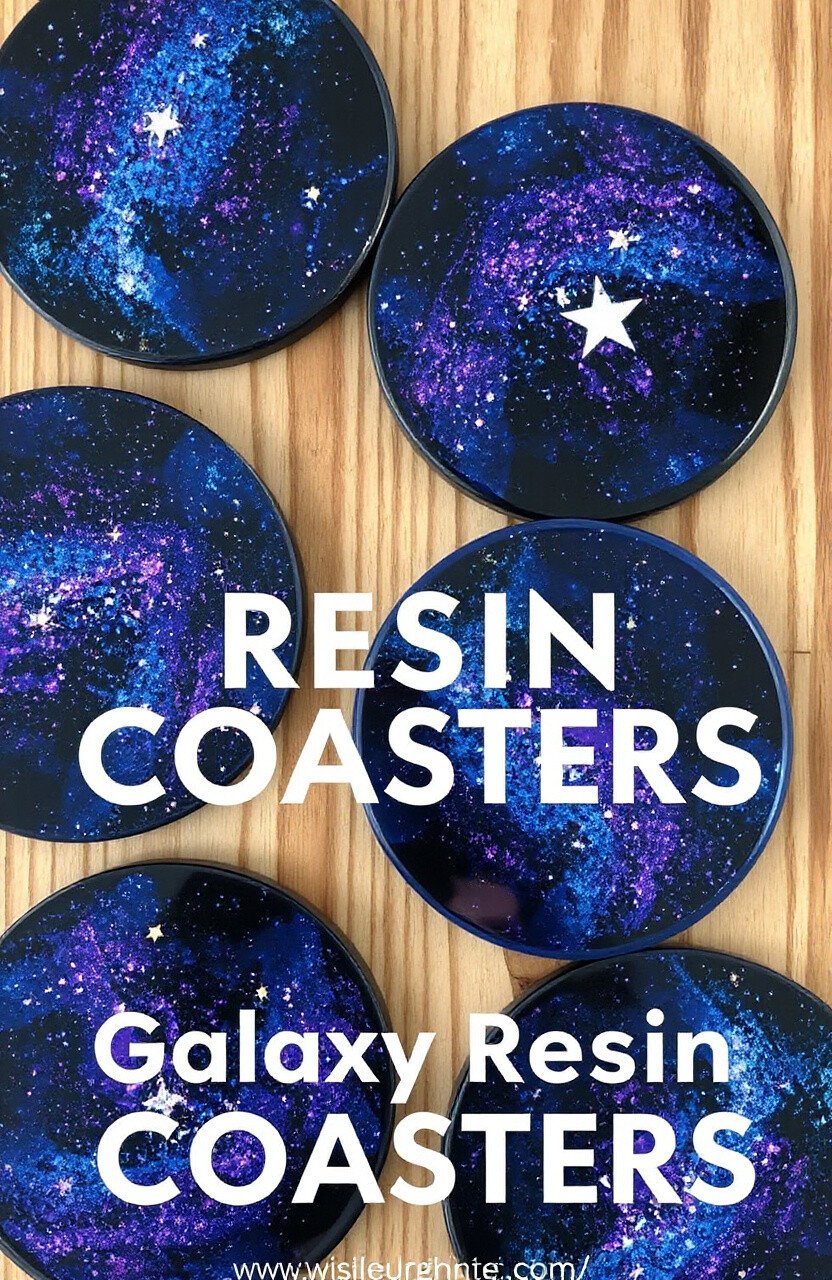
Turn your tabletop into a starry night with galaxy-themed resin coasters. Mix dark blues, purples, and a splash of glitter to mimic the cosmos. These coasters are not just practical but also a conversation starter at any gathering.
Crafting these coasters is a fun way to add a personalized touch to your dining area. They are cost-effective and can be made in small batches. Each coaster can be unique, just like the stars in the sky!
3. Geode Resin Art
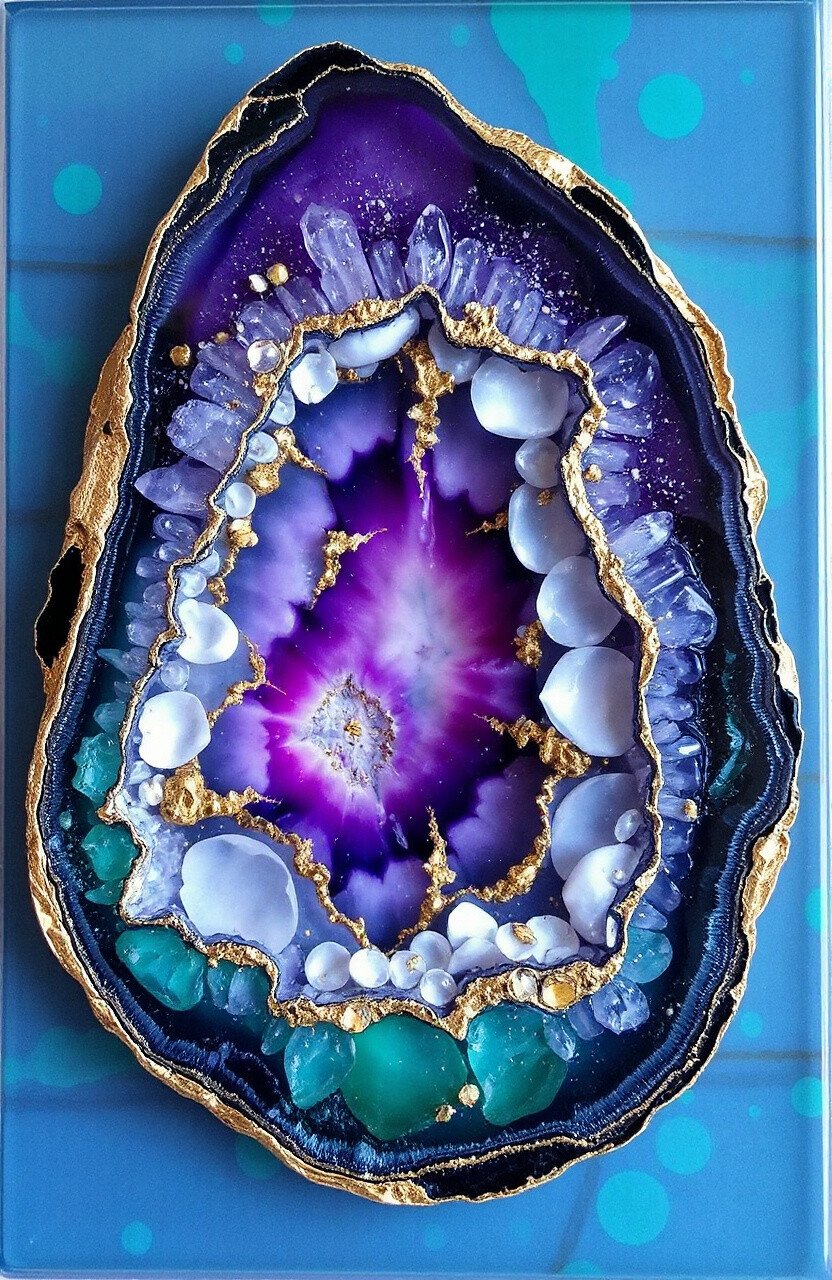
Unveil the beauty of geodes right in your living room. Use vibrant colors like amethyst purple and emerald green, and add metallic accents for a luxurious touch. The uniqueness lies in the organic shapes and natural patterns.
Geode resin art pieces are chic and trendy, perfect for adding a bit of glam to your decor. With a few supplies, you can create stunning art that looks like it came from a high-end gallery. Try experimenting with different color combinations and embellishments.
4. Floral Embedded Resin Jewelry
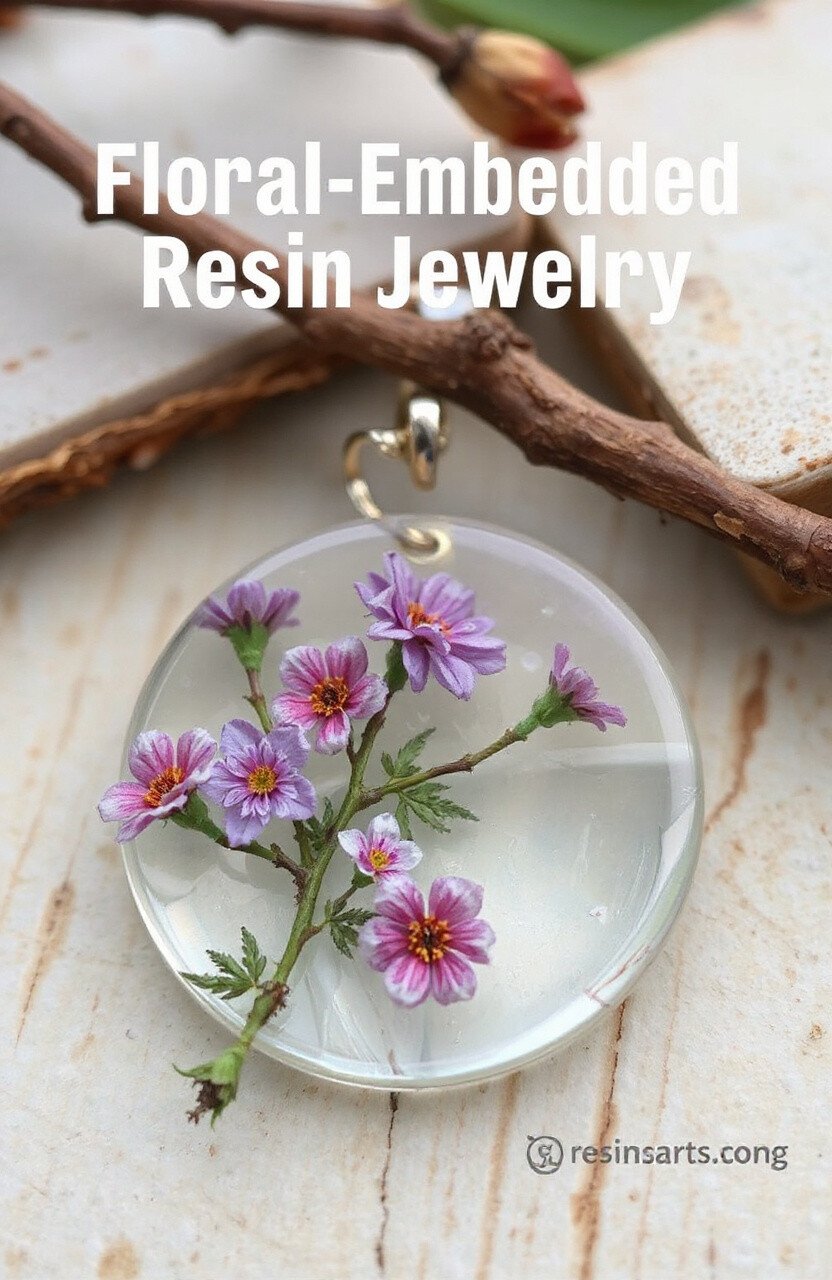
Preserve the beauty of nature with resin jewelry that features embedded flowers. Choose small, delicate blooms and arrange them in resin molds to create earrings, pendants, or bracelets. This method brings a piece of springtime wherever you go.
Floral resin jewelry is a unique way to express personal style and keep memories alive. It’s a popular trend, especially for those who love nature-inspired accessories. These can be made affordably and offer endless possibilities for customization.
5. Resin River Tables
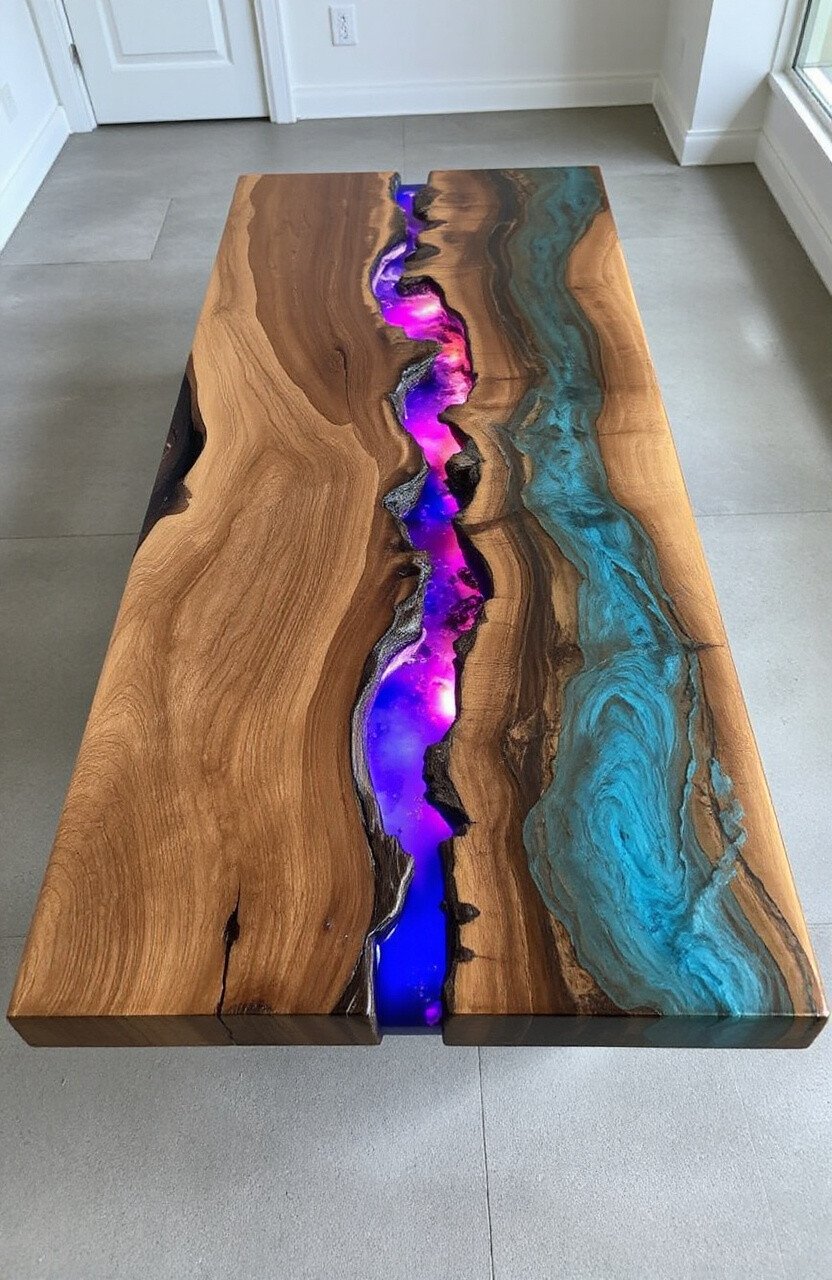
Create a stunning centerpiece with a resin river table. This involves pouring resin between two slabs of wood to mimic a flowing river. The contrast between the wood and the colorful resin creates a breathtaking visual effect.
River tables are a testament to the fusion of art and functionality. It’s a bit more costly than other projects but well worth it for the wow factor it offers. You can use different colors and add LED lights for a mesmerizing glow.
6. Abstract Wall Art
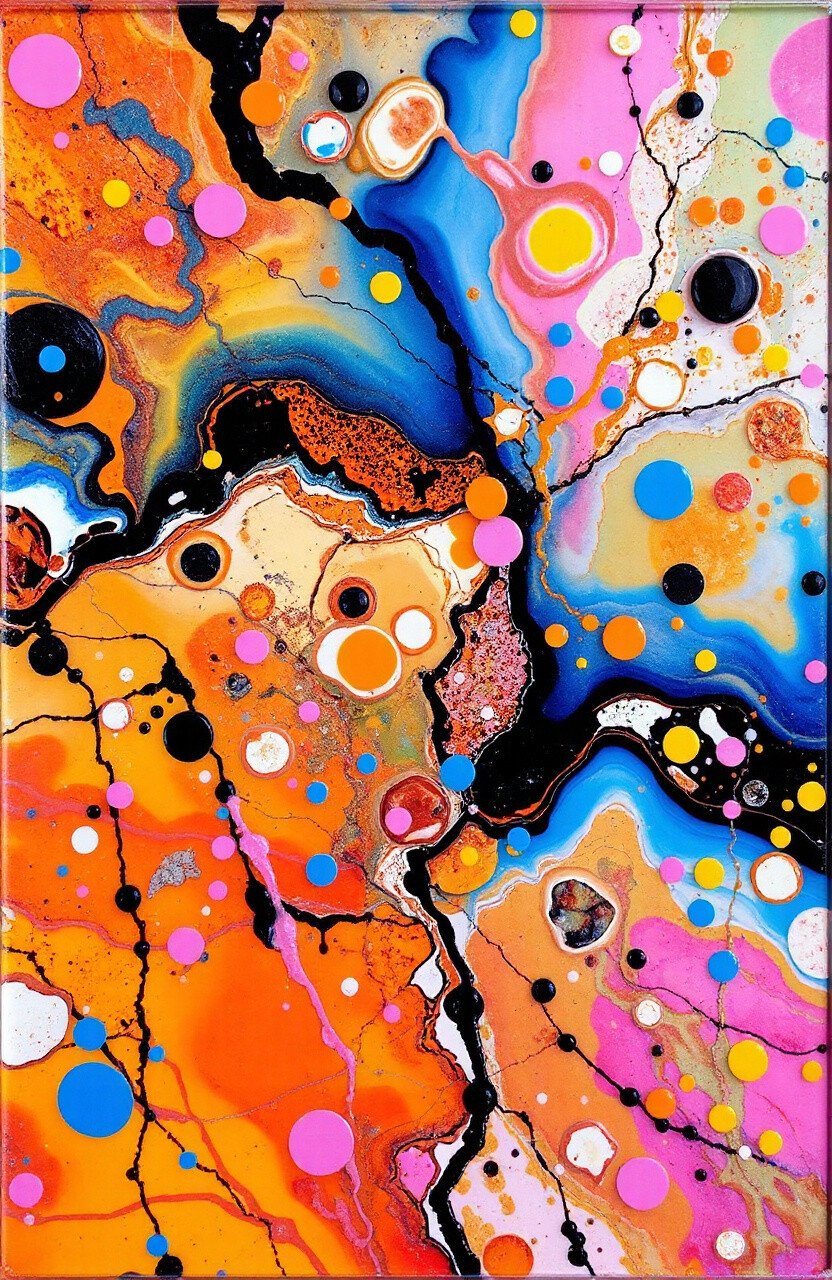
Embrace your inner artist with abstract resin wall art. Mix and pour various colors to create unique patterns and textures. This form of art allows complete freedom to express your creativity.
Abstract resin art is perfect for those who enjoy experimenting with colors and forms. It’s a cost-effective way to refresh your space and make a bold statement. Each piece is truly one-of-a-kind!
7. Resin Bookmarks
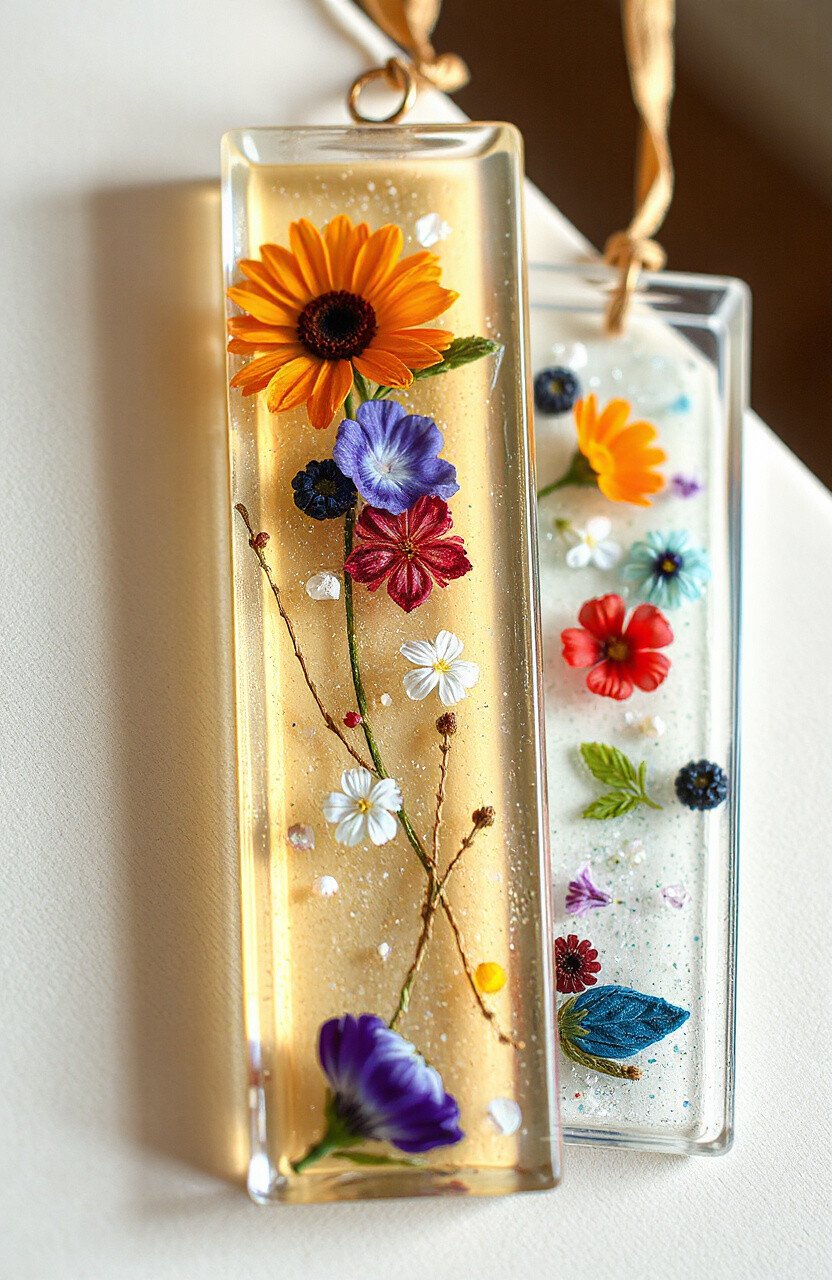
Make your reading experience more magical with resin bookmarks. Embed dried flowers, glitter, or tiny charms in clear resin to create personalized bookmarks. They are not only practical but also a beautiful way to keep your place in a book.
Resin bookmarks are easy to make and offer a great opportunity for personalization. They can be thoughtful gifts for book lovers and are a budget-friendly craft option. Try different themes for different books!
8. Beach Scene Resin Trays
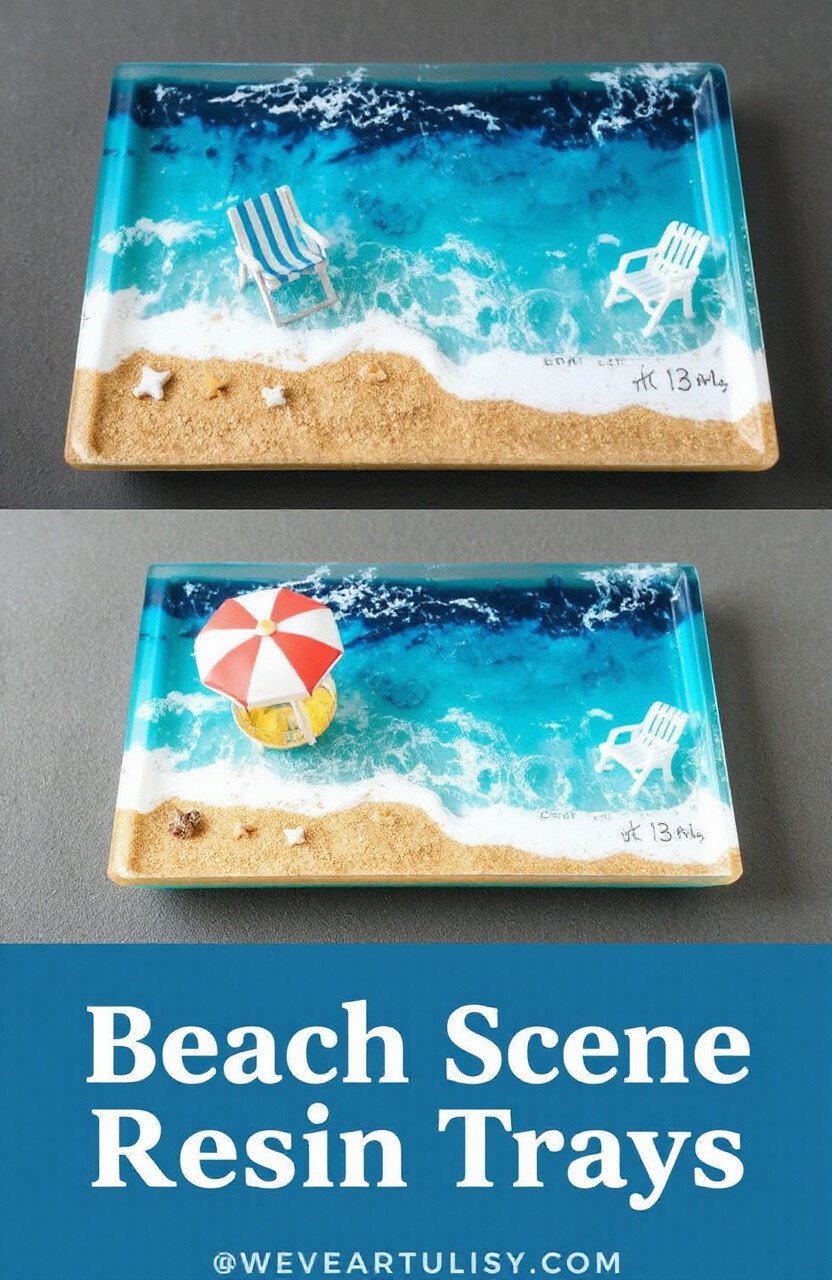
Bring the beach to your home with a resin tray featuring a miniature beach scene. Use resin to create the ocean, sand, and even tiny beach chairs. This tray is both functional and decorative, perfect for serving summer drinks.
Beach scene trays are a fun way to showcase your creativity and love for the coast. They are relatively inexpensive to make and can be a delightful addition to any home. Personalize by adding your favorite beach elements.
9. Resin Keychains
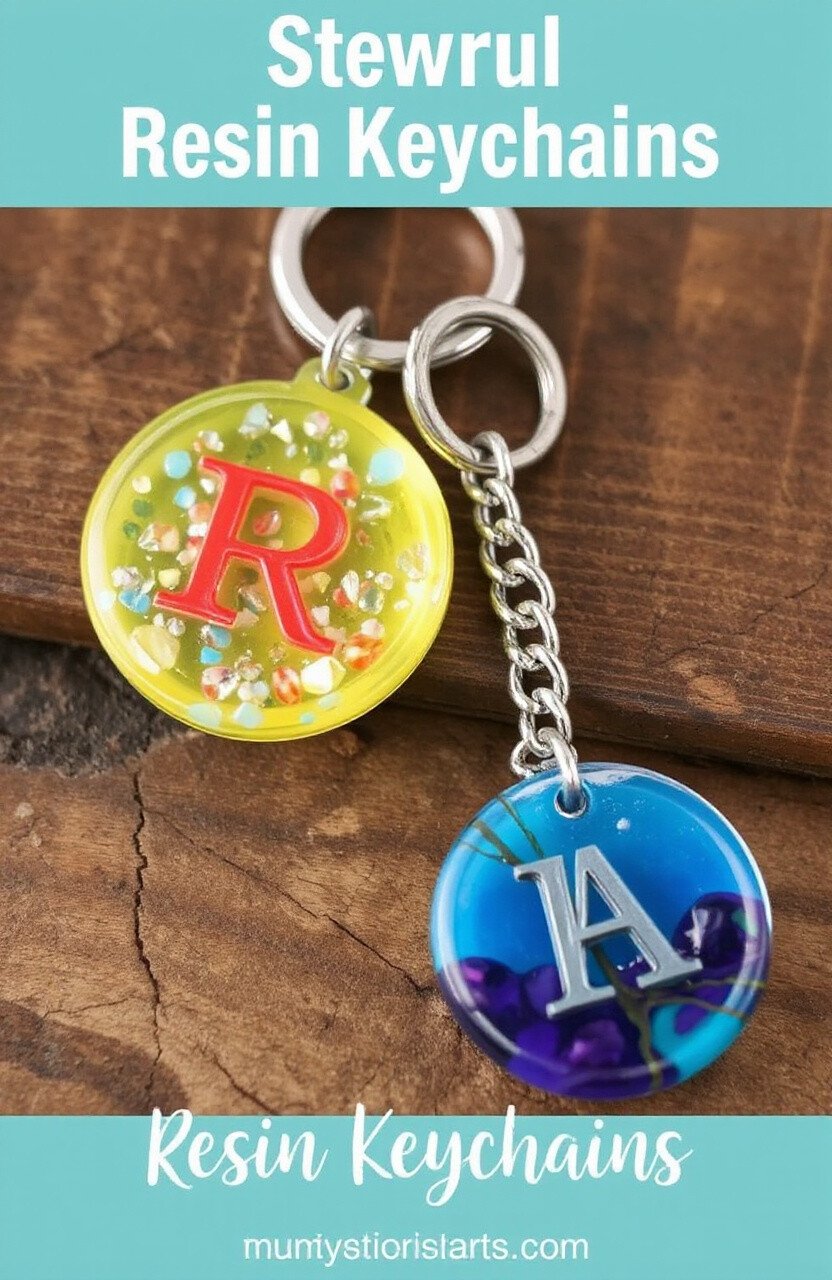
Create unique keychains with resin and embed initials, small charms, or glitter. These keychains are perfect for personal use or as thoughtful gifts. They add a pop of color and personality to your keys.
Resin keychains are a great beginner project due to their simplicity and low cost. You can experiment with various shapes and designs, making them ideal for all ages. They’re perfect for personalizing your everyday items.
10. Pet Paw Print Keepsakes
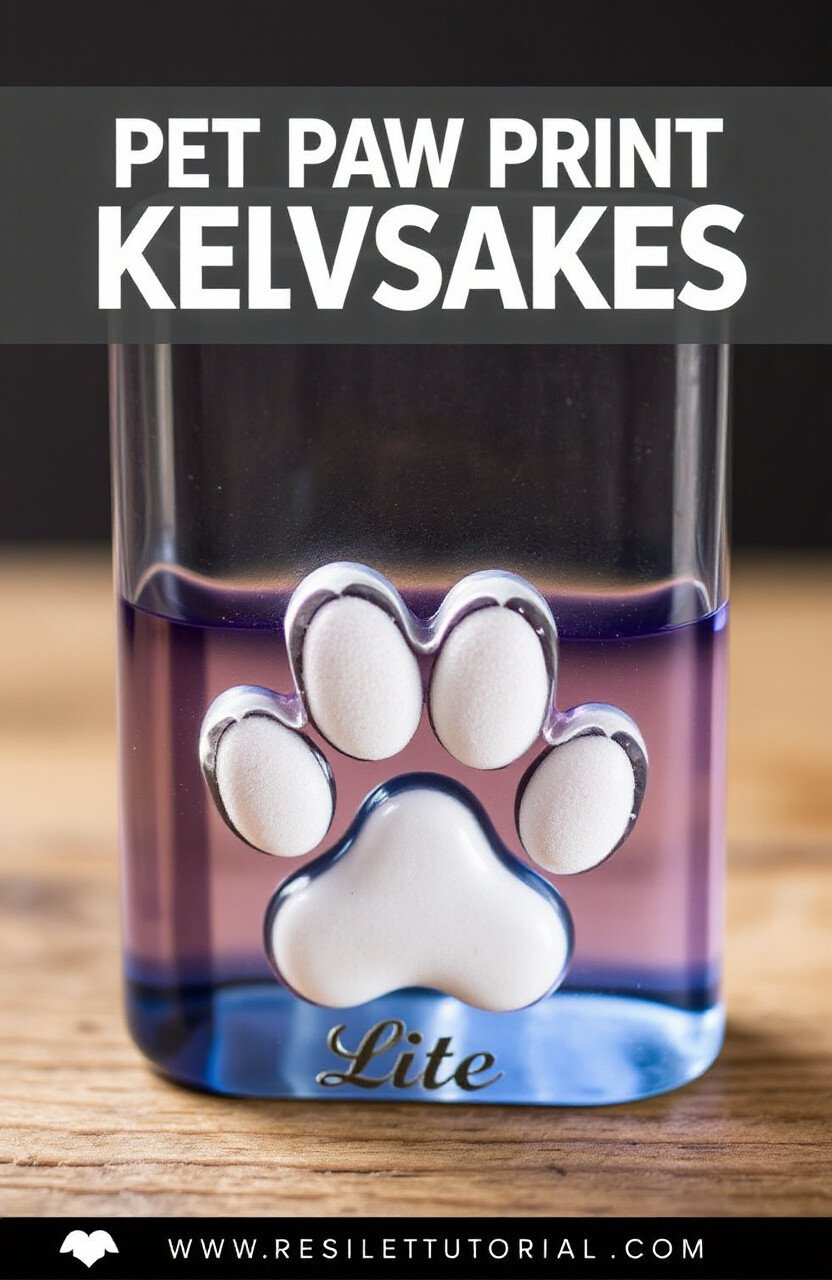
Capture the memory of your furry friend with a resin pet paw print keepsake. Use a mold to create an impression of your pet’s paw and fill it with resin. This heartfelt memento can be cherished forever.
These keepsakes are not only sentimental but also a lovely decorative piece. It’s an affordable way to immortalize your pet’s presence in your life. Consider adding your pet’s name or birthstone for extra personalization.
11. Resin Night Lamps
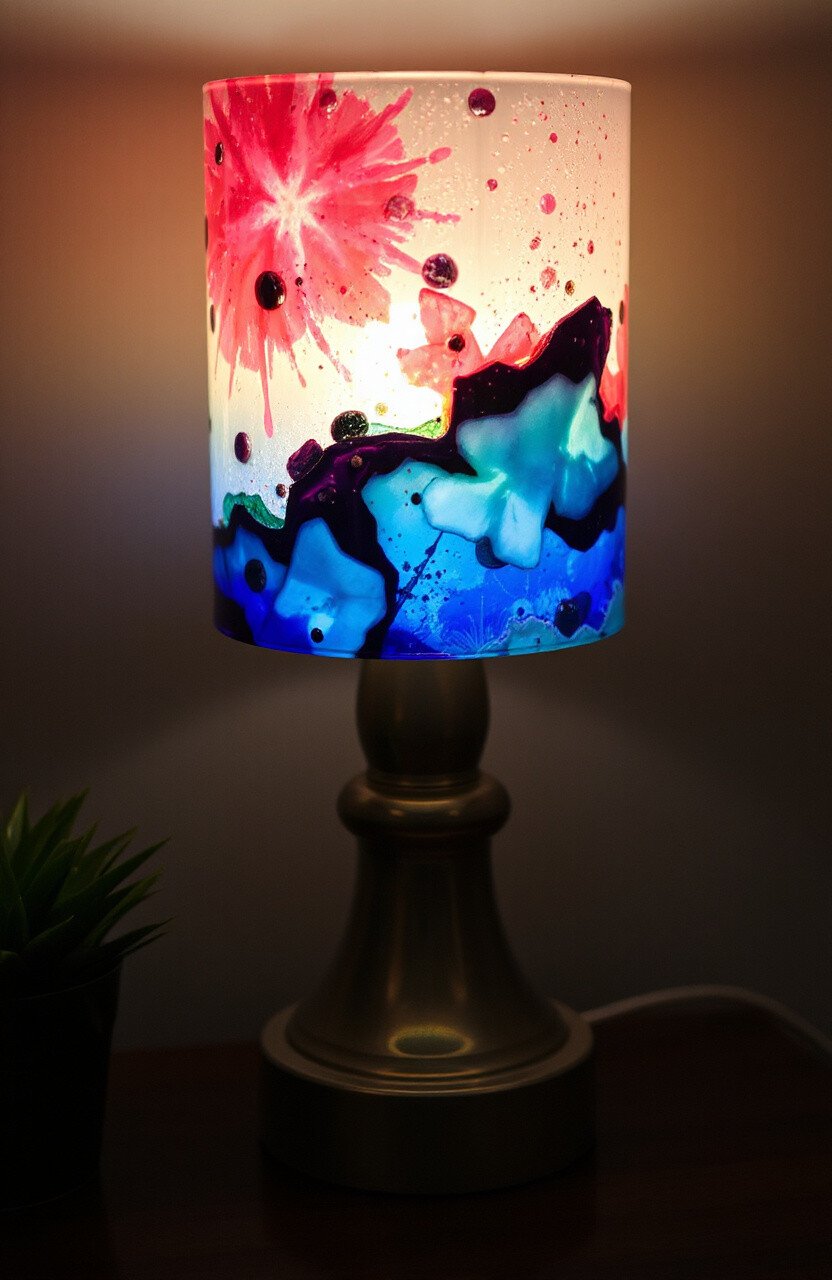
Light up your nights with a resin night lamp. Use resin to create the lamp’s shade, incorporating colors and elements that match your room’s theme. The soft glow through the resin adds a warm ambiance.
Resin night lamps are both functional and decorative, offering a unique twist to traditional lighting. While they might require a bit more effort, the result is a stunning piece that commands attention. Customize with your favorite colors and patterns.
12. Resin Jewelry Dishes
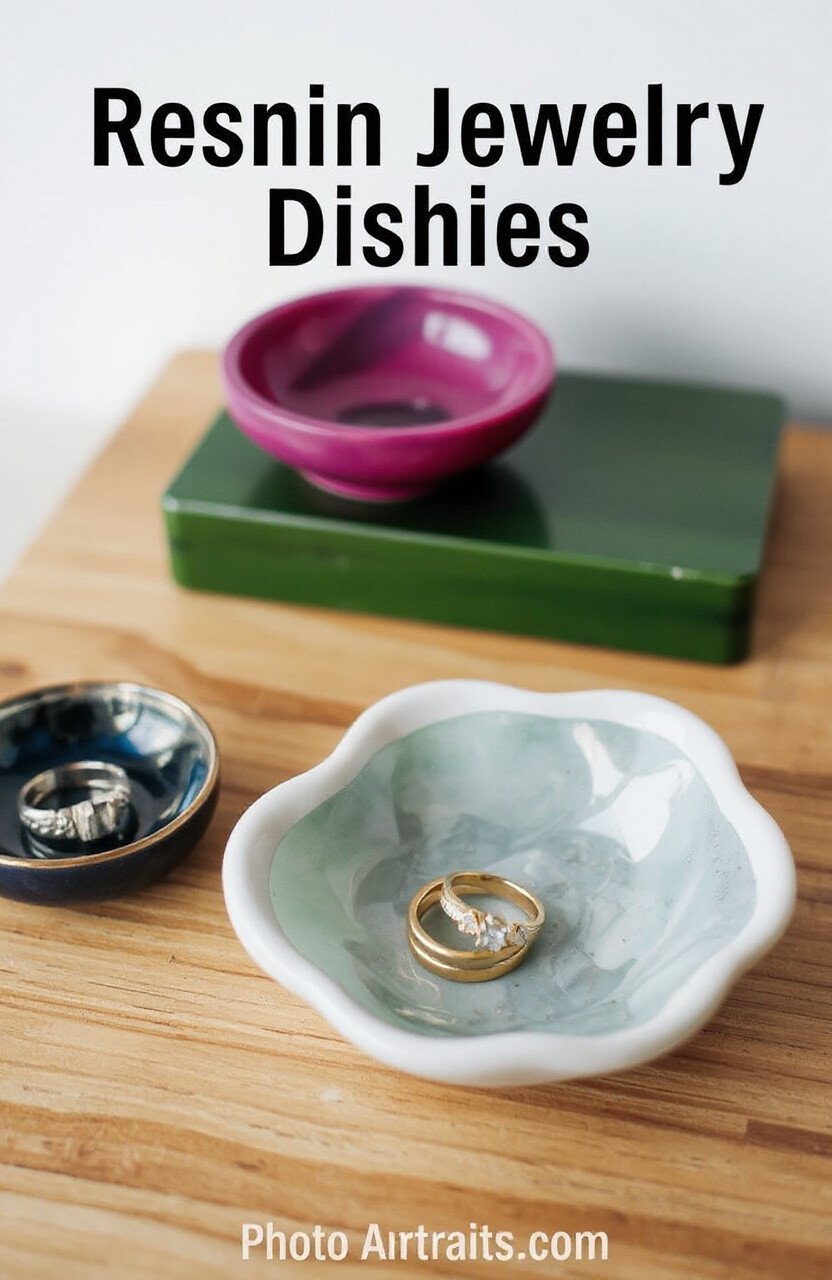
Keep your jewelry organized with a beautiful resin dish. These dishes can be crafted in various shapes and colors, making them a chic addition to your vanity. Add some gold or silver leaf for a touch of elegance.
Jewelry dishes are not only practical but also a stylish accessory for any dresser. They are easy to make and customizable to fit your decor. They’re perfect for organizing rings, earrings, and other small items.
13. Resin Picture Frames

Frame your favorite memories with resin picture frames. Use clear resin to encase small objects, glitter, or dried flowers around the frame. These frames are a unique way to showcase your photos.
Resin picture frames are a creative way to add a personal touch to your home decor. They are relatively cost-effective and make for great gifts. Experiment with different themes to match the photos you display.
14. Personalized Resin Letter Blocks
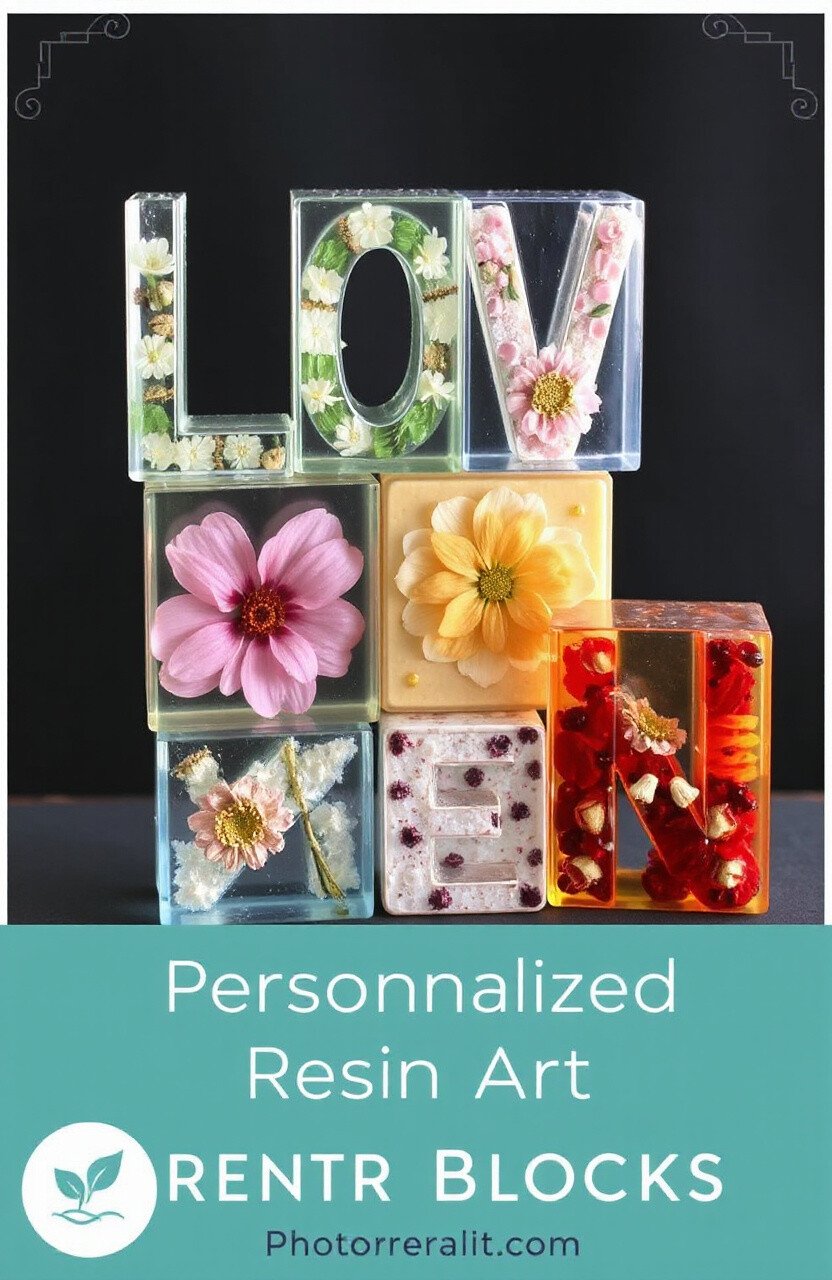
Create decorative letters with resin, perfect for spelling out names or inspirational words. Use different colors and fill them with elements like flowers or glitter. These blocks are a charming addition to any room.
Resin letter blocks are a great way to personalize any space. They are easy to make and can be customized to fit any theme or occasion. Use them as a unique home decor piece or a personalized gift.
15. Resin Clock Faces
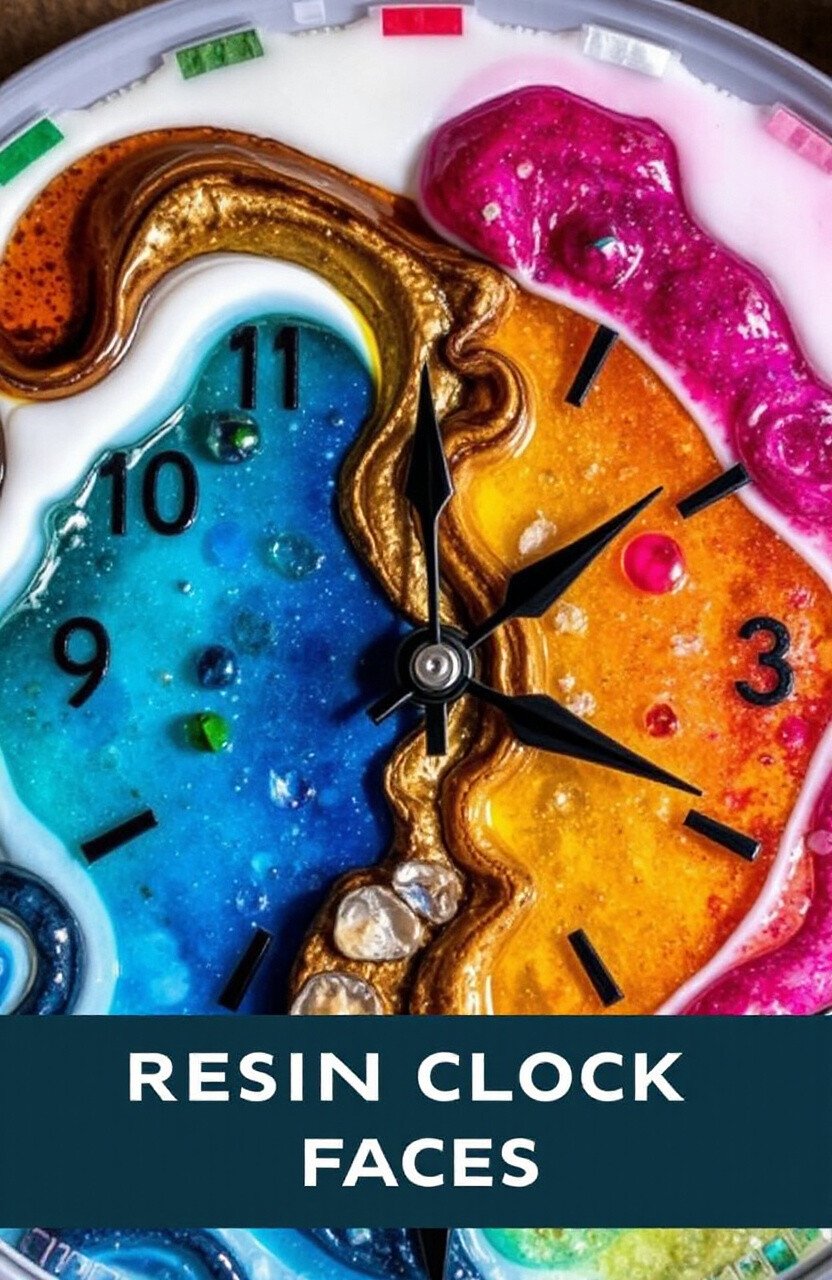
Design a unique clock face using resin to create colors and patterns that suit your style. Embedded elements like stones or glitter can make your clock one-of-a-kind. It’s a functional piece of art for your home.
Resin clocks are a fantastic way to combine functionality with creativity. While they require a bit of precision, the result is a stunning timepiece that’s a guaranteed conversation starter. Customize the colors to match your decor.
16. Resin Hair Accessories
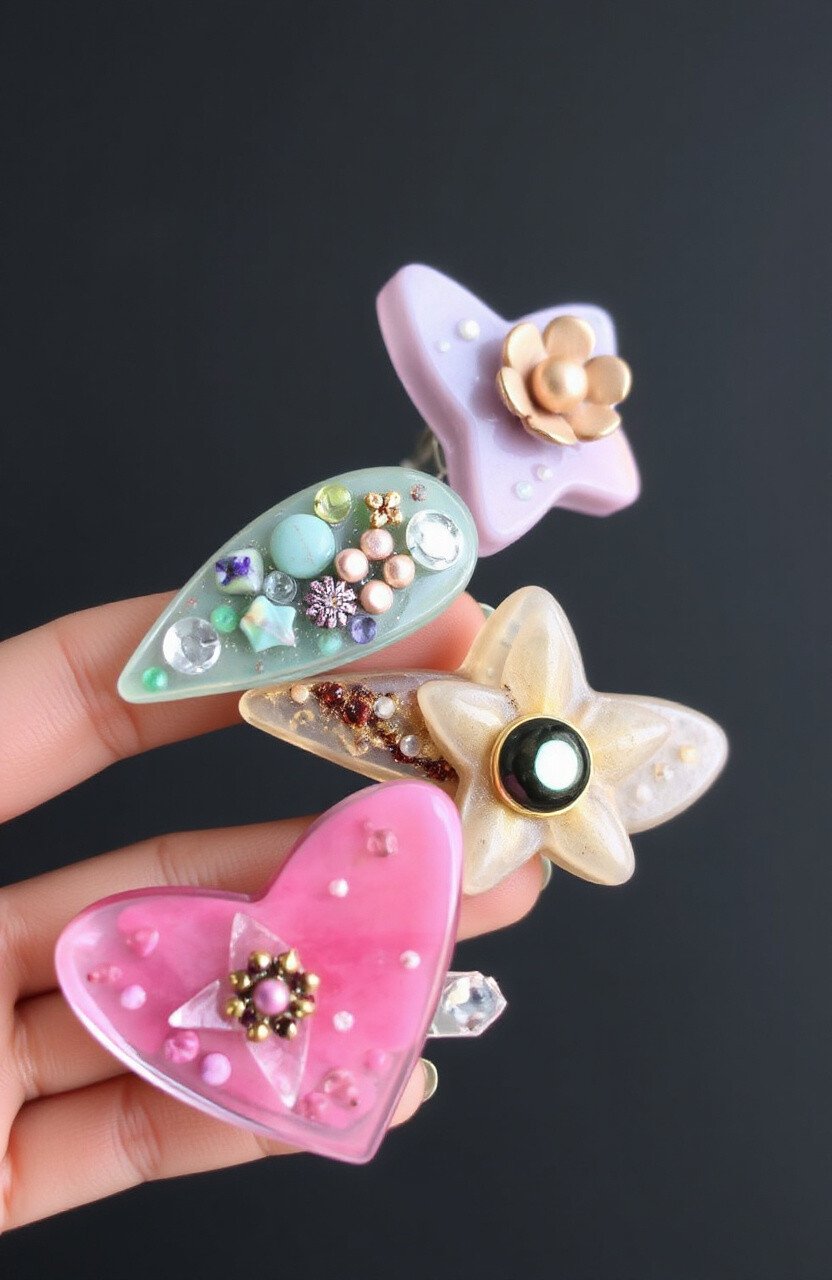
Stand out with resin hair clips or pins. Use molds to create shapes and fill them with colorful resin and embellishments. These accessories add a fun and unique touch to any hairstyle.
Resin hair accessories are trendy and easy to make. They’re perfect for adding a splash of color to your look, and the customization options are endless. These accessories make delightful gifts, too!
17. Resin Serving Boards
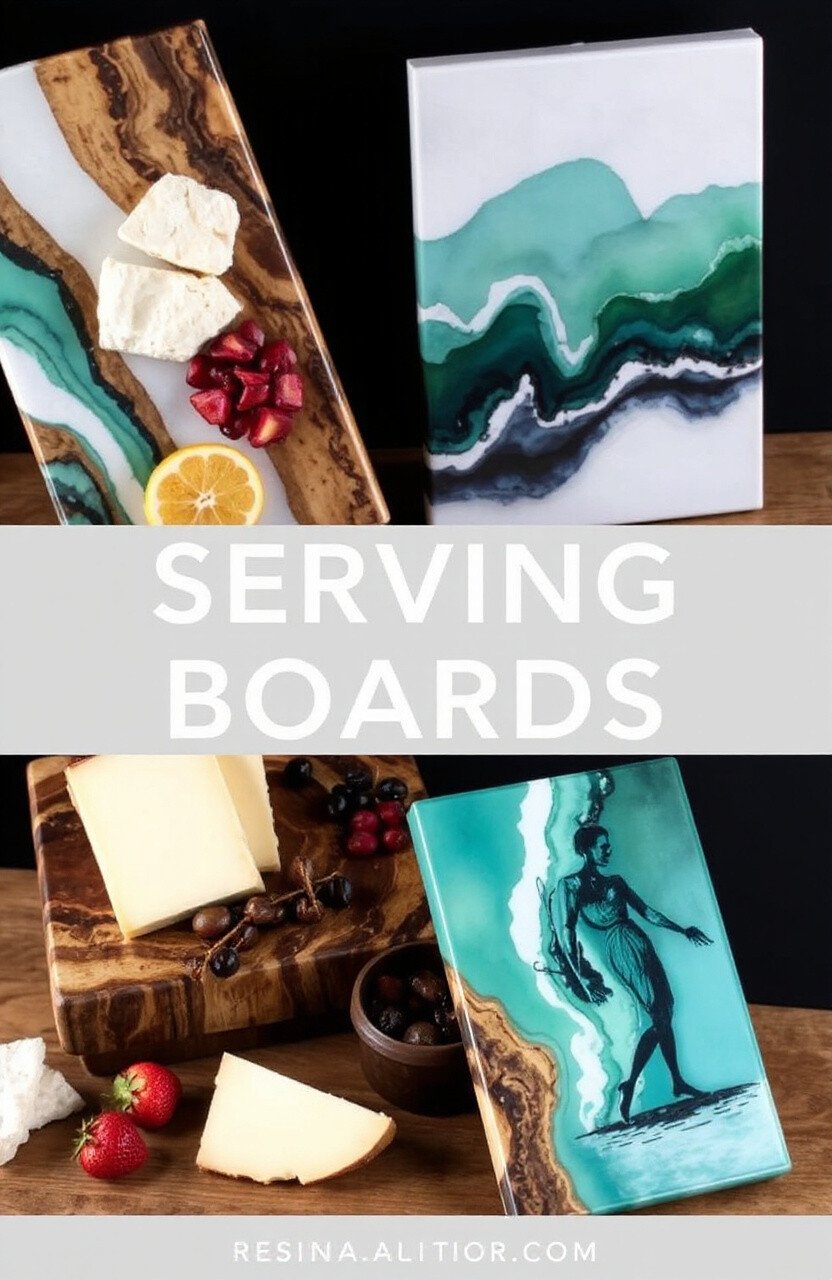
Impress your guests with a resin serving board. Incorporate colors that match your kitchen or dining room, and add elements like dried fruit for a unique touch. These boards are perfect for serving cheese or appetizers.
Resin serving boards are both practical and stylish. They can be customized to fit any occasion and are a beautiful addition to any table setting. While they might take some time to make, the end result is worth the effort.
18. Resin Planter Pots
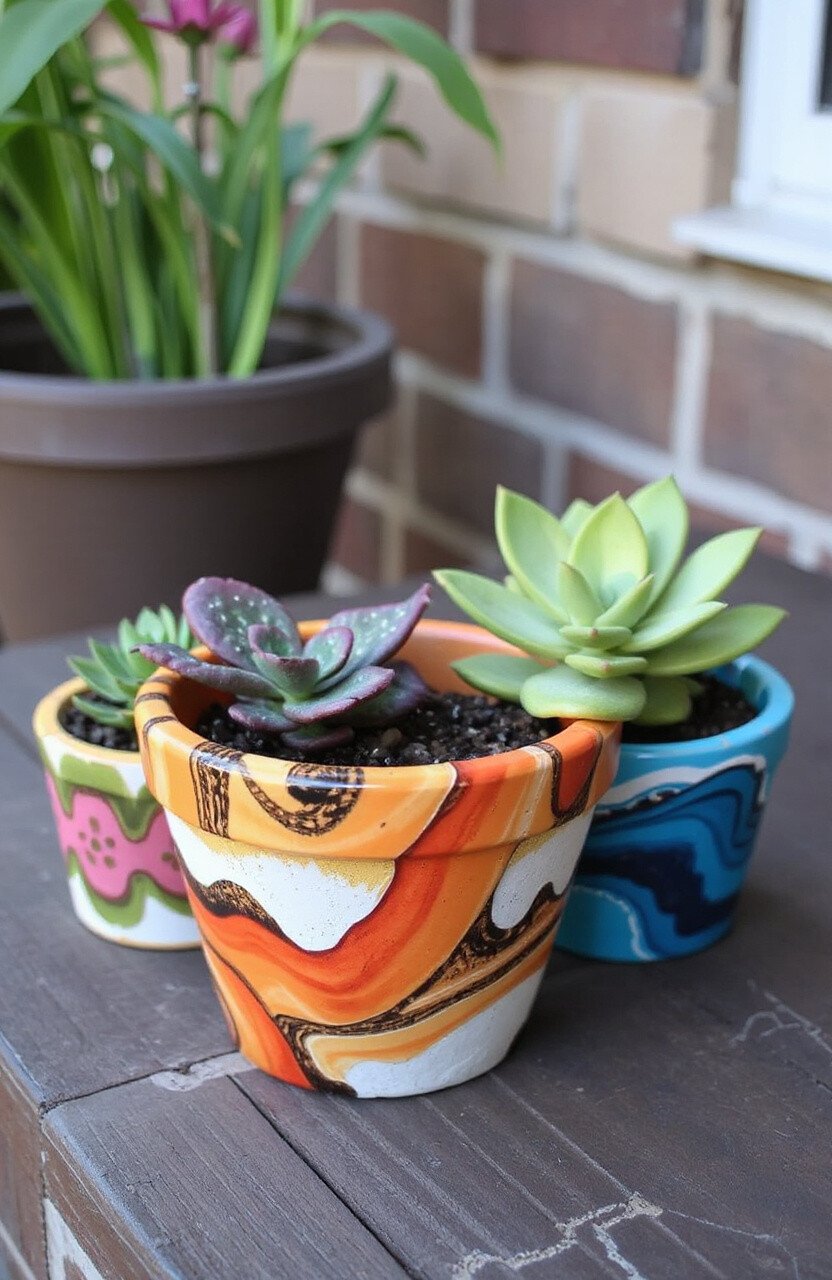
Add a touch of creativity to your garden with resin planter pots. Create colorful designs or subtle patterns to complement your plants. These pots are a great way to showcase your green thumb in style.
Resin planter pots are durable and weather-resistant, making them ideal for both indoor and outdoor use. They’re a fun project that allows you to express your love for plants through art. Personalize with your favorite colors.
19. Resin Mobile Phone Cases
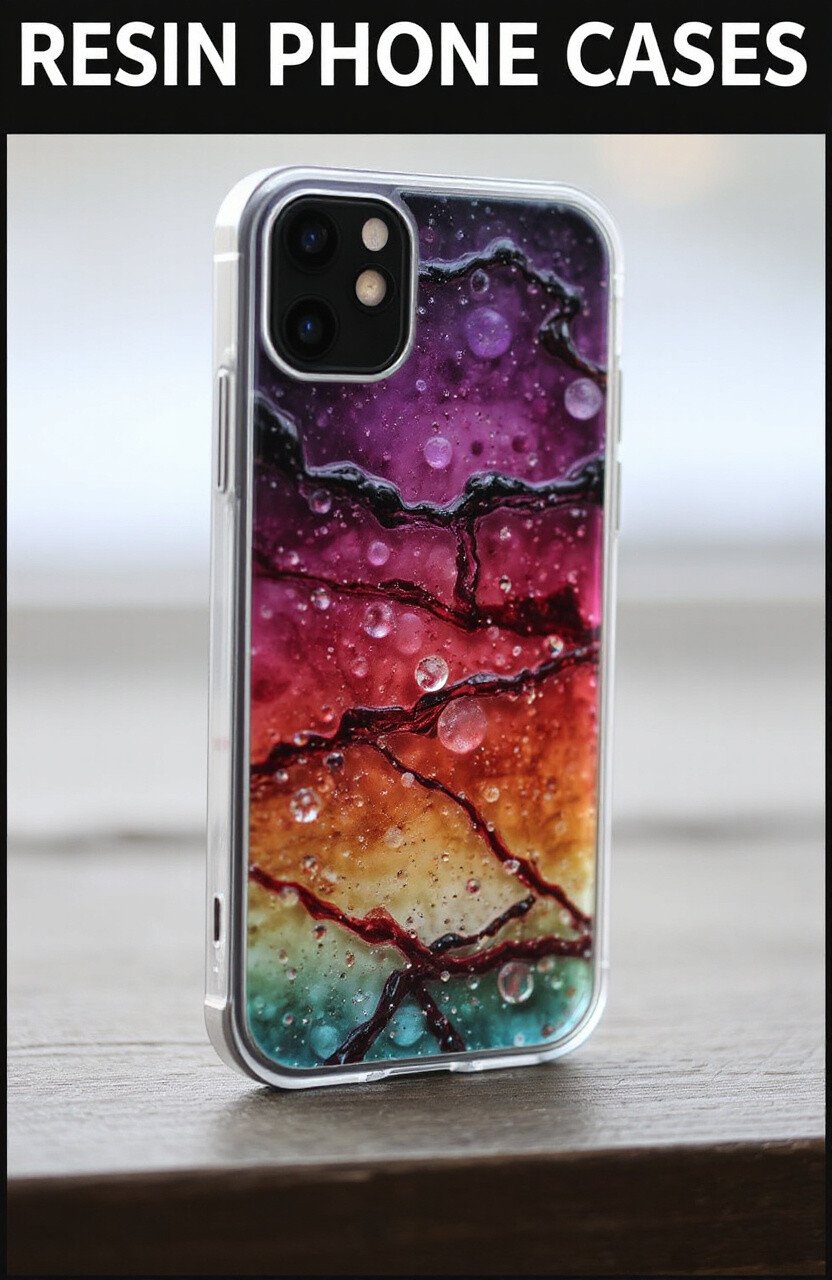
Show off your personality with a custom resin phone case. Use a clear case as a base and add resin with colors and designs that reflect your style. This is a protective and fashionable accessory.
Resin phone cases are easy to make and offer a perfect opportunity to showcase your creativity. They are a cost-effective way to personalize your tech. Consider adding initials or small charms for an extra touch.
20. Resin Art Magnets
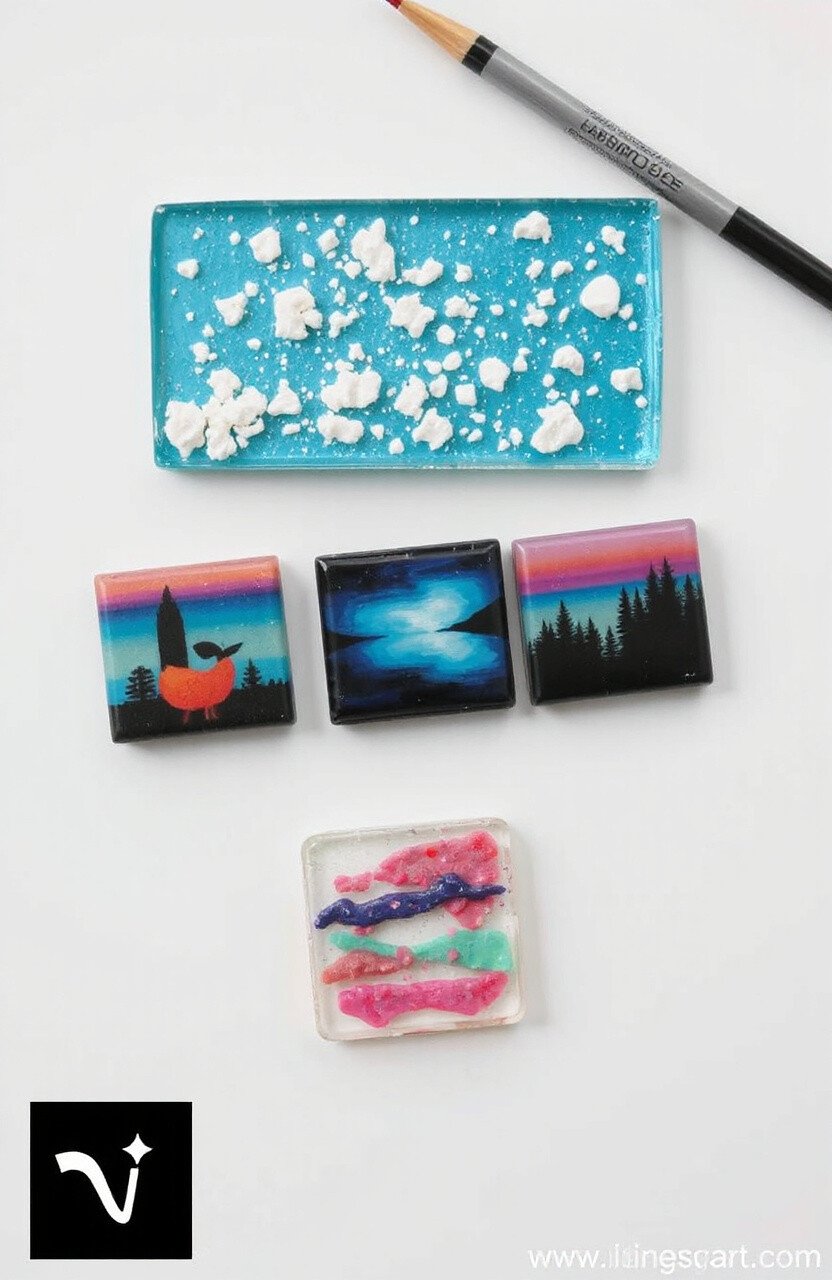
Brighten up your fridge with resin art magnets. Create miniature pieces of art and attach magnet strips to the back. These magnets are perfect for displaying notes or pictures in a fun way.
Resin magnets are an easy and affordable craft project. They are a wonderful way to add color and personality to your kitchen. Experiment with different shapes and designs to keep things fresh.
21. Resin Wind Chimes
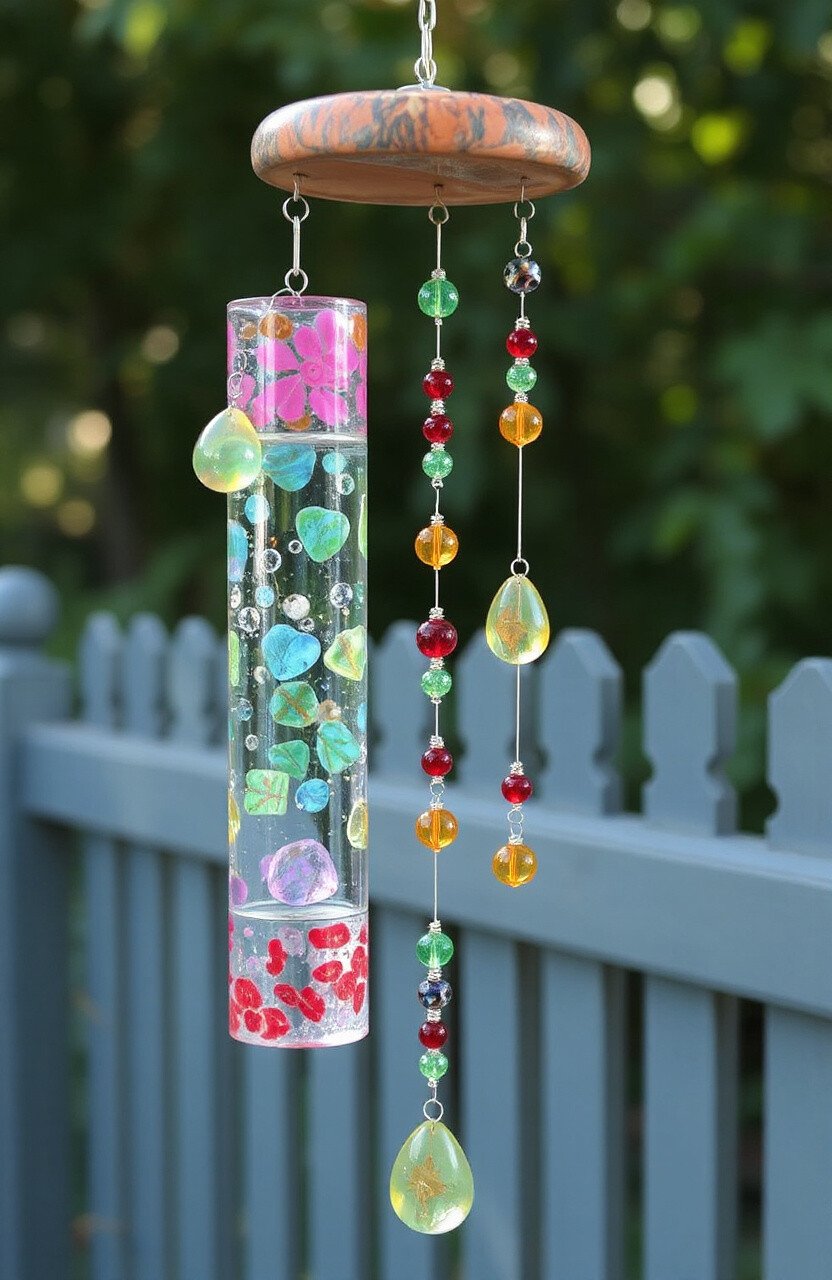
Add a whimsical touch to your garden with resin wind chimes. Create colorful pieces that tinkle gently in the wind. This project combines art with the soothing sound of chimes.
Resin wind chimes are a unique way to enjoy the outdoors. They are relatively simple to make and can be customized to fit any theme. Add beads or small charms for extra sound and decoration.
22. Resin Candle Holders

Set the mood with resin candle holders. Use bold or soft colors to create holders that match your home decor. The flicker of candlelight through resin casts a beautiful glow.
Resin candle holders are both functional and decorative, perfect for creating a cozy atmosphere. They’re easy to customize and a great way to experiment with colors and textures. Use them as a centerpiece or on side tables.
23. Resin Pet Tags

Give your pet a stylish accessory with a resin tag. Embed their name or a small charm in the resin to create a personalized tag. This is a fun way to keep your pet’s ID unique.
Resin pet tags are a practical project that offers endless customization options. They’re easy to make and durable, perfect for active pets. Consider matching the tag to your pet’s collar for a coordinated look.
24. Resin Holiday Ornaments

Decorate your tree with handmade resin ornaments. Use holiday-themed molds and colors to create unique pieces. These ornaments bring a personal touch to your holiday decor.
Resin holiday ornaments are a fun and festive project for the whole family. They’re a wonderful way to preserve holiday memories and make great gifts. Get creative with themes and embellishments!
