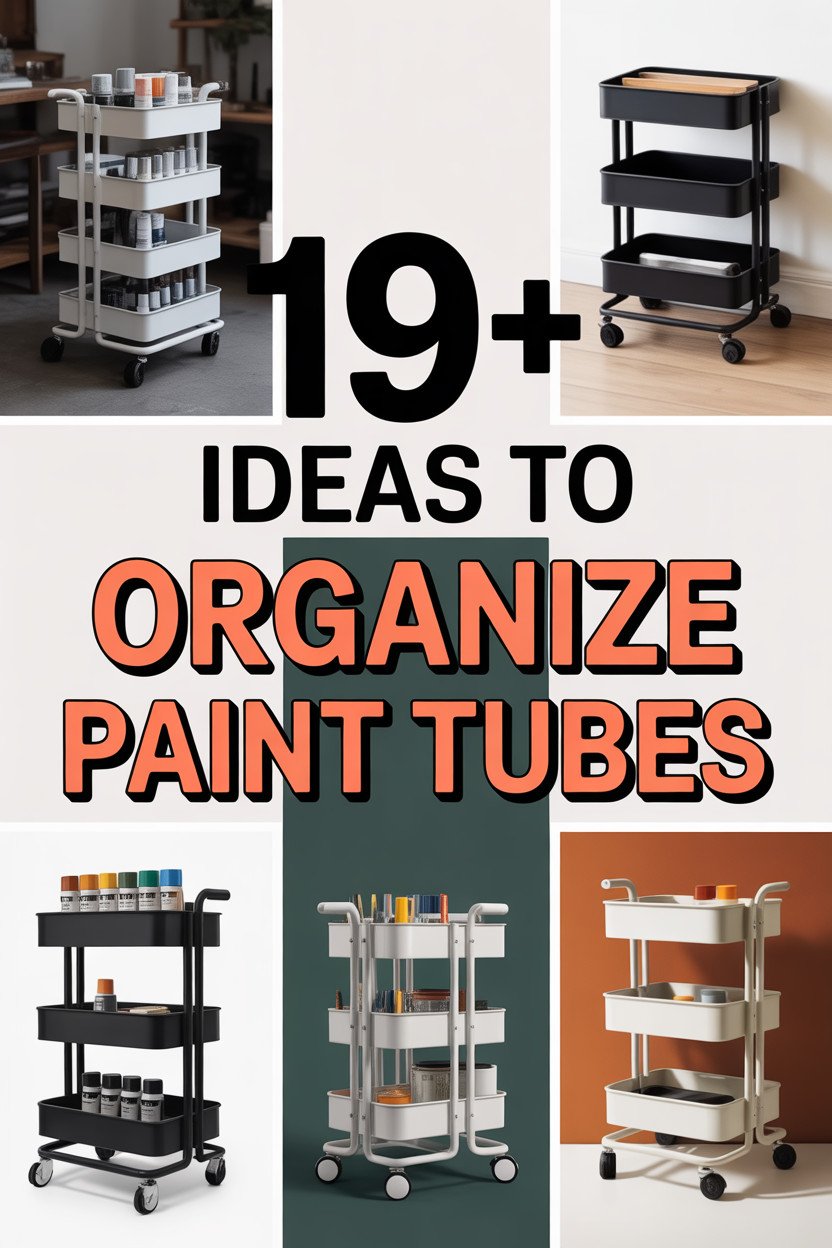
Imagine a rolling cart that’s not just functional but also a burst of color and creativity. It can be a delightful corner in your craft room, brimming with inspiration and personality. Let’s dive into a world of color and order, where each idea will bring your artistic supplies to life in the most enthralling way.
1. Rainbow Arrangement
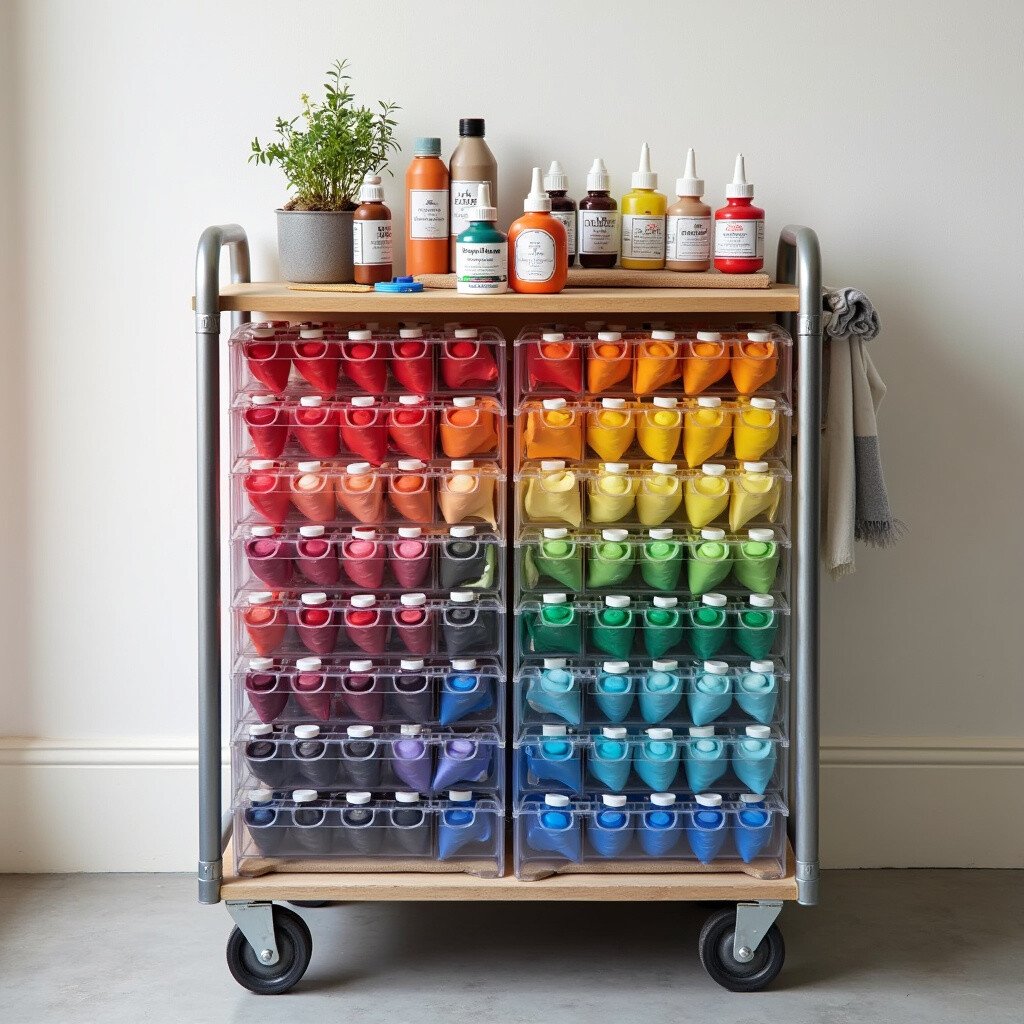
Sort your paint tubes in the order of the rainbow. It’s visually appealing and makes finding the right color a breeze. Organizing this way adds a touch of whimsy and charm to your cart.
Not only does this brighten up the space, but it’s also a great way to showcase your collection. You can use small, clear bins to separate them by color. This method is perfect for both kids and adults who love a splash of rainbow magic.
2. Magnetic Magic

Attach small magnetic strips to the sides of your cart. These can hold metal-capped paint tubes securely. It’s a space-saving solution that turns your cart into a multi-functional masterpiece.
Magnetic strips are affordable and easy to install. The beauty of this idea lies in its simplicity and efficiency. Plus, it gives your cart a modern, sleek look.
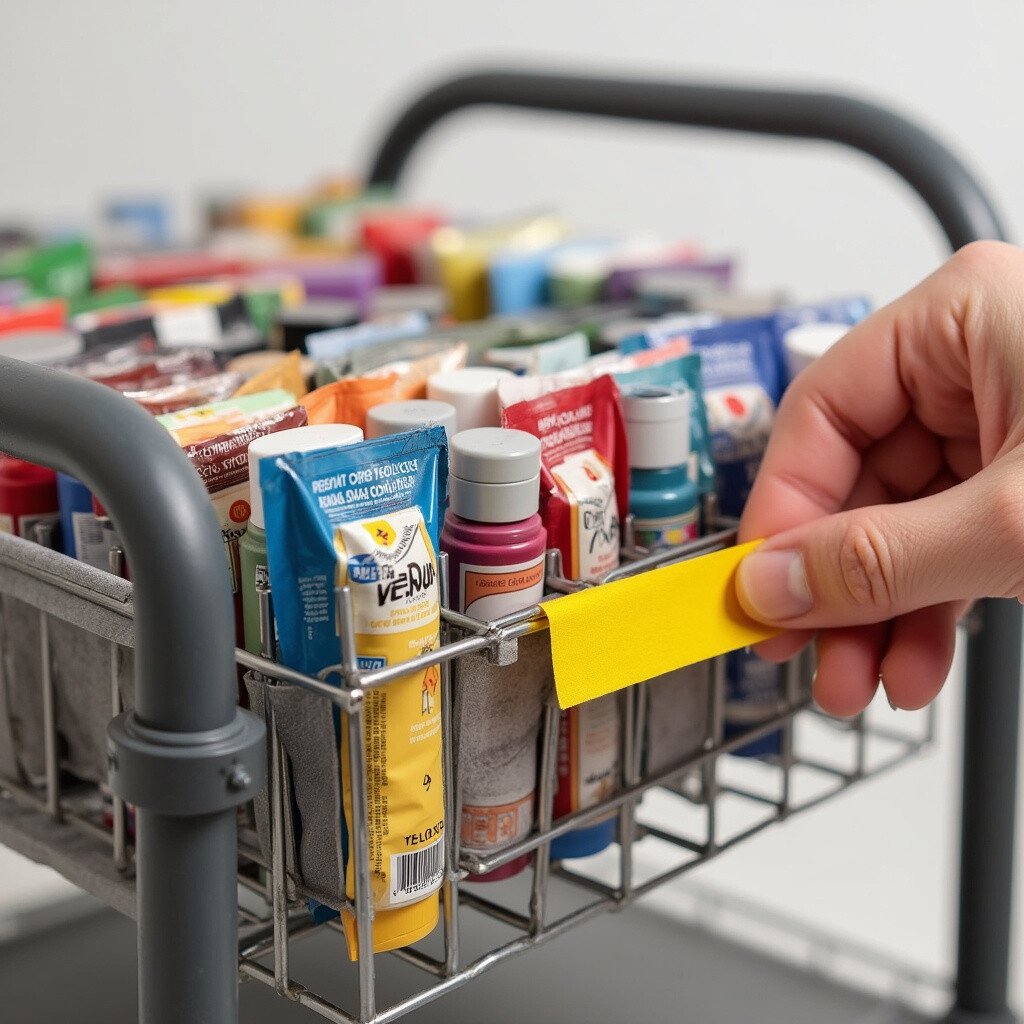
3. Label Love

Label each section of your cart with colorful, decorative labels. This makes it easy to locate specific colors or types of paint. Use fun fonts and bright colors for an extra pop.
Personalized labels add a touch of your personality to the cart. You can change them whenever you want, keeping the organization fresh and exciting. It’s like a mini art project in itself!
4. Tiered Delight

Use tiered trays on your cart to organize paints by frequency of use. A tiered setup maximizes vertical space and keeps everything within reach. It’s both practical and elegant.
Opt for clear acrylic trays for a clean, contemporary look. This idea is especially useful for those with limited space. Plus, it adds a sense of order and sophistication to your workspace.
5. Color Coded Baskets

Assign different colored baskets for various types of paints. For example, use a red basket for acrylics and a blue one for watercolors. It’s a quick visual reference that simplifies your creative process.
This method adds a playful touch to your organization. It’s an affordable way to keep your paints sorted without compromising on style. You can find baskets in different sizes to fit your cart perfectly.
6. Clear Jar Parade

Store your paint tubes in clear jars lined up in a parade. It’s a charming way to display your paints. Plus, it keeps them dust-free and easy to see.
Use a variety of jar shapes for added interest. This method is budget-friendly, using jars you might already have at home. It makes your cart look like a vibrant candy shop for artists.
7. Pegboard Palooza

Attach a small pegboard to the side of your cart. Use hooks to hang paint tubes and other supplies. It’s a customizable option that adds a crafty touch.
Pegboards are versatile and easy to rearrange. They add an industrial chic vibe to your cart. You can choose different hook styles to fit your needs and aesthetic.
8. Vintage Vibes

Add a touch of nostalgia with vintage containers. Old tins or wooden boxes give a unique flair to your cart. They’re perfect for storing paint tubes and look incredibly charming.
Scour thrift stores for unique finds. This idea gives your workspace a warm, cozy feel. Plus, it’s a sustainable option that adds character to your art corner.
9. Chalkboard Charm

Paint a section of your cart with chalkboard paint. Use it to jot down notes or doodle as inspiration strikes. It’s interactive and adds a personal touch to your setup.
Chalkboard paint is easy to apply and fun to use. This idea is perfect for keeping track of art projects or color experiments. It’s a dynamic and creative way to engage with your supplies.
10. Floral Flourish
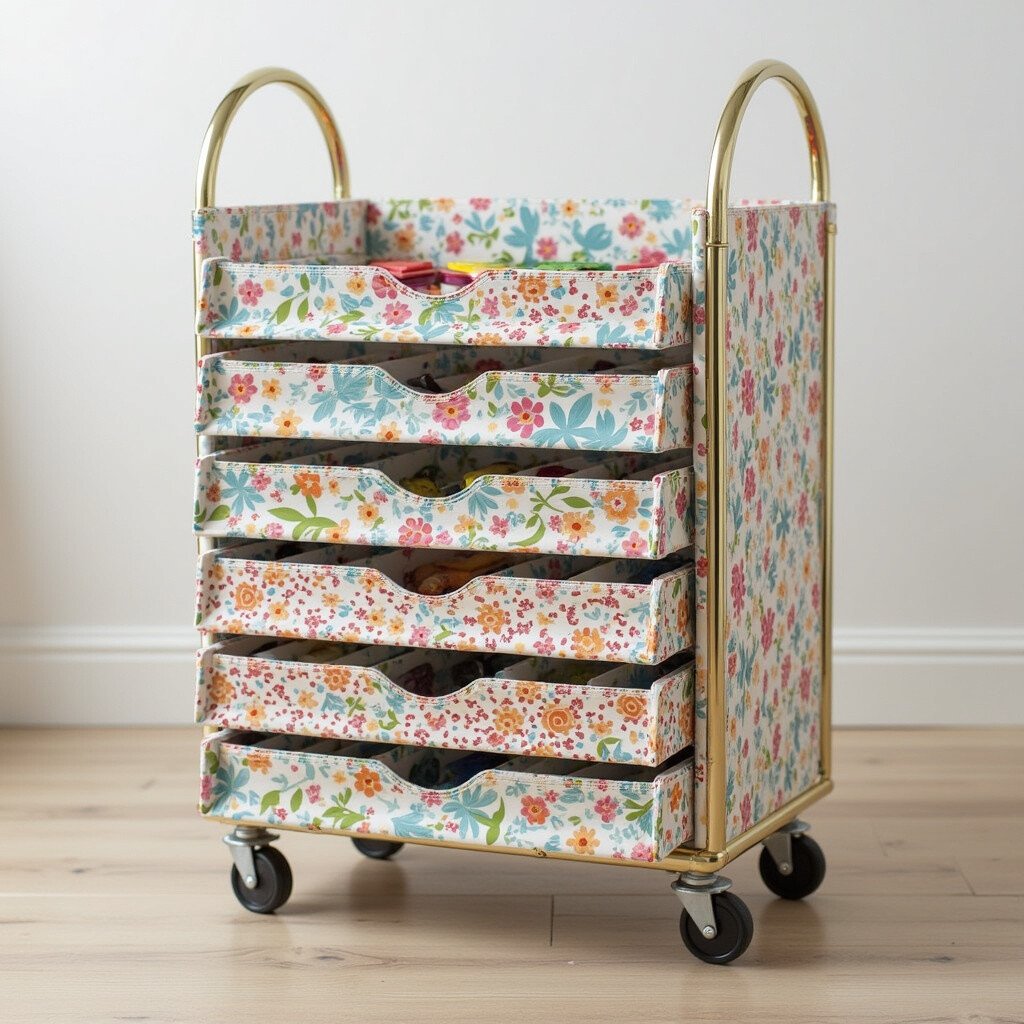
Line your cart with floral paper or decals. It’s an easy way to add a splash of color and pattern. Plus, it turns your cart into a blooming piece of art.
This idea is perfect for nature lovers or anyone looking to add a touch of whimsy. Floral designs can be easily changed with the seasons. It’s like having a little garden in your art space.
11. Clip and Hang
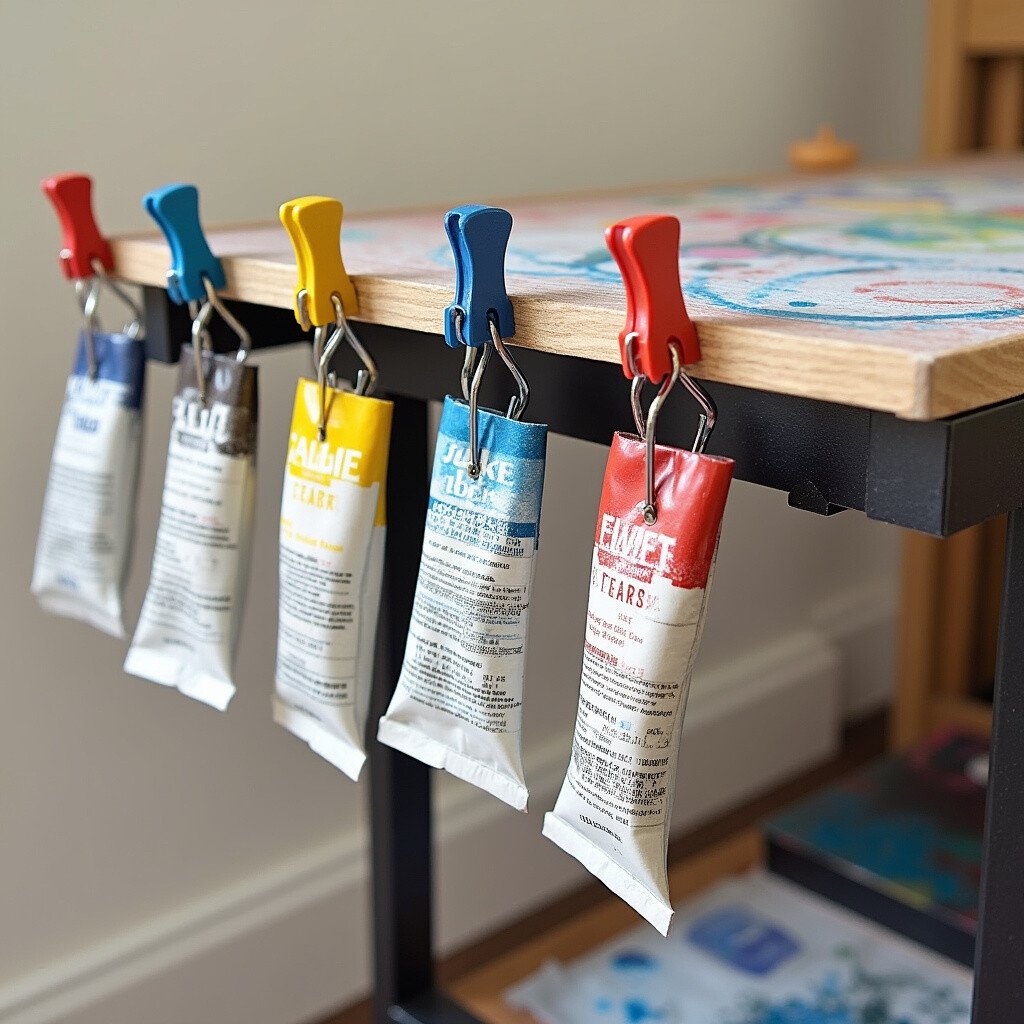
Use binder clips to hang paint tubes from the edge of your cart. It’s an inventive way to save space and keep your paints within easy reach. Plus, it adds a quirky, industrial look.
This method is cost-effective and straightforward to implement. Clips are sturdy and can hold multiple tubes at once. It’s a fun twist on traditional storage.
12. Colorful Cubbies
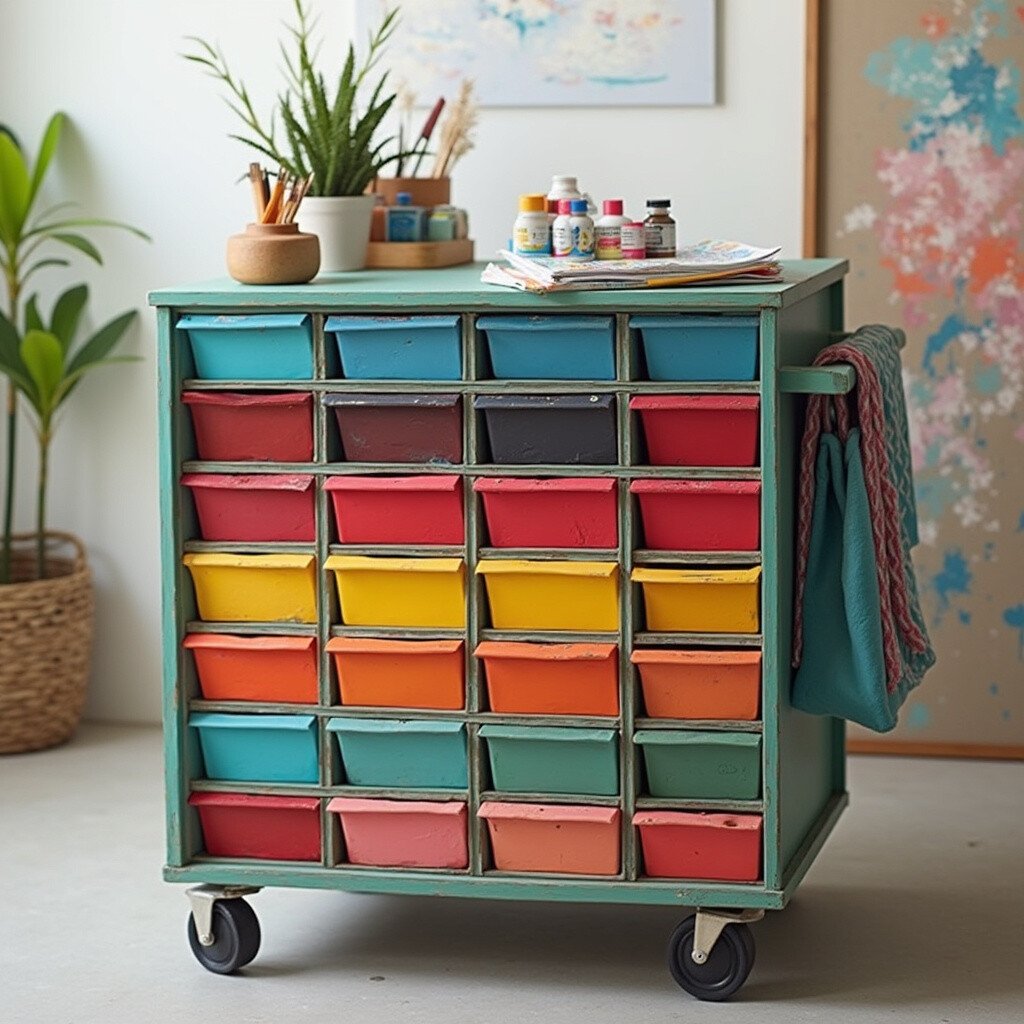
Install small cubbies on your cart for each type of paint. Each cubby can be painted a different color for easy identification. It’s like a colorful cityscape for your art supplies.
Cubbies keep everything neat and tidy. They add structure and order to your cart. This idea is perfect for those who love a pop of color and organization.
13. Fabric Fun

Wrap your cart shelves in colorful fabric. It’s a quick, DIY makeover that adds texture and style. Plus, it’s a great way to use leftover fabric scraps.
This method is affordable and easy to change. Choose fabrics that match your personal style. It’s a delightful way to dress up your art space.
14. Paint Swatch Display

Create a paint swatch display on your cart. It’s a handy reference for mixing and creating new colors. Plus, it adds a professional touch to your setup.
Use small cards to swatch each paint color. This method is both practical and visually appealing. It’s like having a mini art gallery at your fingertips.
15. Light It Up
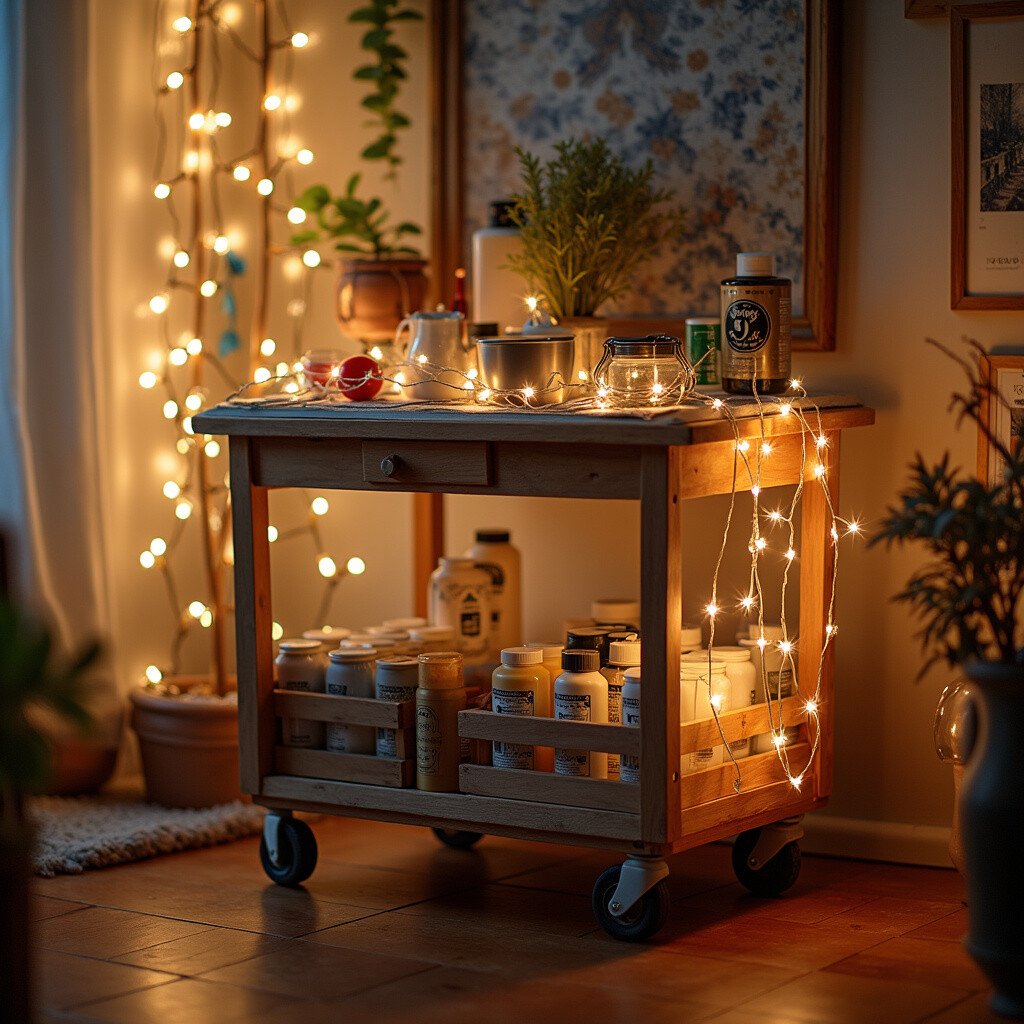
Add a string of fairy lights to your cart. It creates a cozy, inviting atmosphere. Plus, it makes your art space feel magical and special.
Fairy lights are inexpensive and easy to hang. They add warmth and charm to your cart. It’s a whimsical touch that makes your creative time even more enjoyable.
16. Inspirational Quotes

Place small frames with inspirational quotes around your cart. They’re perfect for keeping you motivated and inspired. Plus, they add a personal touch to your workspace.
Choose quotes that resonate with you. This idea is easy to customize and change. It’s a thoughtful way to add meaning to your creative environment.
17. Mini Easel Display
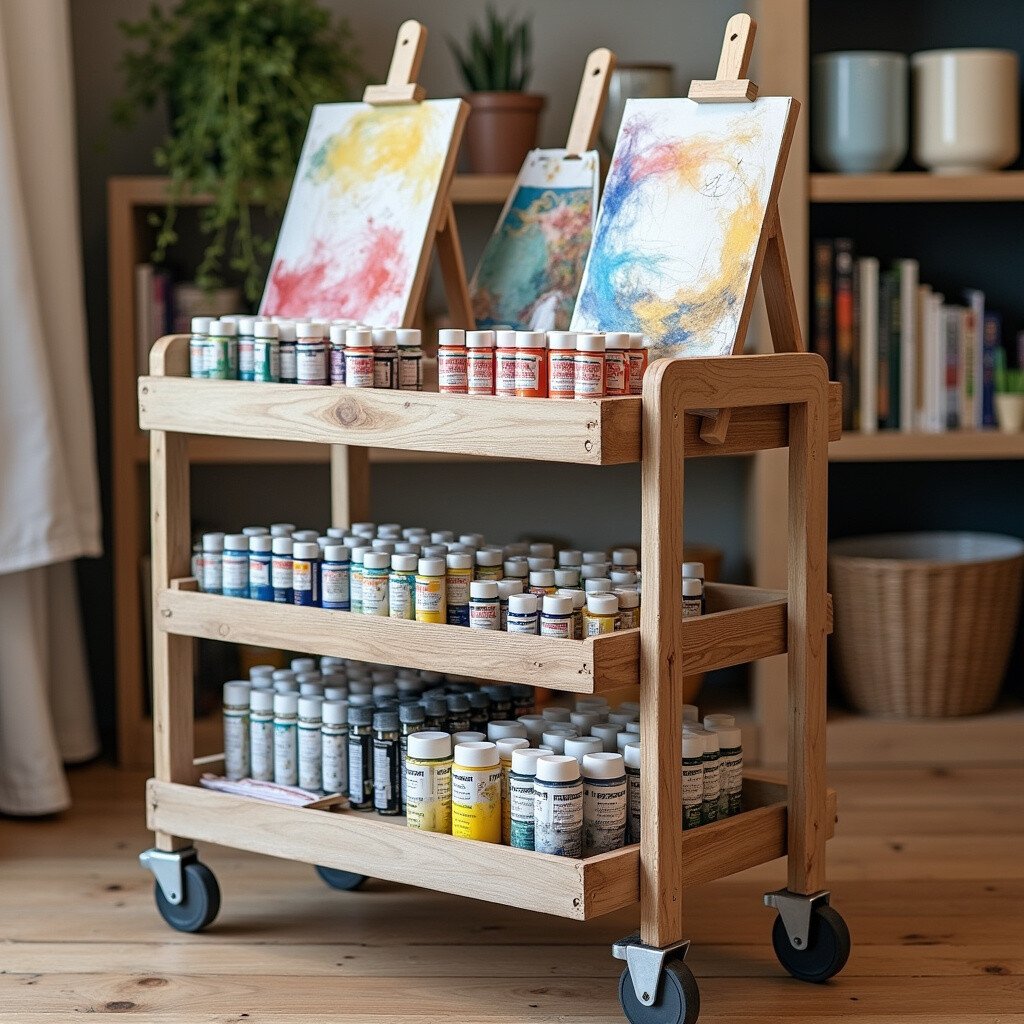
Use mini easels to display your favorite paint labels. It’s a fun, artistic way to organize your paints. Plus, it turns your cart into a mini gallery.
This idea is perfect for showcasing special or limited edition paints. Easels are affordable and add an artistic flair. It’s a unique way to celebrate your favorite supplies.
18. Transparent Totes
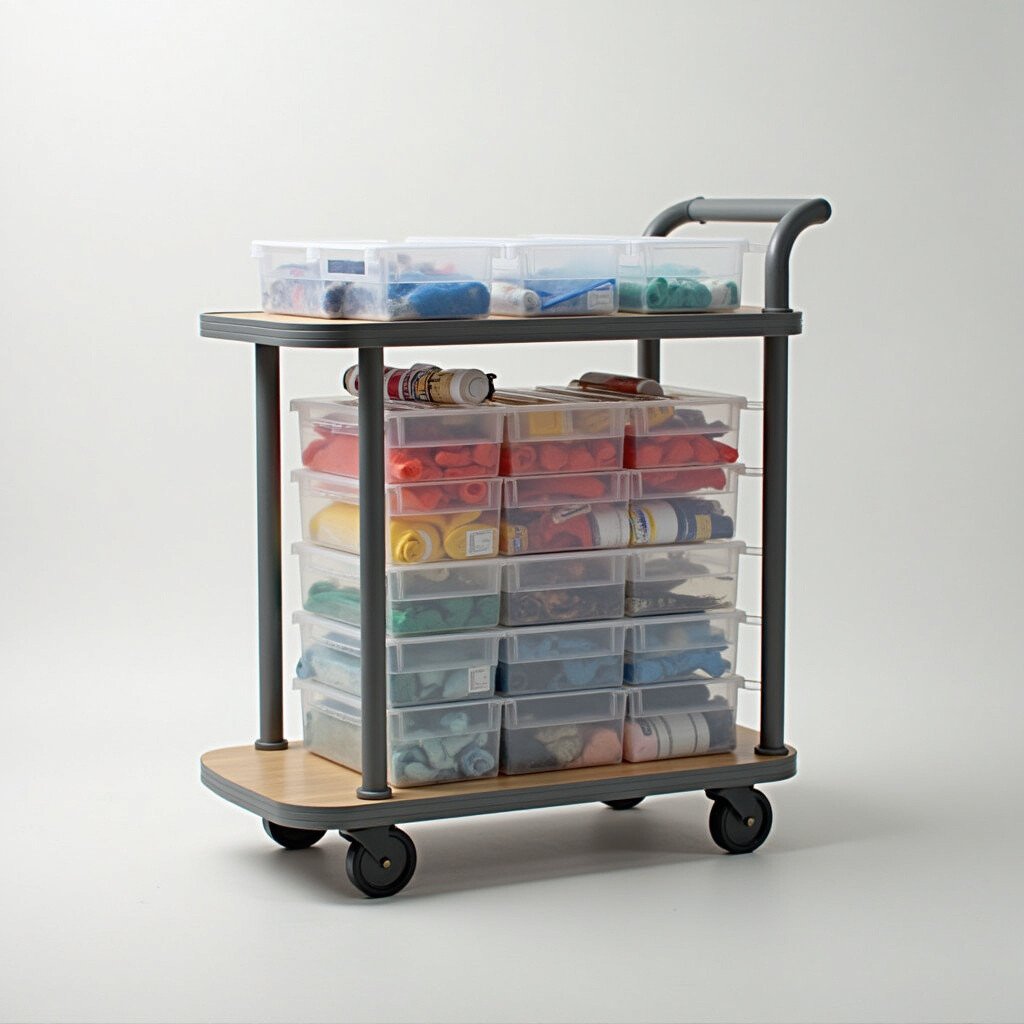
Use transparent totes to store your paint tubes. They keep everything organized and easy to see. Plus, they add a modern, clean look to your cart.
Clear totes are durable and versatile. They make it easy to grab what you need quickly. It’s an efficient and stylish way to keep your paints tidy.
19. Velcro Vision
Attach Velcro strips to your cart and paint tubes. It’s a clever way to keep everything in place. Plus, it adds a bit of fun and creativity to your organization.
Velcro is easy to use and secure. This idea is perfect for keeping your paints stable on a moving cart. It’s an innovative solution that’s both practical and playful.
20. Custom Art Panels
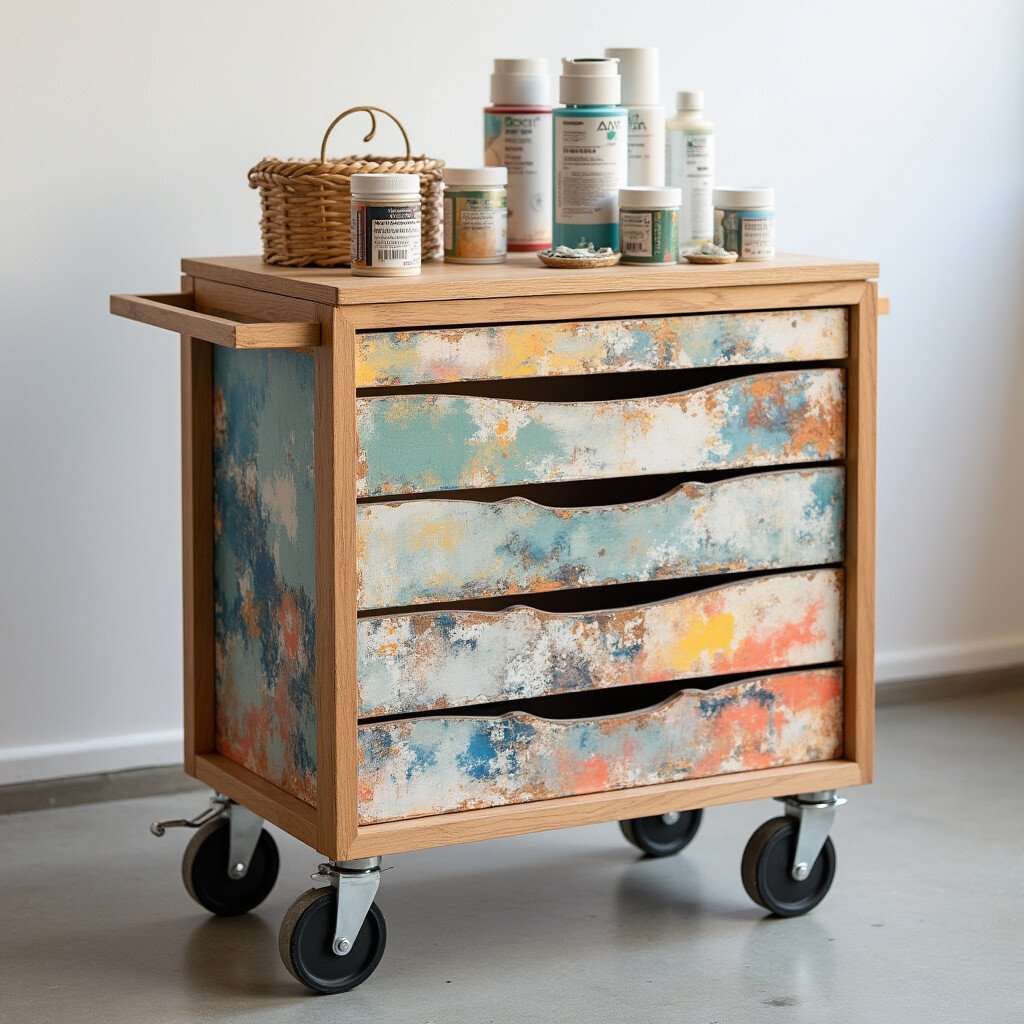
Add custom art panels to your cart. They can feature your own artwork or favorite prints. It’s a beautiful way to personalize your space and showcase your talent.
This idea is perfect for artists who want to add a personal touch. Art panels are easy to change and update. It’s like having a little gallery on wheels.