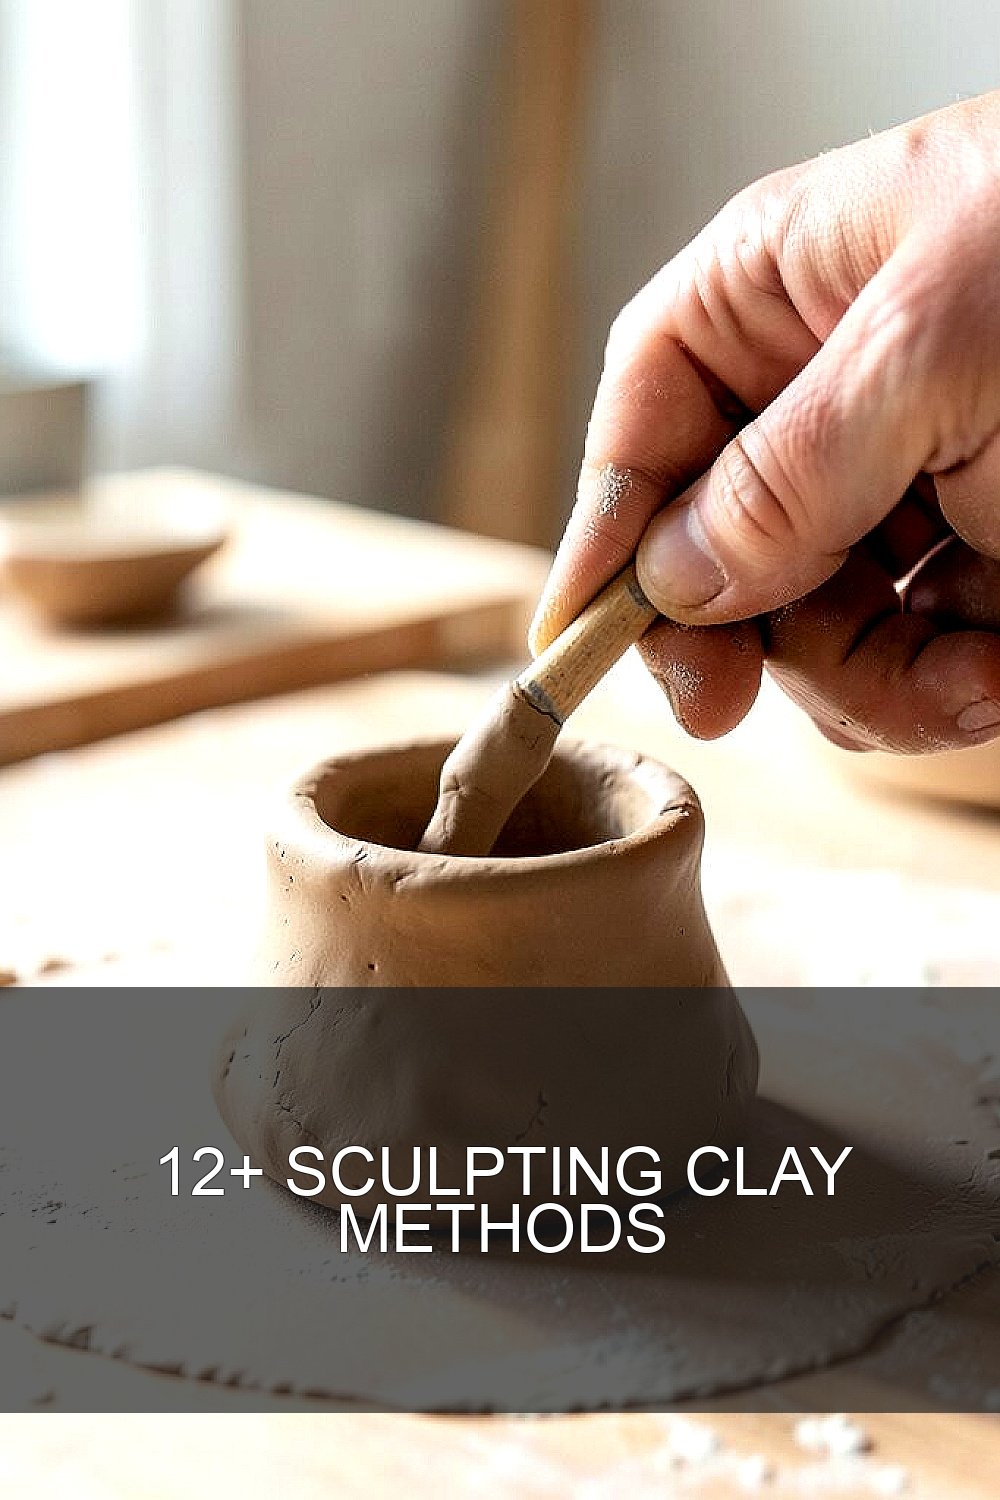
Clay can turn a simple idea into something you can hold. It also gives your hands a fun way to make art with shape and texture.
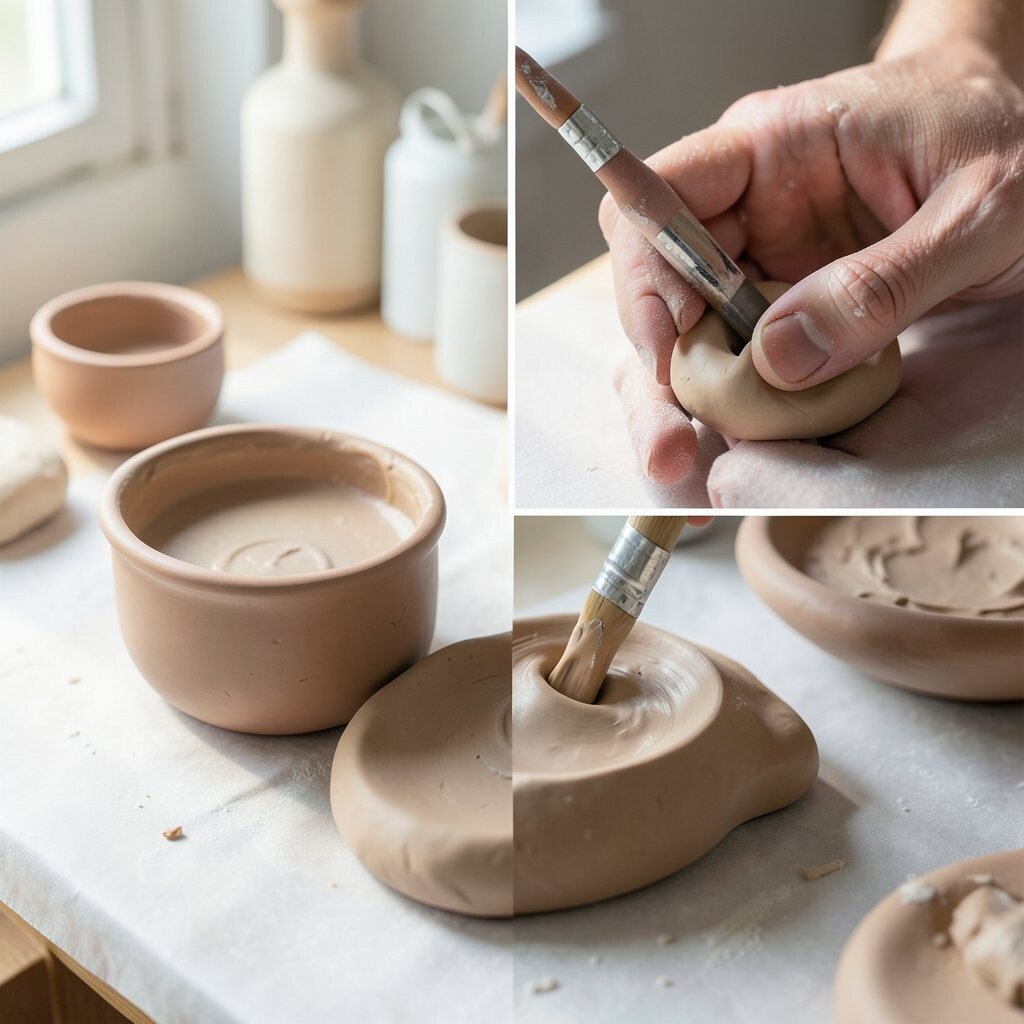
1. Pinch Pot Building
Top Pinch Pot Building Craft Tutorials
- 🗺️ Pinch Pot Basics: A Beginner's Guide to Handbuilding with … from clayground.net.
- 👓 How to Make A Pinch Pot from artwithtrista.com.
- 🗺️ Making a Clay Pinch Pot! : 7 Steps from instructables.com.
- 🧑🌾 PINCH POTS FOR BEGINNERS from gjartcenter.org.
- 🍂 Making a pinch pot is a great way to nurture your child's amazing … from facebook.com.
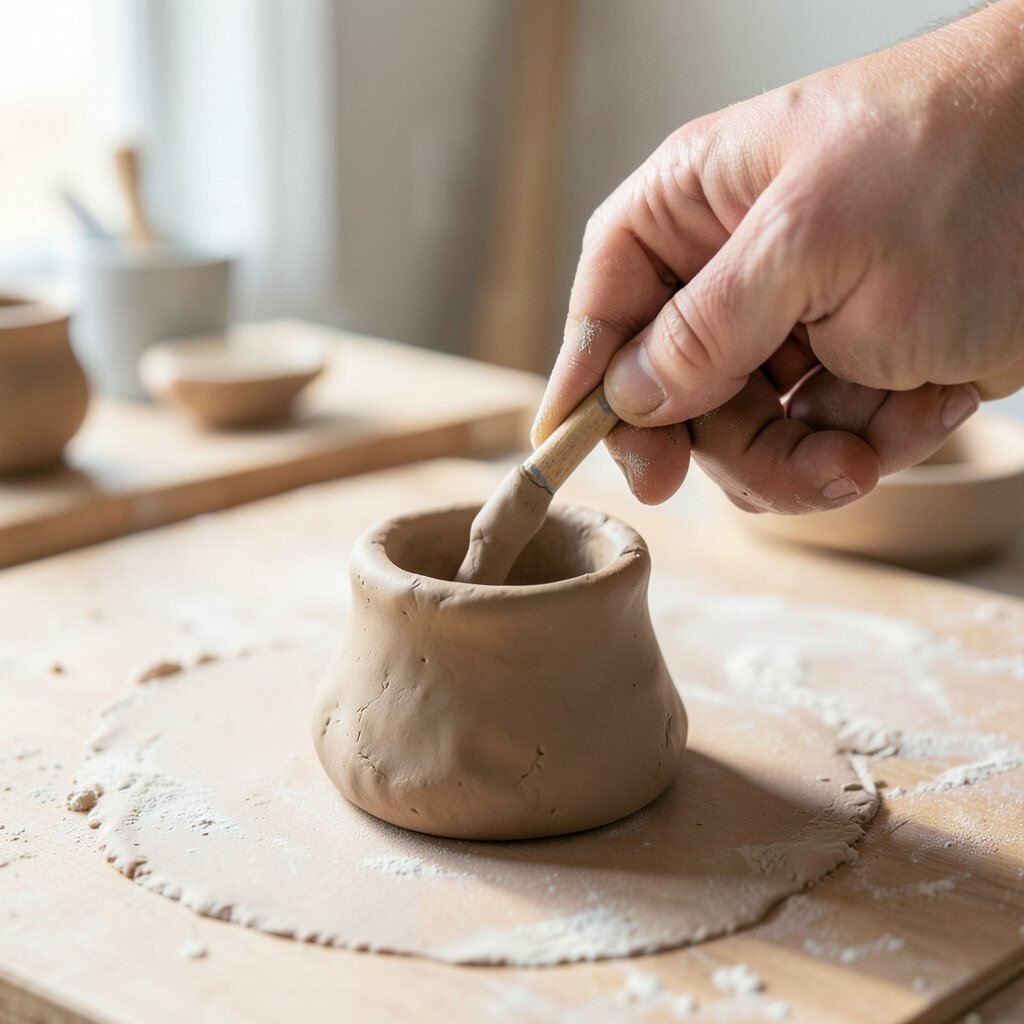
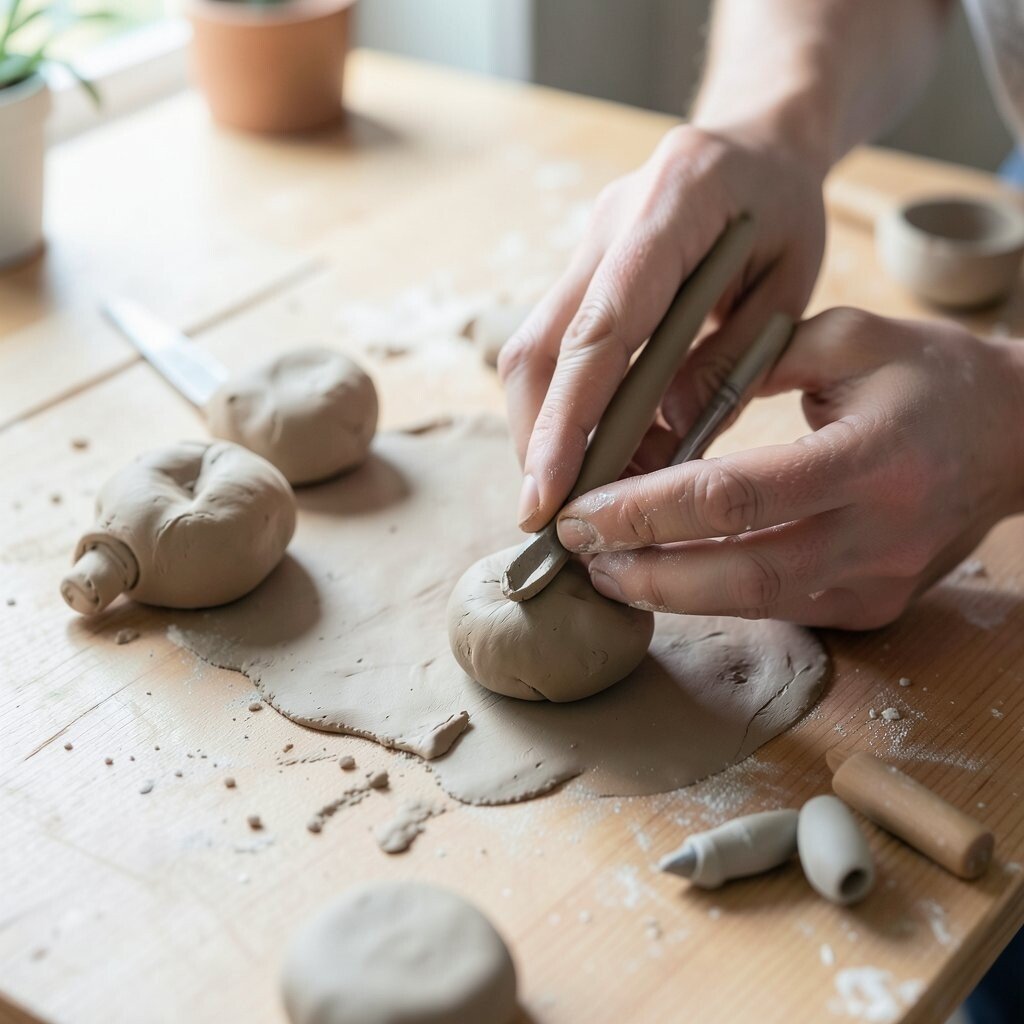
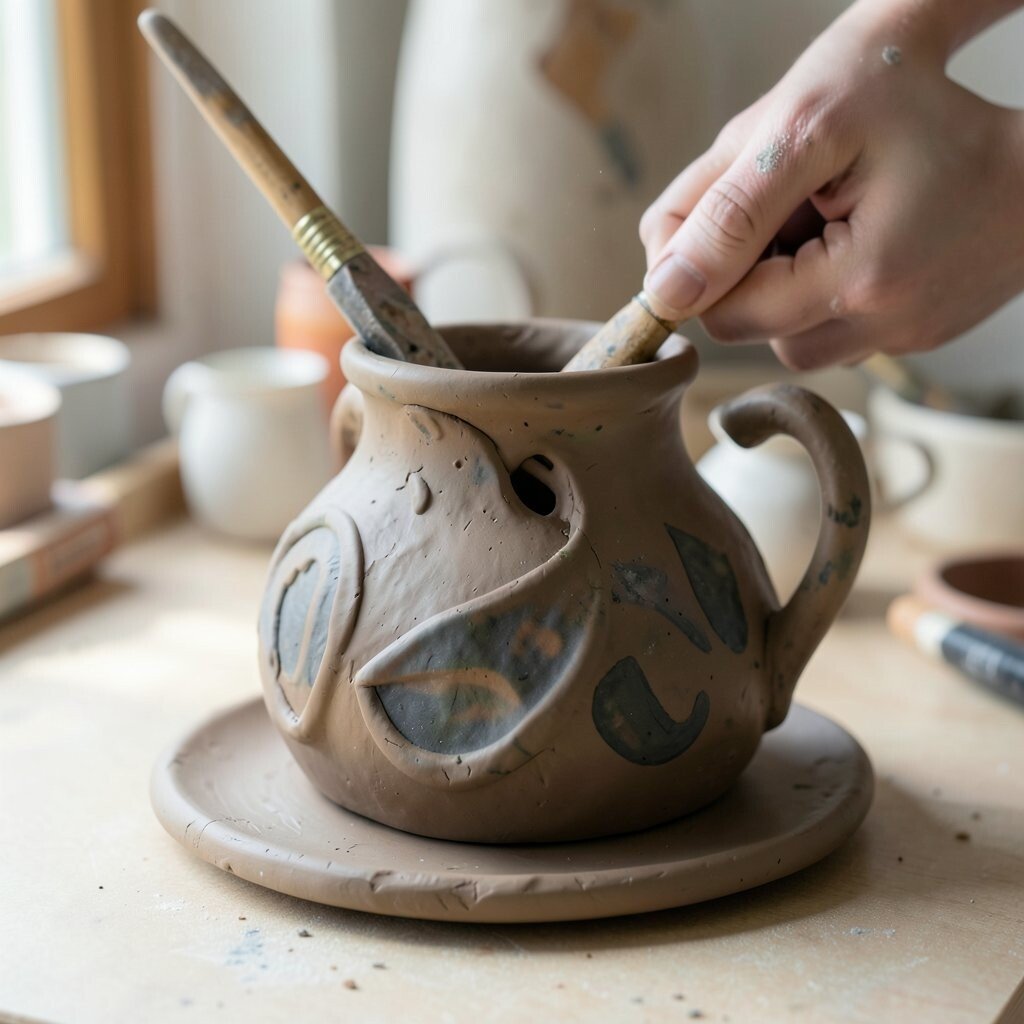
Pinch pots are one of the easiest ways to begin with clay. They start as a small ball that grows into a cup, bowl, or tiny sculpture under your fingers.
The look is charming and a little handmade in the best way, with soft curves and finger marks that give each piece personality. This method is low-cost because it needs only a small amount of clay and a few simple tools, so it works well for kids, beginners, and anyone making on a budget. You can make it your own by pressing in leaves, lace, or stamps for texture, which fits the current love for natural, cozy, handmade styles.
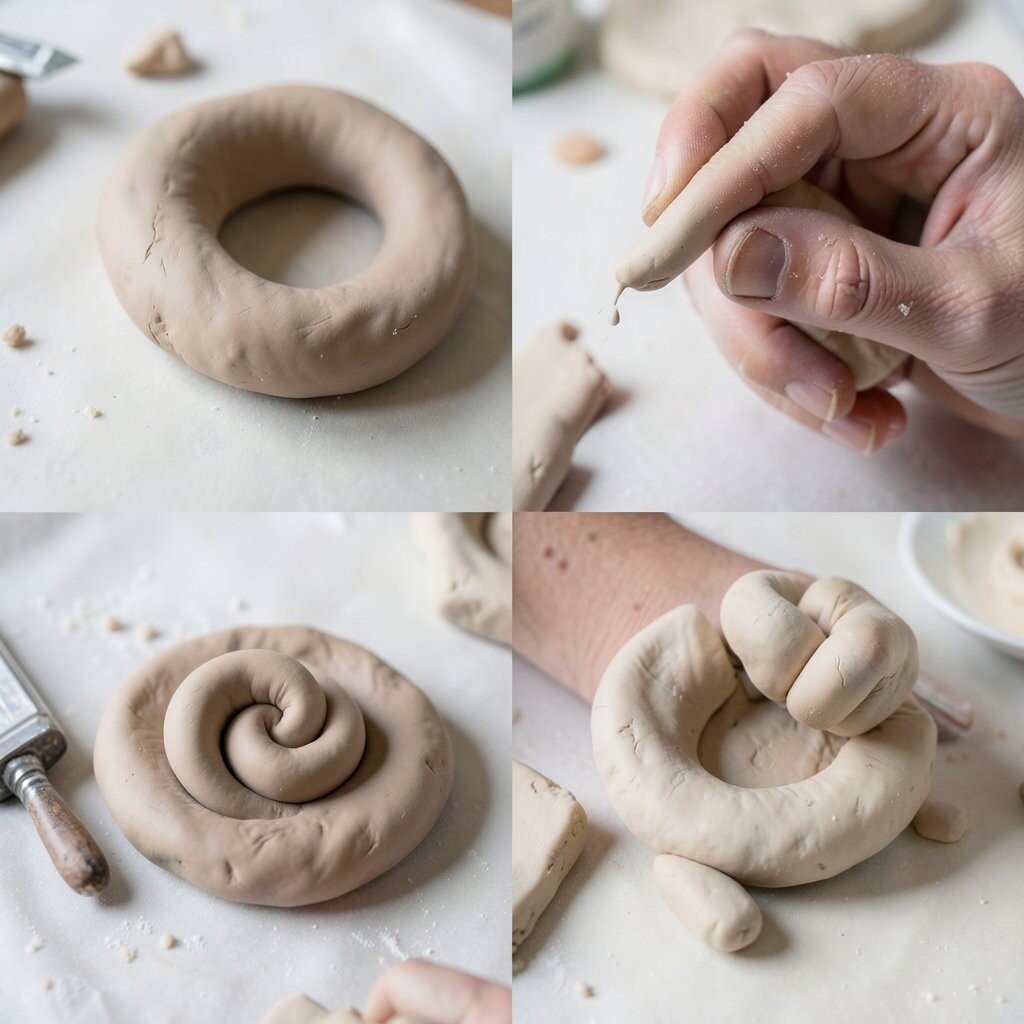
2. Coil Forming
Top Coil Forming Craft Tutorials
- 🍂 Coil Building Techniques, Pinch Cup and Handles from artescaperetreat.com.
- 💅 Form 2 coil join process complete from facebook.com.
- 💅 How to Make a Coil Pot – Step by step guide with photos … from ancientpottery.how.
- 🖼️ How to Build Clay Coil Pots from thesprucecrafts.com.
Coil forming uses rolled clay ropes stacked into walls and shapes. It is a classic method that can make pots, planters, masks, and even large art pieces.
The result often looks warm and earthy, with visible lines that feel handmade and bold. It can save money because you can build with less special equipment, and it lets you work at your own pace while fixing shape problems as you go. For a personal touch, try mixing coil sizes, smoothing some parts, or leaving the lines open for a more rustic trend.
If you want a stronger piece, score and slip each coil well so the layers stick. A damp sponge can help blend the outside, while a wooden tool can keep the inside firm and neat. Many makers also paint coil work in soft matte colors to match modern home decor.
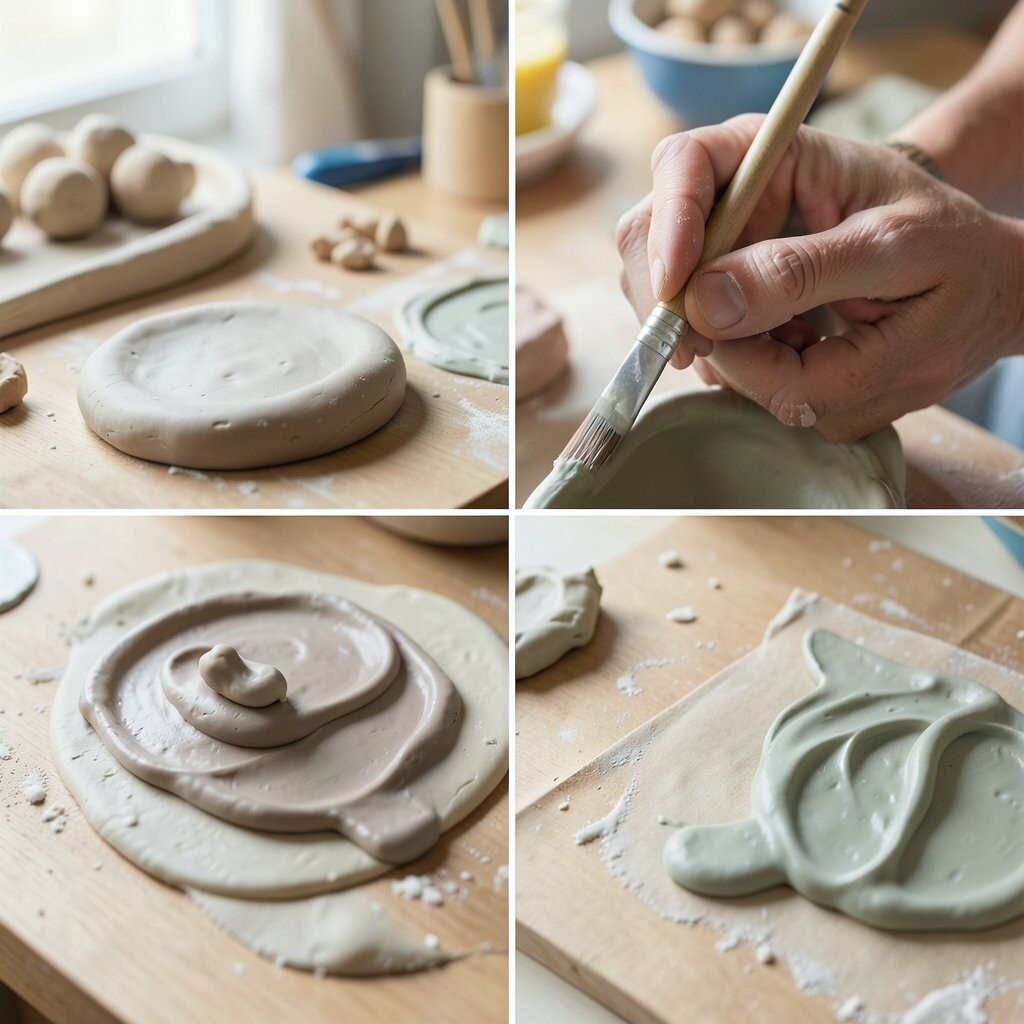
3. Slab Construction

Top Slab Construction Craft Tutorials
- 💅 Brick Slab – SurvivalCraft Wiki – Fandom from survivalcraftgame.fandom.com.
- 🍅 Slab pottery ideas for beginners – 25 easy clay projects from frombritainwithlove.com.
- 🍂 Slab Pottery Ideas – 27 Amazing Projects to Try Out from thepotterywheel.com.
- 🎨 Sculptural Vessels: Building with Slabs from ceramicartsnetwork.org.
- 🍅 How to Build a Concrete Slab from lowes.com.
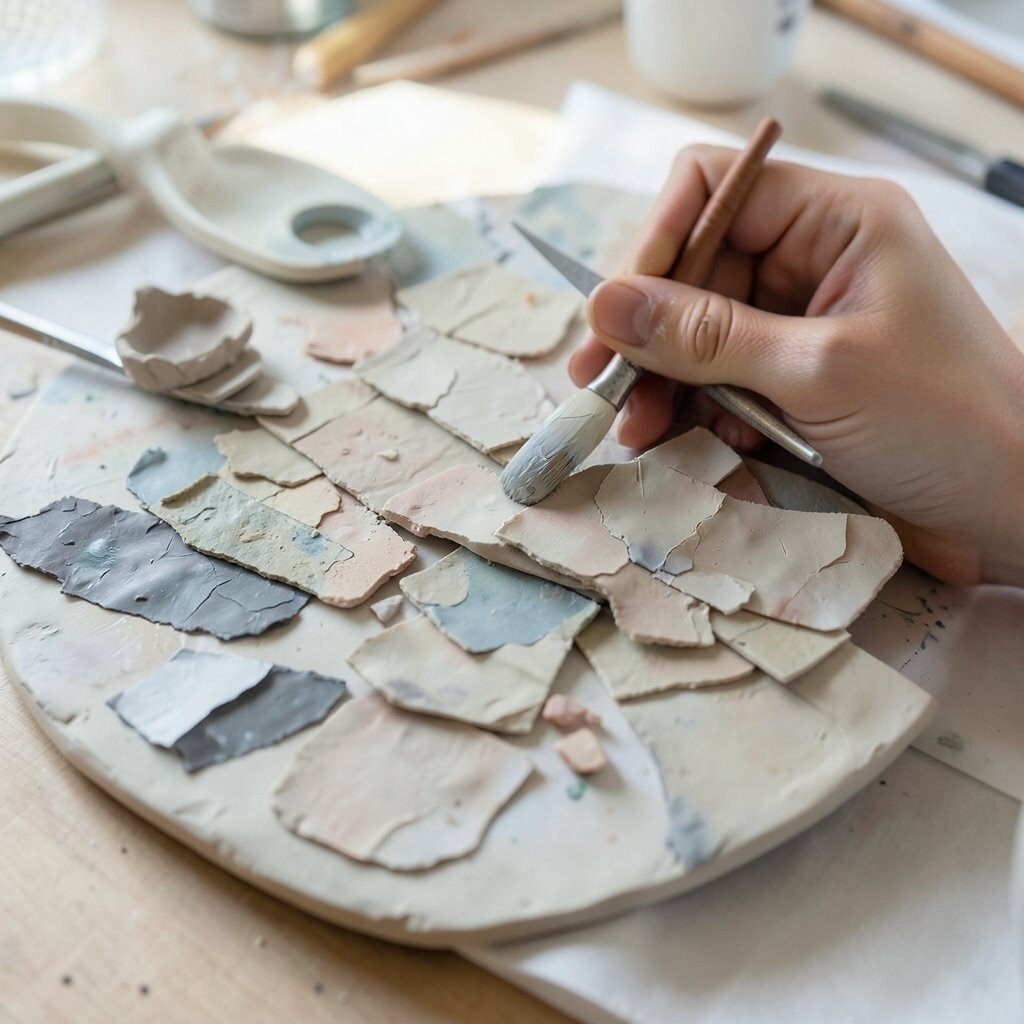
Slab building starts with flat sheets of clay cut into shapes. These pieces can be joined to make boxes, mugs, trays, houses, and wall art.
This method gives a clean, structured look that feels modern and tidy. It is useful for people who want straight edges and sharp corners, and it can be a smart way to use clay without wasting much. You can personalize slabs with cutout windows, carved names, or pressed patterns, which makes the work feel fresh and very on-trend.
For best results, keep the clay thickness even so the piece dries at the same speed. Add small supports when building taller forms, and use a ruler or template if you want exact shapes. Slab work is great for gifts because it can be turned into custom dishes, pencil holders, or keepsake boxes.
4. Hand-Built Sculpture
Top Hand-Built Sculpture Craft Tutorials
- 💅 Handbuilding Pottery 101: Hand Building Techniques & … from thecrucible.org.
- 🍂 60+ Pottery Hand-Building Projects & Clay Ideas with Images from lakesidepottery.com.
- 🍂 I'm Working on a Raven, I designed this using a template … from facebook.com.
- 🍁 Slab pottery ideas for beginners – 25 easy clay projects from frombritainwithlove.com.
- 🖼️ 20 Clay Crafts For Creative Play from kiwico.com.
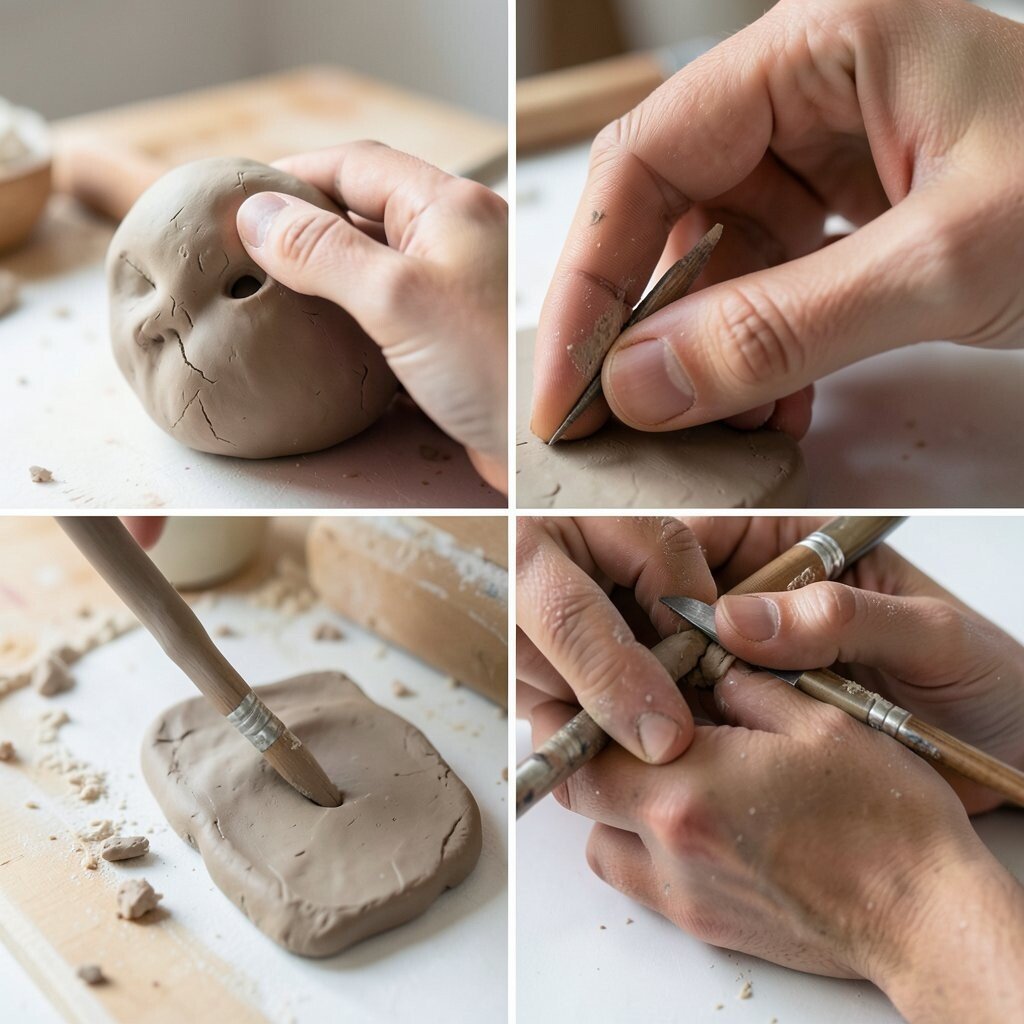
Hand-built sculpture means shaping clay with your fingers, palms, and simple tools. It gives a lot of freedom, so you can make animals, faces, fantasy creatures, or abstract art.
The visual style can be rough, smooth, playful, or dramatic, depending on how you press and shape the surface. This method is special because no two pieces ever look the same, and that makes each one feel personal and full of life. It can be done with low-cost tools, and you can add found objects like buttons, shells, or wire for a custom look that fits current mixed-media trends.
5. Modeling With Armatures
Top Modeling With Armatures Craft Tutorials
- 🎄 Make an Armature for Sculpting! : 12 Steps (with Pictures) from instructables.com.
- 🍁 Armatures for Model Making from georgeweil.com.
- 👓 The Art of the Armature from thegnomonworkshop.com.
- 🎄 Modelling the Head in Clay Part 1 – Armature from accessart.org.uk.
- 💅 craft of model making | davidneat from davidneat.wordpress.com.
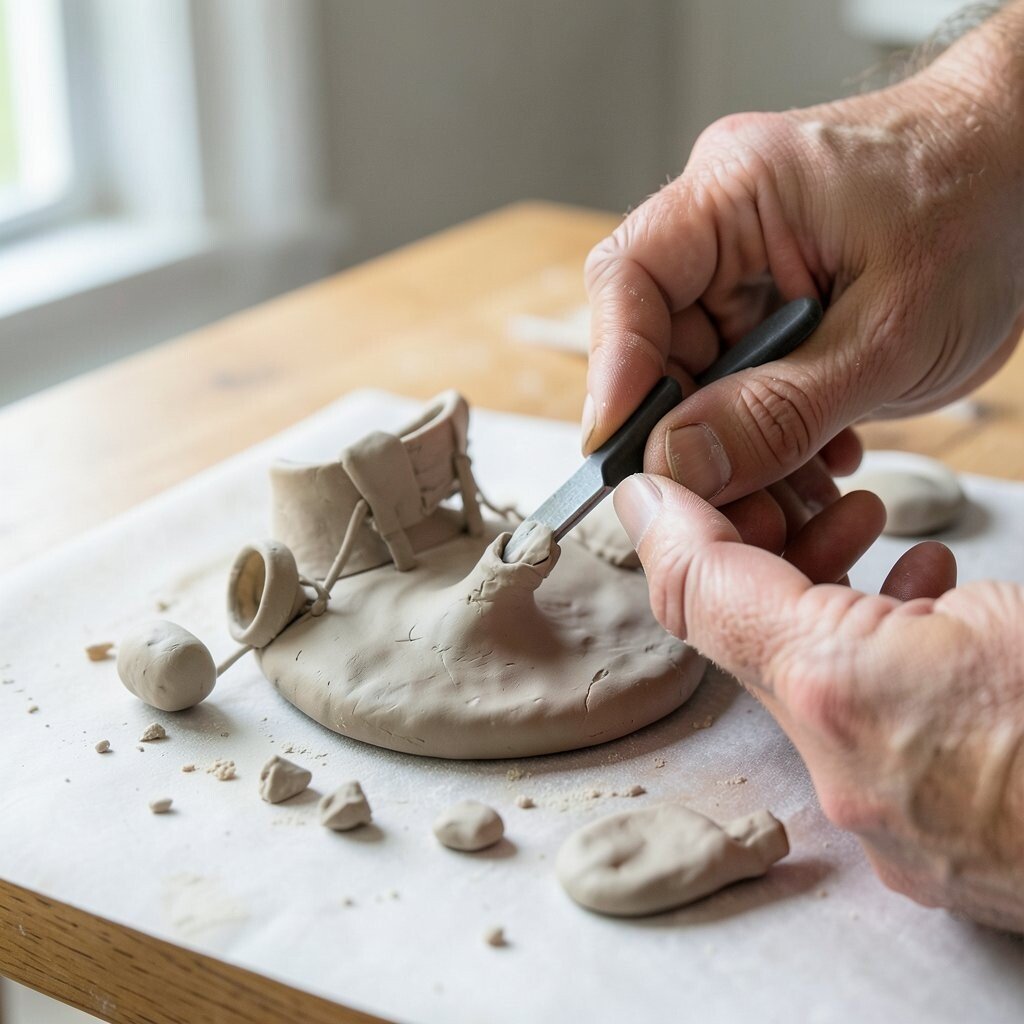
An armature is a support frame that helps clay hold its shape. It is useful for figures, tall sculptures, and projects that need extra strength.
This method can make larger art safer and easier to build, which is a big benefit when you want height or movement. It also keeps material costs lower because the inside can be filled with lightweight support instead of solid clay. You can make the piece more unique by shaping the frame into a pose that tells a story, like a dancer, bird, or hero.
Wire, foil, wood, and cardboard are common armature choices, and each one changes the feel of the project. A tight base and balanced stance help prevent sagging while the clay is still soft. Many artists like this method for character art because it supports detailed faces, hands, and clothing folds.
6. Press Molding
Top Press Molding Craft Tutorials
- 🍁 We R Makers Mold Press Plastic Sheets 6/Pkg-Clear from americancrafts.com.
- 🍅 We R Memory Keepers® 6 Clear Mold Press Plastic Sheets from michaels.com.
- 🍅 Press Molds and Their Uses in Pottery from thesprucecrafts.com.
- 🖼️ Mold Press Memory Keepers Lot, 6 Plastic Sheets 1 Pack … from ebay.com.
- 🍁 Molding Clay with Rycraft Silicone Molds is easy and fun! from rycraft.com.
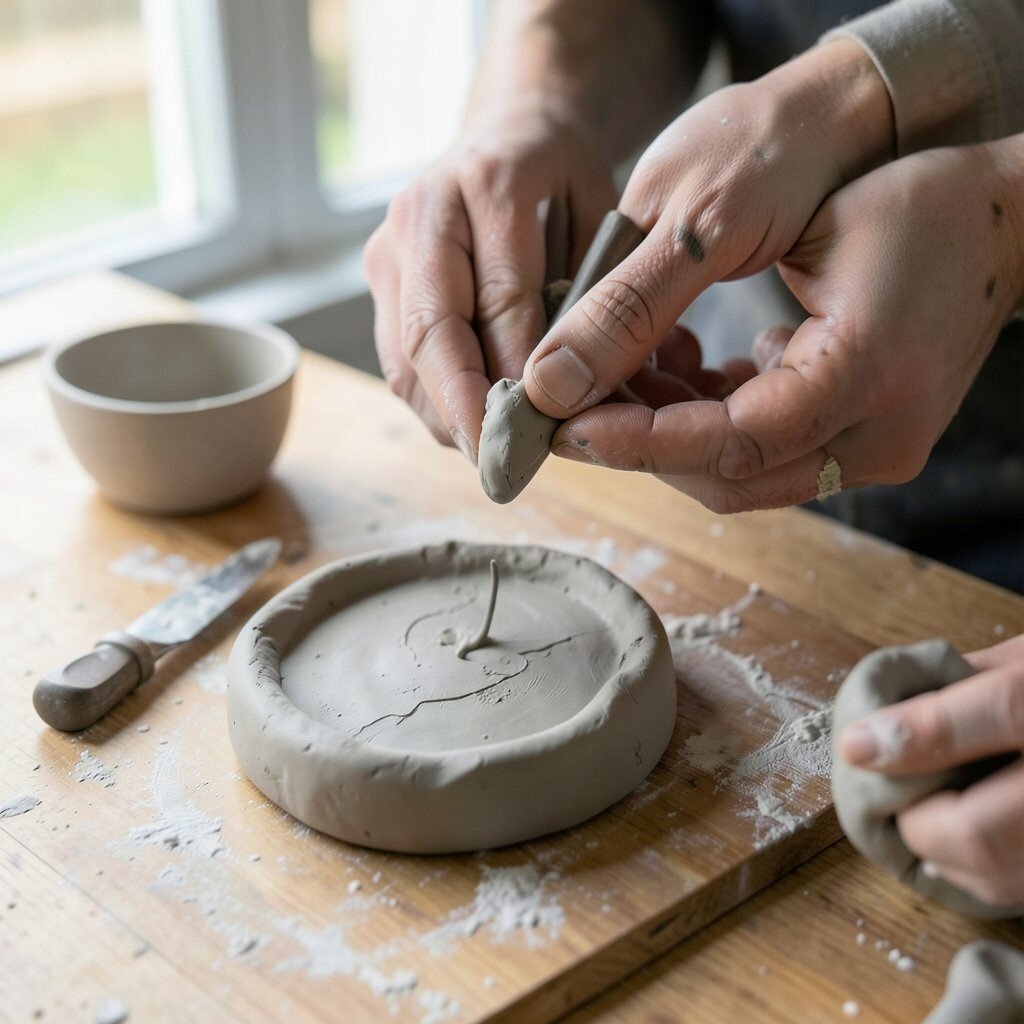
Press molding uses a form to shape clay into a repeatable design. You press the clay into or over the mold, then remove it for a neat result.
This is a handy way to make matching tiles, ornaments, and small decor pieces. It saves time and helps keep shapes even, which is great for beginners or anyone making a set of items for gifts or selling. You can still make each piece feel special by changing the glaze, carving initials, or adding tiny edge details that match current handmade home trends.
Simple household objects can work as molds, which keeps the cost down. Bowls, leaves, and textured fabrics can all leave interesting marks on the clay. If you want a cleaner finish, use a little release agent and trim the edges before drying.
7. Slip Casting
Top Slip Casting Craft Tutorials
- 🍂 SlipCasting : 19 Steps (with Pictures) from instructables.com.
- 🍅 Ceramic Processing: Slip Casting from ceramics.org.
- 💅 7" Lotus Buddha Pipe Mold Ceramic Plaster Slip Casting … from hotcakesusa.com.
- 🖼️ Slip casting from en.wikipedia.org.
- 🎨 Slip Casting – Clues to Modern Ceramic Reproductions from realorrepro.com.
Slip casting uses liquid clay poured into a plaster mold. The plaster pulls water from the slip, leaving a shell that can be removed and finished.
The look is smooth and polished, often used for mugs, vases, and decorative forms. It is a smart method for making many matching pieces, which can help with shop items or group projects. The molds can cost more at first, but they save time later and make it easier to keep a design consistent.
Personal touches can still shine through with carved lines, painted surfaces, or unusual handles. Many makers use slip casting for clean, modern shapes, then add bold color or soft speckled glaze for a trendy finish. If you are working on a budget, start with one mold and build a small set before adding more.
8. Coiling and Pinching Mix
Top Coiling And Pinching Mix Craft Tutorials
- 🍅 Learn coil pottery technique from gathered.how.
- 🖼️ Exploring Handbuilding Techniques: Pinch, Coil, and Slab from thepottersshedau.com.
- 🧑🌾 Evident Process: Coiling and Throwing from ceramicartsnetwork.org.
- 💅 10 Must-have tools for coiling and pinching pottery from facebook.com.
- 🍂 Handbuilding Pottery 101: Hand Building Techniques & Projects from thecrucible.org.
Some projects work best when two clay methods are used together. A mix of coils and pinching can create forms that feel both sturdy and free.
This blend is great for rounded vases, fantasy jars, and art pieces with uneven curves. It gives you more control over the shape while still keeping the handmade charm that people love. Because you can use less clay in some spots and more in others, it can also help with cost and material use.
Try pinching the base, then adding coils to raise the walls higher. Smooth only some parts if you want a textured, rustic look, or blend everything for a softer style. This mixed method is especially nice for personal gifts because it can reflect a person’s favorite colors, shapes, or symbols.
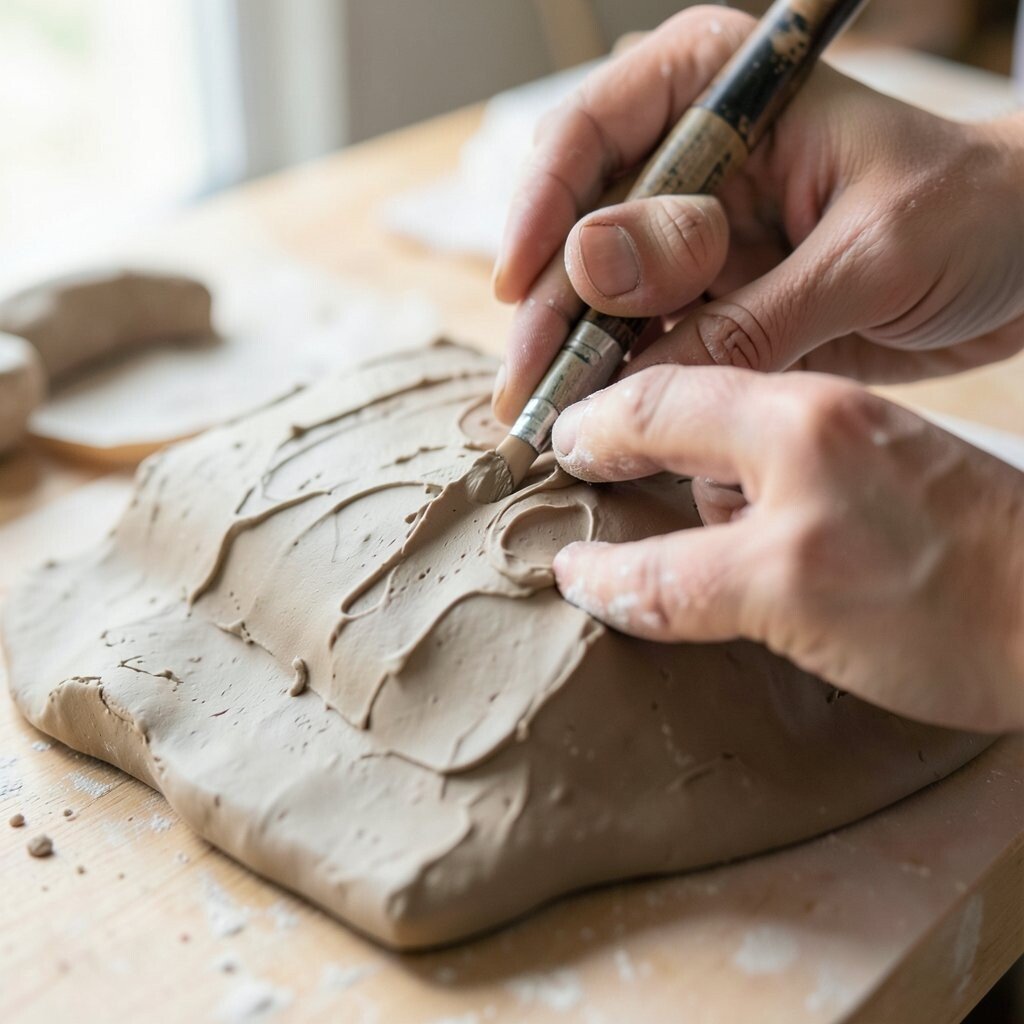
9. Textured Surface Carving
Top Textured Surface Carving Craft Tutorials
- 🗺️ 13 Easy Wood Carving Ideas Perfect for Beginners from schaaftools.com.
- 🍅 Power Carving Textures – Carl Ford Studio Woodturner from carlford.us.
- 🍁 12 ways to add texture with tools you already have from canadianwoodworking.com.
- 💅 Relief Carving: Completed Beginners Guide from beavercrafttools.com.
- 🖼️ Wood Carving Ideas: Top 15 Creative Projects for Any Skill … from fadirtools.com.
Carving clay surfaces adds lines, patterns, and tiny shadows that make a piece stand out. It works on leather-hard clay, when the surface is firm but still ready for detail.
The visual effect can be bold and elegant, from simple stripes to deep floral patterns. This method adds value without needing extra materials, so it is a budget-friendly way to make plain clay look rich and special. You can personalize a project with names, dates, symbols, or repeating shapes that match your own style.
Carving tools can be simple, like a craft knife, loop tool, or wooden stick. Light marks are good for beginners because they are easier to control and less likely to crack the surface. Many modern clay artists use carved texture with matte glaze to create a calm, handmade look that feels fresh and current.
For best results, plan the design before cutting so the pattern stays balanced. Clean away loose bits with a soft brush, and keep the lines clear so they show up after firing. This method works well on plates, wall pieces, and keepsake boxes.
10. Slip Trailing and Decorating
Top Slip Trailing And Decorating Craft Tutorials
- 🗺️ Exploring the Art of Slip Trailing in Ceramics from meeshpottery.com.
- 🎄 Glaze recommendations for slip trail decoration? from facebook.com.
- 🍅 Buying Pots: 10 Types of Ceramic Decoration from weloveclay.com.
- 🍁 Paper to Pots: Slip Decorating from ceramicartsnetwork.org.
- 🍂 Slipware from vincepitelka.com.
Slip trailing means squeezing liquid clay onto a surface in lines or dots. It creates raised decoration that can be playful, neat, or very detailed.
This method gives a piece a lively, hand-drawn look that feels full of motion. It is low-cost because it uses a small amount of slip and simple squeeze bottles or tools. You can make it personal with swirls, initials, hearts, stars, or even tiny story scenes that match your own taste.
Try using colored slip for extra pop, or keep it the same color as the base for a subtle effect. Thin lines work well for delicate patterns, while thicker lines feel bold and modern. Many makers use slip trailing on cups and dishes because it pairs nicely with today’s love for playful, custom tableware.
11. Raku-Style Finishing
Top Raku-Style Finishing Craft Tutorials
- 🧑🌾 Studio Art Pottery Vase Crackle Texture Raku Style Signed 11” … from ebay.com.
- 💅 What Is Raku Firing And How Does It Work? from soulceramics.com.
- 🧑🌾 What is Raku Firing and how is it Done? from thesprucecrafts.com.
- 🍂 Raku ware from en.wikipedia.org.
- 🎨 Raku Pottery: Everything You Need to Know from japanobjects.com.
Raku-style finishing gives clay a dramatic surface through special firing and cooling steps. The results can include smoky marks, crackled glaze, and shining metal-like colors.
This method is exciting because each piece comes out with a one-of-a-kind finish. It can cost more due to firing needs and safety gear, but the visual reward is big and often worth it for statement art. You can make the work feel more personal by choosing glaze colors that match a room, a season, or a favorite mood.
Because the process is unpredictable, it suits artists who like surprise in their work. The smoky edges and broken-glass glaze lines are part of the charm. Raku pieces often feel trendy in gallery spaces and home decor because they look both wild and elegant.
12. Clay Mosaics

Top Clay Mosaics Craft Tutorials
- 🍂 Colorful Mosaic Art Projects for Kids: A Creative Guide from imthecheftoo.com.
- 🎨 Recycled Mosaic Tiles Art Lesson from happyfamilyart.com.
- 🗺️ Simple mosaic project ideas for ladies evening? from facebook.com.
- 🍁 Fall Mosaic Art Project from kidcreate.com.
- 🎨 Get inspired! Create a stunning mosaic masterpiece with … from facebook.com.
Clay mosaics use small shaped pieces arranged into a larger picture or pattern. They can be made from tiles, shards, or tiny molded forms.
The finished surface looks colorful and busy in a very cheerful way. This is a good project for using leftover clay, which keeps costs low and cuts waste. You can make the design personal with flowers, animals, symbols, or abstract color blocks that fit your room or gift idea.
Start with a simple base, then plan the layout before attaching the pieces. Varying the size and shape of each bit can make the design feel lively and modern. Many people like clay mosaics for wall art, tabletops, and framed pieces because they bring texture and bright charm.
13. Mixed-Media Clay Collage
Top Mixed-Media Clay Collage Craft Tutorials
- 🎨 Mixed media art with fabric and clay from facebook.com.
- 🗺️ 13 Mixed Media Collage Art Journal Ideas (With Design … from artfulhaven.com.
- 🧑🌾 Mixed Media Nature Collage Prints from amslerartroom.com.
- 🎨 Fairy Tale Castles: Mixed Media Collage (June 2013) from hannahsartclub.wordpress.com.
- 🎨 Mixed Media: Combining Materials and Techniques from rmcad.edu.
Clay collage combines clay with paper, fabric, wire, beads, or found objects. It creates art that feels layered, creative, and full of surprises.
This method stands out because it breaks the rules in a fun way. It can be low-cost if you use scraps and household materials, and it gives you room to tell a story through color, shape, and texture. Personal touches are easy here, since you can add photos, charms, or fabric from a special place or memory.
To keep the piece strong, press each item into the clay at the right stage and test how the materials hold up. A small amount of planning helps the collage look balanced instead of crowded. Mixed-media clay work is very current because it matches the handmade, collected, and one-of-a-kind style many makers love.