Clay can feel calm in your hands. It can also turn into something full of character very fast.
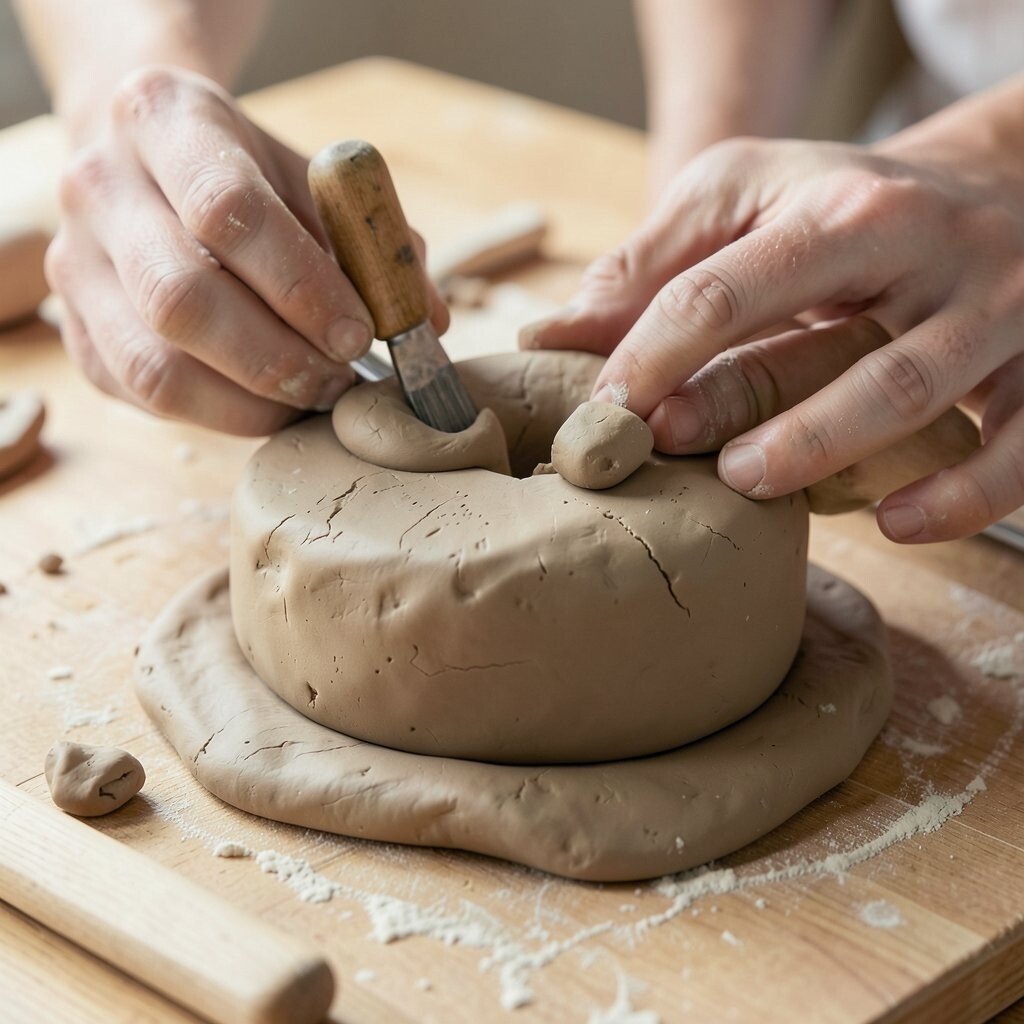
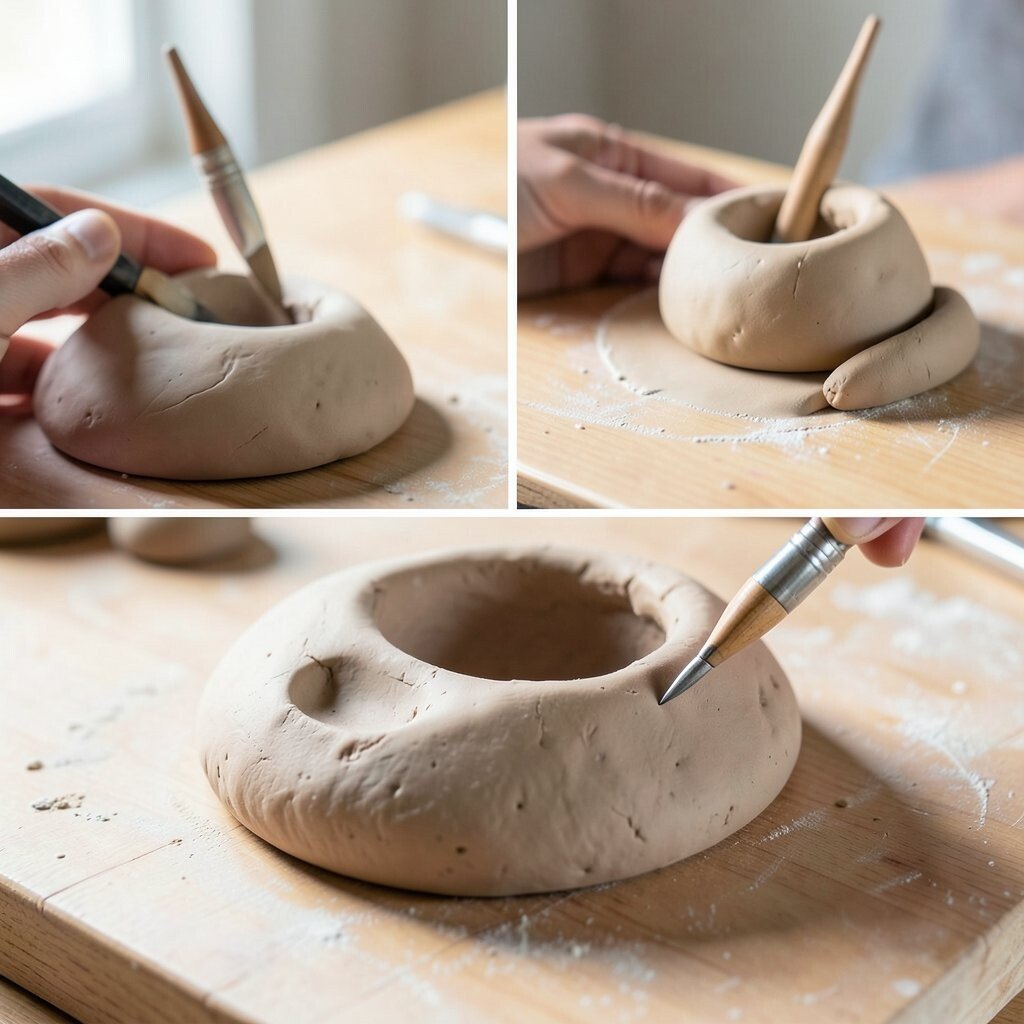
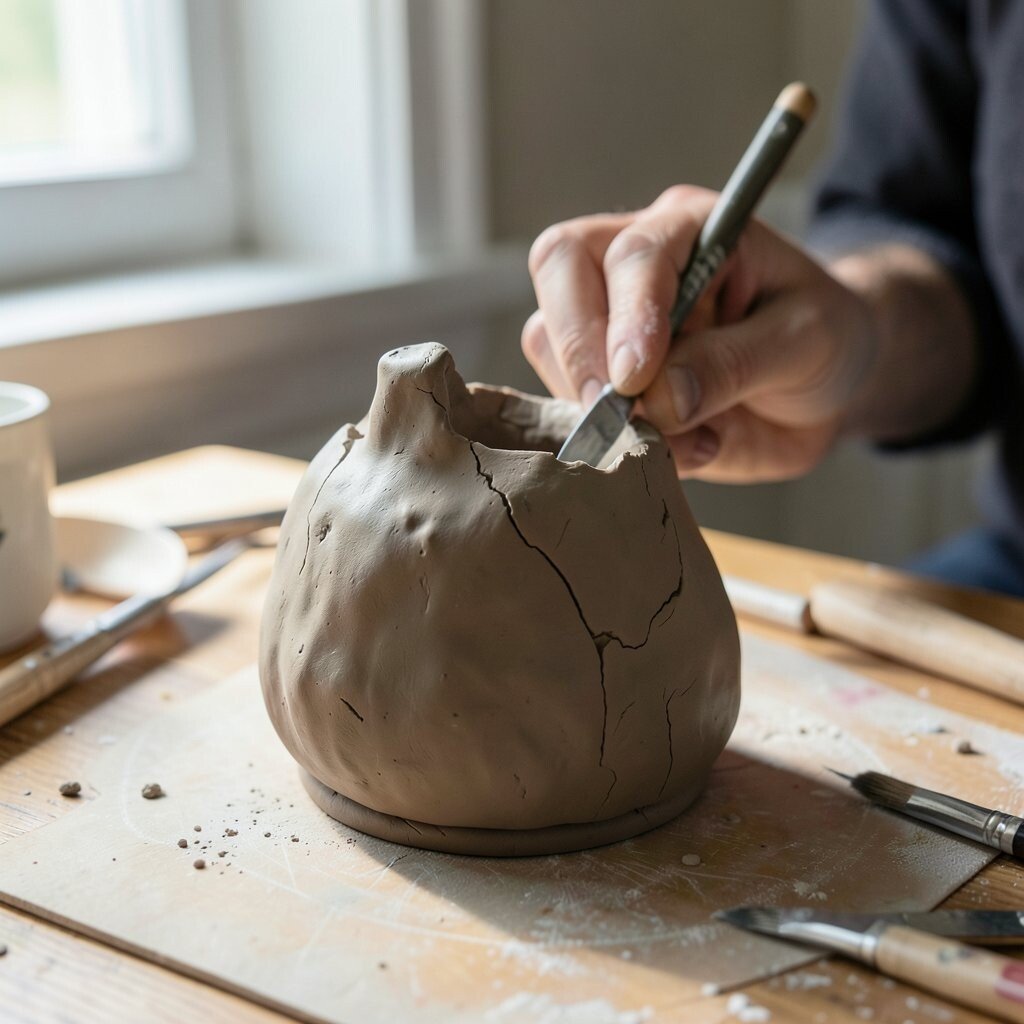
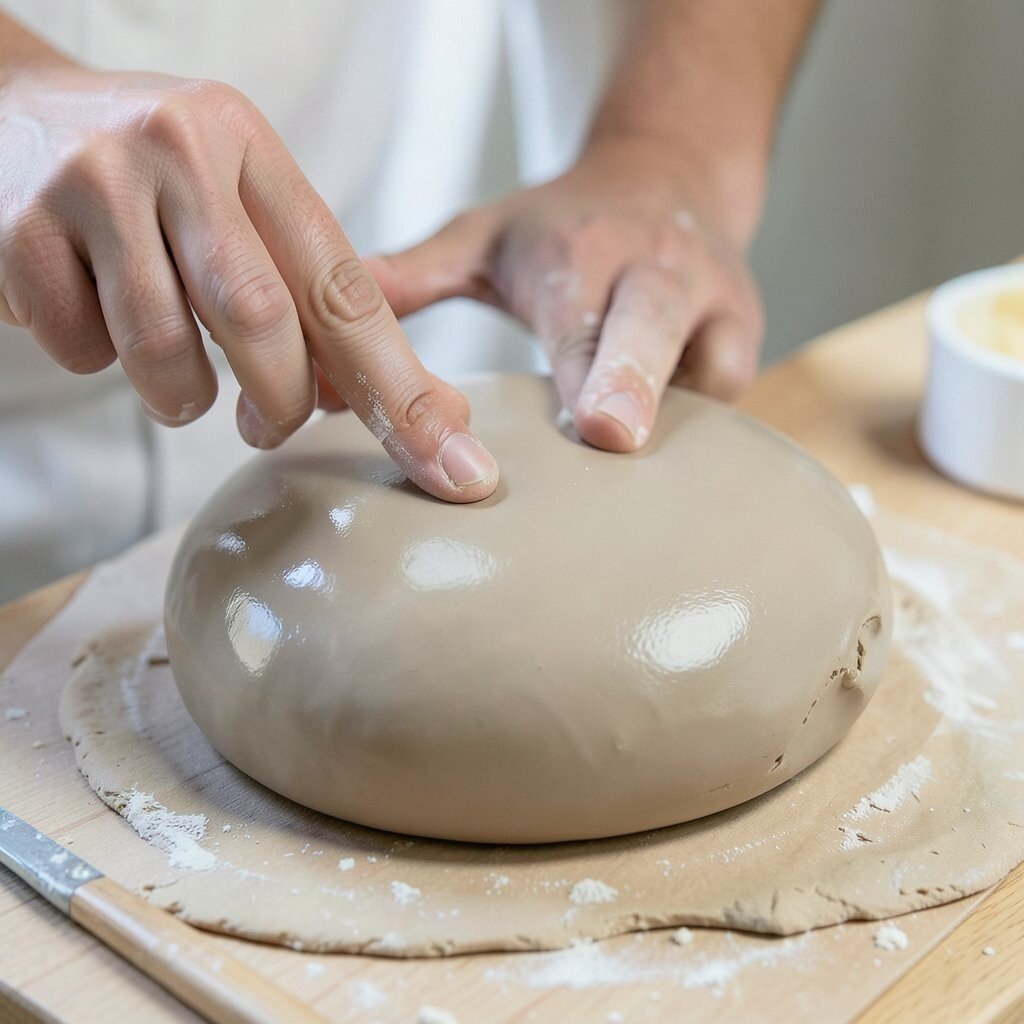
1. Pinch Pot Magic
Top Pinch Pot Magic Craft Tutorials
- 💅 Pinch Pot Monsters – Clay Making for Kids from schooltimesnippets.com.
- 👓 ✨Make a pinch pot!✨ This elementary school craft project is … from instagram.com.
- 💅 Crystallized Pinch Pots from dbrl.org.
- 🎨 Pinch Pot Animals for Kinder and First Grade from deepspacesparkle.com.
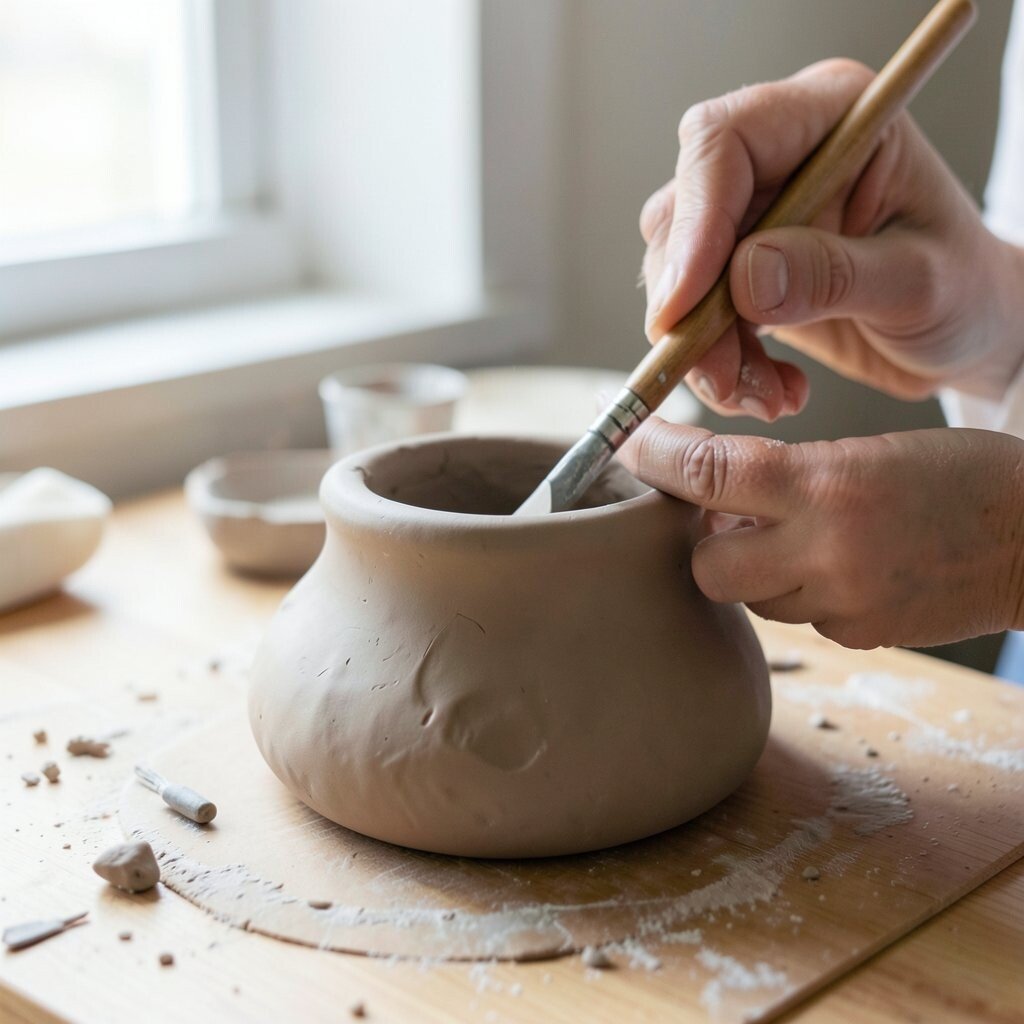
Pinch pots are one of the easiest ways to start shaping clay, and the finished piece often has a warm, handmade look. The walls may show soft finger marks, which gives the work a cozy and personal feel.
This method works well for tiny bowls, cups, planters, and little art objects. You only need a small amount of clay, so it is friendly on the budget and great for beginners. Try smoothing the rim with a damp finger, or leave it a bit rough for a more natural style.
2. Coil Building
Top Coil Building Craft Tutorials
- 🍁 Coil Building Techniques, Pinch Cup and Handles from artescaperetreat.com.
- 🖼️ How to Make a Coil Pot – Step by step guide with photos … from ancientpottery.how.
- 🎨 Workshop II: Coil Work – Nashville from christinacohnceramics.com.
- 🧑🌾 How to Coil-build with clay from small to monumental. from ospreystudios.org.
- 🍅 Polymer Clay Coil Pot from wheatonarts.org.
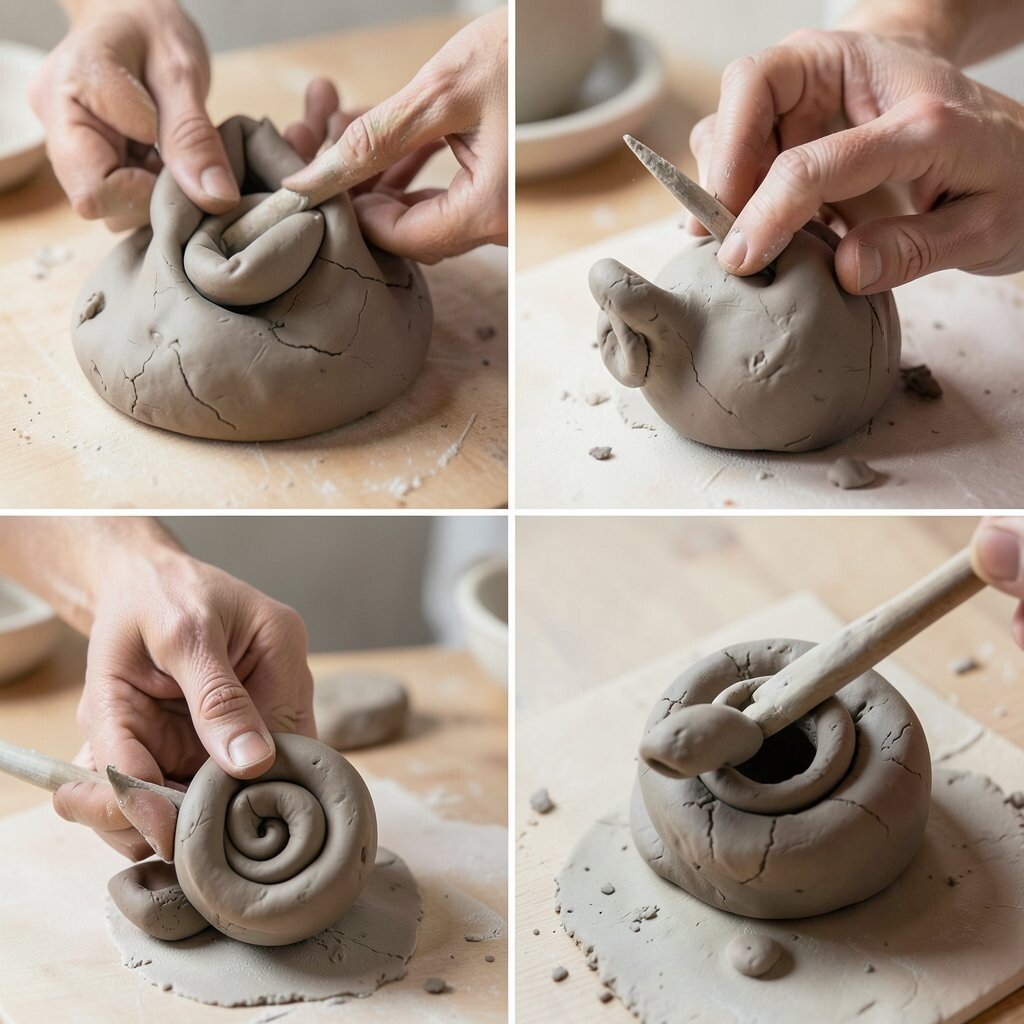
Coil building creates forms that look bold and hand-built at the same time. Long clay ropes stack into pots, vases, and sculptures with lovely curved lines.
This technique is useful because it gives you control over size and shape without needing fancy tools. It is also a smart low-cost choice since you can use scraps and small clay pieces. For a fresh look, press textures into the coils before stacking them, or mix coil sizes for a more modern feel.
Many makers like coil work because it can be slow and relaxing, almost like drawing in three dimensions. You can keep the coils smooth for a clean trend-forward style, or let them stay visible for a rustic look. If you want a personal touch, build a piece around a memory, such as a favorite flower shape or a pet’s bowl.
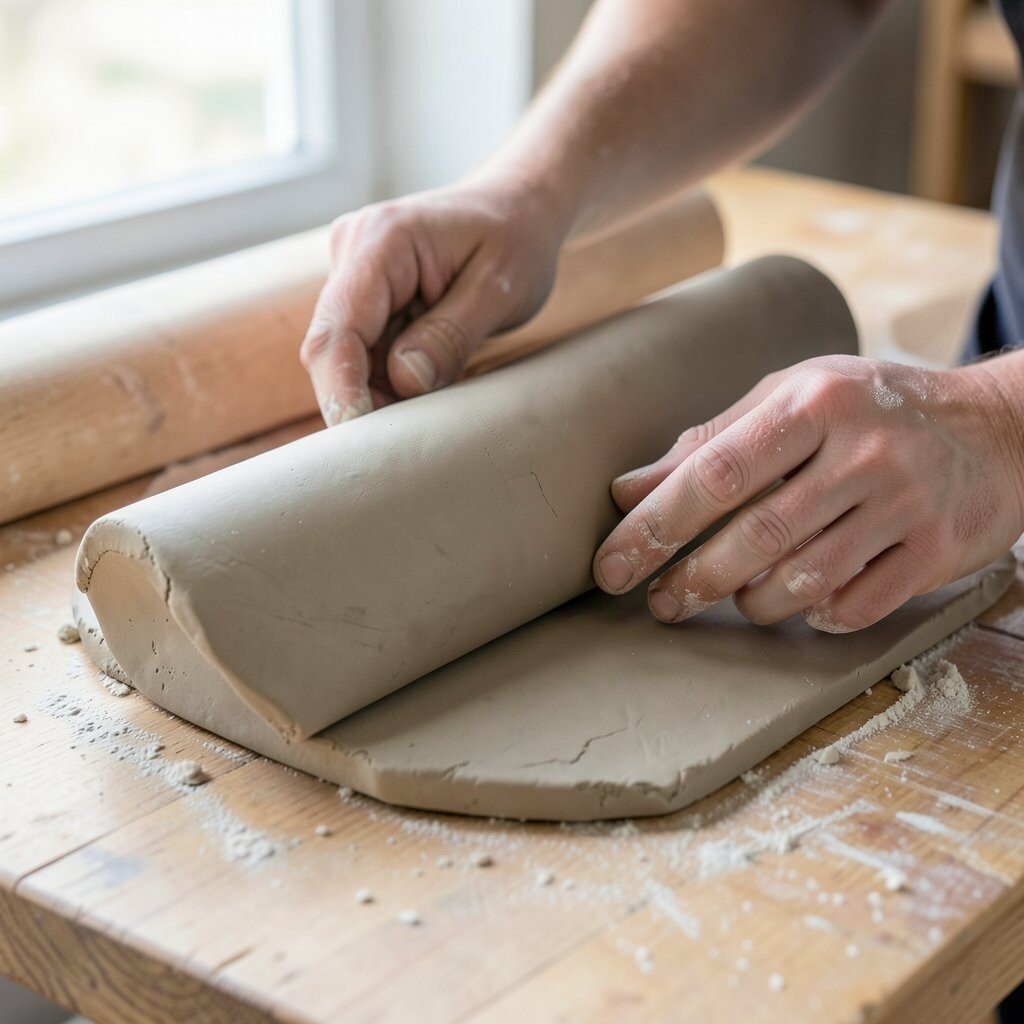
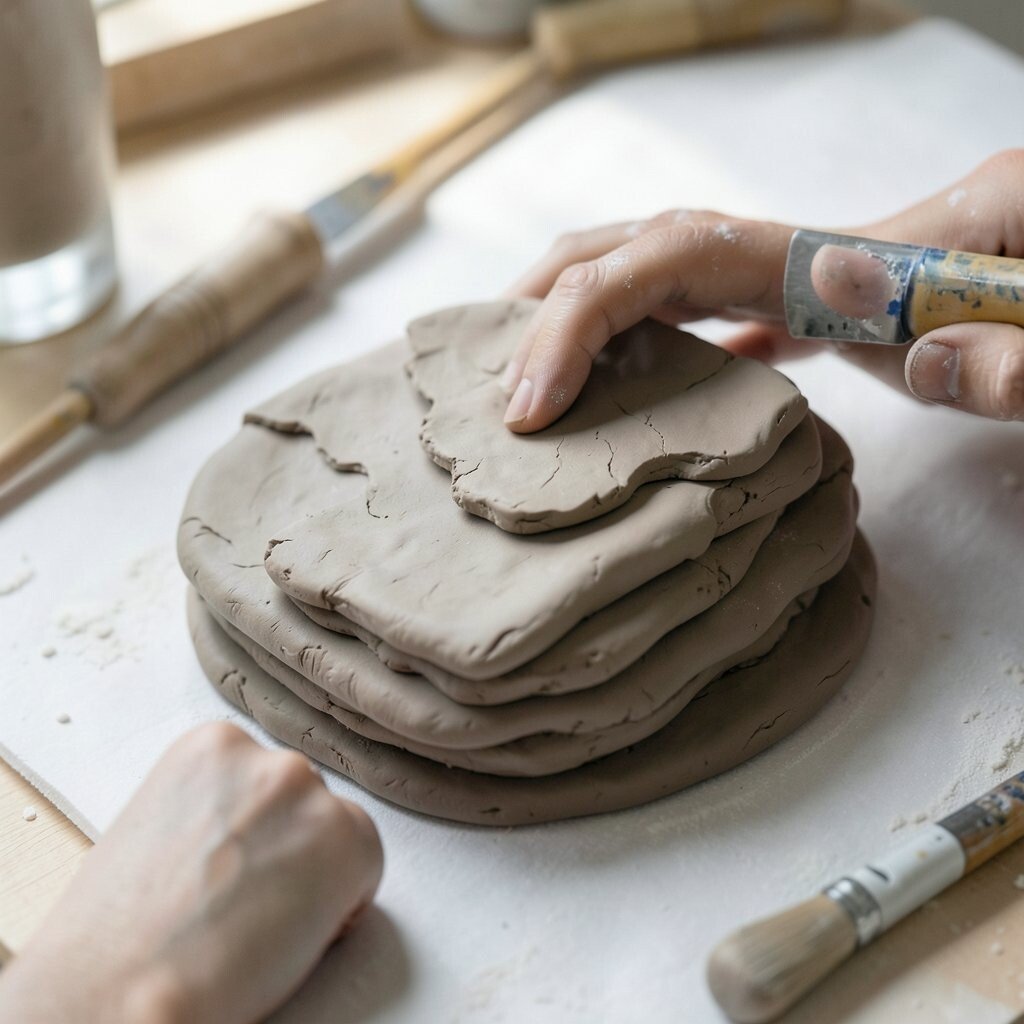
3. Slab Rolling
Top Slab Rolling Craft Tutorials
- 🍁 Slab Rollers from theceramicshop.com.
- 🎨 Clay Slab Rollers and Rolling Pins from dickblick.com.
- 🎄 Slab pottery ideas for beginners – 25 easy clay projects from frombritainwithlove.com.
- 🍁 DIY slab roller? : r/Pottery from reddit.com.
- 🎨 How to Slab Clay (with Pictures) from wikihow.com.
Slab rolling gives clay a neat, flat surface that feels tidy and strong. The result can look simple and modern, or it can become a base for detailed cutouts and patterns.
This method is perfect for boxes, trays, mugs, and wall art. A rolling pin works fine, so the cost stays low and the setup stays easy. Use guides to keep the thickness even, and score the edges well so the joins stay firm.
Slab work is a favorite for people who like clean lines and crisp shapes. It also fits current home decor trends, especially for minimal pieces with soft colors. Add your own style with stamped words, lace textures, or sharp geometric cuts.
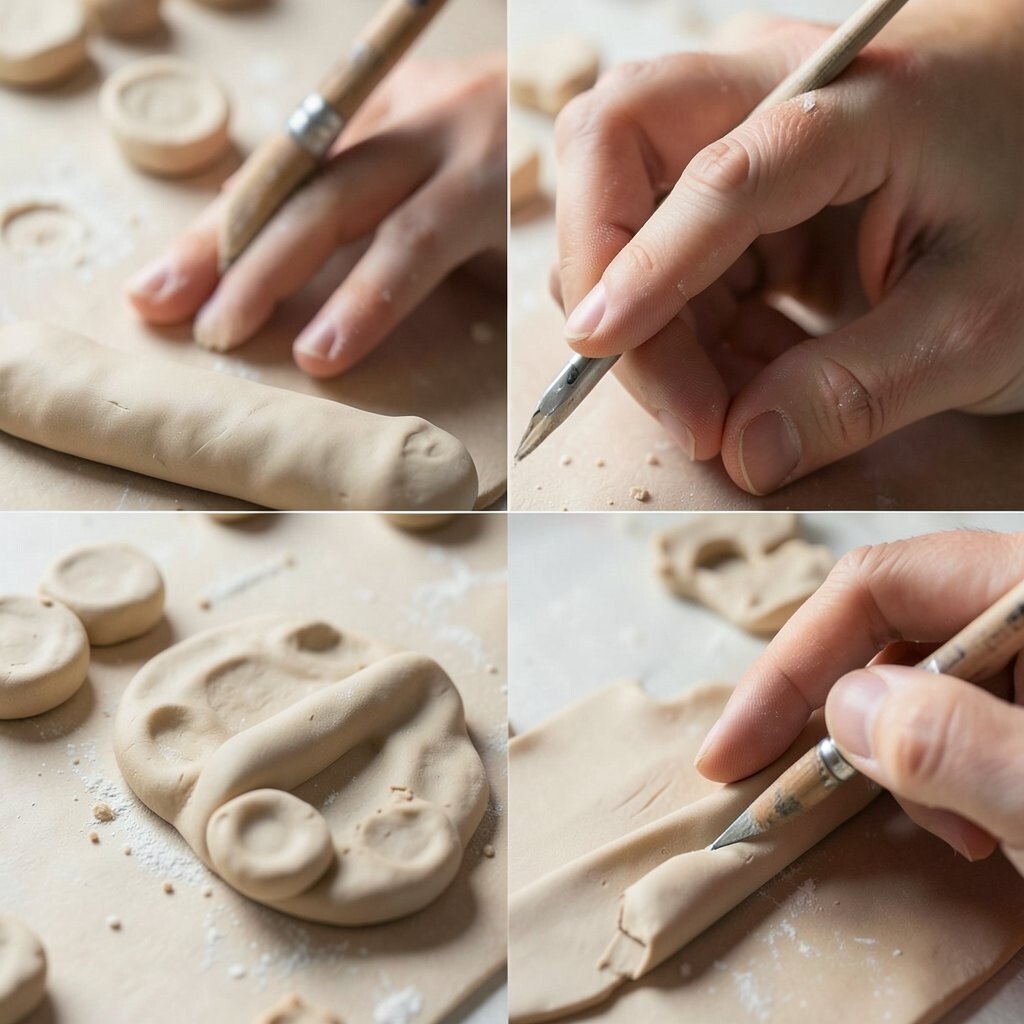
4. Carving Soft Details
Top Carving Soft Details Craft Tutorials
- 🎄 13 Easy Wood Carving Ideas Perfect for Beginners from schaaftools.com.
- 🗺️ Wood Carving Patterns for Beginners – Easy Whittling … from beavercrafttools.com.
- 👓 The Best Wood for Whittling and Wood Carving from carvingisfun.com.
- 🎄 Small carving tools for soft stones from facebook.com.
- 🍁 MUELODSIC 4pcs Carving Blocks for Printmaking Smooth PVC … from amazon.in.
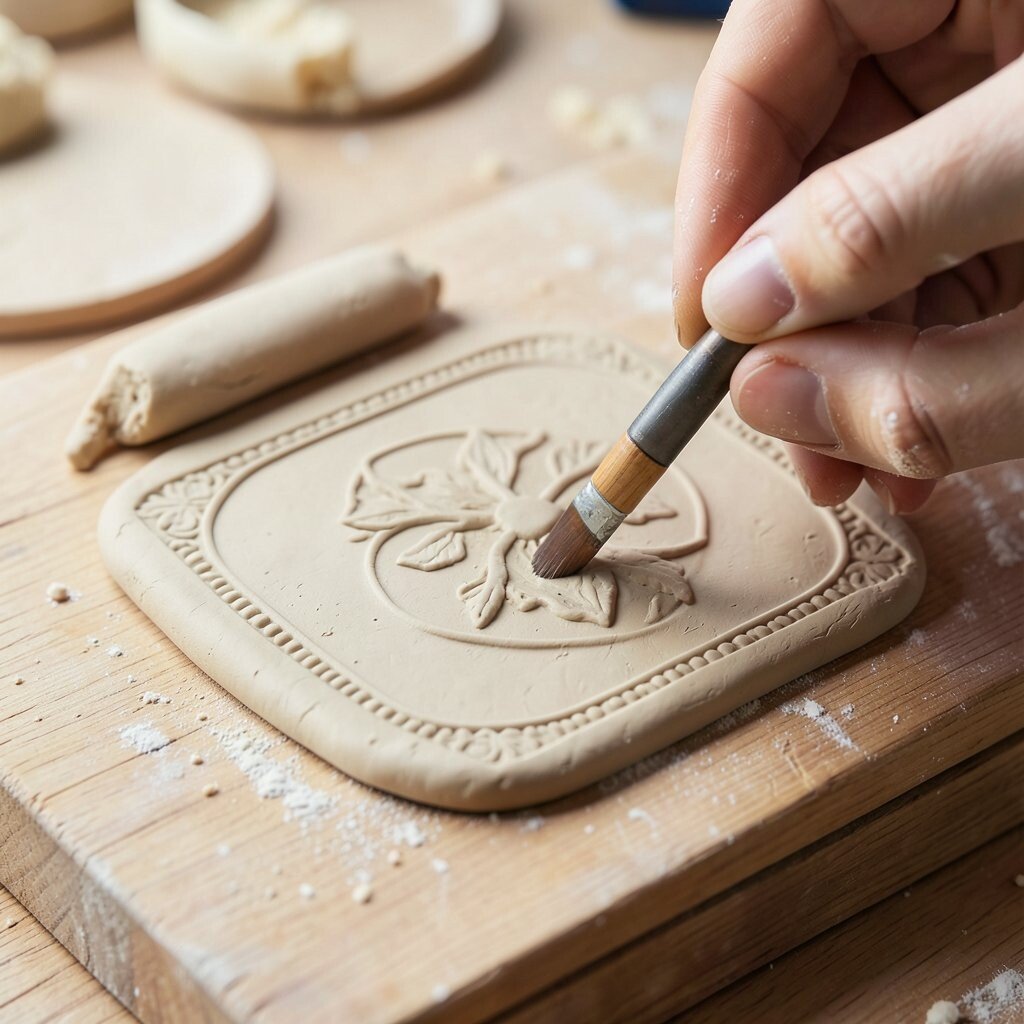
Carving lets you remove clay to make lines, shapes, and tiny scenes. The surface can shift from plain to rich and lively in just a few careful cuts.
This technique adds depth and makes even a simple piece feel special. It works well with dry or leather-hard clay, and the tools can be very affordable. Try carving leaves, stars, waves, or abstract marks, then brush away dust before firing.
Many artists use carving to create strong shadows and eye-catching contrast. It is also a great way to personalize gifts with names, dates, or symbols. If you want a current look, keep the design clean and repeat the same shape across the surface.
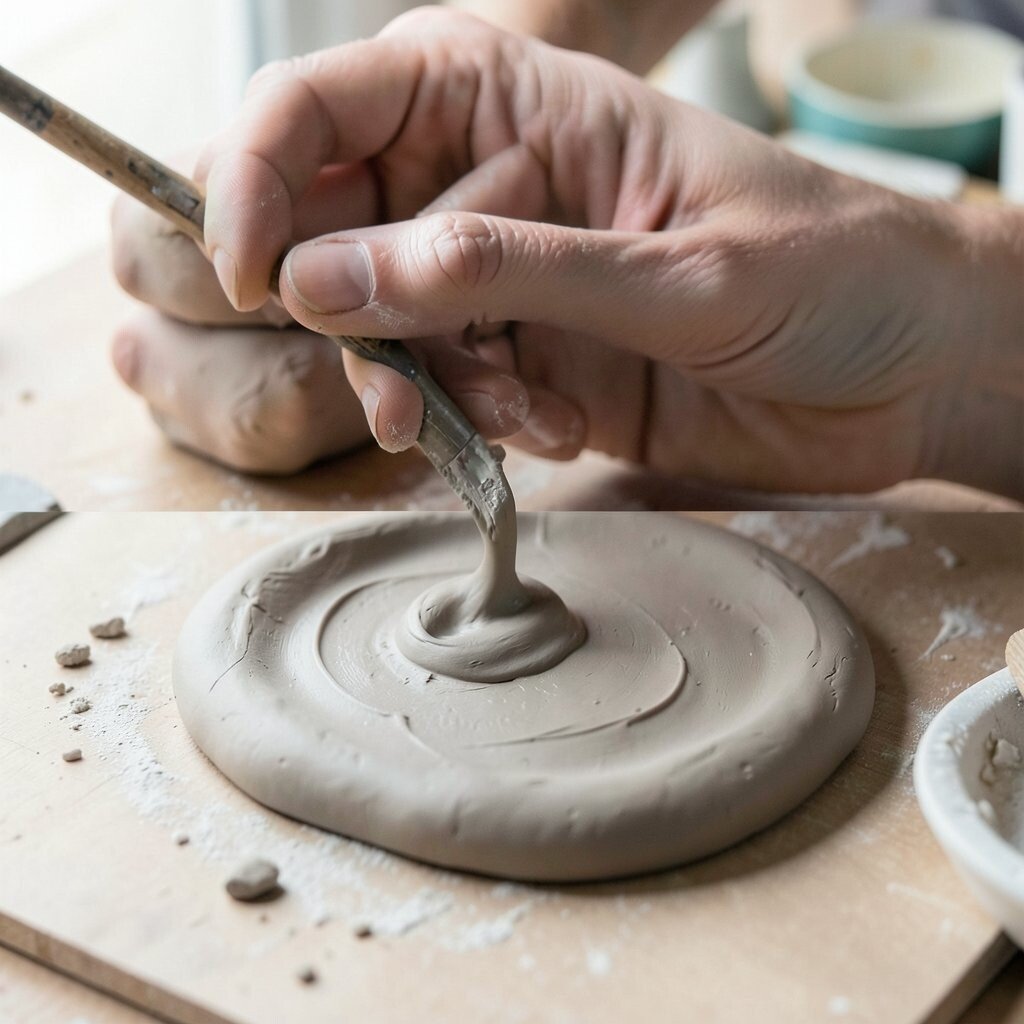
5. Slip Trailing
Top Slip Trailing Craft Tutorials
- 🍂 Slip Trailing for Beginners: An introduction to the … from ceramicartsnetwork.org.
- 🍅 Exploring the Art of Slip Trailing in Ceramics from meeshpottery.com.
- 🍅 Slip trailing techniques and materials for design and texture from facebook.com.
- 🍅 Slip Decoration Techniques in Pottery from thesprucecrafts.com.
- 🎨 Slip Trailers from theceramicshop.com.
Slip trailing draws raised lines on clay, almost like piping icing on a cake. The lines can be smooth, wavy, or playful, and they catch the light in a nice way.
This technique adds texture without changing the whole form. It is a low-cost option because slip can be made from clay and water, and a simple squeeze bottle works well. Practice on scraps first so your lines come out even and controlled.
Slip trailing is popular for folk-style patterns, floral designs, and bold outlines. It can make mugs, plates, and vases feel more handmade and lively. For a personal touch, try writing a short word or drawing a tiny symbol that means something to you.
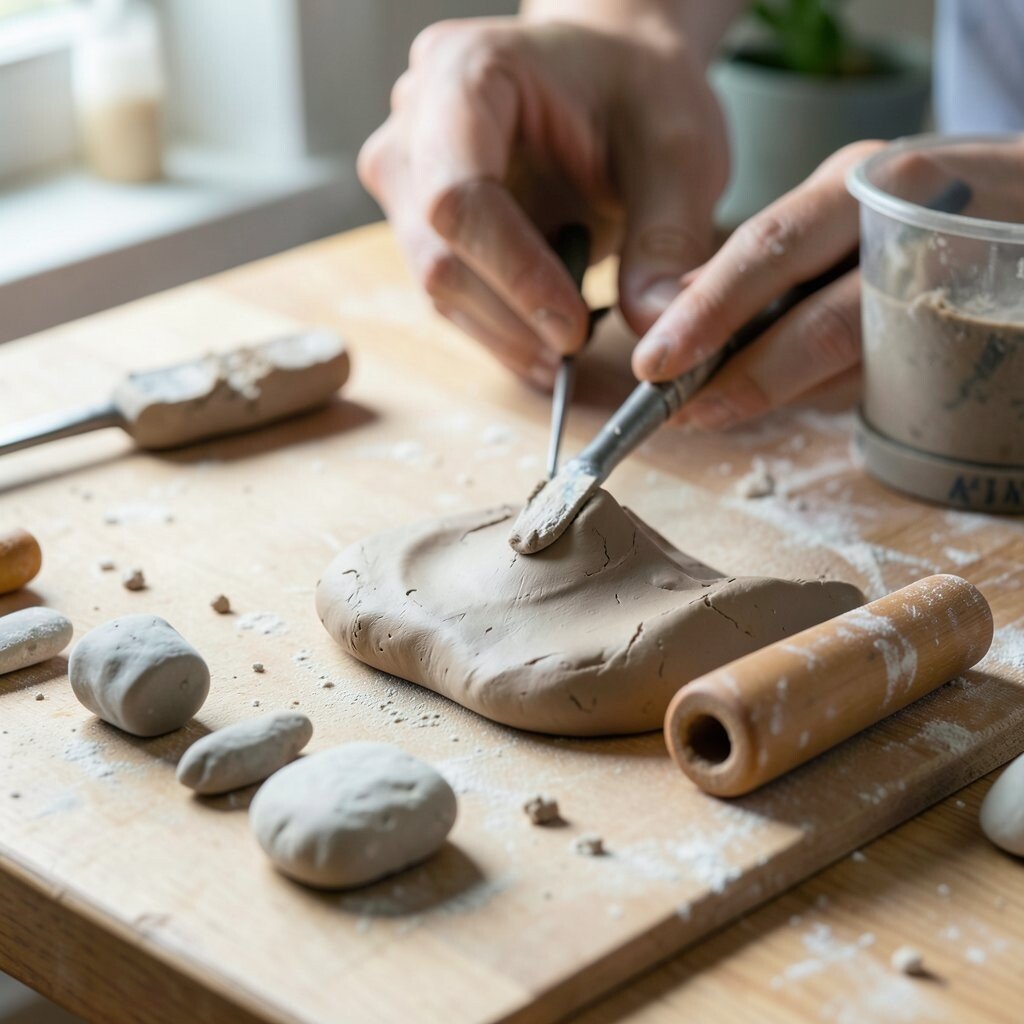
6. Texturing with Everyday Objects
Top Texturing With Everyday Objects Craft Tutorials
- 🍁 Here are some innovative texture ideas crafted … – Facebook from facebook.com.
- 💅 Green & Affordable Art Projects That Teach Color, Texture … from blog.schoolspecialty.com.
- 🍂 7 Art Projects Kids Can Do at Home With Everyday Materials from goldenroadarts.org.
- 🍅 Textured Apple Craft from simplefunforkids.com.
- 🍂 25 Totally Fun Texture Crafts for Preschoolers – Play Ideas from playideas.com.
Everyday items can leave amazing marks in clay, from lace to leaves to bottle caps. The surface becomes full of pattern, and the finished piece often looks more detailed than the tools used to make it.
This is one of the most budget-friendly clay ideas because you can use things already at home. Press, roll, or stamp gently so the texture stays clear without tearing the clay. Keep a small texture box with buttons, mesh, fabric, and lids for easy use.
Textured clay fits many styles, including boho, rustic, and modern handmade decor. It is also a fun way to make each piece one of a kind. You can personalize your work by using a texture that reminds you of a place, season, or favorite outfit.
Try mixing smooth areas with textured spots so the design has contrast. That little change can make a simple bowl or tile look much more polished. If you like current trends, soft repeating textures are very popular in home pieces right now.
7. Adding Handles and Attachments
Top Adding Handles And Attachments Craft Tutorials
- 🗺️ Rope handle attachment ideas for basket weaving project from facebook.com.
Handles and small attachments can turn a plain shape into something useful and charming. A mug with a round handle or a vase with tiny clay leaves instantly feels more alive.
This technique helps you practice joining parts in a clean and sturdy way. It does not need costly supplies, just careful shaping and a little water or slip. Make sure the attachment matches the main piece in thickness so it dries evenly.
Small add-ons are a great place to show personality, since they can be shaped like clouds, vines, ears, or stars. They also make handmade items feel more special as gifts. For a trendy touch, keep the shapes simple and soft instead of too busy.
8. Sgraffito Layering
Top Sgraffito Layering Craft Tutorials
- 🍅 10 Sgraffito Pottery Design Ideas to Inspire Your Next Project from diamondcoretools.com.
- 🍅 2 examples of sgraffito…a technique of carving back layers … from facebook.com.
- 🗺️ How to Create Sgraffito – Art Lesson from theartyteacher.com.
- 💅 sgraffito craft for children | ArtClubBlog from artclubblog.com.
- 🍁 2 examples of sgraffito…a technique of carving back layers … from instagram.com.
Sgraffito starts with a layer of colored slip or underglaze, then reveals the clay beneath through scratching. The final look can feel bright, graphic, and full of energy.
This method works well for people who enjoy drawing because the clay surface becomes a sketchbook. It is still low-cost if you use a few basic colors and simple tools like a wooden stick. Test your lines on a practice tile so you can see how deep to scratch.
The contrast between the top layer and the clay below gives this technique a strong visual punch. It is great for flowers, animals, lettering, and modern line art. You can make it personal by drawing a pet, a favorite snack, or a pattern from your own life.
Many makers love sgraffito because it looks detailed without needing lots of extra materials. It also fits current handmade trends that favor bold outlines and simple color blocks. Keep your design loose if you want a playful feel, or neat if you want a cleaner result.
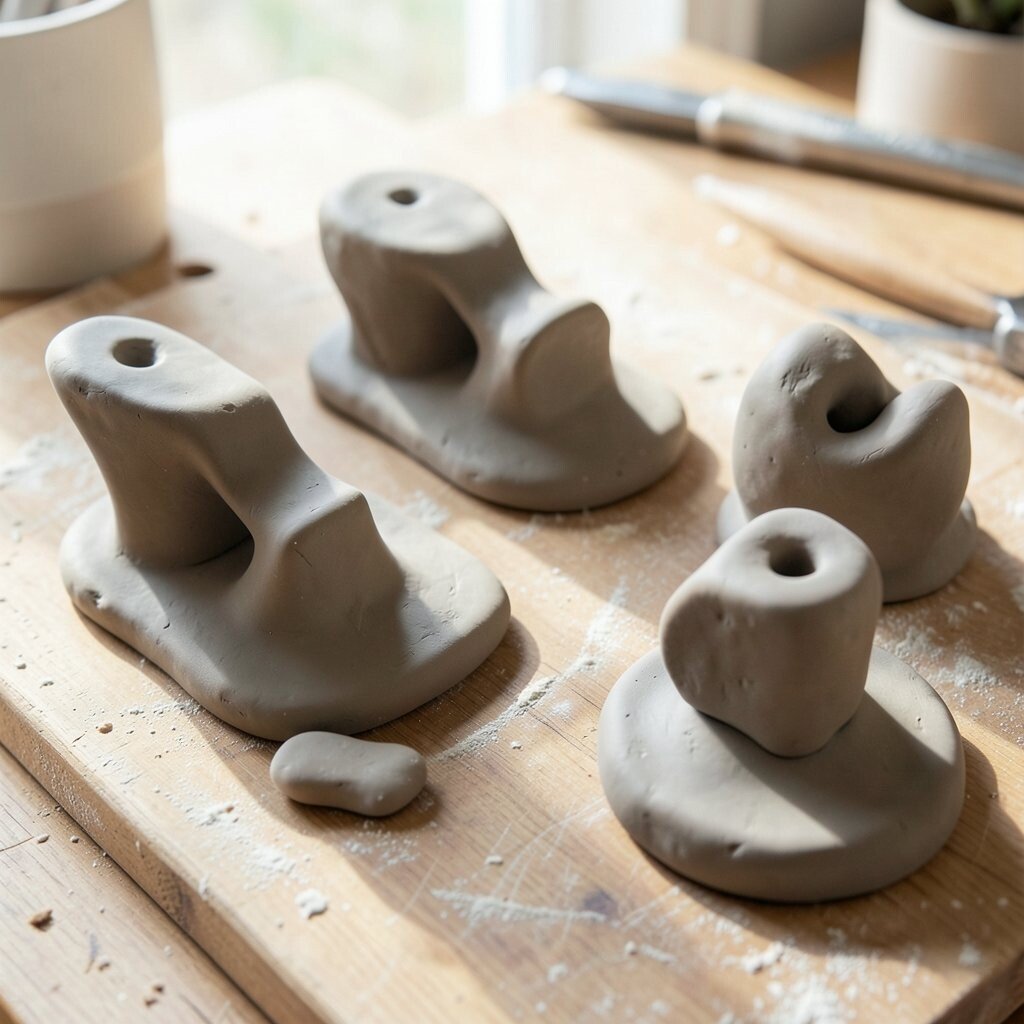
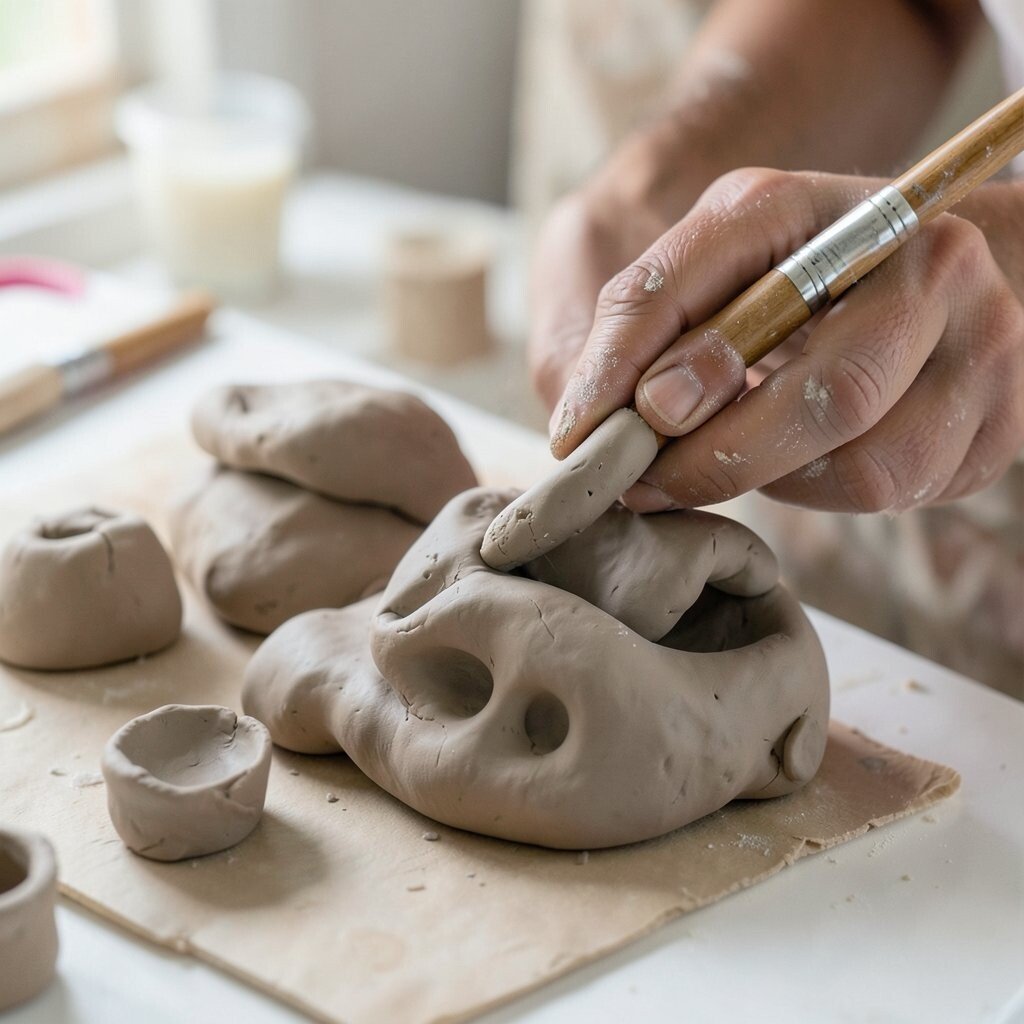
9. Hollow Sculpting
Top Hollow Sculpting Craft Tutorials
- 💅 How to build a hollow paper clay sculpture using the pinch … from facebook.com.
- 💅 9 Pcs Clay Working Tools Pottery Supplies Beginner Sculpting … from ebay.com.
- 🗺️ Do I need to hollow out a small figurine? : r/Pottery from reddit.com.
- 🧑🌾 A few of these hollow spiral forms are still available in my … from instagram.com.
Hollow sculpting helps larger clay forms dry more safely and feel lighter in the hand. The shape can still look full and solid, but the inside stays empty to reduce cracking.
This technique is useful for animals, figures, masks, and decorative objects. It may take more planning, yet it can save you from heavy pieces that are hard to move. Use a rib tool or your fingers to keep the walls even.
Hollow forms often look more professional because they are easier to finish cleanly. They also let you build bigger pieces without using too much clay, which helps with cost. Add your own style by shaping the outside with smooth curves, wrinkles, or tiny features.
If you want a current look, simple hollow sculptures with soft edges are very popular. They feel modern and calm, and they fit well on shelves or tables. Try making one piece with a tiny opening or cutout to create a nice shadow inside.
10. Press Mold Forms
Top Press Mold Forms Craft Tutorials
- 🗺️ Making Ceramic Molds from ceramicartsnetwork.org.
- 👓 How to use a Commercial Press Molds – Mold Making Basics from instagram.com.
- 🖼️ xTool WonderPress from xtool.com.
- 🗺️ Ceramic Mold for Clay – Handbuilding Dish Plate Slump Mold from michaels.com.
- 🍅 Making a slip or press mold from bonsainut.com.
Press molds help clay take on a repeated shape with very little fuss. The result can look neat and polished, with a form that feels consistent every time.
This is a smart choice for dishes, ornaments, tiles, and small decor items. Molds can be made from simple household objects or purchased at many price points, so you can keep costs flexible. Press the clay firmly but gently so the details show without sticking.
People like this method because it saves time and still leaves room for creativity. You can change the clay color, glaze, or surface detail to make each piece feel fresh. For a personal touch, press in initials, tiny stamps, or a special pattern before removing the clay.
Press mold work fits well with current trends in home decor and gift making. Clean shapes and repeated forms look tidy on a shelf or table. If you want more charm, leave a small hand-finished mark so the piece does not feel too perfect.
11. Cutout Sculpture
Top Cutout Sculpture Craft Tutorials
- 🎄 3D Art Projects for Students | Sculpture & Ceramics … from artedguru.com.
- 👓 Paper Cut Out Art – Using Paper To Create Sculpture Like … from boredart.com.
- 💅 Calder-Inspired Cardboard Spring Sculptures for Kids from barleyandbirch.com.
- 💅 Custom Shape Cutout from craftcuts.com.
- 🗺️ Create your own Chihuly-like sculpture with this easy craft! … from facebook.com.
Cutout sculpture uses open spaces to make clay feel light and airy. Instead of filling every area, you remove parts so the shape can cast pretty shadows.
This technique is helpful for lanterns, wall pieces, and decorative vessels. It can be done with simple tools, so the cost stays friendly for hobby makers. Plan your openings before cutting so the design stays balanced and strong.
Open shapes can make clay look modern and elegant without much extra decoration. They also let light pass through, which adds a soft glow when placed near a lamp or window. Personalize the piece with shapes that matter to you, such as hearts, leaves, waves, or city outlines.
Cutout work is very on trend because many people like airy decor that feels calm and uncluttered. It can make a room feel brighter and more open. Try pairing a smooth outer surface with bold cutouts for a nice mix of simple and dramatic.
12. Surface Stamping
Top Surface Stamping Craft Tutorials
- 🗺️ The Art of Stamp Crafting: A Beginner's Guide from blog.stampinup.com.
- 💅 Fabric Stamping Kit from adultsandcrafts.com.
- 🗺️ Beginner's guide to rubber stamping: everything you need … from gathered.how.
- 🎄 How to Use Simon Hurley Stamping Foam! from thegraphicsfairy.com.
- 🎨 Shop Stamping from craftwarehouse.com.
Surface stamping gives clay a quick burst of pattern and charm. A single press can create tiny flowers, dots, stars, or lines that repeat across the surface.
This method is easy to learn and works well for both small and large projects. Stamps can be store-bought or homemade, which makes the cost easy to control. Press them while the clay is soft enough to hold the shape but not so wet that it sticks.
Stamped surfaces can look sweet, tidy, or bold depending on the stamp you choose. They are great for mugs, trays, ornaments, and tiles. For a personal touch, make your own stamp from carved foam or clay so the design belongs only to you.
Many current clay pieces use simple repeating stamps for a clean handmade look. That style feels fresh and easy to live with in modern homes. If you want more depth, add a little color into the stamped grooves after the clay dries.
13. Layered Clay Colors
Top Layered Clay Colors Craft Tutorials
- 🧑🌾 Start your clay art journey with 13 charming … from instagram.com.
- 💅 13 polymer clay techniques from montmarte.com.
- 🍅 Blending Polymer Clay Colors for Dolls House Miniatures from thesprucecrafts.com.
- 🍅 Random clay color combinations from scrap clay from facebook.com.
- 🧑🌾 20 Clay Crafts For Creative Play from kiwico.com.
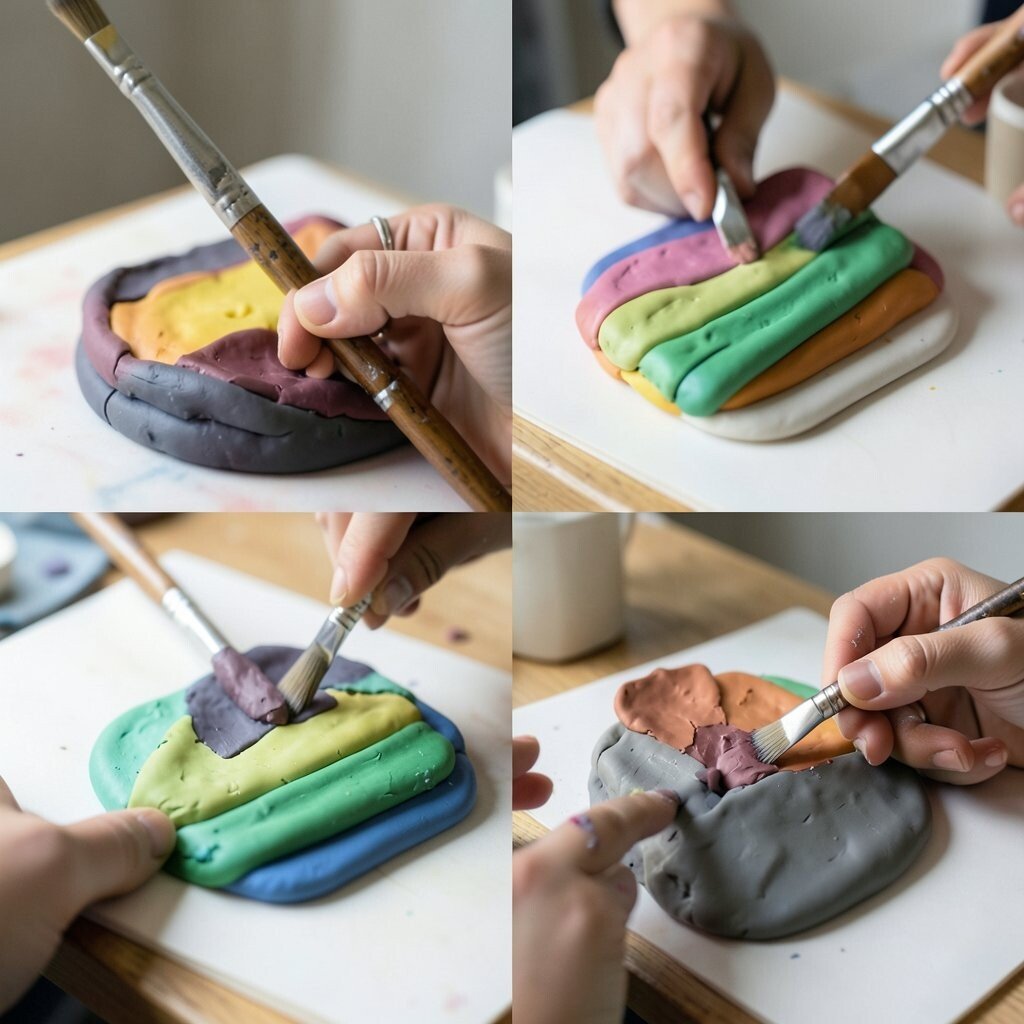
Layered clay colors create a striped or marbled look that feels playful and fresh. The surface can show soft blends or bold bands, depending on how the colors are placed.
This technique is great for makers who enjoy color and pattern. It may use a few extra clay batches, but you can often keep costs down by using small amounts. Roll, stack, or twist the colors together slowly to avoid muddy mixing.
The visual result is often bright and full of movement, almost like candy or painted stone. It works well for beads, bowls, and decorative figures. You can personalize the palette with school colors, favorite shades, or tones that match a room.
Layered clay is popular right now because it feels cheerful and handmade. People like pieces that show process, not just polish. Keep the color changes clean if you want a modern look, or swirl them more if you want a lively style.
14. Building with Tiny Parts
Top Building With Tiny Parts Craft Tutorials
- 🗺️ 14 Crafts for Teens and Tweens – ARTBAR from artbarblog.com.
- 👓 SYOSI DIY Dollhouse Kit Blue Sea Legend | Wooden Miniature … from amazon.ae.
- 🖼️ 60 Fun and Easy Kids' Craft Ideas | DIY Craft Projects for Kids from hgtv.com.
- 🍂 31 Arts and Crafts for Kids to Make at Home – Highlights Parents from parents.highlights.com.
- 🍅 Craft a paper house using a template. 🏠✂️ #DIY … from facebook.com.
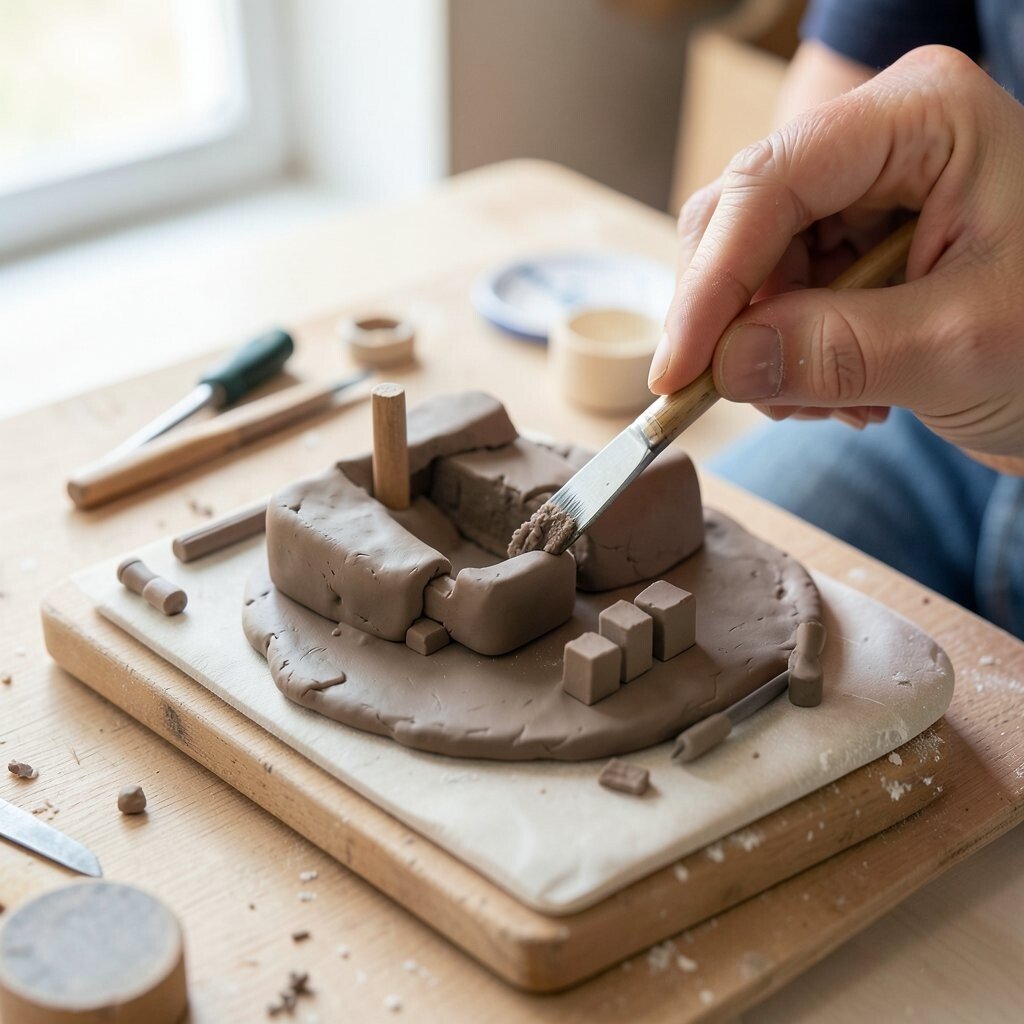
Small clay parts can be joined into a larger sculpture that feels detailed and fun. The finished piece may look like a tiny world made from many little choices.
This technique is useful for animals, food shapes, fantasy pieces, and character art. It can take time, but you can start with low-cost tools and small amounts of clay. Keep a damp cloth nearby so the tiny bits do not dry out too fast.
Building with little parts gives you lots of room for personality. You can shape eyes, paws, petals, buttons, or tiny tools to tell a story. It also helps with custom gifts because you can match the subject to the person receiving it.
Miniature clay art is a strong trend because it feels cute and collectible. Many people enjoy pieces that look playful on a desk or shelf. Try making one main form and adding just a few tiny details so the design stays clear.
15. Burnishing for a Smooth Shine
Top Burnishing For A Smooth Shine Craft Tutorials
- 🧑🌾 pottery #burnishing #ancienttechniques #slowmade from instagram.com.
- 🍁 Any tips for achieving a smooth burnishing shine? from facebook.com.
- 🍅 Economy Walnut Leather Burnishing Tips from rmleathersupply.com.
- 🎄 Leather Burnisher from walmart.com.
Burnishing smooths clay until it shines softly without glaze. The surface can look rich and elegant, with a gentle glow that changes in the light.
This technique works best on leather-hard clay and uses simple tools like a spoon or smooth stone. It costs very little and can make a plain piece feel special. Move slowly and keep the pressure even so the surface stays clean.
Burnished clay has a calm, natural beauty that many people love. It is a nice choice for decorative bowls, figures, and art pieces that are not meant for rough use. You can personalize the finish by choosing a dark clay body or by shaping the piece with soft curves.
Natural, unglazed looks are very current in handmade decor. They feel warm, earthy, and easy to style in any room. If you want a richer effect, combine burnishing with carved lines or light texture in a few spots.
16. Mixed Technique Mash-Up
Top Mixed Technique Mash-Up Craft Tutorials
- 🍅 A new piece using the Karen McCoy “mashup”🤗It's 16 by … from facebook.com.
- 🗺️ Mix it, mash it, and don't worry about the mess—this paper … from facebook.com.
- 🎄 Monday Mash Up from gentlemancrafter.com.
Mixing clay techniques can lead to the most exciting results because each part brings something different. A single piece might have coils, carving, stamping, and color all working together.
This approach is ideal when you want your work to feel truly original. It does not require expensive supplies, just good planning and a willingness to try new combinations. Start with one main technique, then add a second or third detail so the piece does not feel crowded.
The visual effect can be rich, lively, and full of surprises. Mixed technique pieces often stand out because they show both skill and imagination. For personalization, use one method for the base and another for a story detail, like a name, symbol, or favorite shape.
This style matches today’s love for handmade items that feel layered and unique. It is also a smart way to use leftover clay and small tools from earlier projects. Try a smooth slab base with stamped borders, or a coil pot with carved marks and tiny attachments for a bold custom look.