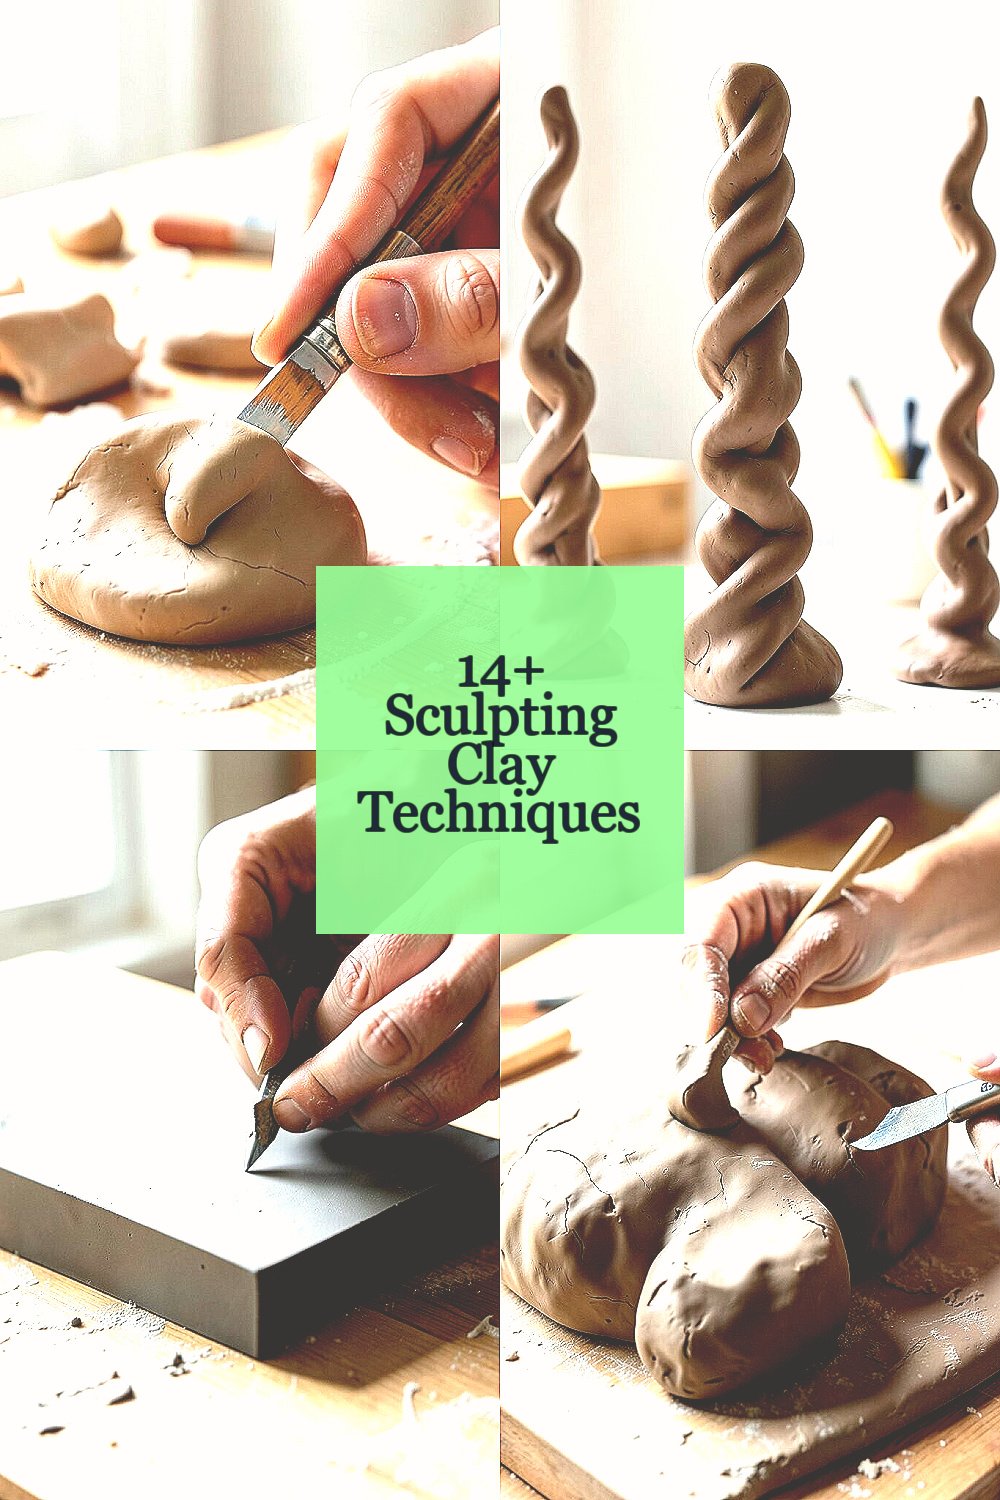
Clay can feel soft one moment and stubborn the next. That push and pull is part of the fun.
Small hand moves can change a plain lump into something full of life. A few smart habits can make your work look cleaner, stronger, and more personal.
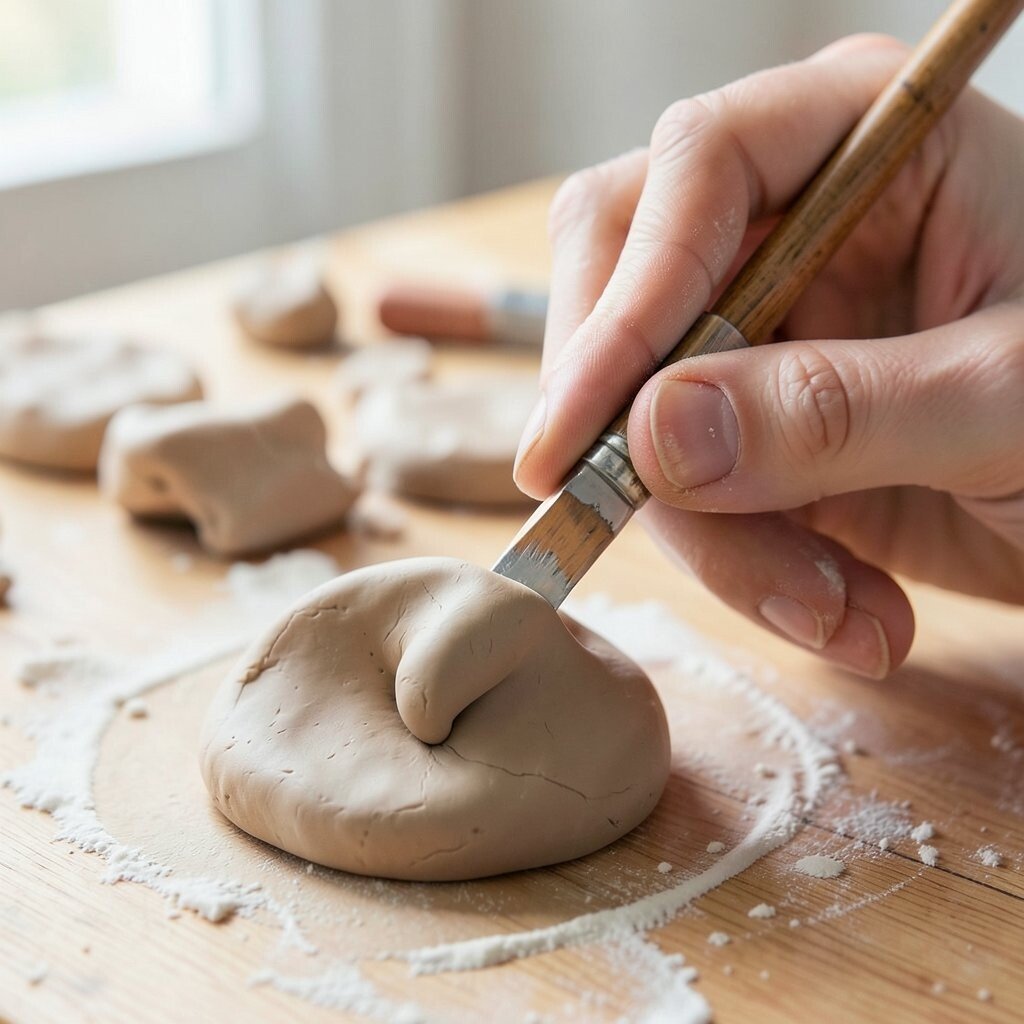
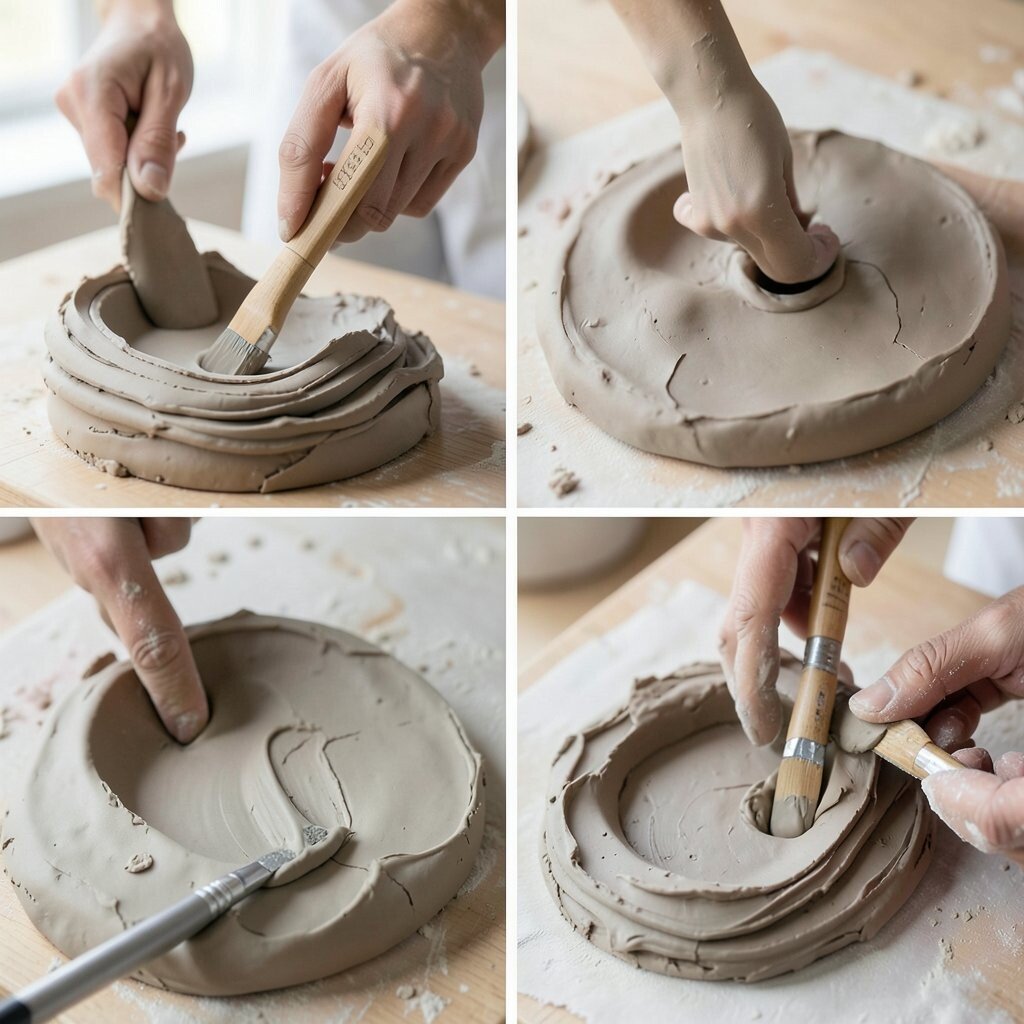
1. Pinching for Shape and Control
Top Pinching For Shape And Control Craft Tutorials
- 🎄 Top 5 Hand-Building Techniques Every Potter Should Know from bathaus.com.
- 👓 Types of pinch patterns AND exercise to build precision … from facebook.com.
- 🍁 The pinching technique is commonly used in hand building … from instagram.com.
- 🎨 Clothes Pin Pinch Grasp Exercises from theottoolbox.com.
- 🎄 Learn the pinch technique to create simple ceramic pieces … from facebook.com.
Pinching is one of the easiest ways to start a clay form, and it gives you a direct feel for the material. The surface often shows gentle finger marks that look warm and handmade.
Use slow, even pressure so the walls stay the same thickness. A little water can help, but too much can make the clay weak and sticky.
This method is low-cost because it needs almost no tools, which makes it great for beginners and for makers on a tight budget. It also fits current handmade trends, since people often like pieces that show the maker’s touch. Try pinching bowls, tiny cups, or little animal shapes, then adjust the rim or curve to match your own style.
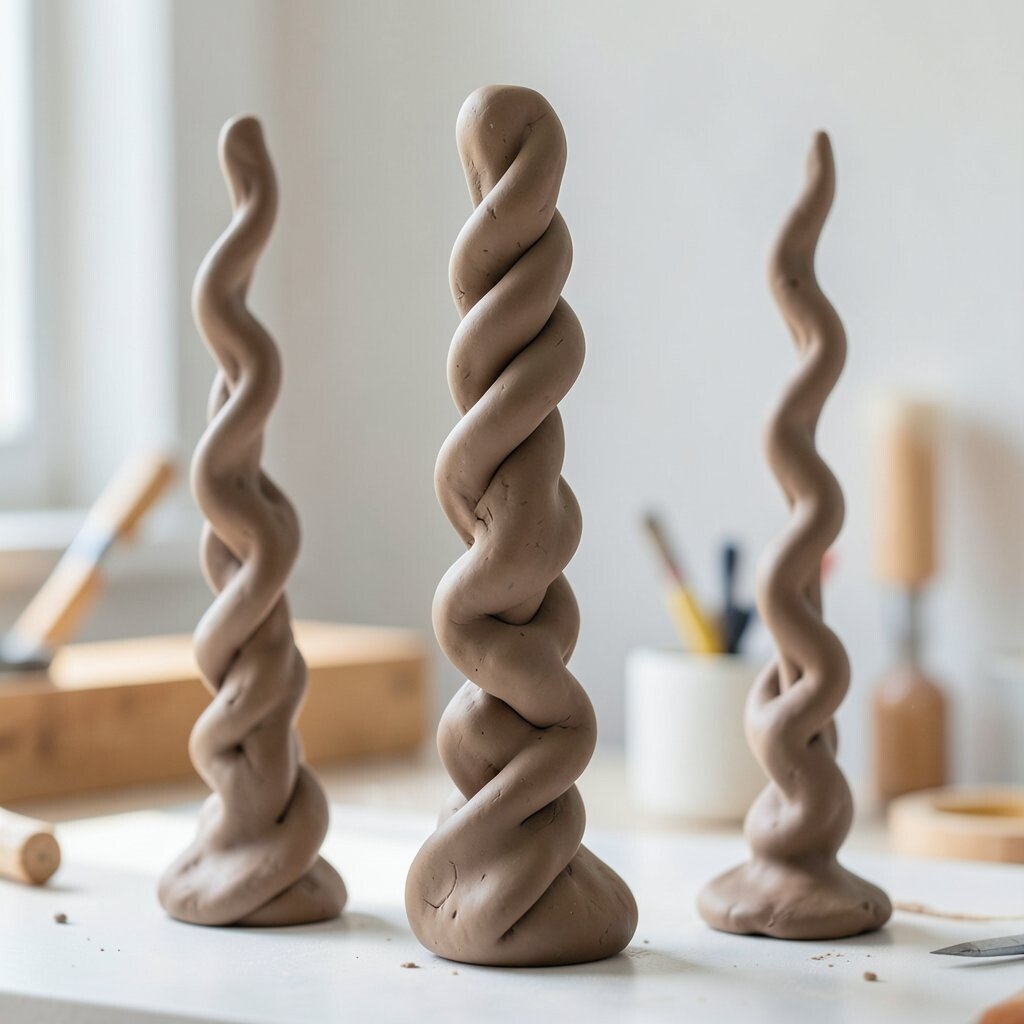
2. Coiling for Tall and Wavy Forms
Top Coiling For Tall And Wavy Forms Craft Tutorials
- 🎨 Learn coil weaving techniques to create and complete your … from facebook.com.
- 💅 Coiled Rope Technique – Coiled Cord Baskets, Bowls & … from raggedlife.com.
Coiling builds shape with rolled ropes of clay, and the finished piece can look bold and full of movement. The layered lines can stay visible for a rustic look or be smoothed away for a sleek finish.
Press each coil firmly into the one below it so the walls bond well. Keep the coils even if you want a neat shape, or vary them if you want a more playful look.
Coiling is useful for vases, jars, and sculpted figures because it lets you build up height with care. It is also a smart choice for larger work since you can stop and start without rushing. You can personalize it by changing coil size, adding texture with a comb, or leaving some joins visible for a handmade feel.
3. Slab Building for Clean Edges
Top Slab Building For Clean Edges Craft Tutorials
- 🗺️ Slab pottery ideas for beginners – 25 easy clay projects from frombritainwithlove.com.
- 💅 Elevate Your Work: Crafting a Stunning Slab Plate from sheffield-pottery.com.
- 🖼️ 12+ Slab Pottery Ideas for Beginners: Simple, Stylish Projects from clayelle.com.
- 🗺️ Slab Pottery Ideas – 27 Amazing Projects to Try Out from thepotterywheel.com.
- 🍂 Slab-Built Story Boxes from ceramicartsnetwork.org.
Slab building uses flat sheets of clay, and it can make boxes, mugs, and sharp-edged forms look crisp and modern. The flat planes catch light in a nice way, which makes the final piece feel tidy and strong.
Roll the slab to an even thickness so the walls dry at the same speed. Score and slip the edges before joining them, because that helps the parts stick together better.
This technique is helpful when you want simple shapes with a neat finish, and it works well for home decor pieces that feel current. It can cost little more than pinching, though a slab roller or guide sticks may help if you want more control. Add your own style with cut-out windows, stamped patterns, or soft rounded corners.
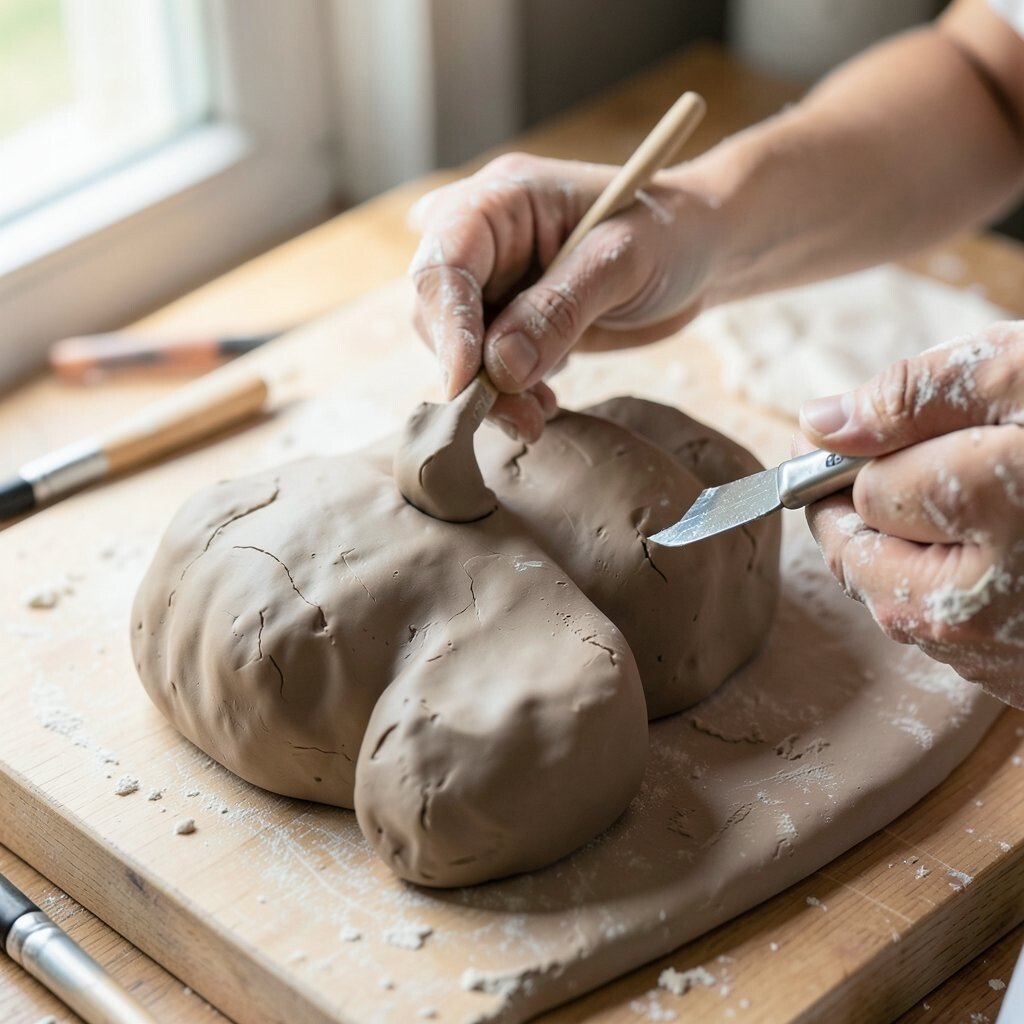
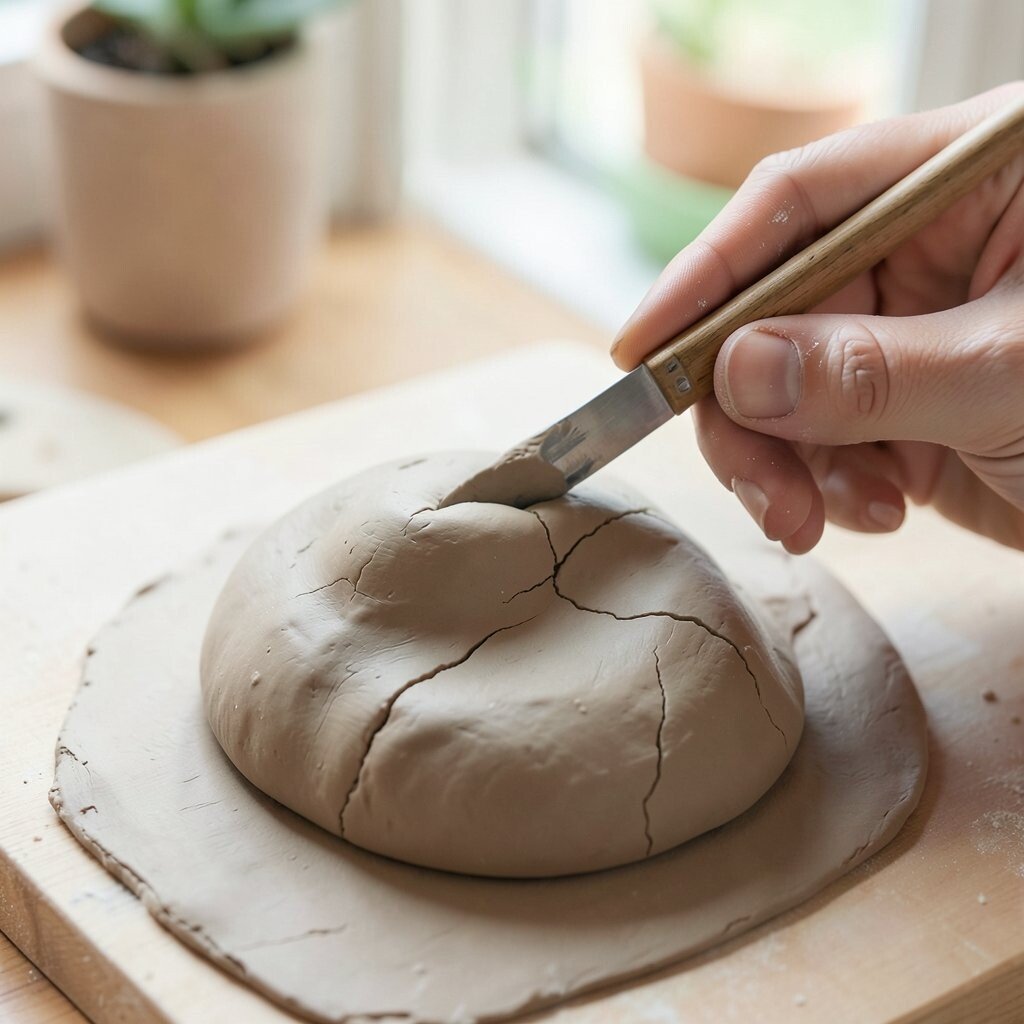
4. Sculpting with the Add-and-Take-Away Method
Top Sculpting With The Add-and-Take-Away Method Craft Tutorials
- 💅 4 sculpting techniques from montmarte.com.
- 🧑🌾 The 4 Different Types of Sculpture Techniques from solvangantiques.com.
- 👓 Working with Sculpture (Education at the Getty) from getty.edu.
- 🗺️ Sculpting With Polymer Clay : 8 Steps (with Pictures) from instructables.com.
- 🍁 Non-Clay Sculpture Lessons: 10 Sculpture Ideas Without … from artwithtrista.com.
Some artists start with a solid lump and shape it by adding clay in some spots and removing it in others. The result can look bold and alive, with smooth curves beside sharp details.
Use basic tools first, then switch to fingers for gentle refining. Step back often so you can check the whole form instead of getting lost in one small area.
This approach works well for faces, animals, and fantasy pieces because it gives you freedom to keep changing the shape. It can save money too, since you do not need many special tools right away. For a personal touch, try making one side more rough and the other side more polished, which adds contrast and interest.
5. Smoothing with Water and Soft Tools
Top Smoothing With Water And Soft Tools Craft Tutorials
- 🗺️ [Help] Can I use water to smooth and shape Sculpey Oven … from reddit.com.
- 🎨 How to smooth out lines when using model magic for … from facebook.com.
- 🍂 5 Easy Tips For Smooth Paper Mache from ultimatepapermache.com.
A smooth finish can make clay look calm, polished, and very skillful. Even a simple form can feel special when the surface is neat and clean.
Use a damp sponge, rubber rib, or soft brush to even out marks. Work lightly, because too much rubbing can drag the clay and blur the shape.
Smoothing is popular in modern pottery because it gives a clean look that fits many homes. It also helps with comfort, since a smooth mug rim or bowl edge feels better in the hand. If you like a softer style, keep the finish velvety; if you want a sharper look, smooth only the main planes and leave small tool marks in hidden spots.
6. Texturing with Everyday Objects
Top Texturing With Everyday Objects Craft Tutorials
- 🧑🌾 Green & Affordable Art Projects That Teach Color, Texture … from blog.schoolspecialty.com.
- 💅 7 Art Projects Kids Can Do at Home With Everyday Materials from goldenroadarts.org.
- 🎄 🌈 Texture Rubbings ✨ A super fun, easy process art activity … from facebook.com.
- 🎨 10 Things You Can Add to Texture from painting-texture.com.
- 🍁 DIY Texture Rubbing Art Matching Game for Kids from kidsactivitiesblog.com.
Texture can turn plain clay into something rich and eye-catching. A fork, leaf, lace, button, or even a piece of fabric can leave a beautiful mark.
Press gently so the design shows without tearing the surface. Test on a scrap piece first to see how deep the mark goes.
This is a low-cost way to make your work stand out, and it fits current handmade trends that favor natural patterns and mixed looks. You can personalize each piece by using objects that mean something to you, like a shell from a trip or a pattern from old clothes. The best part is that no two textured pieces ever look exactly the same.
7. Adding Handles with Care
Top Adding Handles With Care Craft Tutorials
- 🧑🌾 Handle With Care Walkthrough – Disney Dreamlight Valley from ign.com.
- 💅 Adding Handles to a Bag: Tips and Techniques from facebook.com.
- 🧑🌾 We need some way to make handles for tools : r/VintageStory from reddit.com.
A well-made handle can change a cup from plain to charming in a snap. It also gives the piece a practical grip that feels nice in the hand.
Pull the handle slowly so it stays even and strong. Score both ends before attaching them, and blend the joins so they do not crack later.
Handles are a small detail, but they can show a lot about your skill and taste. A chunky handle feels cozy, while a thin one can look elegant and light. Try matching the handle shape to the body of the piece, or make it stand out with a twist, braid, or stamped line for a more personal look.
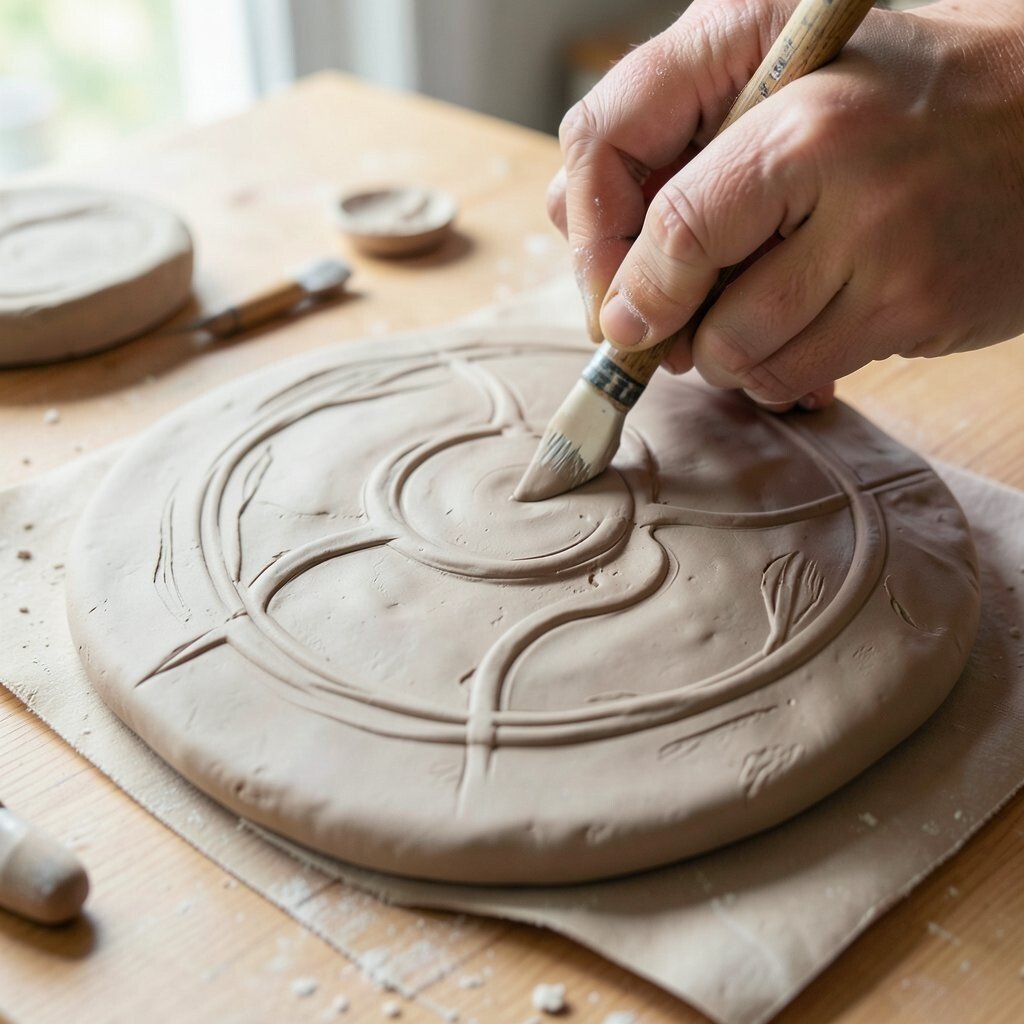
8. Carving Lines and Patterns
Top Carving Lines And Patterns Craft Tutorials
- 💅 Wood Carving Patterns for Beginners – Easy Whittling … from beavercrafttools.com.
- 👓 13 Easy Wood Carving Ideas Perfect for Beginners from schaaftools.com.
- 🍁 Wood Carving Patterns for Beginners from fadirtools.com.
- 🍂 Carving pattern design and flow lines from facebook.com.
- 🖼️ Easy Beginner Wood Carving Projects to Get You Started from familyhandyman.com.
Carving can give clay a sharp, clean look that stands out right away. The grooves catch shadows, which adds depth even on a plain surface.
Wait until the clay is firm enough to hold the cut, then use a pointed tool or loop tool. Keep your hand steady and your lines confident for the best result.
This technique works well for letters, borders, and detailed art pieces, and it can make a simple form feel much more special. It is also a smart way to add style without using extra materials, which helps keep costs down. If you want a softer mood, use curved lines; if you want a bold look, use deep straight cuts or repeating shapes.
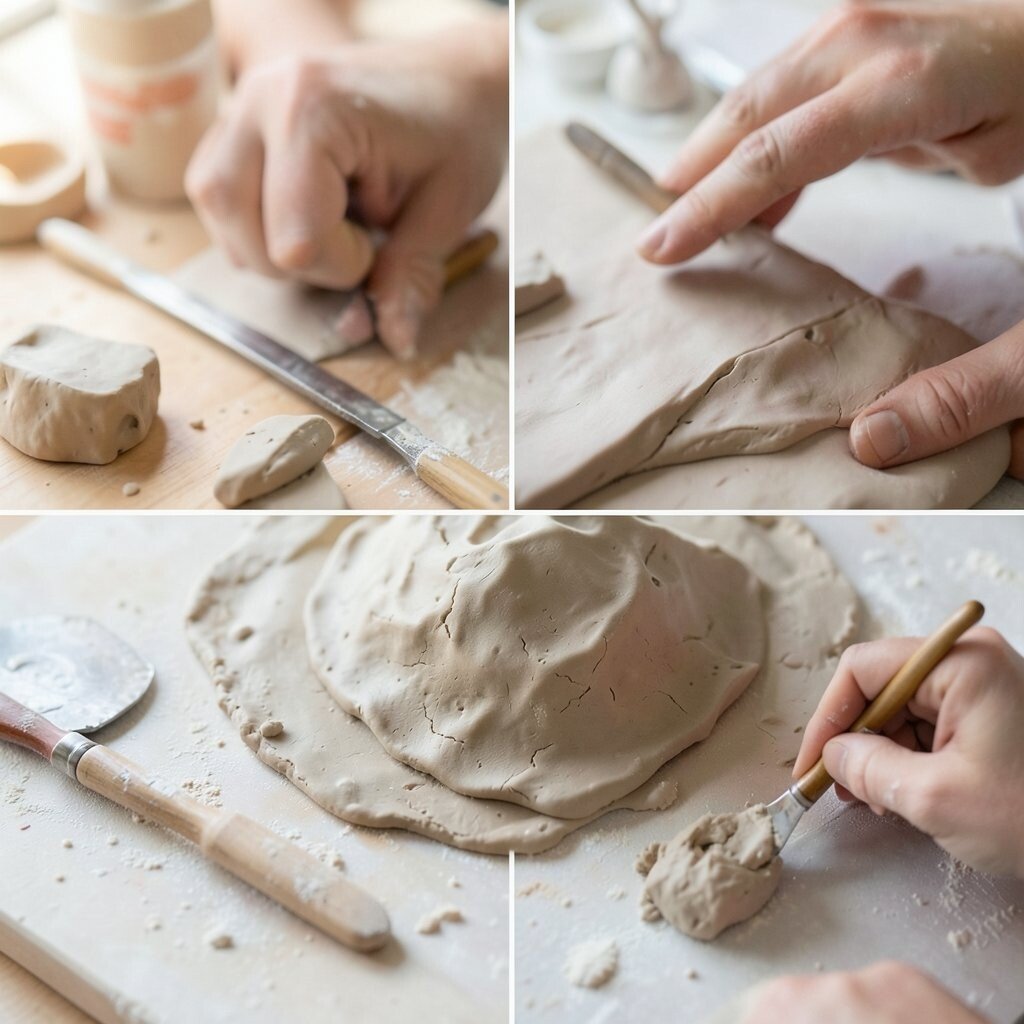
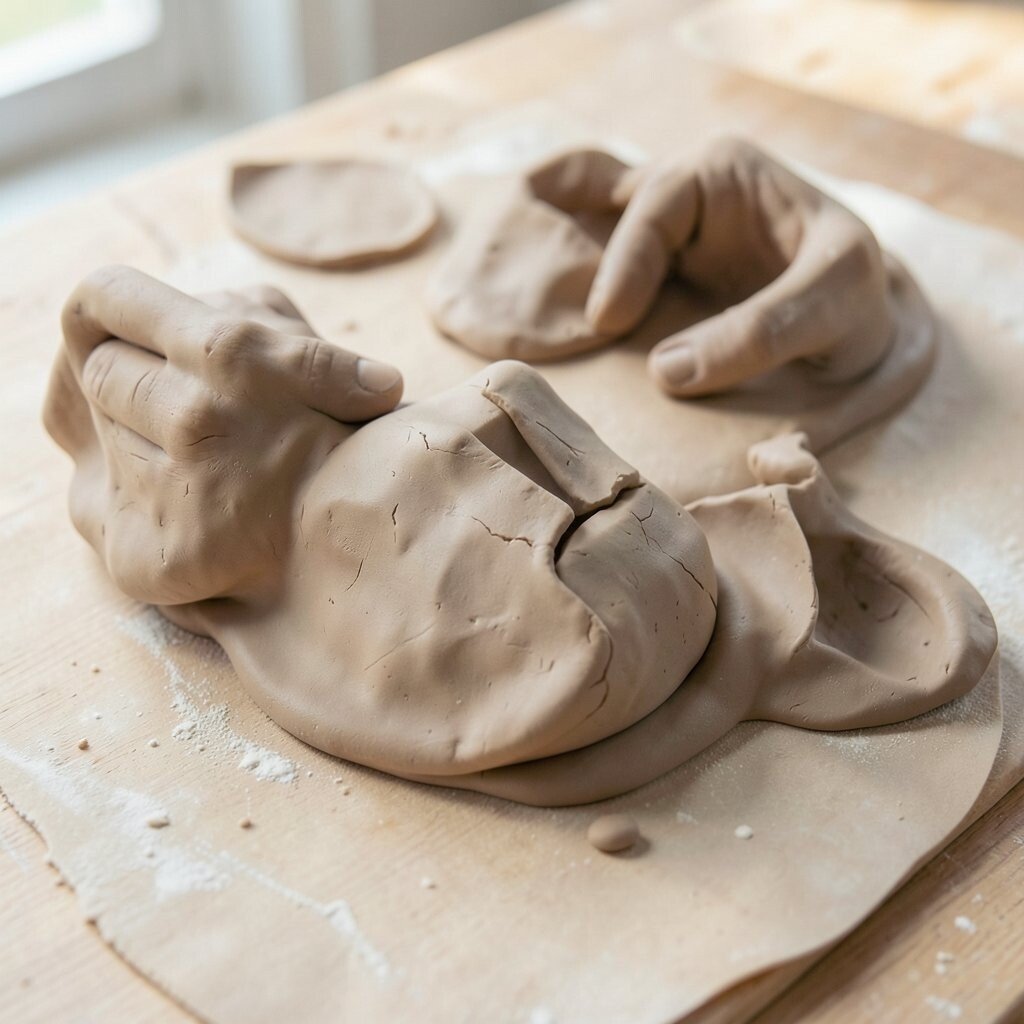
9. Joining Parts for Complex Forms
Top Joining Parts For Complex Forms Craft Tutorials
- 💅 9 Types of Wood Joints – The Best Methods for Joining Wood from learn.kregtool.com.
- 👓 Introduction to EVA Foam : 7 Steps (with Pictures) from instructables.com.
- 💅 A quick tip to craft any EVA foam shape for your next … from instagram.com.
- 🍅 11 Types of Plastic Parts Connection Methods from firstmold.com.
- 👓 52000 Knots. One Man's Journey Into the Craft of… from medium.com.
Joining parts lets you build bigger and more interesting pieces from smaller clay sections. The finished work can look playful, detailed, and full of character.
Always score the contact spots and add slip before pressing pieces together. Support the form while it dries so the joints do not sag or split.
This method is useful for figures, spouts, ears, arms, and layered decor pieces. It also helps when you want to work in stages, which can make larger projects feel less scary. You can personalize the result by changing the angle of each part so the final shape has its own movement and mood.
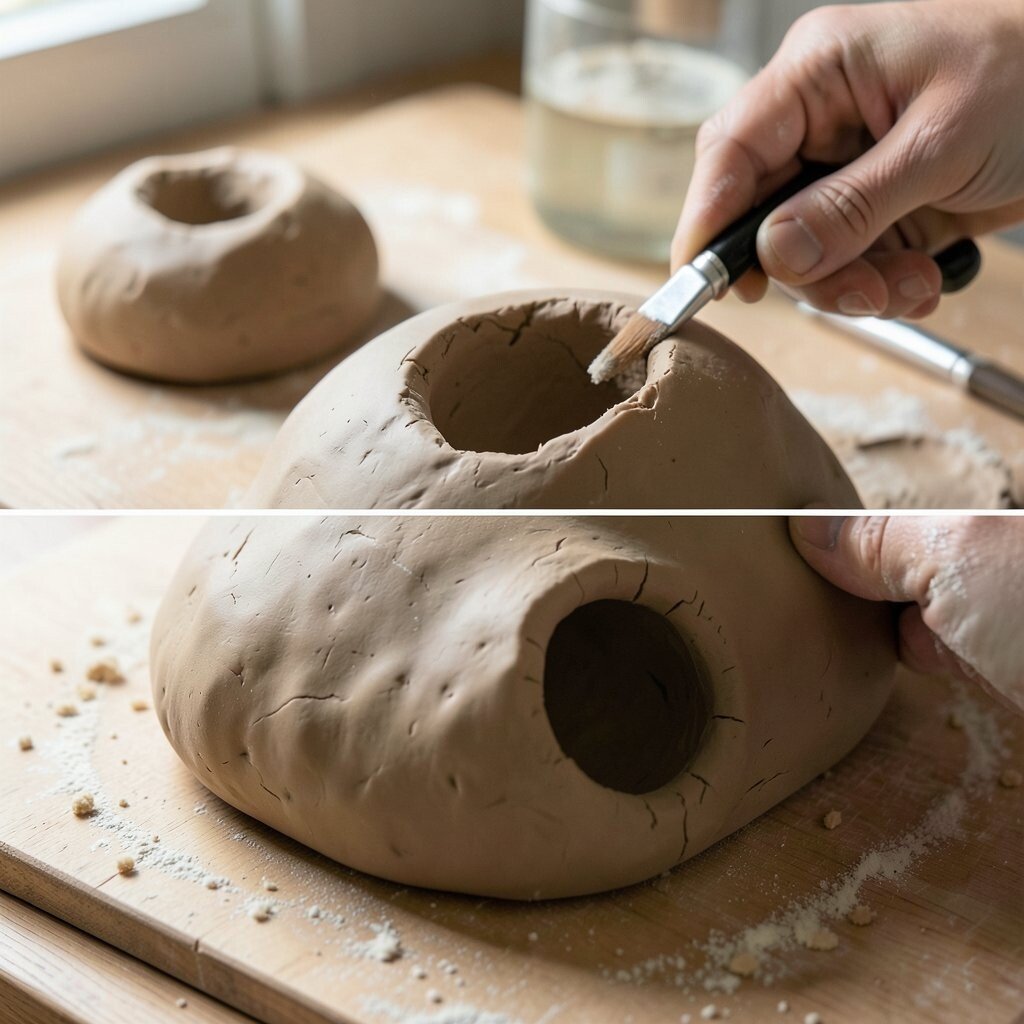
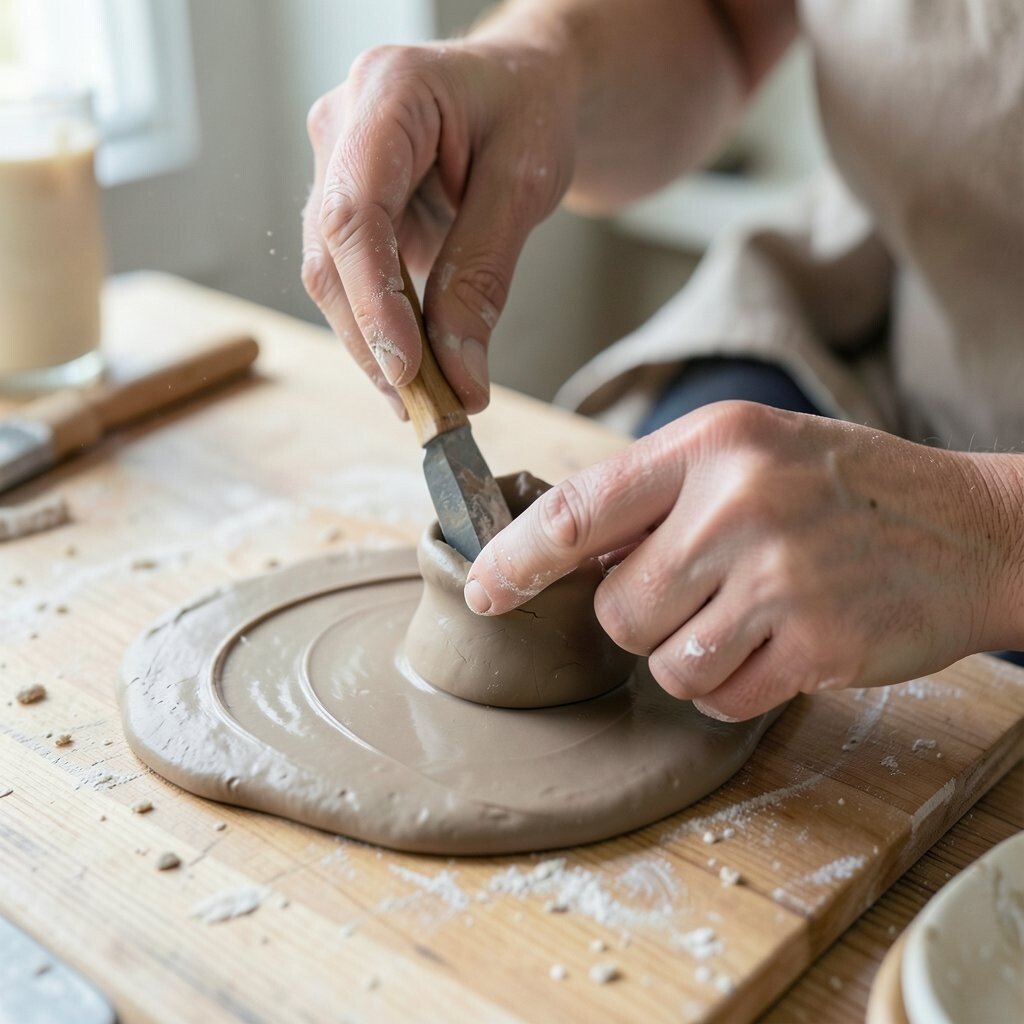
10. Hollowing Out Thick Forms
Top Hollowing Out Thick Forms Craft Tutorials
- 🗺️ Beautifully crafted hollow form woodturning piece from facebook.com.
- 🎨 Hollow Form Assistance | American Association of Woodturners from aawforum.org.
- 🍁 Supersized hollow form from edswoodturning.com.
- 🍁 Another boring hollow form 😳 lol I recently grabbed a few … from instagram.com.
Thick clay pieces can crack if they dry unevenly, so hollowing is a smart habit to build. It also makes large sculptures lighter and easier to move.
Cut the form open when needed, remove some clay from the inside, and then rejoin it carefully. Keep the wall thickness even so the piece dries at a steady pace.
Hollowing is especially helpful for bigger figures and decorative forms that would be too heavy otherwise. It can save materials too, which matters if you work with a limited budget or expensive clay. Many makers now prefer lighter, more practical pieces, so this skill fits well with modern studio needs.
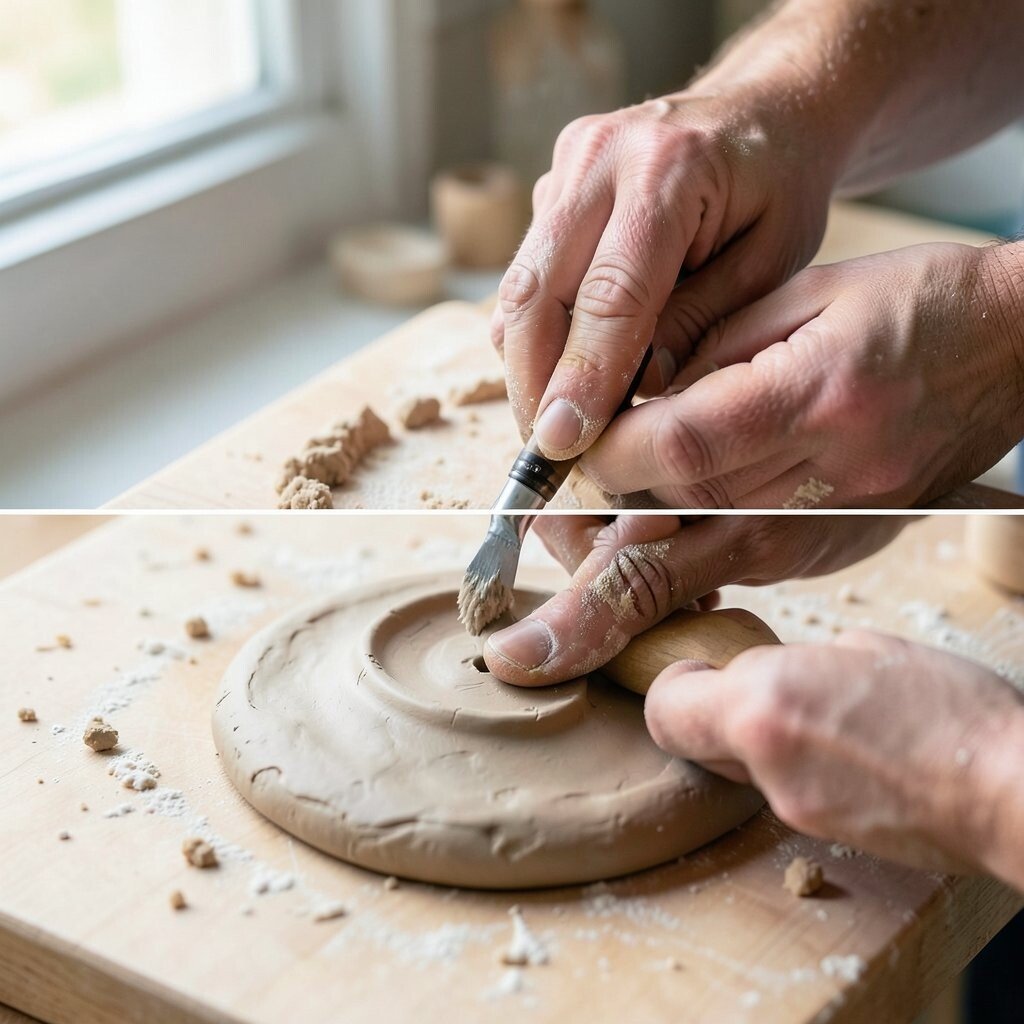
11. Using Tools for Fine Detail

Top Using Tools For Fine Detail Craft Tutorials
- 🖼️ 10 Cutting Tools for Crafters from thesprucecrafts.com.
- 🗺️ Art & Craft Tip of the Day: 🎨 Use a Toothpick for Fine … from facebook.com.
- 🧑🌾 Dremel 2050-11 Stylo + 11 piece Cutting and Engraving Kit … from walmart.com.
- 💅 All About Cricut Blades and Machine Tools from help.cricut.com.
- 👓 Back when I started with polymer clay, there were very few … from facebook.com.
Small tools can bring tiny eyes, folds, fur, and patterns to life. Those details often make the biggest difference in how finished a piece feels.
Try loop tools, needle tools, wooden sticks, and silicone shapers to see what each one does best. Keep your tools clean so they glide smoothly across the clay.
Detail work is where your style can shine, because even simple forms can become unique with a few careful marks. It helps to work under bright light so you can spot tiny bumps and uneven spots. If you want a custom look, make a set of favorite marks and repeat them across your work like a signature.
12. Blending and Joining Seams
Top Blending And Joining Seams Craft Tutorials
- 🗺️ How to Sew the Ladder Stitch – Hand Sewing Tutorial from whatthecraft.com.
- 🧑🌾 12 Essential Seams for Great Sewing from ctpub.com.
- 💅 Stitching Fun: Easy Kids Sewing Crafts from imthecheftoo.com.
- 🖼️ Master your stitches with our top 12 essential seam types … from facebook.com.
- 🍅 Any tips for blending seams? : r/cosplayprops from reddit.com.
Seams can make a piece look unfinished if they are left rough. Smooth joins, on the other hand, can make the whole form feel solid and calm.
Blend with a finger, sponge, or soft tool until the line disappears or becomes part of the design. Be gentle so you do not flatten the shape you worked hard to make.
This technique matters in both handbuilt and sculpted work because strong seams help the piece last longer. It also gives you control over the final look, from nearly invisible joins to bold joined lines that stay as part of the design. If you like a cleaner style, blend everything; if you like a handmade style, leave a few join marks on purpose.
13. Building Texture with Layered Details
Top Building Texture With Layered Details Craft Tutorials
- 🍅 Layered textures, coordinated colors, and a mix of … from instagram.com.
- 🍁 Mixed media art project with layers and texture from facebook.com.
- 🍁 20 Texture techniques – Mont Marte Global from montmarte.com.
- 🍂 Sculpted layers, hand-painted details, pure 3D texture art 🖌🎨 from facebook.com.
Layered details can make clay look rich, busy, and full of story. Think of scales, feathers, petals, shingles, or stacked strips that overlap like real life.
Add each layer with care so the edges sit nicely on the layer below. Keep the rhythm steady, because uneven spacing can make the whole piece feel messy.
This technique is a favorite for fantasy art, animal forms, and decorative wall pieces because it creates strong visual interest. It can take time, so plan your budget and clay use before starting a large project. To make it more personal, change the size and direction of the layers so the surface reflects your own taste and mood.
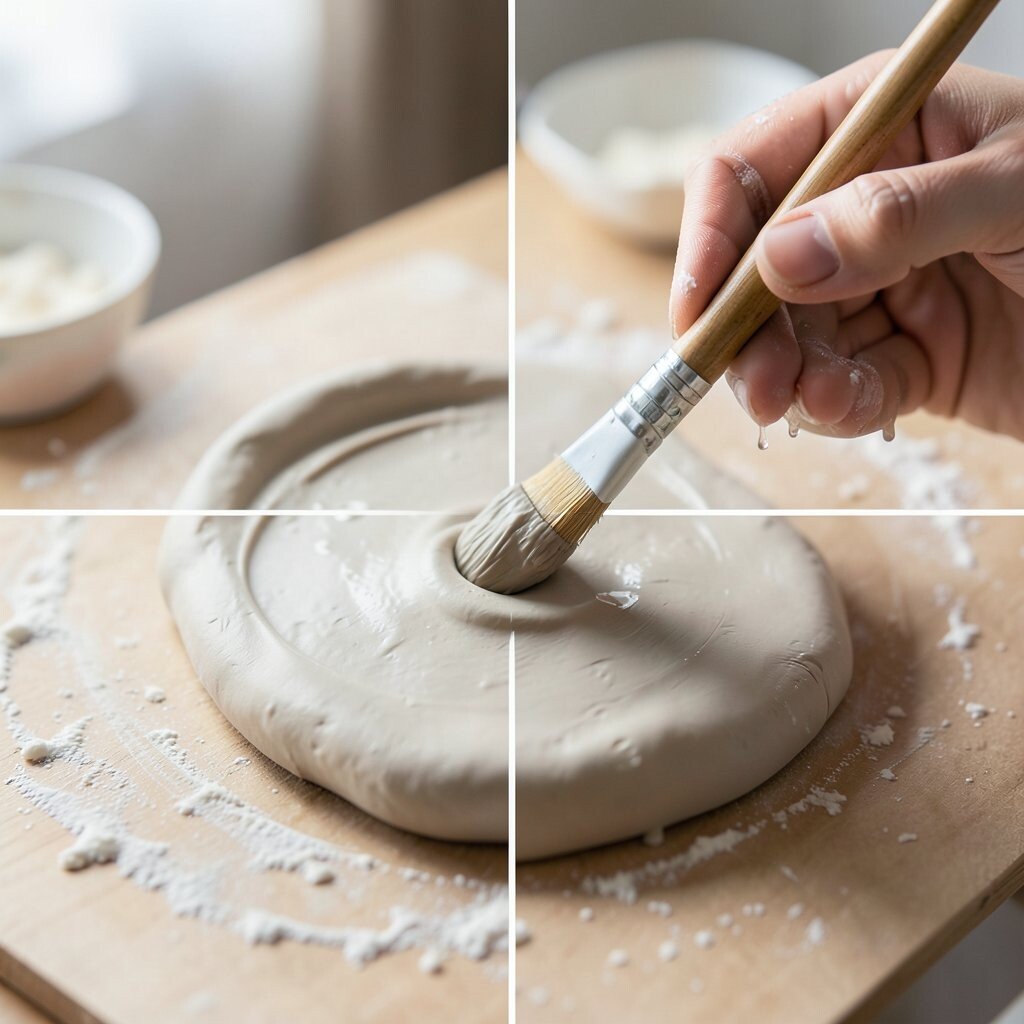
14. Working with Slip for Strong Bonds
Top Working With Slip For Strong Bonds Craft Tutorials
- 🎨 How to use slip #pottery #clayart #handmade from facebook.com.
- 🍁 21 Pottery Clay Slip Questions Answered from potterycrafters.com.
- 🍂 Impressions, Imprints, and Dipping from ceramicartsnetwork.org.
Slip is liquid clay, and it acts like glue for many clay projects. It helps parts stick together and can also be used for painting or filling small gaps.
Mix slip to a smooth, creamy feel so it spreads easily. Use just enough to coat the joint, because too much can make the area soggy.
This simple material is cheap to make and very useful in the studio, which is great for anyone watching costs. It supports sturdy construction, so your work has a better chance of surviving drying and firing. You can also tint slip with colored clay or use it in a pattern, which adds a fun custom touch to the surface.
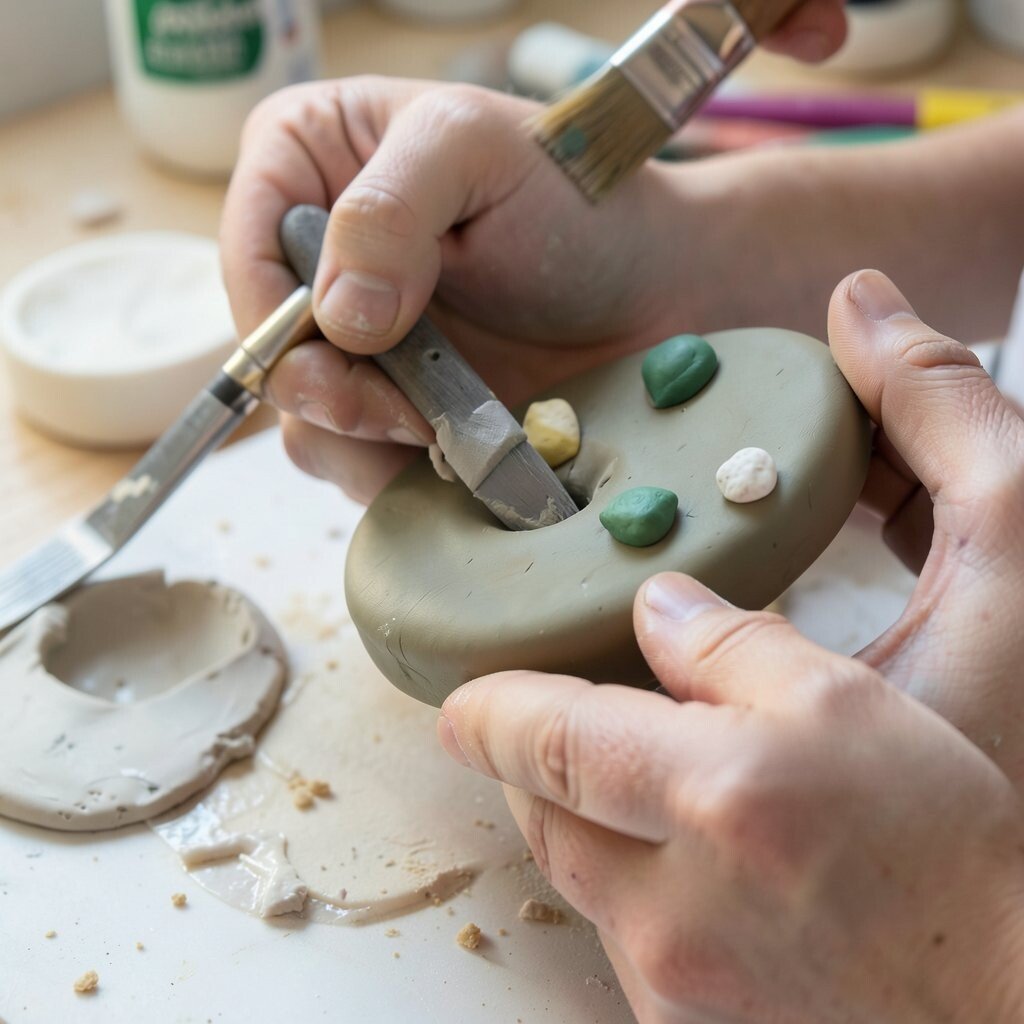
15. Finishing with Surface Design and Color
Top Finishing With Surface Design And Color Craft Tutorials
- 🗺️ surface design — BLOG from bobbibaughstudio.com.
- 💅 A Surface Designer's Toolkit: Exploring Traditional Media from rebeccarueth.com.
- 🧑🌾 How to Get Started in Surface Pattern Design from elizabethsilver.com.
- 🍂 Surface Design: Monoprinting, Patterns, and More from cappersfarmer.com.
- 👓 Favorite books about surface design or textile crafts? from facebook.com.
Surface design gives your clay piece its final voice. Color, glaze, underglaze, stains, and wax can make the same shape feel soft, bright, moody, or bold.
Test colors on sample tiles before using them on a finished piece. Some glazes look very different after firing, so small tests can save time and money.
This is where current trends often show up, from earthy matte tones to glossy candy colors and mixed finishes. It is also the best place to make the piece feel like yours, since color choice can reflect mood, memory, or a favorite place. Try pairing a simple shape with one strong color, or mix several quiet tones for a calm, handmade look.