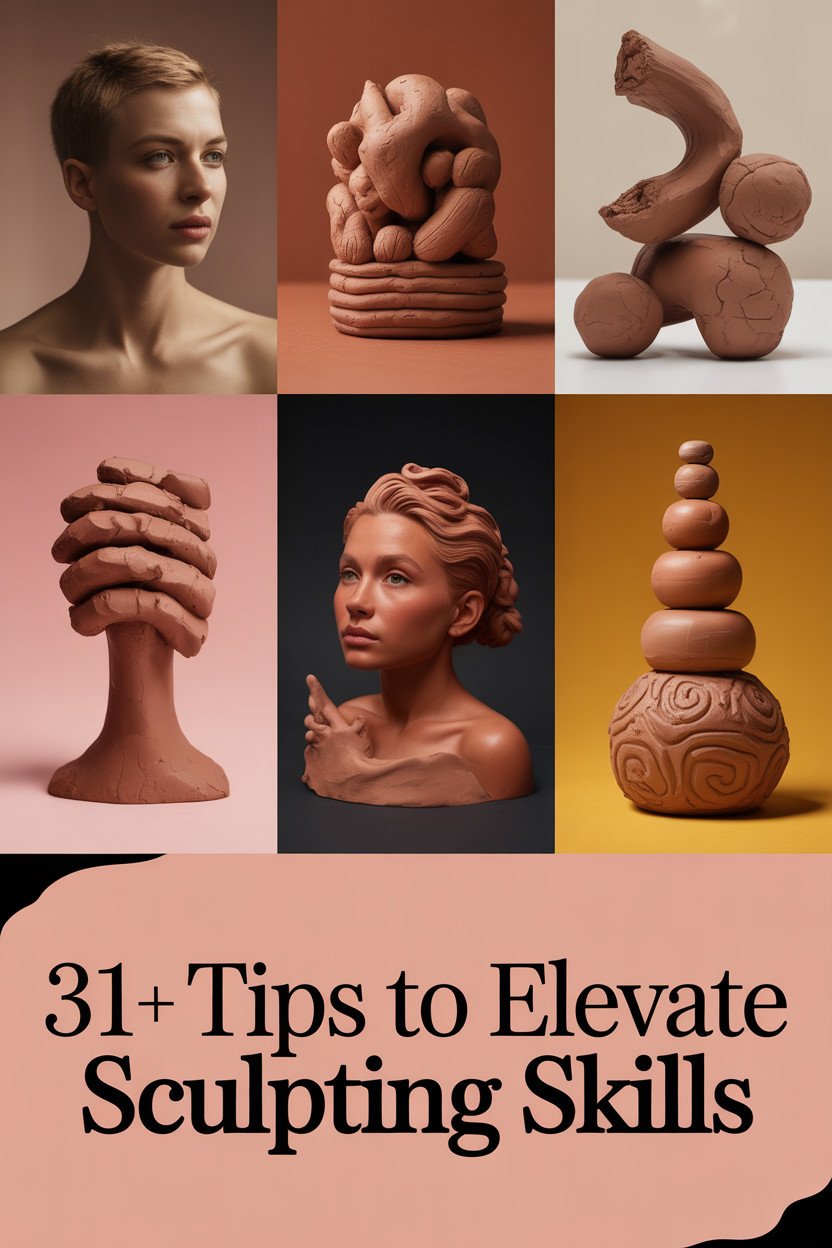
Unleash your creative potential with the magic of sculpting clay. New techniques and ideas can turn your clay creations into stunning masterpieces. Prepare to immerse yourself in an artistic journey like no other.
1. Embrace the Power of Texture
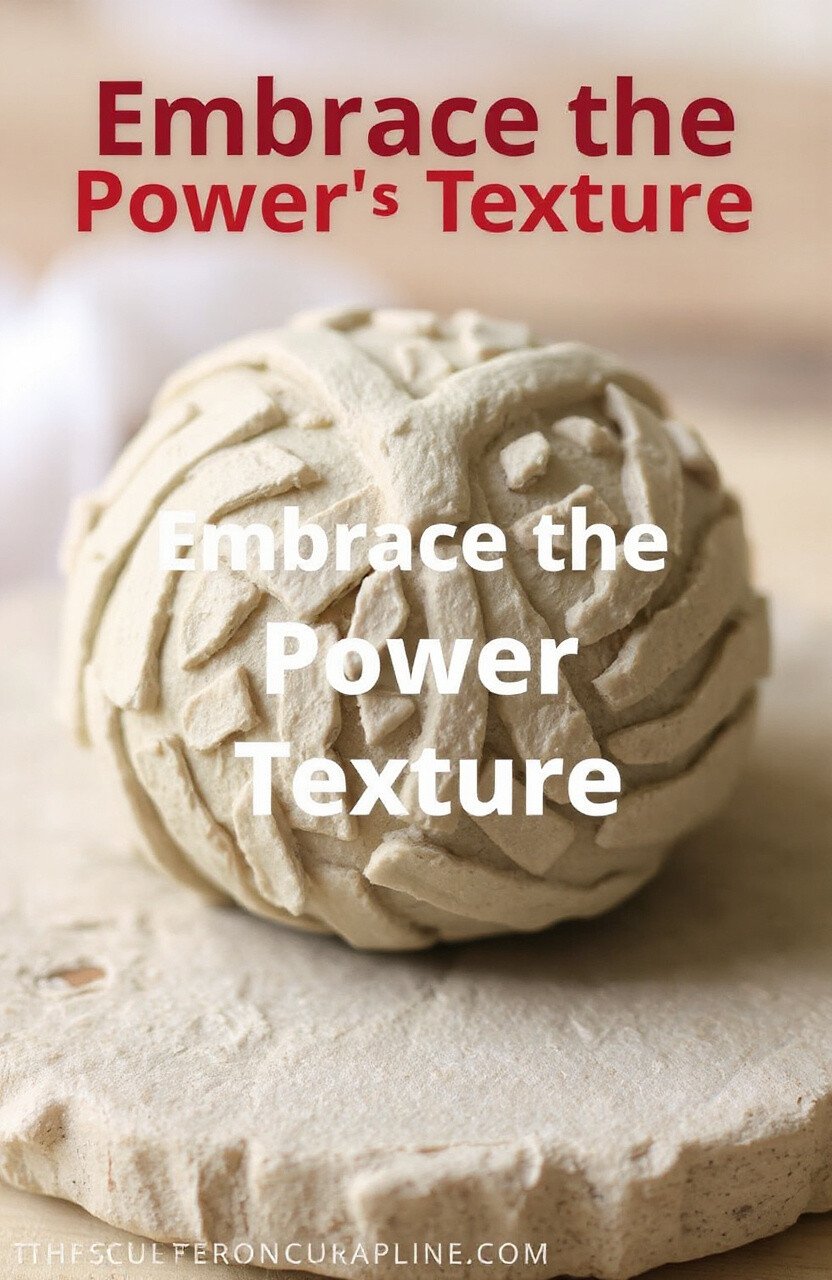
Experiment with different textures to bring your clay pieces to life. Use everyday objects like forks, sponges, or leaves to create unique patterns.
Textures add depth and interest to your sculptures, making them more engaging and visually appealing. The best part is that it’s inexpensive and fun!
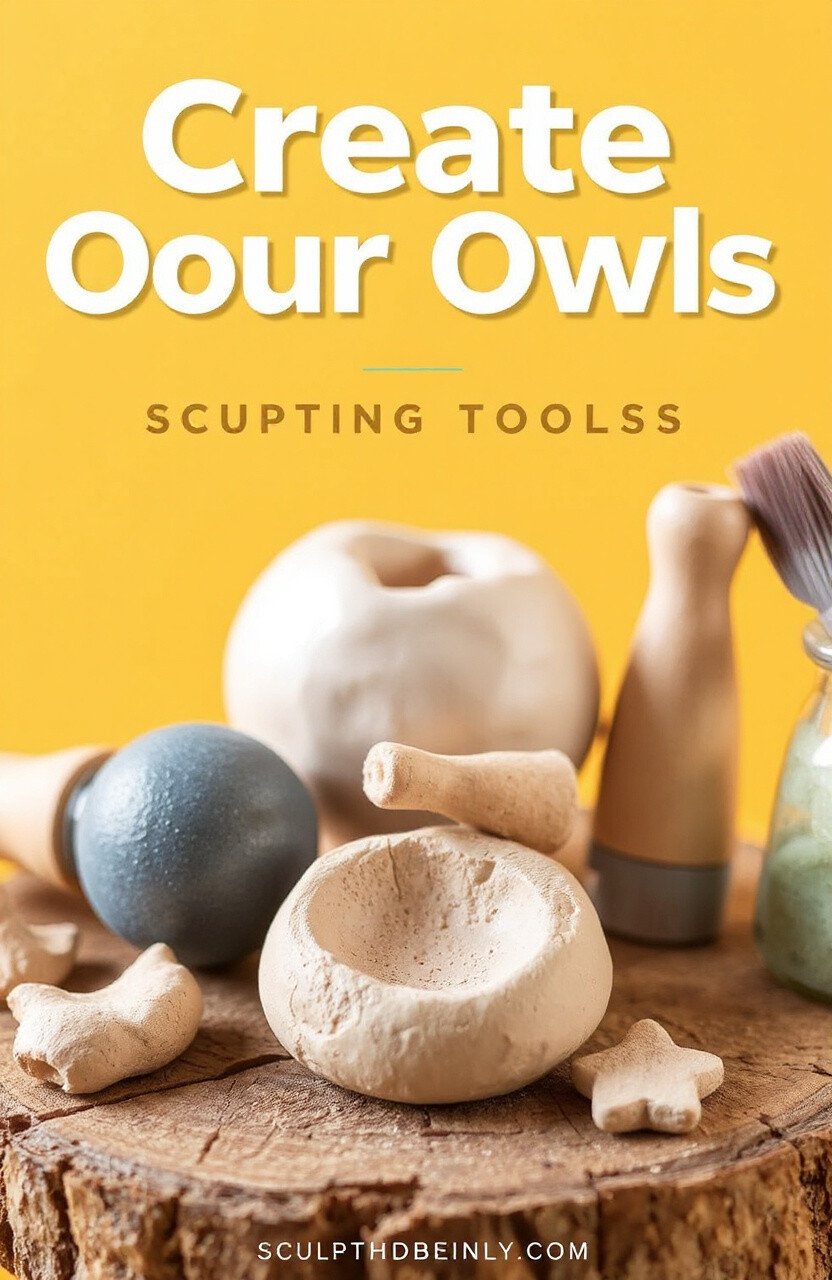
2. Invest in Quality Tools

Good tools can make a huge difference in your sculpting journey. Consider purchasing a set of high-quality sculpting tools to refine your skills.
While the initial cost might be higher, the precision and ease they offer are unparalleled. Think of it as an investment in your creative growth.
3. Play with Pigments
Adding color to your clay can transform the mundane into the extraordinary. Try mixing pigments directly into the clay before sculpting.
Colored clay can save you the hassle of painting later and provide a uniform color throughout. It’s a simple way to add vibrancy to your work.
4. Explore Mixed Media
Combine clay with other materials like wood, metal, or fabric to create something truly unique. This combination can add a new dimension to your pieces.
Mixed media sculptures are trending in the art world, offering endless possibilities for personalization and creativity. Let your imagination run wild!
5. Practice Patience with Details

Details make all the difference in sculpting. Spend extra time refining the finer aspects of your sculptures to elevate their quality.
Attention to detail shows dedication and can turn a good sculpture into a great one. Patience is key, and the results are worth it.
6. Keep it Moist

Clay can dry out quickly, making it hard to work with. Keep a spray bottle handy to mist your clay and maintain its moisture.
A little water goes a long way in keeping your clay pliable and easy to shape. It’s an inexpensive tip that can save you time and frustration.
7. Master the Art of Joining Pieces
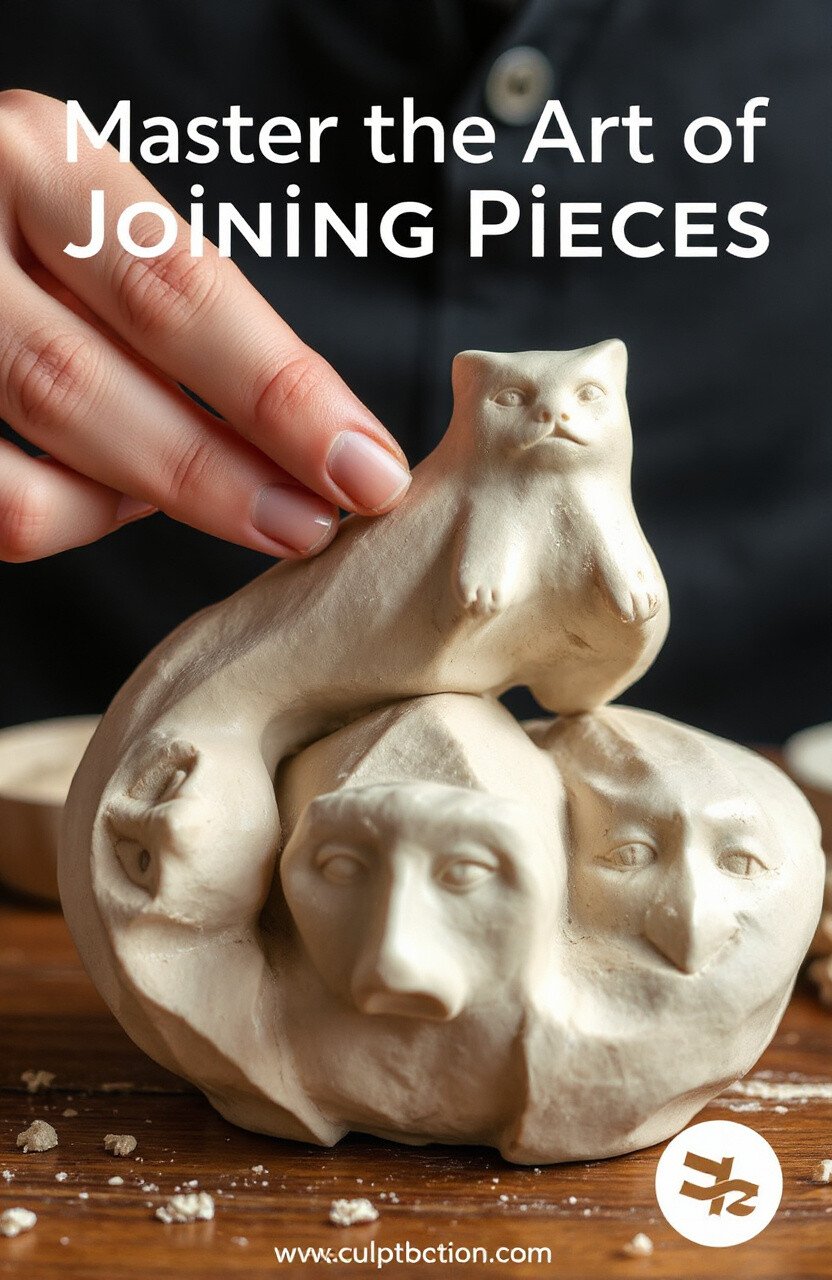
Joining clay pieces seamlessly is an art in itself. Use slip (a mixture of clay and water) to attach pieces securely and avoid cracks.
This technique is essential for creating larger sculptures or complex designs. It ensures the durability and longevity of your creations.
8. Experiment with Armatures
Armatures provide a strong base for your sculptures. Use wire or aluminum foil to shape a skeleton before adding clay.
This method allows for more dynamic poses and can support larger pieces. It’s a great way to explore more ambitious projects.
9. Embrace Happy Accidents

Mistakes can lead to unexpected and beautiful results. If something goes wrong, see if you can turn it into a new design element.
Some of the best art comes from improvisation. Embracing mistakes can lead to more original and creative sculptures.
10. Use a Lazy Susan
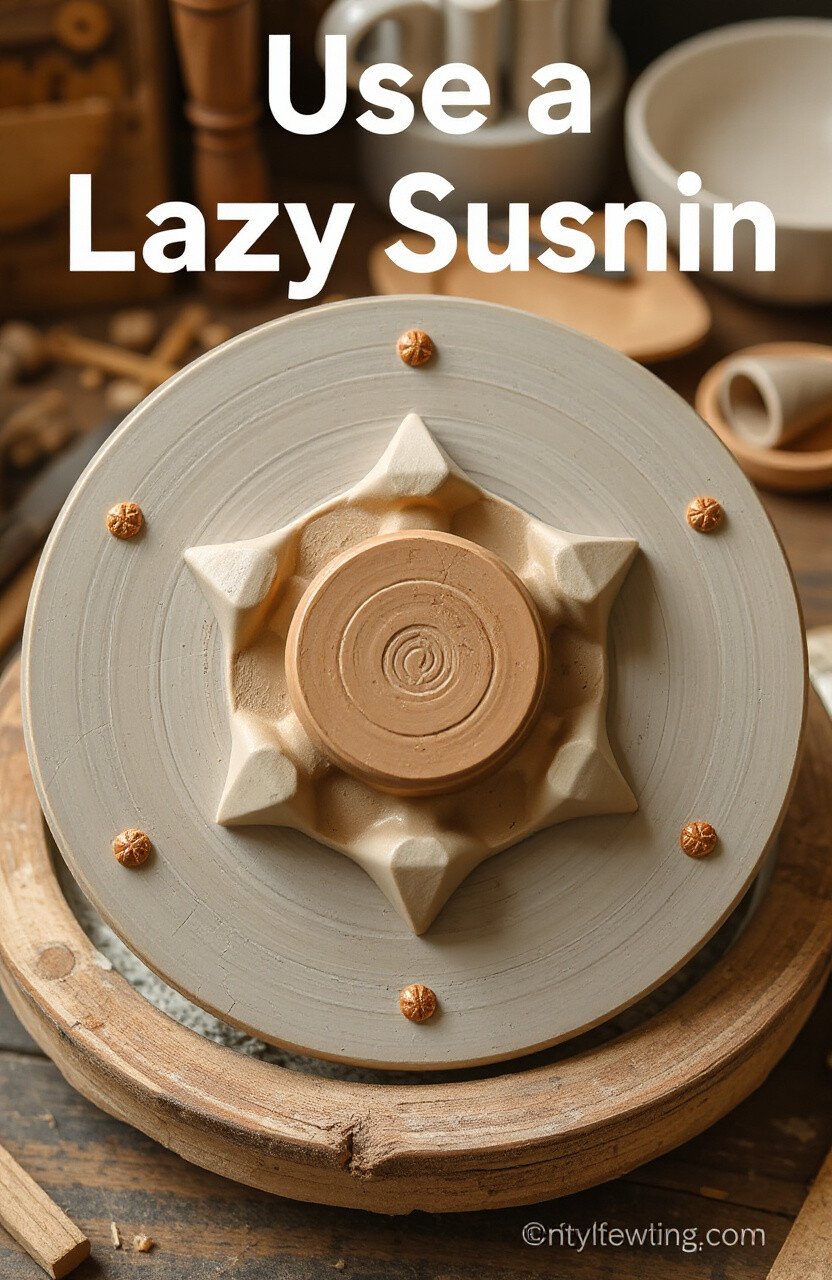
A lazy Susan can be a game-changer for sculpting. It allows you to easily rotate your piece for an all-around view.
This tool provides convenience and helps you achieve symmetry and balance in your pieces. It’s surprisingly affordable and very effective.
11. Create Your Own Tools
Sometimes, the best tools are the ones you make yourself. Use household items to create custom tools tailored to your needs.
This approach encourages creativity and resourcefulness, often resulting in unique textures and effects. Plus, it’s cost-effective!
12. Understand Clay Types
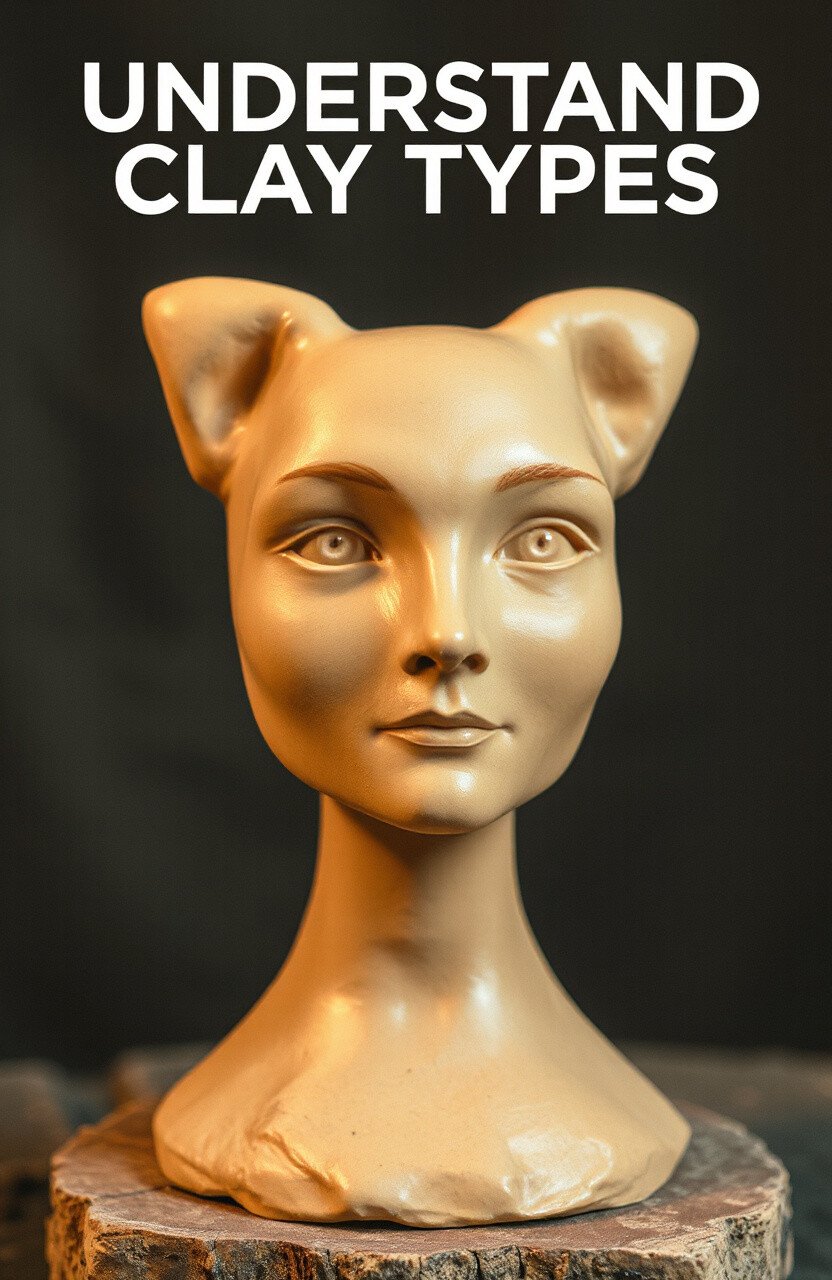
Different clays have different properties. Familiarize yourself with types like polymer, air-dry, and earthenware to choose the right one for your project.
Each type offers unique benefits and finishes, influencing the outcome of your work. Knowledge of clay types expands your sculpting possibilities.
13. Practice Regularly
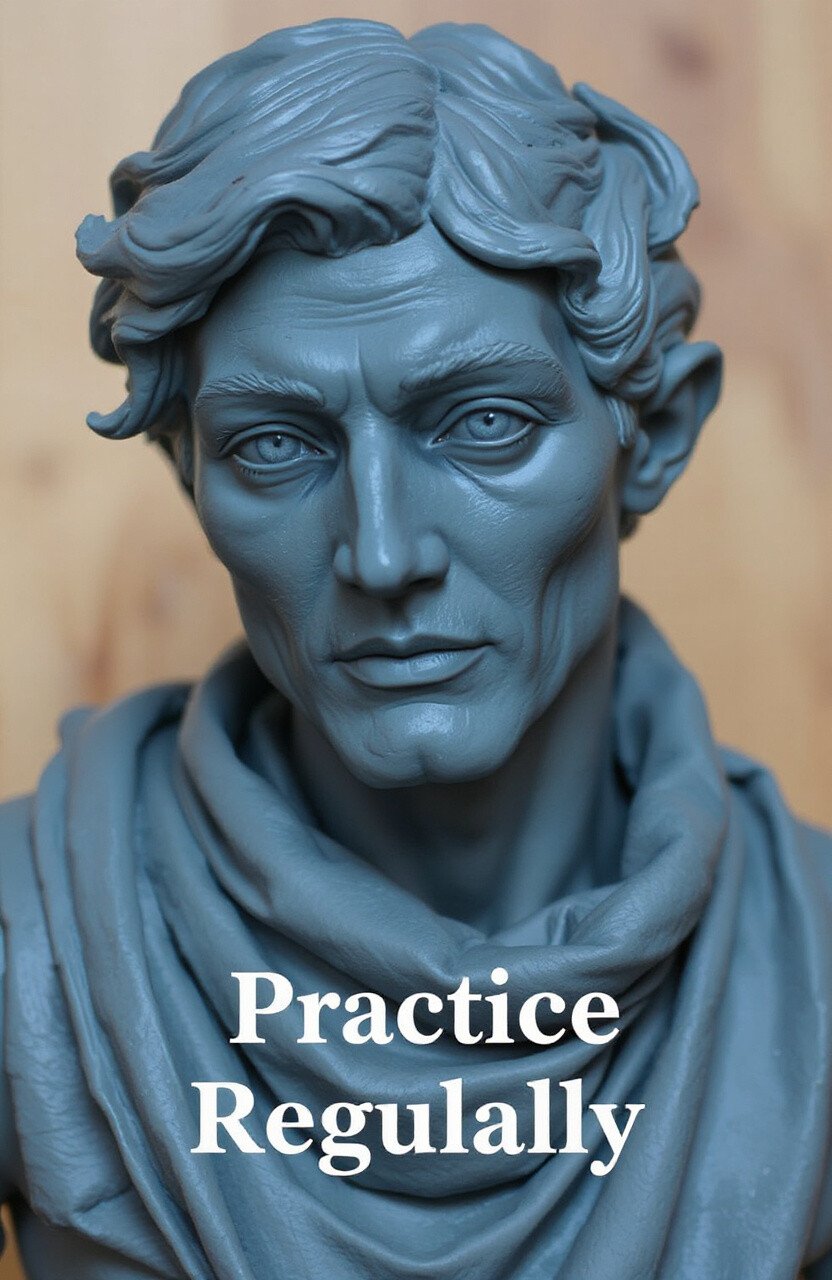
Like any skill, sculpting improves with practice. Set aside regular time for sculpting to hone your skills and develop your style.
Consistent practice leads to greater confidence and proficiency. Even short, daily sessions can produce significant improvements over time.
14. Seek Inspiration Everywhere

Inspiration is all around you. Observe the natural world, art, and everyday objects for ideas to incorporate into your sculptures.
Keeping an open mind to your surroundings can fuel creativity and lead to unique and exciting projects. Inspiration knows no bounds!
15. Use a Mirror
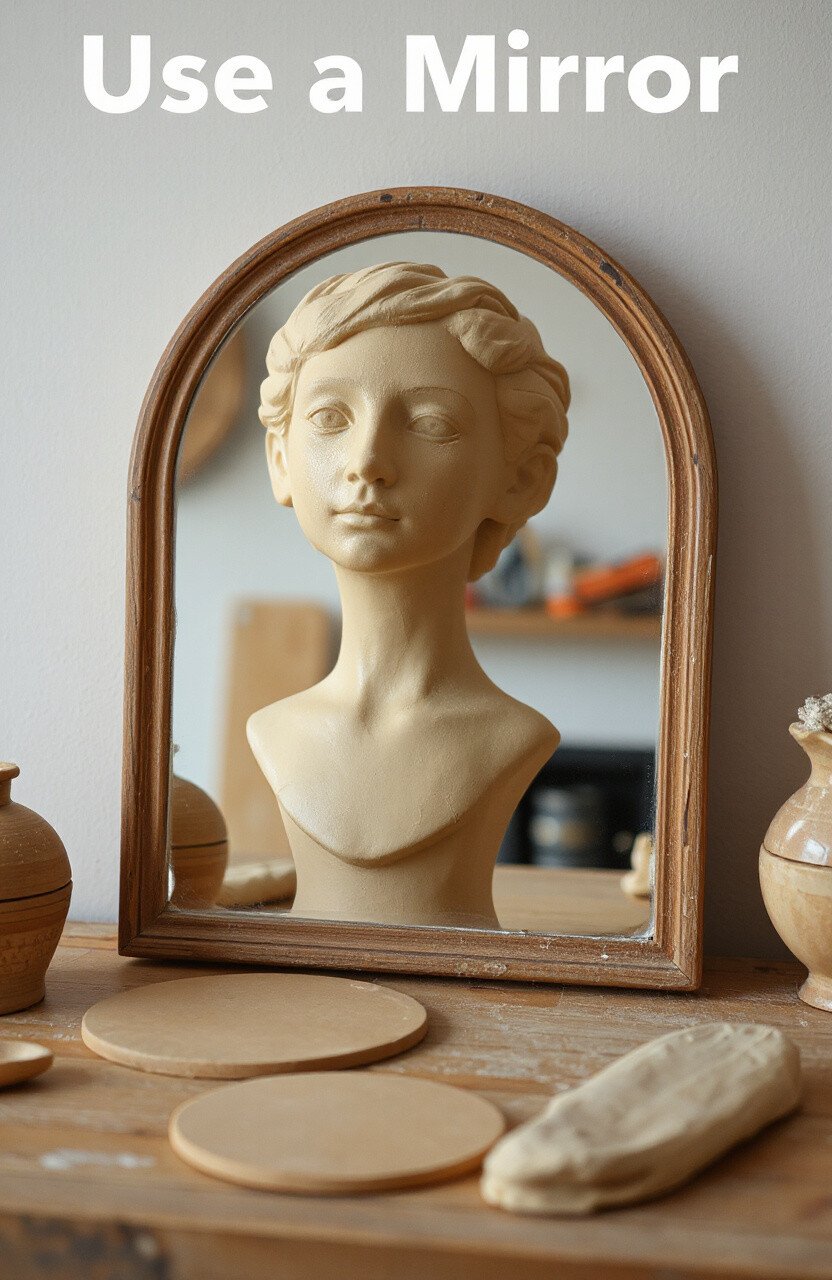
A mirror can help you view your sculpture from a different perspective. It can reveal asymmetries or areas that need refinement.
Mirrors are a simple and accessible tool that provides a fresh set of eyes, enhancing the quality of your work. It’s like having a second opinion!
16. Experiment with Scale

Try working on both large and small scales to challenge yourself and expand your skills. Each size offers unique challenges and opportunities.
Scaling up can be liberating, while miniatures demand precision and focus. Both can enhance your versatility as an artist.
17. Document Your Progress
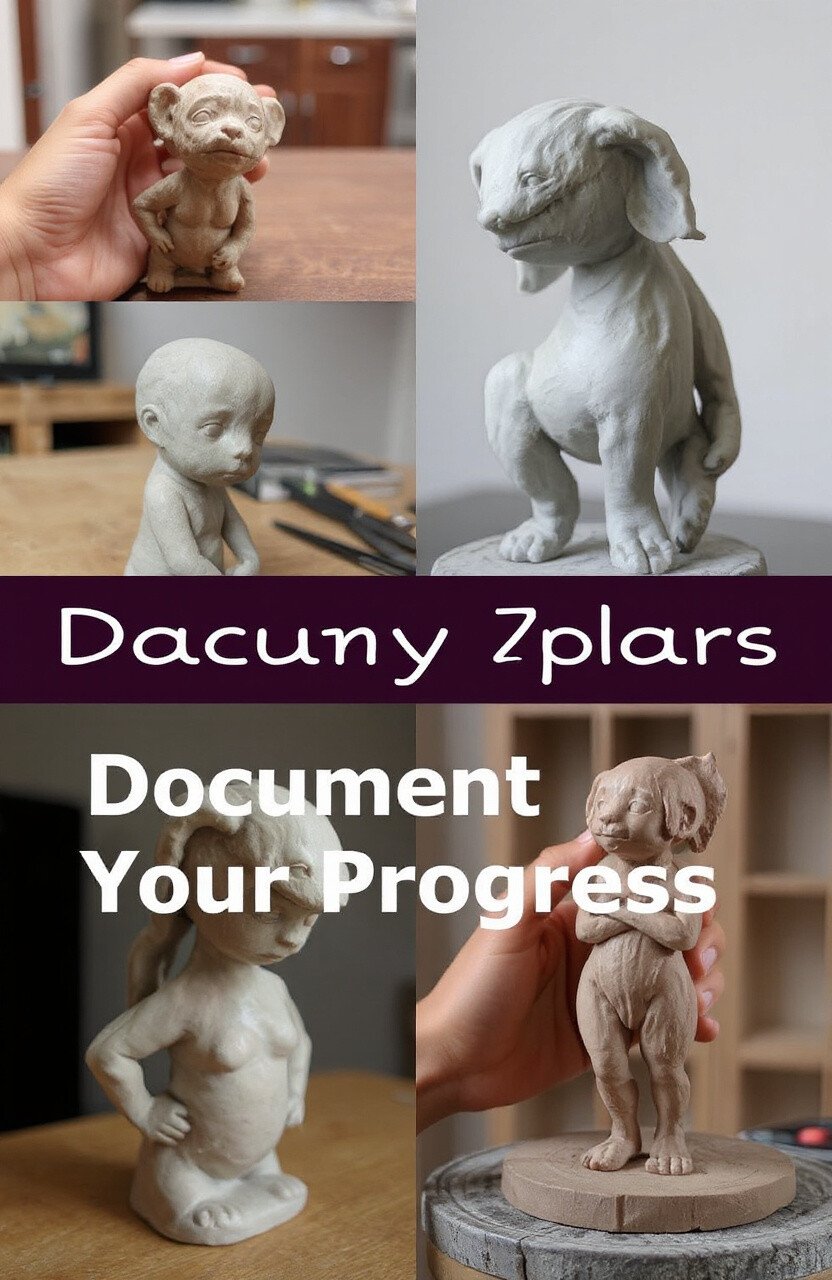
Take photos of your sculptures at various stages. This documentation helps track your progress and understand your creative process.
Looking back at past work can be incredibly motivating and enlightening. It also helps identify areas for improvement and celebrate your growth.
18. Try Sculpting Blindfolded
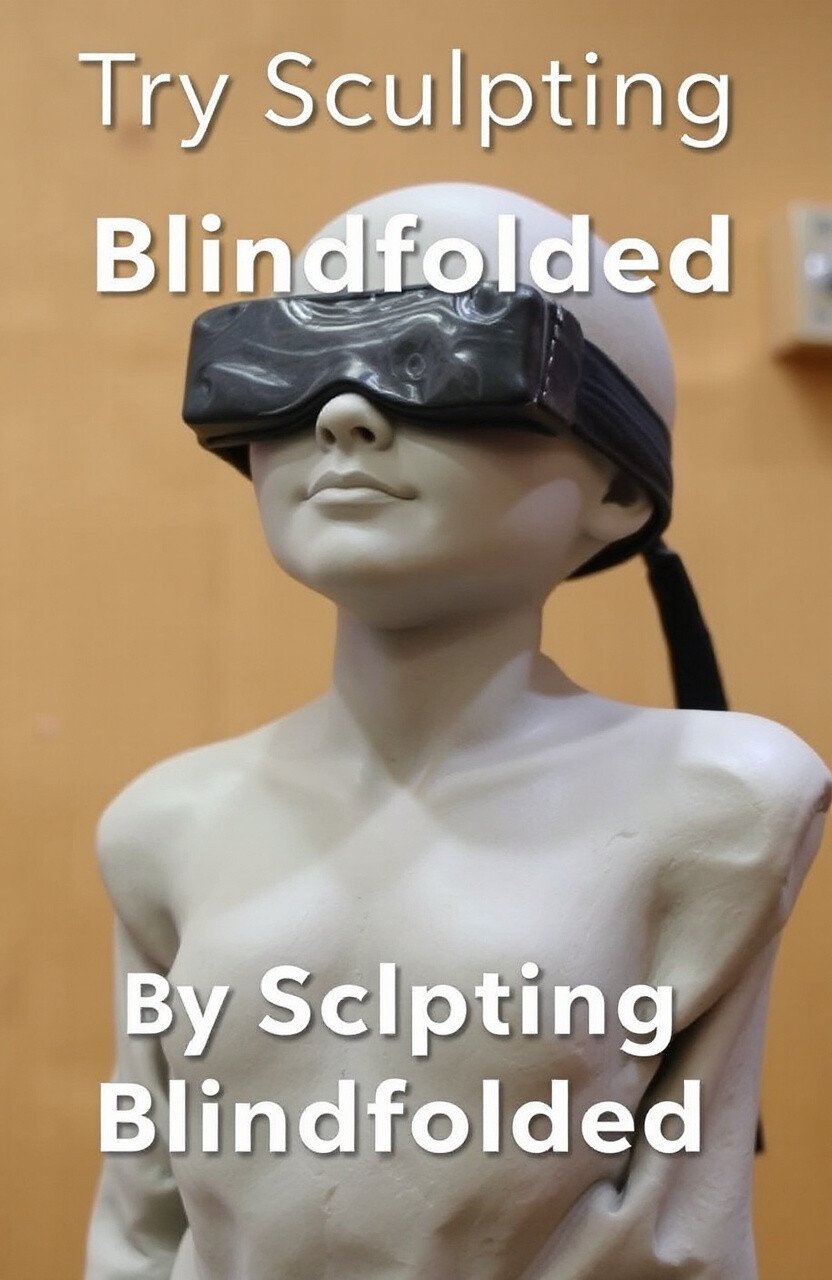
Challenge your tactile senses by sculpting without sight. This exercise can improve your connection with the material and boost creativity.
It encourages a focus on feel rather than appearance, leading to more intuitive and organic creations. Plus, it’s a fun and unique challenge!
19. Join a Community
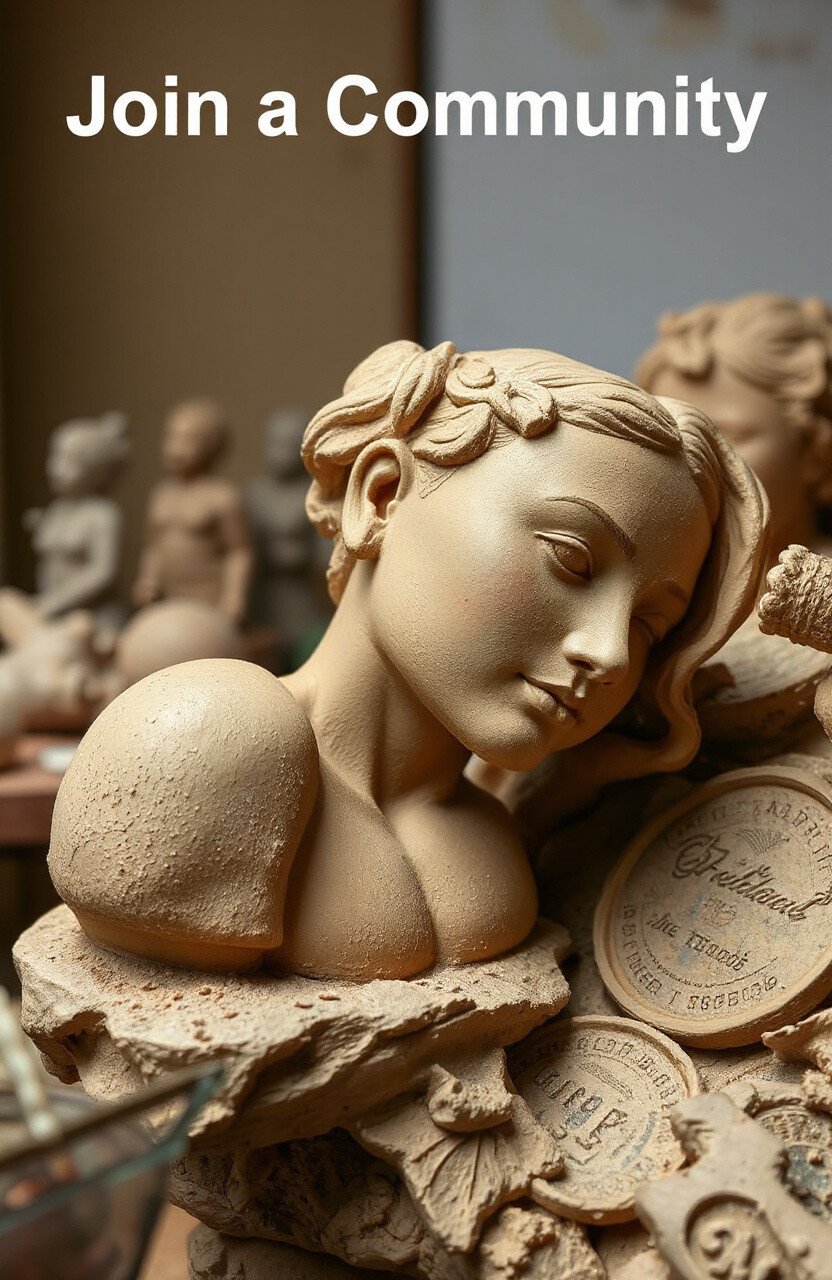
Connecting with other sculptors can provide support, feedback, and inspiration. Join online forums or local art groups to share your passion.
Communities foster creativity and collaboration, often leading to new ideas and friendships. It’s a wonderful way to grow and learn together.
20. Create a Themed Series
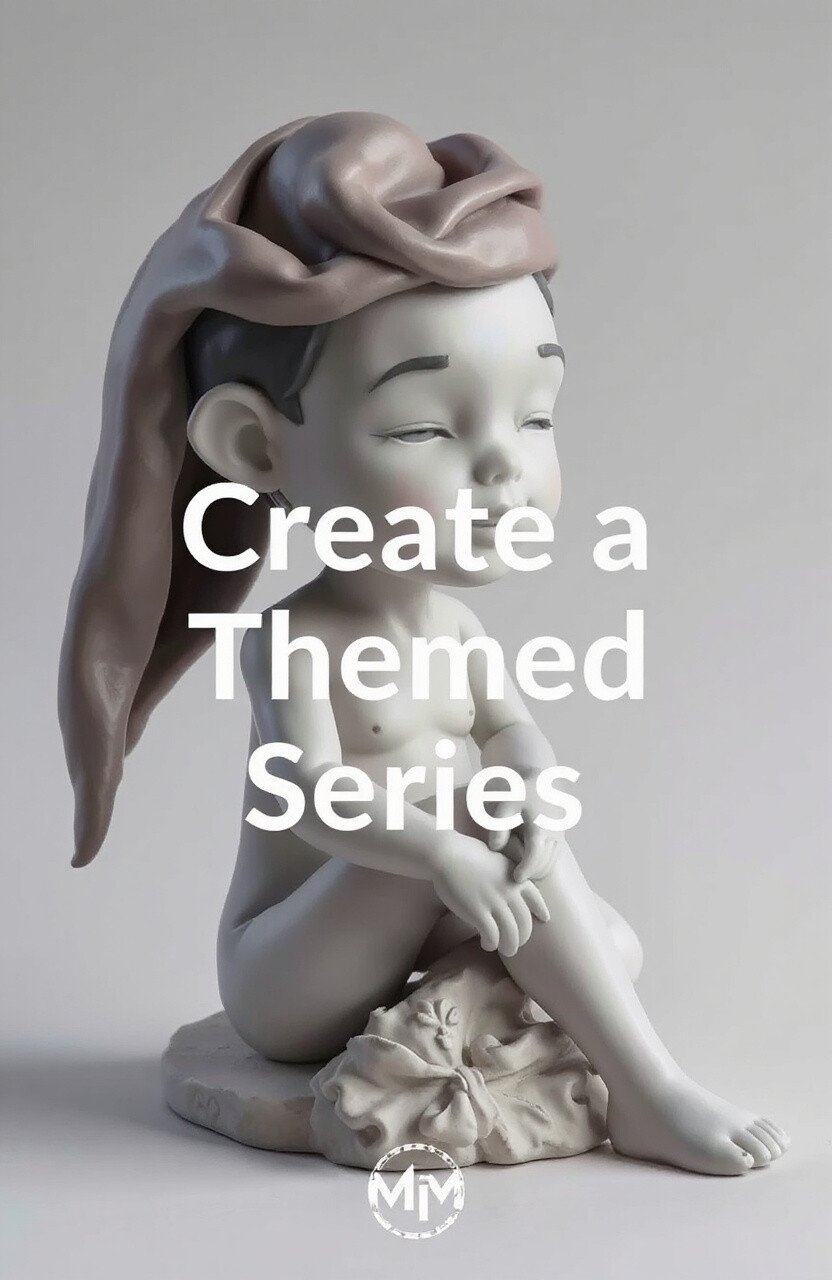
Choose a theme and create a series of sculptures around it. This approach can deepen your exploration of a concept and refine your style.
Themed series can be compelling and cohesive, providing a narrative to your work. It’s a fantastic way to challenge yourself and engage your audience.
21. Incorporate Movement

Experiment with creating a sense of movement in your sculptures. Dynamic poses or flowing lines can make your pieces more lively and captivating.
Movement adds energy and drama, drawing viewers’ attention. It’s a powerful technique to bring your sculptures to life.
22. Test Different Finishes
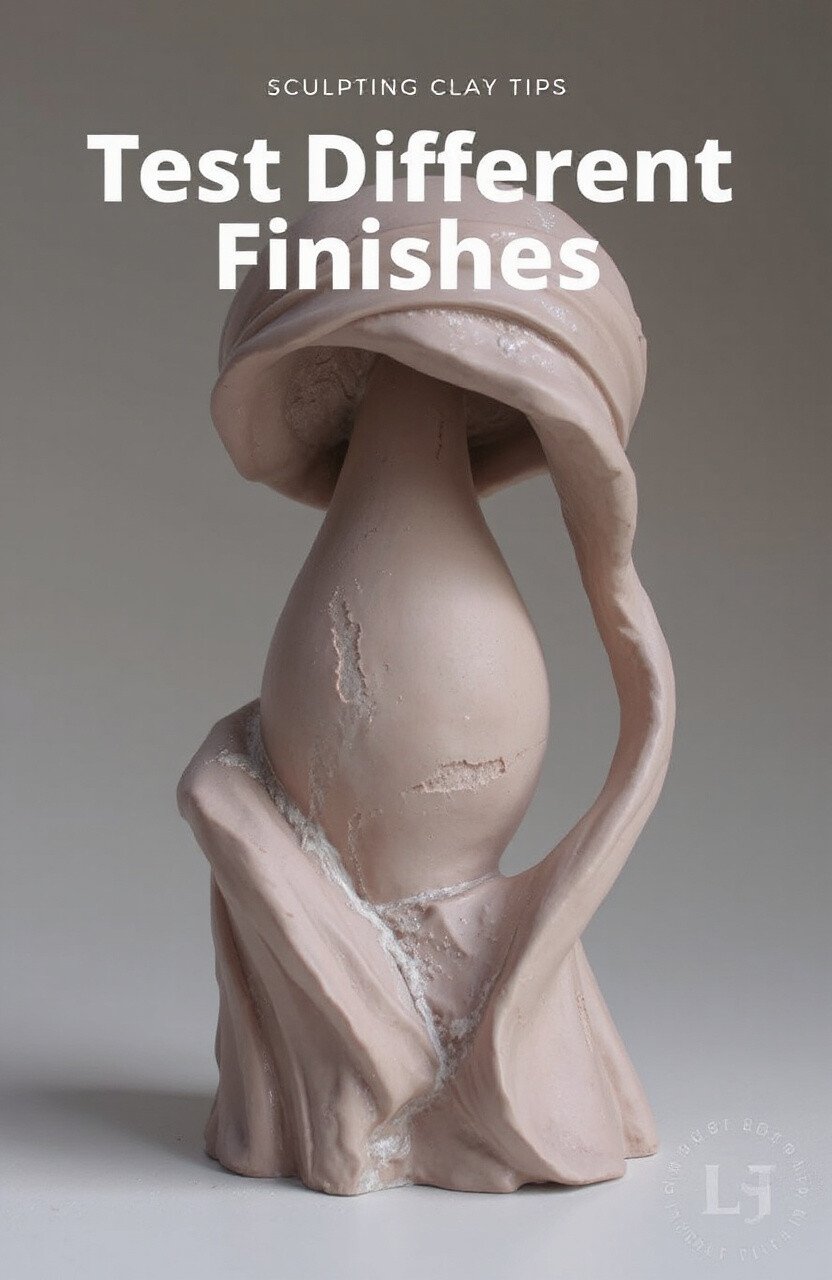
Finishes can dramatically alter the look and feel of your sculpture. Experiment with gloss, matte, or textured finishes to see what works best.
Different finishes can highlight various aspects of your work, adding another layer of interest. It’s a creative way to enhance your sculptures.
23. Learn from Masters
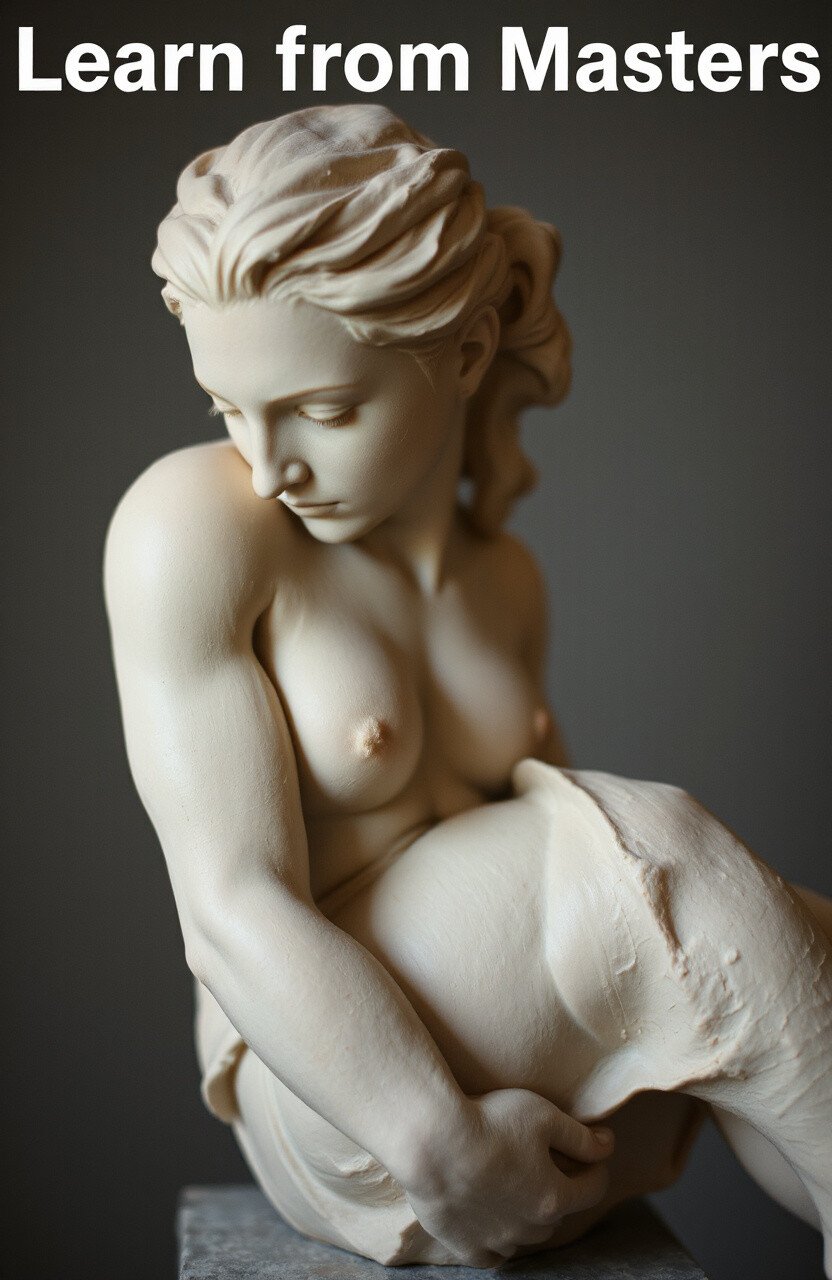
Study the work of master sculptors for inspiration and techniques. Observing their work can provide valuable insights and spark new ideas.
Masterpieces offer lessons in form, texture, and emotion. Learning from the best can elevate your own sculpting skills significantly.
24. Use Natural Elements
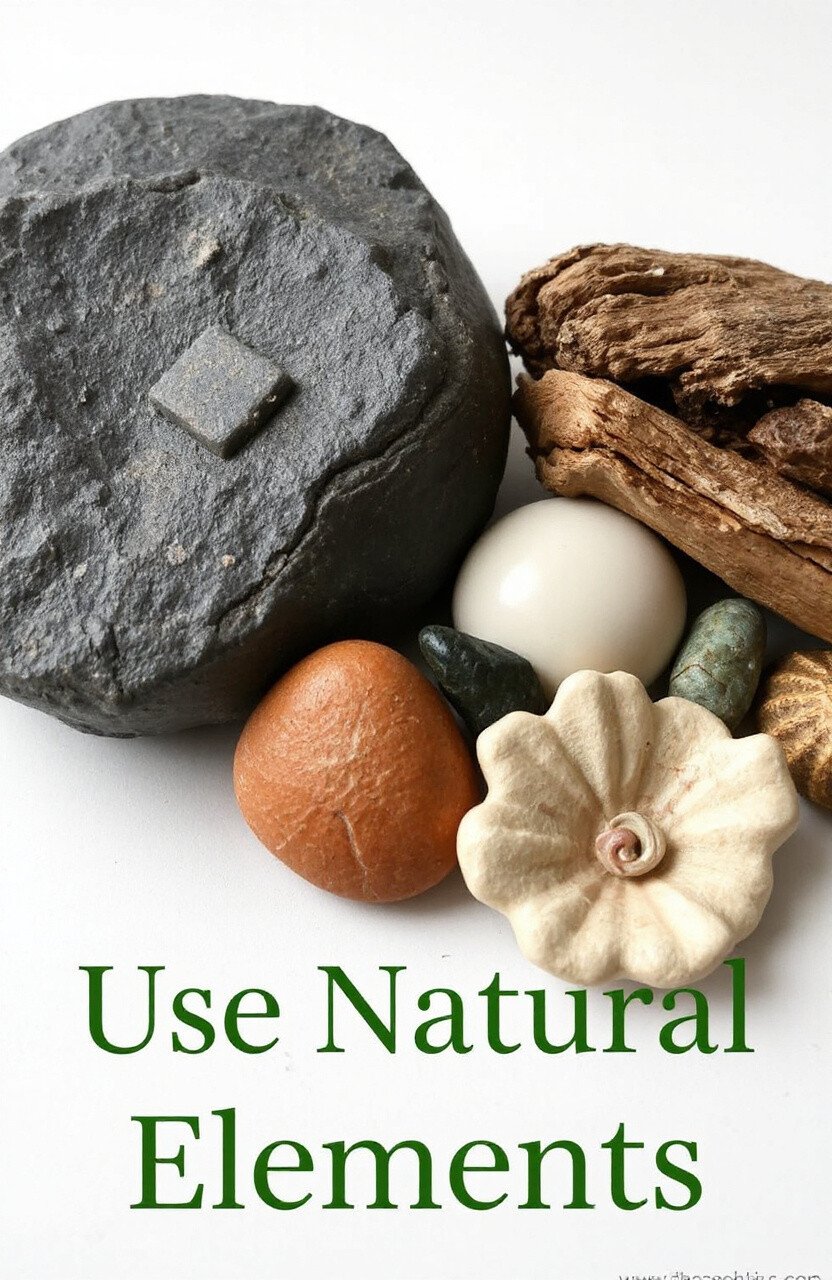
Incorporate natural elements like stones, shells, or wood into your sculptures. These materials can add an organic touch and contrast to your work.
Nature provides unique textures and colors that can complement clay beautifully. It’s a great way to create eco-friendly and harmonious pieces.
25. Focus on Proportions

Understanding and mastering proportions is crucial for realism. Practice drawing or sculpting basic shapes to improve your sense of balance.
Proportions can make or break a sculpture’s realism. Taking the time to study and apply them will enhance the accuracy and appeal of your work.
26. Try Speed Sculpting
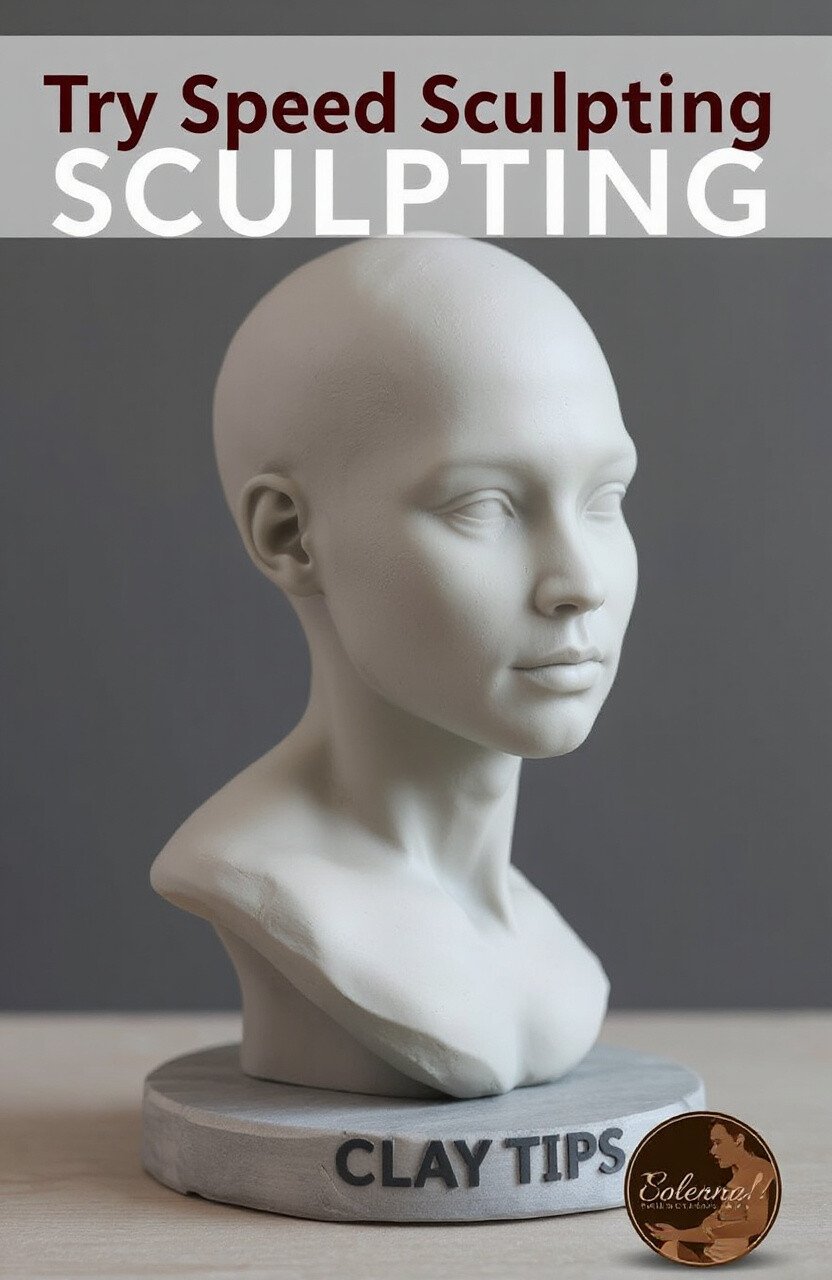
Set a timer and challenge yourself to complete a sculpture quickly. This exercise can improve your decision-making and spontaneity.
Speed sculpting encourages quick thinking and adaptability, often resulting in fresh and lively creations. It’s a fun way to break out of your comfort zone.
27. Use Clay Softener
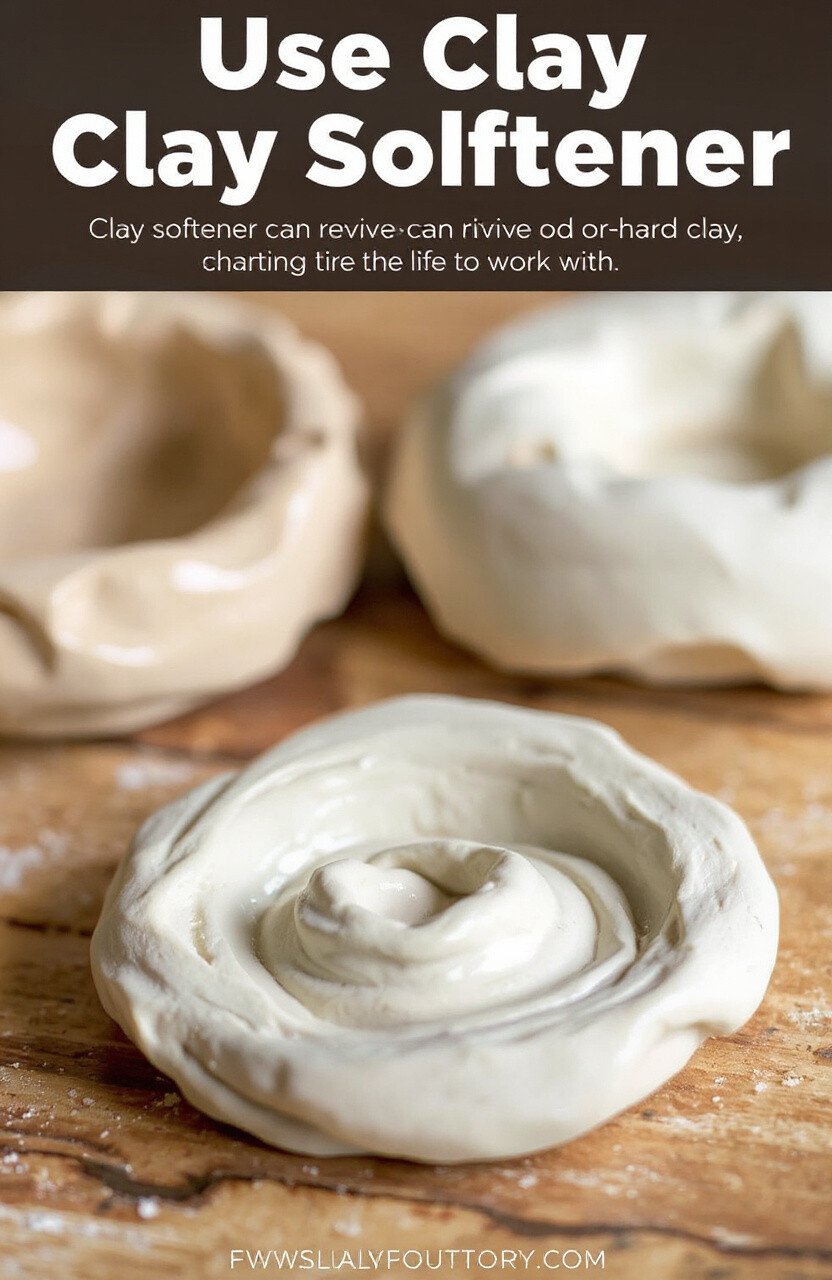
Clay softener can revive old or hard clay, making it easier to work with. It’s a simple solution to extend the life of your materials.
This product is affordable and effective, ensuring your clay remains pliable and ready for use. It’s a handy tool for any sculptor’s kit.
28. Experiment with Minimalism
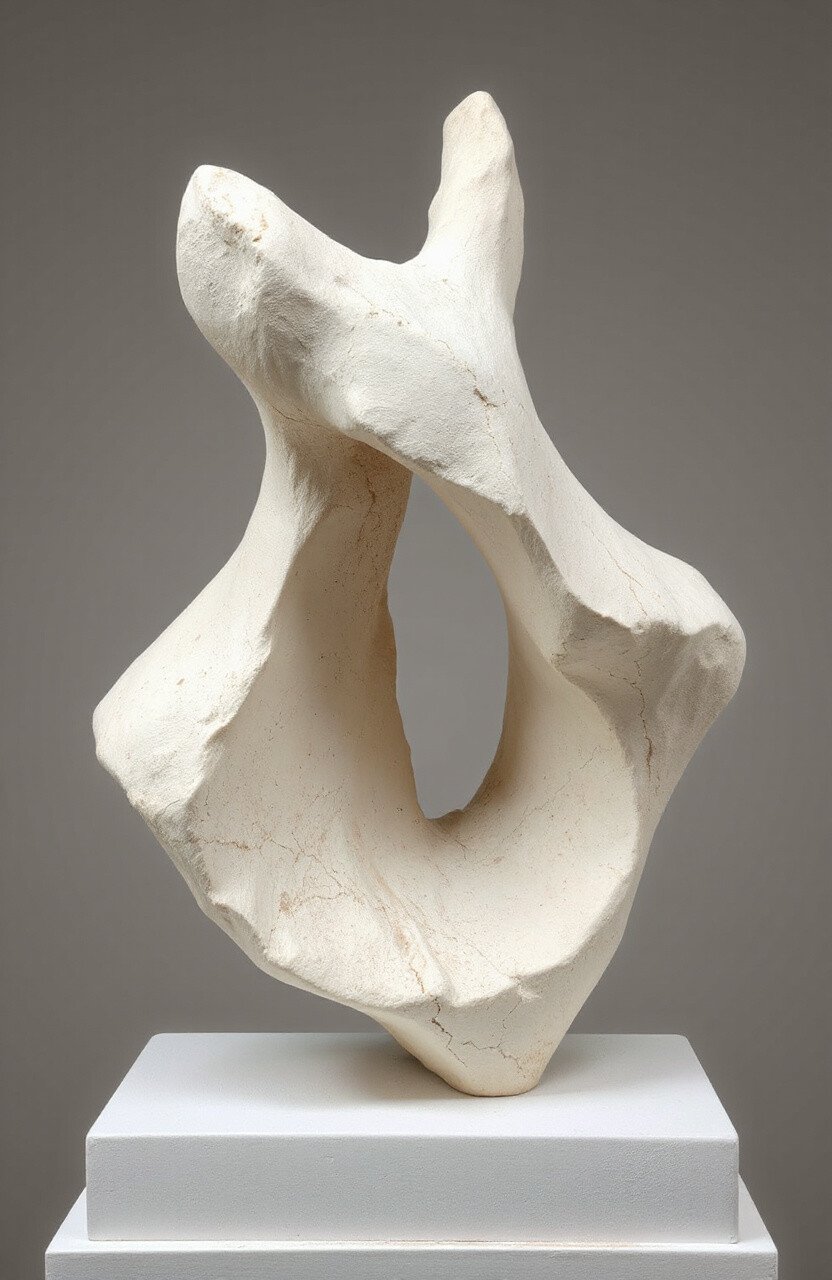
Try creating simple, minimalist sculptures. This style focuses on form and space, conveying powerful ideas with minimal elements.
Minimalism can be both challenging and rewarding, encouraging you to distill your concepts to their essence. It’s a refreshing approach to sculpture.
29. Use Baking Techniques
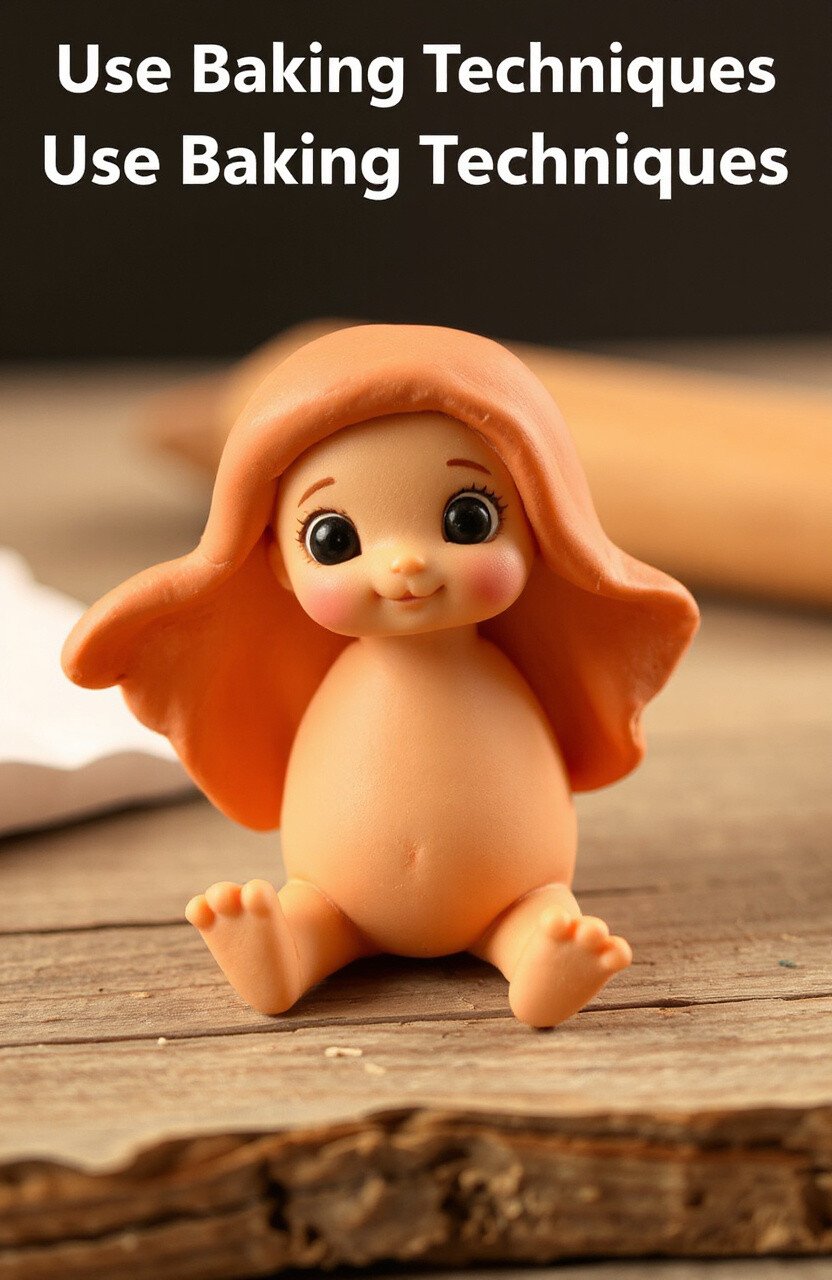
For polymer clay, baking is essential. Follow instructions carefully and experiment with different times and temperatures for the best results.
Proper baking ensures your pieces are durable and long-lasting. It’s an important step that can affect the final quality of your sculptures.
30. Incorporate Storytelling
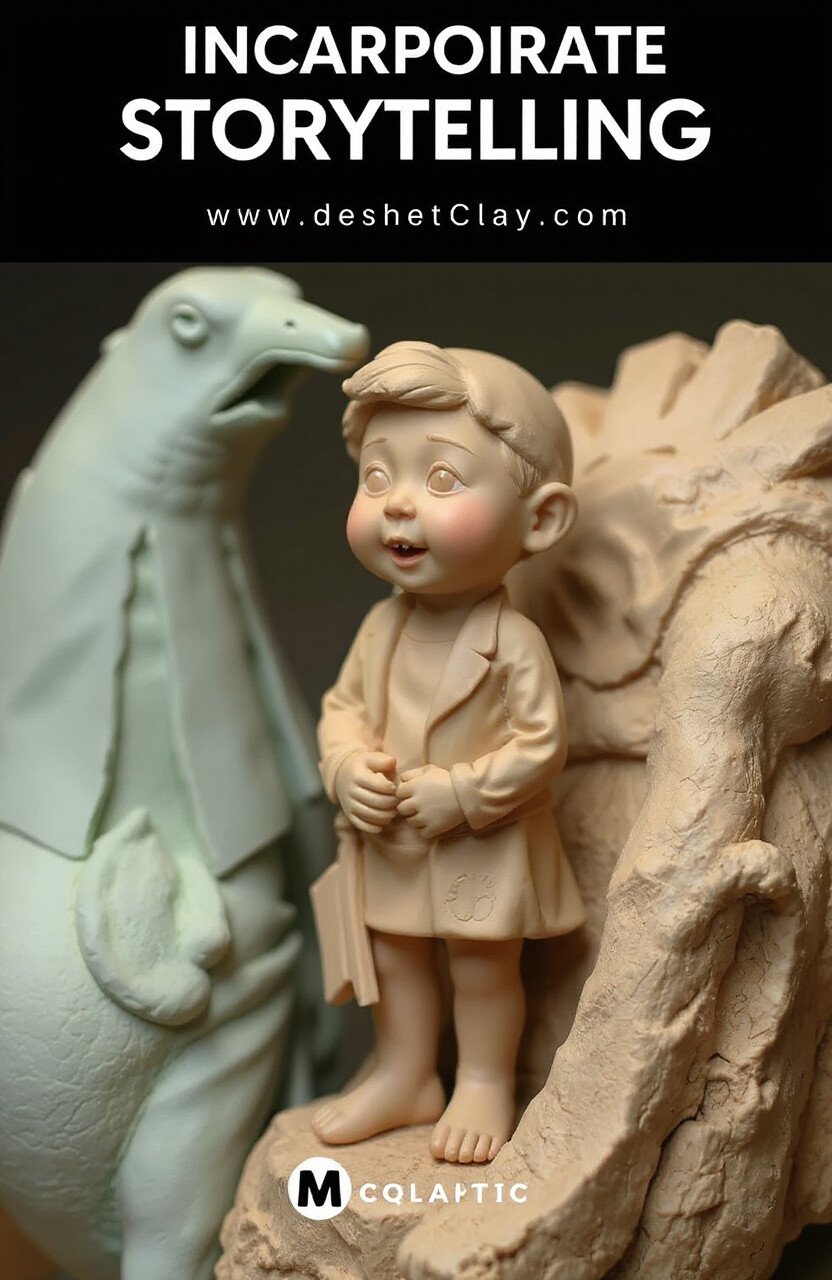
Give your sculptures a story. Whether it’s a character or a scene, storytelling adds depth and intrigue to your work.
Narratives engage viewers and make your sculptures more memorable. It’s a captivating way to connect with your audience on a deeper level.
31. Try Digital Sculpting
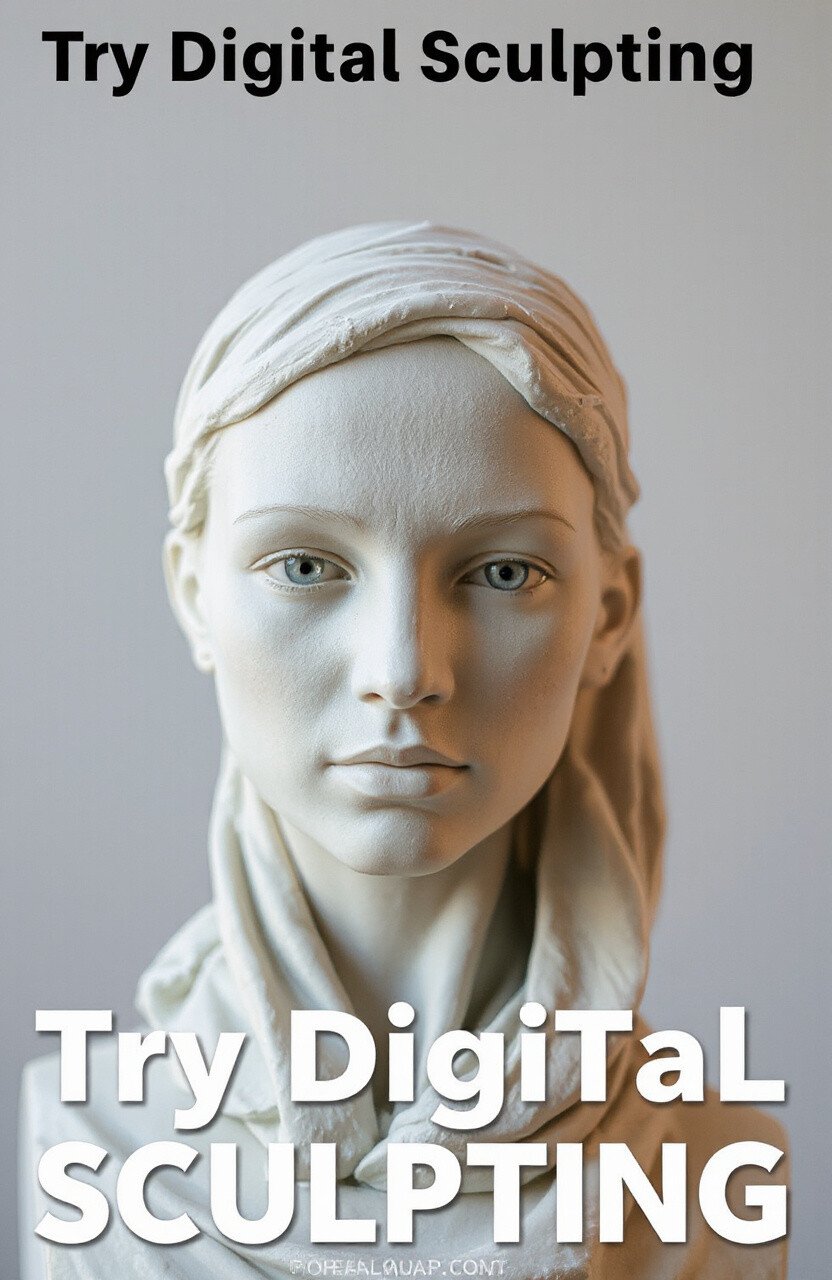
Explore digital sculpting software for a new dimension of creativity. This medium offers tools and possibilities beyond traditional clay.
Digital sculpting is cost-effective and versatile, allowing for easy experimentation and modification. It’s an exciting frontier for modern sculptors.
32. Trust Your Instincts
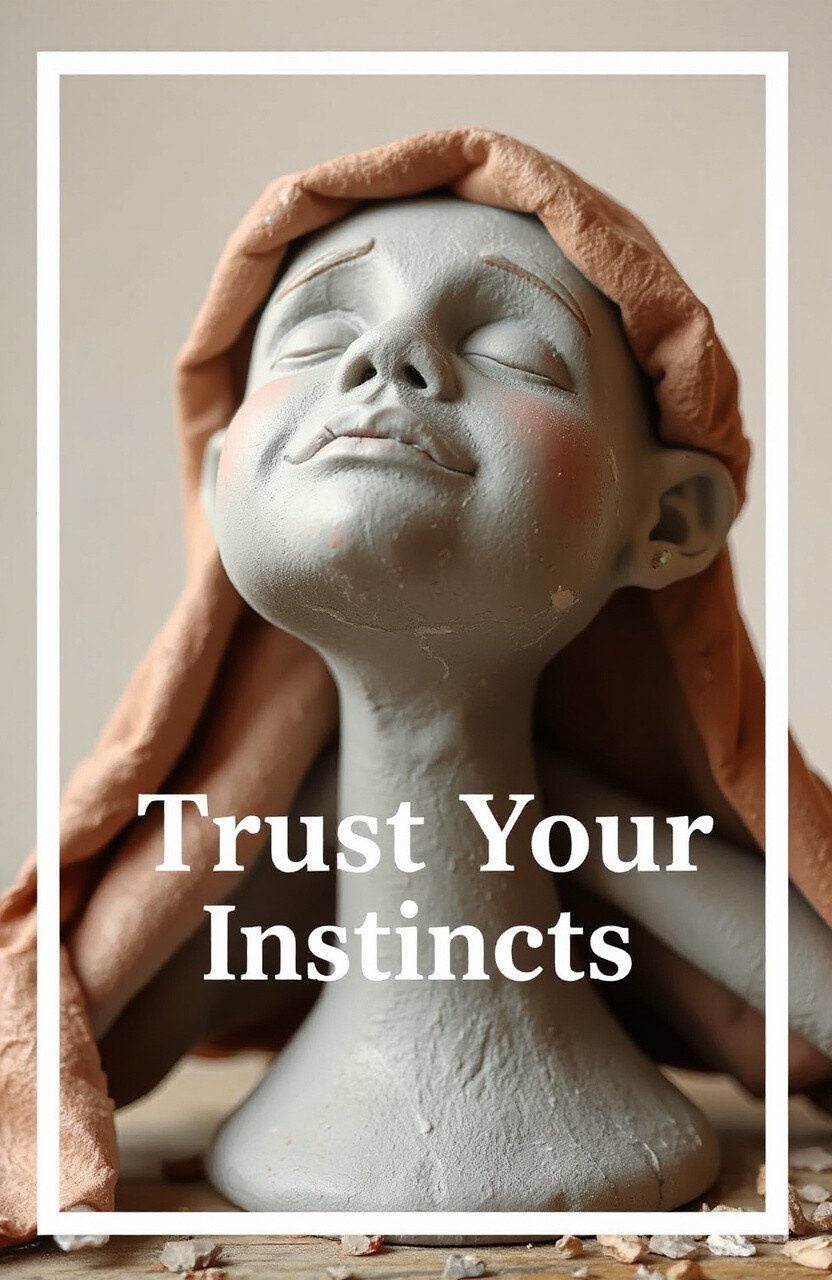
Your instincts are a powerful guide in art. Trust your intuition and let it lead your creative process.
Instinct-driven work often results in the most authentic and personal creations. Embrace your inner artist and let your creativity flow.