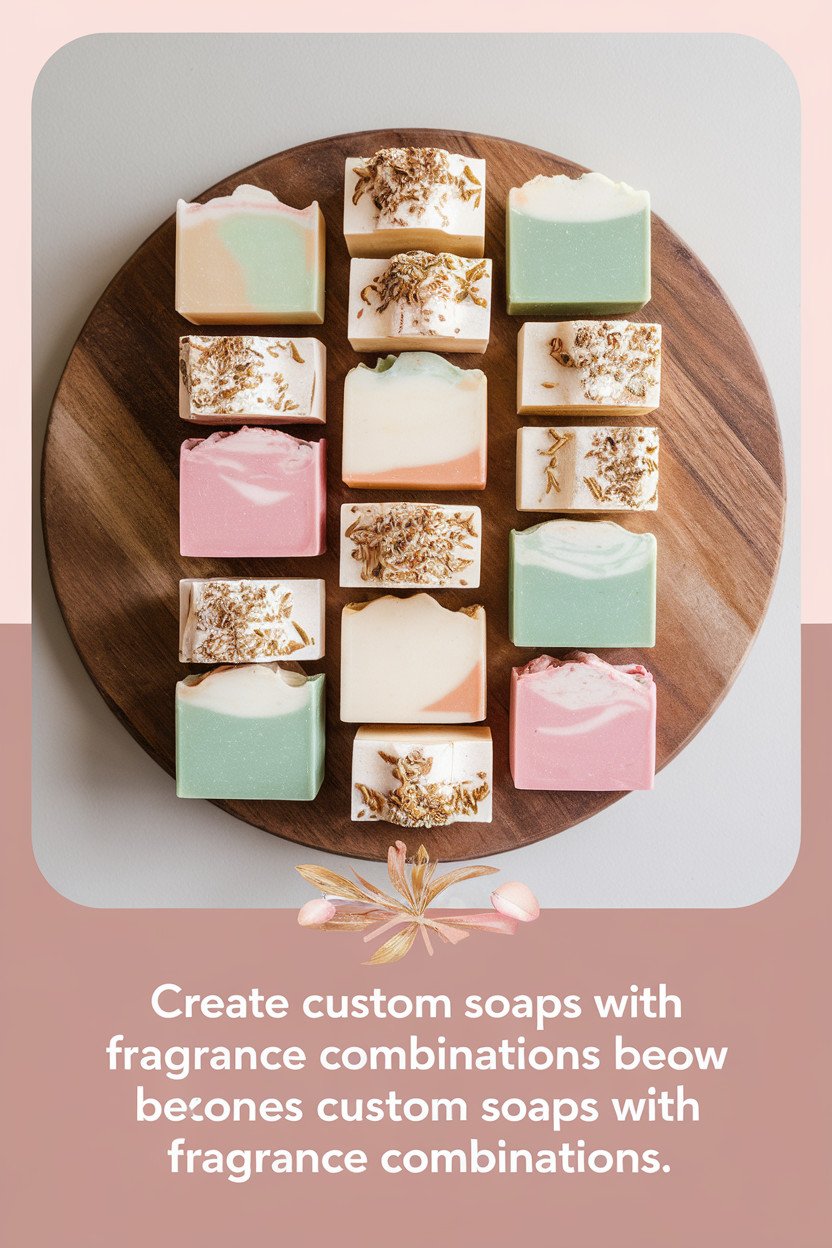
If you’re looking for a fun and rewarding hobby, soap making is the perfect choice.
Making your own soap allows you to create unique scents and textures that can’t be found in store-bought options.
We’ll share a collection of homemade soap recipes that are easy to follow and yield beautiful, fragrant soaps.
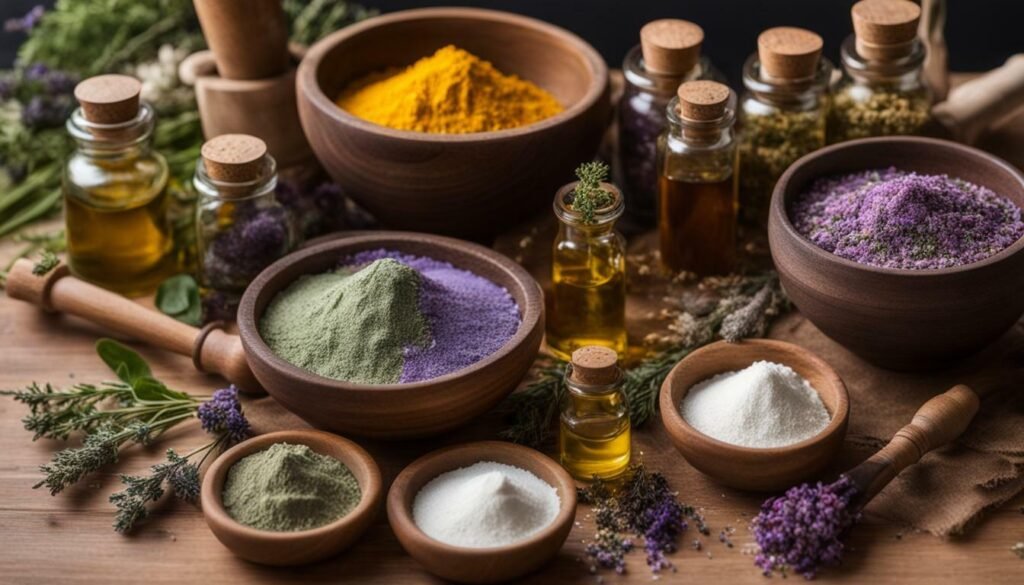
Whether you’re a beginner or an experienced soap maker, you’ll find plenty of inspiration in this guide.
- Create unique, fragrant soaps with homemade soap recipes
- Soap making is a fun and rewarding hobby for beginners and experienced soap makers alike
- Find inspiration and tips for natural soap recipes, cold process soap recipes, and melt and pour soap recipes
- Learn how to troubleshoot common soap making issues and follow important safety precautions
- Enjoy your handmade soaps or give them as personalized gifts for special occasions
Getting Started with Soap Making
If you’re new to soap making, it’s important to start with the basics. There are several methods for making soap, but we’ll focus on the two most popular: cold process and melt and pour.
Cold Process Soap Recipes
Cold process soap involves mixing oils and lye to create a chemical reaction that results in soap. This method requires more time and attention to detail, but it allows for greater creativity and customization. Here’s what you’ll need:
- Base oils, such as olive, coconut, and palm
- Lye
- Essential oils for fragrance
- Additives, such as oatmeal, honey, or herbs
- A digital scale
- A thermometer
- A stick blender
- A soap mold
It’s important to follow safety precautions when handling lye and to double-check all measurements. Once you’ve mixed your ingredients, you’ll need to let the soap cure for several weeks before using or giving away.
Melt and Pour Soap Recipes
Melt and pour soap is a great option for beginners or those who want a quick and easy soap making experience. This method involves melting pre-made soap base and adding your own fragrances and colors. Here’s what you’ll need:
- Melt and pour soap base
- Fragrance oils or essential oils
- Additives, such as dried flowers or exfoliants
- A microwave-safe container
- A digital thermometer
- A soap mold
Let it cool and harden before removing from the mold.
Natural Soap Recipes
Try using ingredients like beeswax, shea butter, or cocoa butter for a moisturizing effect, or add in essential oils for a lovely scent. Look for recipes that use olive oil, coconut oil, or other natural oils as a base.
Whether you choose to make cold process soap, melt and pour soap, or natural soap, always remember to follow safety guidelines and have fun experimenting with different ingredients and fragrances.
Essential Tools and Ingredients
To make soap from scratch, there are some key tools and ingredients you’ll need. Don’t worry, though – once you have these on hand, you can start making soap right away! Here’s what you’ll need:
- A large stainless steel or enamel pot
- Thermometer (make sure it can measure up to 200°F)
- Stick blender (also called immersion blender)
- Rubber gloves
- Protective eyewear
- Digital scale
- Cold process soap molds (or other molds if using the melt and pour method)
- Soap cutter (if using cold process method)
- Lye (sodium hydroxide)
- Water or other liquid, such as milk or tea
- Cold process soap oils (such as olive oil, coconut oil, and palm oil)
- Fragrance oils or essential oils (depending on the recipe)
- Additives (such as colorants, exfoliants, and herbs)
If you’re looking for easy soap recipes, try using a melt and pour base, which requires fewer tools and ingredients. You can also find simple soap recipes that don’t require additives or colorants, making them even more straightforward to create.
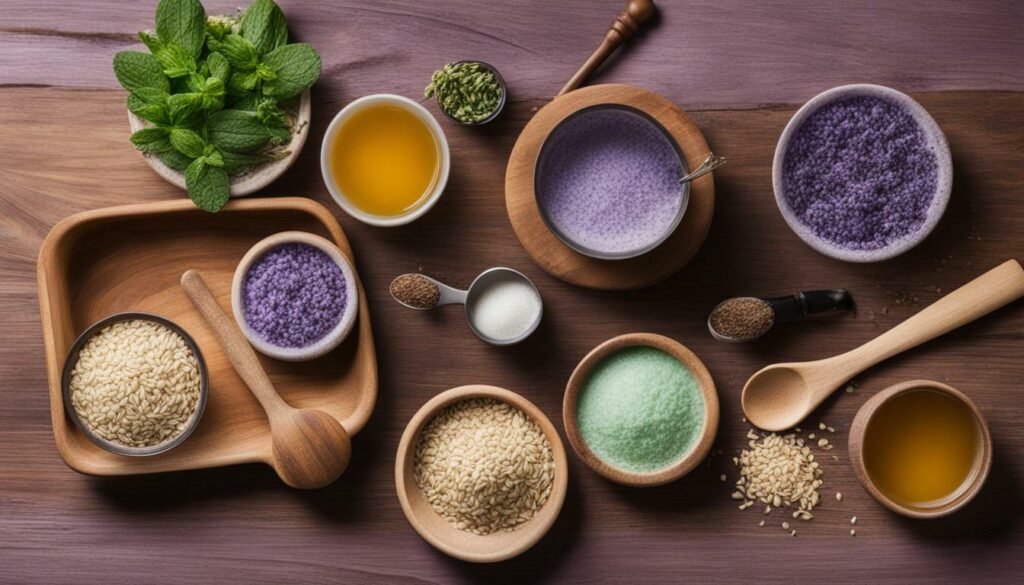
Here are some homemade soap recipes to get you started:
- Aloe Vera Soap: This recipe is perfect for soothing and hydrating dry skin. Combine aloe vera gel with olive oil, coconut oil, and your choice of essential oils for a refreshing scent.
- Lavender Soap: Create a relaxing and calming soap with dried lavender buds and lavender essential oil. Add shea butter and sweet almond oil for added moisturizing benefits.
- Oatmeal Soap: Oatmeal adds an exfoliating element to your soap, while also being gentle on the skin. Mix in honey and almond oil for natural hydration.
Remember to always follow safety precautions when working with lye, a key ingredient in cold process soap making. Additionally, make sure to let your soaps cure for at least four to six weeks before using them for the best results.

Melt and Pour Soap Making Recipes
With this technique, you can create personalized soaps in no time. Plus, it requires fewer ingredients and equipment, making it an easy and hassle-free way to get started.
- Oatmeal and Honey Soap: Combine oatmeal, honey, and goat milk with a melt and pour soap base for a nourishing soap that’s perfect for dry skin.
- Lavender Soap: Add dried lavender buds and a few drops of lavender essential oil to a melt and pour soap base for a calming, relaxing soap.
- Peppermint Swirl Soap: Mix peppermint essential oil and red and white soap bases to create a festive soap with a refreshing scent.
Making soap with natural ingredients is not only great for your skin but also for the environment.
Here are some of our favorite natural soap making recipes:
- Calendula Soap: This recipe uses calendula flowers, which are naturally antibacterial and soothing for the skin.
- Lavender Soap: Lavender essential oil is a popular choice for soap making because of its calming properties and lovely fragrance.
- Oatmeal Soap: Oatmeal is a gentle exfoliant and also helps to soothe dry, itchy skin.
To make your soap even more natural, consider using organic ingredients and essential oils. You can also add natural color to your soap by using herbs and spices like turmeric or spirulina.
Creative Soap Making Ideas
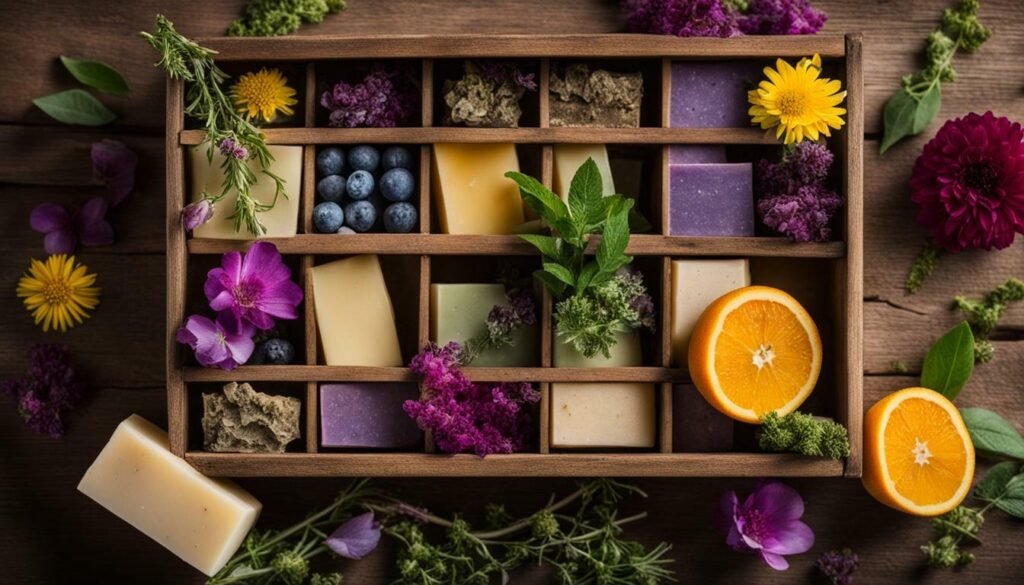
If you’re looking to take your soap making to the next level, it’s time to get creative! Here are some unique ideas to inspire your inner artist:
- Create layered soaps by pouring different colors and fragrances into the mold in stages.
- Add botanical elements, such as dried flowers or herbs, to your soap for a natural touch.
- Embed designs, such as seashells or small toys, into your soap for a fun surprise.
- Make soap with unique shapes by using molds, such as a star or heart shape.
- Experiment with scents by blending different essential oils to create a custom fragrance.
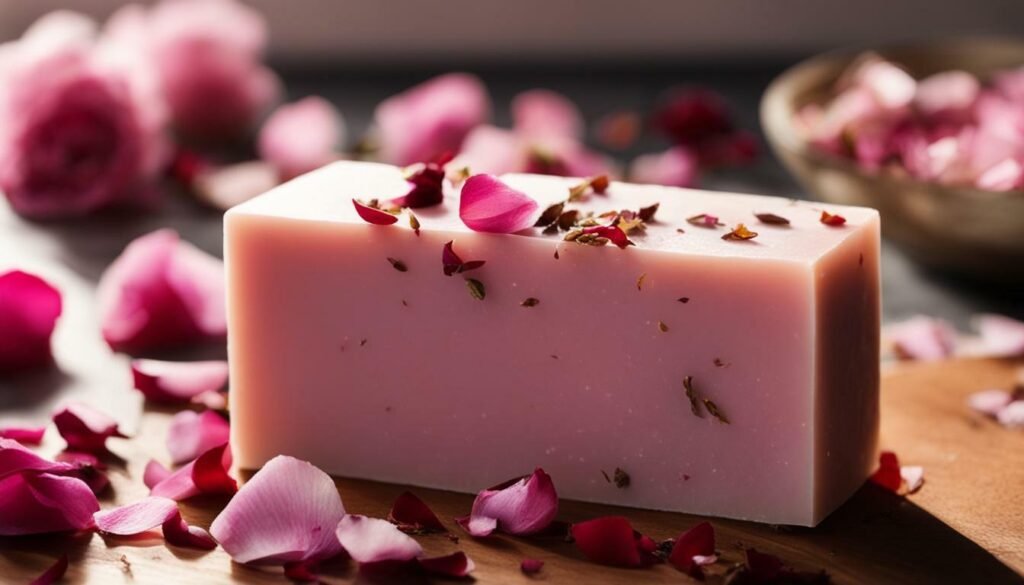
With these creative ideas, you can make soap that is not only functional but also visually stunning. Homemade soap recipes offer endless possibilities, so don’t be afraid to let your imagination run wild!
Soap Making for Special Occasions
Here are some homemade soap recipes that are perfect for special occasions:
- Birthday Cake Soap: Create a soap that looks like a slice of birthday cake with this fun and easy recipe. Use vanilla fragrance oil and add colorful sprinkles for a festive touch.
- Christmas Tree Soap: Add a touch of holiday cheer to your soap with this Christmas tree soap recipe. Use green soap colorant and a tree-shaped mold to create a festive soap that will make the perfect stocking stuffer.
- Bridal Shower Soap: Create a lovely soap for a bridal shower using rose fragrance oil and dried rose petals. Add a touch of pink soap colorant for a pretty and delicate soap.

If you’re new to soap making or looking to improve your skills, follow these tips for successful soap making:
- Always measure ingredients carefully to ensure accuracy
- Use a digital kitchen scale for precise measurements
- Wear protective gear, such as gloves and goggles, when handling lye
- Follow recipes closely and don’t make substitutions without understanding the impact on the final product
- Keep an accurate record of your recipes and modifications for future reference
- Allow soap to cure for at least four weeks before using to ensure a harder, longer-lasting bar
- Store cured soap in a dry area away from direct sunlight to prevent discoloration and moisture buildup
- Label your soaps with the recipe name and date made for easy identification

By following these tips, you’ll be on your way to creating beautiful, high-quality soaps that you and your loved ones will enjoy. Remember, soap making is a craft that requires patience and attention to detail, but the results are well worth the effort.
Storing and Packaging Your Homemade Soaps
Once you’ve made your beautiful homemade soaps, it’s essential to ensure they are stored correctly to maintain their quality.
- Let your soaps cure for at least a week before storing or packaging them. This will allow the soap to harden properly.
- Choose a cool, dry place to store your soaps. Avoid areas with high humidity, as they can cause the soap to sweat.
- If you’re storing your soaps long-term, wrap them in wax paper or foil to protect them from light and moisture. This will help to preserve the scent and quality of the soap.
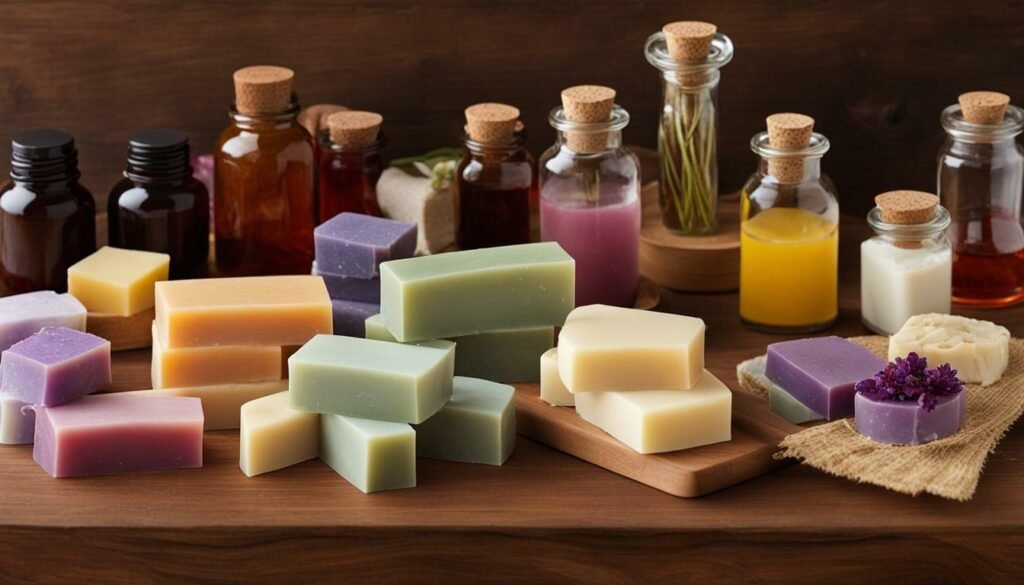
- If you’re planning to give your soaps as gifts, consider creating attractive packaging. You can use decorative paper, ribbon, or even burlap to add a personal touch to your homemade soap gifts.
- Remember to label your soaps with the type of soap, ingredients, and date it was made. This can be done using small labels or tags.
While soap making is a fun and rewarding hobby, it’s not always smooth sailing. If you encounter any issues during the soap making process, don’t worry! Here are some common issues and troubleshooting tips to help you overcome them:
- If your soap is too hard, it may have too much lye. Try reducing the amount of lye in your recipe.
- If your soap is too soft, it may have too much oil or not enough lye. Try adjusting your recipe and using a soap calculator to ensure the proper lye to oil ratio.
- If your soap has a lye-heavy scent, it may not have fully cured. Let it cure for a few more weeks.
- If your soap has air pockets or discoloration, it may not have been mixed enough or the temperature may not have been consistent. Make sure to mix thoroughly and monitor the temperature throughout the process.
Remember, practice makes perfect! Don’t get discouraged if your first few batches don’t turn out the way you expected. Keep trying and experimenting with different recipes and techniques until you find what works best for you.

Soap making is a fun and rewarding hobby, but it’s important to follow safety precautions to avoid any potential hazards. Here are some tips to keep in mind:
- Always wear protective gear such as gloves, goggles, and a mask when handling lye or other hazardous chemicals.
- Work in a well-ventilated area to avoid inhaling harmful fumes.
- Keep children and pets away from your soap making workspace.
- Label and store all your ingredients properly to avoid confusion and accidents.
- Always measure your ingredients accurately and follow recipes carefully.
- Allow your soap to cure properly before using or selling it.
By following these safety precautions, you can ensure a safe and enjoyable soap making experience.
Here are some of the most frequently asked questions about DIY and handmade soap recipes:
- What ingredients do I need to make soap?
- What is the difference between cold process and melt and pour soap making?
- How do I add scents and colors to my soap?
- Can I use food coloring to dye my soap?
- What are some common mistakes to avoid when making soap?
- How long does the soap making process take?

Now that you have learned the art of soap making and explored a range of homemade soap recipes, it’s time to get started on your own creations. Here are some tips to keep in mind:
- Begin with simple recipes and work your way up to more complex ones.
- Invest in quality ingredients and tools.
- Follow the recipes closely and measure your ingredients accurately.
- Take precautions and follow safety guidelines.
- Experiment with different scents, colors, and designs to create unique soaps tailored to your preferences.
With these tips in mind, you can create your own fragrant, moisturizing, and exfoliating soaps that will elevate your daily routine and even make great gifts for loved ones. So what are you waiting for? Get started with soap making today!
FAQ
What is soap making?
Soap making is the process of creating soap from various ingredients, such as oils and lye, through a chemical reaction called saponification.
Can I make soap at home?
Yes, you can make soap at home! It’s a fun and rewarding craft that allows you to create personalized soaps with unique scents and ingredients.
What are the different methods of soap making?
There are several methods of soap making. The traditional cold process method involves mixing oils and lye, while the melt and pour technique uses a pre-made soap base that you melt and customize. Natural soap making focuses on using organic ingredients such as essential oils and botanicals.
What tools and ingredients do I need to make soap?
To make soap from scratch, you’ll need basic tools like a scale, thermometer, and molds, as well as ingredients such as oils, lye, and water. You can find these items easily online or at craft stores. If you’re a beginner, there are also easy soap recipes that require minimal tools and ingredients.
Can you provide some cold process soap recipes?
Certainly! We have a variety of cold process soap recipes, including exfoliating soaps, moisturizing soaps, and specialty soaps like shampoo bars. Each recipe comes with step-by-step instructions and helpful tips to guide you through the process.
Are there any quick and easy soap making recipes?
Absolutely! Simply melt the pre-made soap base, add your desired ingredients, and pour into molds.
Can I make natural soaps?
Yes, we have a range of natural soap recipes for those who prefer using organic ingredients. These recipes incorporate essential oils, botanicals, and other natural elements that are good for both your skin and the environment.
Do you have any creative soap making ideas?
Absolutely! In our creative soap making ideas section, we’ll share unique techniques and designs to inspire your inner artist. From layered soaps to embedded designs, you’ll learn how to make visually stunning and fun-to-use soaps.
Can I make soap as gifts for special occasions?
Absolutely! Handmade soaps make excellent gifts for birthdays, holidays, and other celebrations.
What are some tips for successful soap making?
Soap making requires attention to detail. In our tips for successful soap making section, we’ll share valuable tips and tricks to help ensure your soap making endeavors are successful every time. From measuring ingredients accurately to experimenting with different scents, these tips will guide you to soap-making success.
How should I store and package my homemade soaps?
Once you’ve made your beautiful soaps, it’s important to store and package them properly. We’ll discuss best practices for storing your homemade creations and provide ideas for creating attractive packaging that complements your unique soaps.
What should I do if I encounter issues while making soap?
Soap making doesn’t always go perfectly, but don’t worry! In our troubleshooting section, we’ll address common issues that soap makers face and provide tips to help you overcome them. Whether it’s dealing with lye calculations or fixing a soap that didn’t turn out as expected, we’ve got you covered.
Are there any safety precautions I should take when making soap?
Absolutely! Safety should always be a priority in soap making. We’ll outline important safety precautions to follow throughout the process, ensuring a safe and enjoyable experience for you. From wearing protective gear to handling lye correctly, we’ll guide you on how to make soap safely.
What are some frequently asked questions about soap making?
In our frequently asked questions section, we’ll address common questions about soap making and provide additional guidance to help you along your soap making journey. If you have any specific questions, feel free to reach out to us as well!
