
Wine tasting feels extra special when the menu looks as good as the bottles. A chalkboard menu can set the mood before the first sip is poured.
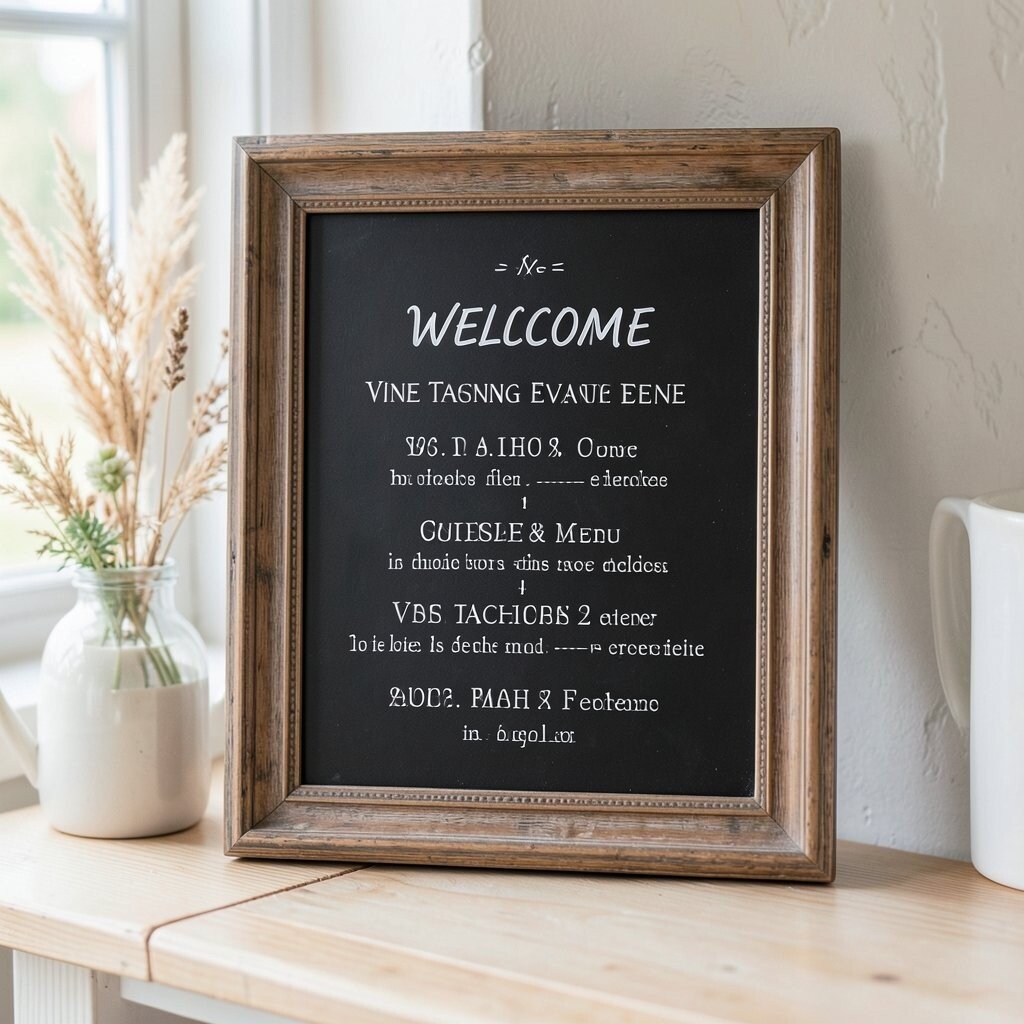
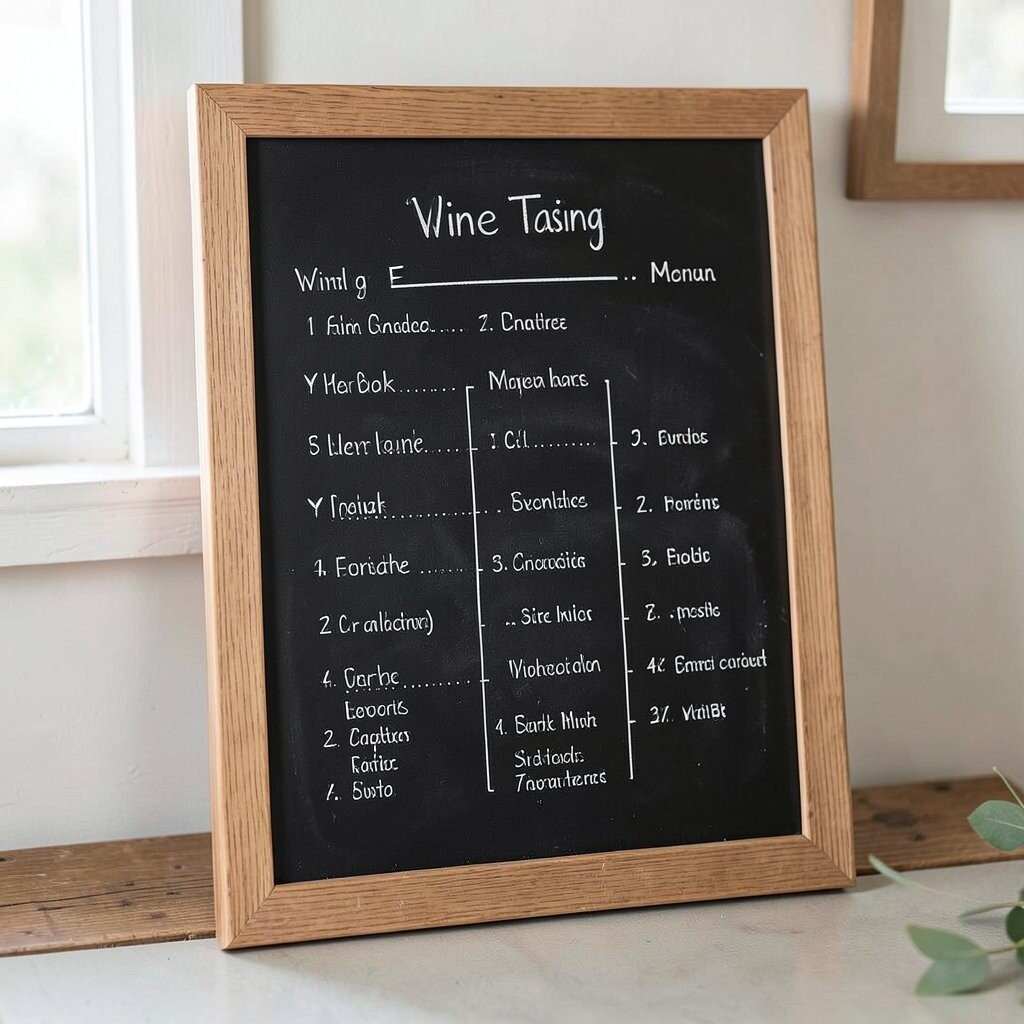
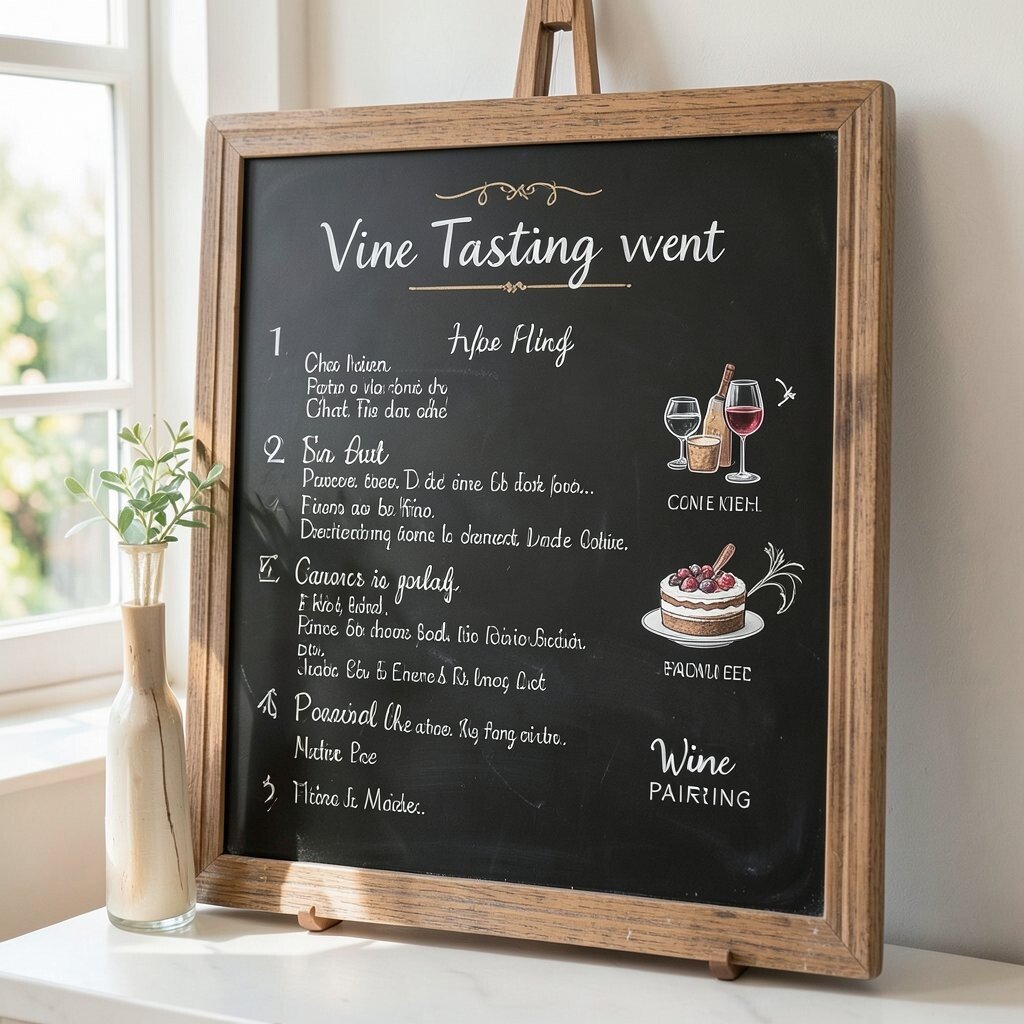
1. Classic Framed Chalkboard Welcome Menu
Top Classic Framed Chalkboard Welcome Menu Craft Tutorials
- 🎨 ️ 31.5” wood a-frame chalkboard menu sign on flash de from facebook.com.
- 🎨 A Frame Chalkboard Sign from wayfair.com.
- 🖼️ Ruler-Framed Chalkboard Sign Tutorial from thinkingcloset.com.
- 🍂 How to Make Your Own Chalkboard Menu from thistlewoodfarms.com.
- 🎄 Chalkboard Coffee Bar Menu Board (repurposed framed … from artsychicksrule.com.
A framed chalkboard menu gives your event a warm, polished look right away. The dark board and bright white chalk make the wine list easy to read and very eye-catching.
This style works well at formal tastings because it feels neat and timeless. You can write the wine names, tasting notes, and food pairings in clean blocks, then add a small vine sketch or grape border for charm. If you want to save money, a simple thrifted frame and a basic chalk marker can create the same classy feel as a pricey sign.
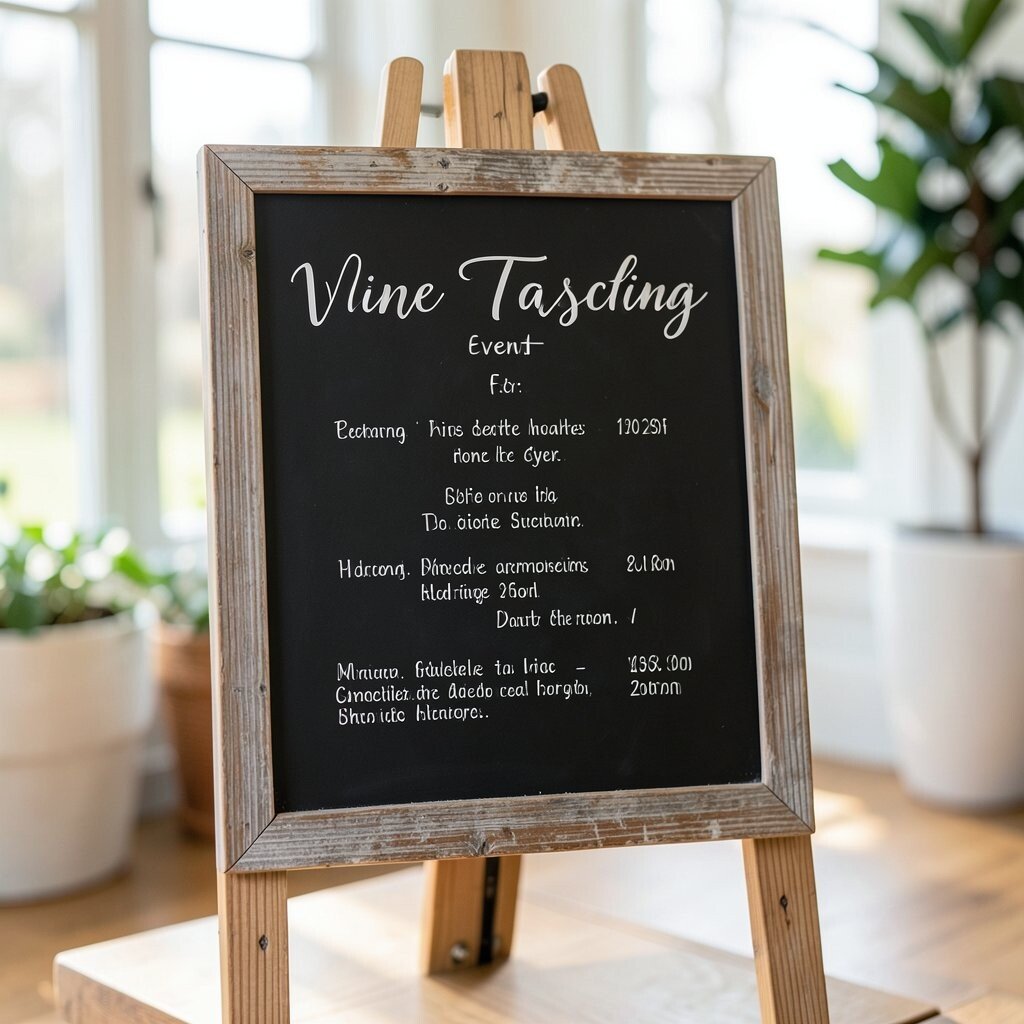
2. Rustic Easel Chalkboard With Hand Lettering
Top Rustic Easel Chalkboard With Hand Lettering Craft Tutorials
- 🎄 Local chalkboard art services with lettering from facebook.com.
- 🍅 Rent Your Event rents chalkboards and easels for vintage … from rentyoureventllc.com.
- 🧑🌾 Rustic Wood Chalkboard Easel from craftwarehouse.com.
- 🍅 DIY Mini Standing Chalkboard Easel – Ideas for the Home from kenarry.com.
- 👓 Chalkboard Coffee Art from amylattacreations.com.
An easel chalkboard brings a cozy, handmade feel to the tasting space. It stands tall near the entrance or bar area and helps guests spot the menu fast.
This idea is great for barn venues, garden parties, and winery patios. Hand lettering makes the board feel personal, and a few tiny doodles like leaves or corks can make it more fun. For a low-cost version, use a small artist easel and a reusable board, then change the design for each event.
Many hosts like this style because it feels current and relaxed. You can match the lettering color to the wine theme, like cream, gold, or soft blush, for a fresh look. If you want a custom touch, add the host name, event date, or a short welcome line at the top.
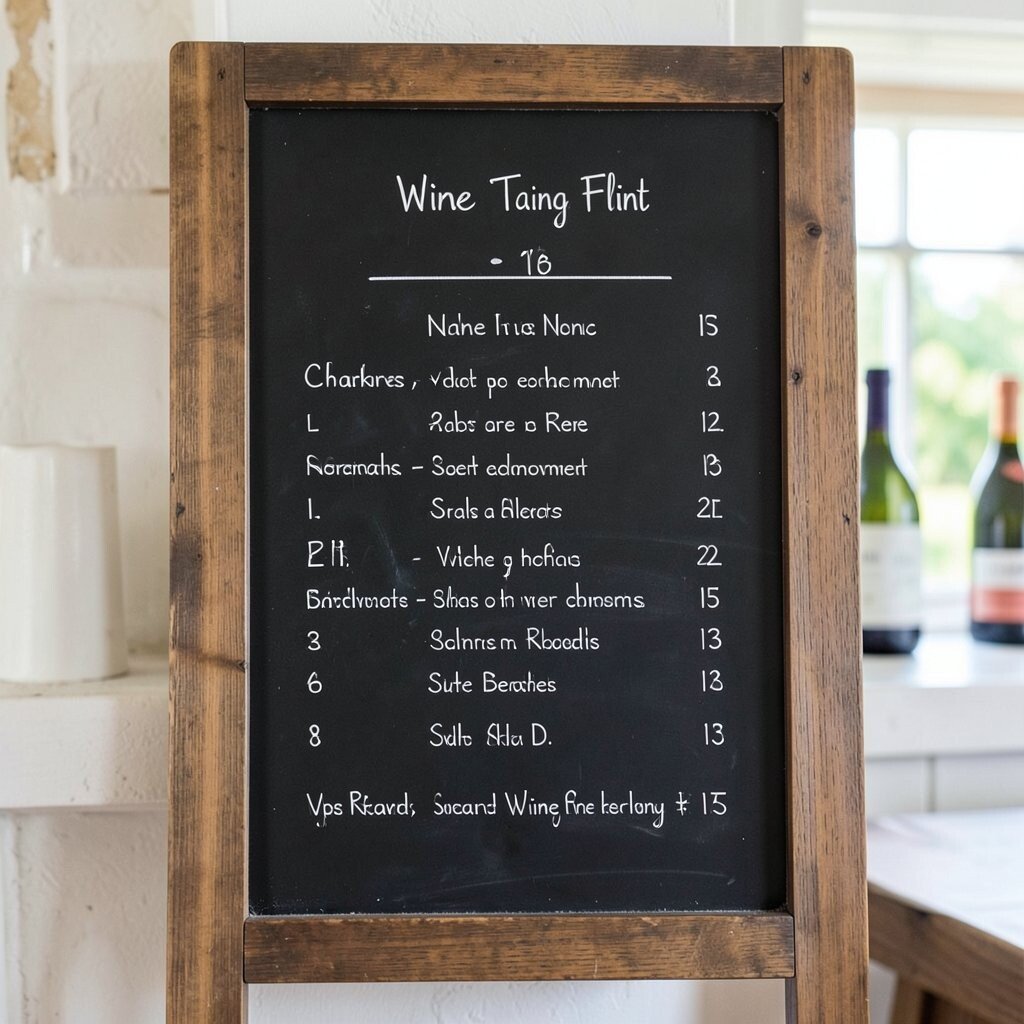
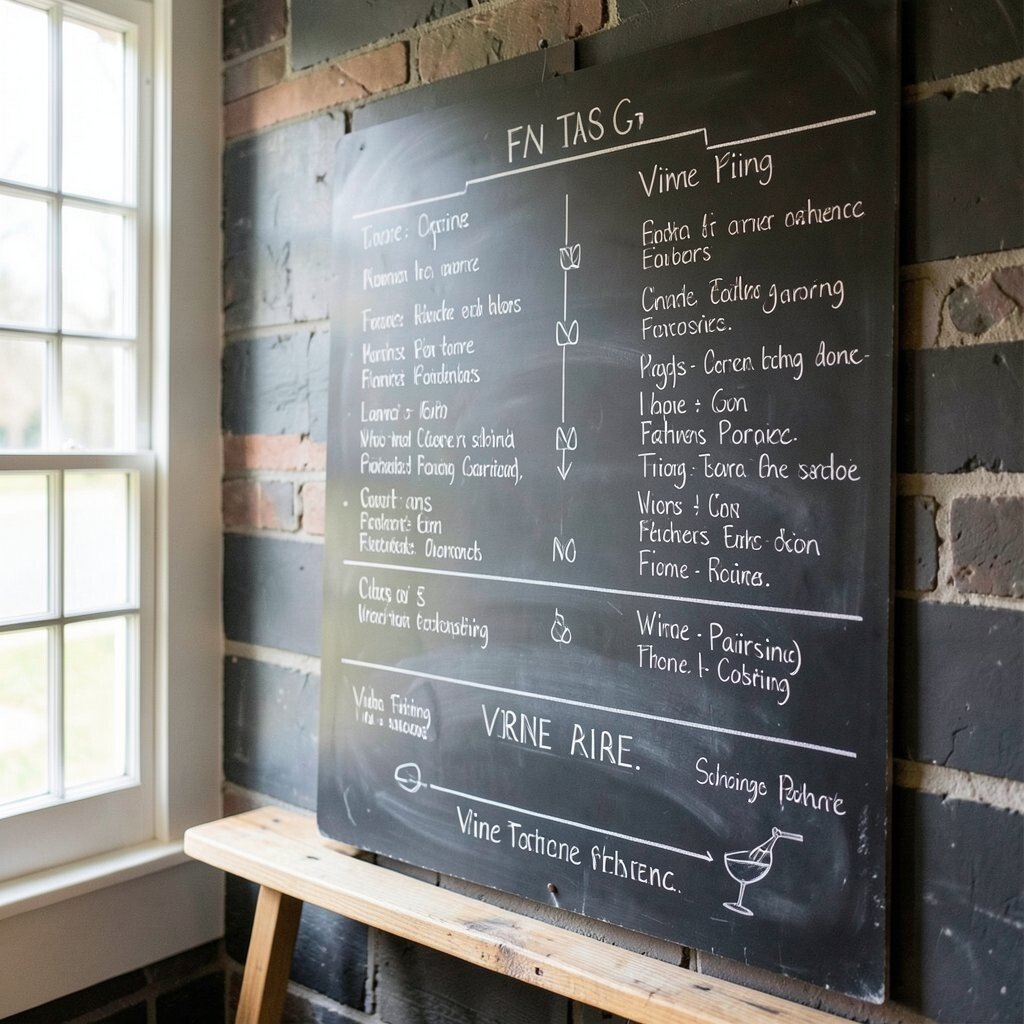
3. Vertical Chalkboard Wine Flight List
Top Vertical Chalkboard Wine Flight List Craft Tutorials
- 💅 Granite Heights Winery open for wine tastings from facebook.com.
- 🍂 Join us for the annual Winter Wine … from instagram.com.
- 👓 COOMBER CRAFT WINES – Updated May 2026 from yelp.com.
- 💅 This November at Taste Wine Bar ✨🍷 From live music, diy … from instagram.com.
- 🧑🌾 Live Music & Dining in Hudson Valley's Wine Country from citywinery.com.
A vertical chalkboard is perfect when you want to show a flight of wines in a tidy way. The tall shape gives each wine its own space and keeps the board easy to scan.
This layout helps guests compare wines without feeling rushed. You can list the wine, region, grape type, and tasting note in simple rows so the menu feels clear and useful. A slim board also costs less than a large display and fits well in small rooms.
Try adding small icons beside each wine, such as a sun for a bright white or a berry for a bold red. That little detail makes the board feel playful and helps guests remember what they liked. For a modern touch, use white chalk on black with one accent color for highlights.
It also works nicely for events with many wine stations. The clean shape keeps the space from looking crowded and gives the tasting a neat, organized feel.
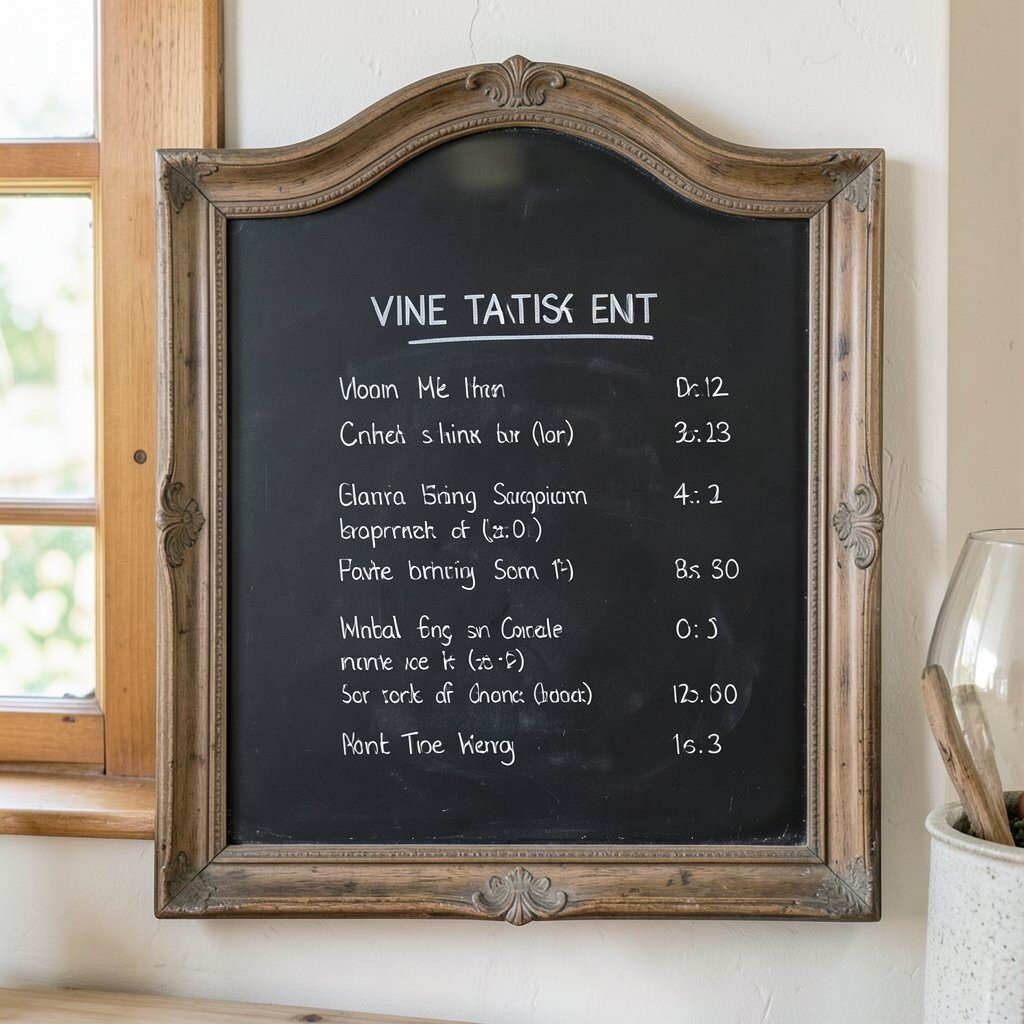
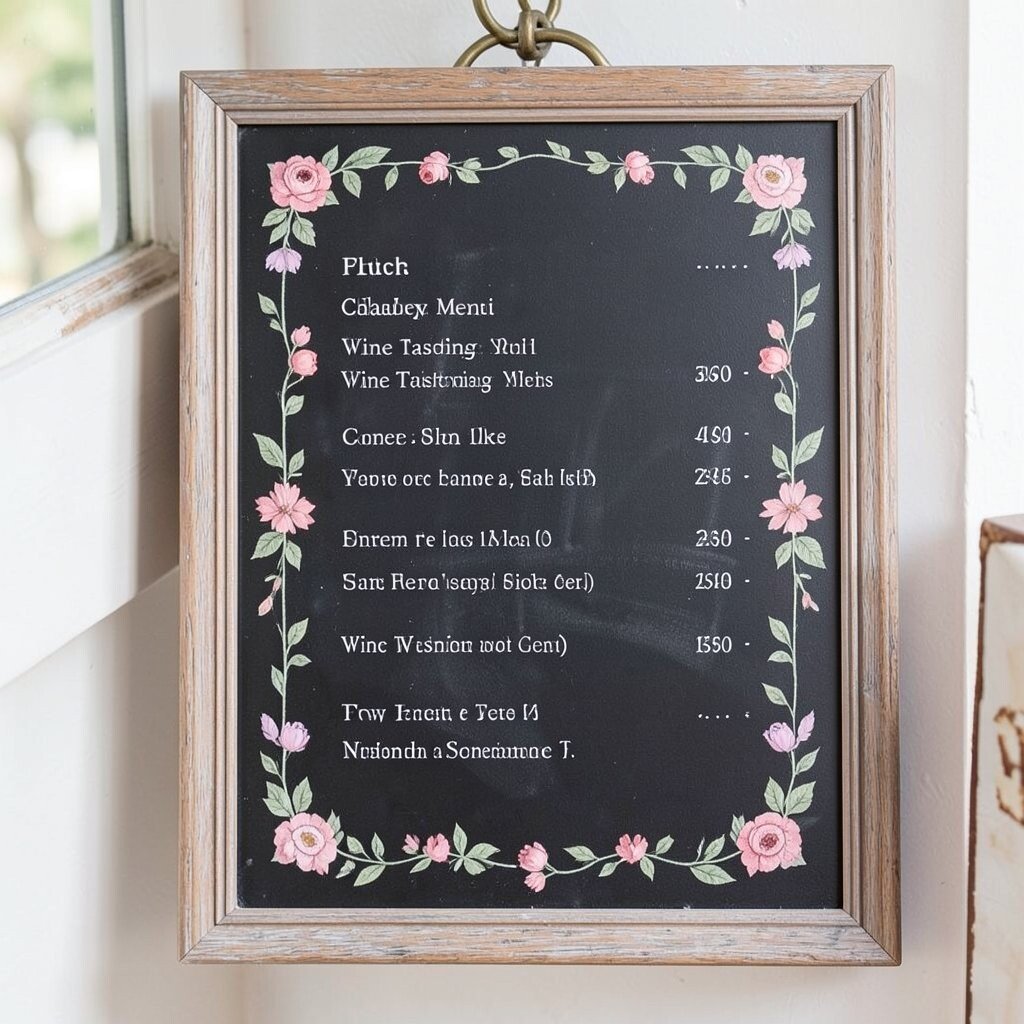
4. Vintage Mirror Chalkboard Sign
Top Vintage Mirror Chalkboard Sign Craft Tutorials
- 🎄 DIY CHALKBOARD SIGNS Look at your Goodwill or thrift … from facebook.com.
- 💅 How To Make A Large Chalkboard Using A Reclaimed … from petticoatjunktion.com.
- 🎨 How to Turn a Mirror into a Chalkboard from chatfieldcourt.com.
- 🍅 How to Turn an Old Mirror into a Chalkboard from makingitinthemountains.com.
- 🖼️ Easy DIY Chalkboard Sign from a Recycled Picture from welcometonanas.com.
A mirror chalkboard sign brings a fancy, romantic look to a wine tasting event. The shiny frame and soft chalk writing create a pretty mix of old and new.
This style stands out because it reflects light and makes the room feel brighter. You can use it for a signature wine list, a welcome message, or a special pairing menu, and the elegant look feels perfect for evening events. Vintage mirrors can be found at flea markets or secondhand shops, which keeps the cost friendly.
5. Chalkboard Wall With Wine Pairing Sections
Top Chalkboard Wall With Wine Pairing Sections Craft Tutorials
- 🎄 Chalkboard Painted Wine Bottle : 9 Steps (with Pictures) from instructables.com.
- 🍅 Wine and Cricut don't mix for chalkboard projects from facebook.com.
- 🍁 15 Genius Chalkboard Paint Ideas and Projects from thecrazycraftlady.com.
- 🧑🌾 9 Creative Ways to Use Chalkboard Paint from houzz.com.
- 🎄 Easy Valentine's Day Craft {Heart Chalkboard} from notimeforflashcards.com.
A full chalkboard wall makes a big statement and gives guests plenty to read. It can hold wine names, tasting notes, pairing ideas, and even a fun quote about wine.
This setup works well for larger parties where many people are moving around. You can divide the wall into sections for red, white, rosé, and dessert wines so the menu stays easy to follow. Because the wall can be reused, it may cost less over time than printing many signs.
Personal touches make this idea shine. Add hand-drawn grapes, stars, or vines in the corners, or let a local artist create a custom border. The wall also fits current event trends because guests love photo-friendly backdrops that feel stylish and interactive.
If you want a softer look, use colored chalk in muted tones instead of only white. That small change can make the wall feel more modern and less plain.
6. Mini Chalkboard Table Cards
Top Mini Chalkboard Table Cards Craft Tutorials
- 👓 2 Set Wood Mini Chalkboard Signs Place Cards Weddings … from walmart.com.
- 🎨 4" x 6" Mini Chalkboard from factorydirectcraft.com.
- 👓 Rustic Mini Table Chalkboard Signs 6" from efavormart.com.
- 💅 Ideas for using small chalkboard easels? from facebook.com.
- 🎨 6 Black with Natural 6 in Mini Wooden Table Chalkboards … from balsacircle.com.
Mini chalkboard table cards are a sweet way to label each wine on a tasting table. They are small, cute, and easy for guests to move closer when they want to read them.
These cards are helpful for guided tastings because each bottle can have its own note. You can write the wine name, grape type, and a short flavor hint, which keeps things simple for guests of all ages. They are also budget-friendly since many sets come in packs and can be reused again and again.
For a personal touch, tie each card to a bottle with twine or place it in a tiny wooden stand. You can also match the card shape to the event style, like a round label for a soft, elegant party or a square one for a modern look.
They are especially handy when the tasting table is busy. Guests can quickly see what they are pouring without asking for help.
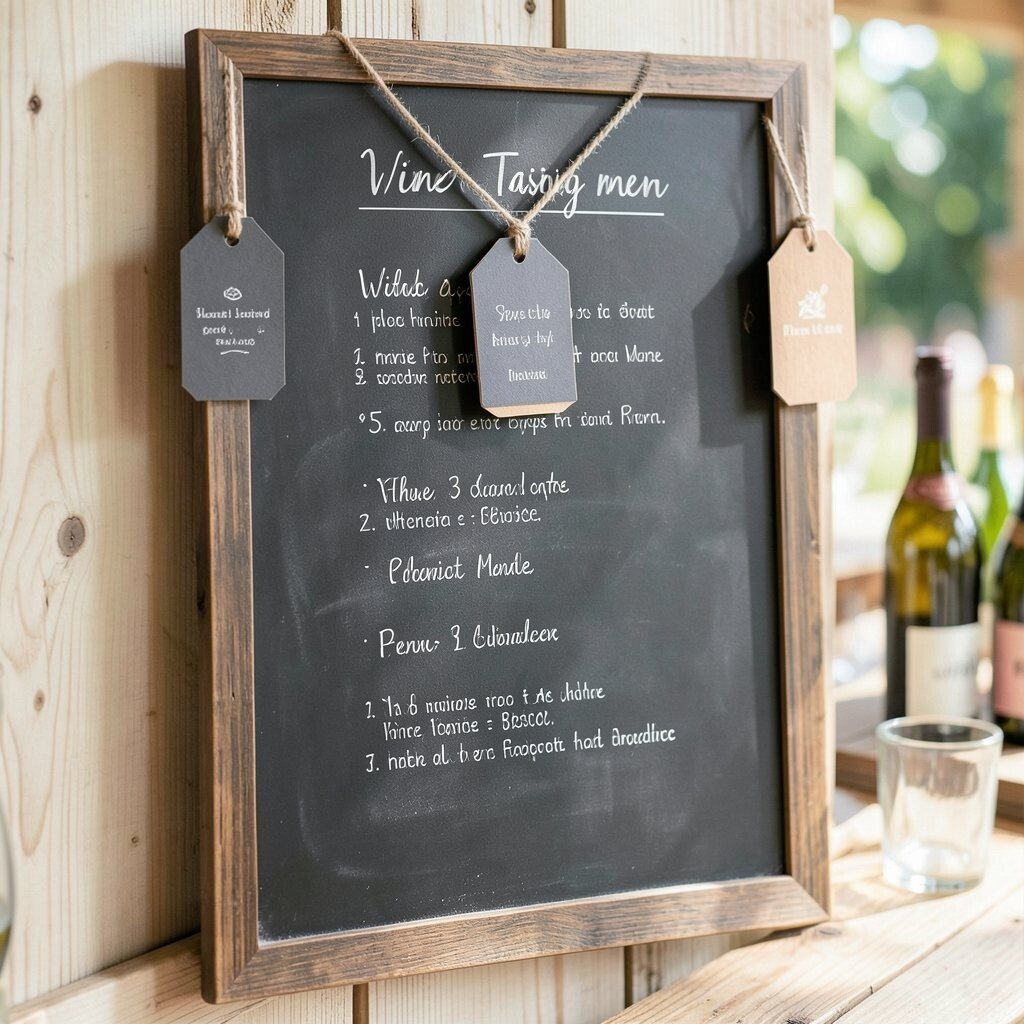
7. Hanging Chalkboard Tags for Bottles
Top Hanging Chalkboard Tags For Bottles Craft Tutorials
- 🖼️ CCOCC 2026 New 32 Pcs Label Hanging Chalkboard Tags … from walmart.com.
- 🍁 48 Pcs Chalkboard Tags, Topbuti Hanging Wooden Mini … from careers.carpetguys.com.
- 🍅 Healeved 32pcs Wooden Mini Chalkboard Signs Reusable Tags … from amazon.ca.
- 💅 DIY Chalkboard Tags from shanty-2-chic.com.
- 👓 48 Pcs Chalkboard Tags, Hanging Wooden Mini … from ebay.com.
Hanging chalkboard tags give wine bottles a neat and stylish label without covering the glass. They swing gently and add a little movement to the display, which makes the table feel lively.
This idea is great for events with many bottle choices because each tag can show the wine name, year, and tasting note. You can also use different tag shapes to separate red, white, and sparkling wines. Since the tags are small and reusable, they are a smart choice for hosts watching costs.
To make them more unique, use ribbon, leather cord, or thin jute string. A few tiny drawings, like a cork or a swirl, can make the tags feel custom and fun. This style is also on trend because it mixes rustic charm with clean event design.
If your party has a theme, color the ribbon to match it. That tiny detail helps the whole table look coordinated.
8. Chalkboard Menu on Reclaimed Wood
Top Chalkboard Menu On Reclaimed Wood Craft Tutorials
- 🎄 DIY Chalkboard Menu from makesomethingmondays.com.
- 🎨 DIY Chalkboard menu tutorial – Fourth East Craft CO. from fourtheastcraftco.com.
- 👓 How To Make A Large Chalkboard Using A Reclaimed … from petticoatjunktion.com.
- 🎨 Menu chalkboard from dresser mirror makeover from facebook.com.
- 🍁 DIY Reclaimed Barn Wood Sofa Bar | Sub Urban Rustic from suburbanrustic.com.
A chalkboard mounted on reclaimed wood gives the event a warm, earthy look. The wood grain adds texture, and the dark board makes the writing pop.
This style feels great for vineyard parties and outdoor tastings. You can stain the wood lightly or leave it rough for a more natural look, and both options can be affordable if you use leftover boards or salvage wood. The mix of wood and chalk also fits current design trends that favor simple, handmade pieces.
Personalize it with a family name, event date, or a short toast at the top. You can even add a small shelf below the board to hold chalk, napkins, or a tiny vase of flowers. That extra detail makes the sign useful as well as pretty.
Guests often notice this kind of menu because it feels real and welcoming. It helps the tasting space feel warm instead of stiff.
9. Chalkboard Wine Tasting Timeline
Top Chalkboard Wine Tasting Timeline Craft Tutorials
- 🖼️ We're heading to Philbrook Museum of Art for our very first … from instagram.com.
- 💅 Small details can make a big impact at weddings and … from facebook.com.
- 🍂 Downtown Sarasota Wine Festival puts spotlight on local … from mysuncoast.com.
- 🎄 Page 9 – Foley Food and Wine Society from foleyfoodandwinesociety.com.
- 💅 Wineries | Official Adirondack Region Website from visitadirondacks.com.
A tasting timeline chalkboard guides guests through the event in a clear and fun way. It can show the order of pours, snack breaks, and any special moments like a toast or cheese pairing.
This is a smart choice for events that follow a set plan. The board helps people know what comes next, which lowers confusion and keeps the flow smooth. You can make it look playful with arrows, circles, or little wine glass icons, and the design can be done on a modest budget with a medium board and chalk pens.
For a personal twist, add the host’s favorite wine quote or a note about why each wine was chosen. That makes the menu feel thoughtful and gives guests something to talk about. A timeline board also works well for current event styles that focus on guest experience and easy movement.
If the tasting is small, keep the layout simple and roomy. If it is larger, use bold labels so people can read it from across the room.
10. Floral-Trimmed Chalkboard Menu
Top Floral-Trimmed Chalkboard Menu Craft Tutorials
- 🗺️ Chalkboard art for kids with Walmart supplies from facebook.com.
- 🧑🌾 Craft Show Display Ilyapa Rustic Wooden Magnetic Tabletop … from attf.jp.
- 💅 Factory Direct Craft Mini Laser Cut Chalkboard Signs from orgelbau-winterhalter.de.
- 🍅 Fabric Covered Framed Chalkboard from inmyownstyle.com.
- 🍅 Michaels: Arts & Crafts, Frames, Seasonal Décor | DIY … from michaels.com.
A floral-trimmed chalkboard menu adds a soft, pretty touch to wine tasting decor. The flowers frame the words and make the board feel fresh and inviting.
This look is lovely for spring and summer events, but it can work any time of year with the right blooms. You can use fresh flowers, silk flowers, or even chalk-drawn blossoms to keep costs in check. The floral border also makes the menu feel more special without needing a lot of extra decor.
To make it unique, match the flowers to the wine colors. Deep red blooms can pair with bold reds, while pale flowers can suit crisp whites and rosés. A few sprigs of greenery can add shape and help the board feel full without looking crowded.
Guests often take photos of this style because it looks delicate and pretty. It is a simple way to make the tasting feel more polished.
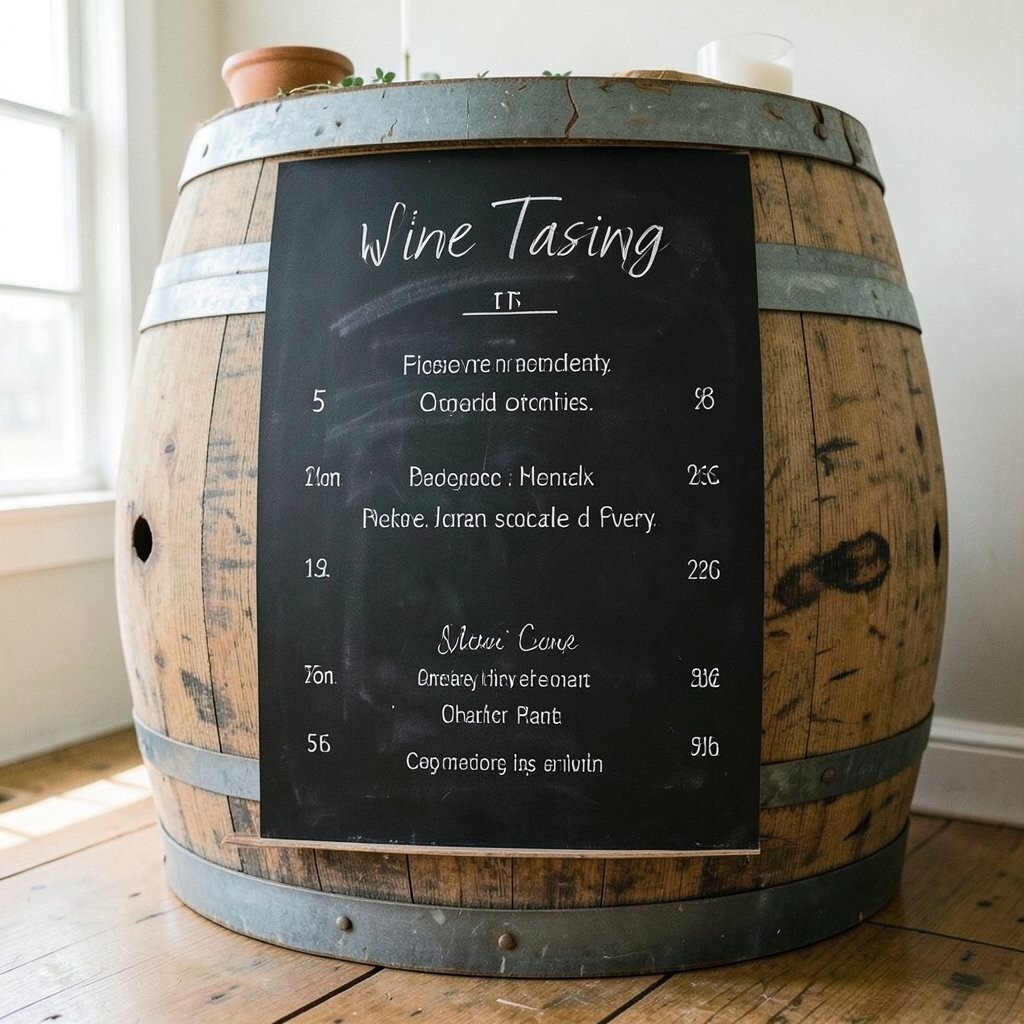
11. Chalkboard Barrel Top Menu
Top Chalkboard Barrel Top Menu Craft Tutorials
- 🖼️ Easy DIY kids' artwork display with chalkboard from facebook.com.
- 🗺️ Thanksgiving at The Chalkboard OKC! 🦃✨ Skip the stress … from instagram.com.
- 🎨 CHALKBOARD KITCHEN – Updated June 2026 from yelp.com.
- 🖼️ Chalkboards from barproducts.com.
- 🎨 Restaurant Chalkboard Menu Signs Diy from tiktok.com.
A chalkboard placed on a wine barrel feels right at home at a tasting event. The round barrel shape adds character, and the board gives it a useful job.
This setup works especially well near the entrance or beside the main pour station. You can write the wine list, pairing suggestions, or a short event welcome in a way that feels bold and easy to see. If you already have barrels at the venue, this can be a low-cost design with a lot of style.
Make it personal by adding a small sign with the vineyard name or the host family name. You can also place a lantern, candle, or small bouquet on top to finish the look. Many hosts like this idea because it feels rustic but still clean and organized.
The barrel top also creates a nice height difference in the room. That helps the display stand out without taking up too much floor space.
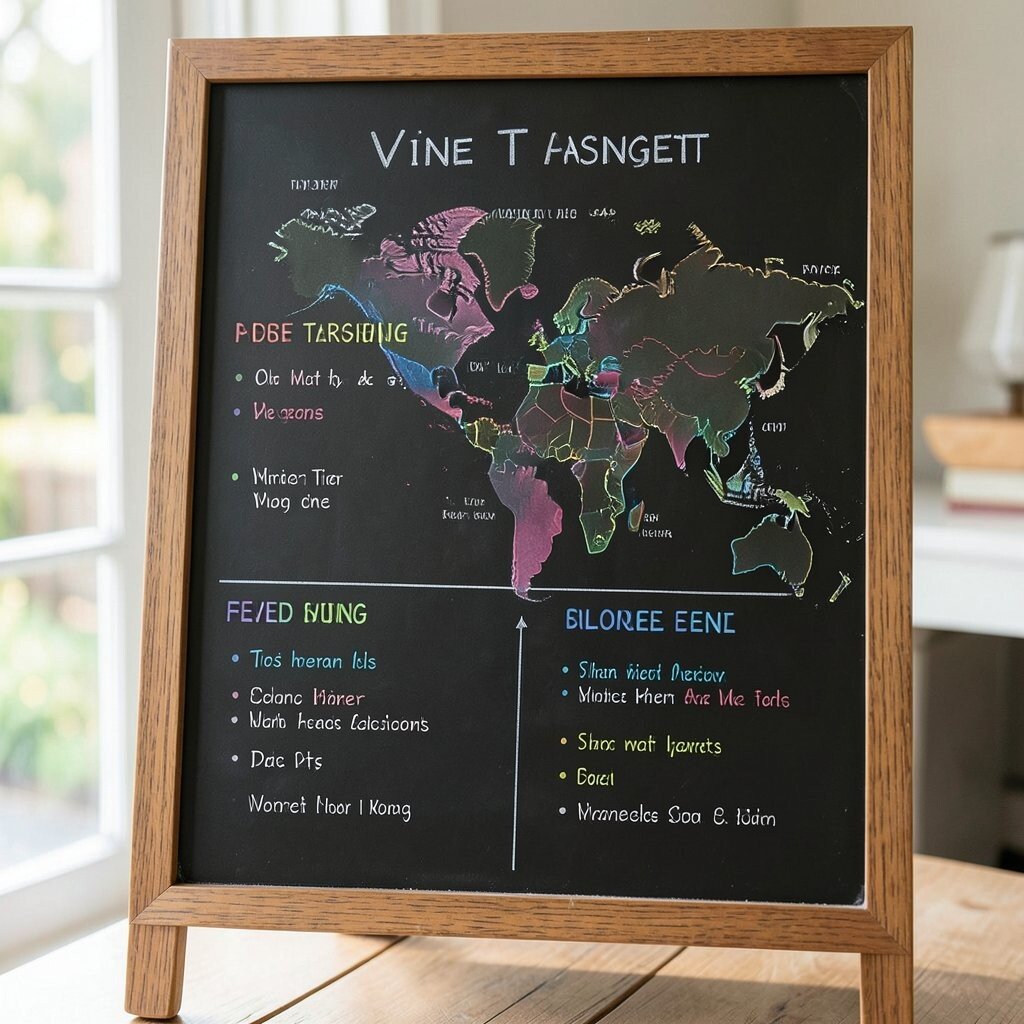
12. Color-Coded Chalkboard Wine Map
Top Color-Coded Chalkboard Wine Map Craft Tutorials
- 💅 This is a fun idea… make a cork board map to keep track of … from facebook.com.
- 🍂 DRY 85 in Annapolis, Maryland from dry85.com.
- 🍁 A Toast to Sausalito from sausalito.gov.
- 🎄 The Orchid House Winery from orchidhousewinery.com.
- 💅 Craft Warehouse | As Big as your Imagination! from craftwarehouse.com.
A color-coded chalkboard wine map makes the tasting feel smart and easy to follow. It can show where each wine comes from, which is helpful for guests who like to learn as they sip.
This idea is great for events that feature wines from many places. You can use different chalk colors for each region, then add simple notes about the grape, flavor, or soil type. The map style feels modern and gives the event a fresh educational twist, while still staying affordable if you keep the design simple.
Personal touches can make the board even better. Add tiny hand-drawn flags, stars, or dots to mark each region, or include a favorite local winery name. Guests often enjoy this style because it gives them a story to remember, not just a drink to taste.
If you want a cleaner look, keep the map lines thin and the labels short. That helps the board stay neat even when it holds a lot of information.
13. Elegant Chalkboard Dessert and Wine Pairing Board
Top Elegant Chalkboard Dessert And Wine Pairing Board Craft Tutorials
- 🍁 A Chalkboard Inspired Wine & Cheese Party from hwtm.com.
- 💅 Inspired Entertaining: DIY Chalkboard Wine Glasses from alwaysorderdessert.com.
- 🍅 Lauren's wine tasting charcuterie board with provolone rose from facebook.com.
- 🧑🌾 10 Fun Wine Party Themes (With Food, Wine & Decor Ideas) from havewinewillpair.com.
- 🎨 Great food and pairings at @devie.bar @ … from instagram.com.
An elegant dessert and wine pairing board brings the tasting to a sweet finish. It shows which wines go with chocolate, fruit, cheese, or pastry, and that makes the menu feel complete.
This style is useful because guests often want a simple guide for the final course. You can list each dessert next to the best wine match and add a few flavor notes so people know what to expect. It can be done on a medium board with chalk pens, making it a smart pick for hosts who want style without a big price tag.
Try decorating the corners with tiny dessert drawings or a soft border of stars and swirls. You can also make it personal by adding a favorite family dessert or a signature sweet from the event planner. Since pairing boards are very popular right now, this one feels current and thoughtful at the same time.
If the event is casual, keep the wording fun and simple. If it is more formal, use neat script and a few graceful flourishes to make the board feel extra special.