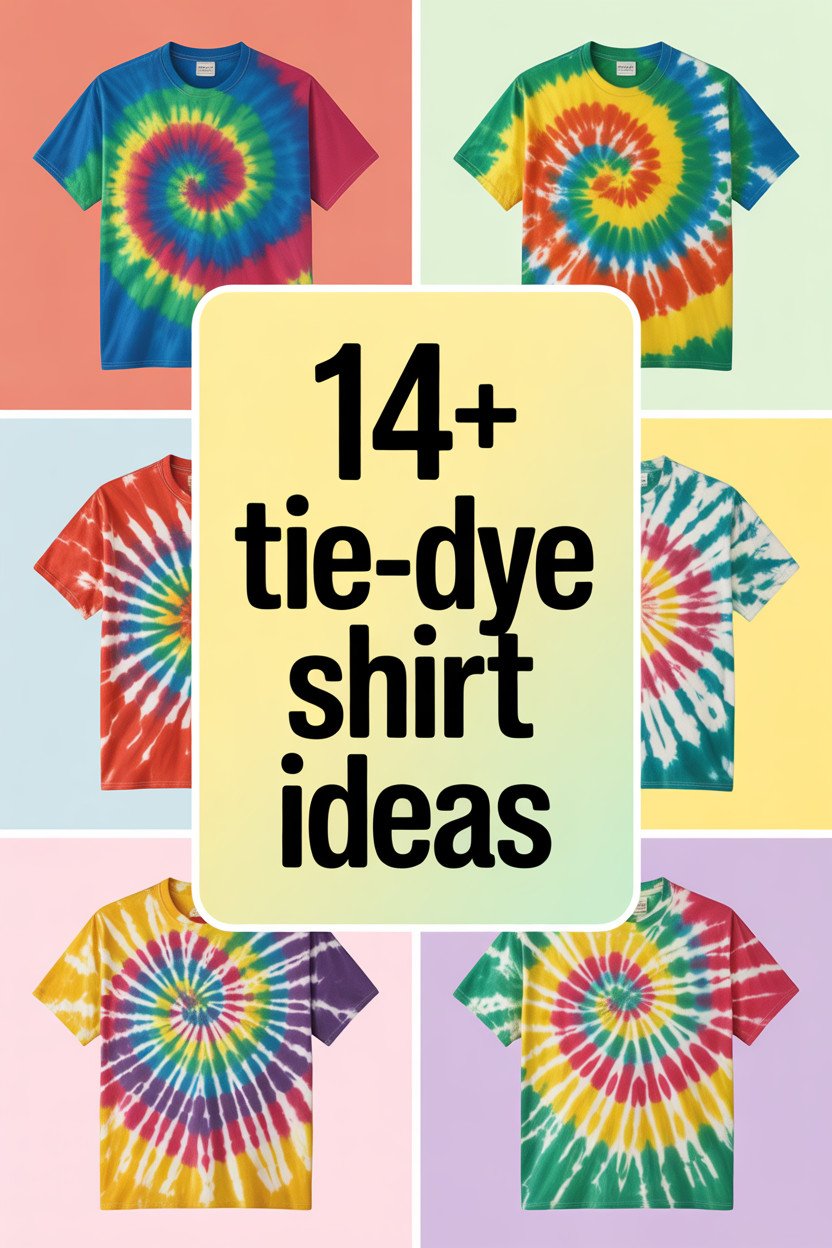
Tie-dye is like a colorful adventure for your wardrobe. Each design tells a unique story, and the endless possibilities make it even more exciting. Get ready to be inspired by these amazing tie-dye shirt ideas that will brighten up your closet.
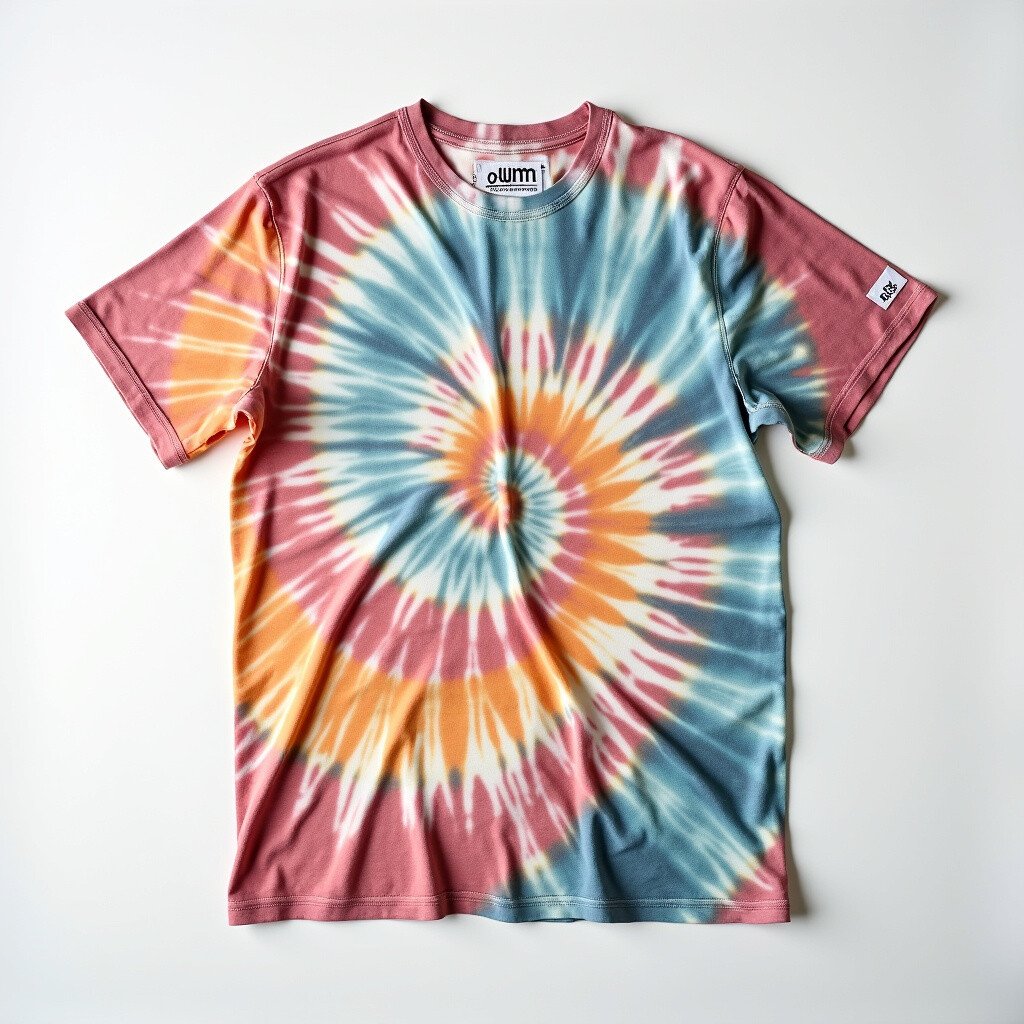
1. Classic Spiral Tie-Dye
Top Classic Spiral Tie-Dye Craft Tutorials
- 🍅 Spiral tie-dye technique from tiedyeyoursummer.com.
- 👓 Tie-Dye 101 {the classic spiral|} from jedicraftgirl.com.
- 👓 Lesson: How to Tie Dye Spiral Pattern from theneonteaparty.com.
- 👓 How to Tie-Dye a Shirt with a Classic Spiral Pattern from dharmatrading.com.
- 🖼️ How to Spiral Tie Dye from doodlehog.com.
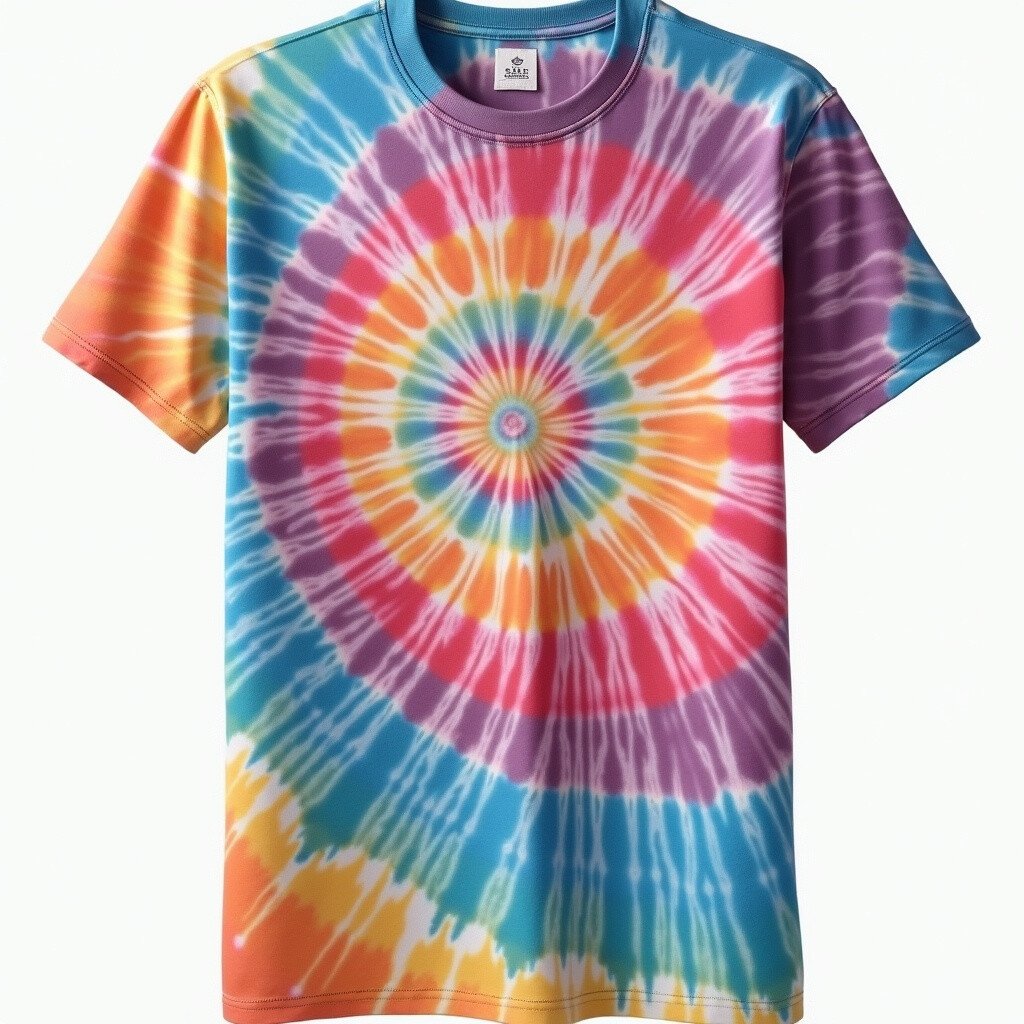
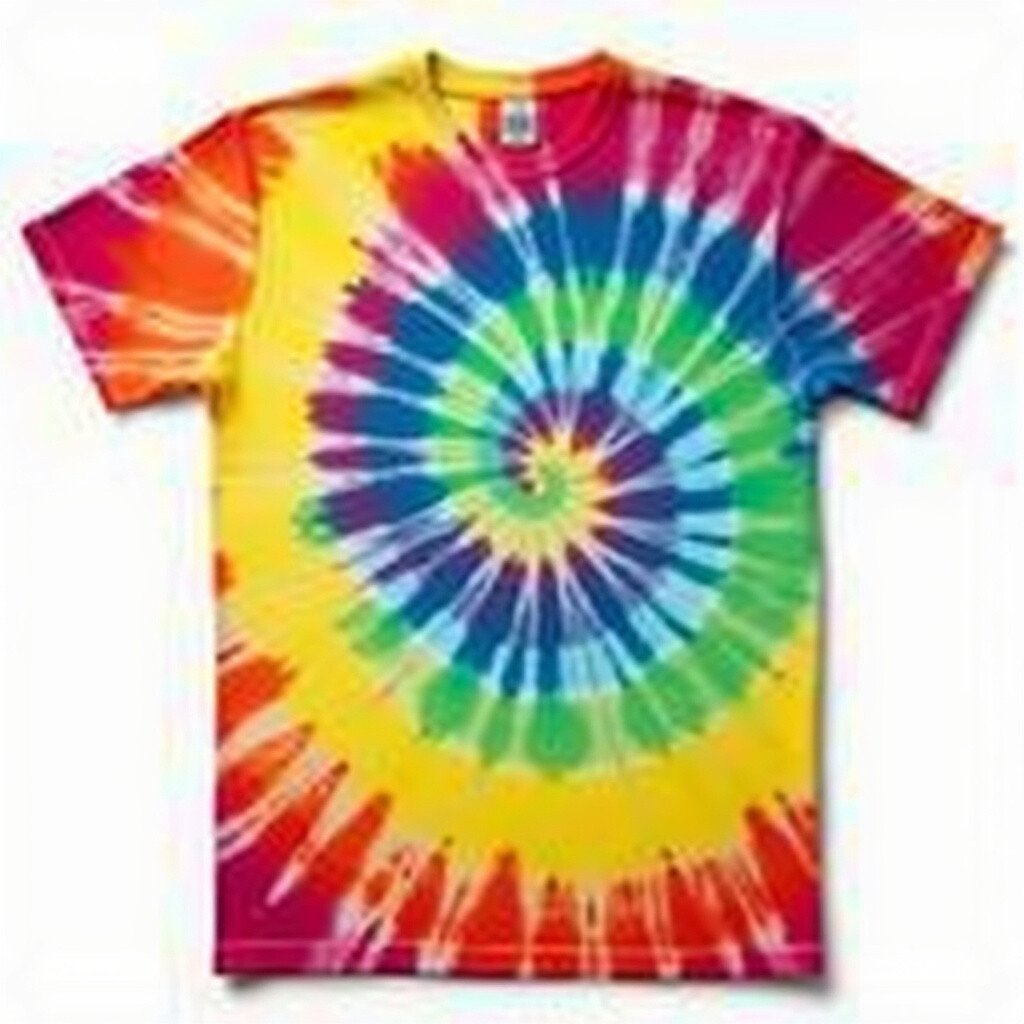
The classic spiral design is a timeless favorite. It has a swirling pattern that captures attention, with colors blending seamlessly into each other. This design is perfect for beginners and never goes out of style.
To create this, simply twist the shirt from the center and secure it with rubber bands. Choose bright colors for a vibrant look or pastels for something softer. The cost is minimal, and the satisfaction of seeing the spiral emerge is priceless.
2. Heart-Shaped Design
Top Heart-Shaped Design Craft Tutorials
- 💅 Heart craft ideas | Craft guides & templates from bakerross.co.uk.
- 🧑🌾 How to Make a Sweet and Simple Woven Heart Craft from firefliesandmudpies.com.
- 🧑🌾 2 Unique Heart Wall Hanging Craft Using Paper Cups and … from facebook.com.
- 🍂 15 Heart Crafts for Inspired Valentine's Day Gifts, Decor … from goodhousekeeping.com.
- 💅 Heart Shape Crafts & Activities for Preschool from notimeforflashcards.com.
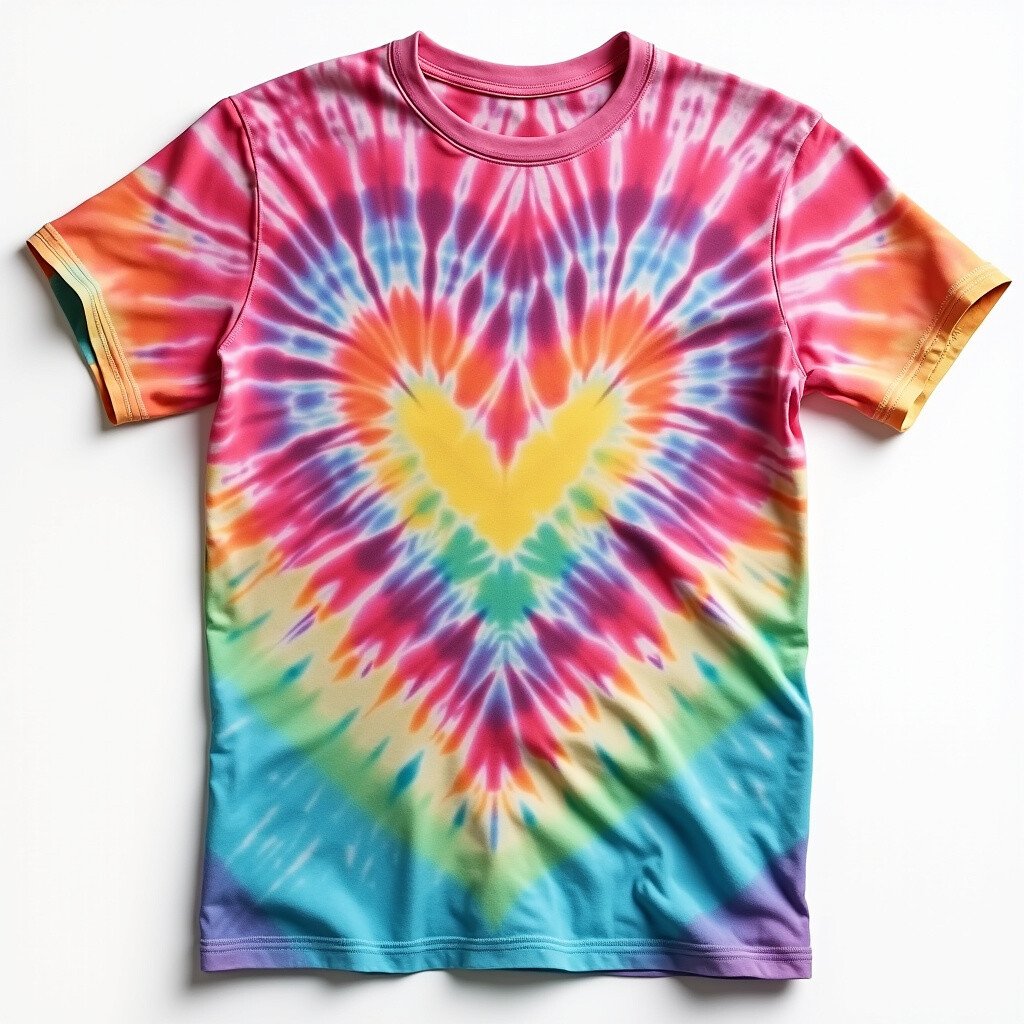
A heart-shaped tie-dye shirt is a sweet way to wear your love. This design features a heart in the center and is perfect for gifts or matching outfits with loved ones. The heart can be any size, making it versatile for any shirt.
Fold the shirt in half and draw half a heart shape, then tie along the line. Use red or pink dye for a classic heart, or mix it up with rainbow colors. This design is not only cute but also full of personal meaning.
3. Sunburst Pattern
Top Sunburst Pattern Craft Tutorials
- 🗺️ How to make a Sunburst Granny Square (Step by Step) from katiegetscreative.com.
- 🗺️ Sunburst Crochet Pattern Tutorial Part 1 from craftymarie.com.
- 🗺️ I did 3 sunburst granny squares. from facebook.com.
- 🧑🌾 Sunburst Granny Square – Free Crochet Pattern from youshouldcraft.com.
- 🍁 How to Crochet a Sunburst Granny Square from adorecrea.com.
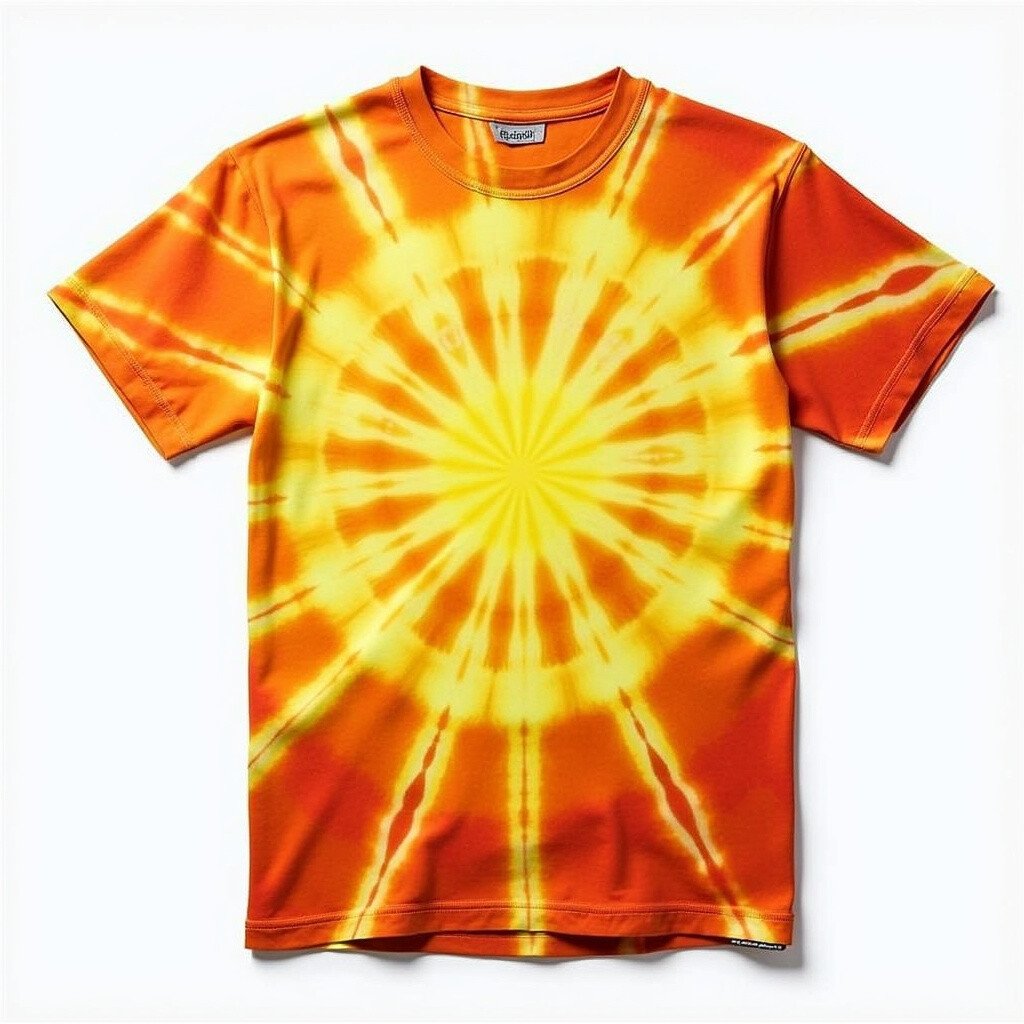
The sunburst pattern radiates with energy and joy. It looks like rays of sunlight bursting from a central point, making it a lively choice for any day. This pattern is both striking and easy to make.
Pinch the shirt where you want the center of the sunburst to be and tie it tightly. Use yellow, orange, and red dyes to mimic the colors of the sun. The result is a shirt that feels like a warm summer day.
4. Crumple Tie-Dye
Top Crumple Tie-Dye Craft Tutorials
- 🎨 Crumple tie-dye technique from tiedyeyoursummer.com.
- 💅 Learn how to crumple tie dye! from gathered.how.
- 🍁 How To Crumple Tie Dye from mygrowingcreativelife.com.
- 🎨 Crumple dye technique for unique effect from facebook.com.
- 🎄 How do I get this look of a black and blue crumple tie dye? from reddit.com.
Crumple tie-dye is all about chaos and beauty. This technique creates random, abstract patterns that are unique to every shirt. It’s fun to make because there’s no wrong way to do it.
Simply scrunch the fabric together and secure it with rubber bands. Use as many colors as you like, letting them blend naturally. The cost is low, but the creative freedom is high.
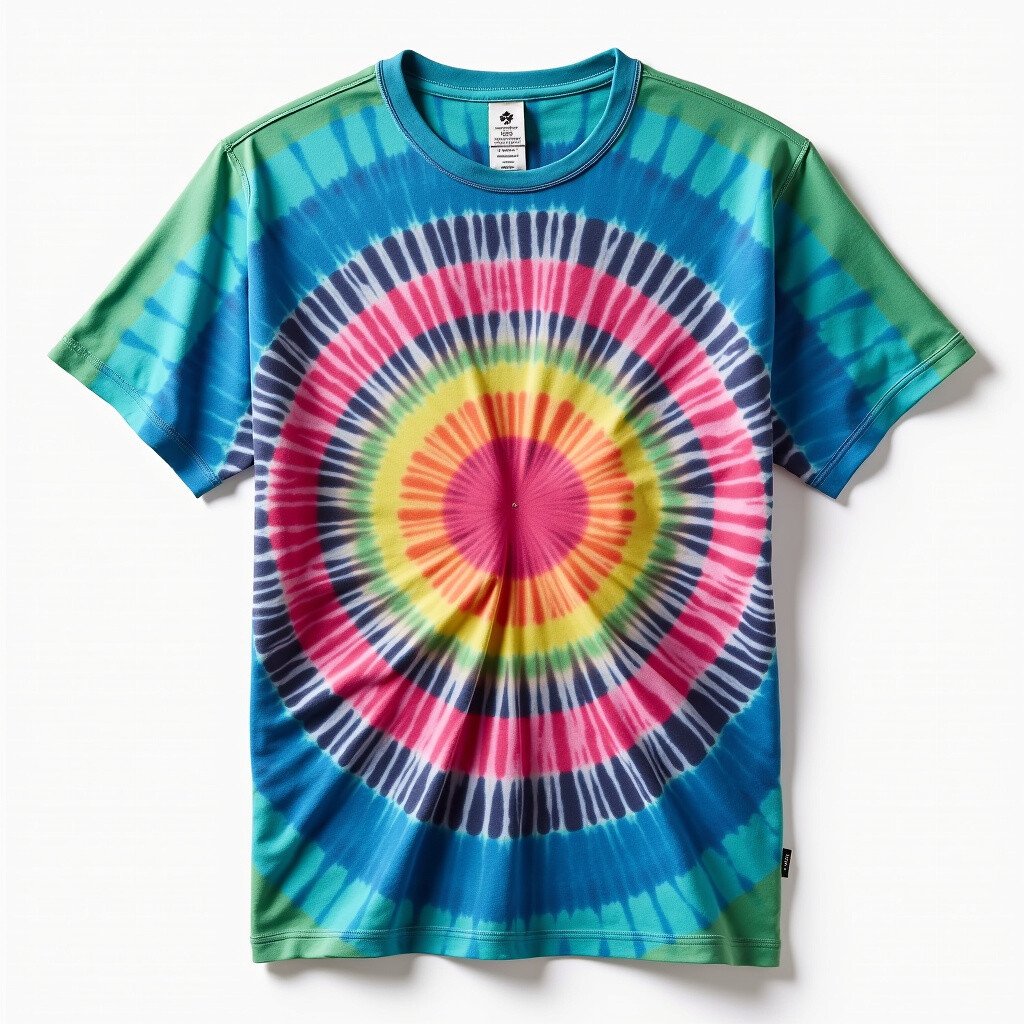
5. Bullseye Design
Top Bullseye Design Craft Tutorials
- 🍅 OPALESCENT INDIGO BLUE 5" x 5" BULLSEYE 3mm … from ebay.com.
- 🍁 Bullseye Designs And Crafts | Chickamauga GA from facebook.com.
- 🗺️ Bullseye's Playground : Craft Kits from target.com.
- 🎄 Lesson: How to Tie Dye Bullseye Pattern from theneonteaparty.com.
- 🍅 2130.00 CLEAR WHITE STREAKY 5" X 5" BULLSEYE … from yuvrajsilkhouse.com.
The bullseye design is bold and captivating. It features concentric circles that draw the eye inward, making it a standout piece in any wardrobe. It’s a classic design that always impresses.
To achieve this look, pinch the center of the shirt and wrap bands around it at intervals. Choose contrasting colors to make each circle pop. This design is as mesmerizing as it is easy to make.
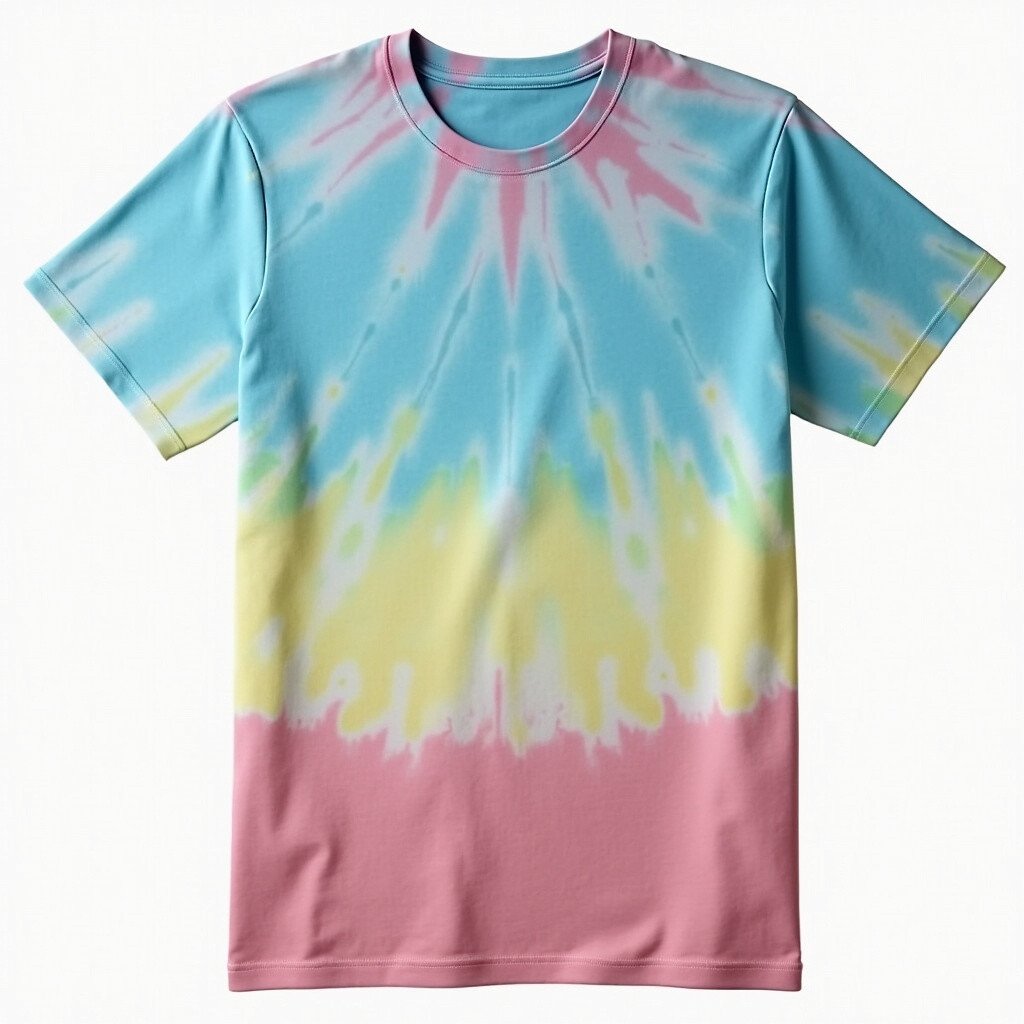
6. Ombre Gradient
Top Ombre Gradient Craft Tutorials
- 🗺️ Purple Ombre Dream Catcher 6 from spiritberrycraftsupplies.ca.
- 🎨 OMBRE | GRADIENT from donkeycraftvinyl.com.
- 🧑🌾 Monague Indigenous Crafts & Gifts from facebook.com.
- 🍅 Usbinx Life 6-Color Gradient Embroidery Thread Set 8m x … from walmart.com.
- 🗺️ Ombre Collection | Mulberry Paper by Kozo Studio from kozo.studio.
Ombre gradient tie-dye is elegance in simplicity. This design blends colors from light to dark, creating a smooth transition that is soothing to the eyes. It’s perfect for those who love a subtle yet stylish look.
Dip the shirt gradually into the dye, allowing the colors to change from one to another. Start with a light color and move to a darker shade. The result is a shirt that looks like a work of art.
7. Stripes and Lines
Top Stripes And Lines Craft Tutorials
- 🧑🌾 Craft ideas for kids for Stars and Stripes week? from facebook.com.
- 🍁 Stars & Stripes – Red, White & Blue Crafts from craftingjeannie.com.
- 🍂 Stars And Stripes Forever: Waving Lines Stencil from echoparkpaper.com.
- 💅 Stars Stripes Border royalty-free images from shutterstock.com.
Stripes and lines add structure and flair to any tie-dye shirt. This design is all about precision, creating clean lines that stand out. It’s a modern take on a classic technique.
Fold the shirt accordion-style and apply dye to create stripes. Use tape for more defined lines. This design is perfect for those who love order and symmetry.
8. Ice Dye Technique

Top Ice Dye Technique Craft Tutorials
- 🍁 Ice Tie Dye Technique: How to Tie Dye with Ice from brepea.com.
- 🍅 How to Ice Dye Textiles from seamwork.com.
- 🧑🌾 7 Tips for Creating Amazing Designs With Ice Dye – Jojotastic from jojotastic.com.
- 🍂 Ice Tie Dye Technique Instructions from facebook.com.
- 🍂 Unleash Your Creativity with Ice Dye: A Step-by- … from tulipcolor.com.
Ice dyeing is a magical experience. The dye melts through ice, creating unpredictable and stunning patterns. It’s like watching art happen in real time.
Cover the shirt with ice cubes and sprinkle dye powder on top. As the ice melts, the dye spreads in beautiful ways. This technique is unique and gives each shirt a one-of-a-kind look.
9. Galaxy Tie-Dye
Top Galaxy Tie-Dye Craft Tutorials
- 🍁 Sei Galaxy Tie Dye Kit, Craft and Fabric Spray, 8 Colors from walmart.com.
- 🍅 How to Make a Tie Dye Galaxy Dress! from doodlecraftblog.com.
- 🗺️ Galaxy ice dye 💖 : r/tiedye from reddit.com.
- 👓 First reverse dye galaxy effect tie dye art from facebook.com.
- 👓 Sei Galaxy Tie Dye Kit, Craft and Fabric Spray, 8 Colors from ebay.com.
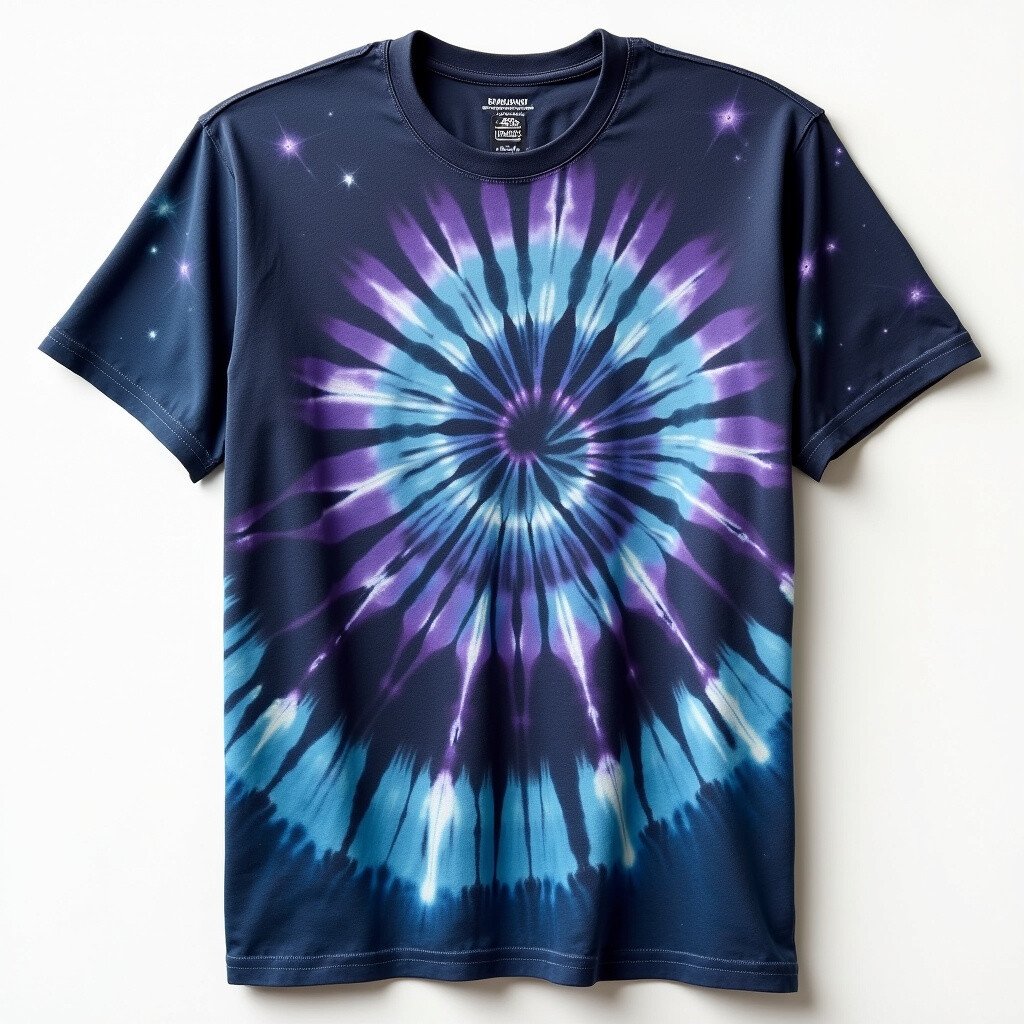
Galaxy tie-dye takes you to outer space. With deep blues, purples, and hints of white, this design mimics the mysteries of the cosmos. It’s a dreamy pattern that’s perfect for stargazers.
Start with a dark base and add splashes of lighter colors. Use a spray bottle for star-like specks. This shirt feels like wearing a piece of the night sky.
10. Reverse Tie-Dye
Top Reverse Tie-Dye Craft Tutorials
- 🎄 How To Reverse Tie Dye: 3 Different Ways from mygrowingcreativelife.com.
- 👓 Easy Reverse Tie-Dye: How to Tie Dye with Bleach from papernstitchblog.com.
- 💅 My son's Craft-mas gift he designed for his Dad, reverse … from reddit.com.
- 🖼️ Reverse tie dye process tutorial from facebook.com.
- 🍅 Quick Reverse Tie-Dye – Instructables from instructables.com.
Reverse tie-dye is all about creating contrast. Instead of adding color, bleach is used to remove it, leaving striking patterns behind. This technique is perfect for dark shirts.
Twist or fold the shirt and apply bleach carefully. Watch as the colors transform, revealing new designs. It’s an edgy and innovative way to tie-dye.
11. Mandala Design
Top Mandala Design Craft Tutorials
- 🍂 Roylco Make-A-Mandala Paper – 11" x 11", Pkg of 36 from dickblick.com.
- 🧑🌾 Diy mandala ( design 11) – Hanch.art from hanch.art.
- 🖼️ Premarked Round Mandala design base 11 from craftyourart.com.
- 🎄 Diamond Painting Craft Mandala Partial Rnd 11" x11 … from ebay.com.
- 🍅 Top 7 Mandala Craft Activities – S&S Blog from ssww.com.
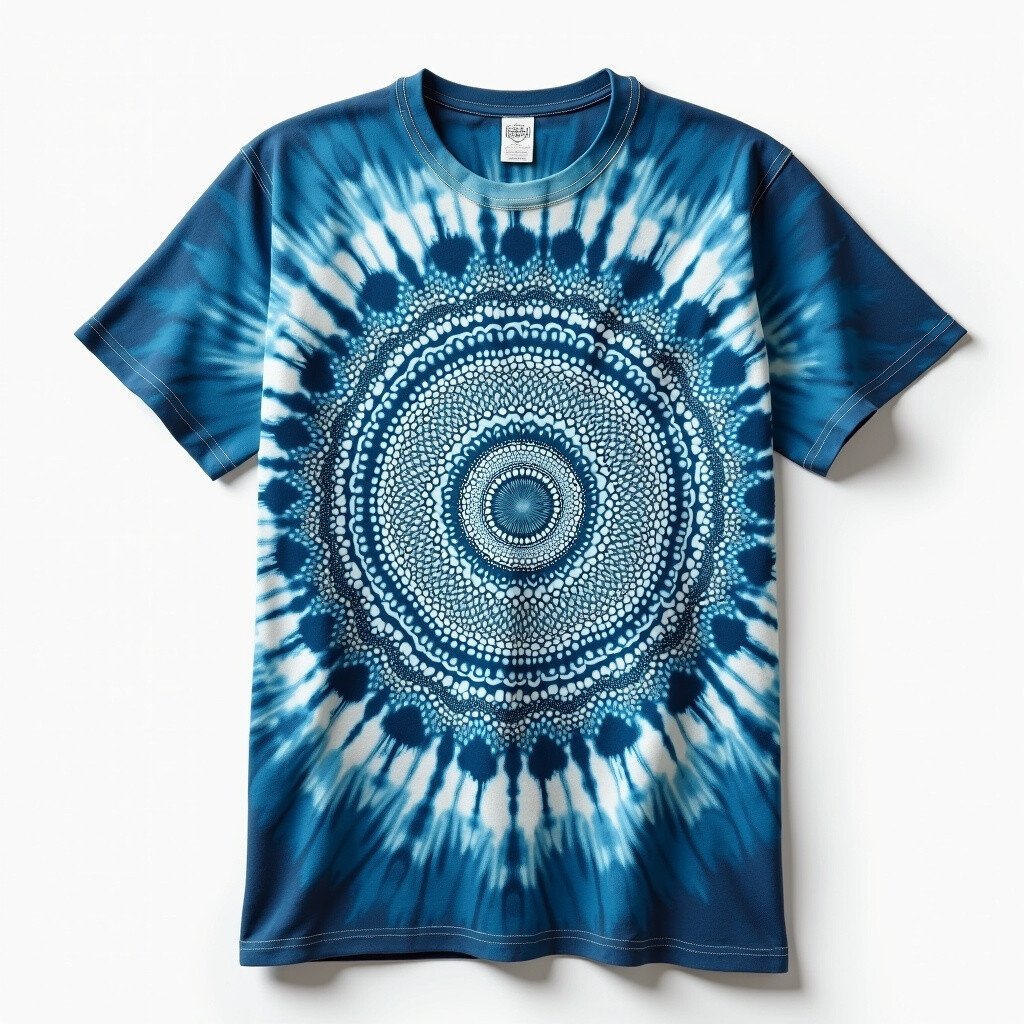
The mandala design is intricate and spiritual. With circular patterns and detailed lines, it resembles traditional mandalas used in meditation. It’s perfect for a peaceful and artistic look.
Fold the shirt to create symmetry and use fine lines of dye for detail. The result is a shirt that’s as meditative to create as it is to wear.
12. Starburst Pattern
Top Starburst Pattern Craft Tutorials
- 🧑🌾 Starburst New Millenium 12" Afghan Block Crochet pattern … from lovecrafts.com.
- 👓 Summer Starburst 12" x12" punchneedle mini quilt pattern … from ebay.com.
- 🎄 Starburst Wrapper Bracelet Tutorial – Fluffyland from fluffyland.com.
- 👓 Starburst Motif Pattern from katiecooksandcrafts.blogspot.com.
- 🎨 4th Of July Starburst Tissue Paper Craft Kit from dmc-nordic.com.
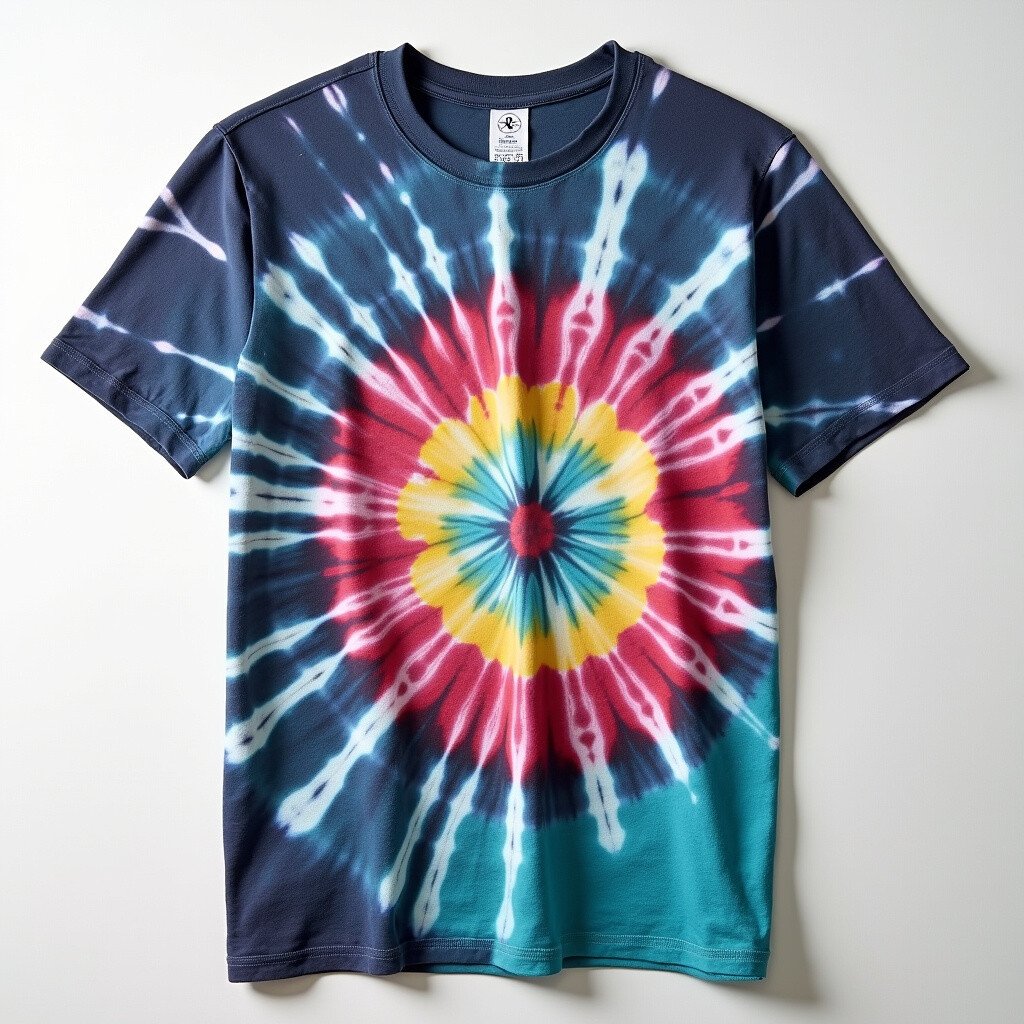
The starburst pattern is full of energy and excitement. It looks like stars exploding across the fabric, creating a dynamic and lively design. It’s great for making a bold statement.
Pinch several points on the shirt and tie them off. Use bright, contrasting colors for a dynamic effect. This design is sure to make any outfit pop.
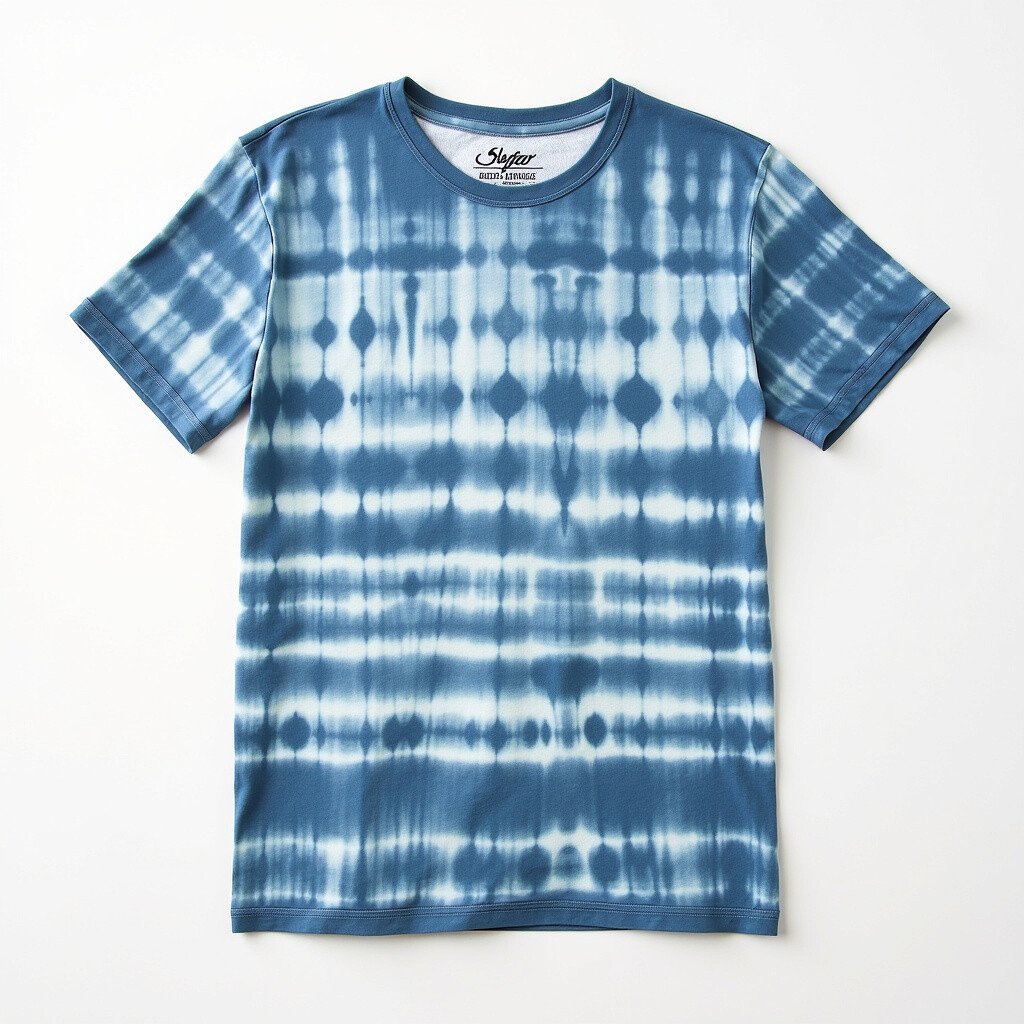
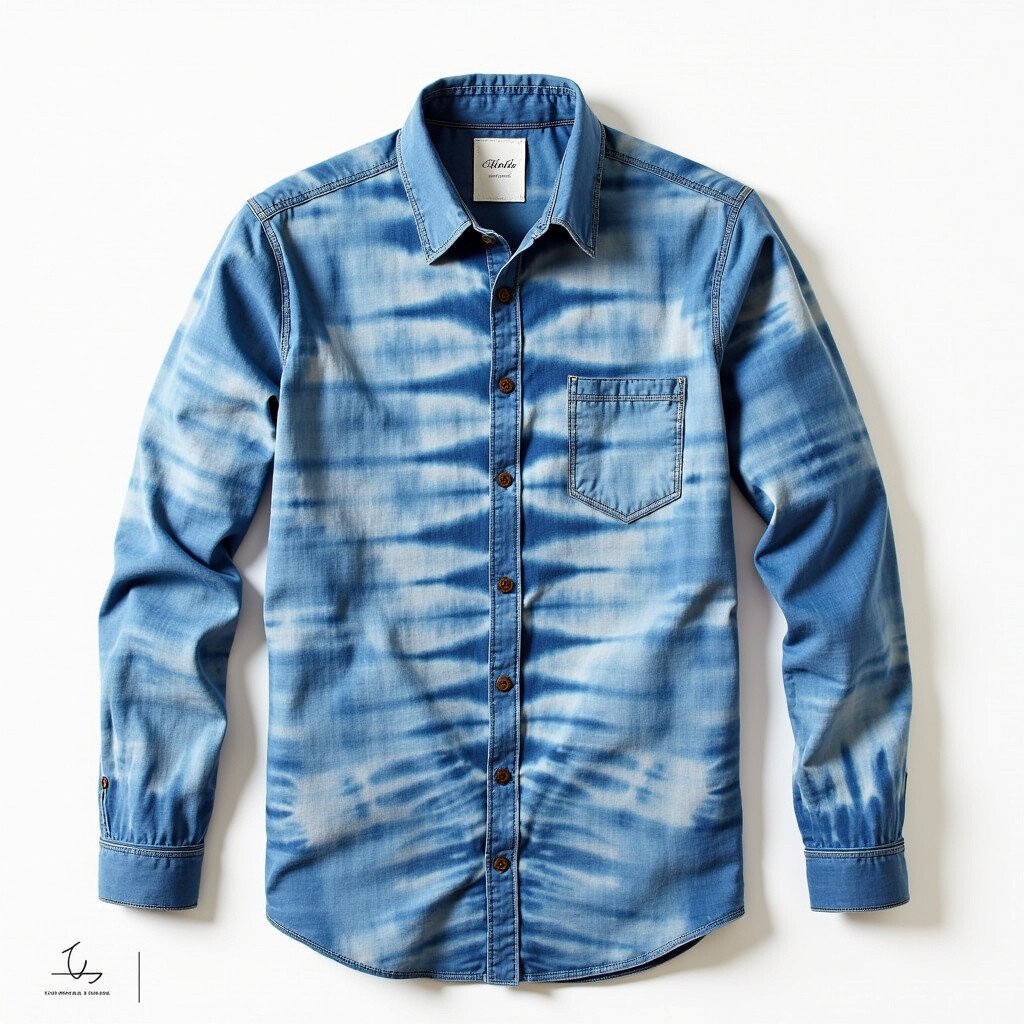
13. Shibori Technique
Top Shibori Technique Craft Tutorials
- 💅 Indigo Shibori Dyeing Techniques from blog.closetcorepatterns.com.
- 💅 Shibori Dyeing Techniques for Five Beautiful Patterns from marthastewart.com.
- 🍅 How To: Shibori Dyeing Techniques from blog.stylemakerfabrics.com.
- 🖼️ The Art of the Shibori Dyeing Technique – T A L Ú – Talu Earth from talu.earth.
- 🎄 Easy DIY Shibori Techniques and Ideas from jenniferperkins.com.
Shibori is a traditional Japanese technique that creates beautiful, geometric patterns. It’s a sophisticated take on tie-dye, perfect for those who love cultural crafts.
Fold the fabric and bind it with string or clamps. Dip it in indigo dye for a classic look. This method is as much about the process as the final product.
14. Rainbow Swirl
Top Rainbow Swirl Craft Tutorials
- 🍂 21 Rainbow Crafts for Kids: Colorful … – Mommy Poppins from mommypoppins.com.
- 🎄 Rainbow swirls and sparkles- May Designer Challenge from mymessycraftroom.me.
- 🍅 30 Fun Rainbow Crafts for Kids from yahoo.com.
- 🎄 COLOR SWIRL CYCLONE JARS 🌪️🎨 A dazzling DIY … from facebook.com.
- 👓 Rainbow Window Crafts for Children and Au Pairs – Kid Notes from blogs.aupairinamerica.com.
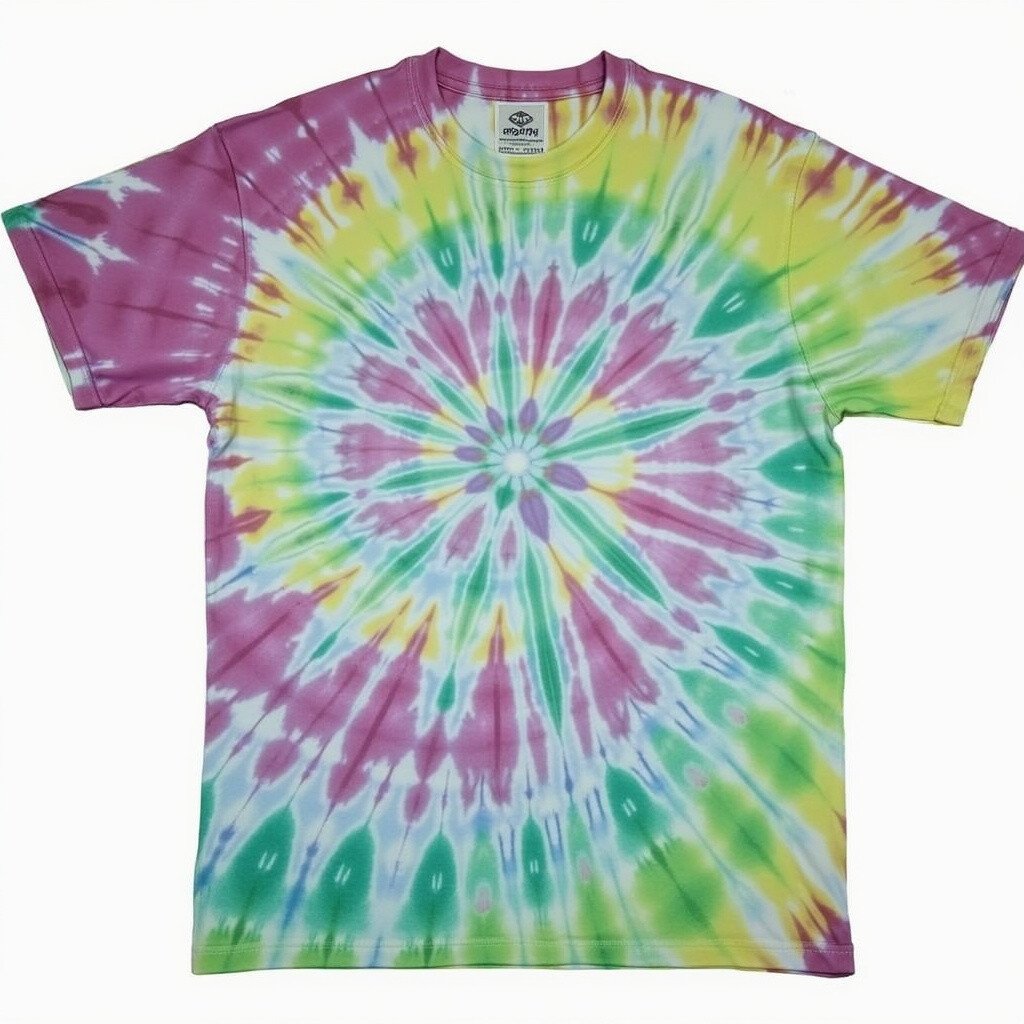
The rainbow swirl is pure joy in fabric form. With every color of the rainbow spiraling outwards, it’s a cheerful and uplifting design. Perfect for festivals or whenever you need a splash of color.
Twist the shirt from the center and apply each color in sections. The result is a shirt that’s like wearing a rainbow. It’s impossible not to smile when you see it.
15. Geometric Patterns

Top Geometric Patterns Craft Tutorials
- 🍅 35 Geometric Patterns and How to Design Your Own from skillshare.com.
- 🎄 15 Geometric Origami Tutorials (Geometric Shape + … from origamiok.com.
- 💅 String Art Kits (3rd grade and up) EACH KIT IS … from minimathprojects.com.
- 🍁 A pattern from David Wade's book, Geometric Patterns and … from facebook.com.
- 🍁 25 DIY Geometric Arts & Crafts from thecraftyblogstalker.com.
Geometric patterns offer a modern twist on tie-dye. With shapes like triangles and squares, this design is contemporary and chic. It’s perfect for those who love a structured look.
Use tape or folds to create your shapes, and apply dye carefully. The sharp lines and vibrant colors make for a striking design. This shirt is both fashionable and fun to create.