Watercolor cards can feel soft, bright, and full of life. A few simple effects can make each one feel like a tiny piece of art.
1. Soft Ombre Wash
Top Soft Ombre Wash Craft Tutorials
- 💅 Soft Ombre Yarn by Loops & Threads – Light Polyester … from walmart.com.
- 🍂 Can loops and threads soft ombre be machine washed? from facebook.com.
- 💅 Super Saver Ombre Yarn E305.3963 Knitting Crochet Acrylic … from ebay.com.
- 🍂 An Honest Mandala Ombre Yarn Review: Everything You … from krissysoverthemountaincrochet.com.
- 🗺️ Ombre Wash Amber Thank You Folder from viewonly.carlsoncraft.com.
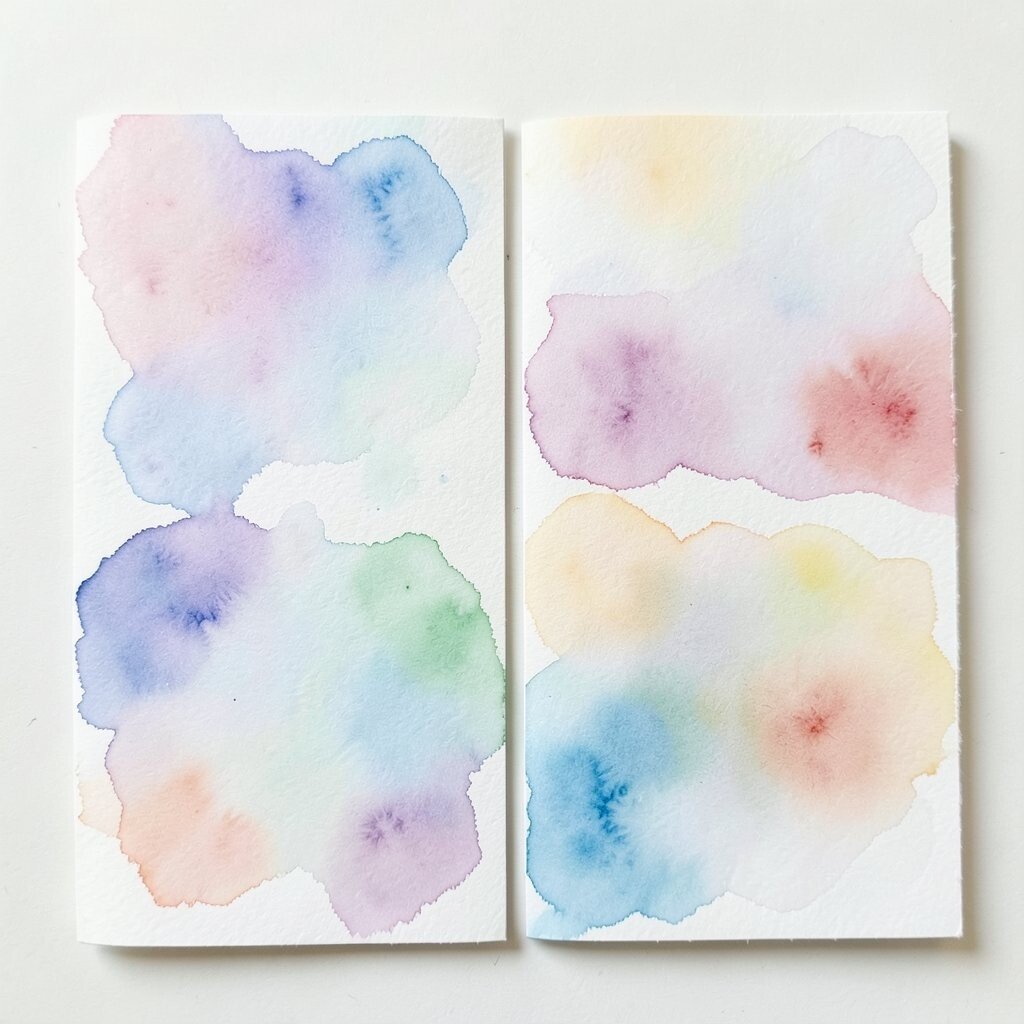
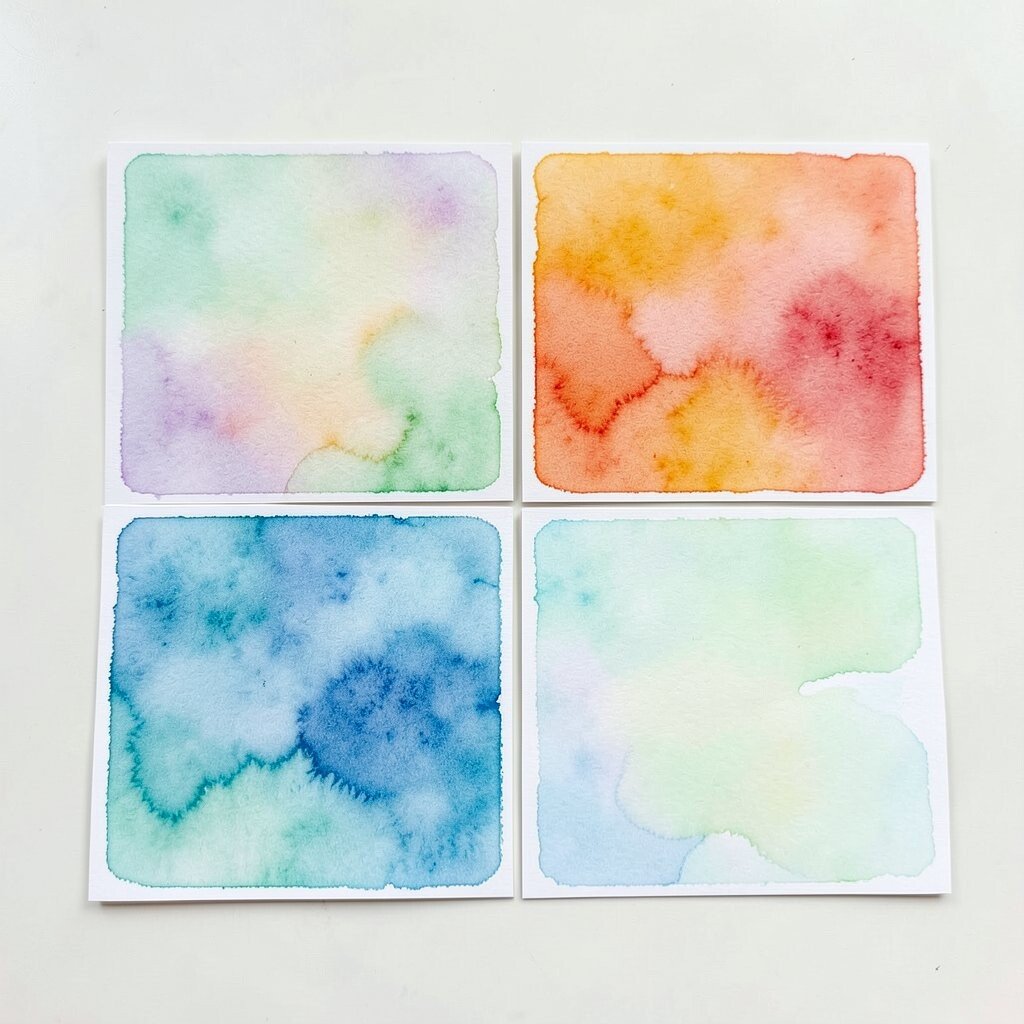
A soft ombre wash blends one color into another in a smooth, dreamy way. It looks calm and elegant, like a sky at sunset.
This effect is great for birthday cards, thank-you notes, and wedding pieces because it feels gentle and polished. You can make it with a wet brush, a little water, and two or more colors, so the cost stays low. Try using a favorite color pair that matches the person you are making the card for, like blue and green for a nature lover or pink and peach for a friend who likes warm tones.
2. Bold Color Splashes
Top Bold Color Splashes Craft Tutorials
- 🧑🌾 Bright and bold splash paint art! from facebook.com.
- 👓 The "This or That" Challenge from facebook.com.
- 🍅 can you blame me? 🌈✨ This playful journal page is … from instagram.com.
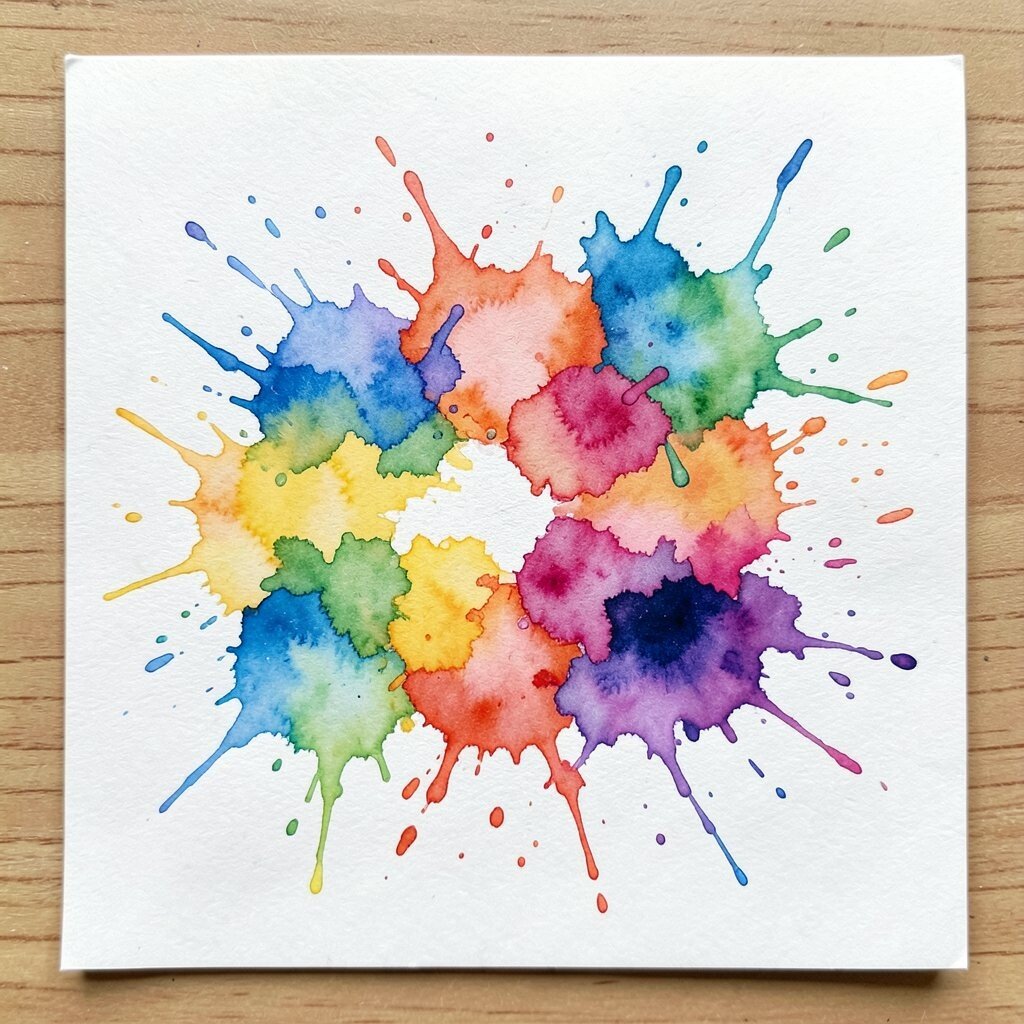
Bold splashes bring energy and fun to a card. They create a lively look with bright drops, loose marks, and a playful feel.
This style works well for modern cards because it looks fresh and trendy. It is also easy on your wallet since you only need paint, water, and paper towels for cleanup.
You can place the splashes near the edges or behind a message to keep the center clear. For a personal touch, use colors that match a hobby, a season, or even a favorite team. If you want a cleaner look, test your splashes on scrap paper first so you can control how wild they get.
3. Galaxy Sky Effect
Top Galaxy Sky Effect Craft Tutorials
- 🍁 Easy galaxy art for kids with glue and crystals from facebook.com.
- 🎨 Make Your Own Magical Galaxy Ornaments at Home … from facebook.com.
- 👓 Simple Galaxy Painting with 3D Mountain Crafting from skillshare.com.
- 🖼️ How to Make Your Own Galaxy Jars in Minutes! from jugglingactmama.com.
- 🗺️ Resin Galaxy Ideas: Make Starry Cosmic Crafts from resiners.com.
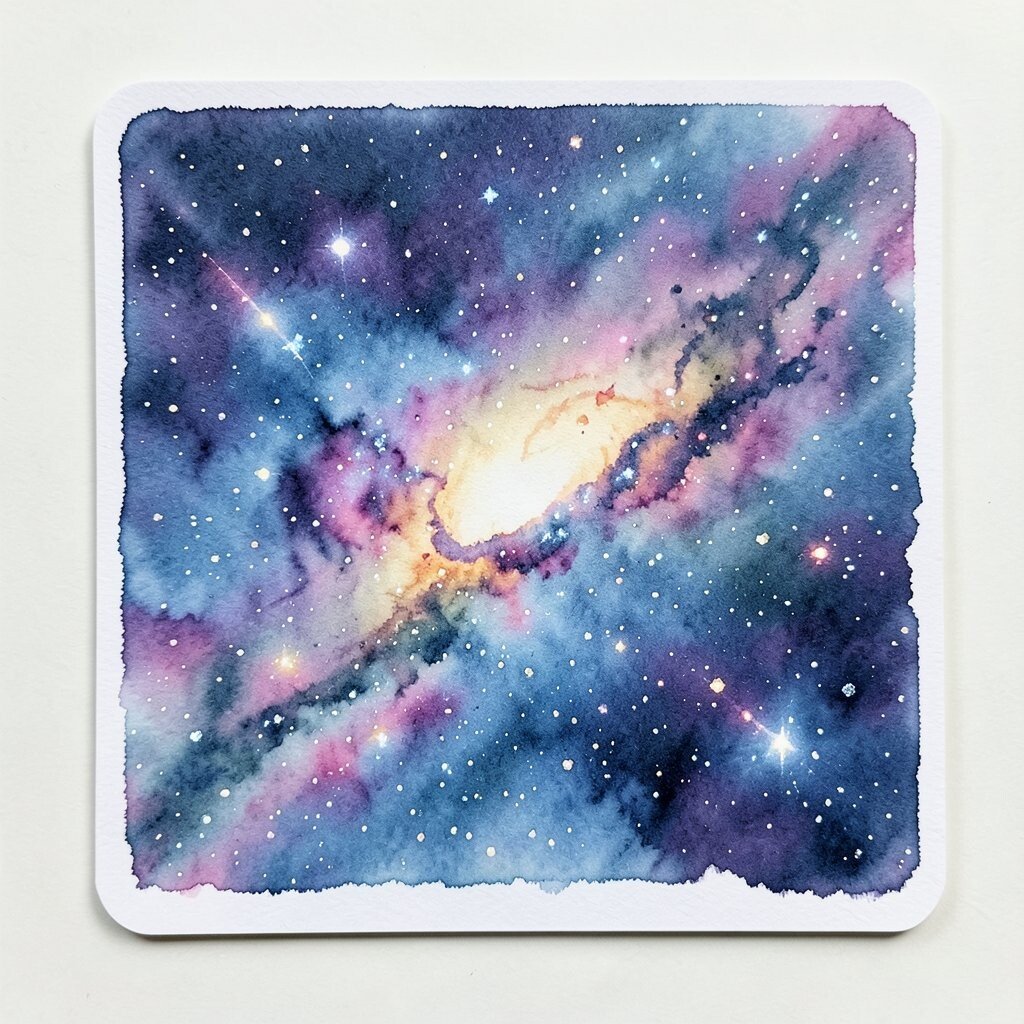
A galaxy sky effect gives a card a deep, magical look with dark blues, purples, and tiny white stars. It feels like holding a small night sky in your hands.
This effect stands out because it looks rich and dramatic without needing fancy tools. You can make it with layered watercolor, a toothbrush for star specks, and a white pen, which keeps the cost low.
Many artists like this style for encouragement cards, space themes, and dream-related messages. Try adding a moon, a constellation, or a name in silver ink to make it feel special. The dark background also helps light lettering pop, which makes the card easy to read.
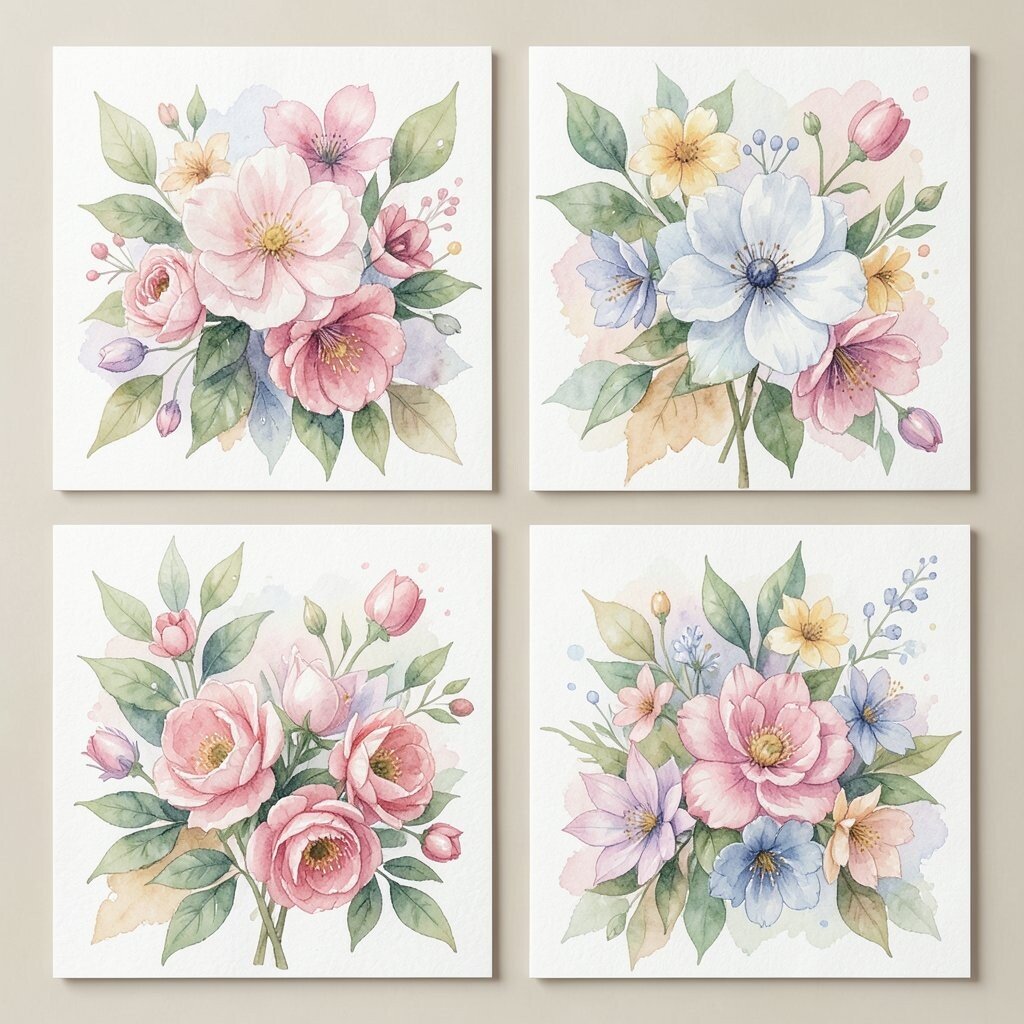
4. Floral Bloom Blends
Top Floral Bloom Blends Craft Tutorials
- 🍁 Blooming Flowers Craft with Printed Flowers and Water … from facebook.com.
- 🖼️ Build a soil craft blend for flower! : r/BuildASoil from reddit.com.
- 🗺️ BuildASoil Craft Blend Pack – Organic Soil Nutrients from buildasoil.com.
- 🎨 I made all 5 Concord & 9th In Bloom Craft kits from ahundredaffections.com.
- 🧑🌾 Calendar • Let's Bloom Maypop Craft Crawl from webstergrovesmo.gov.
Floral bloom blends create soft flower shapes that seem to open right on the page. The colors spread in a pretty, natural way that feels fresh and sweet.
This effect is popular because flowers never go out of style. It is also a smart choice for handmade cards since you can paint simple petals without buying stamps or dies.
Use a round brush and let the paint flow a little for a loose garden look. You can personalize the blooms with the receiver’s favorite colors or add tiny leaves for a fuller design. For a neat finish, leave space around the flowers so the card does not feel too crowded.
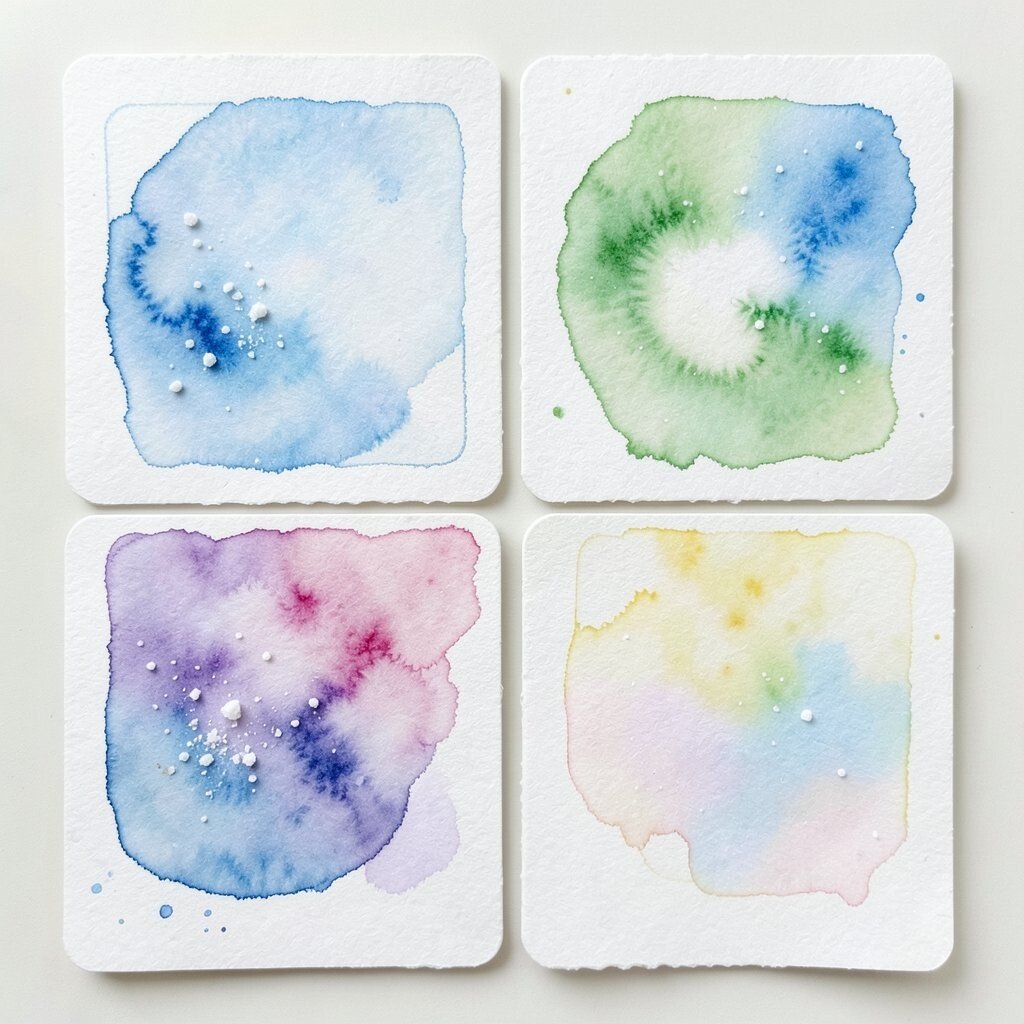
5. Salt Texture Magic
Top Salt Texture Magic Craft Tutorials
- 🎄 Salt art is bright and full of texture! See how easy it is to … from facebook.com.
- 🗺️ Magic Salt Painted Ghost from thecraftathomefamily.com.
- 🍅 Heart salt painting is a simple, sensory art activity … from facebook.com.
- 🎨 TUFF Momma Salt Craft from tuffmomma.com.
- 🎨 Salt- A new mineral : r/minecraftsuggestions from reddit.com.
Salt texture gives watercolor a grainy, sparkling look that feels almost like snow or sand. It adds surprise and makes the surface look rich and interesting.
This effect is loved because it is simple but looks special. You only need watercolor, salt, and paper, so it is one of the cheapest ways to add style.
Try it on wet paint and wait for the salt to dry before brushing it away. The results can look like stars, frost, or tiny crystals, which is great for winter cards or dreamy themes. If you want a more personal look, pair the texture with a hand-lettered quote or a small painted symbol.
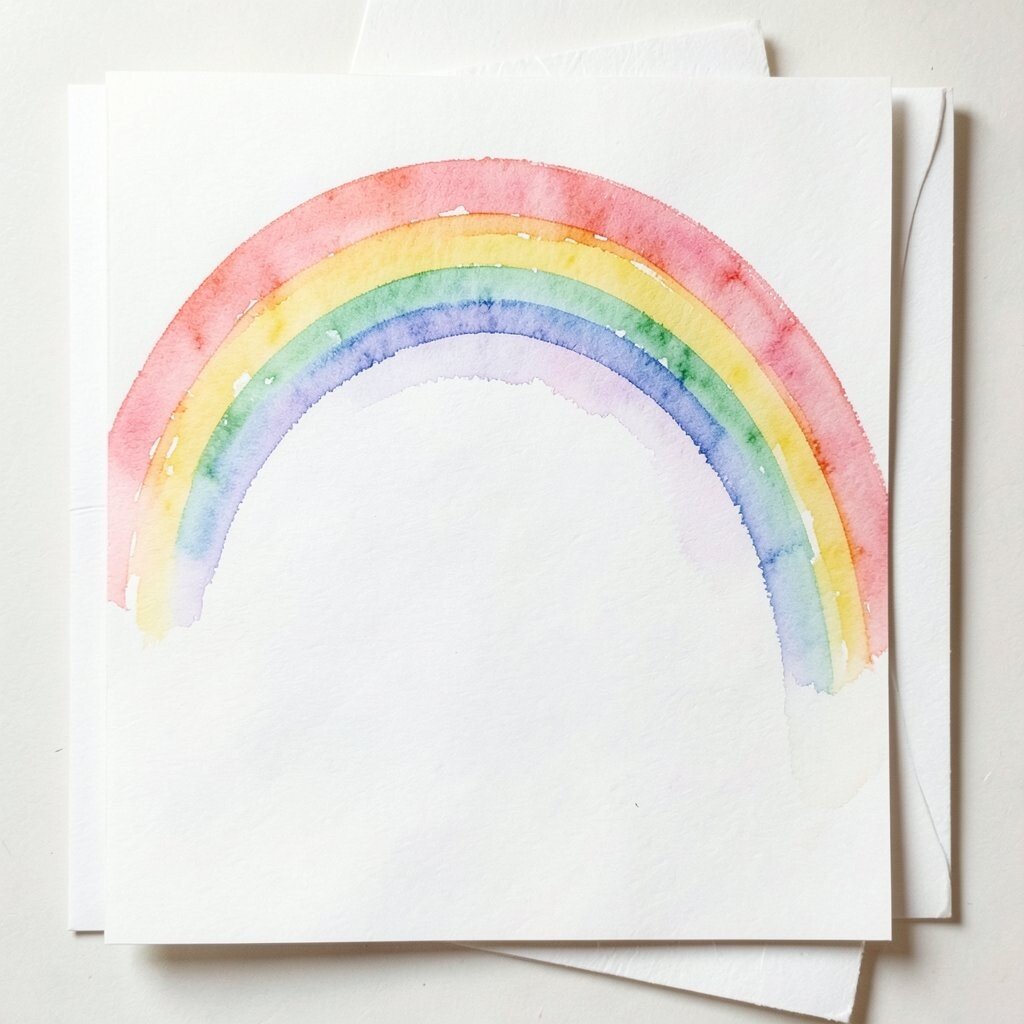
6. Loose Rainbow Arc
Top Loose Rainbow Arc Craft Tutorials
- 🍅 Easy 3D Paper Rainbow Craft – The Budding Artists from thebuddingartists.com.
- 🍅 What a fun and happy idea to paint a RAINBOW … from facebook.com.
- 🍅 Rainbow Collage Craft For Kids from ourplayfullearningjourney.com.
- 🍅 SIB Arc Raiders : r/ShouldIbuythisgame from reddit.com.
- 🧑🌾 Make a Rainbow Mobile | Crafts for Kids from pbs.org.
A loose rainbow arc brings a cheerful and hopeful mood to any card. The curved bands of color feel bright, simple, and full of joy.
This effect is perfect for good-news cards, kids’ cards, and any message that needs a happy lift. It is also easy to make with basic paints, so you do not need many supplies.
Keep the edges soft for a hand-painted look that feels warm and friendly. You can make the rainbow bigger, smaller, wider, or thinner to suit the card size. Add a name, date, or small heart under the arc to make it feel made just for one person.
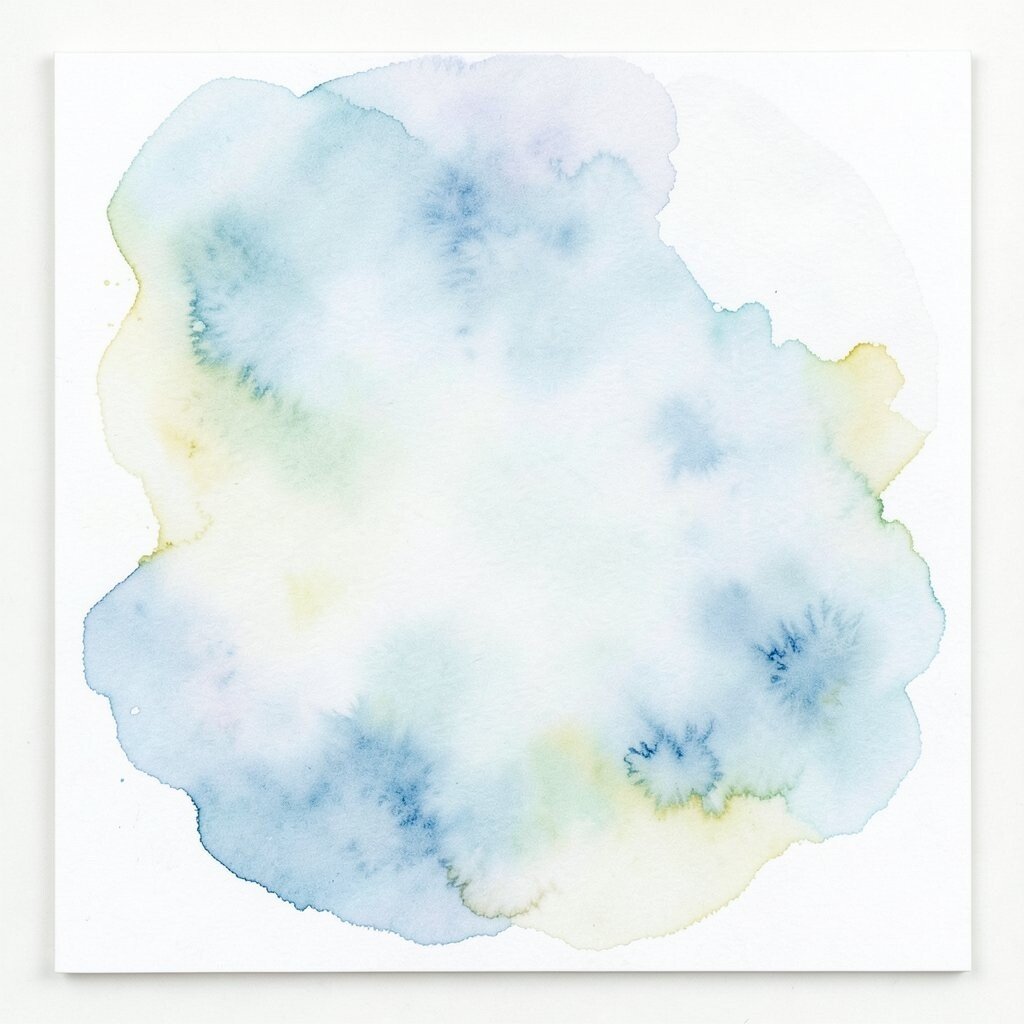
7. Wet-on-Wet Cloudy Wash
Top Wet-on-Wet Cloudy Wash Craft Tutorials
- 👓 Paint Splat Rain Puddle Craft Idea For A Cloudy Day … from facebook.com.
- 🍁 Relaxing Watercolour Projects for Beginners: Simple Skies … from skillshare.com.
- 👓 I often use masking fluid to block out the clouds and paint … from instagram.com.
- 🖼️ Wet on wet – An exercise for beginners from akvarell.se.
A wet-on-wet cloudy wash creates soft, floating color that looks airy and light. It can feel like mist, clouds, or a gentle morning sky.
This effect is useful when you want a card to feel calm and dreamy. It costs very little because you mainly need water, paint, and smooth watercolor paper.
Use it for sympathy cards, peaceful notes, or soft baby themes. You can also layer one pale color over another to make the wash feel deeper without losing its softness. If you want a more personal touch, add a tiny bird, star, or handwritten word in the open space.
8. Framed Edge Wash
Top Framed Edge Wash Craft Tutorials
- 👓 Rolled edge picture frame DIY techniques from facebook.com.
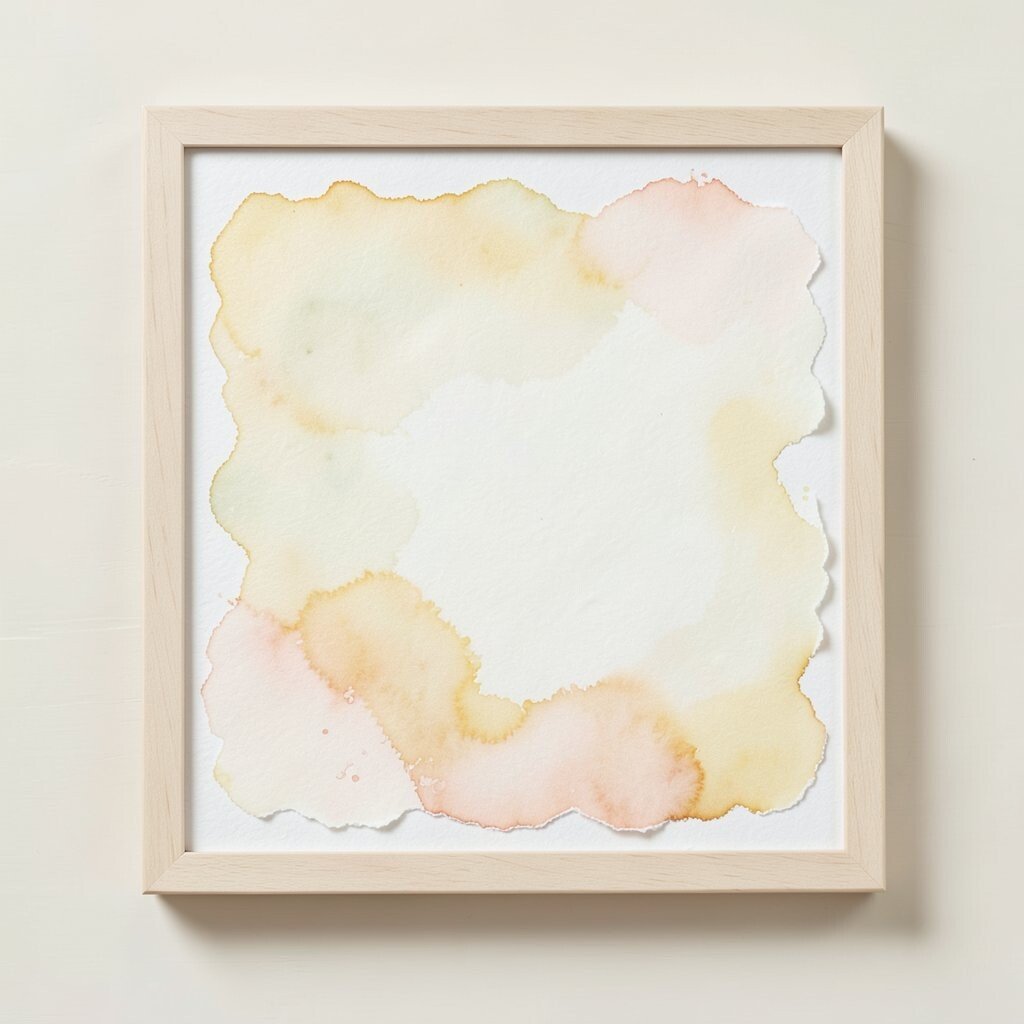
A framed edge wash keeps the color around the border and leaves the center open. It gives the card a tidy, stylish look that feels easy to read and nice to hold.
This effect works well for message cards because the blank center makes room for writing. It is also a budget-friendly choice since you can create the frame with a single brush and a few colors.
Try soft corners or uneven edges if you want a handmade feel. A framed wash can look modern, rustic, or romantic depending on the colors you choose. For personalization, match the border color to the event, like gold tones for a celebration or soft green for a spring note.
9. Painted Leaf Sprigs
Top Painted Leaf Sprigs Craft Tutorials
- 🎨 Painting with leaves from trees and handprints using paint from facebook.com.
- 🍁 DIY Gold Spray-Painted Branches and Leaves from jenwoodhouse.com.
- 🎨 40 Best Leaf Crafts for Kids and Adults to DIY This Fall from goodhousekeeping.com.
- 🗺️ Painted Leaves from beta.walmart.com.
- 🍅 2024 Fine Arts & Craft Show from yellowsprings.org.
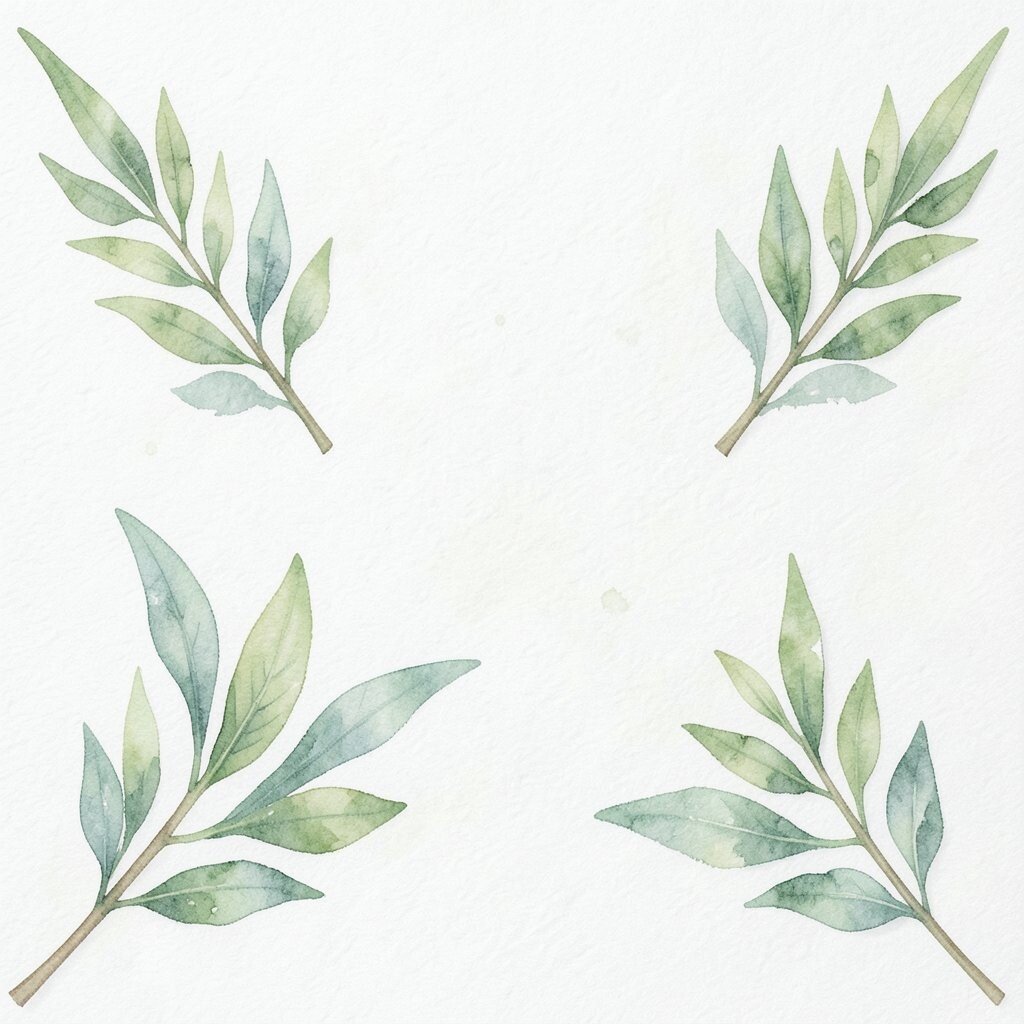
Painted leaf sprigs add a fresh, natural feel with simple strokes and gentle curves. They look clean and pretty, like a little garden growing on paper.
This effect is a favorite for cards because it is easy to repeat and hard to get wrong. You only need a small brush, so the supply cost stays low.
Use leaf sprigs around names, quotes, or borders for a soft decorative touch. You can make them modern with thin lines or more rustic with loose, uneven shapes. To personalize the card, choose leaves that match a season, a wedding palette, or the favorite plant of the person receiving it.
10. Geometric Watercolor Blocks
Top Geometric Watercolor Blocks Craft Tutorials
- 🖼️ Mixed media geometric art with watercolor and acrylic from facebook.com.
- 🎨 Watercolor Gem Easy Art from delineateyourdwelling.com.
- 🍅 Easy DIY Art – Geometric Watercolor Print from joyberrystudios.com.
- 🍅 Watercolour Patterns from youtube.com.
- 🗺️ How to paint perfect hard-edge geometric shapes. Join me … from facebook.com.
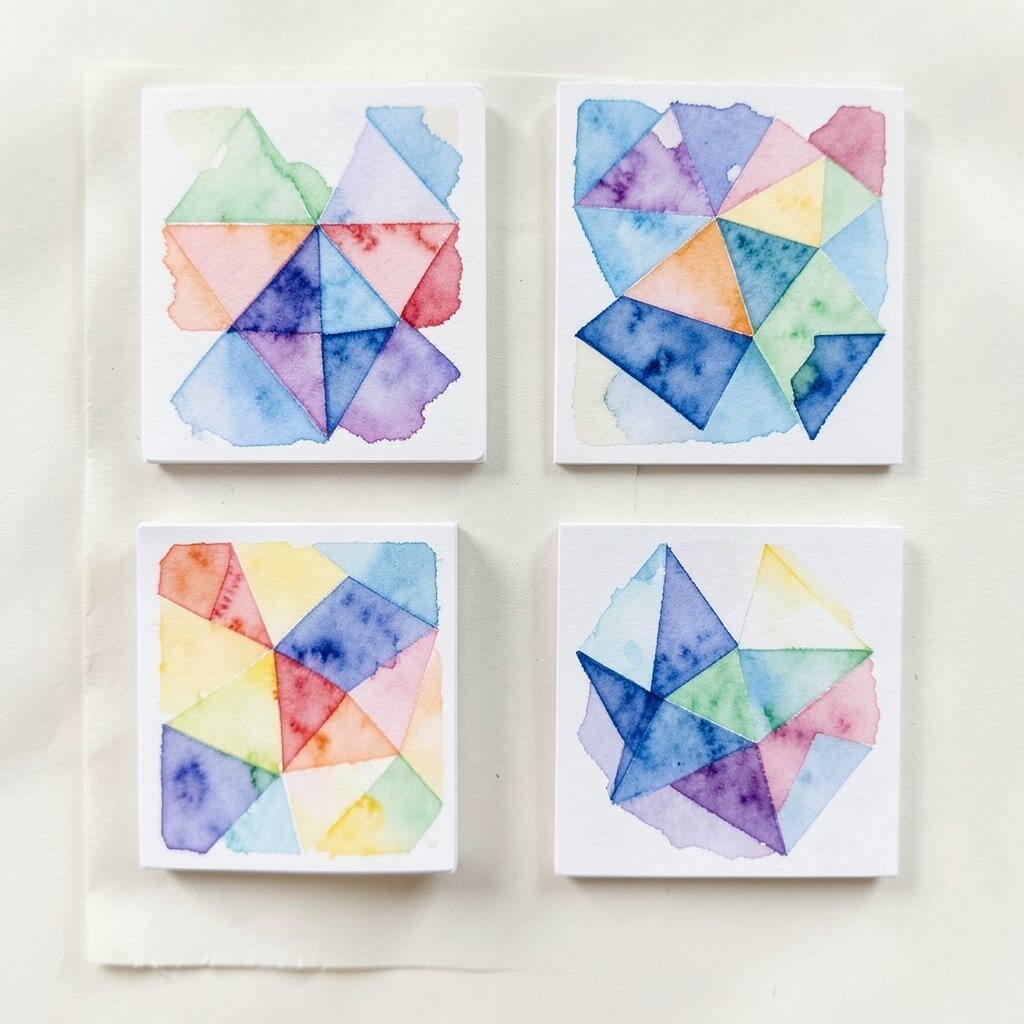
Geometric watercolor blocks mix sharp shapes with soft paint, giving the card a cool and modern look. The contrast makes the design feel bold and neat at the same time.
This style is great for teens, art lovers, and anyone who likes clean design. It can also be made cheaply with masking tape, paint, and paper.
Try triangles, circles, or rectangles in a planned layout for a crisp finish. You can fill each shape with a different shade or keep some areas pale for balance. Add a short message in the open space so the design stays easy to read and personal.
11. Drip and Run Streaks
Top Drip And Run Streaks Craft Tutorials
- 🍂 Advent run streak decorations made by hand in office from facebook.com.
- 🍂 5 Secrets To Paint Spraying Without Runs, Drips, Or Streaks from tritechindustries.com.
- 🍅 How to spray paint glass and not get angry – northstory + co. from northstoryandco.com.
- 🧑🌾 Paint streaks, how to fix and how to prevent? : r/DIY from reddit.com.
- 🖼️ Month: December 2013 – run | sew | read from run-sew-read.com.
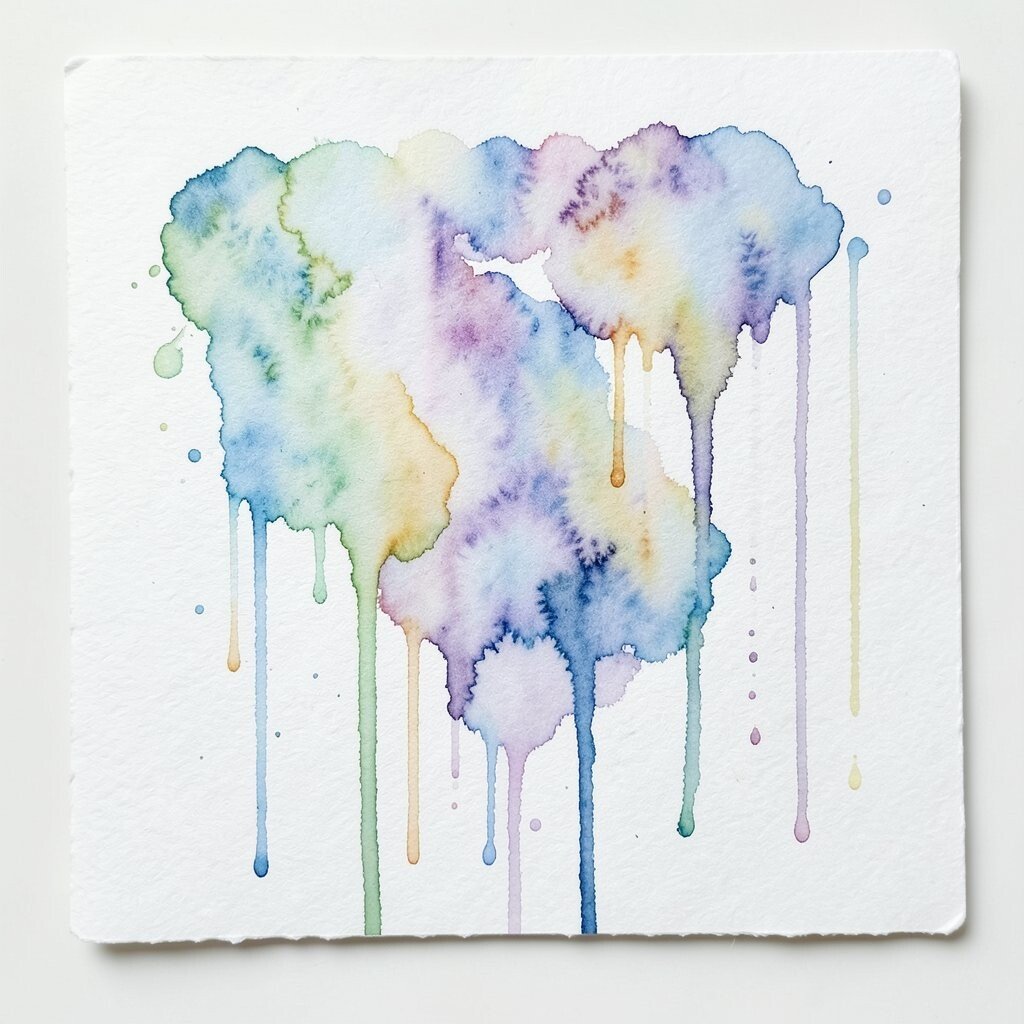
Drip and run streaks give a card a wild, playful edge. The paint slides downward in a way that feels full of movement and energy.
This effect can look trendy and artsy, which makes it great for bold handmade cards. It is also low-cost because you can make it with watered-down paint and a tilted card surface.
Use bright colors for a fun party vibe or muted tones for a more grown-up look. The streaks can frame a message or act like the whole design on their own. For a personal twist, let the drips follow the shape of a letter, heart, or number that matters to the person you are making it for.
12. Soft Sunset Horizon
Top Soft Sunset Horizon Craft Tutorials
- 🖼️ Dreamy sunset craft with Cloud 9 inks and Muse & Maker … from facebook.com.
- 🗺️ As the sun begins to set over the horizon, the early evening … from instagram.com.
- 🍁 Serenity Sunset Horizon Framed Poster from ejcrim.com.
- 🧑🌾 3 color combos we love: 🌅 Sunset Horizon 🌊 Aegean … from facebook.com.
- 🗺️ Stupell Industries Soft Ocean Sunset Cloudy Nautical … from walmart.com.
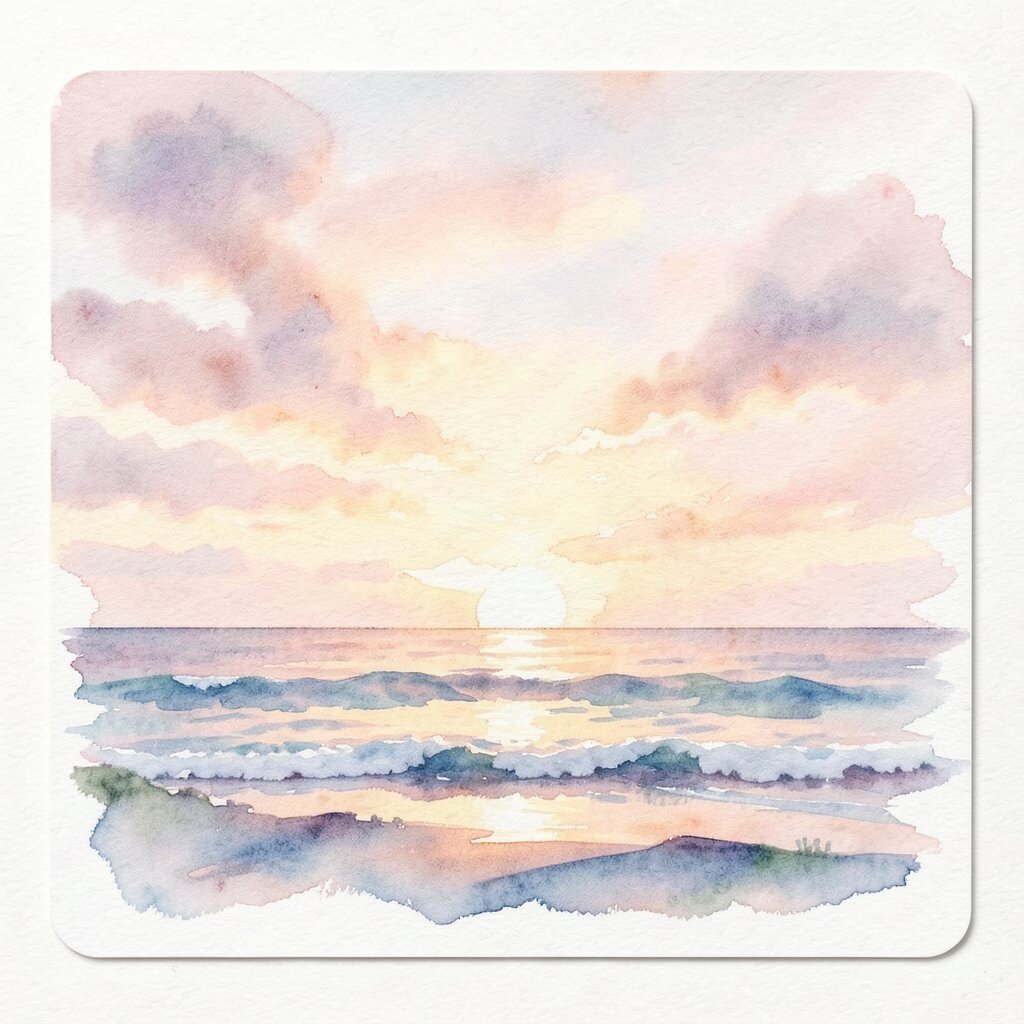
A soft sunset horizon blends warm colors into a band of light across the card. It feels peaceful, glowing, and full of evening charm.
This effect is loved because it works for many occasions, from thank-you notes to travel themes. It also uses only a few paints, so it is a smart choice for a small budget.
Start with pale yellow, then add orange, pink, and a touch of purple for depth. You can place a tiny hill, tree line, or bird silhouette across the horizon to make the card feel more complete. If you want it to feel personal, use colors from a favorite vacation sunset or a place that means something special.
13. Speckled Star Dust
Top Speckled Star Dust Craft Tutorials
- 🗺️ Stardust experiments with clay body from facebook.com.
- 🖼️ OMG 😱 I tried Speckta-Clear Stardust by Mayco instead of … from facebook.com.
- 🎨 The Stardust Stripes Collection will be back Nov 15th for … from instagram.com.
- 🎨 Here's an illustration of David bowie as Ziggy Stardust I made from reddit.com.
- 🗺️ About Me from stardustgoldcrochet.com.
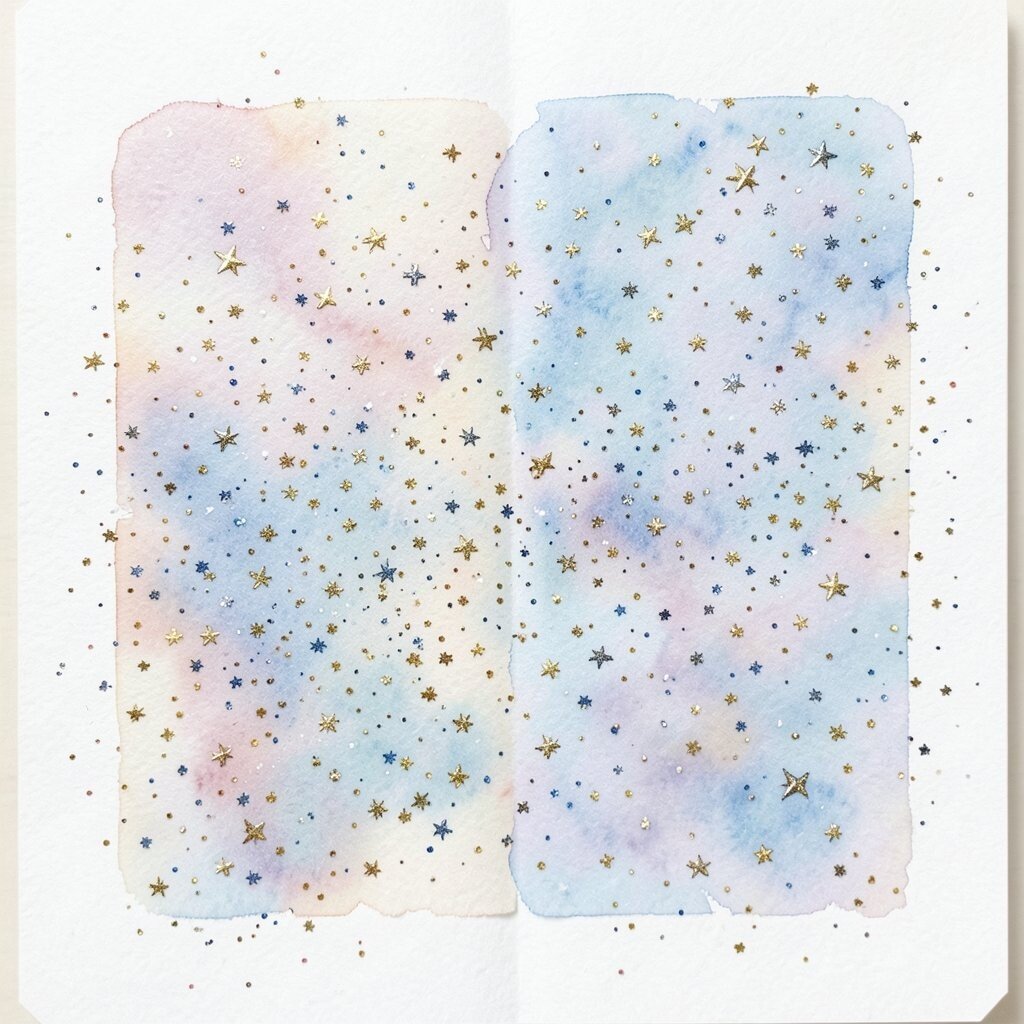
Speckled star dust adds tiny dots that make the card sparkle with life. It can look magical, festive, or even a bit fancy without much effort.
This effect is useful when you want to fill empty space in a soft way. It is also affordable because a thin brush, a toothbrush, or a splatter tool can do the job.
Use light gold, white, or pale blue specks for a delicate finish. The effect works well around moons, flowers, or lettering, and it can make simple art feel richer. For a personal touch, cluster the specks near a name, date, or symbol to guide the eye.
14. Color-Blocked Message Space
Top Color-Blocked Message Space Craft Tutorials
- 🖼️ New Horizons from science.nasa.gov.
- 🗺️ Artemis II astronauts on the Orion spacecraft lost … from facebook.com.
- 🍂 This week, NASA's SLS rocket and Orion spacecraft have … from facebook.com.
- 🗺️ Alien spacecraft coming to Earth? Harvard's Avi Loeb says … from nbcboston.com.
- 🗺️ Parker Solar Probe spacecraft zips past the sun again today from space.com.
Color-blocked message space uses painted sections to set aside room for words. The blocks give the card a neat shape and help the message stand out right away.
This effect is handy for people who want both art and clear writing space. It is also cost-friendly because you can make it with tape, a few colors, and a steady hand.
Try soft pastel blocks for a sweet look or strong contrast for a bold one. You can personalize the layout by choosing block sizes that fit the style of the note or the size of the handwriting. Current card trends often favor simple layouts like this because they feel clean and easy to share online.
15. Tiny Scene Illustration

Top Tiny Scene Illustration Craft Tutorials
- 🎨 Miniature Scene Creation using Recycled Materials from facebook.com.
- 🖼️ 50+ Crafts for Teens and Tweens They'll Actually Love from modpodgerocksblog.com.
- 🎨 Crafts For Kids – Tons of Art and Craft Ideas for Kids to Make from easypeasyandfun.com.
- 🍅 15-Year-Old Talented Photographer Crafts Realistic … from 121clicks.com.
- 🎨 10 Minutes of Quality Time: Printable Crafts for Kids from members.10minutesofqualitytime.com.
A tiny scene illustration turns a card into a little story, like a house on a hill, a boat on water, or a cat under a tree. It feels charming and personal because it shows a small world made just for one person.
This effect stands out since it mixes watercolor softness with a picture that has meaning. It can be done with a few paints and a fine brush, so you do not need a big budget.
Choose a scene that fits the message, such as a beach for a summer note or a cozy window for a winter greeting. You can keep the colors light for a dreamy style or make them bright for a more cheerful card. Add one tiny detail, like a flag, bird, or lamp, to make the artwork feel thoughtful and alive.