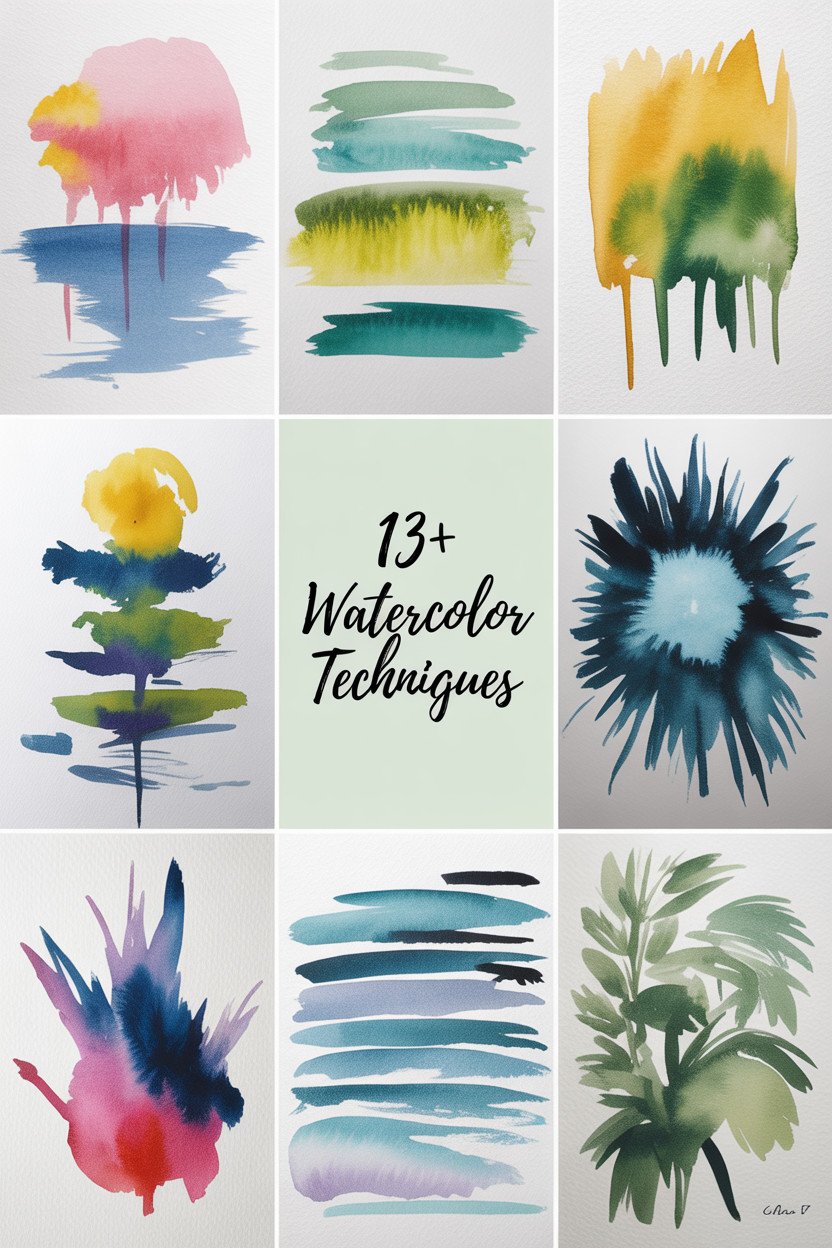
Have you ever watched the colors blend seamlessly on paper, creating a mesmerizing dance of hues? Watercolor painting has a magical quality that captivates and inspires. Here are some techniques that will make you pick up those brushes and create your own masterpiece.
1. Wet-on-Wet Wonder
Top Wet-on-Wet Wonder Craft Tutorials
- 🍁 YouTube tutorials for wet-on-wet watercolor techniques from facebook.com.
- 👓 available wherever you get your podcasts. #crafting # … from instagram.com.
- 🧑🌾 Wet-on-Wet Watercolor Painting for Kids from rhythmsofplay.com.
- 🍂 How to Paint Soft Fur Using Wet-on-Wet Watercolor … from craftamo.com.
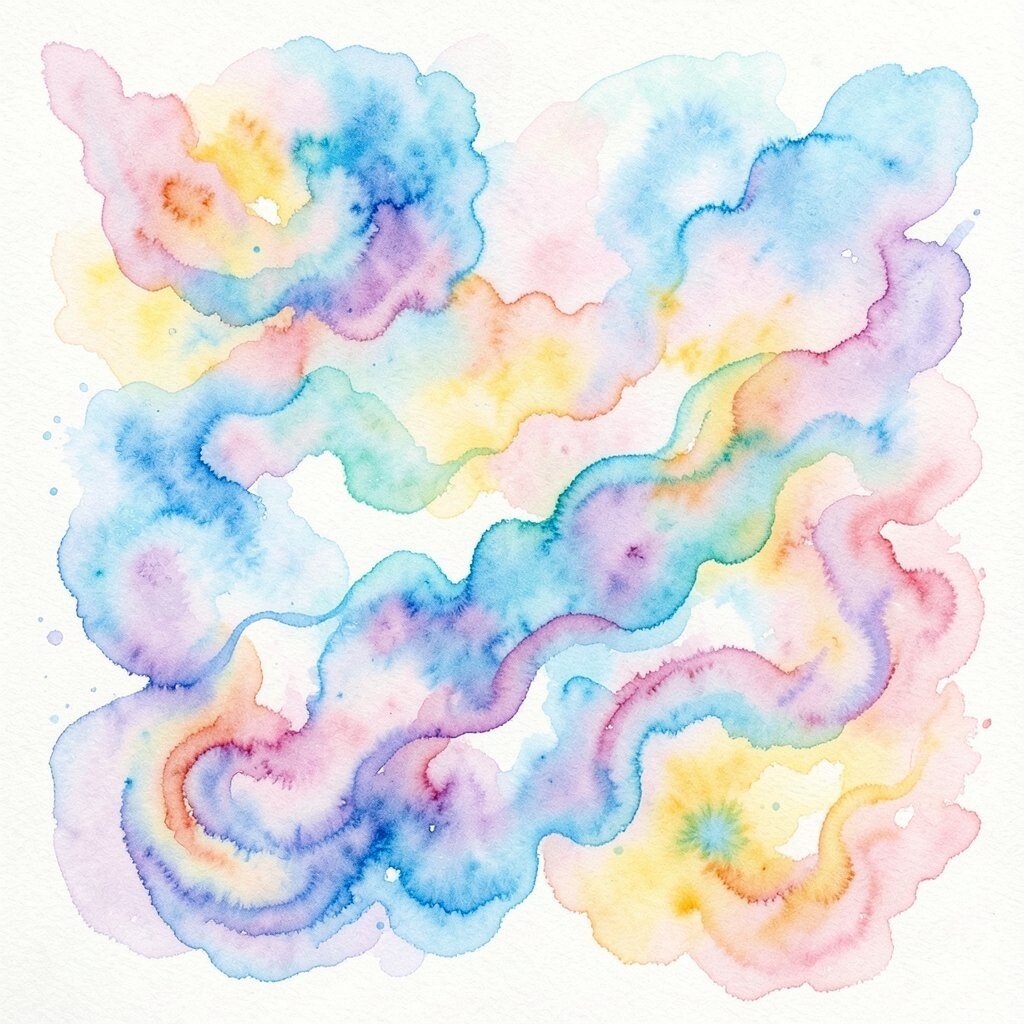
Imagine colors swirling and mingling like a playful dance on your paper. The wet-on-wet technique lets you paint with water first, then add color, letting them blend beautifully. This creates soft, flowing blends and dreamy backgrounds.
You’ll love how this brings an element of surprise, as you never know exactly how the colors will mix. It’s perfect for skies, water scenes, or abstract designs. Start with a light wash of water, then introduce your colors. Affordable and easy, this technique offers endless possibilities for personalization.
2. Salt Sprinkle Magic
Top Salt Sprinkle Magic Craft Tutorials
- 🗺️ Salt Crafts for Kids: Easy Art & STEM Fun from imthecheftoo.com.
- 🖼️ Earth's layers project with salt glue technique from facebook.com.
- 👓 Salt Painting Craft for Kids from kidfriendlythingstodo.com.
- 🍁 Getting Salty: Salt Painting is Colorful At-Home STEAM Fun from lincoln.macaronikid.com.
- 🖼️ Make Salt Art with this Fun Salt Painting for Kids from kidsactivitiesblog.com.
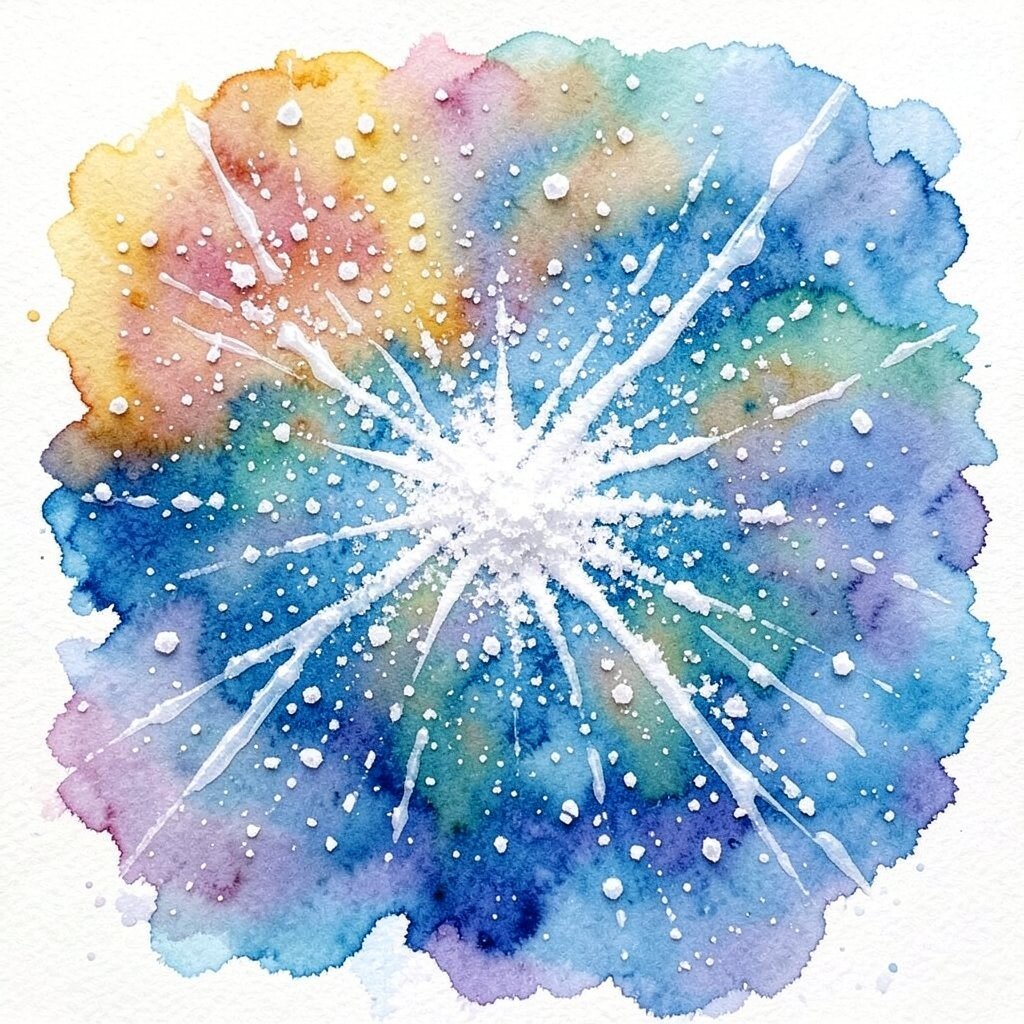
Sprinkle table salt onto wet paint and watch it create amazing starburst patterns. As the salt soaks up the water, it leaves behind unique textures that add interest to your artwork. This is a wonderful way to create a snowy effect or add texture to landscapes.
It’s like an enchanting science experiment right on your canvas! Try different grain sizes for varied effects. All you need is salt and a wet wash of color, making it a low-cost and fun technique to try. It’s perfect for adding depth and variety to your paintings.
3. Dry Brush Delight
Top Dry Brush Delight Craft Tutorials
- 🍂 A guide to the eight dry brushes to stock up on now. from facebook.com.
- 🧑🌾 Crafting with Delight AirDry Modeling Compound! from polymercreations4u.wordpress.com.
- 🍂 Dry Brush Effects in my Art Journal from ihanna.nu.
- 🍂 Making Jewellry with Delight™ Clay from creativepaperclay.blogspot.com.
- 🗺️ 6-Piece Set Dry paint Brush Set Cosmetic Ceramic Craft Pen … from aliexpress.com.
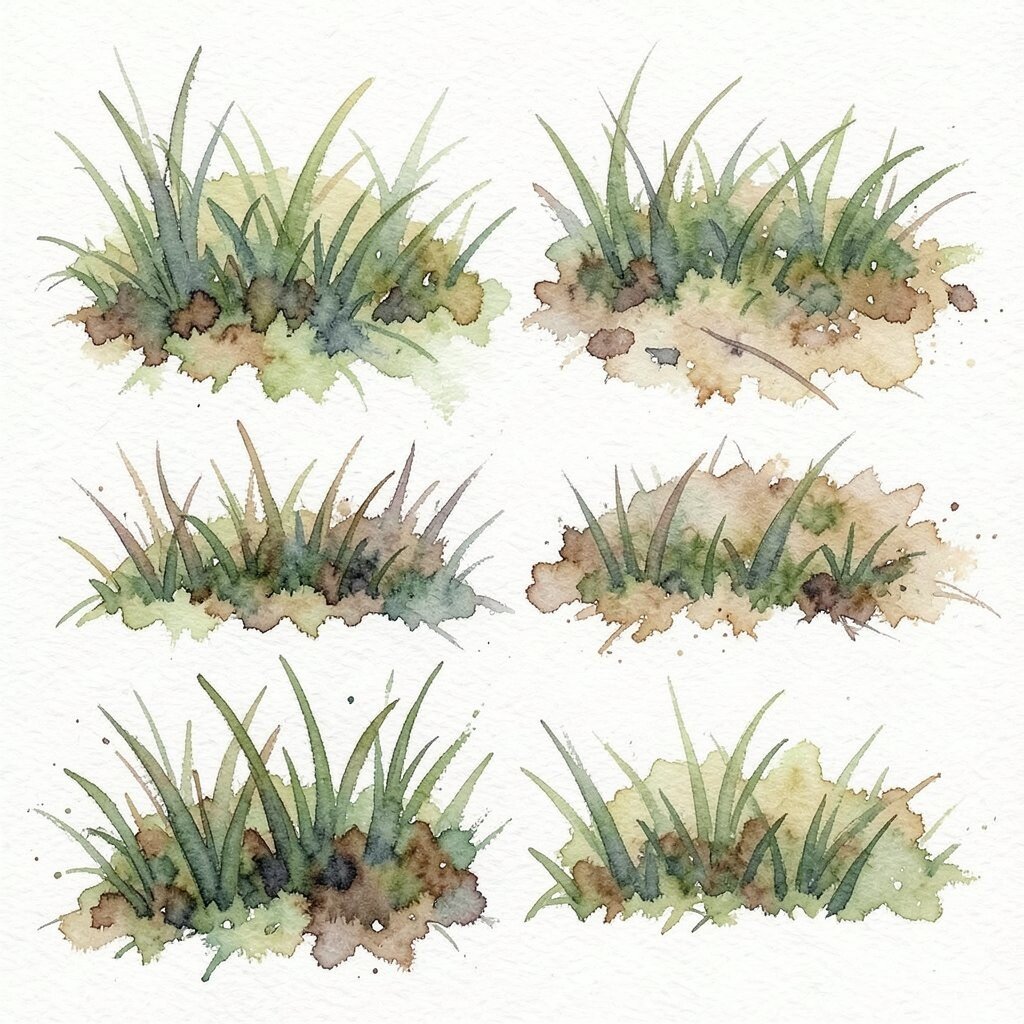
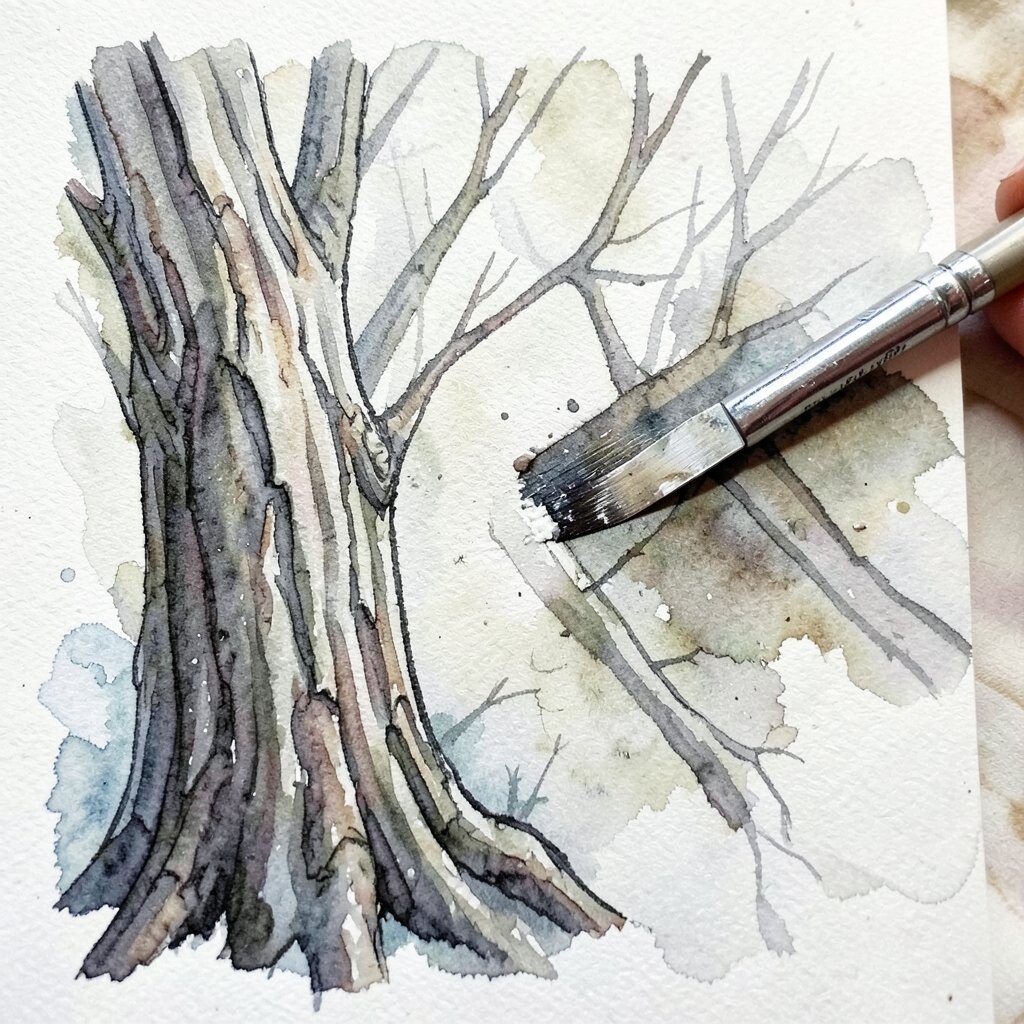
Ever tried painting with a nearly dry brush? This technique gives you rough, textured strokes that are perfect for creating grass, hair, or textured surfaces. It’s a great way to add detail and dimension to your artwork.
Dry brush painting adds a rustic charm that’s hard to resist. Use stiff bristles and minimal water to achieve the best results. Experiment with different strokes and enjoy the tactile feel of the brush on paper. It’s an inexpensive way to add a unique touch to your art.
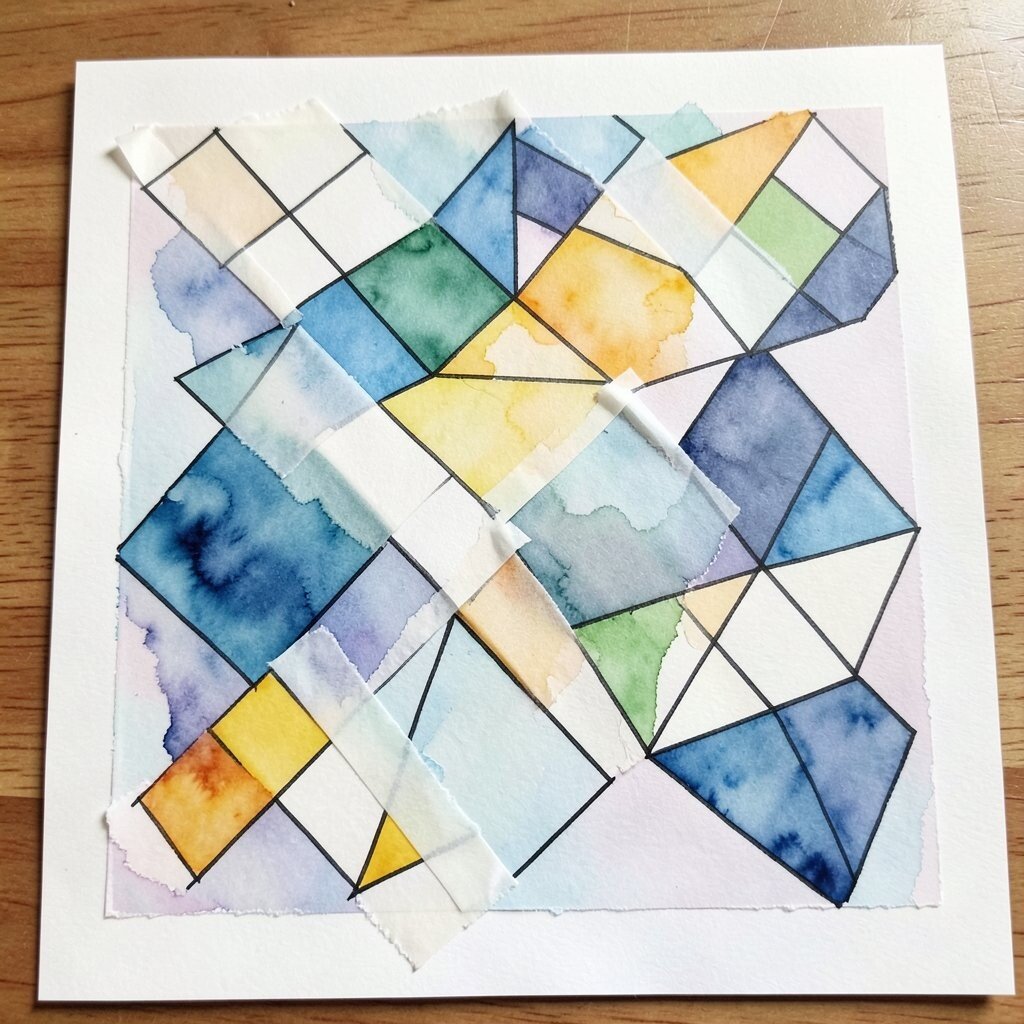
4. Tape Resist Technique
Top Tape Resist Technique Craft Tutorials
- 🍅 Get creative with tape resist – here's 13 ideas to get you … from facebook.com.
- 💅 Tape Resist Art Technique For Preschoolers from blueandhazel.com.
- 🎄 13 Tape Painting Ideas! Just Try to Resist It! from handsonaswegrow.com.
- 🍂 Tape Resist Art for Kids from happyhooligans.ca.
- 🍁 Tape Resist Canvas Painting: Process Art Invitation from artplayheart.com.
Use masking tape to block off sections of your paper, then paint over it. Once the paint dries, peel off the tape to reveal sharp, crisp lines. This technique is fantastic for creating geometric designs or patterns.
It’s an easy way to introduce precision and contrast into your paintings. Try different shapes and arrangements for a personalized touch. This method won’t break the bank and it’s a fun way to play with contrast and composition.
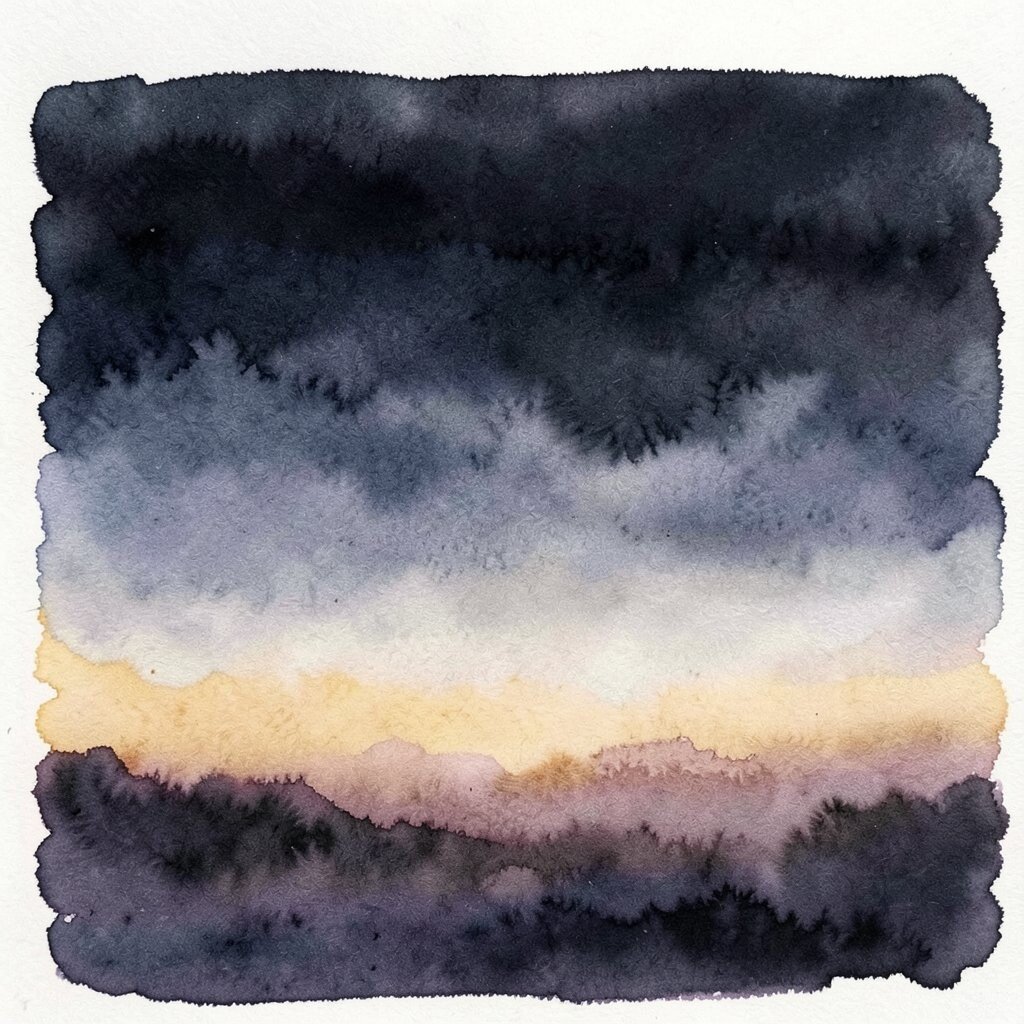
5. Gradient Wash Glamor
Top Gradient Wash Glamor Craft Tutorials
- 💅 Washed Lenses: Style and Craft from oliverpeoples.com.
- 🍅 100+ AI prompts for background change (With examples) from pixelbin.io.
- 🎄 What Is Craft Paper and How to Use It from altenew.com.
- 🎄 Creating Stunning Gradient Backgrounds with Color Gels … from iso1200.com.
- 🍅 Awesome Nano Banana Pro from github.com.
Start with a dark color and gradually add water to lighten it as you move down the page. This creates a beautiful gradient effect, perfect for skies or backgrounds. It’s like watching the sky change from dusk to dawn on your paper.
This technique is soothing and satisfying, offering a sense of calm as you paint. Use it to create seamless backgrounds or the illusion of depth. It’s cost-effective and a great way to practice controlling water and pigment.
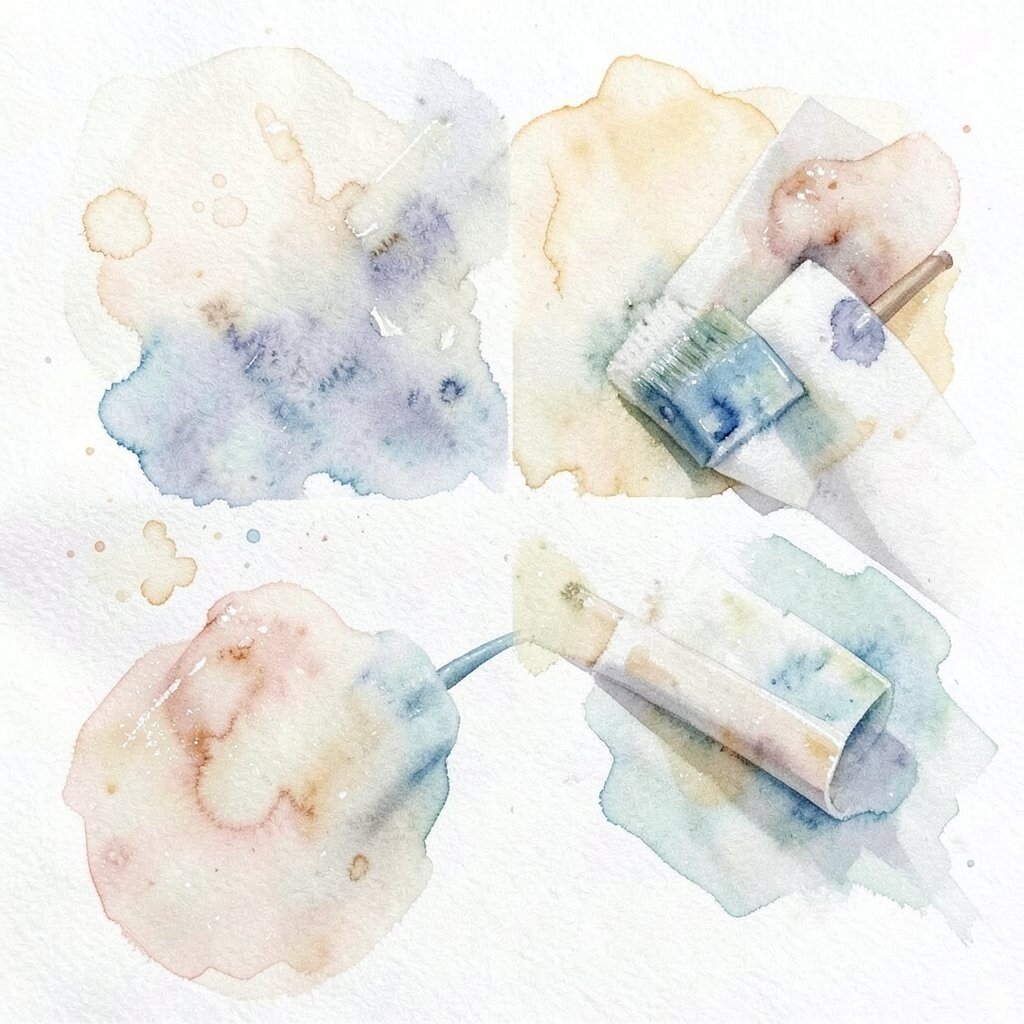
6. Lifting Off Technique
Top Lifting Off Technique Craft Tutorials
- 🍂 Study 8 watercolour pigment lifting techniques from facebook.com.
- 💅 25 essential watercolor techniques from gathered.how.
Did you know you can remove paint to create highlights or correct mistakes? By using a damp brush, sponge, or tissue, you can lift off wet paint and create lighter areas. This technique is perfect for adding highlights or textures.
It’s like having an eraser for watercolor, allowing you to play with light and shadow. Experiment with different tools to achieve various effects. It’s a budget-friendly way to add dimension and detail to your paintings.
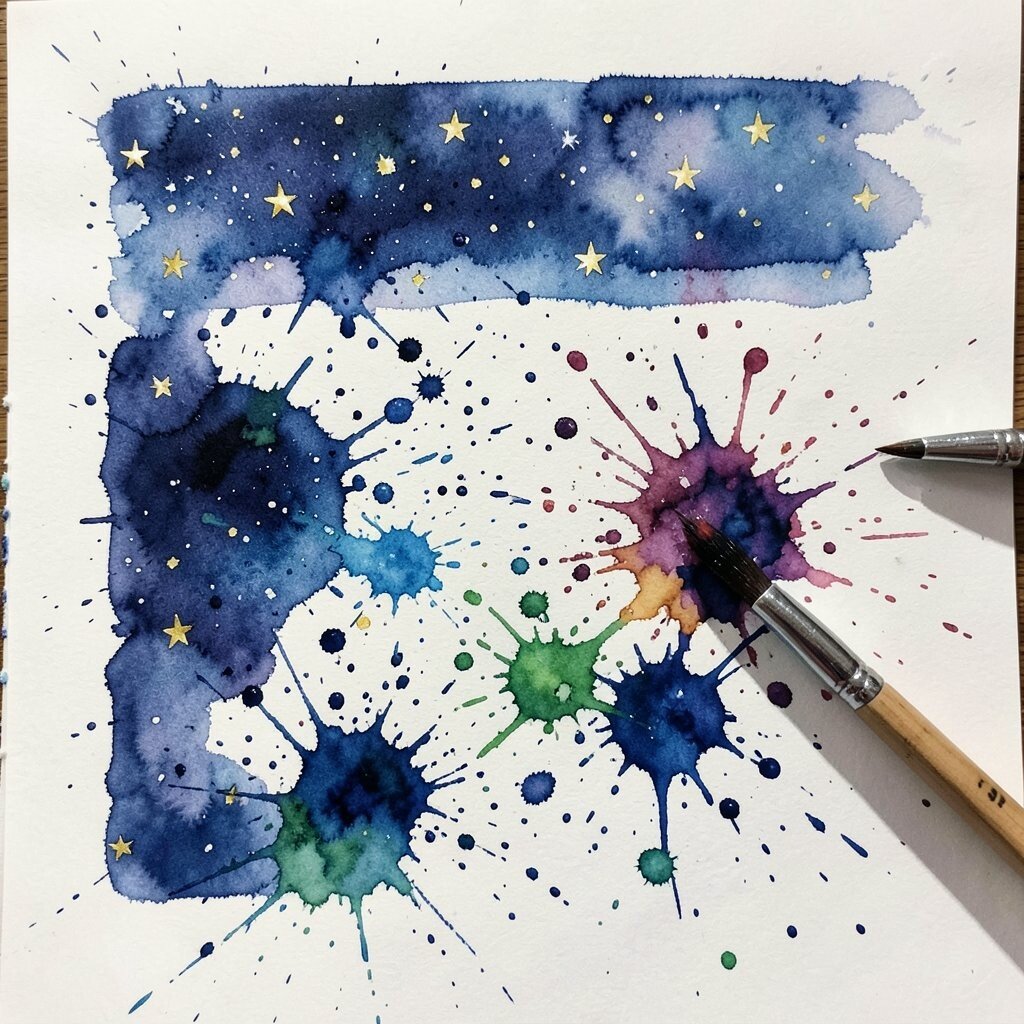
7. Splatter Fun Technique
Top Splatter Fun Technique Craft Tutorials
- 🖼️ 7 Acrylic Paint Splatter Techniques from novacolorpaint.com.
- 🧑🌾 Paint Splatter Art for Kids from littlebinsforlittlehands.com.
- 🖼️ Today's craft is splatter painting from facebook.com.
- 🖼️ Monster Splatter Craft!🎨 water down your washable paint … from instagram.com.
- 🍂 Splatter Painting Technique / Easy & Simple Painting from facebook.com.
Dip your brush in paint and flick it onto your paper to create a random splatter effect. It’s messy, fun, and adds a sense of spontaneity to your work. Use it for stars in a night sky or to add energy to a scene.
This technique adds an element of surprise and excitement. Vary the size and density of the splatters for different effects. It’s an inexpensive way to bring action and texture to your artwork.
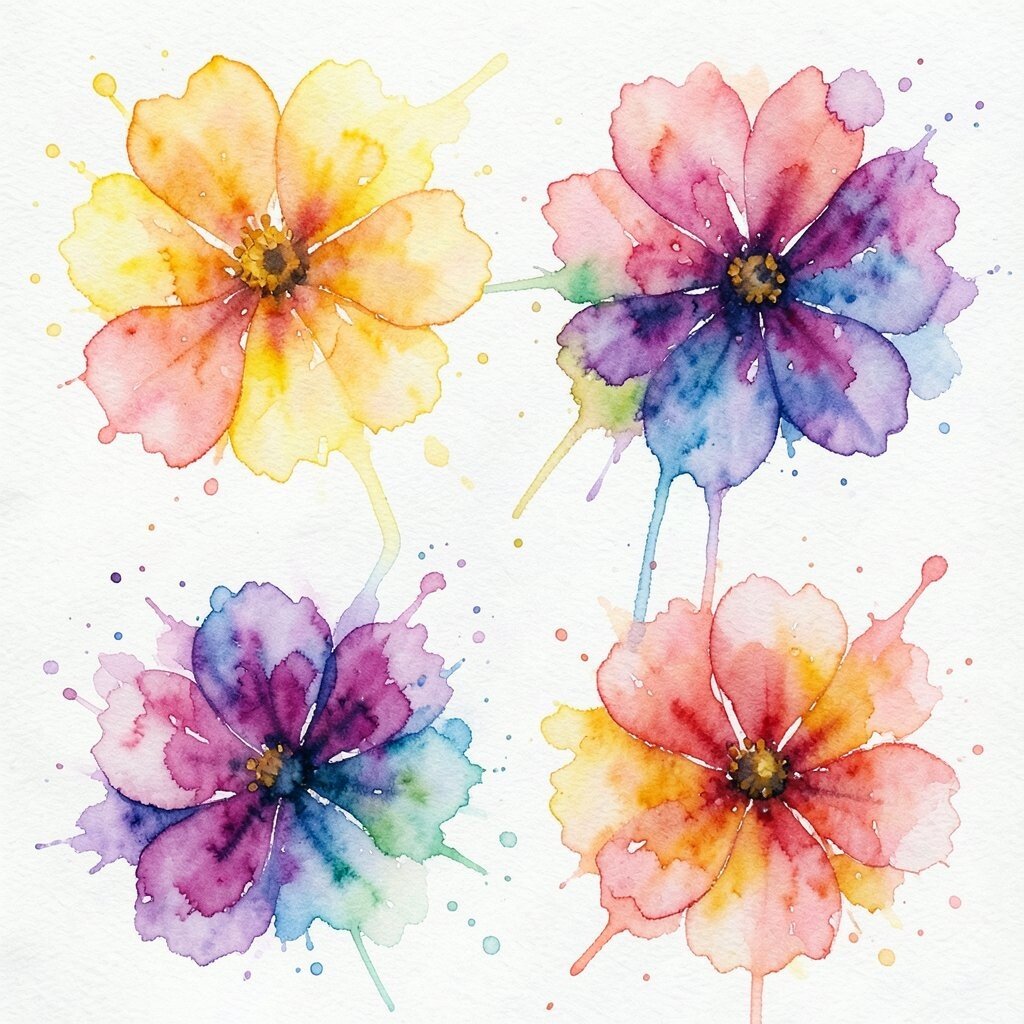
8. Watercolor Blooms
Top Watercolor Blooms Craft Tutorials
- 👓 Watercolor Bloom Art Technique and Tips from facebook.com.
- 🗺️ watercolor blooms – Alisa Burke from shopalisaburke.com.
Let the colors spread naturally by adding wet paint into a wet area, creating beautiful blooms or blossoms of color. This technique is perfect for capturing the essence of flowers or soft, abstract designs.
Watercolor blooms have a magical, organic feel that’s captivating. You can enhance this effect by varying the amount of water and pigment. It’s a cost-effective way to create stunning, vibrant compositions.
9. Glazing Glory
Top Glazing Glory Craft Tutorials
- 🎄 The Glory Box is packed and firing! Travel safely my … from instagram.com.
- 👓 Glaze of glory | one equals two – WordPress.com from oneequalstwo.wordpress.com.
- 👓 Ceramic Art Pieces with Morning Glory and Autumn Purple … from facebook.com.
- 🎄 Ceramics | Glazey Dayz Ceramics | United States from glazeydayz.com.
- 👓 How/where to learn to glaze like this? : r/Pottery from reddit.com.
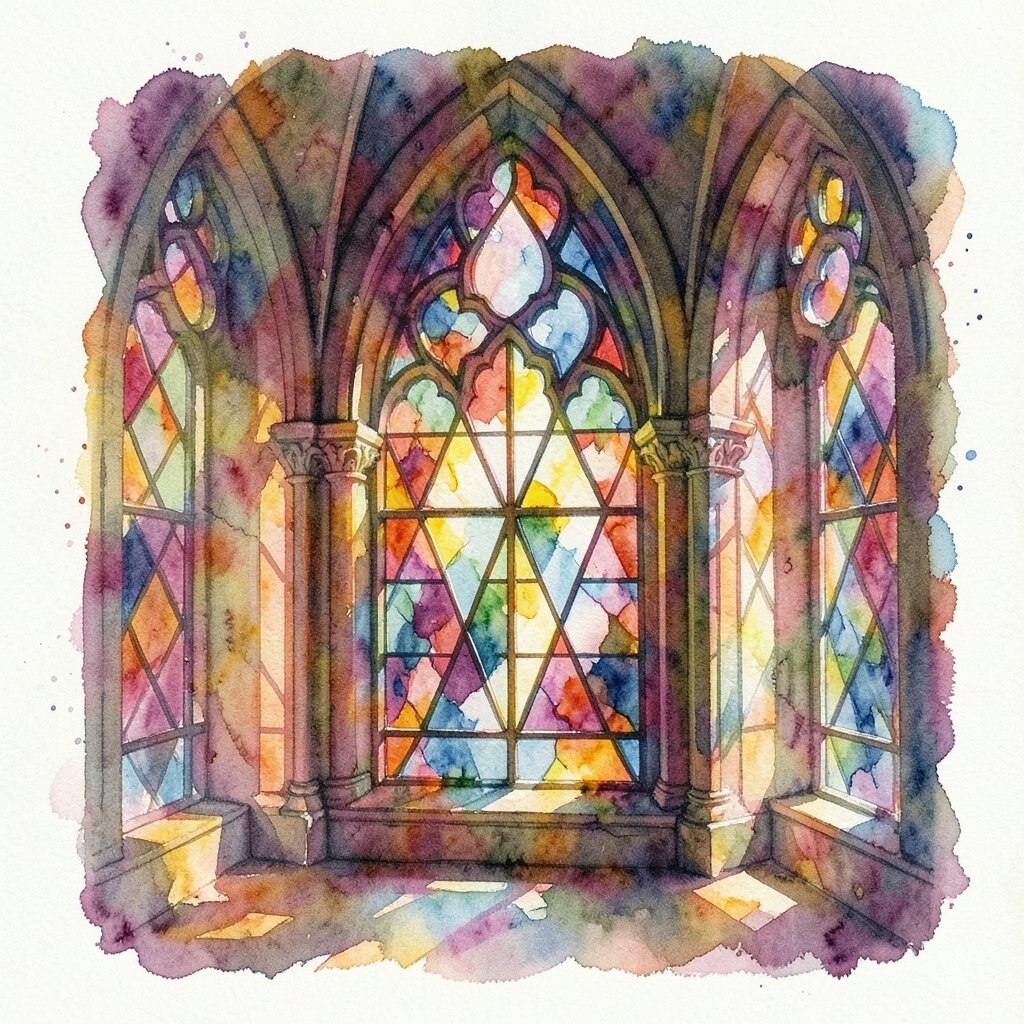
Layer transparent washes of color over each other once the previous layer is dry. This creates depth and richness, allowing you to build up complex colors. It’s like looking through a stained glass window with layers of light and color.
Glazing adds sophistication and richness to your work. Experiment with different color combinations for unique results. It’s an affordable way to achieve depth and complexity in your paintings.
10. Masking Fluid Marvel
Top Masking Fluid Marvel Craft Tutorials
- 💅 Masking Fluid for Watercolor Painting Kit with 40ml Bottle, 10 … from walmart.com.
- 🎨 Masking fluid on painting background, how to remove? from facebook.com.
- 🖼️ 10 Avengers Crafts! from doodlecraftblog.com.
- 🧑🌾 Masking Techniques for Copic Markers from nattosoup.blogspot.com.
- 🧑🌾 10Pcs Masking Fluid Marker! Yannianjz Watercolor … from walmart.com.
Apply masking fluid to areas you want to keep white or protect from paint. Once the paint is dry, remove the masking fluid to reveal crisp, untouched areas. This technique is ideal for preserving highlights or intricate details.
Masking fluid allows for precision and control, creating sharp contrasts. It’s perfect for detailed work and can be used to create intricate designs. While slightly more costly, it’s a valuable tool for detailed artwork.
11. Sgraffito Surprise
Top Sgraffito Surprise Craft Tutorials
- 👓 Fun with Sgraffito Kit from Sharon Hoppe Designs from facebook.com.
- 🖼️ sgraffito with white underglaze ornaments. These are so … from instagram.com.
- 👓 Capturing Moments with Sgraffito from ceramicartsnetwork.org.
- 🎄 a recent altar 🦋 #sgraffito #handmadeceramics #clayart from tiktok.com.
- 🍅 A beginner's guide to Sgraffito from gathered.how.
Scrape into wet paint using a palette knife or other tools to create textured lines and patterns. This technique adds detail and dimension, perfect for tree bark or textured surfaces.
Sgraffito brings an element of tactile intrigue to your art. Experiment with different tools for varied effects. It’s an inexpensive way to add texture and interest to your paintings.
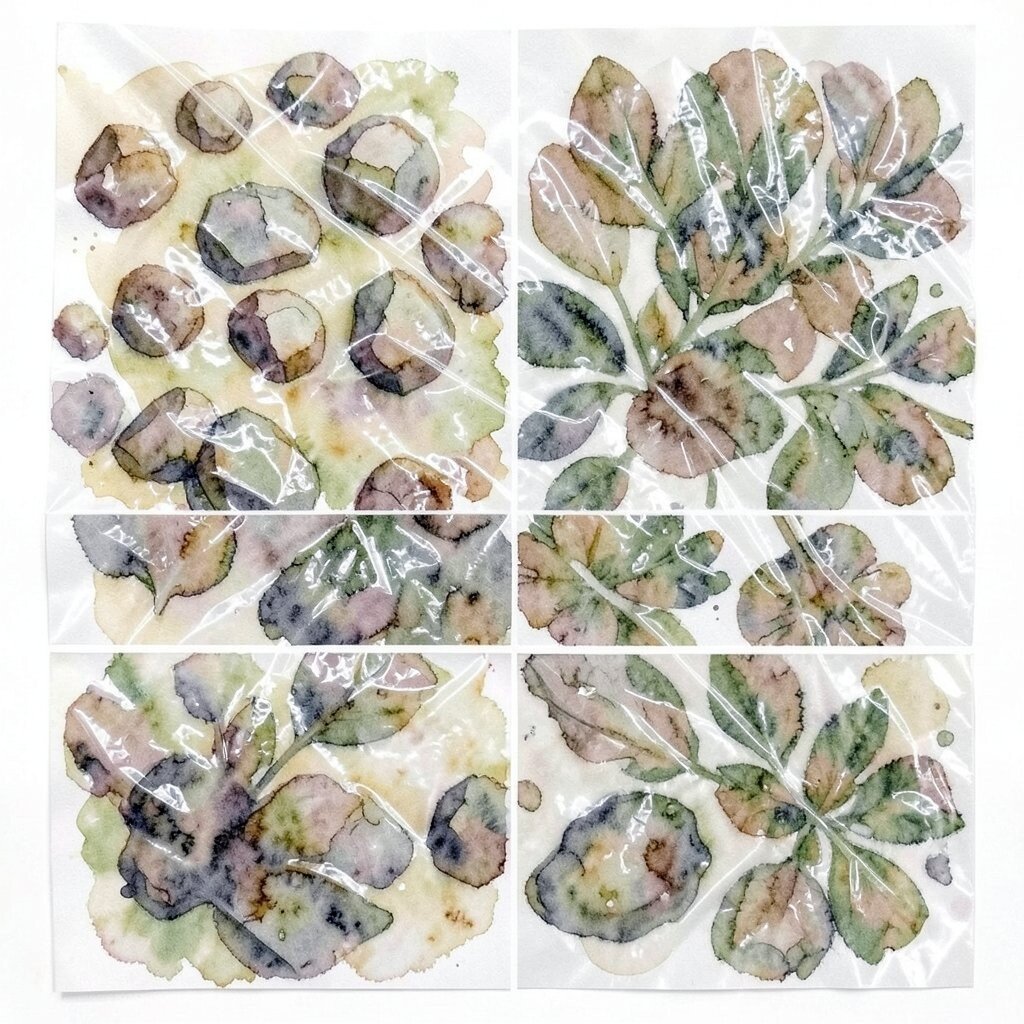
12. Plastic Wrap Magic
Top Plastic Wrap Magic Craft Tutorials
- 💅 🎨 Plastic Wrap + Watercolor = Secret Texture Magic This … from facebook.com.
- 💅 how to do the water magic trick tutorial from shop.tiktok.com.
Press plastic wrap onto wet paint and let it dry. When you remove it, you’ll see fascinating patterns and textures. This technique is perfect for creating rocks, foliage, or abstract designs.
Plastic wrap creates organic, unexpected textures that are enchanting. Try different pressures and placements for unique results. It’s a cost-effective way to add interesting textures to your artwork.
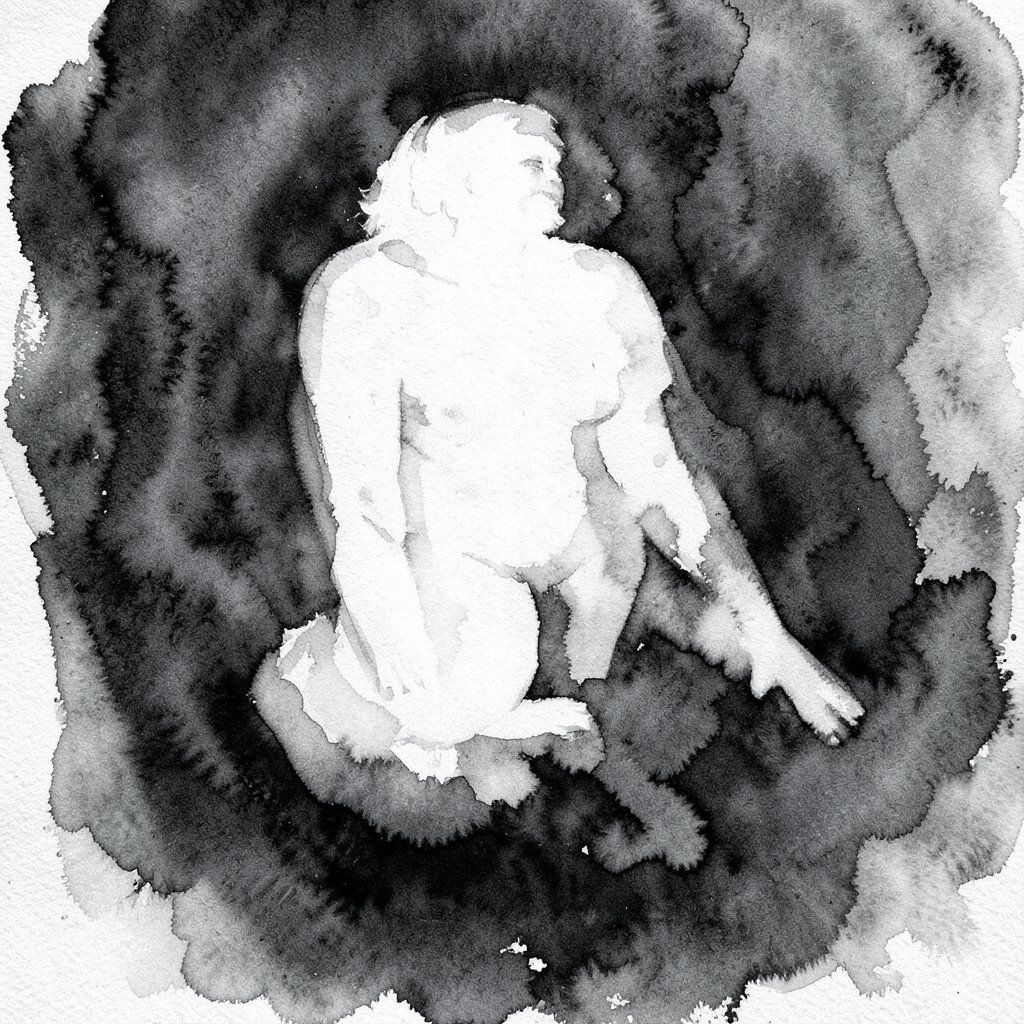
13. Negative Painting Technique
Top Negative Painting Technique Craft Tutorials
- 🗺️ 14-FOCUSING ON THE NEGATIVE! from paintinglessonswithmarla.com.
- 🗺️ Negative painting technique in watercolor art from facebook.com.
- 🍁 Watercolor Negative Painting Tutorial – Add Amazing … from littlecoffeefox.com.
- 🎄 Technique of Negative Painting in Art from facebook.com.
Paint around your subject instead of the subject itself, leaving it white or light against a darker background. This technique is perfect for creating dramatic contrasts and highlighting shapes.
Negative painting challenges your perspective and adds a bold, striking quality to your work. Experiment with different subjects and backgrounds for varied effects. It’s affordable and a great way to explore light and shadow.
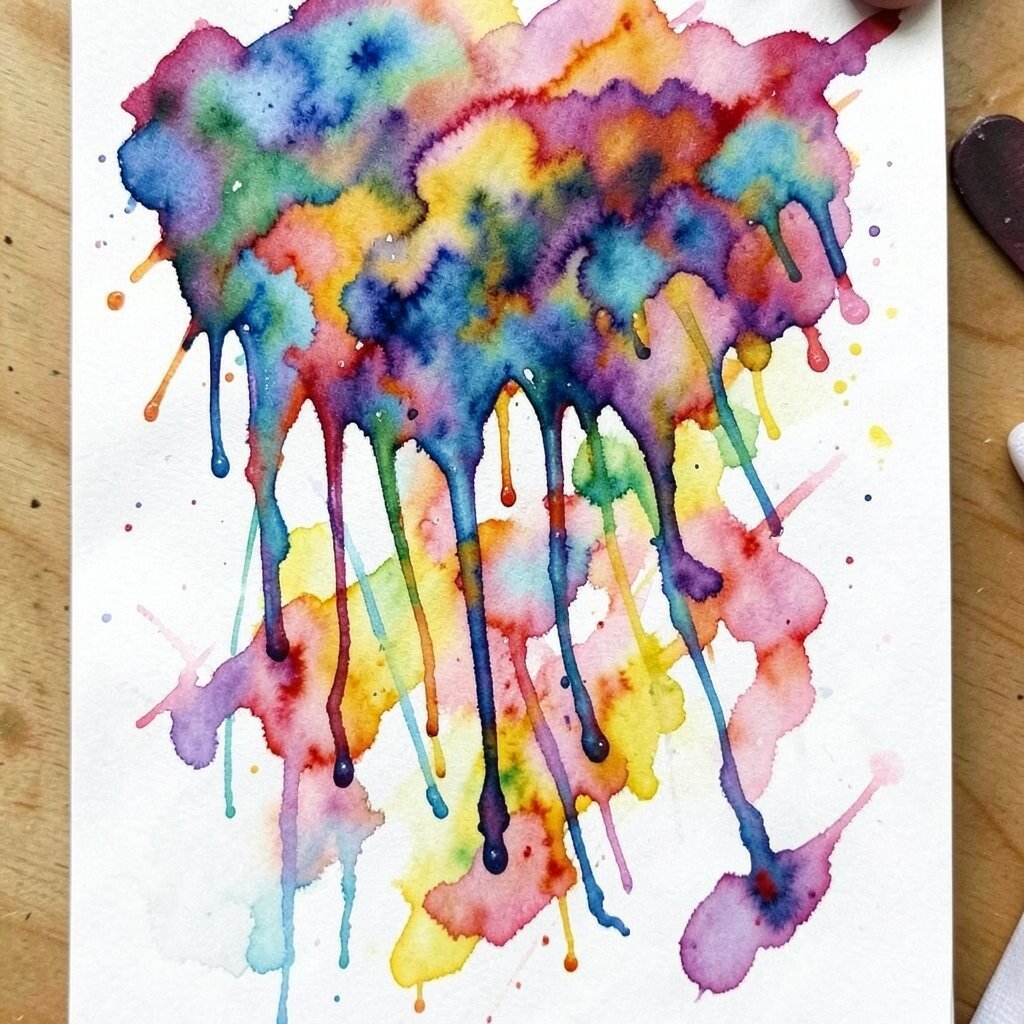
14. Watercolor Drip Technique
Top Watercolor Drip Technique Craft Tutorials
- 🍁 Photo Tutorial: Easy Watercolor Drip Technique from embellishwithlyssa.com.
- 🖼️ DRIP DROP ART I love this technique! https … from facebook.com.
- 💅 Stampin' Up Watercolor Drip Technique Ideas from facebook.com.
Apply paint at the top of your paper and tilt it to let the paint drip down. This creates a dynamic, flowing effect that’s perfect for abstract designs or energetic backgrounds.
The drip technique adds movement and fluidity to your work. Experiment with different colors and angles for varied effects. It’s a low-cost way to add drama and excitement to your paintings.