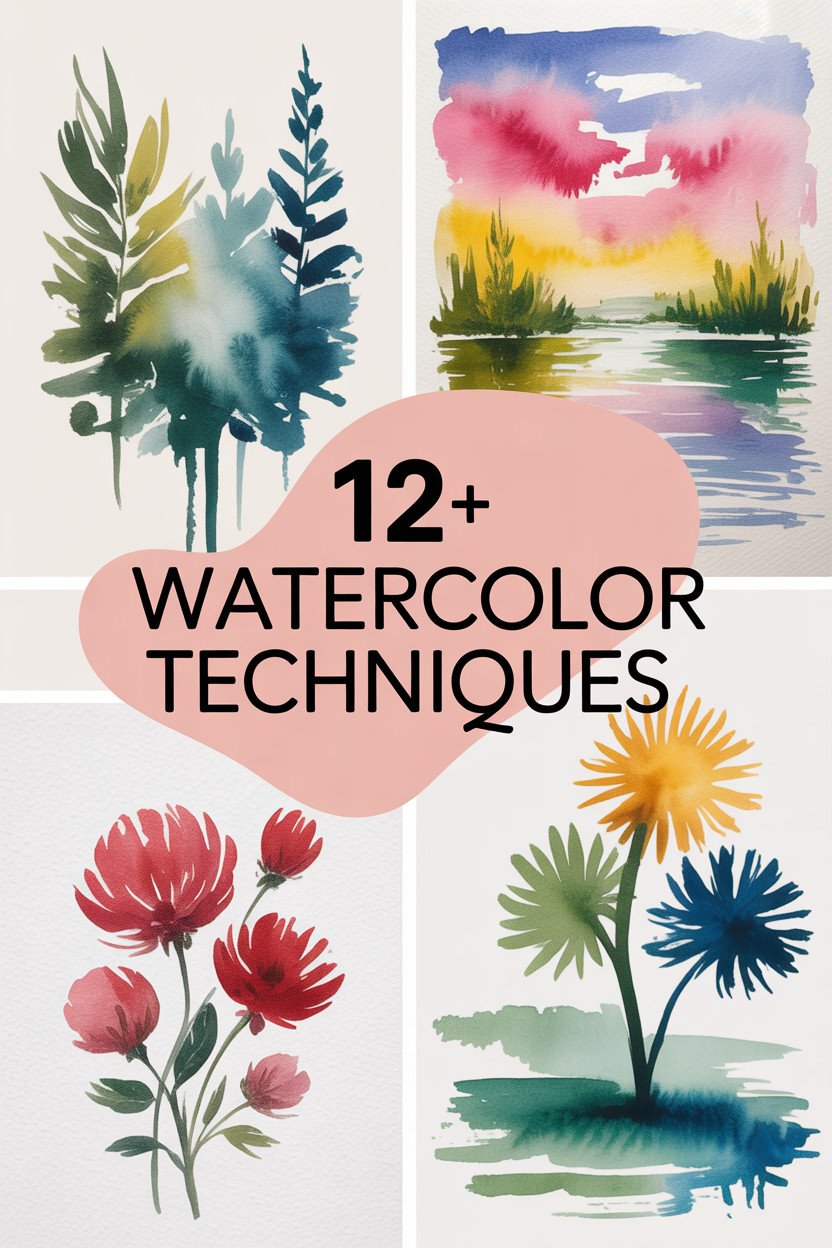
Watercolor painting is like magic on paper. Each brushstroke can change the way you see the world. Here are some delightful techniques that will make your creativity flow like a river.
1. Wet-on-Wet Technique
Top Wet-on-Wet Technique Craft Tutorials
- 🗺️ Wet-on-Wet Watercolor Painting for Kids from rhythmsofplay.com.
- 🎄 Wet-on-wet watercolor technique tips needed from facebook.com.
- 🎄 Painting techniques 101 🎨 (Wet-on-wet vs. Wet-on-dry from instagram.com.
- 🧑🌾 How to perfect wet-in-wet watercolour from artistsandillustrators.co.uk.
- 👓 Watercolor Tutorial: Wet-on-Wet Technique from domestika.org.
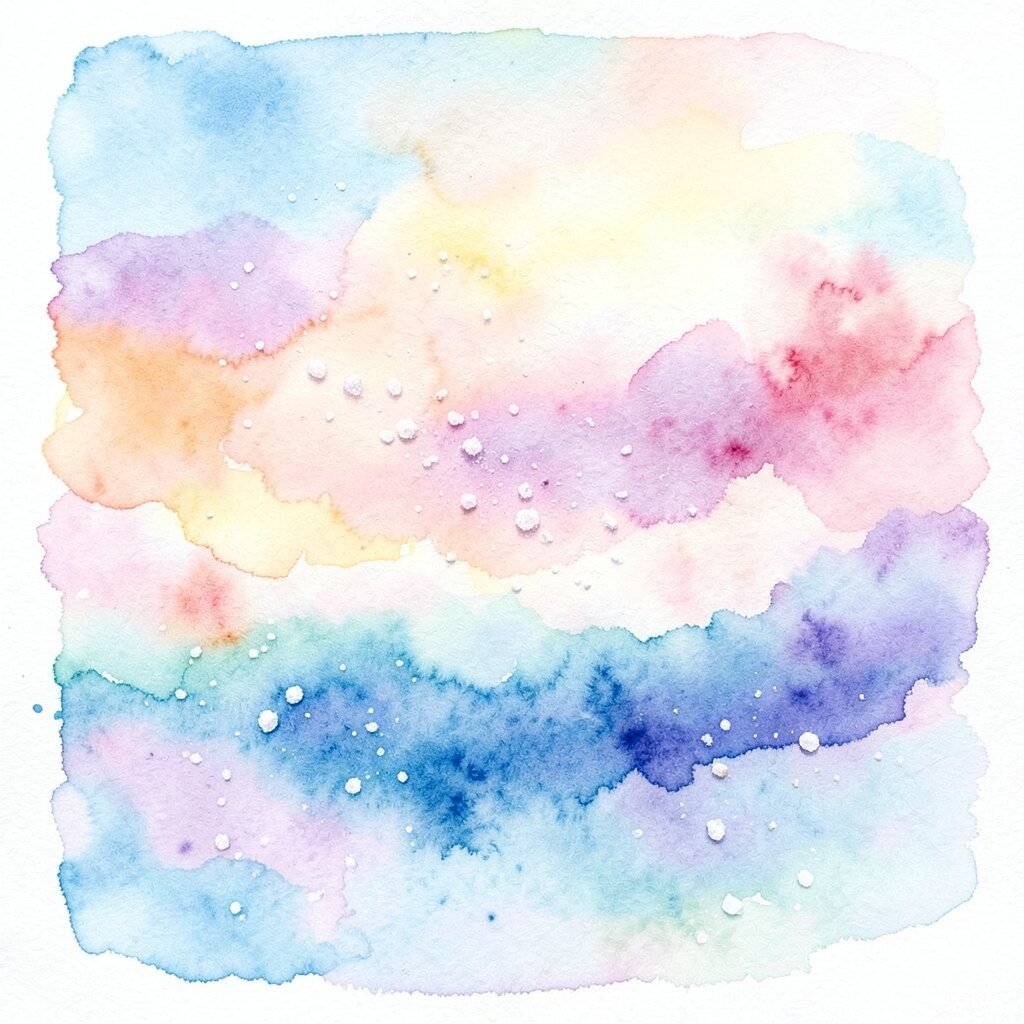
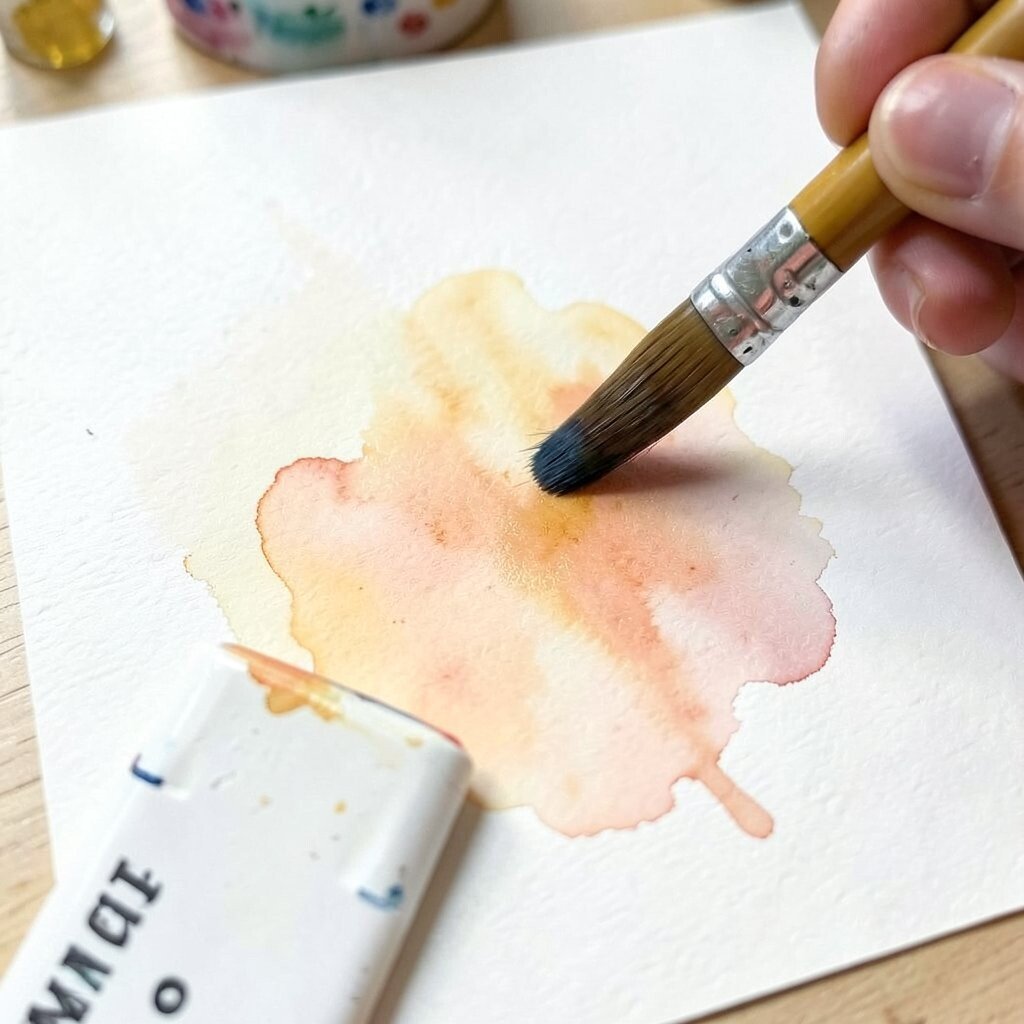
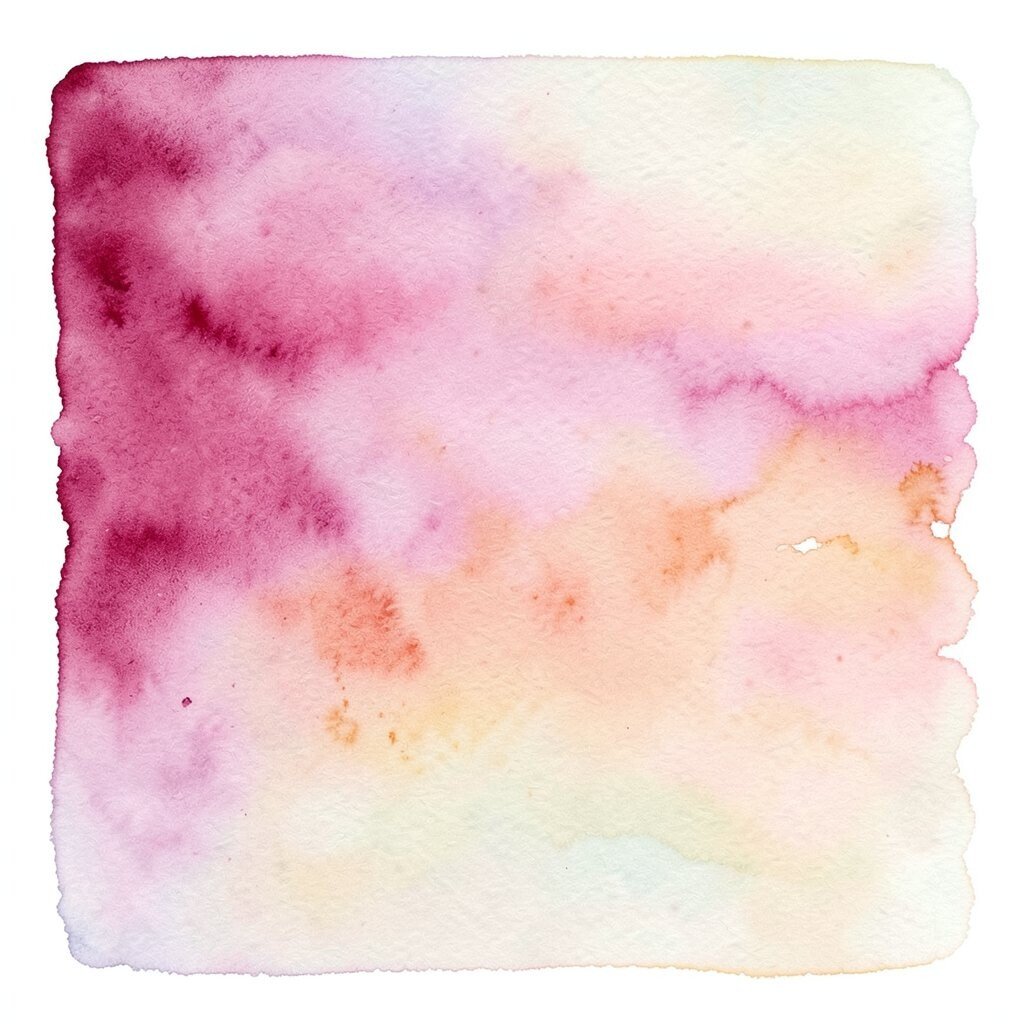
Imagine colors blending together like a soft, dreamy cloud. The wet-on-wet technique is all about applying fresh paint on a wet surface. This creates fluid, gentle transitions of color.
It’s perfect for painting skies, oceans, or anything that needs a soft touch. The beauty of this technique is in its unpredictability. You never know exactly how the colors will blend, making each piece unique.
All you need is a brush, water, and your favorite watercolor paints. It’s an inexpensive way to create stunning effects. Try adding a touch of salt to the wet paint for a textured look!
2. Dry Brush Technique
Top Dry Brush Technique Craft Tutorials
- 🗺️ Can anyone give me the idiots guide to drybrushing from reddit.com.
- 💅 How to Dry Brush Miniatures (Simple & Effective Highlighting) from creativetwilight.com.
- 🎄 How to: Use the Dry Brush Painting Technique from anniesloan.com.
- 💅 DIY Distressed Wood Look with Dry Brush Painting … from thecraftingnook.com.
- 🎄 Dry Brushing, Wood Painting Techniques by Lora Irish from lsirish.com.
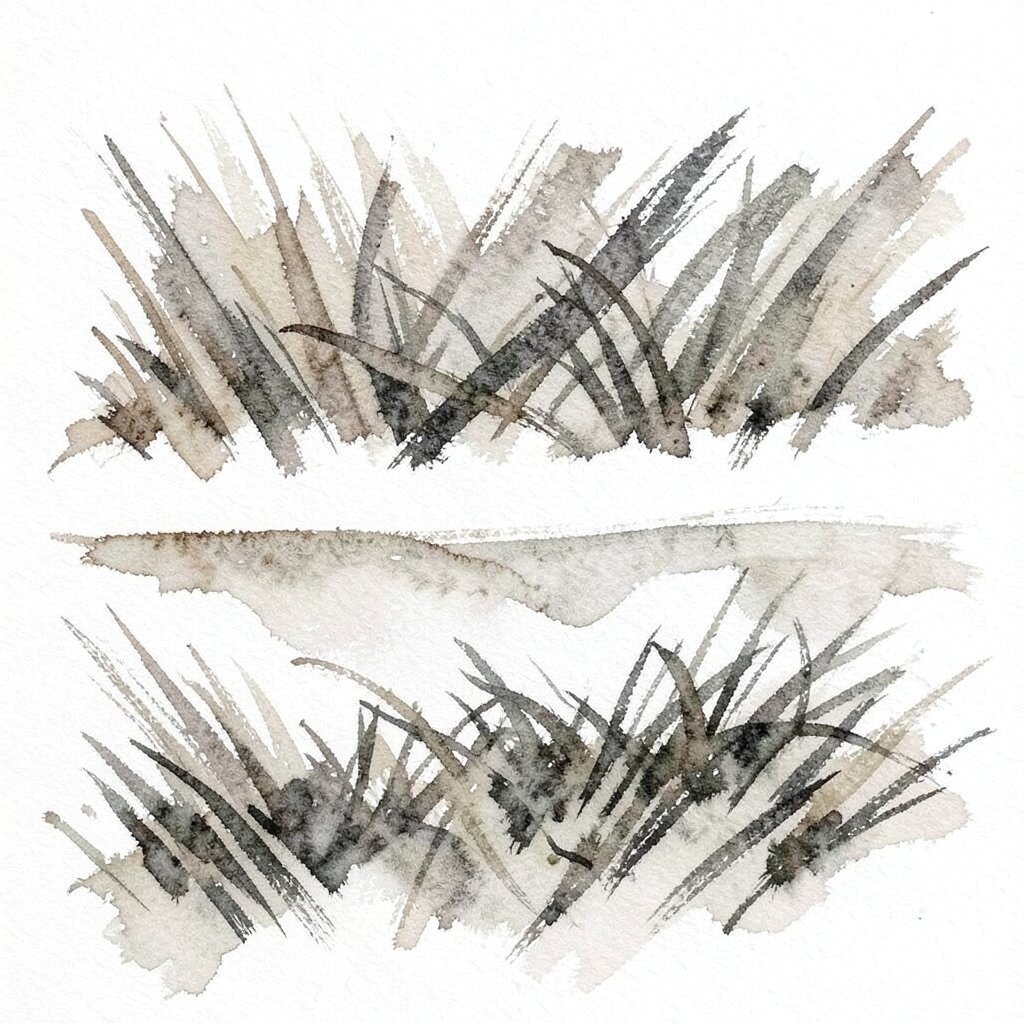
Do you love texture? The dry brush technique might be your new favorite! This involves using a dry brush and minimal paint to create rough, textured strokes.
It’s great for adding details like grass, fur, or wood grain. The contrast of sharp lines against a smooth background can make your artwork pop.
Experiment with different brushes for varied textures. It’s a budget-friendly way to add depth and interest to your art without needing fancy tools.
3. Salt Texture
Top Salt Texture Craft Tutorials
- 🗺️ Salt Crafts for Kids: Easy Art & STEM Fun from imthecheftoo.com.
- 🍁 Salt art is bright and full of texture! See how easy it … from facebook.com.
- 🎨 Salt Painting Process Art for Kids from mericherry.com.
- 🖼️ Salt Paint: Awesome and Easy Sensory Craft for Kids from lowliftfun.com.
- 🍁 Salt Painting for Kids (Easy Process Art Activity) from alittlepinchofperfect.com.
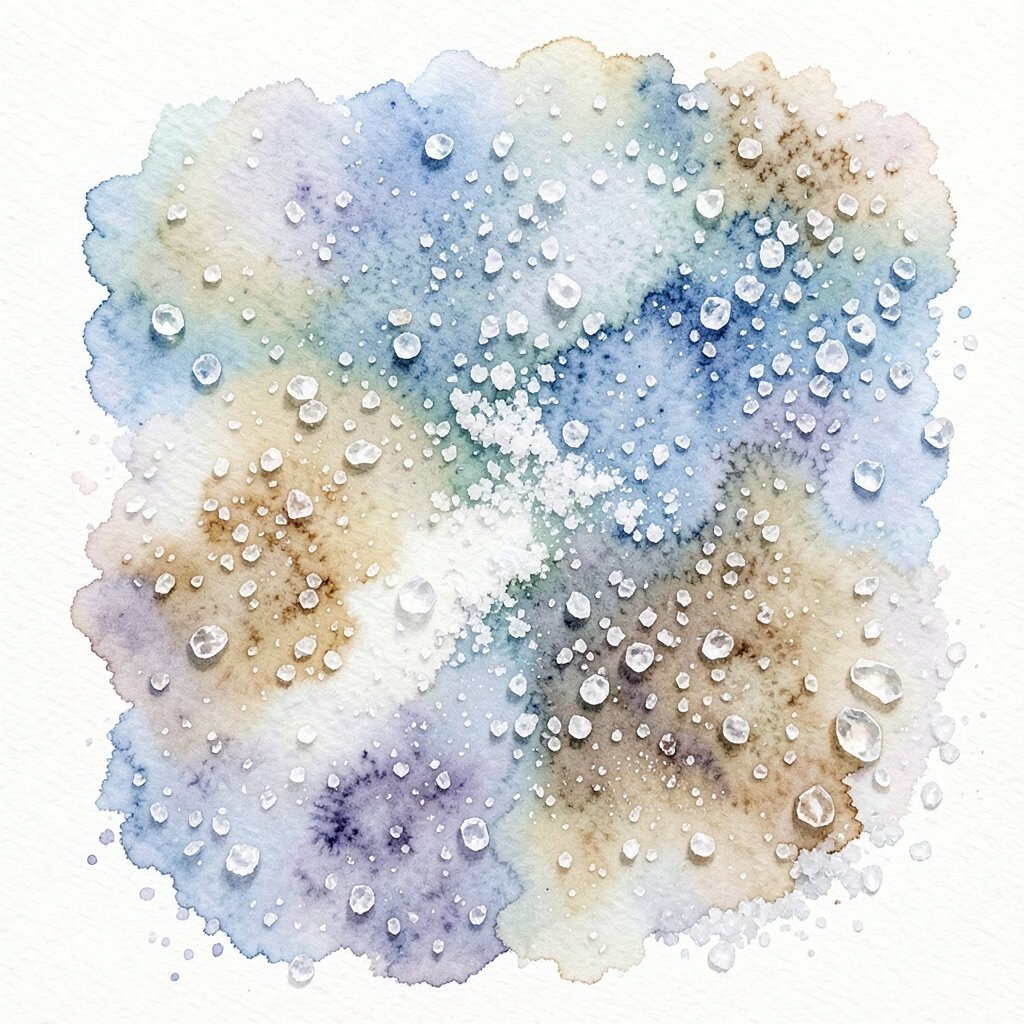
Salt isn’t just for your kitchen. It’s a magical ingredient in watercolor art! Sprinkle it onto wet paint and watch as it creates unique, crystalline textures.
The salt absorbs the water and paint, leaving behind beautiful, unpredictable patterns. This technique is perfect for adding a touch of whimsy to your paintings.
Try using different types of salt, like coarse sea salt or fine table salt, for varied effects. It’s an affordable way to add intrigue to your artwork.
4. Splattering
Top Splattering Craft Tutorials
- 🎨 Fun and Messy Splatter Paint Craft For Kids from kidsactivitiesblog.com.
- 🖼️ July 4th Art: Splatter Art and display craft from funlittles.com.
- 🎄 How to do Splatter Painting with Kids from artfulparent.com.
- 🍅 7 Acrylic Paint Splatter Techniques from novacolorpaint.com.
- 👓 How to Splatter Paint from thesprucecrafts.com.
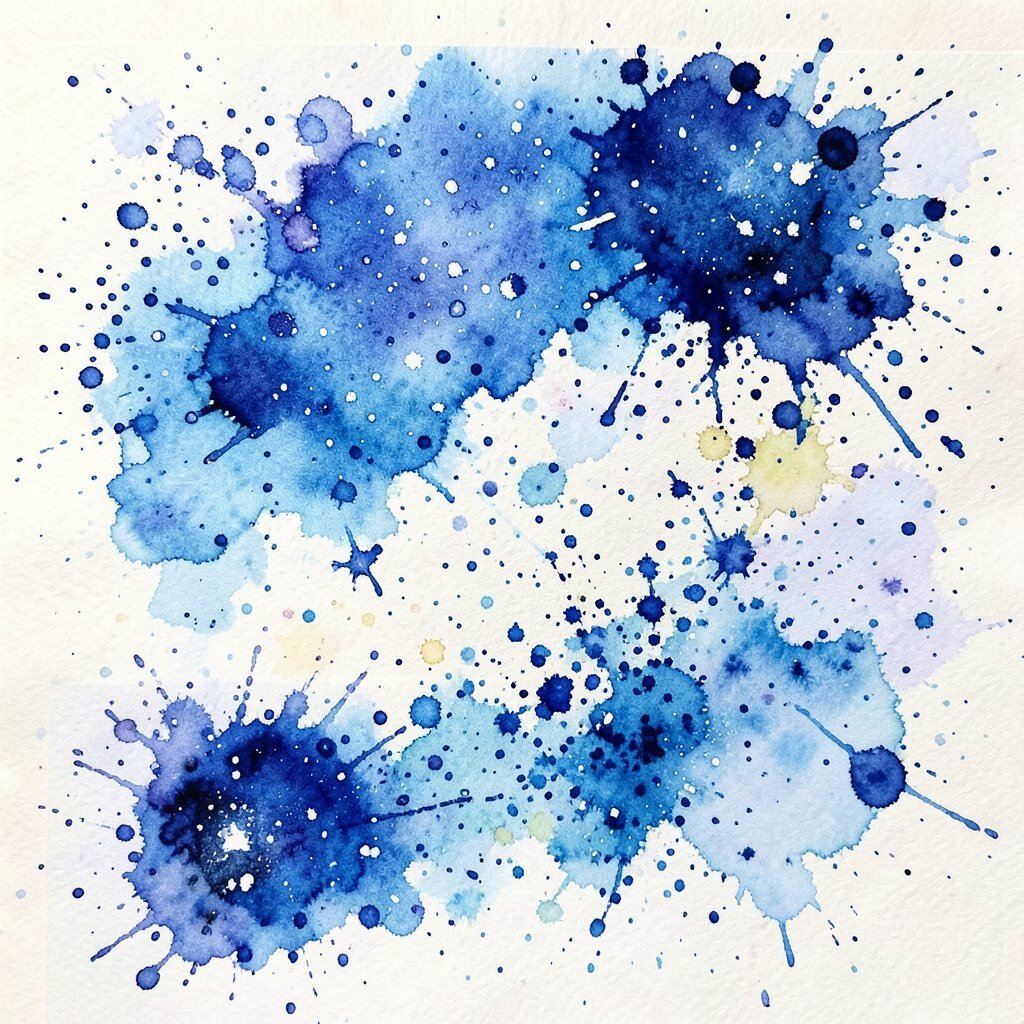
Feeling playful? Splattering paint can be loads of fun! It’s a technique where you flick paint onto your paper to create random dots and splashes.
This method is great for adding energy and movement to your paintings. Think of starry skies or ocean spray. It’s a fantastic way to loosen up and let go of perfection.
Cover areas you want to keep clean with masking tape or paper towels. It’s a low-cost way to add excitement to your art.
5. Lifting Off
Top Lifting Off Craft Tutorials
- 💅 5 4 3 2 1 lift off tissue paper roll rocket! from facebook.com.
- 🗺️ Landing Craft Air Cushion from en.wikipedia.org.
- 🍁 Flying Rocket Ship Craft from supersimple.com.
- 🖼️ Realistic Solar System Crafts – MEGATHREAD – Page 5 from forum.kerbalspaceprogram.com.
- 👓 C-17 Globemaster III > Air Force > Fact Sheet Display from af.mil.
Made a mistake? No worries! Lifting off is a technique where you remove paint from your paper. Simply use a clean, damp brush or sponge to lift the color away.
This is perfect for creating highlights or fixing those little oops moments. It’s like having an eraser for your watercolor paints.
Practice on scrap paper first to get the hang of it. It’s a handy, cost-free trick to have up your sleeve.
6. Masking Fluid
Top Masking Fluid Craft Tutorials
- 🧑🌾 Homemade Masking Fluid for Watercolors from somecallmebeth.com.
- 🗺️ exclusive frankie diy – masking fluid card fun from frankie.com.au.
- 🍂 masking fluid tips – The Frugal Crafter Blog from thefrugalcrafter.wordpress.com.
- 🎨 Masking fluid tutorial for watercolor painting from facebook.com.
- 🍂 7 Best Ways To Use Masking Fluid in 2026 from diycraftclub.com.
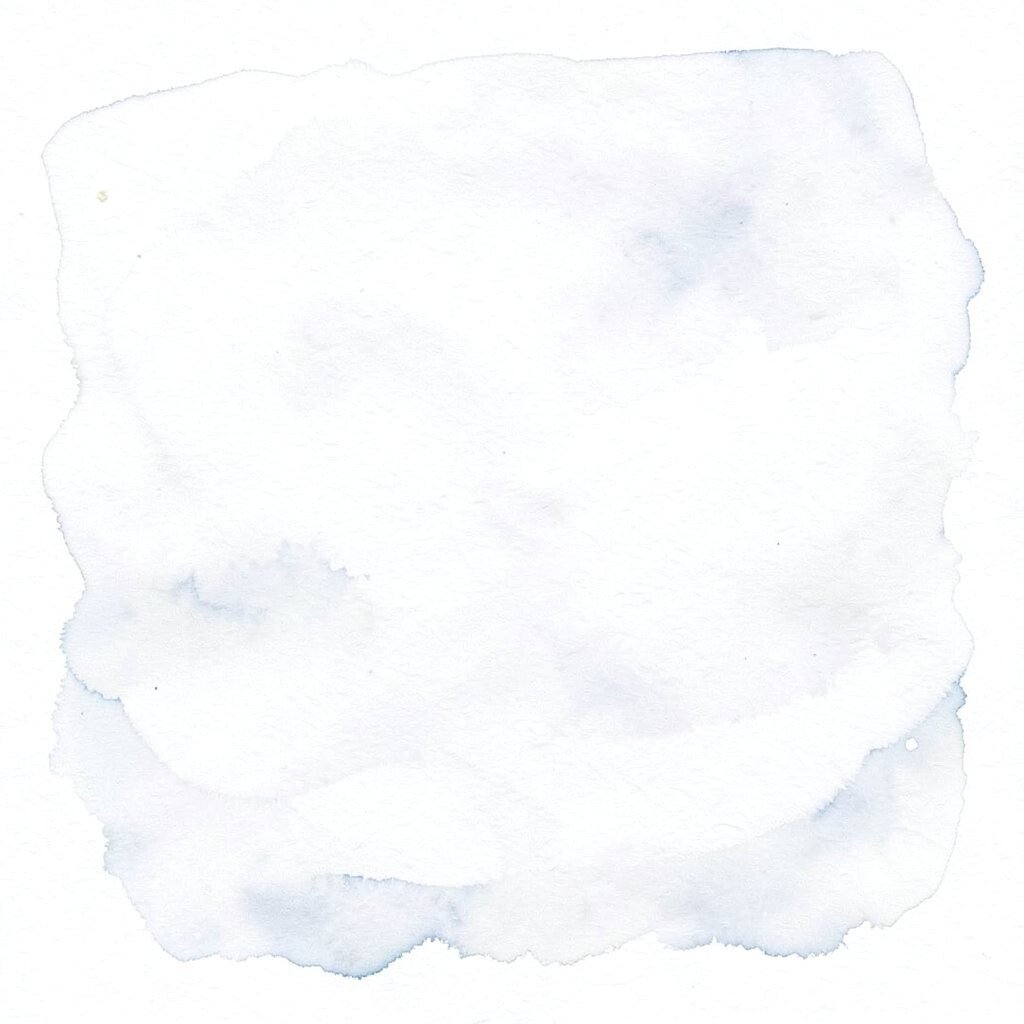
Want to keep certain areas of your painting white? Masking fluid is your best friend. Apply it to the areas you want to protect, let it dry, and paint over it.
When you’re done, peel it off to reveal crisp, white spaces. It’s great for creating highlights, snow, or anything that needs to stay bright.
It’s a bit more of an investment, but a little goes a long way. It’s an excellent tool for adding precision to your work.
7. Glazing
Top Glazing Craft Tutorials
- 🍁 Cone-7 Glazes I Use in Soda-Firing from vincepitelka.com.
- 🍁 Fun Pottery Glazing Techniques & Tips To Try from diamondcoretools.com.
- 👓 Bel Air, MD – Upcoming Project Calendar from amazingglaze.net.
- 🍅 How to Glaze with Acrylics: Glazing Techniques from willkempartschool.com.
- 🧑🌾 The blue glaze consists of various small blue glass chips … from facebook.com.
Glazing adds depth and richness to your paintings. This technique involves applying thin, transparent layers of color over a dry base layer.
It creates luminous effects and allows you to build up color slowly. It’s perfect for achieving a polished, professional look.
Be patient and let each layer dry completely before adding the next. It’s an affordable way to enhance your art with vibrant layers.
8. Blooms
Top Blooms Craft Tutorials
- 🗺️ Folding Paper Flowers (8 Petals) | Kids' Crafts from firstpalette.com.
- 🍂 Blooming 8 o'clocks video – Joys Of Creating from joysofcreating.com.
- 🍅 BLOOMING FLOWERS This is such an easy paper craft … from facebook.com.
- 🎨 9 DIY Flower Designs to Keep Your Creativity Blooming from kiwico.com.
- 🗺️ 3D Flower Craft for Kids: Blooming Fun & Learning from imthecheftoo.com.
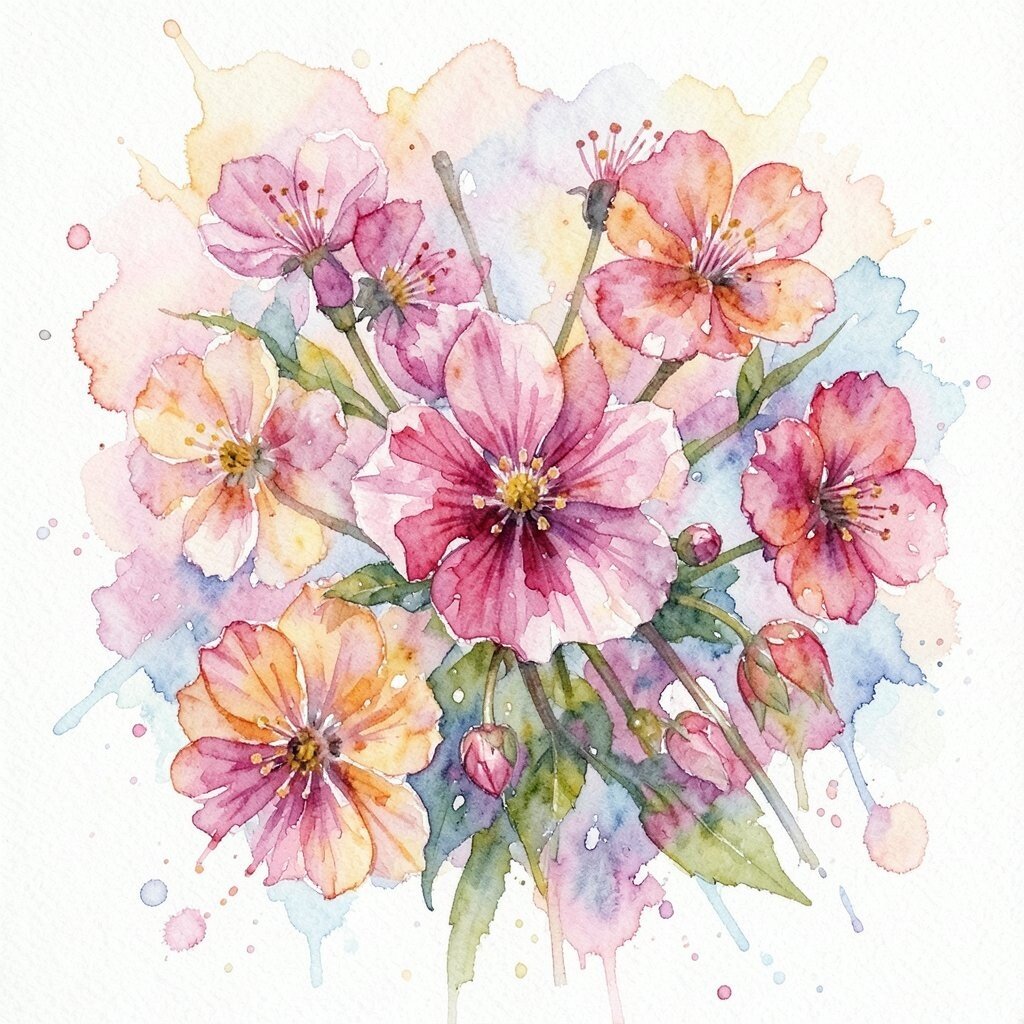
Blooms, or backruns, are often seen as mistakes, but they can be beautiful. They occur when wet paint spreads into a drier area, creating a flower-like pattern.
Embrace these happy accidents as unique features of your work. They add interest and character to your art, making it truly one-of-a-kind.
Experiment with different amounts of water to control the size of your blooms. It’s a free and fun way to add spontaneity to your paintings.
9. Sgraffito
Top Sgraffito Craft Tutorials
- 👓 9" Sgraffito Plate – Plimoth Patuxet Museum Shop from plimoth.com.
- 🍅 What Is Sgraffito? | Pottery Technique, Tools & Step-by- … from lakesidepottery.com.
- 🖼️ sgraffito craft for children | ArtClubBlog from artclubblog.com.
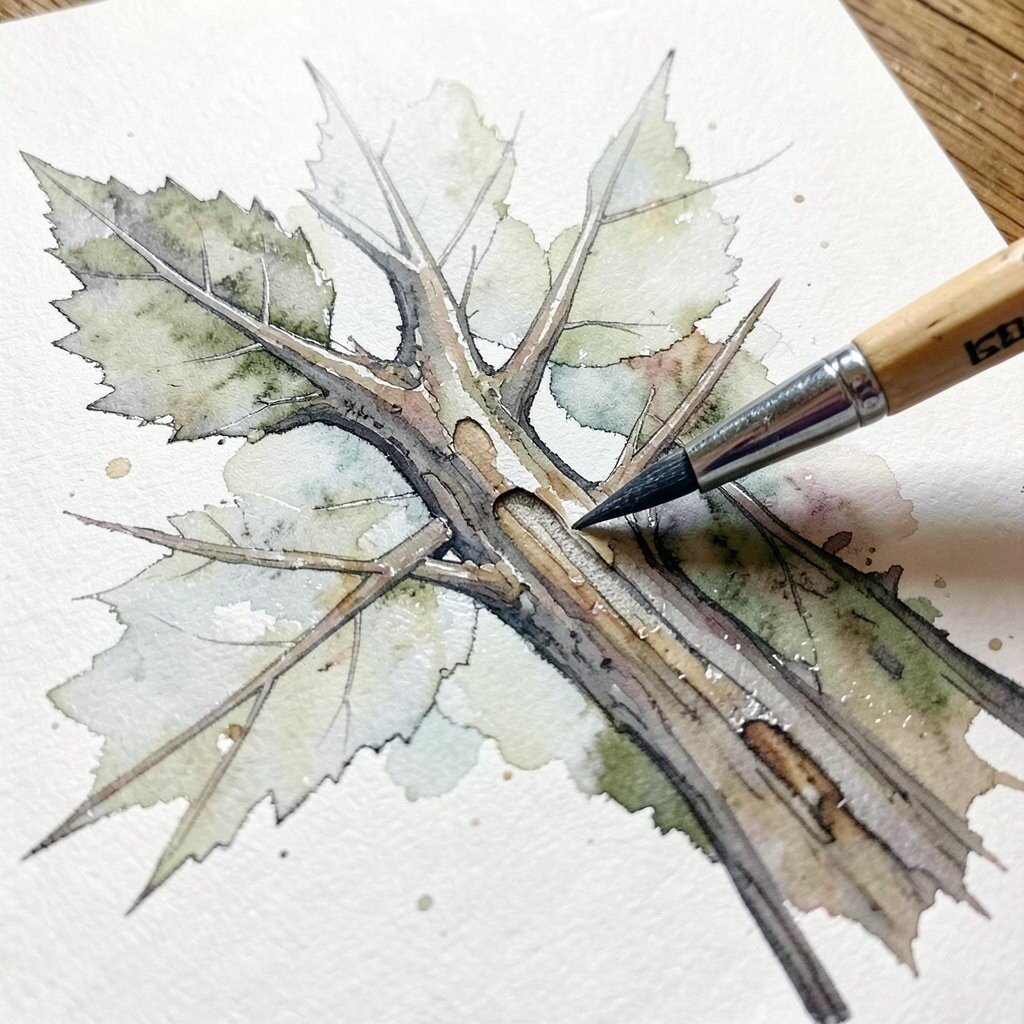
Sgraffito is all about scratching! Use a sharp tool to scratch into wet paint, revealing the paper beneath. This adds texture and detail to your work.
It’s perfect for creating fine lines like veins on leaves or the texture of tree bark. Your art will have a tactile, engaging quality.
Use items like toothpicks, needles, or even old credit cards. It’s a no-cost way to add intricate details to your art.
10. Watercolor Pencils
Top Watercolor Pencils Craft Tutorials
- 🍅 Watercolor Pencils from youtube.com.
- 🎄 Here's an example of what you can do with Watercolor … from facebook.com.
- 🍁 Faber-Castell Art on the Go Watercolor Pencils from walmart.com.
- 🍁 An Easy Watercolor Pencil Tutorial from bellalunatoys.com.
- 🗺️ Show me your dolls made with watercolour pencils from reddit.com.
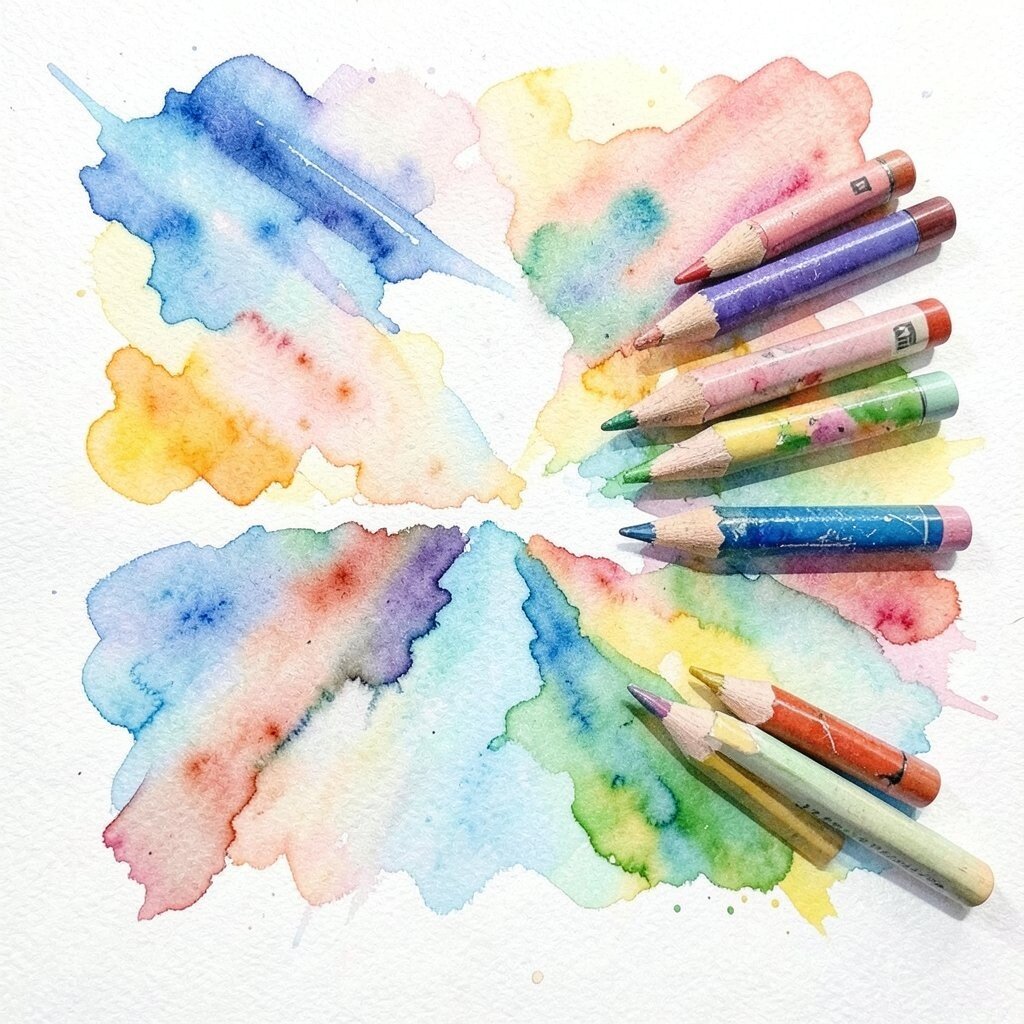
Watercolor pencils combine the best of both worlds. Draw with them like regular pencils, then add water to turn your drawing into a painting.
They’re great for details, sketching, and enhancing your watercolor paintings. The colors are vibrant, and they dissolve beautifully.
Investing in a good set can be a bit pricier, but they’re versatile and long-lasting. They’re perfect for artists who love precision and control.
11. Gradient Wash
Top Gradient Wash Craft Tutorials
- 🎨 Practicing reflections and gradient washes. from facebook.com.
- 🍅 Salt on Watercolor Technique! from thegraphicsfairy.com.
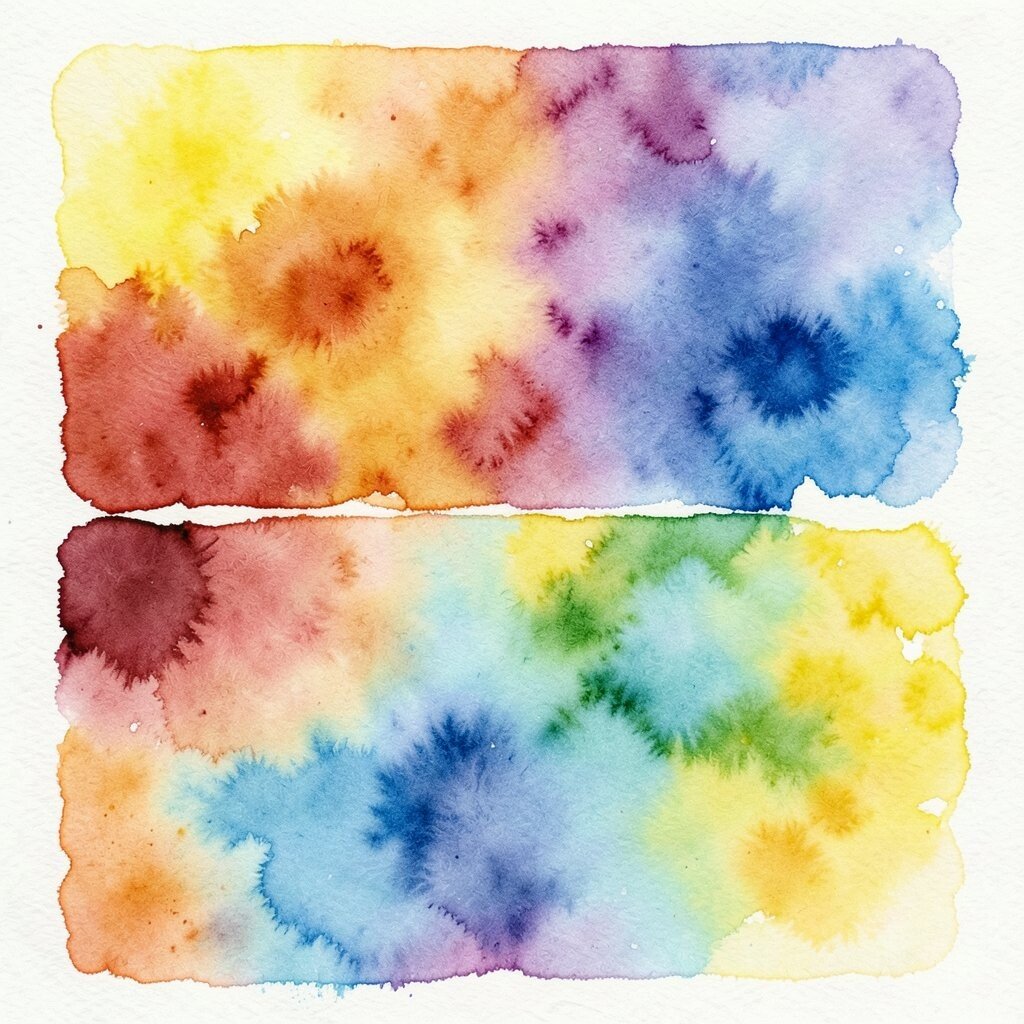
Gradient washes create smooth transitions between colors. Start with a concentrated color and gradually add water to lighten it.
This technique is ideal for painting skies, sunsets, or backgrounds. It’s soothing and satisfying to watch the colors blend seamlessly.
Use a large brush for even coverage. It’s a cost-effective way to create serene and harmonious pieces.
12. Negative Painting
Top Negative Painting Craft Tutorials
- 👓 12 Paint Chip Art Projects from thesprucecrafts.com.
- 🖼️ Negative Watercolor Painting from artfulideasclassroom.com.
- 👓 Watercolor Negative Painting technique! 🥰 A fun way to … from facebook.com.
- 🍅 Watercolor for Beginners: How to Create a Negative Painting from skillshare.com.
- 🍁 A birds and tree theme using the negative painting technique from reddit.com.
Negative painting focuses on painting around your subject rather than the subject itself. It creates striking contrasts and highlights.
This method is great for adding depth and interest to your work. It encourages you to think about shapes and space differently.
Try it with simple shapes to start. It’s an economical way to challenge your creativity and see the world in a new light.
13. Stamping
Top Stamping Craft Tutorials
- 🍁 13 Arts – Stamps By Company from scrapbookingmadesimple.com.
- 👓 13 Misc Pieces Craft Stamping Supplies, Ink Pads As Shown from ebay.com.
- 🖼️ 6 Ways to Make Homemade Stamps for Kids from happyhooligans.ca.
- 💅 Frames + Decoration Rubber Stamps – 13 Stamps from makeandmendshop.com.
- 👓 Case challenge 13 – stamping off from craftwithemma.co.uk.
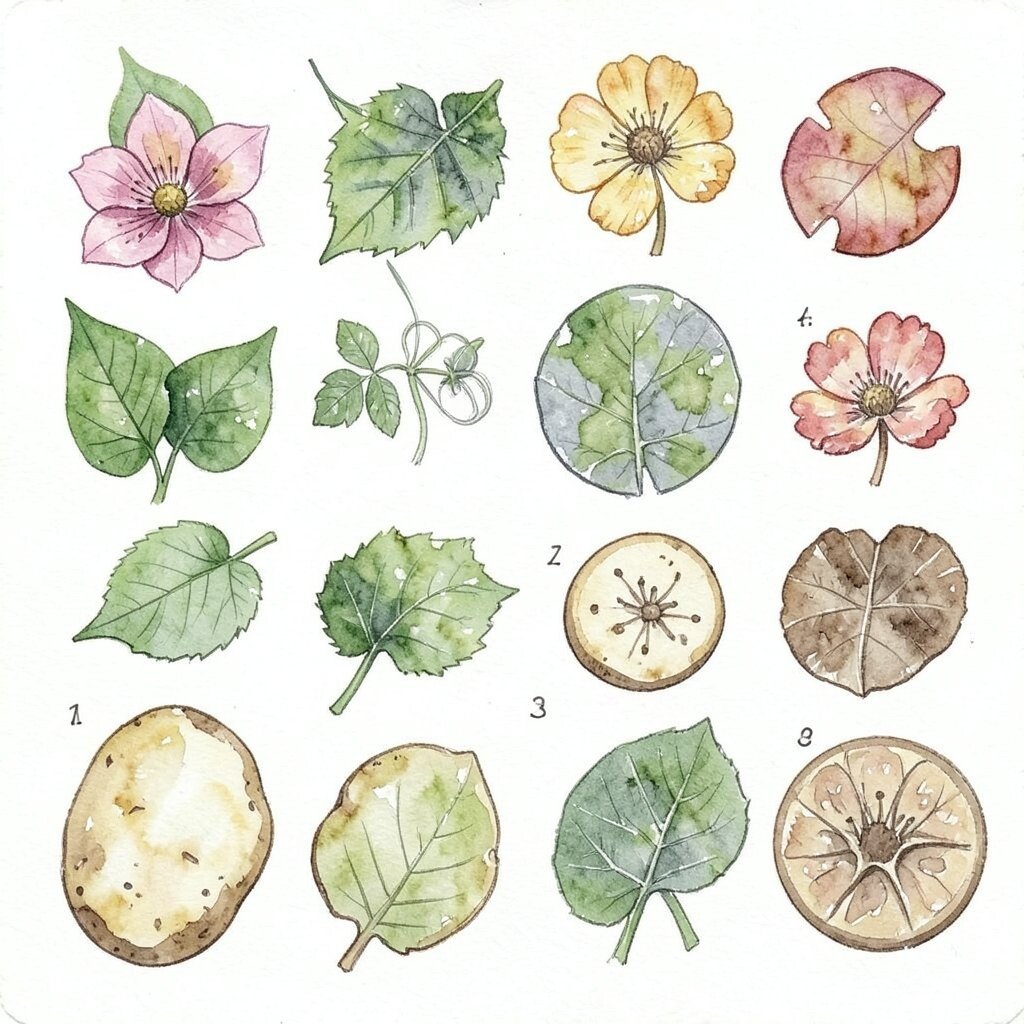
Stamps aren’t just for crafts. Use natural items like leaves, flowers, or even potatoes as stamps in your watercolor paintings.
This technique adds fun, repetitive patterns to your art. It’s a playful way to incorporate nature and texture.
Gather items from your backyard for a cost-free adventure. It’s a delightful way to personalize your paintings and make them truly your own.