Welcome to the world of wood burning, also known as pyrography, where you can explore your creativity and create stunning masterpieces.
In this comprehensive guide, we’ll cover everything from basic techniques to advanced tips, so you can unlock your full potential.
- Wood burning, or pyrography, is an art form that involves burning designs onto wood surfaces
- Before starting, it’s important to gather the right tools and understand basic techniques
- The type of wood and pattern you choose can greatly impact your project’s outcome
- Properly preparing your wood surface is crucial for achieving clean and precise burn lines
- Advanced techniques can add depth and detail to your designs, and there are many different tools and accessories available for wood burning
Getting Started with Wood Burning
Are you new to the world of wood burning and wondering where to begin?
- Choose an easy pattern or design to start with, such as a simple shape or letter.
- Practice on a scrap piece of wood before starting on your final project.
- Start with a low heat setting on your wood burning tool and gradually increase the temperature as you become more comfortable.
- Practice your strokes and experiment with different types of burn tips to achieve different effects.
When it comes to choosing wood burning tools, here are some essential items to consider:
- A wood burning tool with adjustable temperature settings
- Various burn tips for different effects and techniques
- A soldering iron stand for safety and stability while working
- Sandpaper for preparing your wood surface
Choosing the right type of wood is crucial to achieving the desired results in your wood burning project. Consider the surface hardness, grain pattern, and color of the wood to determine whether it is suitable for your design. Some popular types of wood for pyrography include:
- Basswood: Soft, pale wood with a fine grain
- Birch: Hard, light-colored wood with a close grain
- Maple: Hard, light-colored wood with a fine, uniform grain
- Walnut: Hard, dark-colored wood with a straight grain
Once you have selected your wood, it’s time to choose a pattern. You can create your own pattern by sketching directly onto the wood or use pre-made patterns that can be transferred onto the surface. Some great sources for finding wood burning patterns include:
- Woodworking magazines and books
- Online pattern databases and forums
- Freehand drawing or tracing from an image
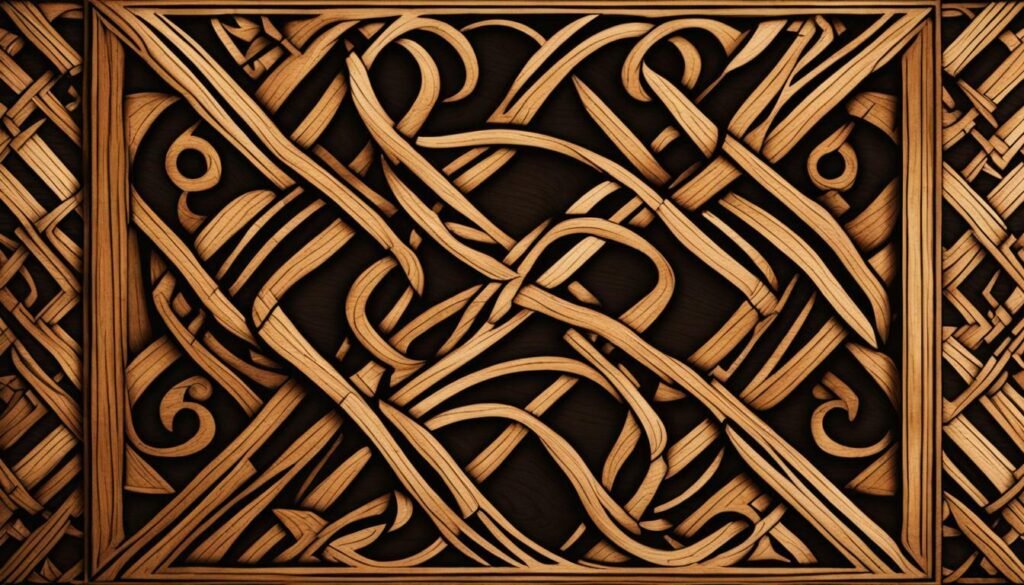
Before you start the actual burning process, you need to properly prepare the wood surface. This will ensure that the burn lines are clean and precise, and your design looks exactly how you intended it to. Here are the necessary steps to prepare your wood:
- Sand the wood surface to remove any bumps, scratches, or stains that could affect the burn lines
- Apply a finish to the wood to help prevent the wood from absorbing the heat from the tool and to protect it from moisture
- Transfer your design onto the wood surface. You can use graphite paper, tracing paper, or stencil pens to transfer the design onto the wood surface.
Here are some beginner wood burning tips to help you get started:
- Practice on scrap wood before starting your main project.
- Start with a simple design and work your way up to more complex ones.
- Use a light touch with your wood burning tool to avoid burning too deeply
When it comes to how to wood burn, here are the basic techniques:
- Temperature control: Adjust the heat of your wood burning tool to achieve the desired effect.
- Burn tip selection: Use different burn tips to create varying textures and line weights.
- Stroke techniques: Experiment with different stroke techniques, such as straight lines, curved lines, and stippling, to create unique effects.
Ready to take your wood burning skills to the next level? Enhance your designs with advanced techniques that add depth and detail to your artwork.
- Stippling: Create texture and shading by using a series of dots. Vary the size and spacing of the dots for a more realistic effect.
- Shading: Use your burn tip to create light and dark areas, adding depth and dimension to your designs. Experiment with different stroking techniques, such as hatching and cross-hatching.
- Coloring: Combine wood burning with coloring techniques to add a pop of color to your designs. Use pencils, paint, or markers to fill in areas of your wood burning and bring your artwork to life.
- Combining Wood Burning with Other Art Forms: Try incorporating wood burning into other art forms like painting or mixed media for truly unique pieces.
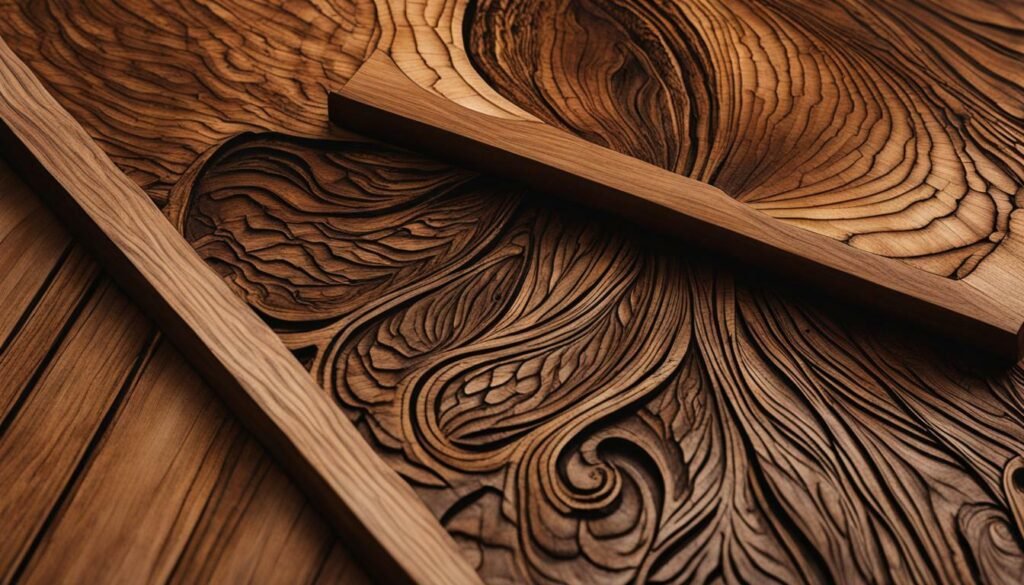
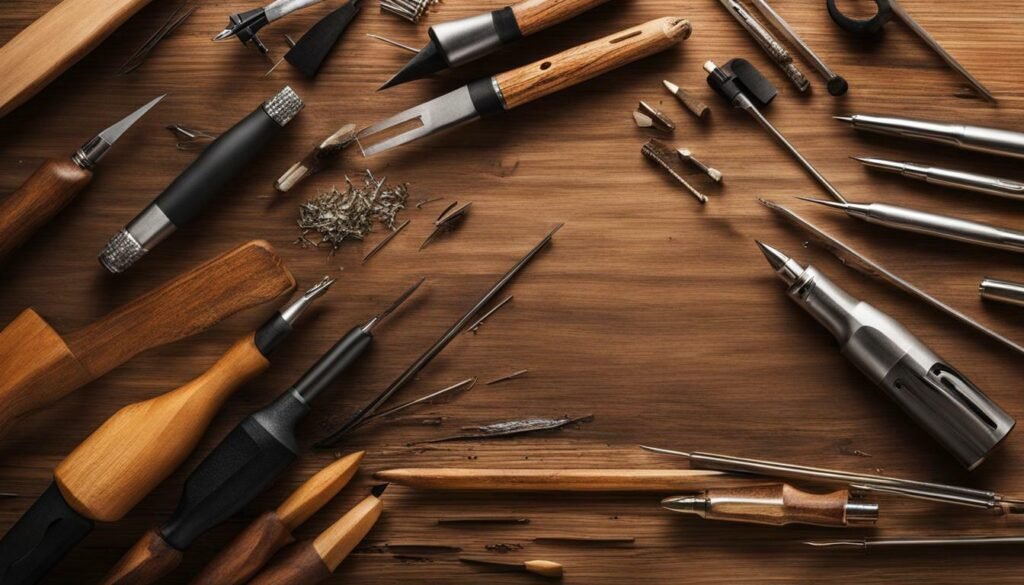
Wood burning provides a variety of tools to choose from, each with its own unique features. Consider these when selecting the right one for your project:
- Woodburning pens: They are the most common tools and come in different shapes and sizes, ideal for different burning techniques.
- Burning tips: They are interchangeable tips that attach to the pen. Different tips provide varying textures to create unique patterns.
- Woodburning machines: They are versatile, allowing artists to work on larger projects with more precision using different tips and temperature settings.
- Accessories: They include stands, carrying cases, and temperature regulators that help simplify the wood burning process.
Safety Tips for Wood Burning
Wood burning can be a fun and fulfilling hobby, but it’s important to follow proper safety precautions to avoid accidents or injuries. Here are some tips to keep in mind:
- Always work in a well-ventilated area to avoid inhaling fumes from burning wood.
- Wear suitable clothing, such as long sleeves and closed-toe shoes, to protect your skin from burns.
- Use a wood burning pen with a heat-resistant handle and keep it away from flammable materials.
- Avoid leaving your wood burning pen unattended while it’s hot.
- Keep a fire extinguisher or sand nearby in case of accidental fires.
- If using a wood burning kit, be sure to follow the manufacturer’s instructions for safe use.
- Take breaks regularly to prevent eye strain and fatigue.
If you’re looking to add a personal touch to your wood burning projects, creating your own patterns is a great way to do so. Here are some tips to get you started:
- Sketch your design on paper or use a graphic design software to create a digital pattern.
- Transfer your pattern onto the wood surface using transfer paper or by tracing it with a pencil.
- Customize your pattern by adjusting the thickness of lines, adding shading, or incorporating different textures.
- Experiment with different patterns and themes, such as nature scenes, geometric shapes, or abstract designs, to find what inspires you.
Finishing your wood burning project is essential for long-lasting beauty and protection against damage. Here are some techniques to consider:
- Applying a clear coat: Use a clear coat to protect your wood burning from scratches, moisture, and UV damage. Choose a finish that matches your project’s sheen level, such as gloss, satin, or matte.
- Staining your wood: Staining your wood before burning can add color and depth to your design. Choose a stain that complements your wood type and project theme.
- Buffing and waxing: Buffing and waxing your finished wood can add shine and smoothness. Use a soft cloth to buff your wood and apply a thin layer of wax for added protection.
Protecting your wood burning project is just as important as finishing it. Here are some tips:
- Store in a dry place: Avoid storing your finished project in a damp or humid area. Moisture can cause your wood to warp or rot over time.
- Avoid direct sunlight: Sunlight can cause your wood burning to fade or discolor over time. Display your project in a shaded area or use UV-resistant glass if framing.
- Handle with care: Be gentle when handling your wood burning project to avoid scratches or damage to the finish.
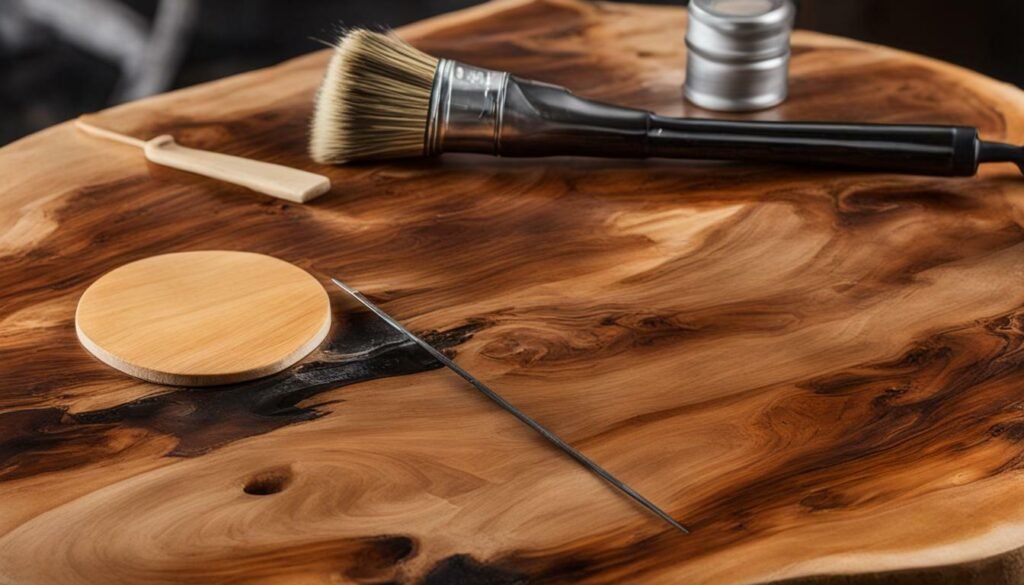
Congratulations on mastering the fundamental techniques of wood burning! Here are some tips to get you started:
- Experiment with different types of burn tips, such as skew, calligraphy, and shader tips, to create varying textures and effects.
- Combine wood burning with other mediums, such as paint or stain, for a unique and personalized look.
- Practice stippling, shading, and cross-hatching to create realistic textures and intricate patterns.
Expanding Your Wood Burning Artistry
Congratulations on mastering the basic wood burning techniques! Now that you have gained confidence, it’s time to take your artistry to the next level and explore new possibilities.
- Create a wooden sign for your home with a favorite quote or saying
- Try burning on various wood surfaces, such as driftwood or tree bark for a unique effect
- Experiment with combining wood burning with other art mediums, such as paint or colored pencils
- Burn intricate designs onto wooden jewelry or accessory pieces
- Personalize wooden utensils or cutting boards as a thoughtful gift

Despite your best efforts, you may encounter some challenges while wood burning. Here are some common problems and their potential solutions:
- Uneven burn lines: This can happen if your temperature is too low or if you are pressing too hard. Try adjusting the temperature or changing the pressure on your burn tool.
- Smudging: Smudging can occur if your wood is too oily or if you touch the surface while it’s still hot. Allow your wood to cool before handling, and clean it with sandpaper to remove excess oil.
- Warping: Wood can warp if it’s exposed to a high temperature or is not properly secured while burning. Use clamps or weights to keep your wood in place, and avoid leaving your burner on one spot for too long.
- Blotchy shading: If your shading appears blotchy, it may be due to inconsistent temperature or pressure. Try adjusting your technique and testing different temperatures and pressures.
With the techniques and tips you’ve acquired, you can create stunning wood burnings that showcase your unique style and personality. Experiment with different wood types, stroke techniques, and burn tips to create varying textures and shading effects.
- Create a wooden sign for your home or office with your favorite quote or phrase
- Burn a custom design onto a cutting board or serving tray for a unique kitchen accessory
- Personalize a wooden jewelry box or keepsake box with a meaningful pattern or image
- Burn a portrait of your pet onto a wooden picture frame for a one-of-a-kind display piece
FAQs
Can I use any type of wood for wood burning?
While you can technically use any type of wood for wood burning, certain types of wood work better than others. Softwoods like pine and basswood are popular choices for beginners due to their even grain and ease of burning.
How do I transfer a pattern onto the wood surface?
There are several methods for transferring a pattern onto a wood surface. One common technique is to print or draw your pattern onto transfer paper, place it face down on the wood, and apply pressure with a pen or pencil to transfer the design.
How do I achieve different shading and textures in my wood burnings?
Different shading and textures can be achieved in wood burnings through various techniques such as adjusting the temperature of your wood burning pen, using different types of burn tips, and employing stroke techniques like stippling or cross-hatching.
Are there any safety precautions I should take while wood burning?
Yes, it’s important to prioritize safety while wood burning. Always work in a well-ventilated area, wear protective goggles and clothing, and use caution when handling the heated pen. Additionally, be mindful of flammable materials and keep a fire extinguisher nearby.
Can I use wood burning on surfaces other than wood?
Yes, wood burning techniques can be applied to other surfaces such as leather, gourds, and even certain types of paper. However, it’s important to adjust your techniques and tools accordingly for each specific material.
What should I do if I encounter issues or challenges while wood burning?
If you encounter challenges while wood burning, don’t get discouraged. It’s part of the learning process. Troubleshooting tips such as adjusting your heat settings, practicing on scrap wood, or seeking advice from experienced wood burners can help overcome common issues.
