
Stone painting looks simple at first glance. Tiny rocks can hold big surprises.
One wrong step can make a cute idea look messy fast. The good news is that most problems are easy to fix once you know what to watch for.
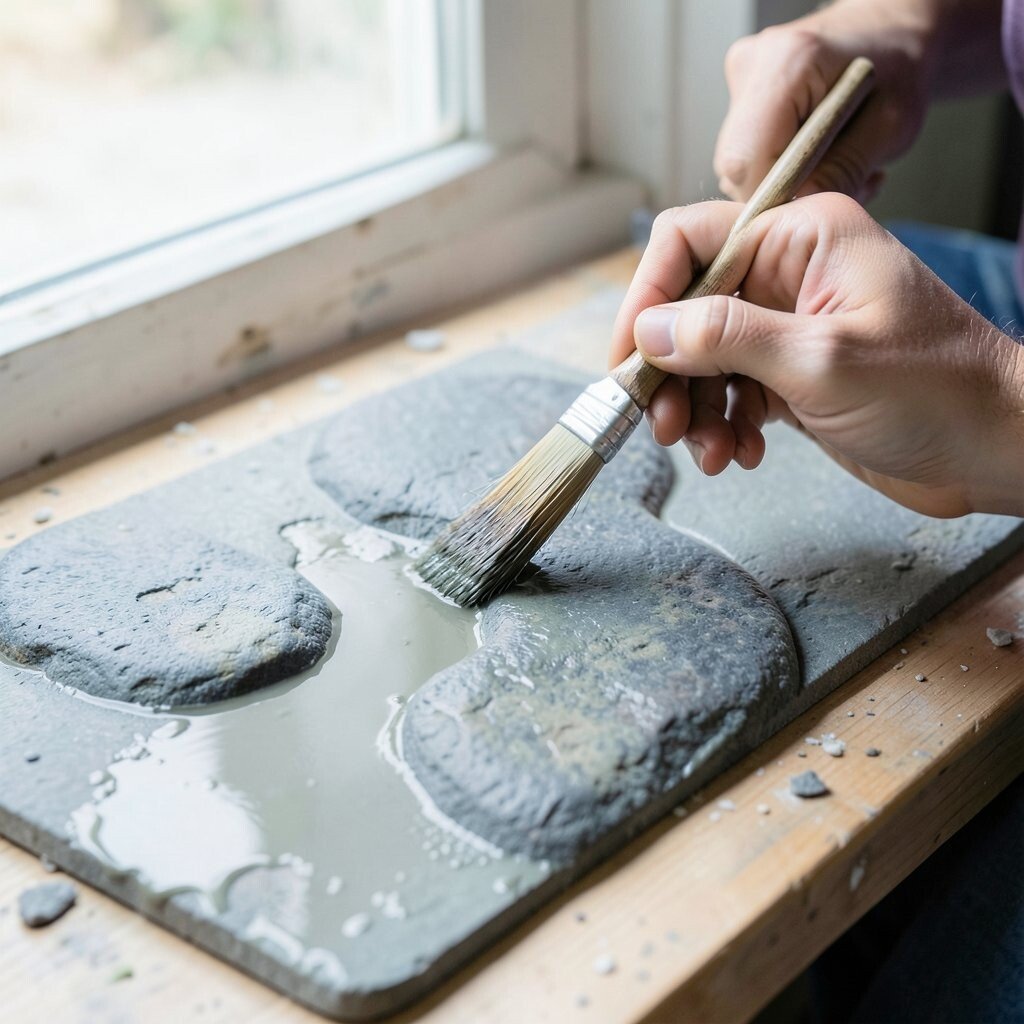
1. Skipping the Cleaning Step
Top Skipping The Cleaning Step Craft Tutorials
- 👓 How to clean my office/craft room : r/ufyh from reddit.com.
- 🧑🌾 Cleaning a Crafting Space from facebook.com.
- 👓 Spring Clean Your Craft Room: 4 Easy Steps from amylattacreations.com.
- 🖼️ Craft Room Spring Cleaning Tips from createroom.com.
- 🍁 Craft cleanup counts as Spring cleaning, right? from facebook.com.
Many people start painting right away, but dusty stones can ruin the whole look. A clean surface helps the paint stick better and keeps the colors bright.
Some stones hide dirt in tiny cracks, so a quick wash matters more than it seems. Use soap, water, and a soft brush, then let each stone dry fully before you paint. This small habit saves money because you waste less paint and fewer finished pieces.
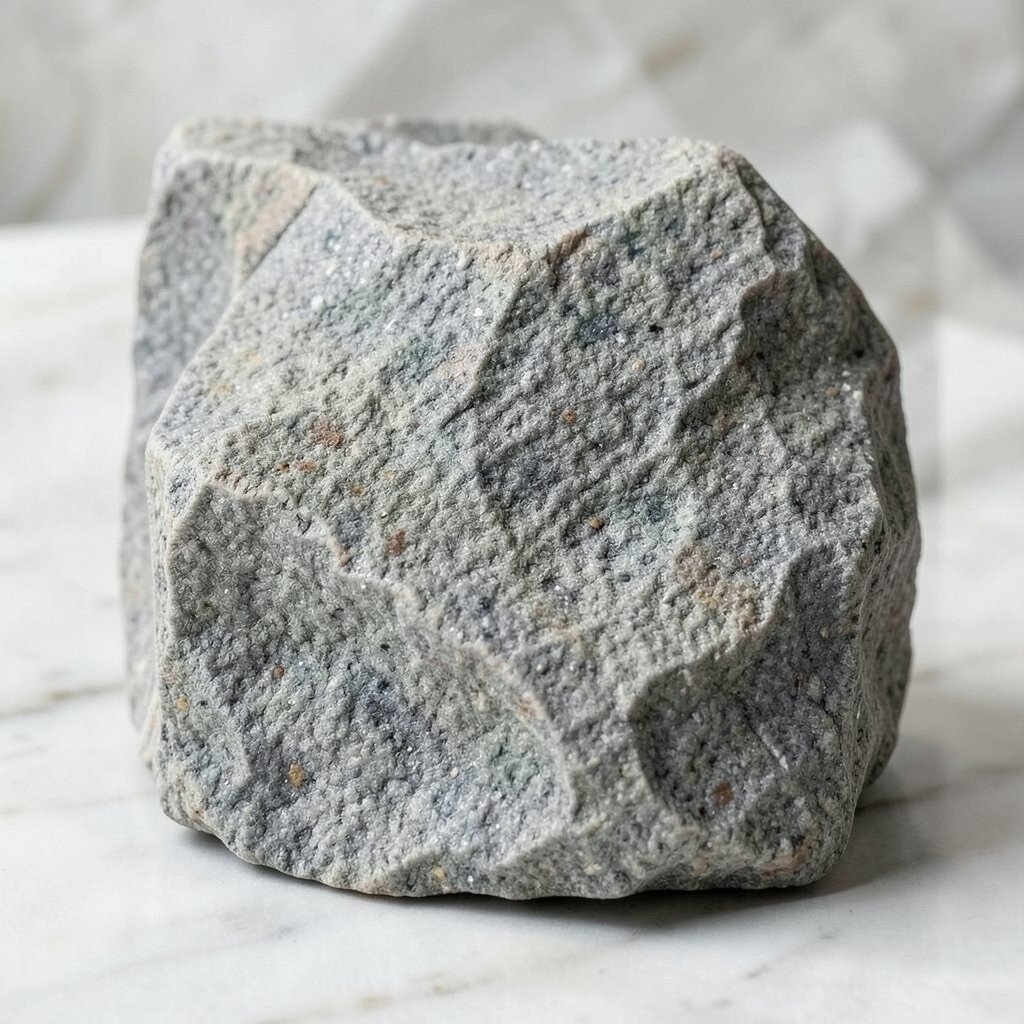
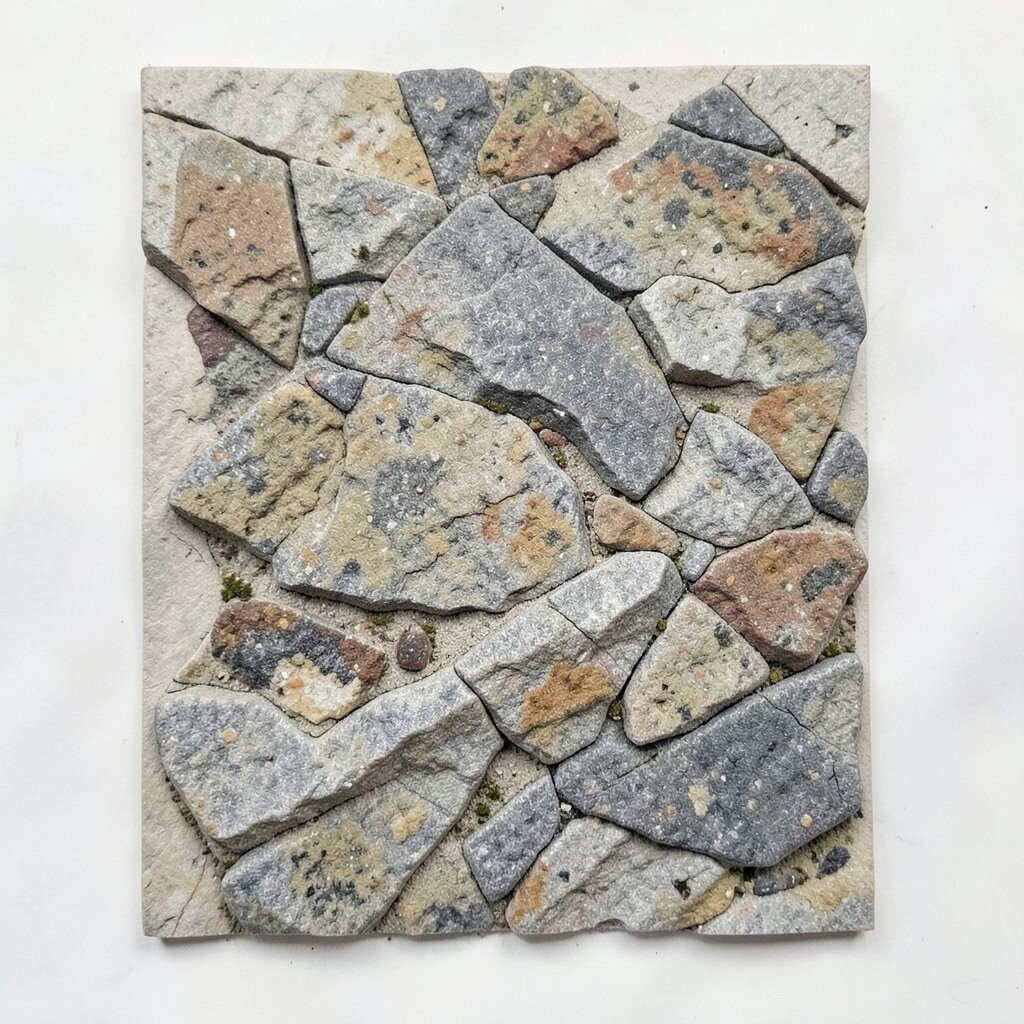
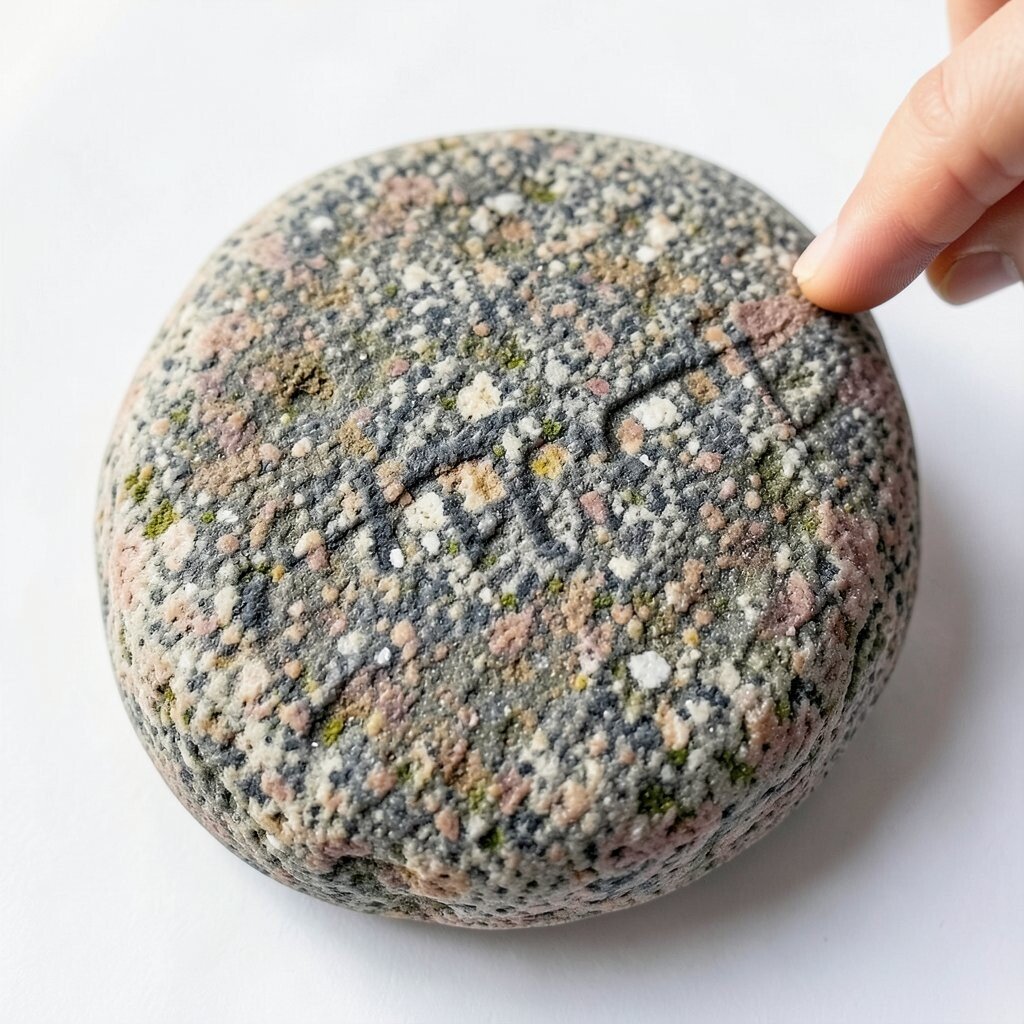
2. Choosing the Wrong Stone Shape
Top Choosing The Wrong Stone Shape Craft Tutorials
- 🧑🌾 Can stone shape spell manipulate a volume of a larger … from facebook.com.
- 🍅 Stone Shape – Spells from dndbeyond.com.
- 🎄 Flesh to stone + stone shape. from forums.giantitp.com.
- 💅 What are your favorite uses of Stone Shape? from reddit.com.
- 🎄 Learn the techniques and tools needed to shape stone by … from facebook.com.
A flat pebble works well for faces, flowers, and signs. A bumpy stone can make neat lines harder to paint.
Picking the right shape gives your art a cleaner finish and makes the design stand out. Try holding a stone in your hand and imagining what it wants to become, like a ladybug, a tiny house, or a smiling moon. This also helps you make each piece feel personal instead of copying the same idea again and again.
Many makers now like odd-shaped stones because they feel more unique and natural. If you want a polished look, choose smooth stones with a wide surface and save the rough ones for bold, simple art.
3. Using Paint That Is Too Thin
Top Using Paint That Is Too Thin Craft Tutorials
- 💅 how to thicken thin craft paint? from facebook.com.
- 🧑🌾 Thinning Craft Store Paint? : r/airbrush from reddit.com.
- 🖼️ How to: thin acrylic paint for pouring art from montmarte.com.
- 👓 Acrylic Painting Tips: When To Use & Not Use Water from nancyreyner.com.
- 💅 Craft Paint 101: My Top Tips for Using Acrylic Paint from modpodgerocksblog.com.
Runny paint can slide around and make colors look weak. It often takes extra coats, which uses more time and supplies.
Thicker paint usually gives a brighter and more even finish. Acrylic paint is a popular choice because it dries well on stone and comes in many fun colors. If the paint feels watery, mix it gently or switch brands so your art looks crisp and neat.
Thick paint also helps with current trends like bold outlines and simple cartoon faces. For a custom touch, try mixing a few colors on a palette so each stone has its own mood.
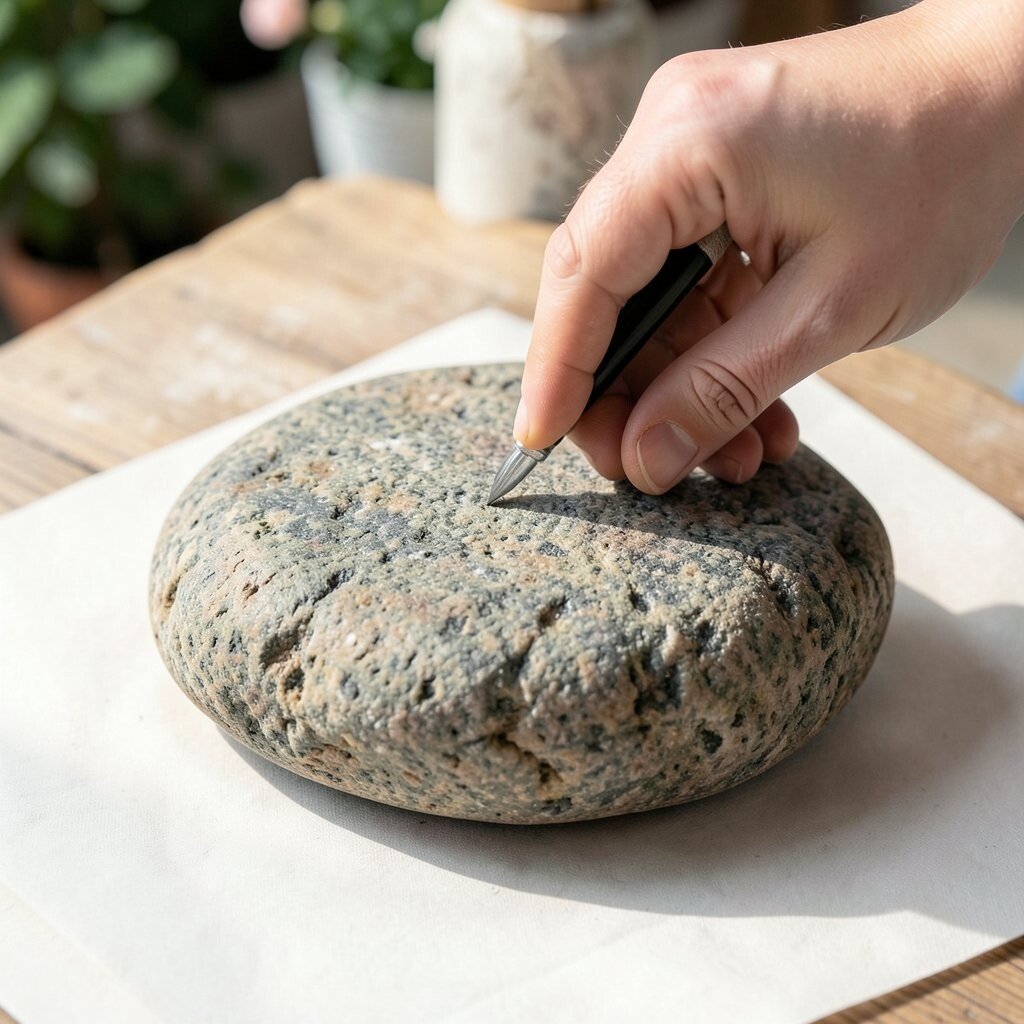
4. Forgetting to Plan the Design First
Top Forgetting To Plan The Design First Craft Tutorials
- 🎄 Forgetting craft project goals after setup from facebook.com.
- 💅 Ok, but just a few! If you're local I hope you'll come to the … from instagram.com.
- 🎨 Forgetting a part and realizing when the craft is already … from reddit.com.
- 👓 CRAFT: Forgetting-Aware Intervention-Based Adaptation … from arxiv.org.
- 🖼️ Just Start… Somewhere, and Forget About Perfect. from craftinglifewithwendy.com.
Jumping in without a plan can lead to crooked eyes or crowded patterns. A quick sketch on paper makes the final stone look more balanced.
Planning also helps you save paint because you know where each color will go. You can test ideas like hearts, bees, stars, or tiny words before touching the stone. This is a smart way to make your piece match your style and avoid waste.
5. Painting on a Wet Surface
Top Painting On A Wet Surface Craft Tutorials
- 🍅 Wet on wet watercolor painting is such an easy and … from facebook.com.
- 🎄 Discover: Wet-on-wet painting from vaessen-creative.com.
- 🖼️ Experimenting with Wet on Wet Watercolour Painting … from rainydaymum.co.uk.
- 🧑🌾 Painting Fur – Mastering the Wet on Wet Technique from skillshare.com.
- 🎨 Wet-on-Wet Watercolor Painting for Kids from rhythmsofplay.com.
Wet stones can make paint bead up and peel off later. Even a little dampness can blur sharp lines and dull the color.
Dry stones give you better control and a smoother finish. If you washed your stones, leave them out long enough to feel fully dry, not just cool to the touch. This simple pause helps your work last longer and look more professional.
People who make gifts often like this extra step because it protects their time and materials. A dry surface also makes it easier to add details like dots, stripes, and tiny letters.
6. Using Too Many Colors at Once
Top Using Too Many Colors At Once Craft Tutorials
- 👓 Should I let kids mix multiple colors on wood crafts? from facebook.com.
- 🗺️ How to craft right colors in 5 links or 6 links? : r/pathofexile from reddit.com.
- 🍁 Craft Projects to Color With Multi-Surface Markers from ssww.com.
- 🎨 Office/Craft Room Paint Color Palette (Paint It Monday).. from thecreativityexchange.com.
- 👓 Surprise Color Mixing Heart Craft for Preschoolers from toddlerapproved.com.
Bright colors are fun, but too many can make a design look busy. A simple color set can make the stone look cleaner and more stylish.
Try choosing a main color, one accent color, and a dark outline color. This keeps the art easy to read and helps the shape pop from across the room. It also lowers cost because you do not need a giant pile of paints for every project.
Minimal color sets are very popular right now, especially for calm home decor and small gift sets. You can still make each stone special by changing the pattern, the face, or the message.
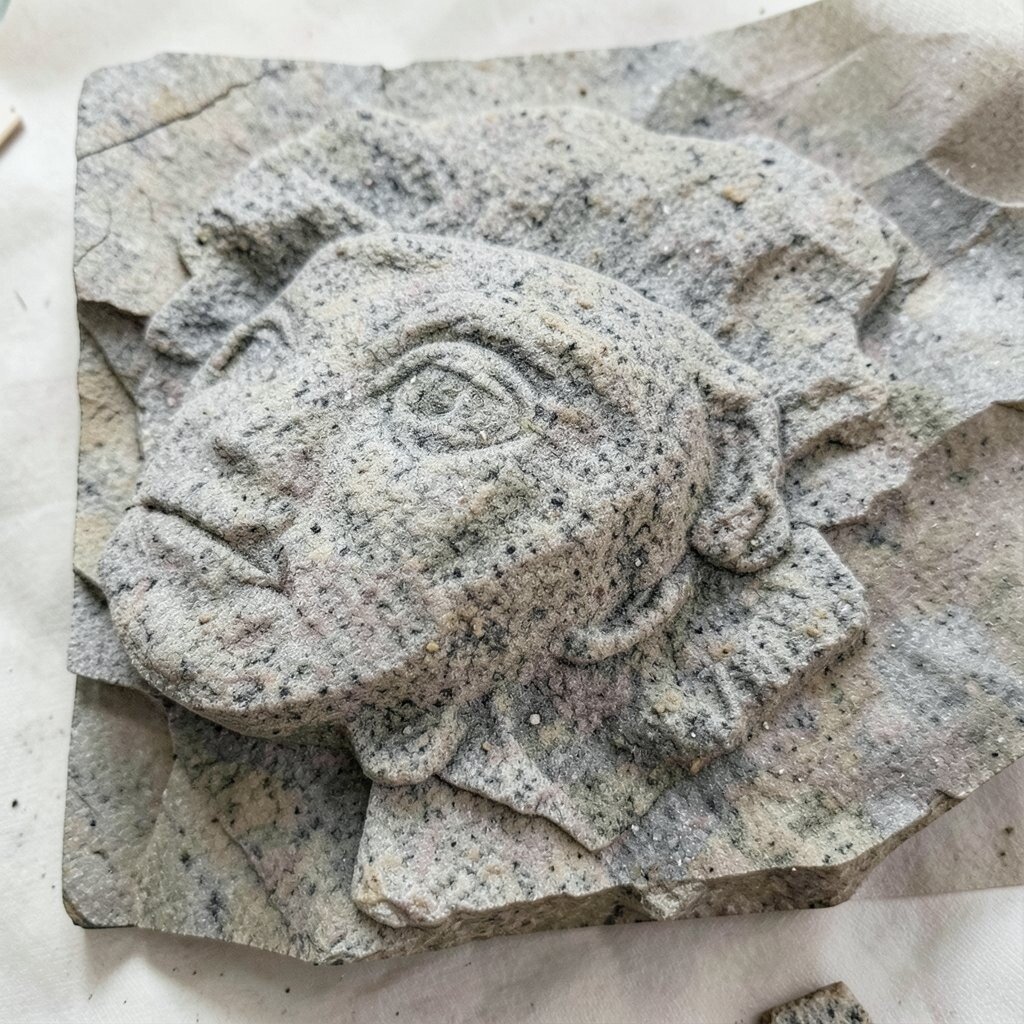
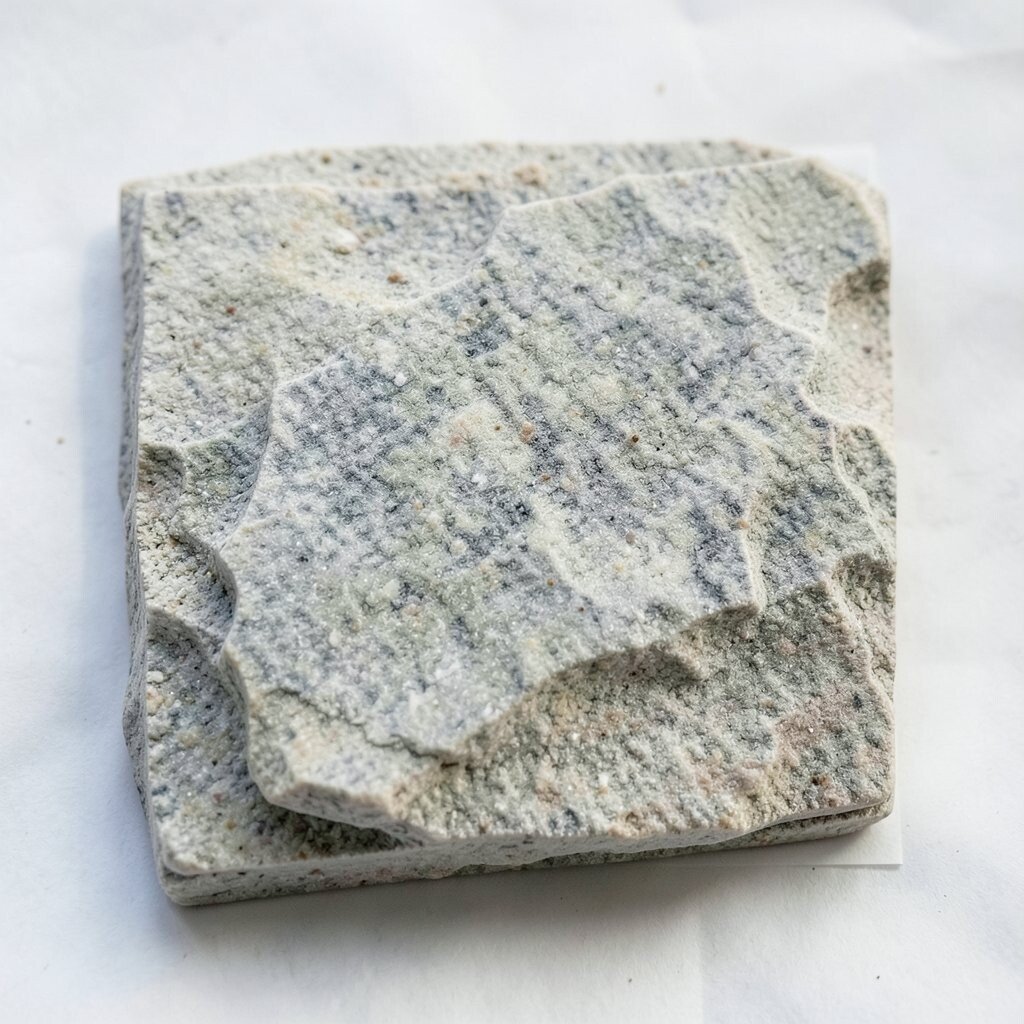
7. Ignoring the Natural Texture
Top Ignoring The Natural Texture Craft Tutorials
- 🍂 Hello I'm looking to make This space into a more nature … from facebook.com.
- 🗺️ Colossal: Explore contemporary art, craft, photography, and … from thisiscolossal.com.
- 💅 Blossom Hair stick / Hair Pin (2017 [Sold]) Carved … from instagram.com.
- 🎄 Hmmmm bit of a wild hair… ignore the texture 😉 Thoughts? from facebook.com.
- 👓 Textured Bunny Easter Craft from howweelearn.com.
Some painters cover every inch and lose the stone’s own charm. The bumps, curves, and speckles can make the art feel more alive.
Use the stone’s shape as part of the design instead of fighting it. A curve might become a smile, a ridge might become a wing, and a speckled patch might become a starry sky. That gives your piece a one-of-a-kind look that store-bought items cannot copy.
This idea is a favorite in handmade art today because it feels natural and personal. It also keeps the process fun, since each stone suggests a different idea.
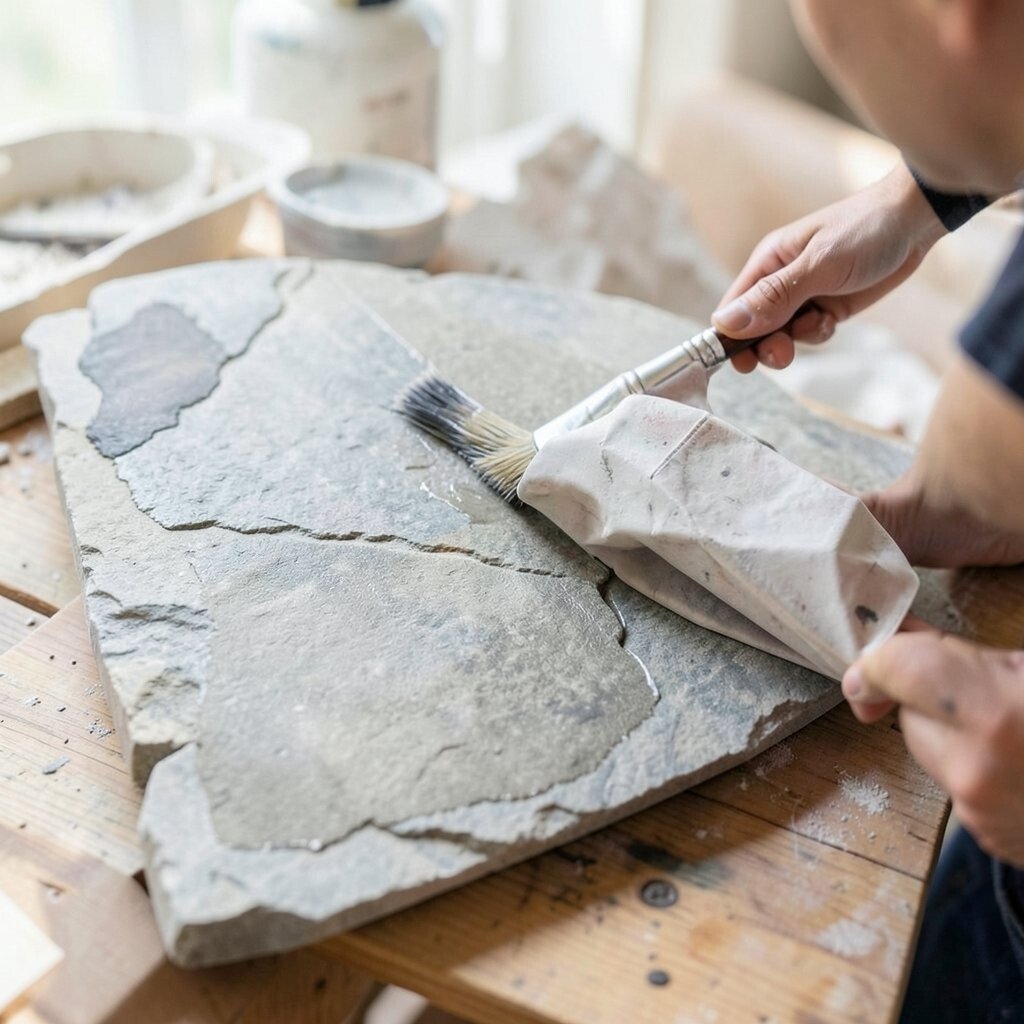
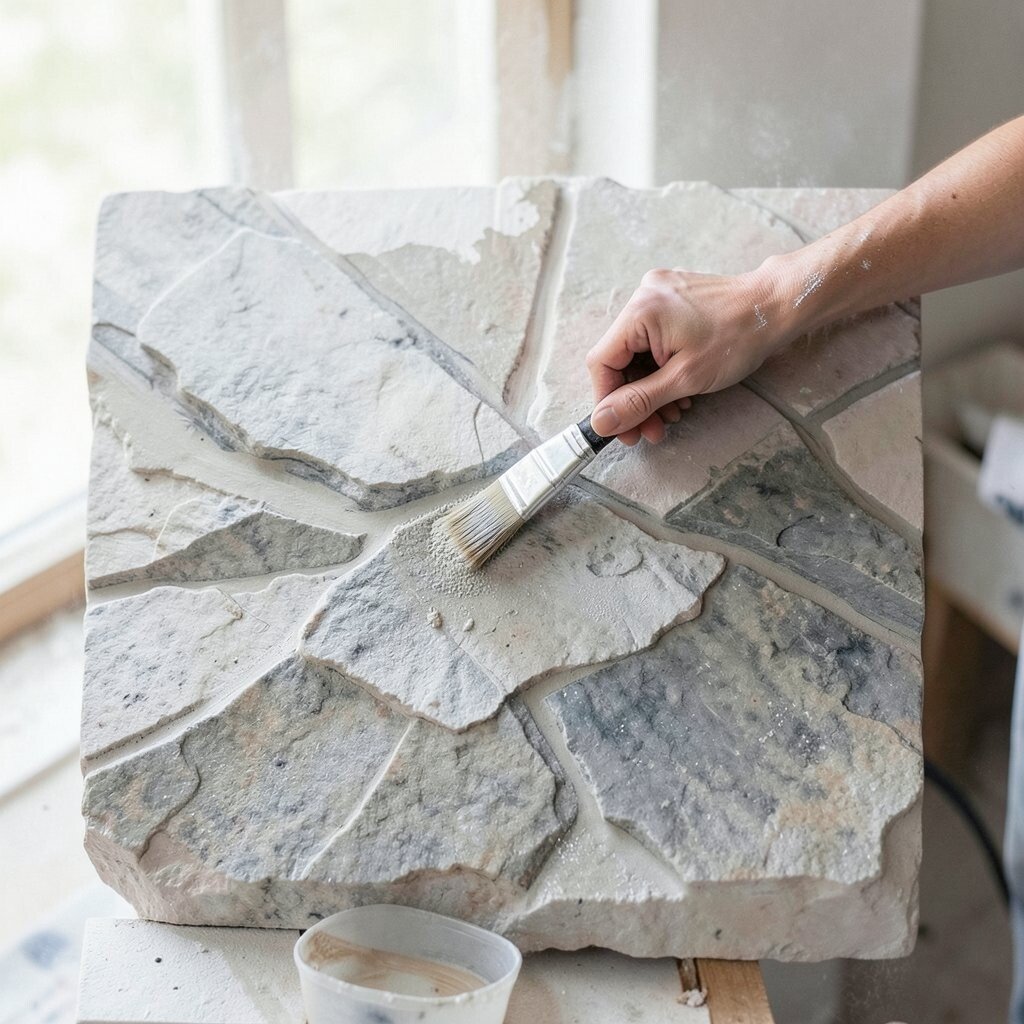
8. Leaving Out the Base Coat

Top Leaving Out The Base Coat Craft Tutorials
- 🎨 First time using these. It was dream on. I didn't realise it … from facebook.com.
- 🍂 Finally made Black Magic Craft's signature base coat. Don't … from reddit.com.
- 🗺️ Touch Up paint from left over Base Coat Question from vintage-mustang.com.
- 🎨 Here is a fun way to base coat a rock! It is a little different … from facebook.com.
Painting straight onto dark stone can make colors look muddy. A light base coat gives your design a brighter stage to shine on.
White, cream, or pale gray often works well for most art styles. This extra layer may take a little more paint, but it can save time later because your colors need fewer coats. If you want a softer look, you can use a tinted base that matches your theme.
Base coats are useful for trendy styles like tiny garden scenes and pastel characters. They also make it easier to add names, dates, or short messages for gifts.
9. Rushing the Drying Time
Top Rushing The Drying Time Craft Tutorials
- 👓 Is it too late to make Christmas gifts? from facebook.com.
- 🧑🌾 How long do you let your glue dry? : r/bookbinding from reddit.com.
- 🍂 Paint Dry and Paint Cure… Two Totally Different Things & A … from salvagedinspirations.com.
- 🍂 Every beautiful craft begins with the right approach ✨ Before you … from instagram.com.
Wet paint can smear when you add the next layer. That can turn a neat design into a sticky mess.
Waiting between layers helps each color stay clear and bright. Put finished stones on paper or cardboard in a safe spot where they will not roll away. A little patience protects the work you already did and helps the final piece look smooth.
Many artists use a fan or a warm room to speed things up, but gentle drying is usually safer. If you are making several stones for a set, drying time also gives you a chance to plan the next one.
10. Forgetting to Seal the Finished Piece
Top Forgetting To Seal The Finished Piece Craft Tutorials
- 🍁 Top Coats and Sealers for Crafts – A Comprehensive Guide! from thegraphicsfairy.com.
- 🗺️ Tips for sealing a finished resin art piece from facebook.com.
- 🎄 What do I use to seal this? : r/crafts from reddit.com.
- 🧑🌾 Forget traditional glues! Discover a 30-year-old trick using … from facebook.com.
Paint can chip if the stone gets bumped or touched a lot. A clear sealer helps protect the colors and keeps the art looking fresh.
Spray sealers and brush-on sealers both work, but follow the directions so the finish stays smooth. Some sealers give a glossy shine, while others leave a soft matte look. This choice can change the whole feel of the piece and help match your style.
Sealing is especially helpful for outdoor stones, garden markers, and gifts that will be handled often. It may cost a little more, but it can save the whole project from damage.
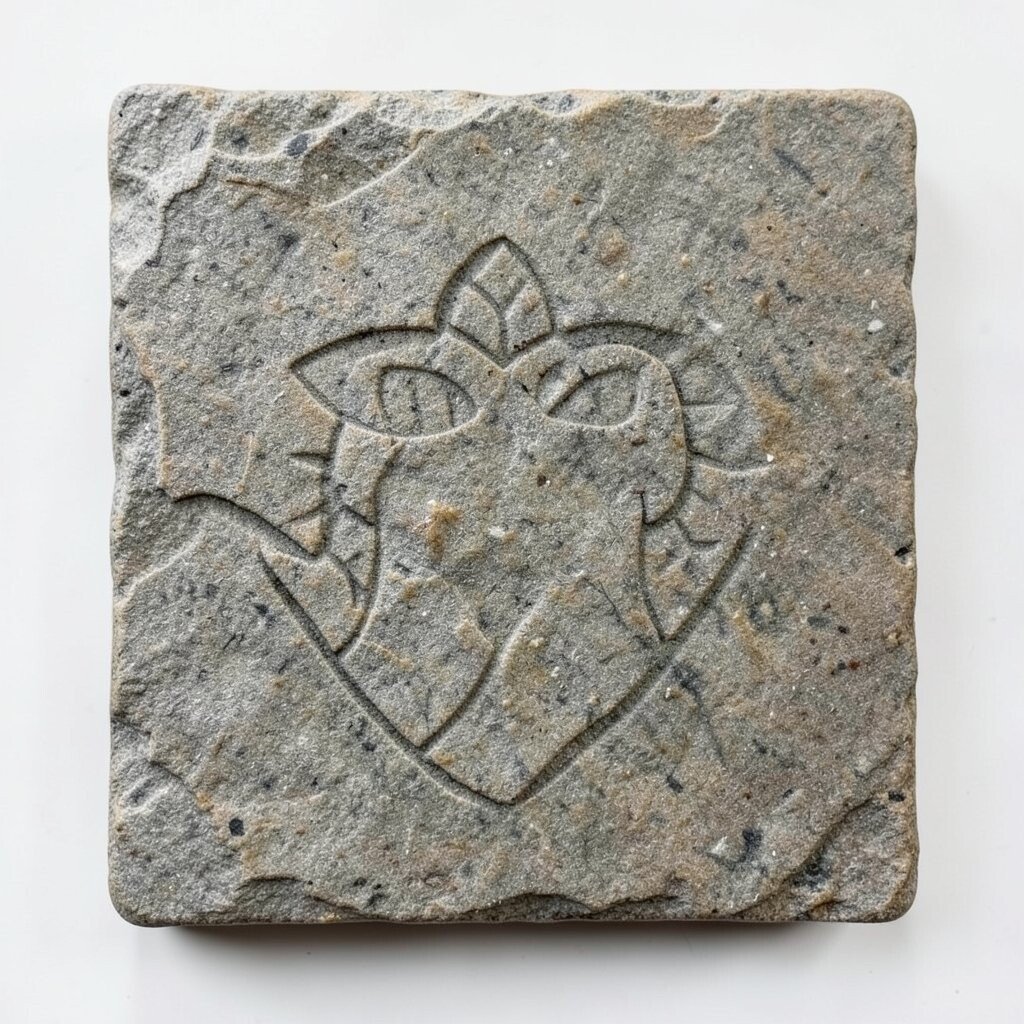
11. Making the Design Too Small for the Stone
Top Making The Design Too Small For The Stone Craft Tutorials
- 💅 When cutting a stone to a cab how do you decide what … from facebook.com.
- 👓 Easy DIY Stone Art Tutorial for Beginners 🙂 from facebook.com.
- 🎄 Stone Texture – How to Add to Your Papercrafts from paperglitterglue.com.
- 🗺️ American Stonecraft ® | Home Decor & Personalized Gifts from americanstonecraft.com.
- 🎄 Stone Craft Ideas from redtedart.com.
Tiny details can get lost on a small surface. If the design is too small, the stone may look empty instead of charming.
Try filling the space in a smart way so the art feels balanced. Larger shapes, bold lines, and clear symbols are easier to see and often look more confident. This also helps when you want to make a set of matching stones that still feel unique.
For current trends, many people like simple icons and chunky outlines because they read well from far away. You can add personal touches with initials, favorite colors, or little symbols that mean something special.
12. Using the Wrong Tools
Top Using The Wrong Tools Craft Tutorials
- 🧑🌾 True or False: I have injured myself while crafting. from facebook.com.
- 🍅 A handcrafter is what I am, I use simple hand tools and age … from instagram.com.
- 🧑🌾 Can't figure out how to craft tools? : r/newworldgame from reddit.com.
- 🍁 How to avoid human error when crafting something by hand from quora.com.
- 🍁 Error when loading crafts on Job Plans | Maximo Open Forum from moremaximo.com.
A big brush on a tiny stone can make edges messy. A very tiny brush on a large stone can make the work slow and awkward.
Choose tools that fit the size of your stone and the kind of detail you want. Cotton swabs, dotting tools, and thin brushes can all help create clean shapes and fun patterns. Good tools do not need to be expensive, but the right ones can make your art look much neater.
Tool choice also affects comfort, which matters if you paint for a long time. When your hands feel steady, it is easier to add personal details like names, faces, or tiny leaves.
13. Copying Ideas Without Making Them Your Own
Top Copying Ideas Without Making Them Your Own Craft Tutorials
- 🎄 Crafters copying work without credit from facebook.com.
- 🍁 tough love because I care about you😌🙏🏽 sometimes we all … from instagram.com.
- 🍅 Small confession… I copy cards more often than I'd like to … from facebook.com.
- 🎨 13 Crafts to Do at Home: DIY Example Crafts from blurb.com.
- 🍅 31 No-Buy DIY Crafts Using Stuff You Already Own from artsydrawings.com.
It is fine to use ideas for inspiration, but copied art can feel flat. The best stone paintings often carry a small piece of the maker’s own style.
Change the colors, adjust the shape, or add a personal message to make the piece feel fresh. You might turn a common flower into a favorite wild bloom or give a simple animal a funny expression. That extra touch makes the stone more memorable and often more meaningful as a gift.
This is one reason handmade stone art stays popular in craft fairs and home decor trends. A personal twist does not usually cost more, but it can make the final piece look far more special.