Stone painting feels simple until the colors start telling their own story. A plain rock can become a tiny work of art with the right touch.
The best results come from calm hands, smart choices, and a little playfulness. Small details can make each painted stone look polished, bright, and full of charm.
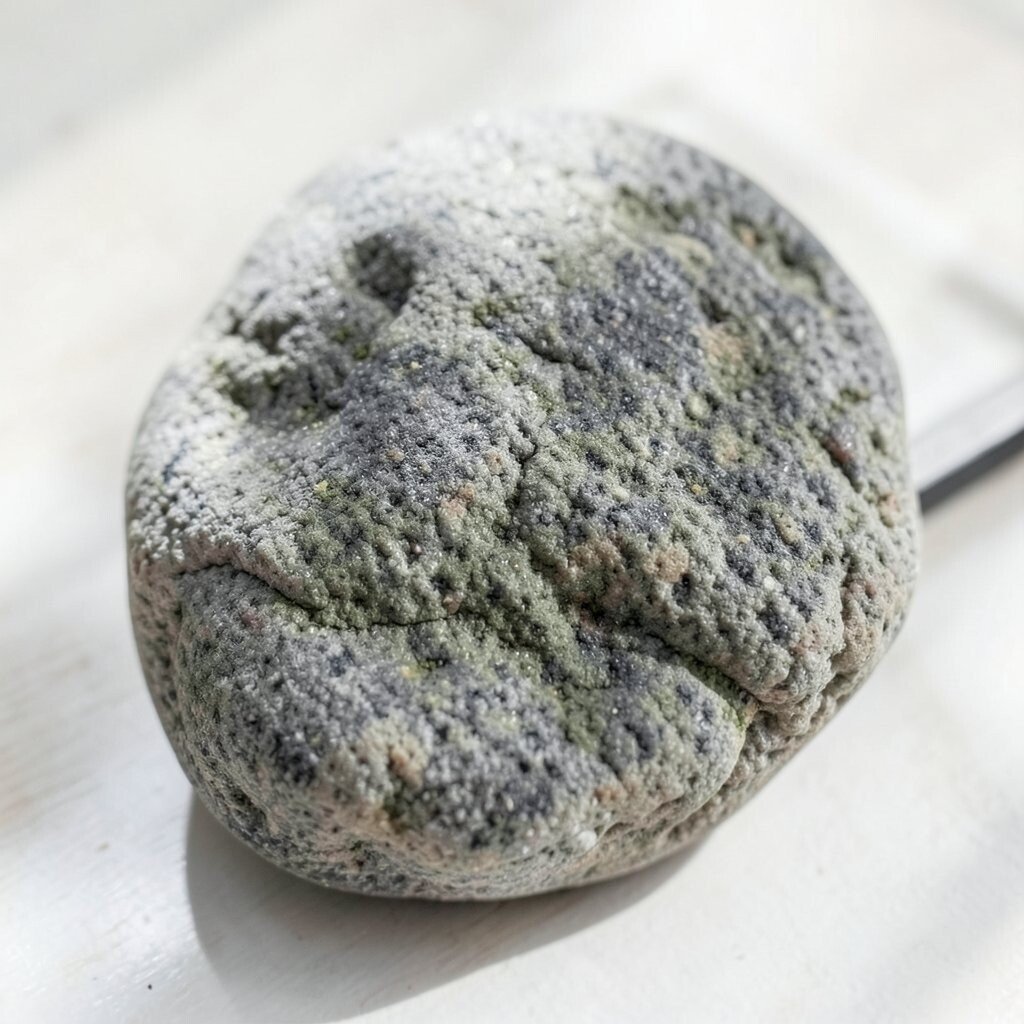
1. Pick the Right Stone Shape
Top Pick The Right Stone Shape Craft Tutorials
- 🍂 Center Stone Shape Guide: Diamond, Sapphire & Lab- … from farsijewelers.com.
- 💅 Which Center Stone Shape is Right For You? 10 … from awjewelry.com.
- 🗺️ Engagement ring shapes based on hand type! Of course, … from instagram.com.
- 🖼️ Diamond Shapes & Cuts: The Practical Guide to Choosing … from fourwords.co.nz.
- 💅 Can "Stone Shape" be used on a diamond? : r/3d6 from reddit.com.
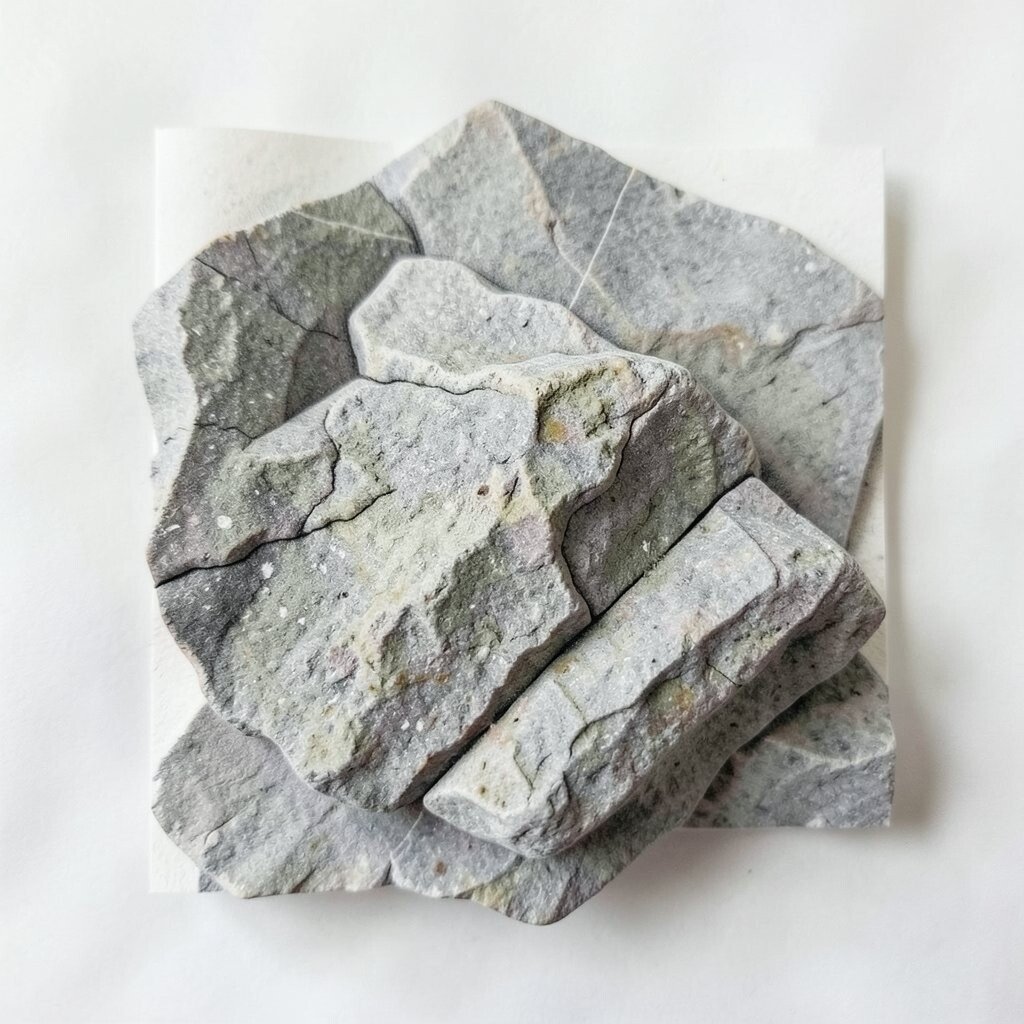
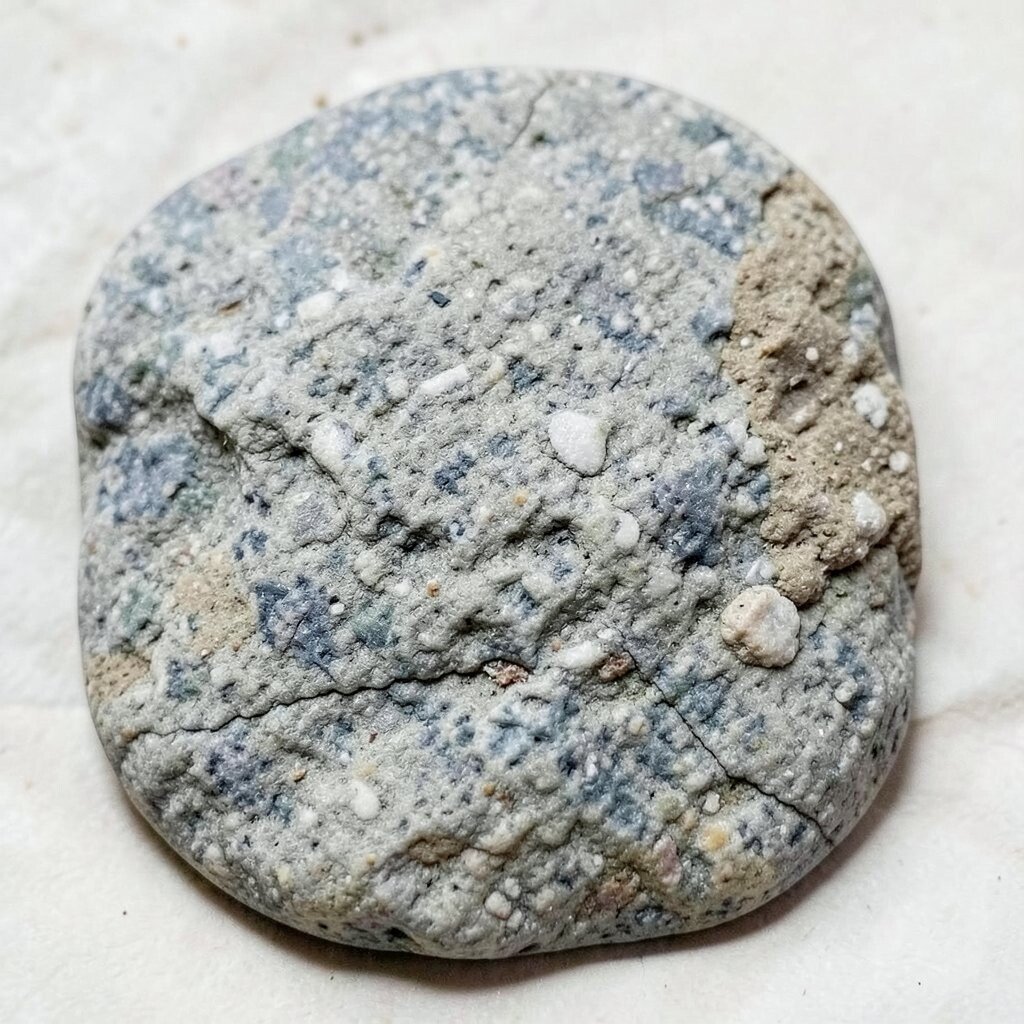
Some stones look friendly the moment you hold them. Smooth, flat rocks often work best because paint glides across them with less fuss.
Round stones can feel sweet and soft, while long stones may suit fish, leaves, or tiny scenes. The shape gives your design a built-in personality, so try to match the rock to the idea in your mind. If you want a clean finish, choose stones with fewer cracks and chips.
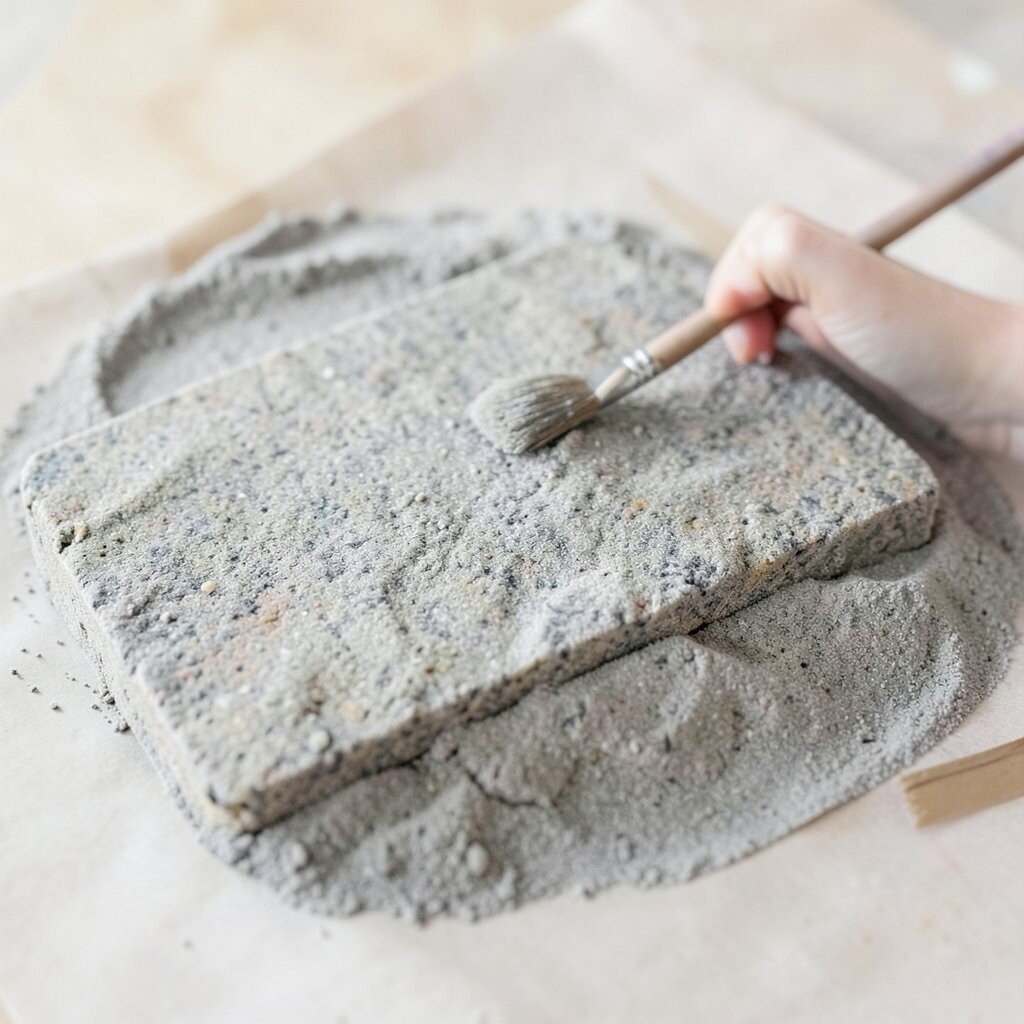
2. Clean the Surface Well
Top Clean The Surface Well Craft Tutorials
- 👓 Loving my PINK surface saver! It makes cleanup a cinch! 💗 … from facebook.com.
- 💅 Did you know we make Craft Boards? These large wooden … from facebook.com.
- 🍁 Surface Prep Cleaner Metal Craft from nwmissouri.edu.
- 🗺️ 180-202-212 Fisherman Owner's Manual from wellcraft.com.
- 🗺️ Level and Smooth a Textured Surface with Envirotex Lite from resincraftsblog.com.
Dust and dirt can block paint from sticking, so a clean stone matters. A quick wash with soap and water can make a big difference.
After washing, dry the rock fully before painting. If the surface still feels damp, the paint may spread in odd ways or peel later. A clean stone also helps bright colors shine more clearly.
This step costs very little, which makes it a smart habit for any budget. Many crafters like the simple, tidy look that comes from a well-prepped base. It also helps newer painters feel more in control from the start.
3. Use a Good Base Coat
Top Use A Good Base Coat Craft Tutorials
- 🗺️ What type of paint is best for a base coat to prevent … from facebook.com.
- 🍁 What color should I use for the base coat? Warhammer40k from reddit.com.
- 🎨 Base Coats on Rocks from rockpaintingworkshops.com.
- 🗺️ You can make these beautiful washed out base coats … from facebook.com.
- 🍂 UK Nail Art Blog – DIY: Make Your Own Peel Off Base Coat from thenailasaurus.com.
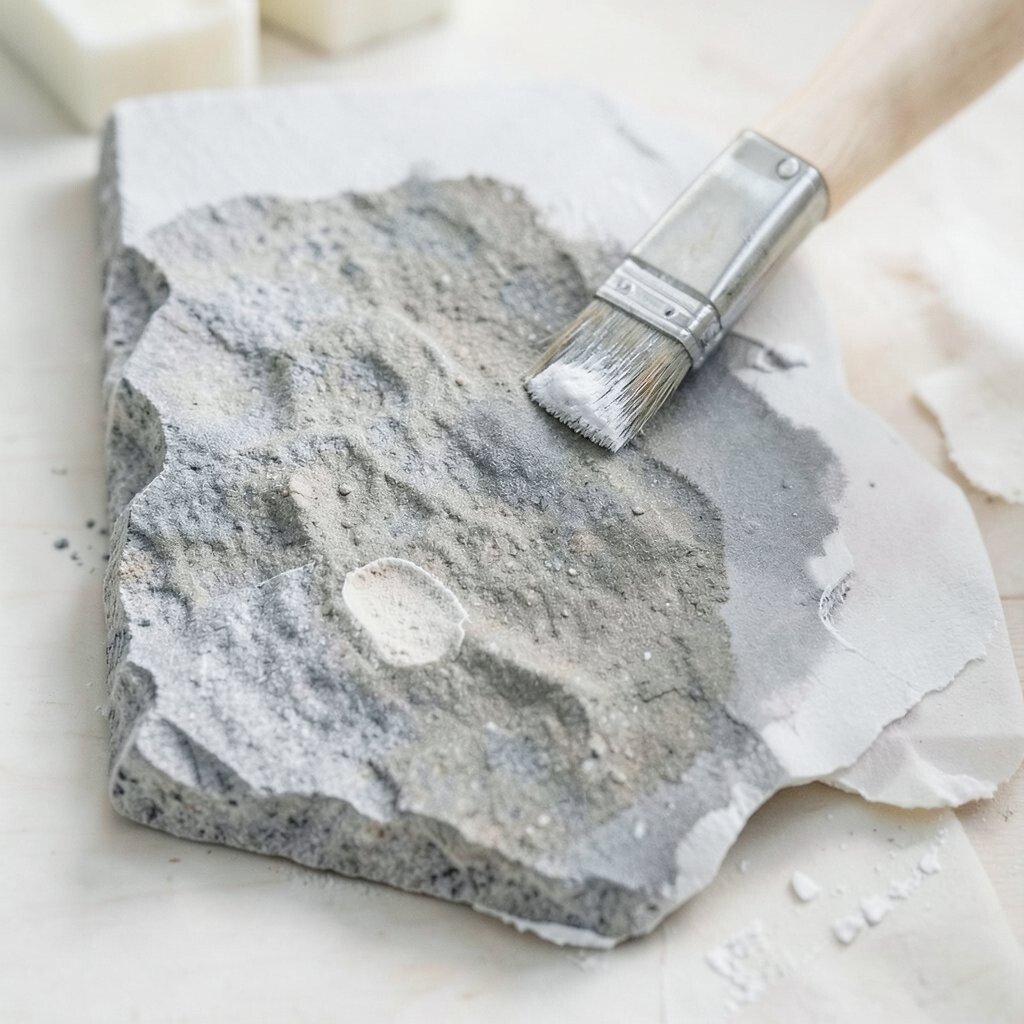
A base coat gives your art a fresh stage to shine on. White paint often makes colors look brighter and more cheerful.
Dark stones may need more than one layer to cover the surface well. Thin coats work better than thick blobs, since they dry smoother and look neater. This simple step can make even low-cost paints look richer.
Some artists now like soft cream, pale blue, or warm gray bases for a modern feel. Those shades can give stones a cozy, stylish look without much effort. If you want your design to feel unique, try a base color that fits the mood of the picture.
4. Plan Your Design First
Top Plan Your Design First Craft Tutorials
- 🗺️ A Craft Room Planning Guide – How to Design the Best … from my100yearoldhome.com.
- 🧑🌾 A well-designed craft room isn't about how much storage … from facebook.com.
- 🗺️ Once I created this planning system in Canva = Clarity … from instagram.com.
- 💅 The Neuroscience of Craft Room Design: How Your Layout … from createroom.com.
- 👓 Craft Room Series, Part 1: Creating a Design Plan from looksgoodtous.com.
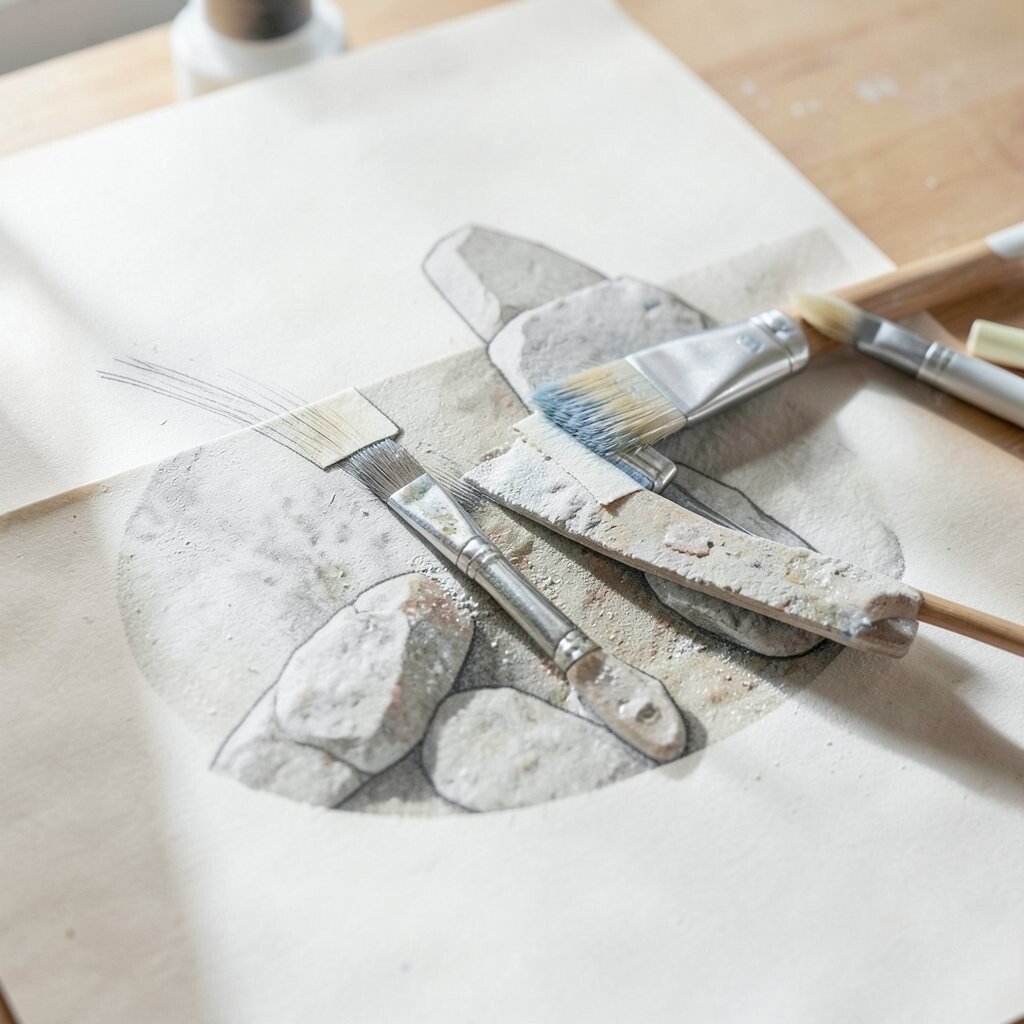
A quick sketch can save a lot of worry later. It helps you see where each shape, line, and color should go.
You can draw on paper first or use a light pencil mark on the stone. Simple plans often lead to cleaner results and less paint waste. Planning also makes it easier to create a style that feels like your own.
Some people like flowers, faces, animals, stars, or tiny words. Others enjoy abstract swirls and dots that feel playful and free. A small plan can still leave room for happy surprises.
5. Choose Paint That Fits the Job
Top Choose Paint That Fits The Job Craft Tutorials
- 🗺️ How to Choose the Right Acrylic Paint for Your Craft Project from decorbytheseashore.com.
- 🎄 How to Choose Paint Colors for Your Home: 5 Simple Tips … from designertrapped.com.
- 🎨 Best Office Paint Colors for Productivity at Home from behr.com.
- 🎄 This is going to be my craft room/ home library. Any paint … from reddit.com.
- 🍂 What color is best for painting the walls in a craft room? from facebook.com.
Acrylic paint is a favorite for stone art because it dries fast and stays bright. It is easy to find and usually does not cost much.
Thicker paints can cover rough spots better, while thinner paints work well for soft layers. If you want shiny stones, look for paints with a glossy finish or add a clear seal later. The right paint can make your design look crisp and neat.
Some painters now mix in metallics or pastel shades for a fresh look. These colors can make a stone feel special without needing a lot of extra detail. A small set of good paints is often better than a big set of weak ones.
6. Use the Right Brushes and Tools
Top Use The Right Brushes And Tools Craft Tutorials
- 👓 What kind of brushes does everyone use for crafting? from facebook.com.
- 🖼️ Paint brushes: here's how to use them best from finecraftguild.com.
- 🍅 All About Brushes, Knives and Other Paint Tools from craft-e-corner.com.
- 🍂 Artist Brush Guide by Trekell | Shapes and Fibers Explained from trekell.com.
- 🧑🌾 10 of the Best Paint Brushes for Artists of All Skill Levels from mymodernmet.com.
Small brushes help with fine lines, dots, and tiny faces. Bigger brushes are useful for filling in wide areas quickly.
Foam swabs, toothpicks, and even the end of a pencil can create fun effects. These tools are cheap and can give your stones a look that feels handmade and full of character. Good tools help you work with more ease and less mess.
Many artists keep a few brush sizes nearby so they can switch fast. That habit makes it easier to keep edges clean and details sharp. A simple tool set can support both beginners and more detailed designs.
7. Build Color in Light Layers
Top Build Color In Light Layers Craft Tutorials
- 🍂 Start with light colors and slowly build darker layers. Let … from facebook.com.
- 🗺️ How to make layered color crafts with Cricut from facebook.com.
- 👓 Layers of the Earth Project – The Crafty Classroom from thecraftyclassroom.com.
- 💅 Layers of light – Mixed media painting online art class – Laly Mille from lalymille.com.
- 🗺️ kiki's delivery service – 7 layer light box paper craft from reddit.com.
Thin layers look smoother than one heavy coat. They dry faster and help colors stay bright.
If one layer looks patchy, wait and add another. Patience pays off because the final stone often looks cleaner and more rich. Layering also gives you more control over shade and depth.
This method is great for soft gradients, tiny shadows, and glowing effects. It can make a simple stone look more polished without much extra cost. Many current craft styles favor this gentle, layered look because it feels calm and modern.
8. Add Tiny Details for Big Charm
Top Add Tiny Details For Big Charm Craft Tutorials
- 🍁 ✨ Easy DIY Button & Bead Charm Tutorial for Beginners from lemon8-app.com.
- 🍅 Cute Easter Egg Magnets 🧲 Tiny Crafts, Big Charm # … from instagram.com.
- 👓 Easy Beaded Charm Necklace Tutorial with Step-by- … from polkadotchair.com.
- 🍁 What to do with little charms? : r/crafts from reddit.com.
- 🗺️ Small heart charms for larger heart projects from facebook.com.
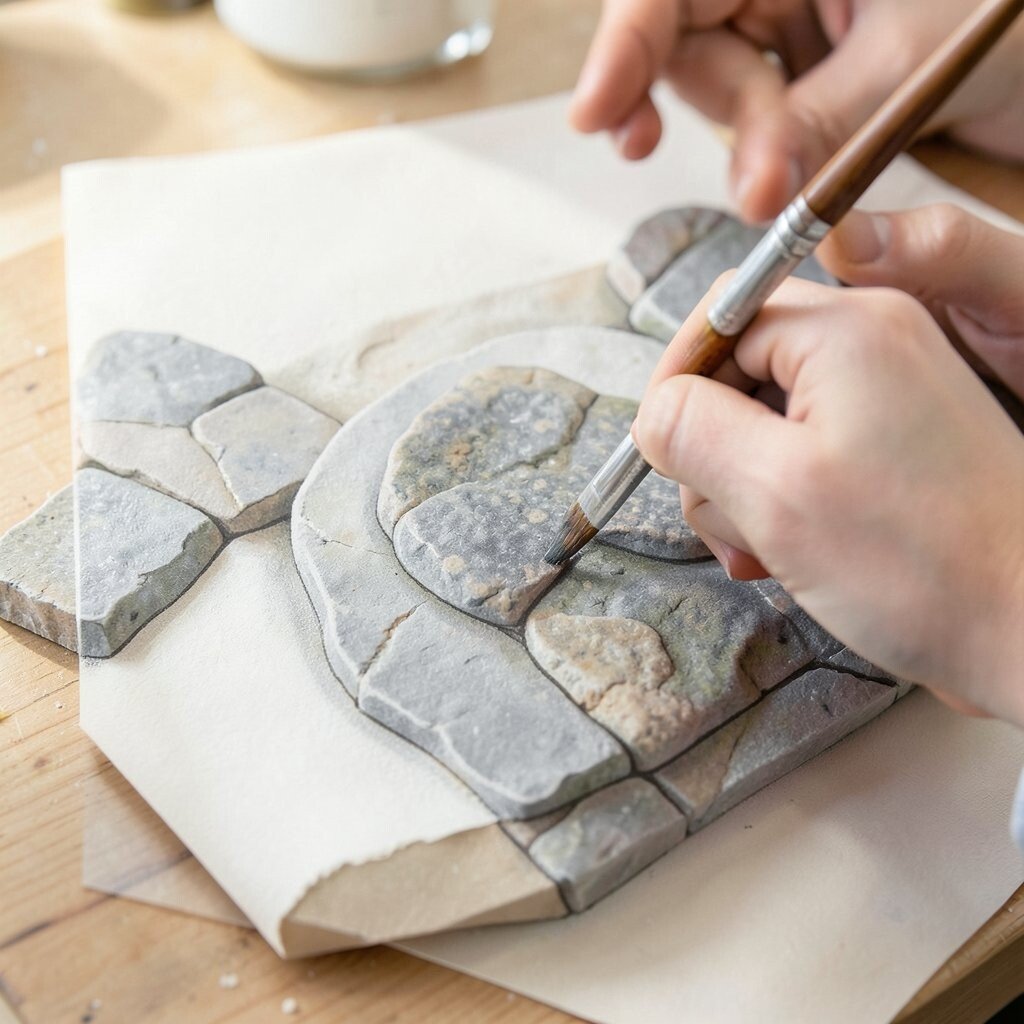
Small marks can make a stone feel alive. A few dots, lines, or leaf veins can change the whole mood.
Details give your art a unique voice, even when the design is simple. A tiny smile on a pebble or a bright eye on an animal stone can make people stop and look. These little touches often become the part everyone remembers.
Try using a toothpick for tiny dots or a fine brush for thin outlines. You can also personalize each stone with initials, simple symbols, or favorite colors. That kind of detail makes a gift feel thoughtful and special.
9. Keep Your Colors Balanced
Top Keep Your Colors Balanced Craft Tutorials
- 🗺️ Guide:Balanced Craftwars Full-Game Tutorial from bcwo-roblox.fandom.com.
- 🎄 Creating balanced color palettes requires patience from facebook.com.
- 🖼️ Color Wheel – Complimentary Color Generator from figma.com.
- 🗺️ 9 Walls of Force is fair and balanced : r/dndmemes from reddit.com.
- 🎨 A Balanced Retirement Life – CCNY – CUNY from ccny.cuny.edu.
Too many bright shades can crowd a design. A clear color plan helps the stone feel calm and easy to read.
Choose one main color and a few helper colors. That mix keeps the art neat while still giving it life. Balanced colors can also make a stone look more expensive and finished.
If you like bold trends, try one neon accent with softer tones around it. If you prefer a gentle style, use muted colors like sage, blush, or sky blue. Matching the colors to the stone shape can make the whole piece feel more personal.
10. Seal the Finished Stone

Top Seal The Finished Stone Craft Tutorials
- 👓 How to seal painted stones and mugs? from facebook.com.
- 🍂 How to Seal and Protect Painted Rocks from paintingrocks.blogspot.com.
- 👓 Top Coats and Sealers for Crafts – A Comprehensive Guide! from thegraphicsfairy.com.
- 🍅 MAURICIO'S STONECRAFT – Updated June 2026 from yelp.com.
- 🧑🌾 【Nature in Stone: Seal Carving Workshop】 from apo.hk.
A clear seal protects the paint from chips and weather. It can also add shine or a smooth matte look.
Outdoor stones need this step even more, since rain and sun can wear art down. A seal helps your work last longer and keeps the colors looking fresh. It is a small cost that can save a lot of effort later.
Some people like glossy stones that sparkle in the light, while others prefer a soft satin finish. Both styles can look lovely, so pick the one that fits your design. A good seal is one of the easiest ways to make your work feel complete.
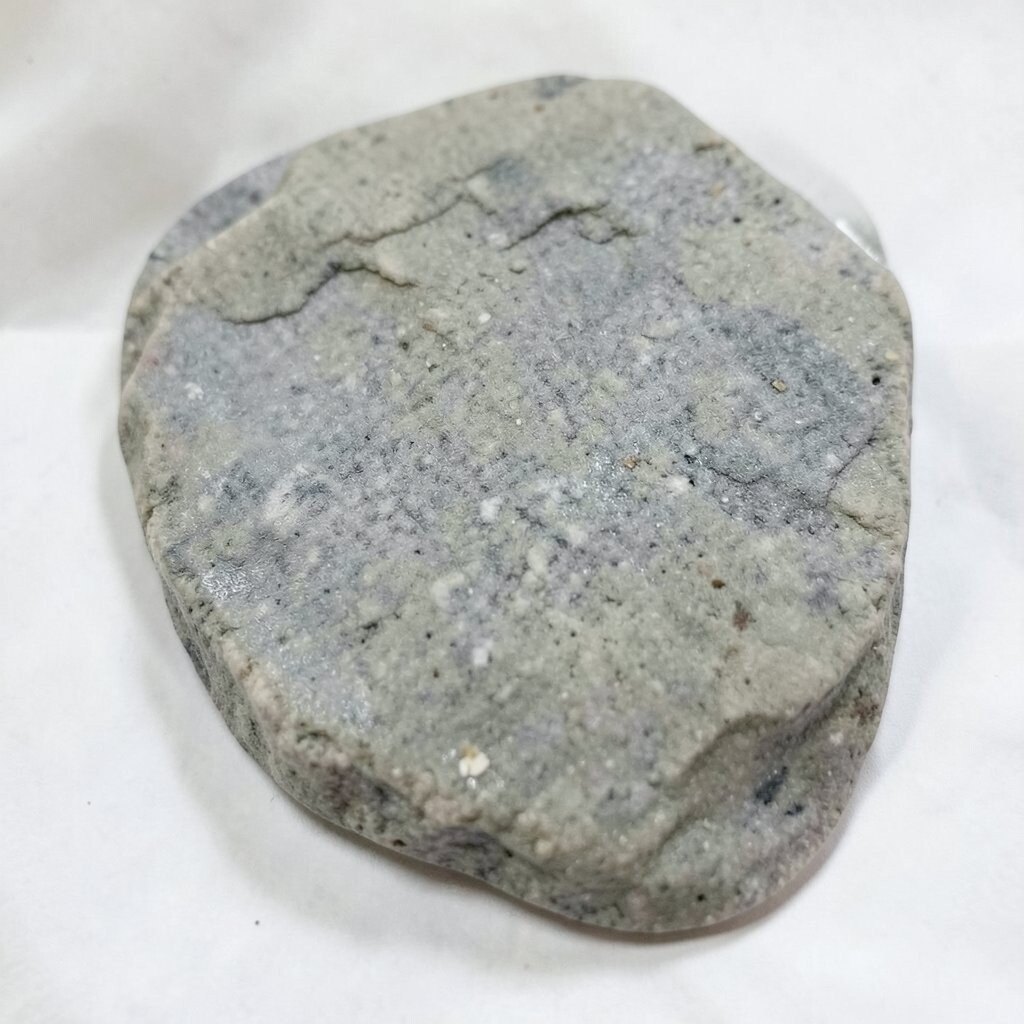
11. Match the Design to the Stone’s Natural Features

Top Match The Design To The Stone’s Natural Features Craft Tutorials
- 💅 Using Natural Stone as a Statement Piece in Kitchen Design from gmswerks.com.
- 👓 10 Timeless Examples of Exterior Stone Veneer Siding from creativemines.us.
- 🎄 Meadows Farms Nurseries and Landscape's post from facebook.com.
- 👓 How to Match Natural Stone and Cabinetry for Timeless … from bestcheerstone.com.
- 🍂 Lythos features 5 colors, each emulating the warmth and … from instagram.com.
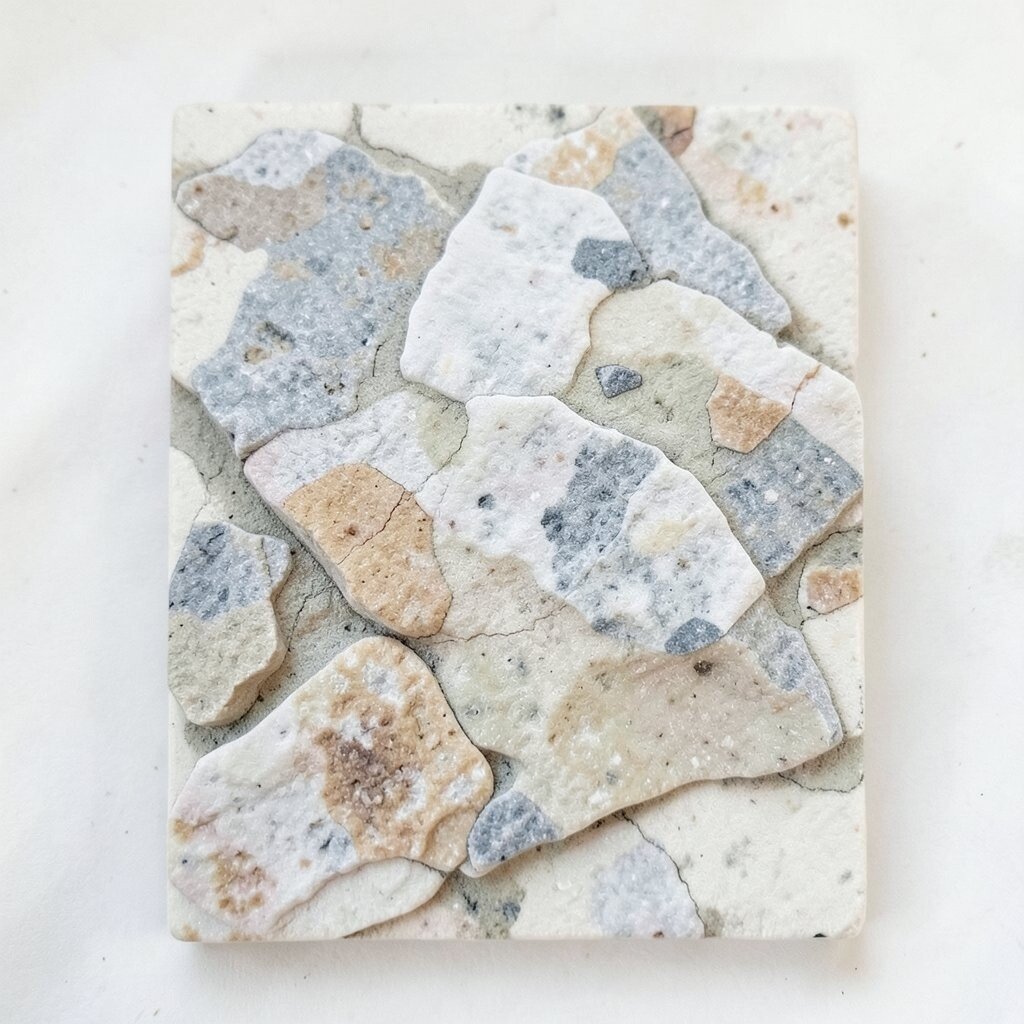
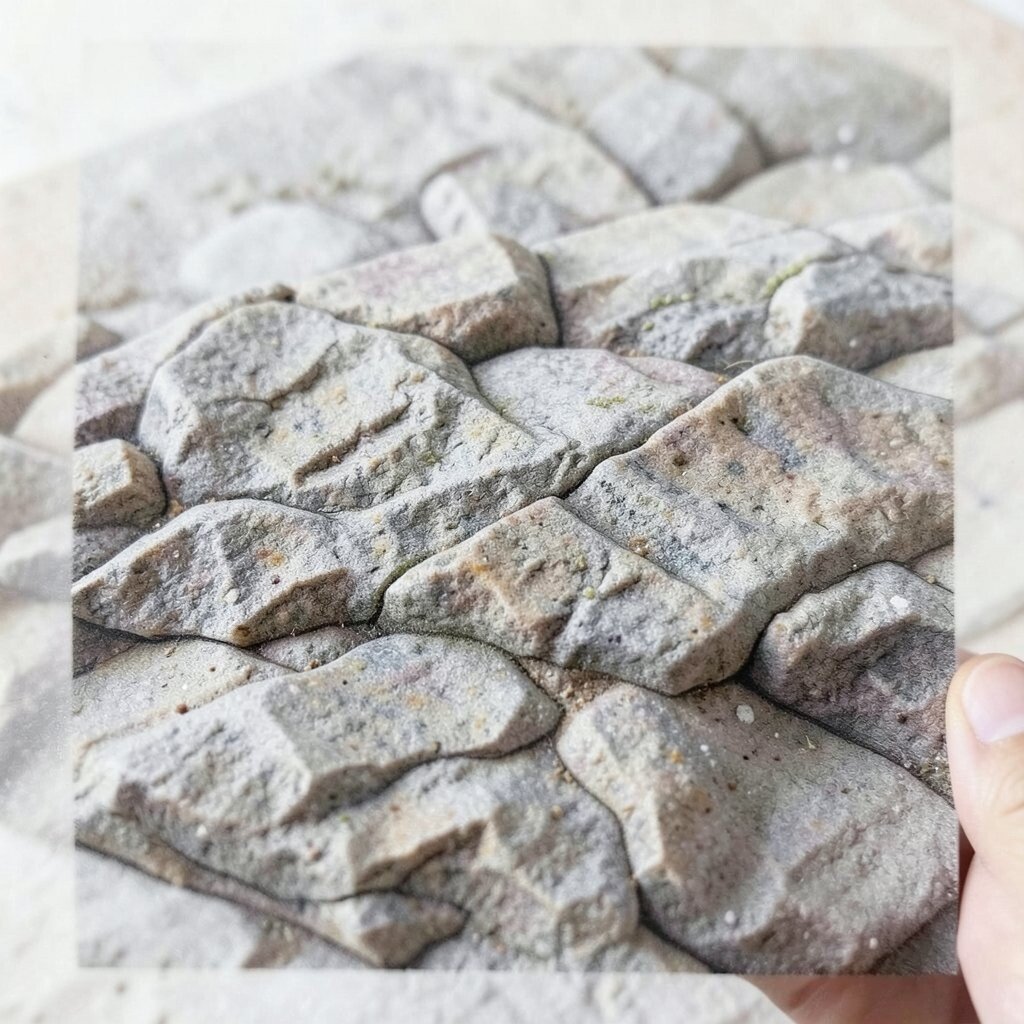
A stone may already have a curve, spot, or line that suggests an idea. That natural mark can guide the whole design.
A dark streak might become a wing, a smile, or a river. A round bump might turn into a nose or a flower center. Using the stone’s own look makes each piece more unique and less forced.
This approach also keeps costs low because you work with what you already have. Many artists love this style since it feels creative and a little magical. It turns each rock into a one-of-a-kind piece with its own story.
12. Try Themes That People Love Right Now
Top Try Themes That People Love Right Now Craft Tutorials
- 🎄 The Top Crafting Ideas For 2026 You'll Want to Try This Year from my100yearoldhome.com.
- 🍁 9 New Craft Ideas you NEED to Try in 2026 from thecrazycraftlady.com.
- 🗺️ What theme should I choose for my craft project? from facebook.com.
- 🍂 14 Crafts for Teens and Tweens – ARTBAR from artbarblog.com.
- 🍂 55 Simple yet Sophisticated Adult Craft Ideas from goodhousekeeping.com.
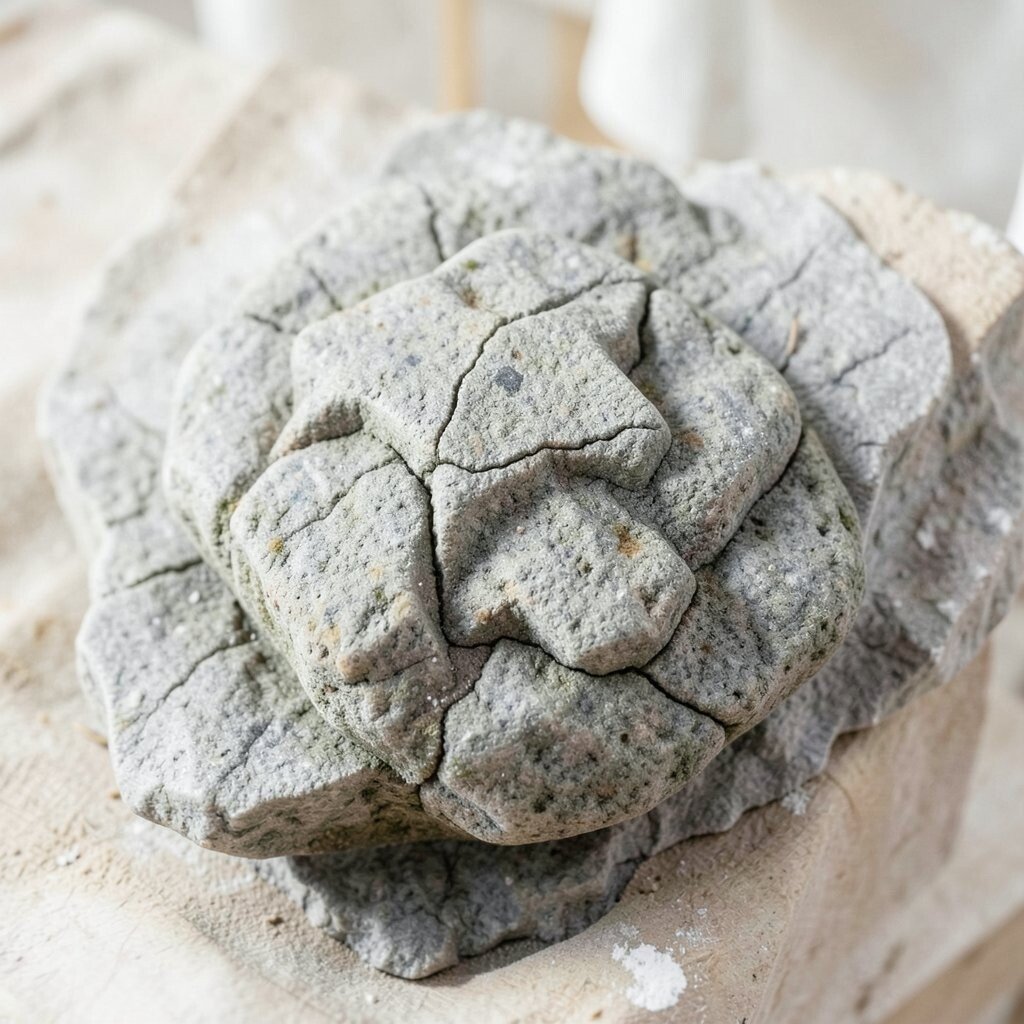
Simple garden stones, tiny mushroom art, and calm celestial designs are very popular now. These styles look fresh and are easy to personalize.
You can paint bees, moons, hearts, or little house shapes for a cozy feel. Trendy themes can help your stones feel current while still leaving room for your own style. They also make great gifts because many people enjoy those cheerful looks.
If you want a more modern touch, try clean lines and soft color blocks. If you like a playful feel, mix cute faces with bright outlines. A trend can be a starting point, not a rule.
13. Practice on Small Sets and Keep Going
Top Practice On Small Sets And Keep Going Craft Tutorials
- 🧑🌾 The Best Handcrafts for Children (+ Tips to Teach Them) from treehouseschoolhouse.com.
- 🍂 50 Easy Crafts for Kids to Spark Their Imagination from modpodgerocksblog.com.
- 👓 14 Crafts for Teens and Tweens – ARTBAR from artbarblog.com.
- 🖼️ 31 Arts and Crafts for Kids to Make at Home from parents.highlights.com.
- 🍂 Crafty Hobbies for 2025: Purposeful, Affordable, and Fulfilling from thecraftyangels.com.
Painting a few stones at a time can build skill fast. Repeating a design helps your hands learn what feels easy and what needs work.
Small sets are also nice for testing colors, tools, and sealers without spending much. You can make one stone for a friend, one for a shelf, and one for the garden. That mix of practice and purpose keeps the hobby fun.
Each stone teaches something new, even when the result is not perfect. Over time, your lines get steadier and your ideas get bolder. The best part is that every finished rock still has its own charm.