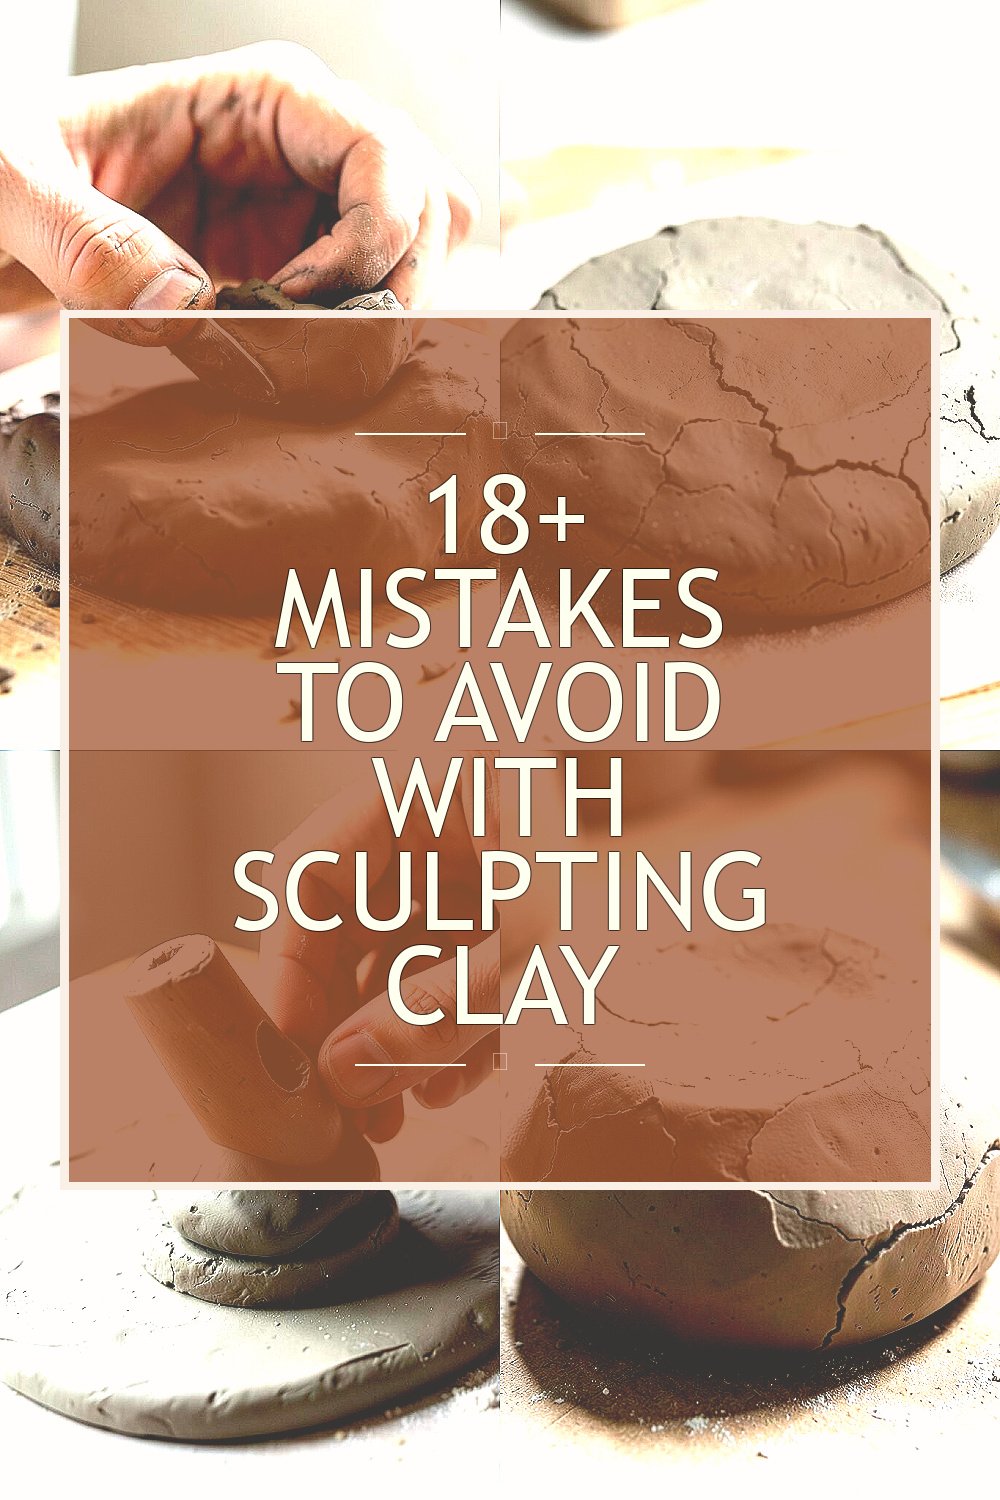
Clay can feel calm in your hands, but small slip-ups can change everything. A smooth idea can turn rough fast.
1. Using Clay That Is Too Dry

Top Using Clay That Is Too Dry Craft Tutorials
- 🎄 Help! How to soften old, hard, crumbly polymer clay? : r/crafts from reddit.com.
- 🍁 How to soften hardened air-dry clay from redtedart.com.
- 🍁 30 Air Dry Clay Ideas to Try from lovelyindeed.com.
- 🗺️ Urban Legends: Air Dry Clay Techniques You Can Ignore from susiebenes.com.
- 🎨 Reusing Dry Clay : 6 Steps from instructables.com.
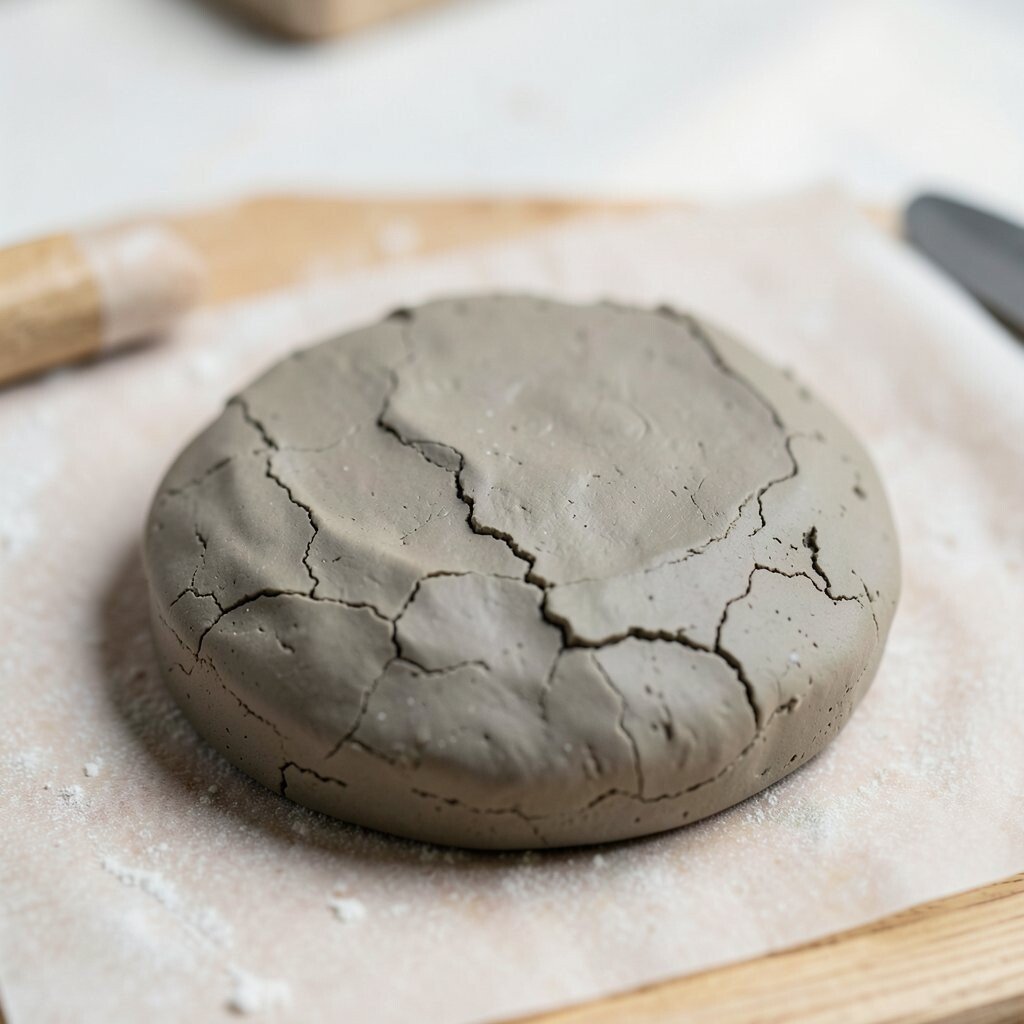
Dry clay cracks, flakes, and fights back when you try to shape it. It often looks dull and dusty instead of soft and rich.
When clay loses moisture, it becomes harder to blend seams and smooth edges. A little water, a sealed bag, or a damp cloth can help keep it usable longer. Fresh clay also gives you cleaner lines and saves you from wasting material, which is helpful when you are watching your budget.
2. Skipping Surface Preparation
Top Skipping Surface Preparation Craft Tutorials
- 🗺️ Common mistakes professional painters should avoid … from facebook.com.
- 🖼️ How to Use Painter's Tape: 5 Mistakes to Avoid from thediyplaybook.com.
- 💅 Beginner Decoupage Paper Mistakes and Fixes Guide – Vflex from vflex.shop.
- 🎄 MOST PAINT FAILURES ARE SELF-INFLICTED from instagram.com.
- 🍂 ️ DIYing when I'm exhausted or hungry. Mistakes multiply … from facebook.com.
A messy work surface can leave lint, crumbs, and grit in your piece. Those tiny bits show up right away on smooth clay.
Clean tables make sculpting easier and help your details stand out. A simple mat, a tile, or wax paper can give you a better base and a more polished look. Many artists also like to set up a small tray with tools, water, and color samples so the whole process feels more personal and organized.
This step matters even more if you are trying trendy mini sculptures or neat home decor pieces. A tidy setup helps your work look modern and intentional. It also keeps your tools from getting lost, which saves time and money.
3. Pressing Too Hard Too Soon
Top Pressing Too Hard Too Soon Craft Tutorials
- 👓 How to know the right amount of pressure when using … from facebook.com.
- 💅 What is something small but heavy to weigh down glued … from quora.com.
- 👓 How to Press Flowers (Easiest way for beginners) from chalkingupsuccess.com.
- 🗺️ Ever wanted to make something cute, cozy, and … from facebook.com.
- 💅 How to Press Flowers: Four Methods for Beginners from firstdayofhome.com.
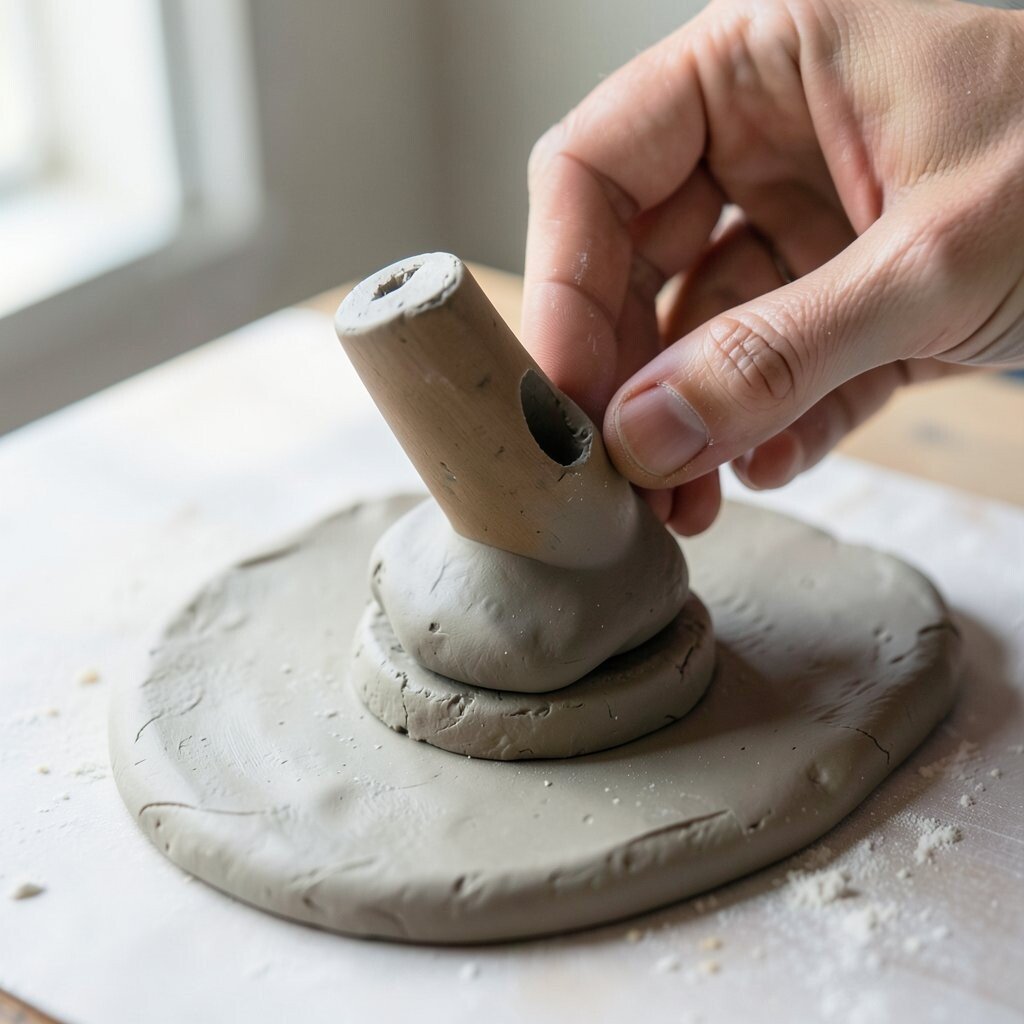
Big pressure can squash fine details before they have a chance to form. The clay may look smooth at first, then lose shape fast.
Gentle hands give you more control and better curves. Start with soft pushes, then build up the form in layers. This slower method can make your sculpture feel more unique because you can adjust tiny features as you go.
If you want sharper edges, use tools instead of brute force. A wooden stick, loop tool, or silicone shaper can give cleaner results. The right tool can also help you use less clay, which is nice when supplies are pricey.
4. Forgetting to Plan the Size

Top Forgetting To Plan The Size Craft Tutorials
- 🧑🌾 Arts and Crafts Birthday Party for Kids | My 20 Best Ideas from artbarblog.com.
- 🎨 How to organize craft supplies and workspace? from facebook.com.
- 👓 Seeking a new craft hobby, I've run out of ideas from reddit.com.
- 🍅 When you forget to change the material size from 12×12 … from instagram.com.
- 💅 Cutesy Crafts from youtube.com.
It is easy to begin with a fun shape and end up with a piece that is too large or too small. That can make the final sculpture hard to display or use.
Planning size early helps with balance, drying time, and storage. A quick sketch or a simple paper mockup can guide your work and keep the project on track. This is especially useful for custom gifts, since size often changes how personal the piece feels.
5. Ignoring the Clay Type
Top Ignoring The Clay Type Craft Tutorials
- 🎨 Kintsugi from en.wikipedia.org.
- 🍅 What kind of clay/material would be best to give him flesh? from reddit.com.
- 🍅 What are the different types of clay? from facebook.com.
Not all sculpting clay acts the same way, and that can surprise beginners. Some clays are soft and easy, while others need more strength and care.
Air-dry clay, polymer clay, and oil-based clay each have their own strengths. Picking the right one can save frustration and help you get the finish you want. It also affects cost, since some clays are cheap for practice while others are better for long-lasting keepsakes.
Current trends often lean toward smooth, simple forms and tiny detailed figures. The clay type you choose should match that look, not fight it. If you want bright colors, flexible shaping, or a stone-like feel, test a small sample first.
That small test can stop a big mistake later. It also gives you a chance to see how the clay feels in your hands.
6. Working With Dirty Hands

Top Working With Dirty Hands Craft Tutorials
- 🧑🌾 Five Fun Ways to Teach Kid's to Wash Their Hands – Cahoots from cahoots.org.au.
- 🍂 Germs on Hands Craft Activity from twinkl.com.
- 🧑🌾 Hand washing tuff tray for kids' education from facebook.com.
- 👓 Show this to the kids to show the importance of washing … from facebook.com.
- 🎄 Clean Hands from teacherspayteachers.com.
Clay picks up oil, dust, and color stains very quickly. Even clean-looking hands can leave marks on pale surfaces.
Wash and dry your hands before you begin, and keep a towel nearby. This simple habit keeps the clay bright and helps fine details stay crisp. It also makes the final piece look more professional, which matters if you plan to sell or gift it.
Some makers keep a small hand brush near the table for quick cleaning between steps. That can be a smart choice if you switch between dark and light clay. A clean process also means fewer surprises when you add paint or glaze later.
7. Forgetting to Support the Shape

Top Forgetting To Support The Shape Craft Tutorials
- 🧑🌾 Why things are seen—7 S's of Tactical Concealment from ufpro.com.
- 🍂 Shape Rocket Craft For Kids [Free Template] from simpleeverydaymom.com.
- 🧑🌾 Forget Me Not Crafts – Make it. Make a difference from alzheimers.org.uk.
Thin arms, tall necks, and long legs can sag if they are not supported. The piece may look great for a moment and then slowly slump.
Foil, wire, toothpicks, or small armatures can help hold the form in place. These supports are useful for figures, animals, and fantasy creatures with big poses. They can also reduce wasted clay, since you do not need to build every part from solid material.
If you are making a trendy character piece, support is even more important because the pose matters so much. A strong inside structure helps the outside look playful and alive. Try to plan the support before the clay gets heavy.
8. Overworking the Surface

Top Overworking The Surface Craft Tutorials
- 💅 Overworking from paulsellers.com.
- 🖼️ Is my resin going to stay put or overflow as it cures? from facebook.com.
- 🗺️ Prepping the surface is where the painting really begins. … from instagram.com.
- 🖼️ How do you guys know when to stop working on a piece? from reddit.com.
- 🍁 💡 How to Achieve a Level Pour with @craft.resin Table Top … from facebook.com.
Too much smoothing can make clay look tired and flat. The texture may lose its charm and start to feel stiff.
It helps to know when to stop touching a section. A few careful passes are often better than endless rubbing. Leaving a little tool mark or hand texture can give the sculpture personality and make it feel handmade in a good way.
Some artists now like soft, visible texture because it adds warmth. That style can make animals, faces, and plants feel more lively. If you want a clean finish, use light pressure and step back often to check the shape.
9. Making Details Too Early

Top Making Details Too Early Craft Tutorials
- 🎨 9 Inexpensive and Simple Fall DIY and Craft Projects from thetatteredpew.com.
- 🎄 14 Crafts for Teens and Tweens – ARTBAR from artbarblog.com.
- 🖼️ 31 Arts and Crafts for Kids to Make at Home – Highlights Parents from parents.highlights.com.
- 🧑🌾 9 year old boy makes paper mache craft. I've seen different … from reddit.com.
- 🎨 Craft along with Glittz and Glue from facebook.com.
Small eyes, feathers, buttons, and patterns can be ruined if you add them before the base is ready. The main form may still shift and stretch.
Build the large shape first, then add the tiny parts near the end. This order gives you cleaner results and keeps the piece balanced. It also helps with personalization, since names, symbols, and tiny accessories will sit better on a stable base.
Think of the sculpture like a house. Walls come before decorations. This simple rule can save time, reduce repairs, and lower the chance of having to start over with more clay.
10. Forgetting About Drying Time

Top Forgetting About Drying Time Craft Tutorials
- 🍂 managing time while crafting dollhouse miniatures from facebook.com.
- 🖼️ Don't forget to fall back! An extra hour = more time to DIY 😉⏰ … from www-fallback.instagram.com.
- 💅 How long does it take to dry typically? : r/papermache from reddit.com.
- 🧑🌾 Dry time for Mod Podge with a busted canvas craft party from facebook.com.
- 👓 Microwave Salt Dough Recipe for Fun & Easy Crafts from rainydaymum.co.uk.
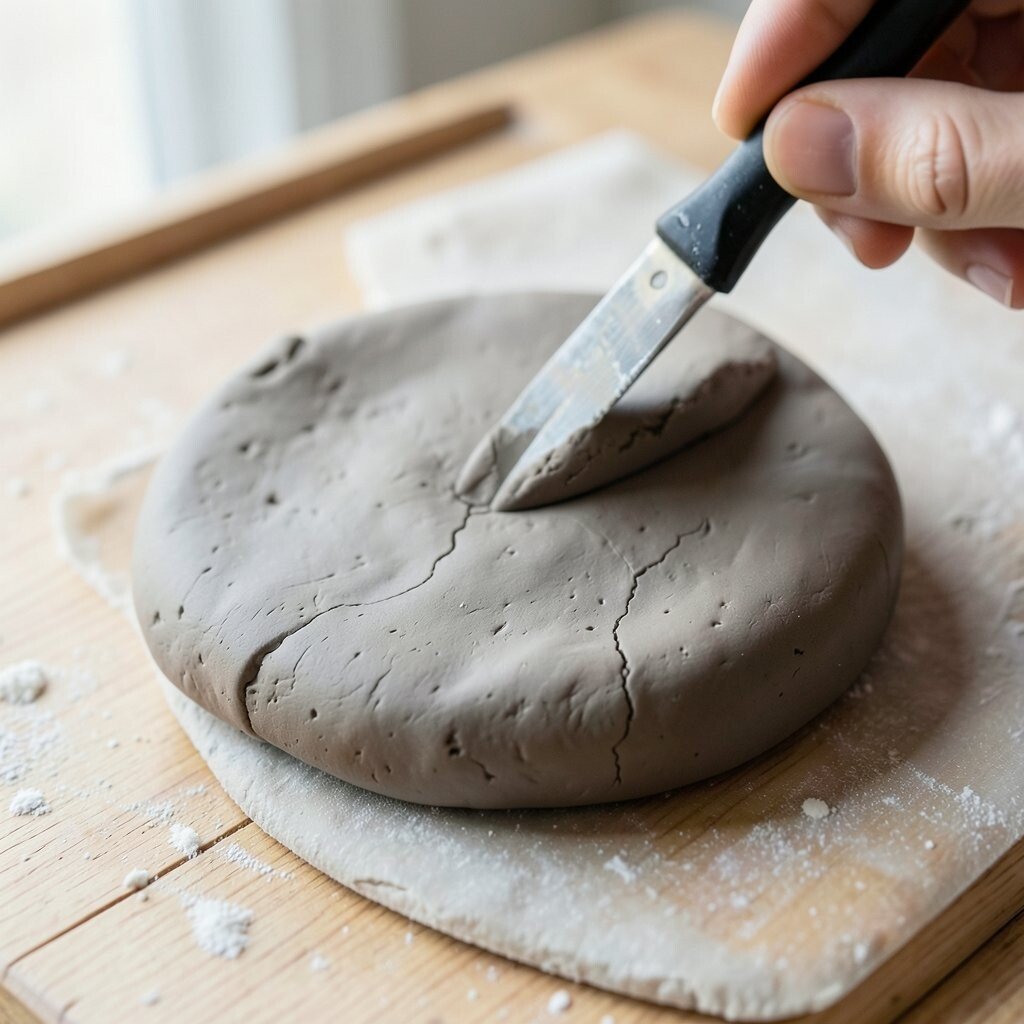
Clay that dries too fast can crack, curl, or split at the seams. Rushing often leaves a piece looking tired before it is finished.
Give the sculpture time to dry in a calm place away from heat and direct sun. Slow drying usually leads to stronger results and a smoother surface. That patience can be worth it, especially for keepsakes or home decor that should last a long time.
If your room is dry, cover the piece loosely with plastic so the moisture leaves more slowly. This simple step can help you avoid expensive mistakes. It also gives you more time to fine-tune the shape before the clay hardens.
Many makers now prefer natural, matte finishes, and steady drying supports that look well. A rushed piece can spoil that soft style. Careful drying is a small habit with a big effect.
11. Using Too Much Water
Top Using Too Much Water Craft Tutorials
- 🎨 Boat gaining too much water? : r/boating from reddit.com.
- 🧑🌾 New boat, excessive water in bilge? from thehulltruth.com.
- 🧑🌾 How much water is too much when cruising? from facebook.com.
- 🧑🌾 How much water is normal? – Forums – TeamTalk – MasterCraft from teamtalk.mastercraft.com.
- 🍁 11 PWC Maintenance Tips for Safety and Fun on the Water from boat-ed.com.
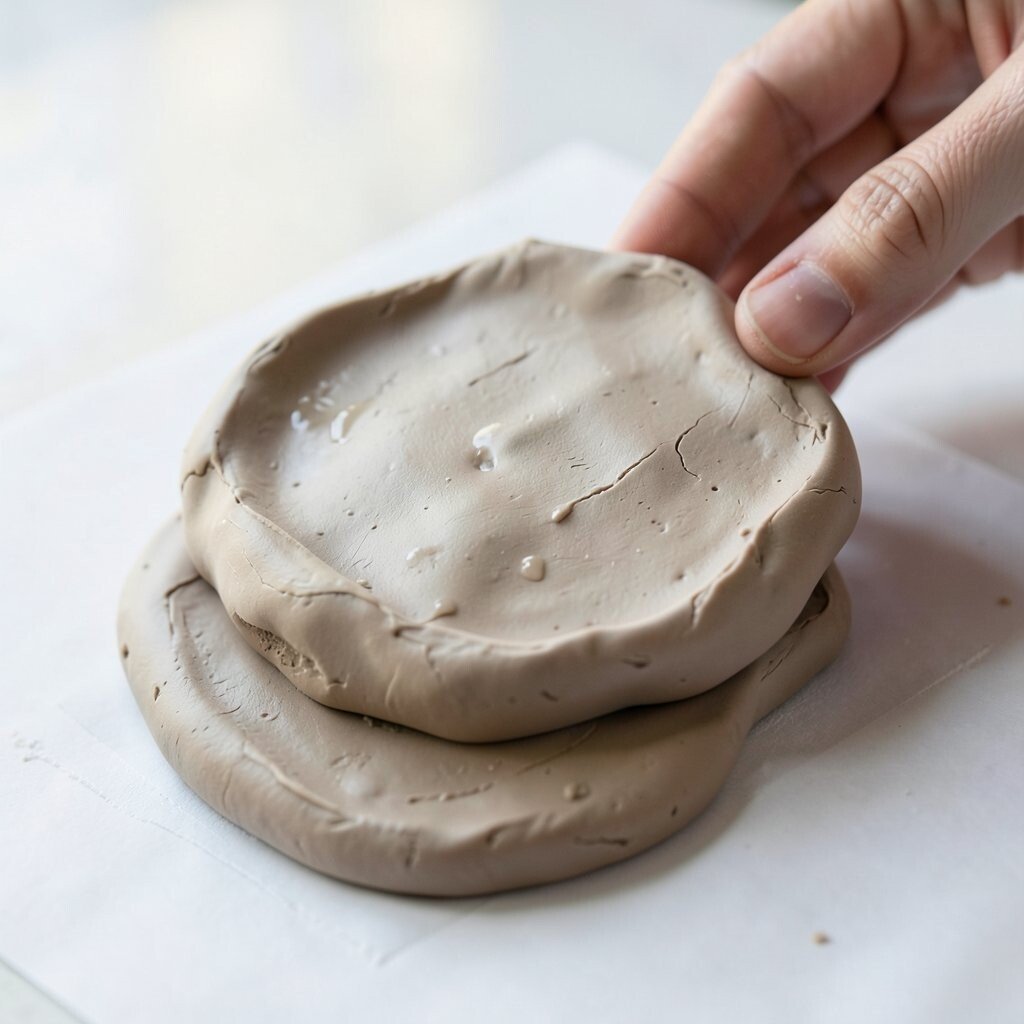
Water can help smooth clay, but too much turns the surface mushy. The sculpture may lose strength and start to slump.
Use water in tiny amounts and only when needed. A damp brush or sponge often works better than pouring water directly on the piece. This keeps the clay firm and helps you control the final look.
Too much water can also make cleanup harder and waste more time. If you are working on detailed faces or tiny accessories, less is usually better. A light touch helps the clay keep its shape and keeps your project looking neat.
12. Not Blending Seams Well

Top Not Blending Seams Well Craft Tutorials
- 🍅 Any tips for blending seams? : r/cosplayprops from reddit.com.
- 🍂 So frustrated with the seams! How do I fix them? from facebook.com.
- 🧑🌾 Faring the outer seams from forum.clcboats.com.
- 🍂 Help on filling seams – Techniques from forum.finescale.com.
- 🗺️ straight, clean seams like a pro. No stress … from instagram.com.
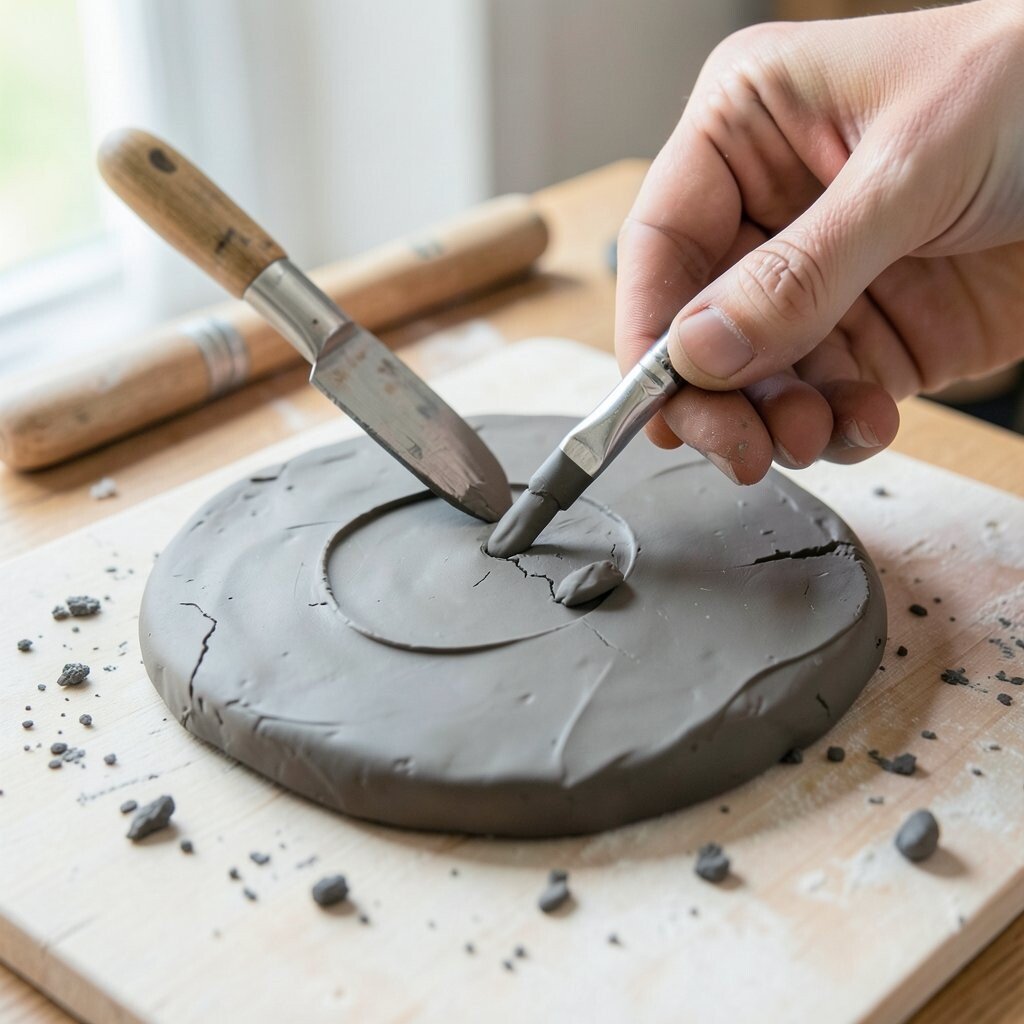
Seams can show up like little scars if two pieces are only pressed together. They may split later, especially in thin spots.
Score both sides, add a small bit of slip or soft clay, and blend the join carefully. A smooth seam makes the sculpture feel whole instead of patched. That stronger bond is useful for both simple forms and more complex custom pieces.
If you want a polished look, run a soft tool over the join after blending. This can make the seam disappear better than finger pressure alone. It also helps the final piece look more expensive, even if you used low-cost clay.
13. Choosing the Wrong Tools
Top Choosing The Wrong Tools Craft Tutorials
- 🍂 Earlywood: Disobey Me – by Christopher Schwarz from christopherschwarz.substack.com.
- 💅 Is it not possible to craft two tools into one, or am I doing … from reddit.com.
- 🎄 15 of the Best Crafting Tools – My Favorites from makingmakebelieve.com.
- 🍁 NEW ASSIGNMENT UNLOCKED 🔓 choose a tool and … from instagram.com.
- 🗺️ Can I change equipment craft type in ancient tombs? from facebook.com.
The wrong tool can leave marks that are too deep or too sharp. It can also slow you down and make the clay harder to shape.
Basic tools like a needle tool, loop tool, and silicone shaper cover many jobs. You do not need a huge kit to make great work. A few good tools can be enough for clean lines, smooth curves, and personal details.
Many crafters like to mix store-bought tools with simple household items. A toothpick, spoon, or old brush can work well for special textures. That kind of creative setup keeps costs down and makes your process feel more your own.
14. Ignoring Proportion

Top Ignoring Proportion Craft Tutorials
- 🍅 Rules for Proportion from thisiscarpentry.com.
- 🎨 Why You Need to Ignore Everyone & Focus on Your Craft from diana-waldron.medium.com.
- 🧑🌾 🛸 PHYSICS IS BROKEN: The Case 14 Revelation. What … from facebook.com.
- 🎨 1. Ignoring Scale and Proportion: Neglecting the size and … from instagram.com.
- 🎄 Logic, Perception, and Beauty—An Outline of the Modern … from mdpi.com.
When one part is too big or too small, the whole sculpture can look off. Even a cute design can feel strange if the balance is wrong.
Check the size of the head, body, arms, and feet as you work. Step back often and look at the piece from different sides. This habit helps you catch problems early and gives your sculpture a more natural, appealing shape.
Proportion matters in current character art trends, too, because bold shapes are popular but still need balance. A large head can look charming, but it still needs a body that supports it. Small corrections now can save a lot of fixing later.
If you are making a custom figure, compare it to a sketch or photo reference. That can help you keep the style personal without losing the overall form. Good proportion makes even simple clay work feel polished.
15. Rushing the First Shape

Top Rushing The First Shape Craft Tutorials
- 💅 Shaping rush causing frustration with knitting project from facebook.com.
- 🎄 Cutesy Crafts from youtube.com.
- 👓 Here's a fab little kids' craft that kept my boys busy for ages … from facebook.com.
- 🍁 25 years. One craft. Then everything changed. I was a … from instagram.com.
- 🗺️ tips to rush early game? : r/vrising from reddit.com.
The first rough form sets the stage for everything else. If it is crooked, the rest of the piece may keep that problem.
Take time to block in the big masses before chasing details. A solid start gives you a better chance at a strong final sculpture. It also lowers waste, because you are less likely to tear apart sections and add extra clay again and again.
Some artists like to keep a photo of the rough shape from the side and front. That can help you spot issues fast. A careful start is one of the easiest ways to make your work look more thoughtful and unique.
16. Forgetting Color and Finish Early

Top Forgetting Color And Finish Early Craft Tutorials
- 💅 For @artbyeringreen's six-week @children.of.the.craft course, … from instagram.com.
- 👓 Crafts for 1&2 year olds? : r/toddlers from reddit.com.
- 🧑🌾 50 Easy Crafts for Kids to Spark Their Imagination from modpodgerocksblog.com.
- 🎨 Crafting with Lisa Horton Crafts (Official) from facebook.com.
- 🖼️ Rub n Buff Colors Tried & Tested: Color Guide & Tutorial from blesserhouse.com.
The final look should be part of the plan, not an afterthought. Paint, stain, glaze, or polish can change how the sculpture reads.
Think about the finish while you are still shaping the clay. Smooth surfaces work well for bright paint, while textured pieces shine with dry brushing or soft color washes. Planning ahead helps you choose materials that fit your style and your budget.
Many current clay projects use muted earth tones, pastel shades, and tiny painted details. Those looks can feel warm and modern at the same time. A little planning here can make your finished piece feel much more special.
17. Storing Finished Pieces Poorly

Top Storing Finished Pieces Poorly Craft Tutorials
- 🎨 How to store completed craft items? from facebook.com.
- 🍂 How To Declutter Unfinished Craft Projects from home-storage-solutions-101.com.
- 🍁 Finished craft projects? : r/declutter from reddit.com.
- 🖼️ Vertical storage for finished products ✨ # … from instagram.com.
- 🎨 Save Old Jar Lids To Craft One-Of-A-Kind Kitchen Decor from yahoo.com.
A finished sculpture can chip, bend, or collect dust if it is left out in the wrong place. Sunlight and moisture can also change the surface over time.
Store your work in a box, cabinet, or shelf away from heavy traffic. Soft padding can protect delicate parts like ears, fingers, and leaves. Good storage helps your hard work last and keeps you from paying again to replace broken items.
If you make pieces to sell, neat storage also makes your display look more professional. Clean shelves and labeled containers can make your studio feel calm and ready. That small detail can even help you notice which styles people enjoy most.
18. Copying Trends Without Your Own Style

Top Copying Trends Without Your Own Style Craft Tutorials
- 🧑🌾 One lesson that changed my craft journey from instagram.com.
- 🍅 Creating unique craft products outside trends? from facebook.com.
- 🗺️ Gen Z fashion trends defining 2026 from printful.com.
- 🖼️ How to Find (and Create!) the Next Trending Design! from facebook.com.
- 💅 How did you develop your own personal sense of style? from reddit.com.
Trendy clay art can be fun, but copying it too closely can make your work feel flat. A sculpture should still carry your own hand and taste.
Use trends as a starting point, then add a personal twist. A favorite color, a special symbol, or a family pet can turn a simple idea into something memorable. Personal touches also help your work stand out in a busy craft market.
If you enjoy cute mini food, soft pastel creatures, or simple home figures, put your own spin on the shapes. That keeps the piece fresh and helps you grow as an artist. Unique details often matter more than perfect imitation.
It can also be smart for your wallet, since original work is easier to market. People often pay more for something that feels made just for them. Your style is part of the value.
19. Giving Up After One Bad Piece

Top Giving Up After One Bad Piece Craft Tutorials
- 🖼️ overcoming failure in resin crafting from facebook.com.
- 🖼️ Why I Almost Threw All Of My Craft Supplies Away from smartfundiy.com.
- 🎨 What am I doing wrong? (Craft Challenge) : r/simsfreeplay from reddit.com.
- 💅 The Truth About Craft Blogging from jenniemoraitis.com.
- 🎨 Craft Room Updates: The Good, The Bad, and The Ugly. from howtonestforless.com.
One cracked face or lopsided animal does not mean you are bad at sculpting. It usually means you are learning a new skill.
Every mistake teaches something useful about pressure, moisture, shape, or timing. Keep the failed piece nearby and study what went wrong. That habit turns a disappointing result into a helpful guide for the next project.
Try making small practice pieces before you start a bigger idea. Tiny tests cost less and build confidence faster. Over time, your own style gets stronger, your hands get steadier, and your clay work becomes much more rewarding.