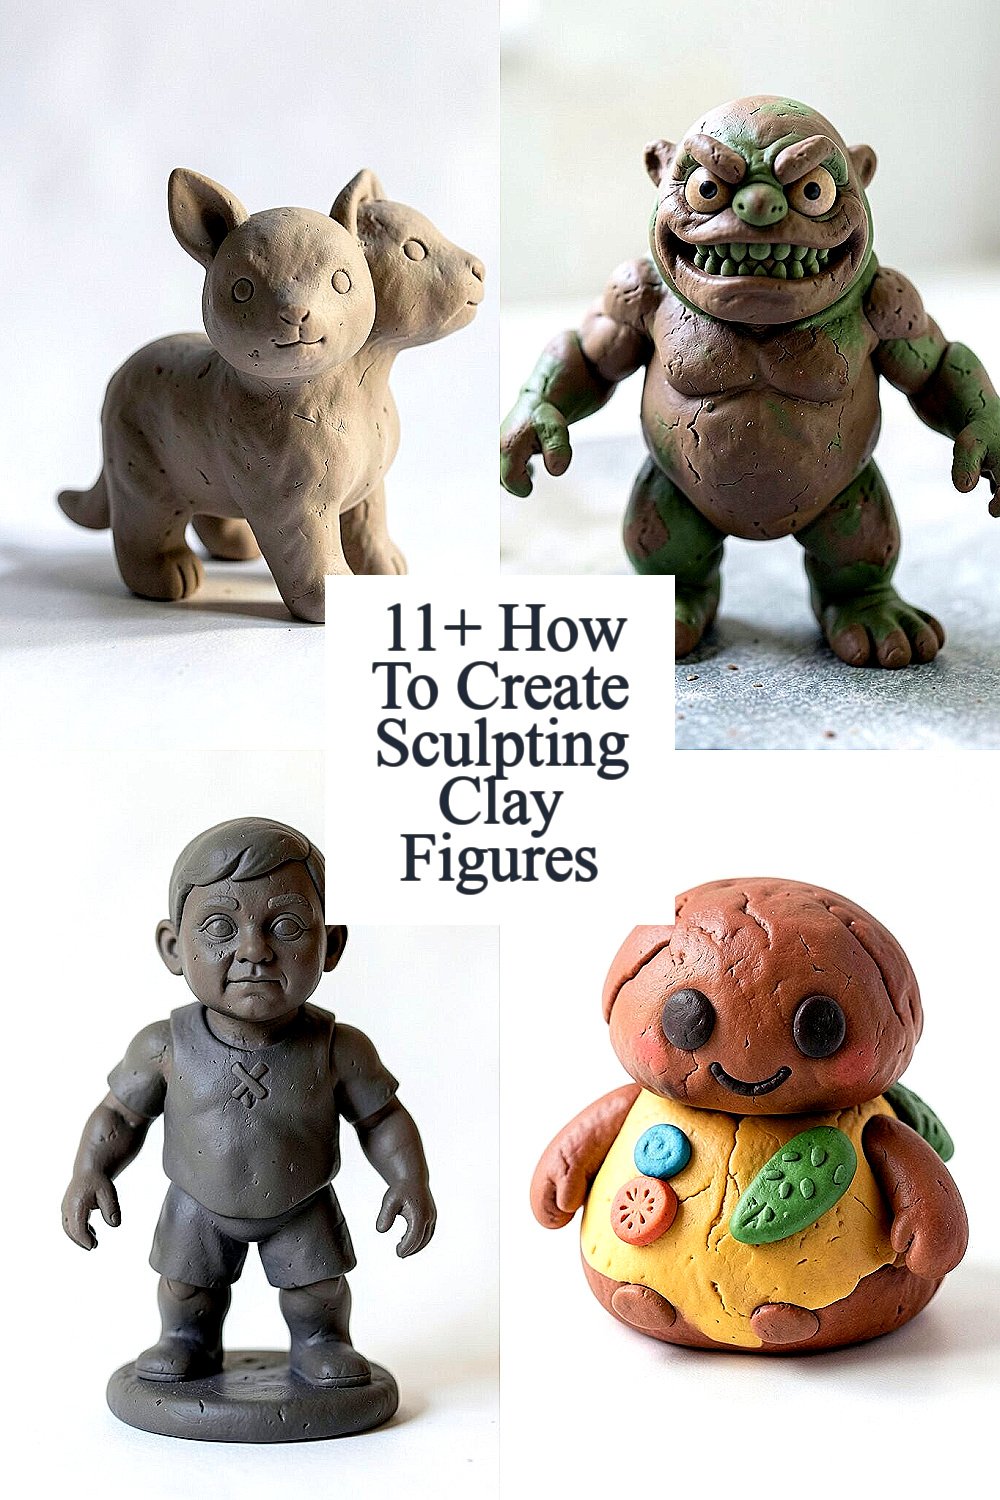
Clay can feel soft, magical, and full of promise. A simple lump can turn into a tiny world in your hands.
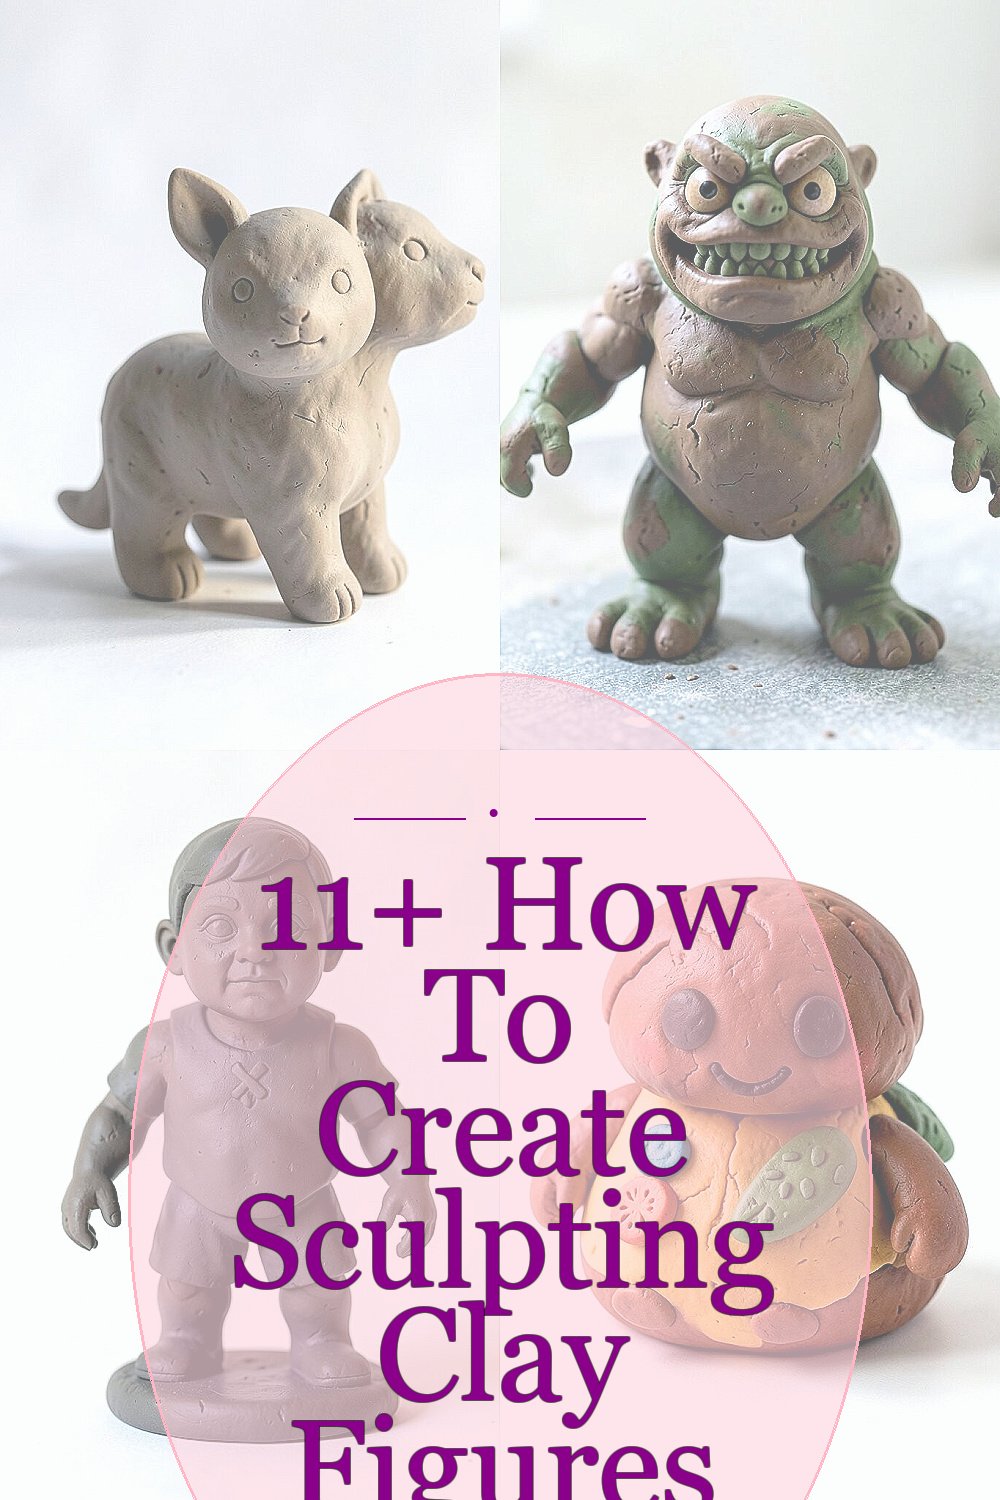
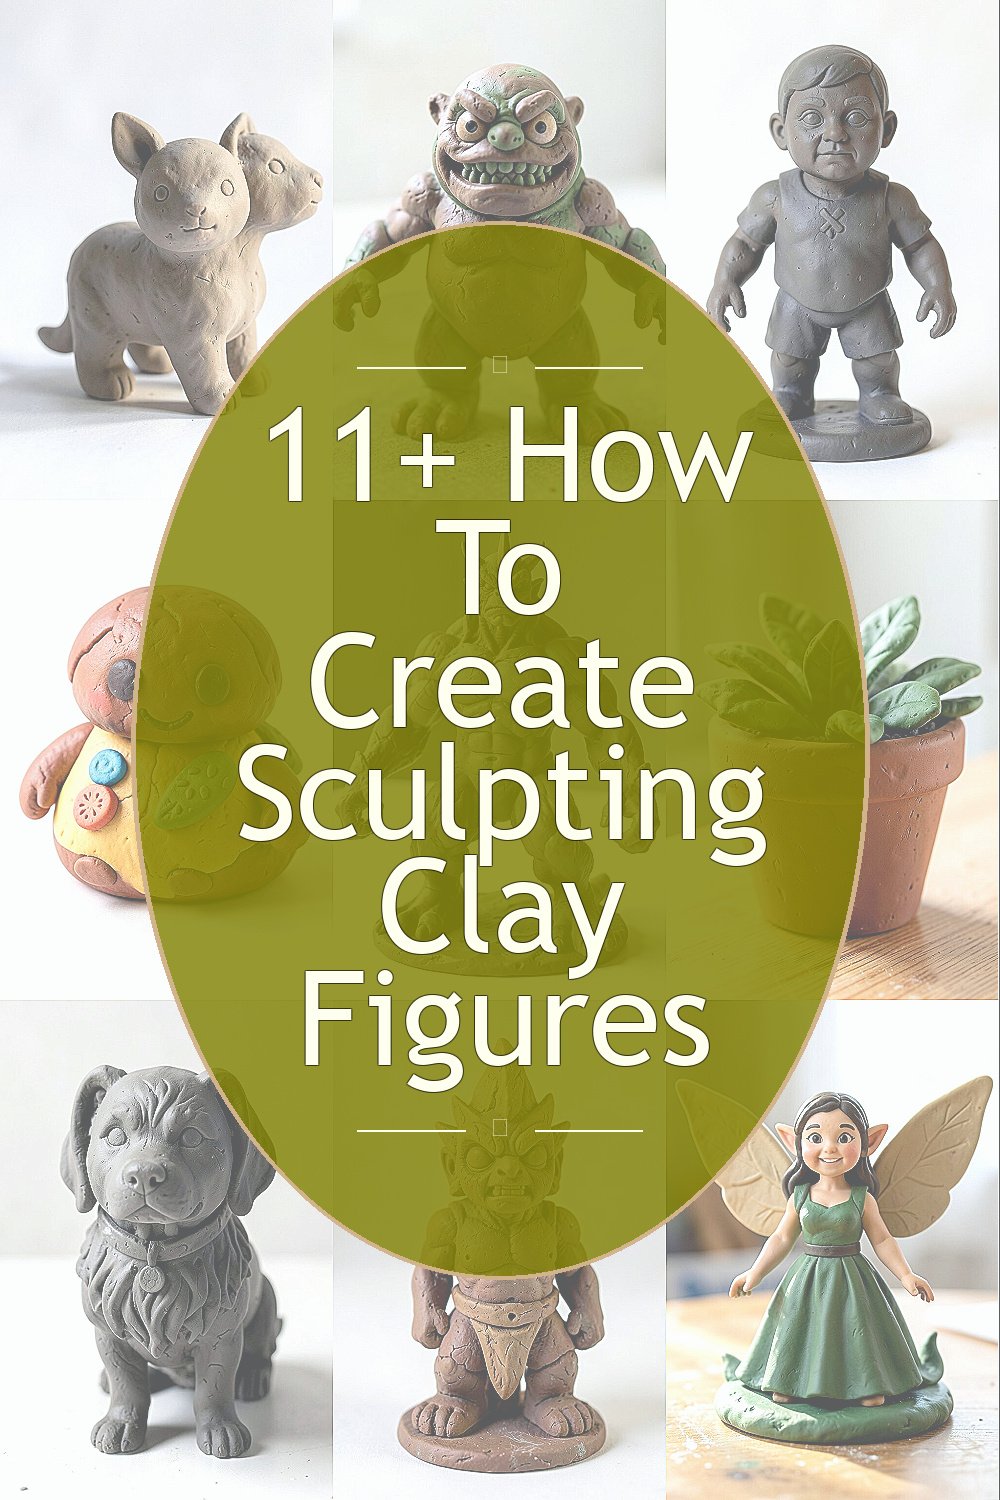
1. Start With a Simple Animal Shape

Top Start With A Simple Animal Shape Craft Tutorials
- 🖼️ 35 FUN & EASY Animal Crafts (2026) from abcdeelearning.com.
- 👓 Crafty Critters: Easy Animal Crafts for Kids from imthecheftoo.com.
- 🗺️ 10 easy art projects with an animal theme from seattleschild.com.
- 🖼️ Animal Crafts for Kids | HowStuffWorks from lifestyle.howstuffworks.com.
- 🎨 4 Cute and Easy Spring Animal Crafts for Kids from mamaofminis.com.
A small cat, bird, or bunny is a great first clay figure because the body shapes stay easy and clear. These little creatures look charming on a shelf and give beginners a fast win.
Roll a round body, add a smaller head, and press on ears or wings with gentle fingers. Keep the lines smooth and the details light so the figure feels neat instead of crowded. If you want a personal touch, use tiny beads for eyes or scratch in fur marks with a toothpick.
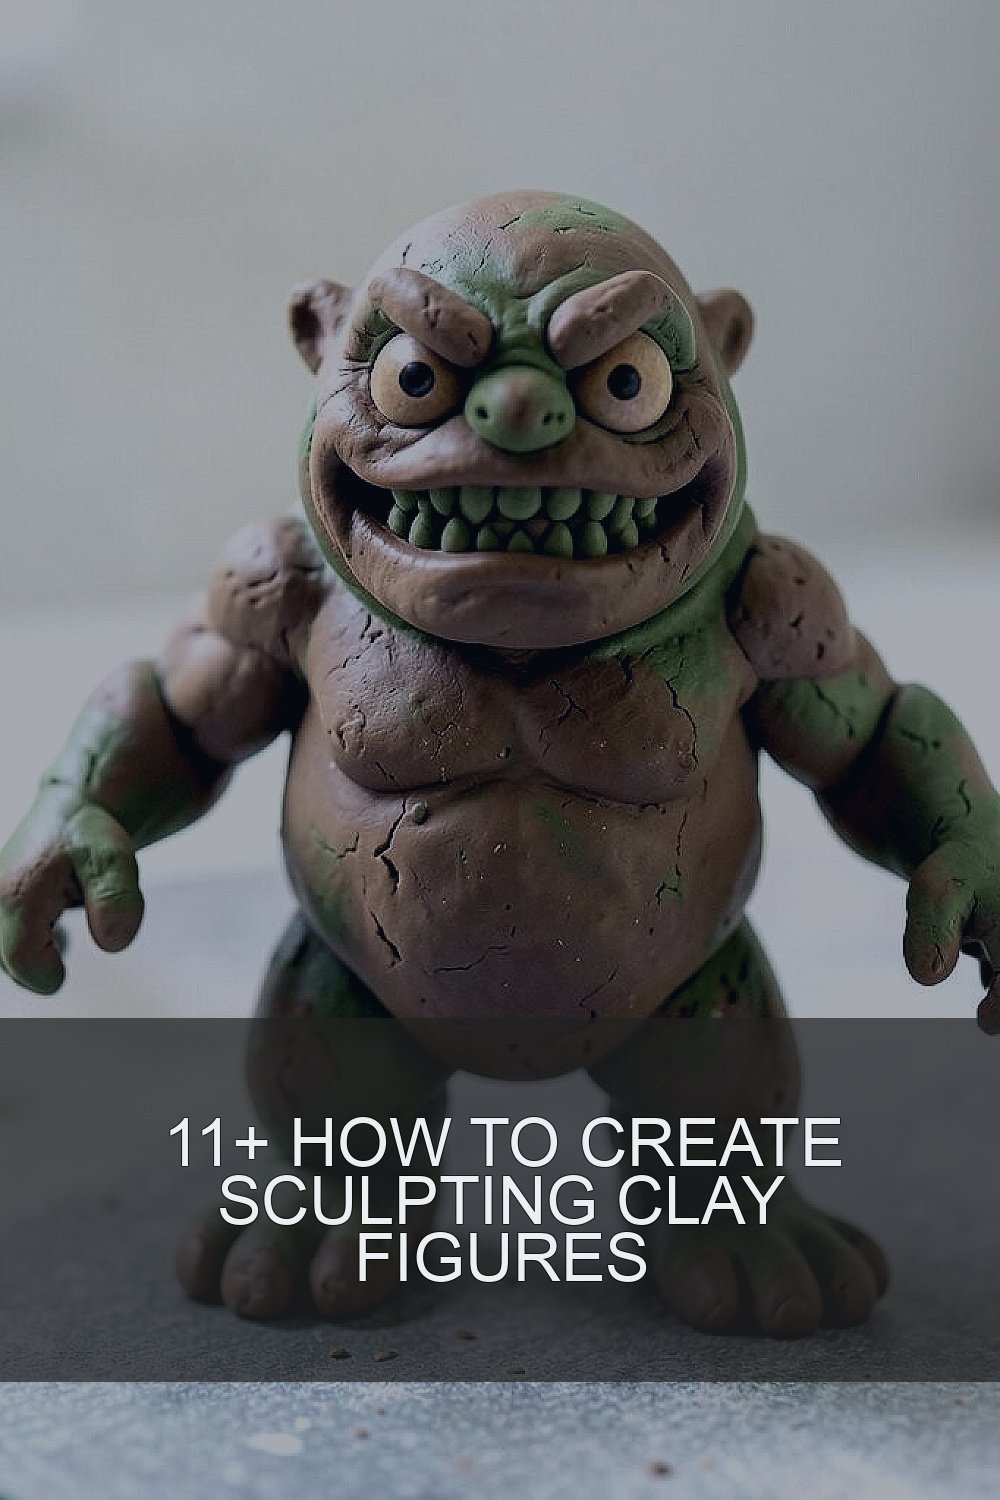
2. Make a Tiny Clay Monster

Top Make A Tiny Clay Monster Craft Tutorials
- 🎄 How to Make a Clay Monster : 8 Steps from instructables.com.
- 🍁 Air Dry Clay Monster Kid Craft from meandmyinklings.com.
- 🍂 EASY CLAY MONSTERS – so fun! 🤩 Instructions >> https:// … from facebook.com.
- 🗺️ 32 DIY Clay Monster Craft Ideas That Let You Go Full … from wonderfuldiy.com.
- 🎄 How to Make a Clay Monster Sculpture from onelittleproject.com.
Clay monsters are fun because they do not need to look perfect. A wobbly grin, odd arms, or one big eye can make the piece feel playful and full of character.
Use leftover clay bits to build horns, bumps, or long fingers. This kind of figure is friendly on the budget because it works well with small scraps and simple tools. Bright paint, glow colors, or shiny varnish can help it match today’s bold handmade style.
Try giving the monster a mood, like sleepy, silly, or grumpy. That small choice makes the figure feel unique and helps you tell a story with shape alone. If you want more charm, place it on a tiny base made from cardboard or a bottle cap.
3. Shape a Mini Human Character

Top Shape A Mini Human Character Craft Tutorials
- 🎨 DIY Halloween Prop: Creepy Human-Shaped Dummy! … from facebook.com.
- 🍂 CHRISTMAS STICK PUPPETS -Use shapes to create … from facebook.com.
A tiny person can feel very special because it can show a pose, a job, or a hobby. A standing child, a dancer, or a gardener all work well for new clay artists.
Keep the head round, the arms simple, and the legs short at first. This makes the figure easier to handle and lowers the chance of cracks or broken parts. Dress it up with carved clothing folds, a hat, or a small prop like a book or flower.
For a personal twist, model the face after someone you know or after your own style. You can also match the outfit to a favorite color theme, which is a popular look in handmade art right now. Simple clay people often cost very little to make, since one small pack can go a long way.
If the figure feels plain, add texture with a fork, a pin, or a soft brush. Tiny details can make a simple person look alive and full of feeling. Beginners often enjoy this project because it teaches balance, body shape, and expression all at once.
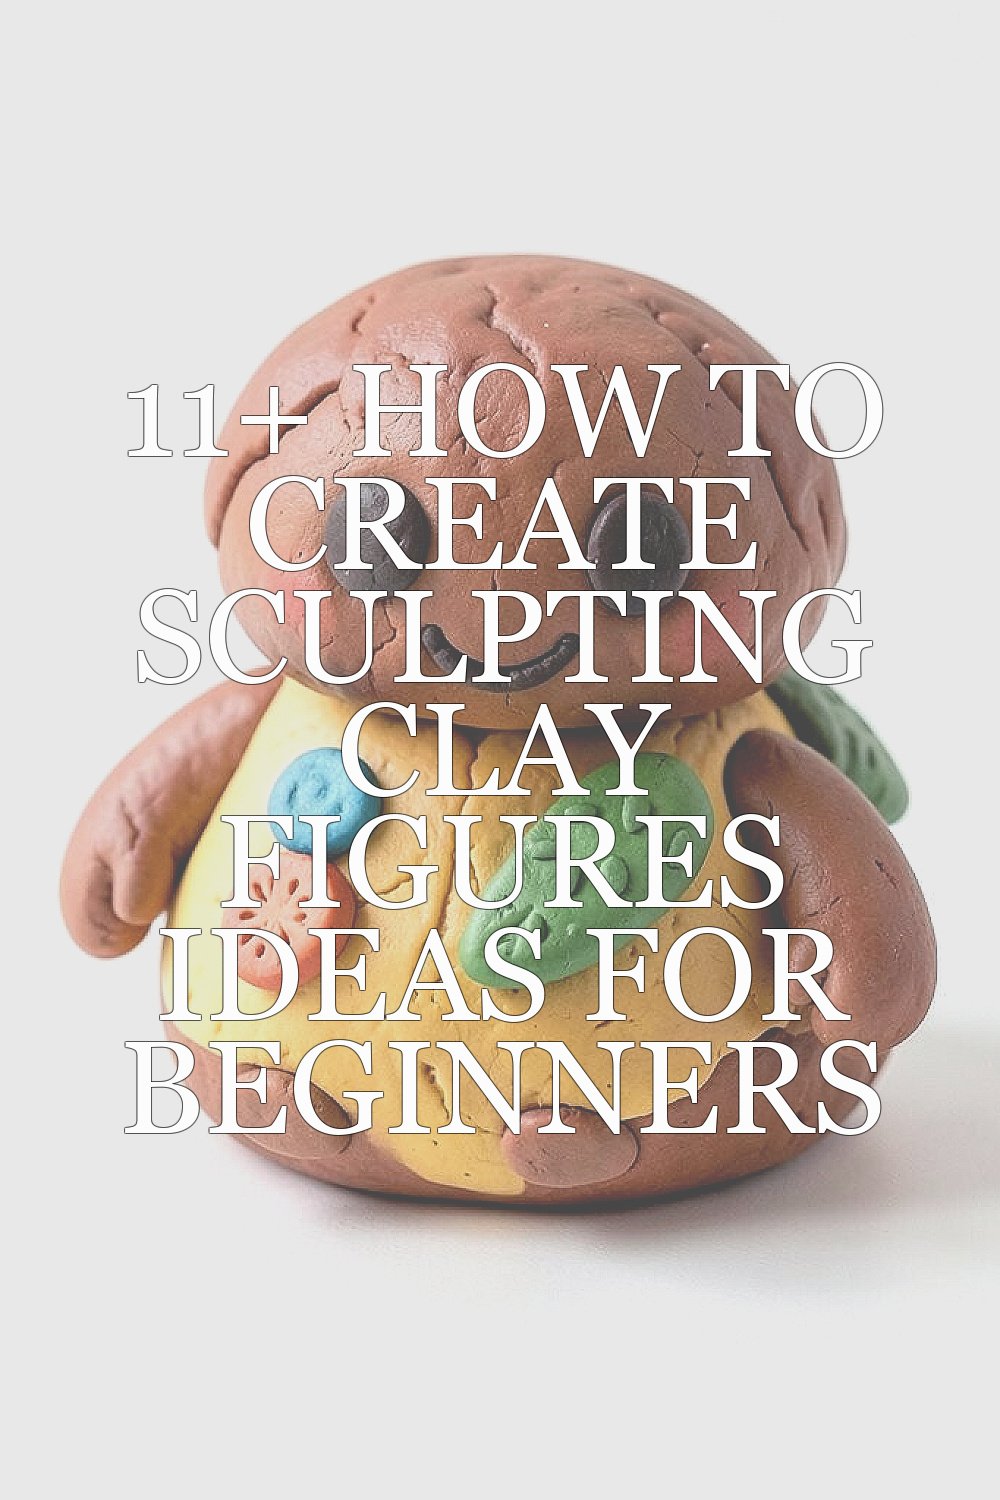
4. Craft a Cute Food Figure

Top Craft A Cute Food Figure Craft Tutorials
- 🎄 25 Food Crafts for Kids (Edible Crafts and Activities) from craftulate.com.
- 🍁 Easy food Craft ideas for kids from facebook.com.
- 🎄 Affordable DIY Play Food: Craft Cheez-Its & Goldfish for Kids! from lemon8-app.com.
Clay food pieces look cheerful and make great desk decorations. A cupcake, donut, or slice of fruit can be easy to shape and fun to paint.
Use round forms and bright colors to make the food look fresh and tasty. A little shine on top can mimic frosting or glaze and gives the piece a trendy, shop-like finish. These figures are also low-cost because they use small amounts of clay and simple paint.
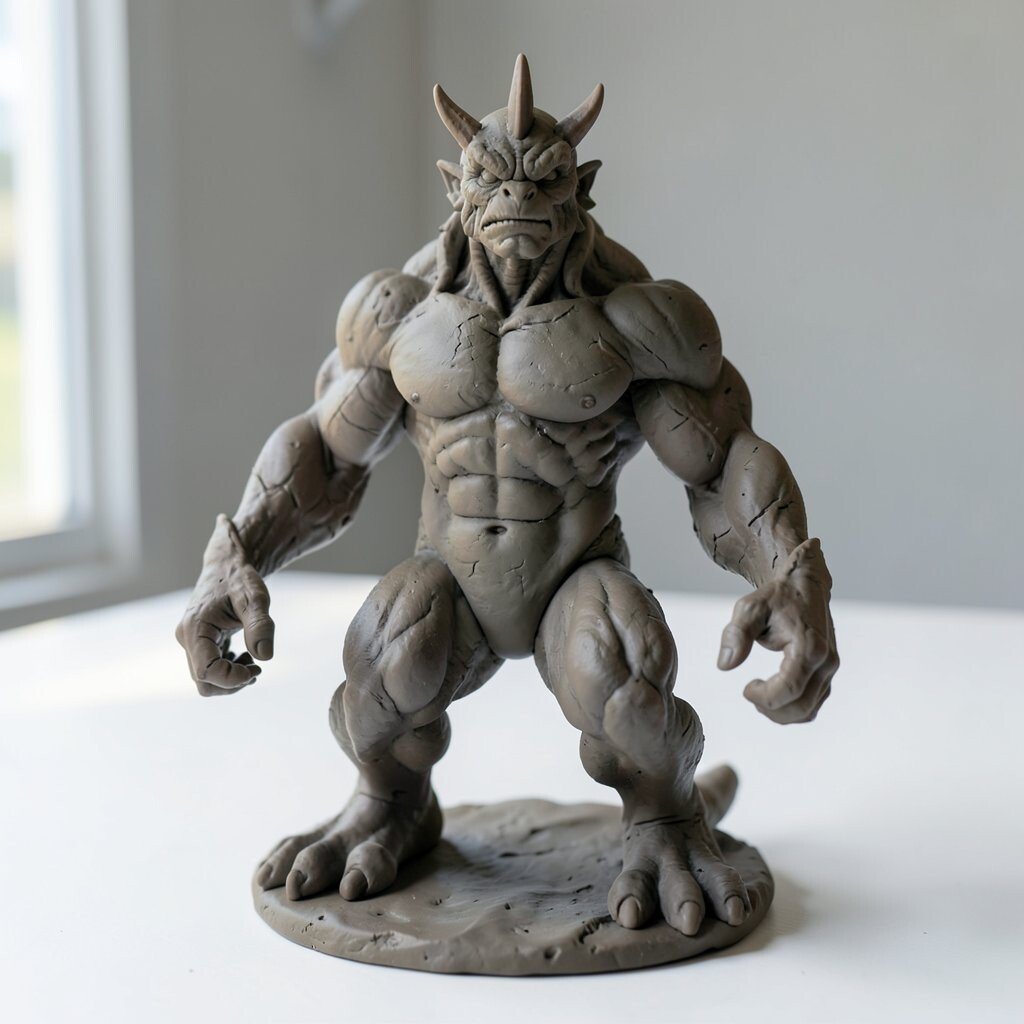
5. Build a Fantasy Creature
Top Build A Fantasy Creature Craft Tutorials
- 🎄 Sparking Imagination: Engaging Fantasy Crafts for Kids from imthecheftoo.com.
- 🍁 Design a Fantasy Creature – Fun at-home activities for Kids. from diy.org.
- 🧑🌾 Mythical Beasts | Fantasy and Adventure | Craft | EYFS from twinkl.com.
- 🎄 40+ Mythical Crafts and Fantasy Play Activities for Kids from barleyandbirch.com.
- 💅 How to Create Fantasy Creatures from kindlepreneur.com.
Fantasy figures invite big ideas without needing perfect realism. A tiny dragon, fairy, or sea creature can be made from basic shapes and still look amazing.
Start with a body shape you already know, then add wings, tails, or pointed ears. This method keeps the project simple while still making it feel special and creative. You can choose soft pastel colors for a dreamy look or bold dark colors for a dramatic style.
Personal touches matter a lot here, so give the creature a name or a special symbol. Some makers add glitter, tiny gems, or carved scales to match current cute fantasy trends. If you are watching costs, use household tools like paper clips, toothpicks, and bottle lids for support and texture.
The best part is how different each creature can become. One dragon can look sleepy and sweet, while another can look fierce and wild. That freedom helps beginners feel brave and playful while they practice.
6. Make a Clay Flower Pot Friend

Top Make A Clay Flower Pot Friend Craft Tutorials
- 🍂 CLAY POT PEOPLE 😍 So cute! Instructions 👉 https … from facebook.com.
- 🧑🌾 15 Quick and Easy DIY Clay Pot Crafts – Amber Oliver from amber-oliver.com.
- 🖼️ Clay Flower Pots | DIY for Beginners from kiwico.com.
- 🍂 Adorable Clay Pot Flower People: 7-Step Project from theownerbuildernetwork.co.
- 🍁 Fancy Painted Face Pots with Friends from womensoutdoornews.com.
A small pot with a face or arms can feel warm and cheerful. It works well as a planter cover, pencil holder, or tiny shelf buddy.
Shape a cup-like body and press on a face, hands, or feet. Keep the design simple so the pot stays strong and does not crack during drying. You can add leaf patterns, painted cheeks, or a tiny hat for a more personal look.
These figures are useful and decorative, which makes them extra satisfying to make. Handmade home decor is very popular now, and a clay pot friend fits that trend nicely. It can also be a smart gift because it feels thoughtful without costing much.
7. Sculpt a Pet Portrait

Top Sculpt A Pet Portrait Craft Tutorials
- 👓 How to Make a Custom Pet Portrait from madebybarb.com.
- 💅 Me Medium: Polymer Clay Hand sculpted pet portrait from facebook.com.
- 🍅 Sculpt Your Pet Portrait: Air Dry Clay Workshop Sydney from classbento.com.au.
- 🎄 How to Make a Pet Leather Carving | DIY Guide from naomileatherart.com.
- 🍁 Come turn your beloved pet into a tactile piece of wall art. from instagram.com.
Making a clay version of a pet can feel very meaningful. A cat, dog, rabbit, or hamster figure can hold a sweet memory and look lovely on a table.
Focus on the pet’s main shape first, like floppy ears, a round nose, or a curled tail. Then add only a few key marks so the face stays simple and cute. A small collar, tag, or favorite blanket can make the figure feel personal and true.
If you want it to look more like the real pet, use a photo as a guide. That helps you choose fur color, eye shape, and body pose without guessing too much. Many beginners love this project because it feels emotional and gives practice with likeness and texture.
Cost stays low if you keep the figure small and use acrylic paint for details. A matte finish can make the piece look soft and handmade, while a glossy finish gives it a more polished look. Either way, the result can become a treasured keepsake.
8. Create a Tiny Mythical Totem

Top Create A Tiny Mythical Totem Craft Tutorials
- 🎄 8th graders create totem poles for past, present, future from facebook.com.
- 🎨 something between drawing, collage and sculpture. . . . … from instagram.com.
- 🎨 Create Totem from teacherspayteachers.com.
- 🎄 Build Your Own Totem Pole Printable Templates from ftp.arcchurches.com.
A totem-style figure stacks shapes in a bold, simple way. It can look like a little tower of faces, symbols, or animal parts.
Build the form from one base shape and layer smaller pieces on top. This gives the sculpture a strong, totem-like look that feels modern and artistic. The style is great for beginners because it uses repeating shapes instead of tricky fine details.
You can make the totem feel more personal by mixing symbols that matter to you, like stars, hearts, or favorite animals. Earth tones give it a natural feel, while bright colors make it stand out in a room. Since the design uses basic forms, it can be made with a small clay supply and still look bold.
Try carving lines or dots into the surface before the clay dries. That little step adds texture and makes the piece look more handmade. It also gives you a chance to practice control without needing advanced tools.
9. Form a Clay Fairy or Elf

Top Form A Clay Fairy Or Elf Craft Tutorials
- 🖼️ I've created my own elf from clay! from facebook.com.
- 👓 Clay fairy house with cardboard _ Step by step #fairyhouse … from facebook.com.
- 🍅 Diy Elf Ears Made with Clay from tiktok.com.
Small fairy and elf figures are light, delicate, and full of charm. Their tiny wings, pointed ears, and soft outfits make them feel like they came from a storybook.
Use a slim body and small head so the figure keeps a graceful shape. Then add a dress, tunic, or leaf-like clothing to make it stand out. This kind of figure is popular in handmade art because it feels dreamy and easy to customize.
For a personal style, choose colors that match your room or favorite season. You can also add tiny flowers, stars, or a wand to make the character feel magical. Beginners often like this project because it teaches patience while still staying simple and fun.
Keep the wings thin but not too fragile, and support them with a small clay ridge if needed. That helps the figure stay strong after drying. If you want to save money, make one fairy and reuse the same wing shape for future projects.
10. Make a Clay Hand-Posed Figure

Top Make A Clay Hand-Posed Figure Craft Tutorials
- 🎨 Simply Learn How to Make Realistic Looking Clay Hand in … from facebook.com.
- 🗺️ How to sculpt doll or fairy hands, by Artisan Tony Rice from cdhm.org.
- 👓 17+ Clay Human Figure Ideas for Expressive DIY Sculptures from clayelle.com.
- 🍅 A Complete Guide To Sculpting Clay Figures With Air Dry … from picodiy.com.
- 🖼️ Clay Sculpture for Beginners: Your Easy Step-by- … from lemon8-app.com.
A figure with a special hand pose can tell a story without much detail. A wave, peace sign, or heart shape can give the sculpture a lively feel.
Start with a basic body and then focus on the hands as the main feature. Hands may seem tricky, but simple mitten-like shapes work well for beginners. The result can look modern and expressive, which fits the current love for small art pieces with personality.
You can make the figure your own by choosing what the hand is doing. Maybe it holds a flower, a cup, or a tiny sign with your name. This makes the piece feel more connected to you and gives it a clear purpose.
Because the design can stay small, the cost remains low and the clay lasts longer. Use a smooth finish for a clean look or leave finger marks for a raw handmade style. Both can be attractive, depending on the mood you want.
11. Build a Storybook Character

Top Build A Storybook Character Craft Tutorials
- 🎄 Storybook Character Crafts – 11 Black & White Printable … from shop.simplemomproject.com.
- 💅 Storybooks that Build Character + Printable Activity Pages from momentsaday.com.
- 🎨 Storybook Characters Book Page Craft Activity from twinkl.co.uk.
- 🖼️ Turn simple paper plates into charming storybook … from facebook.com.
- 🧑🌾 18 Delightful Kids Book Crafts W/ Free Printable Templates from simpleeverydaymom.com.
Storybook figures are wonderful because they can be sweet, odd, brave, or shy. A small wizard, baker, traveler, or forest child can all come to life in clay.
Choose one clear idea and keep the shape simple so the character is easy to finish. Add one or two signature items, like a hat, bag, book, or lantern. That keeps the figure readable and makes it feel like it belongs in a tale.
Personalizing the face and clothes helps the sculpture feel one of a kind. You can also paint tiny patterns on the outfit to match a favorite book style or a cozy handmade trend. For beginners, this project offers a nice mix of creativity and easy shaping.
If you want to keep costs down, make the character small and use scrap clay for accessories. A little base with painted grass or stone can make the piece look finished without much extra material. This kind of figure also makes a lovely gift for readers and dreamers.
12. Sculpt a Simple Self-Portrait Figure

Top Sculpt A Simple Self-Portrait Figure Craft Tutorials
- 👓 6 Fun & Engaging Self Portrait Lessons for Elementary Art from artwithmrse.com.
- 🖼️ Express Yourself: Creative Self-Portrait Craft for Kids Ideas from imthecheftoo.com.
- 🍅 8 Self Portrait Crafts for Kids from happyhooligans.ca.
- 🗺️ 21 Self Portrait Art Lessons for Elementary Students & How … from artprojectsforkids.org.
- 👓 All About Me Craft: Shape Self-Portraits from howweelearn.com.
A self-portrait in clay can be playful, honest, and very personal. It does not need to look exact to still feel meaningful and fun.
Start with your own basic features, like hairstyle, glasses, or favorite clothes. Keep the face gentle and simple so the figure stays friendly and easy to shape. A pose that shows your mood, such as sitting, waving, or holding a hobby item, can make it feel more alive.
This project is a great way to practice observation and self-expression at the same time. It can also help you notice what makes your style different from others. Many makers enjoy this idea because it feels modern, personal, and perfect for sharing online or on a shelf.
You can make it more unique by adding a favorite color palette or a tiny object that shows your interest. Since the figure can stay small, it is budget-friendly and easy to finish in one sitting. A simple base with your name carved into it can give the piece a neat, gallery-like touch.