Clay can feel calm in your hands. It can also wake up bold ideas fast.
1. Choose the Right Clay for Your Goal
Top Choose The Right Clay For Your Goal Craft Tutorials
- 🍁 Choosing the Right Clay for Pottery: A Comprehensive Guide from pottery-boston.com.
- 🍁 The Best Clay for Beginners: How to Pick the Right Type of … from claymoo.com.
- 🧑🌾 Finding the Best Clay for Kids Projects from imthecheftoo.com.
- 🧑🌾 Discover the Best Clay for Sculpting and Modeling from artmolds.com.
- 🎄 What type of clay do you use for crafts? from facebook.com.
Soft clay feels smooth and easy to shape, while firmer clay gives more control and sharper edges. The best choice depends on the look you want and how much time you have.
Air-dry clay works well for simple home projects and costs less than many kiln-fired options. Polymer clay is popular for bright colors and small details, and ceramic clay is still loved for strong, lasting art. Try a few types so your hands can learn what feels most natural.
2. Keep Your Workspace Clean and Ready

Top Keep Your Workspace Clean And Ready Craft Tutorials
- 🗺️ How do crafters manage cluttered workspaces and … from facebook.com.
- 🍁 How to Keep Your Craft Room Clean and Organized for … from sweetsofties.com.
- 🍅 Organize Your Craft Room: 2 Step Method to Beat … from smartfundiy.com.
- 🗺️ I just shared a new YouTube video showing how I keep my … from instagram.com.
- 🍁 Craft Room Makeover Organization Ideas from designeatrepeat.com.
A tidy table can make clay work feel calm and fun. When tools are close by, your ideas can move faster.
Use a mat, a bowl of water, and a small towel to keep things neat. Good lighting helps you see tiny marks and soft curves better, which is very helpful for detailed faces, leaves, and texture. A simple setup also saves money because you do not need fancy gear to begin.
Many artists now keep small rolling carts or trays for their clay tools, since that makes cleanup easier. You can also personalize your space with favorite colors, sketch cards, or a tiny mood board. A space that feels like yours can make every session more exciting.
3. Start with Simple Shapes Before Details

Top Start With Simple Shapes Before Details Craft Tutorials
- 🎨 My – Start with simple shapes before drawing details 𝙅𝙤𝙞𝙣 … from facebook.com.
- 🖼️ Drawing Fundamentals: a step by step guide from bloomfieldarts.com.
- 🍂 Drawing Simple Shapes from lundgrenart.weebly.com.
- 🧑🌾 Draw Anything By Simplifying Pictures into Shapes from harshpreetkaur.com.
- 🖼️ Easy Drawing Ideas for Beginners: Simple Techniques & … from lemon8-app.com.
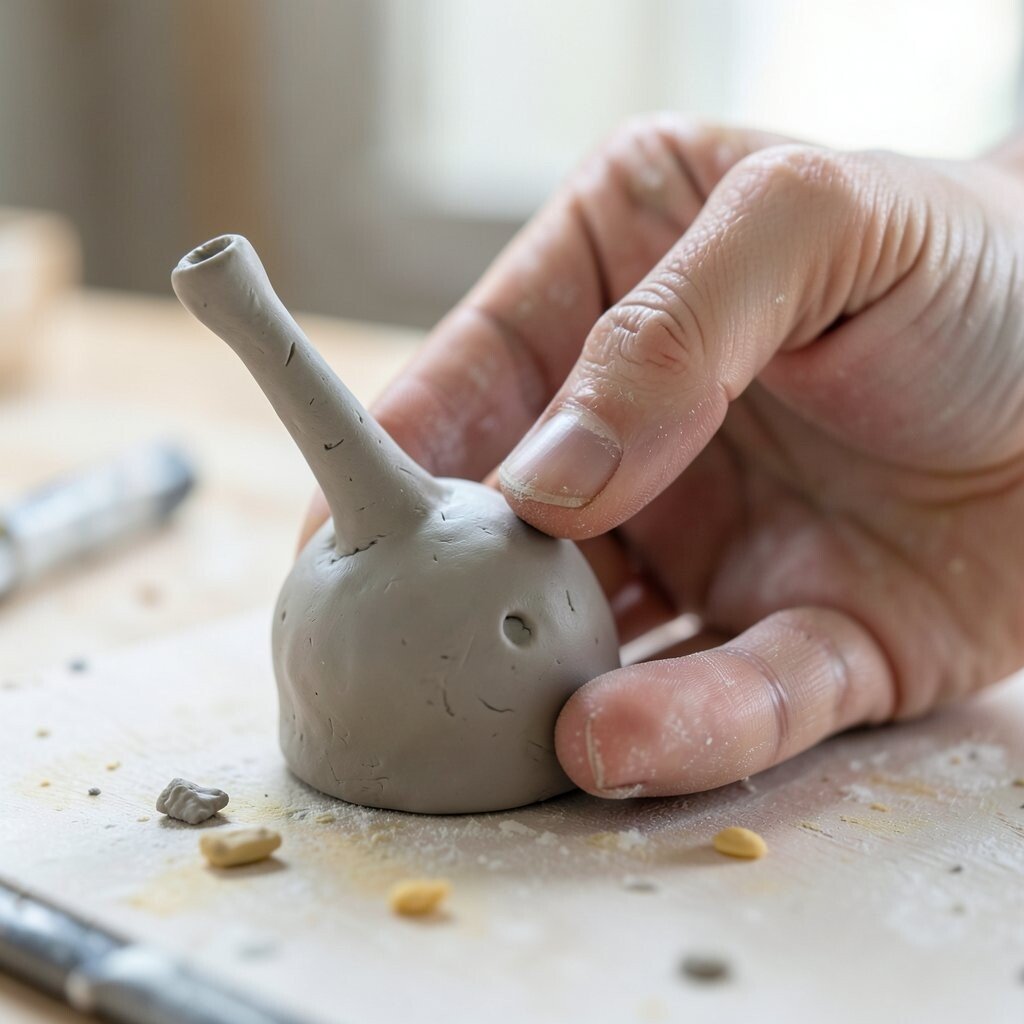
Big forms are the heart of strong sculpture. A round head, a long cylinder, or a blocky base can guide the whole piece.
Build the main shape first and keep it plain at the start. Then add eyes, folds, fur, or patterns once the body feels balanced. This method helps artists avoid wasted clay and makes it easier to fix mistakes early.
Many modern sculptors like this slow build because it keeps the work fresh and less stressful. You can make your piece unique by changing the size of one part, like a long neck or a wide hat. Small changes often give the art a strong personal voice.
4. Use Reference Photos and Real Objects

Top Use Reference Photos And Real Objects Craft Tutorials
- 🎄 How to Use a Reference Photo in Your Artwork from wikihow.com.
- 🗺️ Succulent Sketch: How to Draw with a Photo Reference from craft-e-corner.com.
- 💅 5th Grade Art Lessons from artwithmrsfilmore.com.
- 🍁 Draw Anything By Simplifying Pictures into Shapes from harshpreetkaur.com.
- 🖼️ Drawing from reference photos for comfort and learning from facebook.com.
Looking at a real leaf, shell, hand, or face can spark better ideas than guessing. Nature and everyday items are full of shapes, lines, and textures.
Place your object beside you and study its curves and shadows. Try to copy the feeling of it instead of making an exact copy, because that keeps your work lively. This habit can improve accuracy and also help you create more believable forms.
5. Test Texture Tools for Fresh Surfaces

Top Test Texture Tools For Fresh Surfaces Craft Tutorials
- 🎄 5 Mixed Media Products To Try Today from scrapbook.com.
- 🍅 nontraditional texture tools : r/Pottery from reddit.com.
- 🍁 🖌 4 unexpected tools for creating texture in watercolor … from facebook.com.
- 💅 Textured Art for Beginners: Your Essential Supplies & Easy … from lemon8-app.com.
- 🍅 Essential Craft Items and Tools for Beginners from altenew.com.
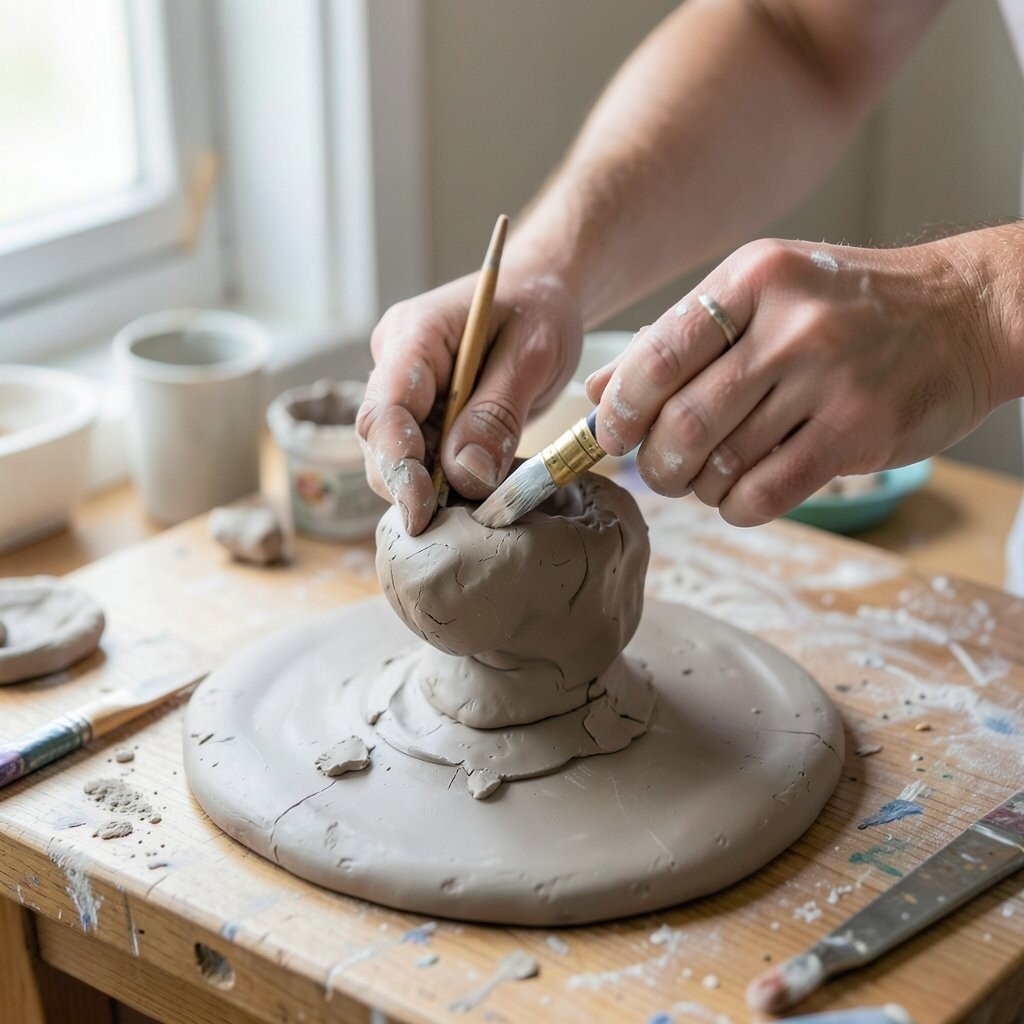
Texture can turn a plain form into something rich and full of life. A comb, toothbrush, lace, or leaf vein can leave beautiful marks in clay.
Press gently and make test pieces first so you can see what each tool does. Some tools are free from your home, which is great for artists on a budget. The mix of rough, smooth, soft, and sharp surfaces can make your sculpture feel more special and modern.
Many artists today like mixed textures because they photograph well and stand out online. You can also make your own signature texture by using a special stamp, fabric, or carved stick. That little mark can become part of your style.
6. Keep Your Hands Moist but Not Wet

Top Keep Your Hands Moist But Not Wet Craft Tutorials
- 🍅 Crazy ? Time….How do you keep your fingers moist when … from facebook.com.
- 🎨 Rough Hands & Fine Threads? Some Tips! from needlenthread.com.
- 👓 Do you moisturise your hands while you work on a project? from reddit.com.
- 🍅 How to Make Your Hands Soft Like a Baby from wikihow.com.
- 🖼️ What's Curing Your Dry Rough Cracked Hands? from makeandtakes.com.
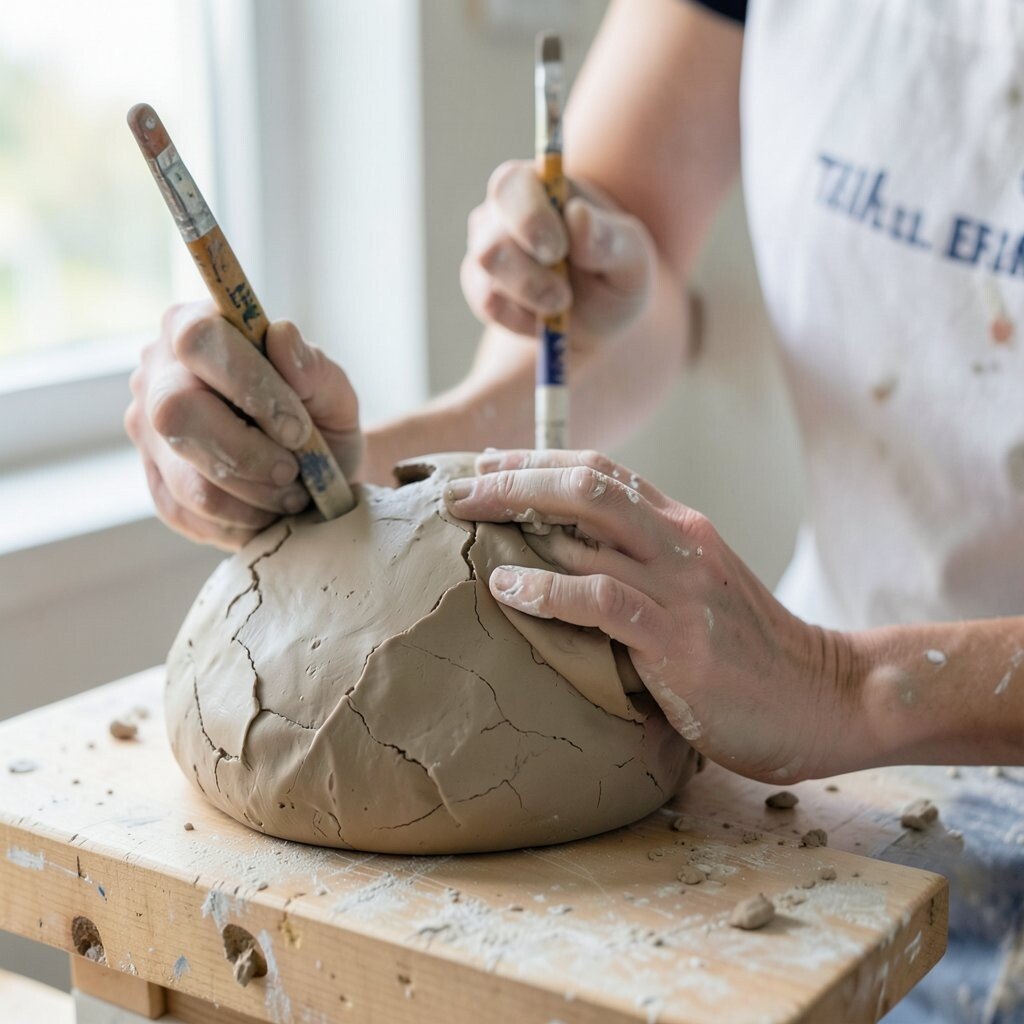
Clay reacts best when your hands are just a little damp. Too much water can make the surface weak or slippery.
Use a spray bottle or a small cup of water to control moisture. This helps seams blend better and keeps cracks from forming too soon. It is a simple tip that costs very little and makes a big difference in the final look.
If you want a smoother finish, rub the surface with a soft finger or sponge at the end. For a more handmade feel, leave some finger marks on purpose. That mix of control and touch can give your work a warm, human look.
7. Build Strong Armatures for Larger Pieces
Top Build Strong Armatures For Larger Pieces Craft Tutorials
- 💅 Make an Armature for Sculpting! : 12 Steps (with Pictures) from instructables.com.
- 🖼️ Large Armature Sculpture Techniques from facebook.com.
- 💅 Large Armature Sculpture Techniques from facebook.com.
- 💅 Armatures for Model Making from georgeweil.com.
- 🎨 What can I use as an armature or core besides wire and foil? from reddit.com.
Big sculptures need support, just like a tree needs roots. A wire frame or foil core can keep the clay from sagging.
Start with a light base so the piece stays balanced and does not waste material. Armatures can save money because they use less clay inside the sculpture. They also let you make taller or more dramatic forms without fear of collapse.
Many artists use recycled foil, wire, or simple wooden bases to keep costs down. You can shape the support to fit your own idea, which makes the piece feel custom from the start. A good armature gives freedom to make bolder art.
8. Mix Color Thoughtfully

Top Mix Color Thoughtfully Craft Tutorials
- 🍁 A thoughtfully curated mix of color, craft, and playful design— … from instagram.com.
- 💅 Color Mixing for Art Class – Art Bar Blog from artbarblog.com.
- 🍅 What's your favorite color palette from Thoughtful Dots on … from facebook.com.
- 🗺️ Diy Crafts 15525 10mm 8 Mixed Round Imitation Abs Pearl … from amazon.in.
- 🍂 Delicate Forest meets Thoughtful Wishes for Colour … from senseofwhimsy.com.au.
Color can change the mood of a sculpture right away. Bright tones feel playful, while earthy shades feel quiet and natural.
Blend small amounts first so you do not waste material. Polymer clay and some air-dry clays are great for color mixing, and that can be cheaper than painting many layers later. A soft marble effect or a two-tone blend can make your work look fresh and current.
Try matching colors to a season, a memory, or a favorite song. You can also make your sculpture more personal by using a color that means something to you. That small choice can give the piece a story before anyone even asks.
9. Practice Small Studies Before the Final Piece

Top Practice Small Studies Before The Final Piece Craft Tutorials
- 🎨 ASCF 9: Practice, Craft, Materials, and Making from acsforum.org.
- 🗺️ Morning Practice from craftcouncil.org.
- 🍁 Gagné's Nine Events of Instruction from niu.edu.
- 💅 The effects of crafts‐based interventions on mental health and … from pmc.ncbi.nlm.nih.gov.
- 🖼️ How do you perfect your craft ? from facebook.com.
Small clay studies are quick practice pieces that help build skill fast. They also take less time, less clay, and less pressure.
Make tiny heads, hands, animals, or abstract forms before starting the main artwork. These little tests show what works and what needs fixing. They are a smart way to learn without spending much money on big mistakes.
Some artists keep a shelf of small studies because they show progress over time. You can use them to test poses, textures, and surface finishes. A row of tiny works can also inspire new ideas for larger pieces later.
10. Try Trendy Themes with Your Own Twist
Top Try Trendy Themes With Your Own Twist Craft Tutorials
- 🧑🌾 9 New Craft Ideas you NEED to Try in 2026 from thecrazycraftlady.com.
- 🗺️ 60 Fun and Easy Kids' Craft Ideas | DIY Craft Projects for Kids from hgtv.com.
- 🍅 What are some unique ways to recreate a project with your … from facebook.com.
- 🍂 50 Easy DIY Arts and Crafts for Kids to Try at Home from goodhousekeeping.com.
- 🧑🌾 50 Functional Art and Craft Projects for Kids from barleyandbirch.com.
Nature forms, cute characters, and bold abstract shapes are popular right now. Handmade pieces with a soft, imperfect feel also fit current tastes.
Use a trend as a starting point, then add your own style to make it stand out. A mushroom shape, moon face, or wavy vase can feel modern when you change the colors or add a personal symbol. This keeps your work fresh without copying what everyone else is making.
You can make the piece more unique by adding a small detail that tells your story. Maybe it is a pet ear shape, a favorite flower, or a pattern from your hometown. Those tiny touches make the art feel alive and one of a kind.
11. Work in Layers for Better Control

Top Work In Layers For Better Control Craft Tutorials
- 🖼️ New Layers Feature in Cricut for Crafting Efficiency from facebook.com.
- 💅 Layers for Dummies : r/magicTCG from reddit.com.
- 🧑🌾 Crash Course in Control Layers – Insulation from finehomebuilding.com.
- 🍅 Review of the Four Control Layers from greenbuildingadvisor.com.
Layering clay is helpful when you want depth and detail. It lets you build slowly instead of forcing everything at once.
Start with the base form, then add smaller pieces like eyelids, hair, scales, or clothing folds. This method helps you fix proportions more easily and keeps the sculpture neat. It also makes it simpler to stop and rethink parts that do not feel right.
For added style, leave some layers visible so the viewer can see how the piece was made. That can give the sculpture a lively, hand-built look. Many artists enjoy this because it feels honest and full of energy.
12. Save Leftover Clay for Tiny Details
Top Save Leftover Clay For Tiny Details Craft Tutorials
- 🍁 What to do with tiny polymer clay scraps? from facebook.com.
- 🖼️ 35 Fun and Creative Air Dry Clay Projects for Kids from imthecheftoo.com.
- 🎨 30 Air Dry Clay Ideas to Try from lovelyindeed.com.
- 🖼️ 47 Easy Air Dry Clay Ideas and Projects Adults Will Want … from pillarboxblue.com.
- 🍅 Fun and Easy Air-Dry Clay Crafts for Christmas from containercrazyct.com.
Small scraps of clay can become eyes, buttons, petals, beads, or tiny decorations. Nothing needs to go to waste if you keep a little box for leftovers.
Reuse those pieces in new projects to lower cost and reduce waste. You can also mix scraps together for test colors or practice forms. This habit is friendly to your wallet and helpful for the planet.
Some artists even make signature mini charms from leftover clay and attach them to larger works. That adds charm and gives each piece a handmade finish. It is a simple way to turn leftovers into something memorable.
13. Use Light and Shadow to Shape the Look

Top Use Light And Shadow To Shape The Look Craft Tutorials
- 🎨 Even younger kids can make this simple shadow art … from facebook.com.
- 🧑🌾 Shadow and Light Craft Ideas Creative Learning for Kids # … from instagram.com.
- 🎄 👤✍️🖼️☀️Portrait shadow drawing is a simple and fun … from facebook.com.
- 💅 A Beginners Guide to Light & Shadow – Part 1 from willkempartschool.com.
- 💅 Light and Shadow Experiments for Kids from inventorsoftomorrow.com.
Good sculpture is not only about form, but also about how light touches it. Soft bumps, deep grooves, and angled planes can change the whole feeling.
Hold your piece near a lamp and turn it slowly to see where shadows fall. This helps you spot flat areas that need more life or strong areas that need smoothing. It is an easy way to improve the final result without buying extra supplies.
14. Protect Your Hands and Take Breaks
Top Protect Your Hands And Take Breaks Craft Tutorials
- 🧑🌾 How to keep hands healthy while crafting? from facebook.com.
- 👓 Hobbies for keeping hands busy/watching tv? (Tw – r/crafts from reddit.com.
- 💅 14 Crafts for Teens and Tweens – ARTBAR from artbarblog.com.
- 🎄 The Health Benefits of Knitting from well.blogs.nytimes.com.
- 🍂 How to make an articulated hand {with cool movable fingers … from gosciencekids.com.
Clay work can be gentle, but long sessions may still tire your hands. Short breaks help your fingers stay loose and ready.
Stretch your wrists, shake out your hands, and rest your eyes for a minute or two. These small pauses can keep you from rushing and help you notice details more clearly. They also make the whole process feel more enjoyable and less stressful.
Some artists keep hand cream nearby, but use it only after working so the clay stays clean. You can also warm your hands before you start if they feel stiff. Caring for your body helps your art stay strong too.
15. Finish with Surface Details That Feel Personal

Top Finish With Surface Details That Feel Personal Craft Tutorials
- 🎨 When I created this piece, I wasn't looking for “ … from instagram.com.
- 💅 15 Creative Spring Craft Ideas to Brighten Your Home from gelpress.com.
- 🖼️ The Top Crafting Ideas For 2026 You'll Want to Try This Year from my100yearoldhome.com.
- 🎄 55 Simple yet Sophisticated Adult Craft Ideas from goodhousekeeping.com.
- 🖼️ 33 Easy and Profitable Crafts to Make and Sell in 2026 from eufymake.com.
Final details can give your sculpture its voice. A carved line, a tiny smile, or a special pattern can make the piece feel alive.
Think about what fits your story, your style, or the person who may see the work. A finish can be smooth and polished, rough and raw, or painted in soft colors after drying. Simple details often cost little, but they can make the biggest impact.
Many artists now add small symbols, initials, or nature marks to make each piece easy to recognize. You can do the same with a favorite shape, a secret texture, or a repeated line. That personal touch turns clay into art that feels truly yours.