Clay can turn a quiet table into a tiny art studio. A simple lump can become something bright, useful, and full of personality.
1. Pick the Right Clay for Your Idea

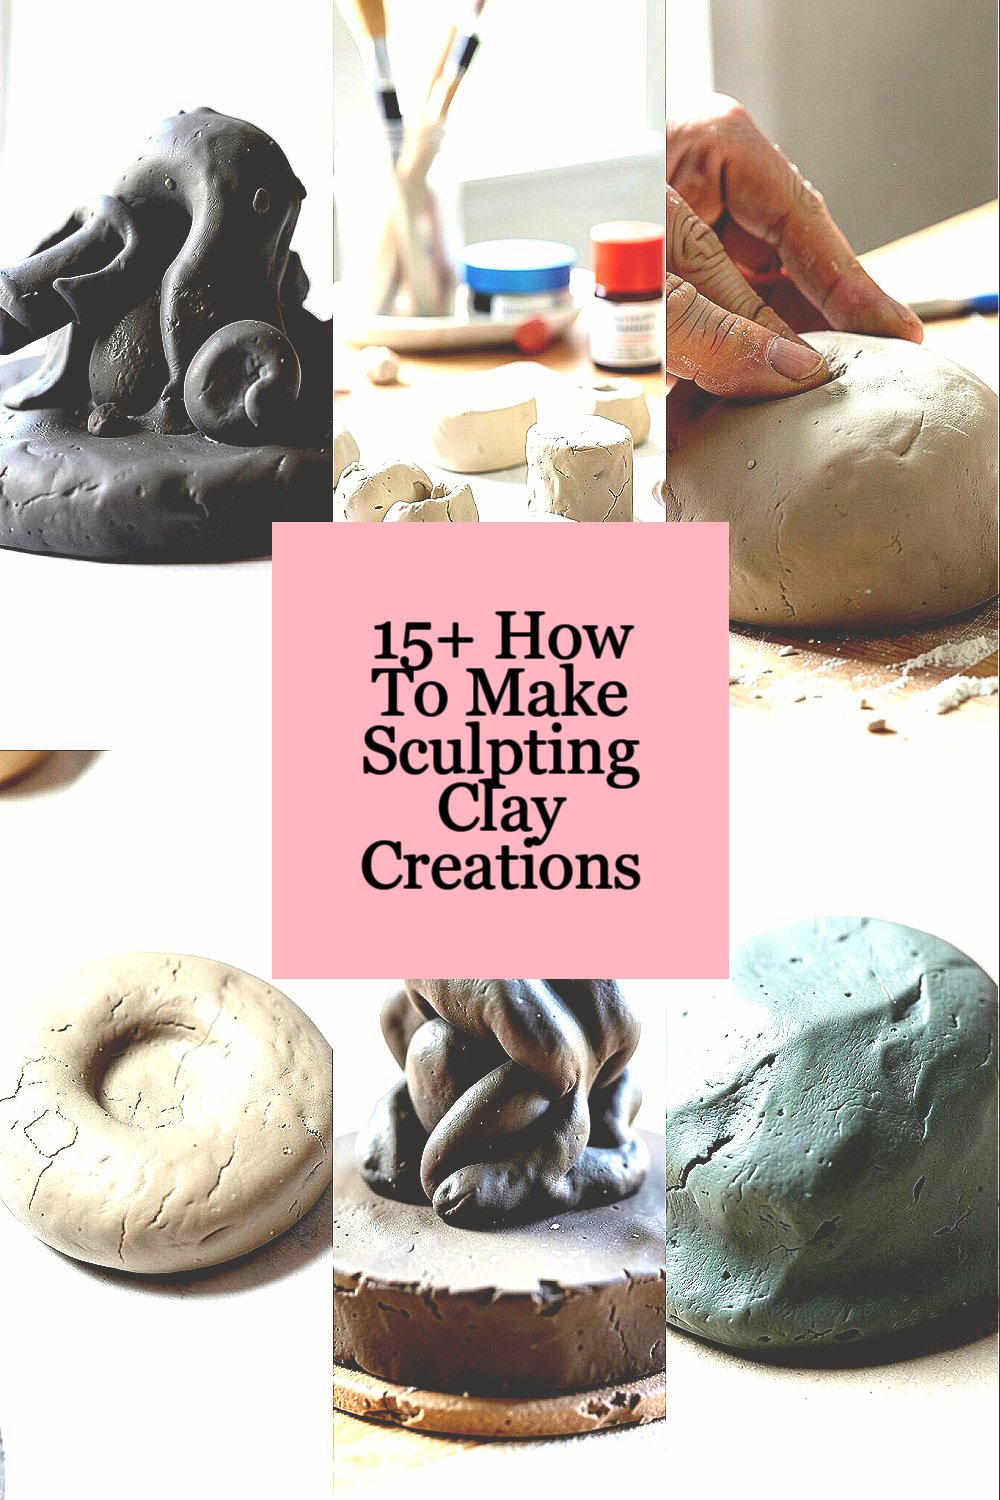
Top Pick The Right Clay For Your Idea Craft Tutorials
- 🖼️ The Best Clay for Beginners: How to Pick the Right Type of … from claymoo.com.
- 🍂 Choosing the Right Clay for Pottery: A Comprehensive Guide from pottery-boston.com.
- 🗺️ Choosing the Right Polymer Clay for Your Project from sculpey.com.
- 🗺️ Different Types Of Clay For Pottery from theartistoutpost.com.
- 💅 Types of clay: MM clay guide from montmarte.com.
Start by choosing clay that fits the thing you want to make. Air-dry clay is easy for beginners, polymer clay works well for small details, and natural clay feels classic and earthy.
Look at the color, texture, and price before you buy. Softer clay is easier to shape, while firmer clay can hold sharp edges better, and both can give a clean, polished look. If you want a low-cost start, pick a small pack first and test it with a few simple shapes.
2. Set Up a Clean Work Space

Top Set Up A Clean Work Space Craft Tutorials
- 🖼️ How do crafters manage cluttered workspaces and … from facebook.com.
- 🎨 How to clean my office/craft room : r/ufyh from reddit.com.
- 👓 26 Outdoor Shed Organization Ideas to Help You Declutter from extraspace.com.
- 👓 Home Office Furniture, Storage & Accessories from ikea.com.
A tidy table makes clay work feel calm and simple. Put down wax paper, a plastic mat, or an old tray so the clay does not stick to the surface.
Keep a cup of water, a small towel, and a few tools nearby. A clean space helps your project look smoother and keeps dust and crumbs out of the clay.
You can make the area feel more personal by adding a favorite cloth, a bright container for tools, or a little sign with your name. Many makers like this setup because it saves time and makes cleanup much easier.
3. Soften the Clay Before Shaping

Top Soften The Clay Before Shaping Craft Tutorials
- 🎨 Any tips for softening Craftsmart clay? from facebook.com.
- 🎨 What is the best way to soften modeling clay after it dries out? from quora.com.
- 🍂 How to Soften Polymer Clay from sculpey.com.
- 💅 Beginner here, how to smooth the clay? : r/polymerclay from reddit.com.
Clay is easier to use when it feels warm and smooth in your hands. Knead it slowly until it bends well and no hard spots remain.
This step helps stop cracks later and gives your creation a nicer finish. If the clay feels sticky, dust your hands with a tiny bit of cornstarch or flour, but use only a little.
Soft clay is also great for current trends like cute mini figures, tiny food pieces, and simple home decor. For a personal touch, mix in a small amount of color if your clay type allows it, or plan to paint it later.
4. Sketch a Simple Shape First

Top Sketch A Simple Shape First Craft Tutorials
- 🎄 Shape Art Lesson Ideas from artwithtrista.com.
- 💅 Free Shape Crafts for Kindergarten from aspoonfuloflearning.com.
- 🎨 Drawing Simple Shapes from lundgrenart.weebly.com.
- 🍅 Simple Shape Pencil Craft – from adabofgluewilldo.com.
- 🖼️ 9 Sketching Techniques You Need to Know from craftsy.com.
Before you press or roll anything, think about the main shape. A rough sketch on paper can guide your hands and keep the project from getting too messy.
Simple shapes are easier to build and often look cleaner in the end. A round body, a square base, or a long coil can become many different creations.
This method is helpful for beginners because it lowers waste and keeps costs down. It also gives you room to make the piece your own by changing the face, pose, or pattern as you go.
Many clay artists now like bold, simple forms with soft edges and playful details. That style looks modern and still feels handmade.
5. Shape the Base with Care

Top Shape The Base With Care Craft Tutorials
- 🍂 Preschool Crafts: 20 Easy Craft Ideas Using Everyday … from mybrightwheel.com.
- 🗺️ 60 Fun and Easy Kids' Craft Ideas | DIY Craft Projects for Kids from hgtv.com.
- 🎄 30 Recycled Crafts for Kids That Are Easy and Fun from goodhousekeeping.com.
- 💅 Arts and Crafts: Paper, Wood and DIY Crafts from dollartree.com.
- 💅 craft ideas for memory care activities from facebook.com.
Every clay creation needs a strong base to stand on. Press the bottom gently on the table so it sits flat and does not wobble.
If the piece is tall, make the base a little wider for balance. A sturdy base helps the final work last longer and makes it safer to move.
You can make the base round, oval, or square depending on the style you want. A neat base also gives the whole piece a more finished and polished look.
6. Build Up the Main Form Slowly

Top Build Up The Main Form Slowly Craft Tutorials
- 🗺️ taking shape… slowly. : r/crafting from reddit.com.
- 🗺️ 50 Easy Crafts for Kids to Spark Their Imagination from modpodgerocksblog.com.
- 🖼️ Creative Things to Make Out of Paper for All Ages from sliceproducts.com.
- 🍂 Crafty Hobbies for 2025: Purposeful, Affordable, and … from thecraftyangels.com.
Add clay bit by bit instead of trying to make the whole shape at once. Small pieces are easier to control, and they help the form stay neat.
Use your fingers to pinch, roll, and press until the main body looks right. This careful build-up gives the piece a handmade charm that many people love.
For a fun personal style, make the form a little chubby, tall, or extra smooth. Tiny changes like that can make your creation feel friendly and unique.
It also helps to keep an eye on cost by using only the clay you need. Less waste means more clay left for future projects.
7. Add Features with Small Tools

Top Add Features With Small Tools Craft Tutorials
- 🍅 My 10 Must-Have Craft Tools and Supplies from neathousesweethome.com.
- 👓 Miniature work tools for beginners from facebook.com.
- 💅 Why is Craft missing so many basic features? : r/CraftDocs from reddit.com.
- 👓 Must Have Craft Supplies the Pros Use from modpodgerocksblog.com.
- 👓 Craft: Notes, Documents, AI – App Store – Apple from apps.apple.com.
Now is the time to add eyes, ears, leaves, petals, or any other small parts. A toothpick, blunt stick, or clay tool can help you make tiny marks and shapes.
Small details bring the piece to life and make it more interesting to look at. Even a few lines, dots, or soft curves can change the whole mood of the creation.
Try matching the details to the style you like best, such as cute, fancy, or natural. Current trends often use simple faces, tiny textures, and smooth, clean lines.
If you want to save money, use basic tools from home before buying special ones. Many great clay pieces start with just a toothpick and careful hands.
8. Blend the Pieces Together Smoothly

Top Blend The Pieces Together Smoothly Craft Tutorials
- 🎄 How to create a smooth connection between polymer clay … from facebook.com.
- 🍅 Making Cement And Concrete Crafts | Mixes & Sealers from artsyprettyplants.com.
- 🖼️ joining foam sections. If the seams are flat and smooth, we … from facebook.com.
- 🎄 Tips and Tricks for Concrete Crafting from madebybarb.com.
- 🍁 Apart from sand paper what are your guys favourite ways to … from reddit.com.
When you attach one part to another, press the edges together gently. Use a little water or slip, if your clay type allows it, to help the parts join better.
Blending the seams makes the piece look neat and strong. It also helps stop pieces from falling off later.
This step matters a lot for figures, bowls, ornaments, and layered shapes. A smooth join gives the work a cleaner look and makes it feel more professional.
9. Texture the Surface for Style

Top Texture The Surface For Style Craft Tutorials
- 🍅 How to Make DIY Texture Paste! from thegraphicsfairy.com.
- 🗺️ Stylecraft – Minecraft Resource Packs from curseforge.com.
- 👓 Stylecraft echo blade : r/Barber from reddit.com.
- 💅 How to make textured paint (13 ways) for DIY, art & crafts from clairedouglasstyling.co.uk.
- 👓 20 Texture techniques – Mont Marte Global from montmarte.com.
Texture can make clay look lively and full of character. You can press in fabric, leaves, a fork, or a textured tool to make fun patterns.
Some people like soft, smooth surfaces, while others enjoy rough or patterned ones. Both styles can look beautiful, and the choice depends on the mood you want.
Texturing is a smart way to hide small marks and add charm at the same time. For a personal touch, use a pattern that reminds you of rain, waves, fur, or flowers.
Many trendy clay pieces use tiny dots, gentle grooves, and nature-inspired prints. These details can make even a simple shape feel special.
10. Fix Cracks and Rough Spots Early

Top Fix Cracks And Rough Spots Early Craft Tutorials
- 🎨 Easy to fixed the cracks if you pay attention closely. from instagram.com.
- 🎨 How to fix small cracks in a finished project? from facebook.com.
- 🎨 Please help! How do I fix these cracks? : r/clay from reddit.com.
- 🍂 How To Fill In Cracks or Voids in Wood: A Step-by- … from durhamswaterputty.com.
- 🧑🌾 S-Crack – Studio Operations and Making Work – Forums from community.ceramicartsdaily.org.
Look over your clay piece before it dries too much. Small cracks, dents, or rough patches are easier to fix while the clay is still soft.
Smooth the area with a wet finger or a small tool. Catching problems early saves time and keeps the final piece looking clean.
This habit is helpful for both beginners and skilled makers because it lowers the chance of breaking later. It also keeps your work looking neat without needing extra materials.
11. Add Color in a Way That Fits Your Style

Top Add Color In A Way That Fits Your Style Craft Tutorials
- 🎄 Looking for a fun craft that you can customize to add a little … from facebook.com.
- 💅 StyleCraft – Training Program for Motion Graphics from motionscience.tv.
- 🍅 How to Change Color on Stylecraft Instinct from tiktok.com.
- 🖼️ How to add different colors to each scale layer? from facebook.com.
- 🎨 CRAFT & COLOR HAIR SALON – Updated May 2026 from yelp.com.
Color can make clay creations feel bright, warm, and full of life. You can paint after drying, use colored clay, or add glaze if the clay type supports it.
Choose colors that match the mood of the piece. Soft pastels feel sweet, strong colors feel bold, and earth tones feel calm and natural.
Painting is a fun place to show your own taste, like tiny freckles on a face or bright stripes on a pot. It is also a good way to follow current trends such as rainbow accents, muted tones, and simple color blocking.
When thinking about cost, paint and glaze can be cheap or pricey, so start with a few basic shades. A small set of colors can still make many different looks.
12. Let the Piece Dry or Cure Fully

Top Let The Piece Dry Or Cure Fully Craft Tutorials
- 🧑🌾 Working with air dry clay for crafting projects? from facebook.com.
- 🖼️ How To Dry Pottery Clay: Process, Tips and Techniques from soulceramics.com.
- 🖼️ How Long Does It Take to Dry? Resin FAQ Time! One … from facebook.com.
- 🧑🌾 Cure Resin in 1-4 hours? : r/ResinCasting from reddit.com.
Drying is a big part of making clay creations last. Put the piece in a safe spot where it will not be bumped, and give it enough time to harden fully.
Do not rush this step, because wet clay can bend or crack if moved too soon. A slow, steady dry often leads to a stronger result.
Air-dry clay needs patience, while polymer clay needs careful baking based on the package directions. The finished look can be very smooth and polished when this step is done right.
If you want a personal display piece, drying well gives you a solid base for paint, shine, or extra decoration. It also protects the time and effort you put into the work.
13. Sand and Refine the Surface

Top Sand And Refine The Surface Craft Tutorials
- 🎨 BetterRuins – Vintage Story Mod DB from mods.vintagestory.at.
- 🍁 Guide :: The sand levels – Techtonica from steamcommunity.com.
- 🍅 Depending on the complexity, it can take me … from instagram.com.
- 🗺️ From Lighting to Modular Systems: ArchDaily's Selection of … from archdaily.com.
- 🖼️ Has anyone used a 3D printer to assist with their … from reddit.com.
Once the clay is hard, you can smooth sharp spots with fine sandpaper. Light sanding helps the piece feel nicer and look more finished.
Work slowly so you do not rub away important details. A gentle touch can make edges cleaner and surfaces softer to the eye.
This step is useful for gifts, home decor, and small art pieces that need a neat finish. It can also help older projects look fresh again without much cost.
Some makers like a smooth, modern style, while others keep a few tool marks for a handmade feel. Both can look good, so choose the finish that matches your idea.
14. Seal the Creation for Extra Protection

Top Seal The Creation For Extra Protection Craft Tutorials
- 👓 Top Coats and Sealers for Crafts – A Comprehensive Guide! from thegraphicsfairy.com.
- 🖼️ A labor of love and a whole lot of resin lessons learned … from instagram.com.
- 🗺️ Hello! What is the product I should use to seal/coat plastic? … from facebook.com.
- 👓 How to waterproof/ weather proof cardboard? : r/crafts from reddit.com.
A clear seal can help protect your clay work from dust and light wear. It can also make colors look richer and give the surface a nice shine or soft matte look.
Pick a seal that matches the clay type and the look you want. A shiny coat feels bold, while a matte coat feels calm and smooth.
Sealing is a smart choice for items that will sit on a shelf, desk, or dresser. It adds value to the piece by helping it last longer and stay prettier over time.
For a personal touch, choose a finish that fits the mood of the room where it will live. A clear coat is often a low-cost way to make a handmade item feel more polished.
15. Turn the Clay Piece into Something Useful

Top Turn The Clay Piece Into Something Useful Craft Tutorials
- 🎨 15 Cute Things to Make with Air Dry Clay from colorfulcraftcorner.com.
- 🍂 15+ Easy and creative clay crafts from facebook.com.
- 🍅 30 Cute and Easy Clay Crafts for Kids from artsycraftsymom.com.
- 👓 Fun polymer clay ideas for making gifts and home decor from gathered.how.
- 🗺️ 20+ Easy Clay Craft Ideas: Fun for Beginners & Kids! from lemon8-app.com.
Clay art does not have to stay only as decoration. You can make a ring holder, pencil cup, key dish, magnet, ornament, or small planter cover.
Useful pieces are fun because they bring art into daily life. They also make great gifts since they are both pretty and practical.
Think about the person who will use it, or about the spot where it will sit in your home. That idea can guide the size, color, and shape so the piece feels made just for that place.
Many popular clay items today are small, useful, and easy to display. They give a handmade touch without taking up much room.
16. Display Your Work with Pride

Top Display Your Work With Pride Craft Tutorials
- 🍁 25 Rainbow Crafts and Recipes for Pride Month from hgtv.com.
- 👓 18 Craft Ideas for Pride Month and Easy Kid Rainbow Crafts from womansday.com.
- 🗺️ I made these this morning in honor of pride month 🏳️🌈 from facebook.com.
- 🧑🌾 5 Pride Art and Craft Ideas That Celebrate Every Color of You from diamondartclub.com.
- 🎄 13 Rainbow Craft Ideas To Help Kids Celebrate Pride from huffpost.com.
After all the shaping, drying, and finishing, give your clay creation a good home. Place it on a shelf, desk, windowsill, or tray where people can see it well.
Good display lighting can make colors pop and textures stand out. A simple stand, cloth, or wooden board can make the piece look even more special.
You can also group a few creations together for a mini collection. Mixing sizes, colors, and styles creates a lively display that feels personal and creative.
Displaying your work is free, easy, and rewarding, and it reminds you how much you made with your own hands. It also helps you see your style grow with every new piece.